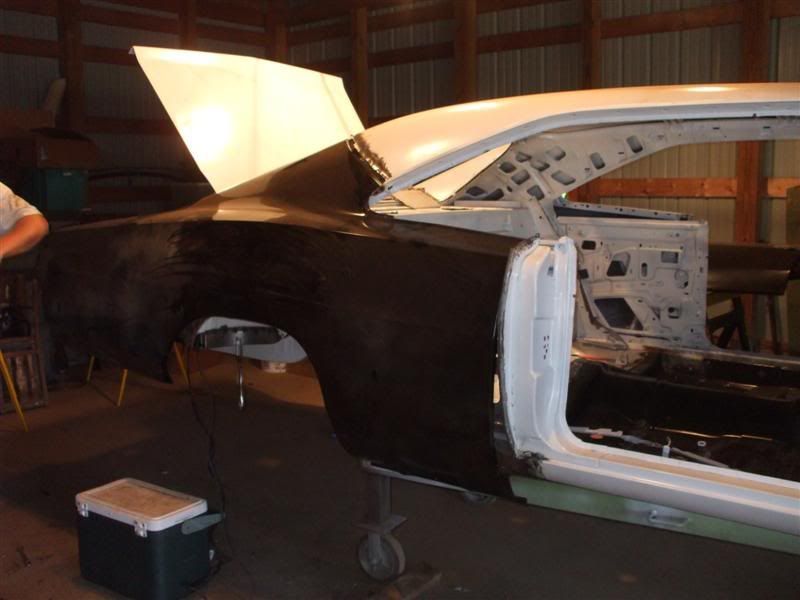
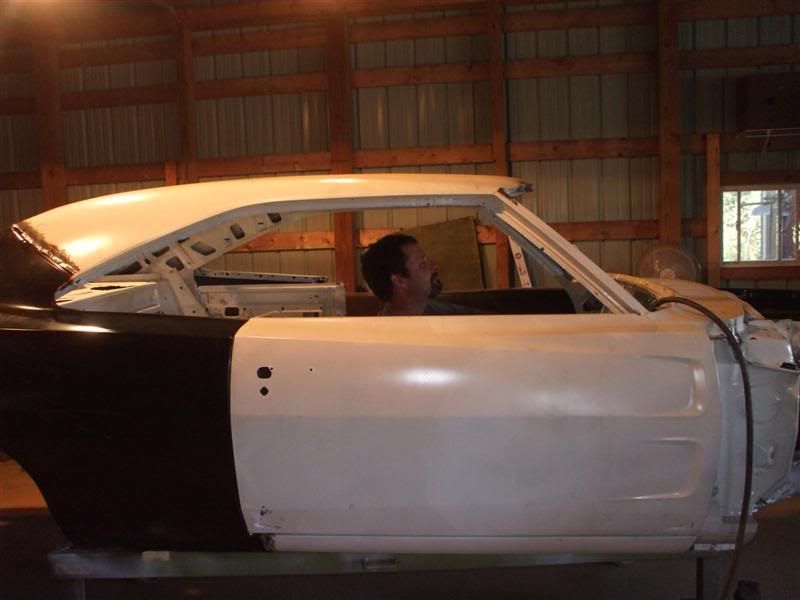
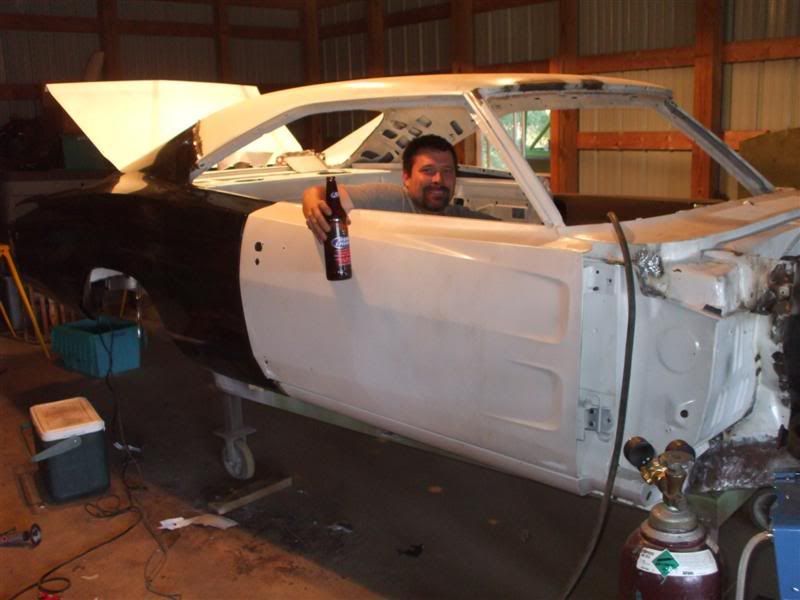
68 Charger Build.
#1
Guest
Posts: n/a
68 Charger Build.
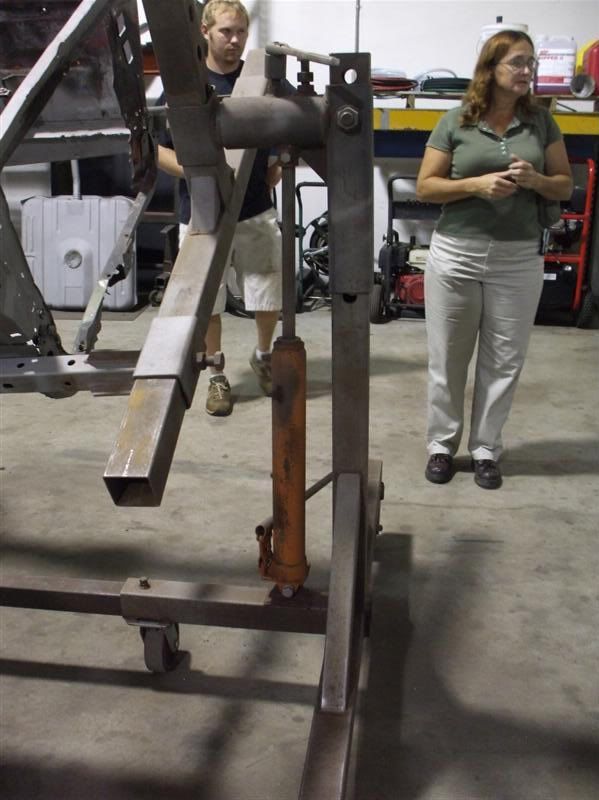
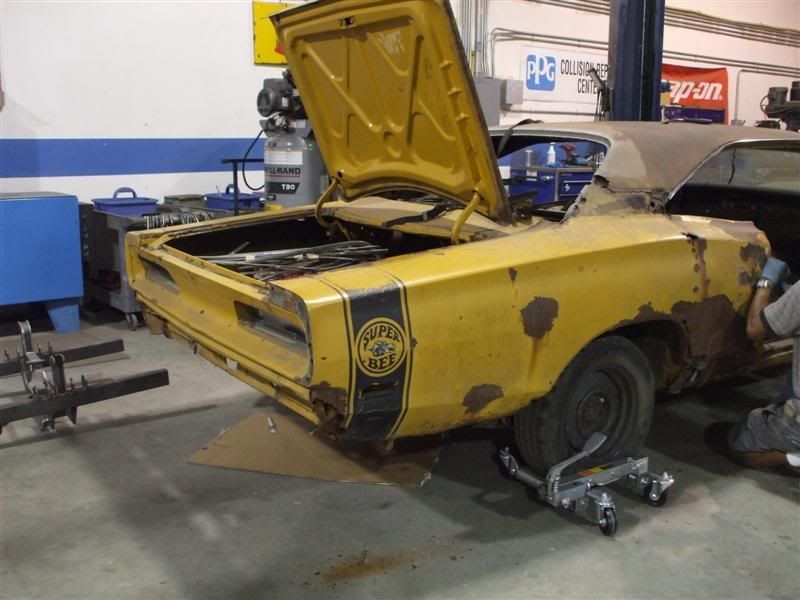
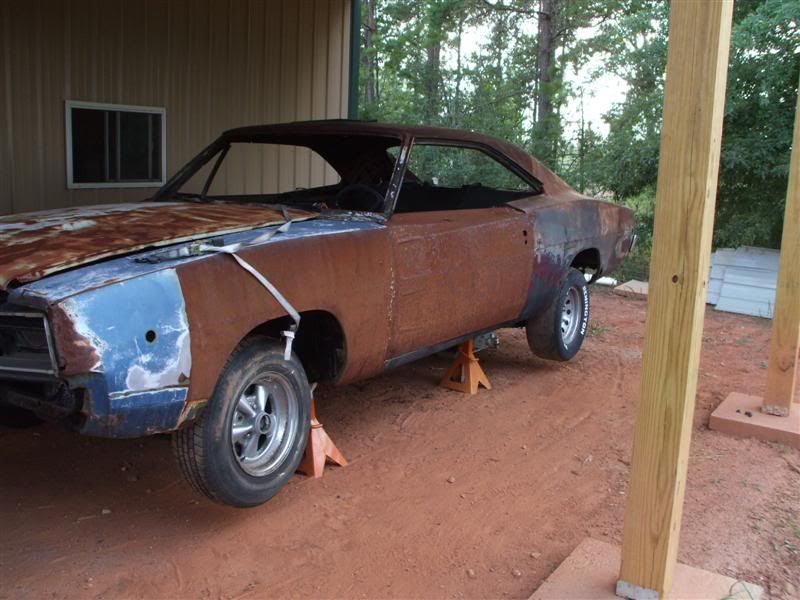
This is for my wife's son Christopher. some pics of the progress. He's currently on his second tour in Iraq. We'll keep ya'll updates as er go.
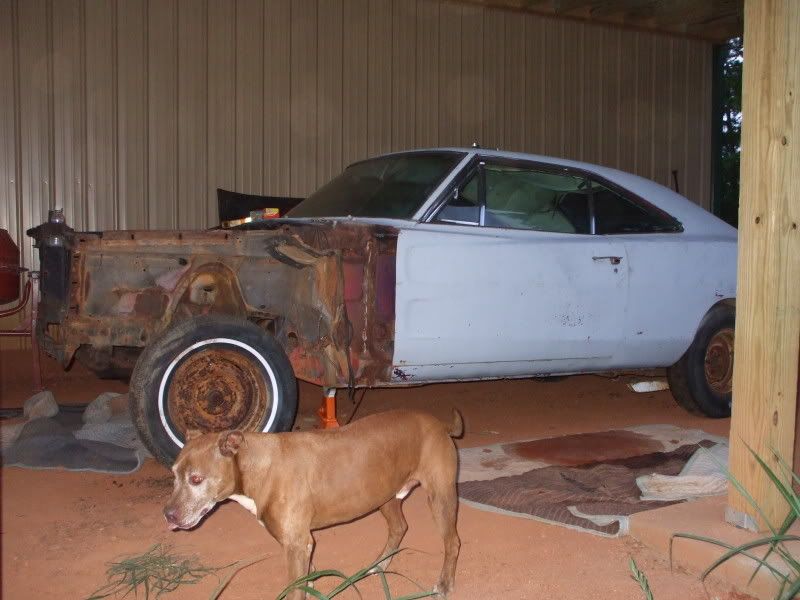
start
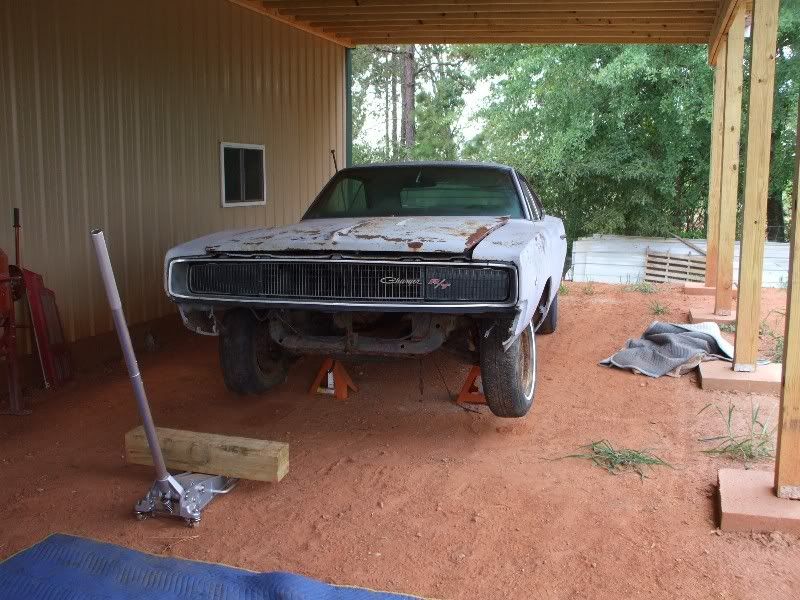
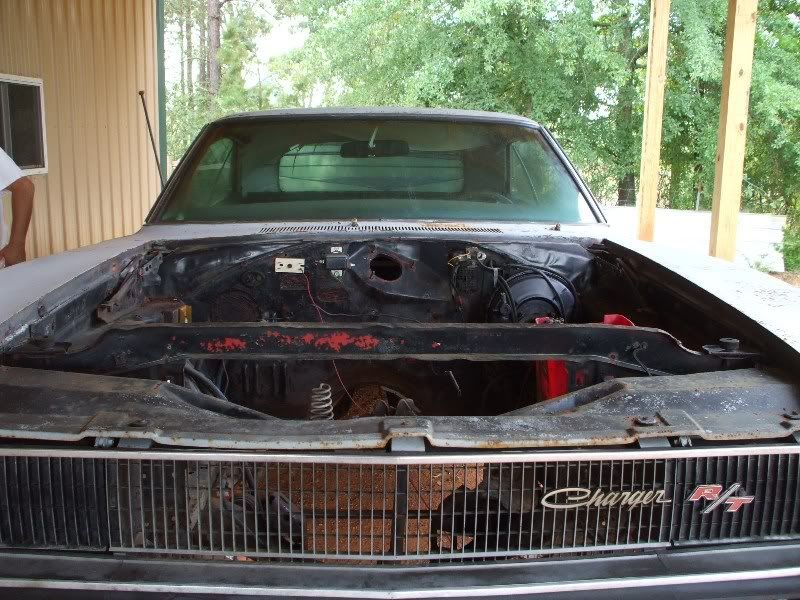
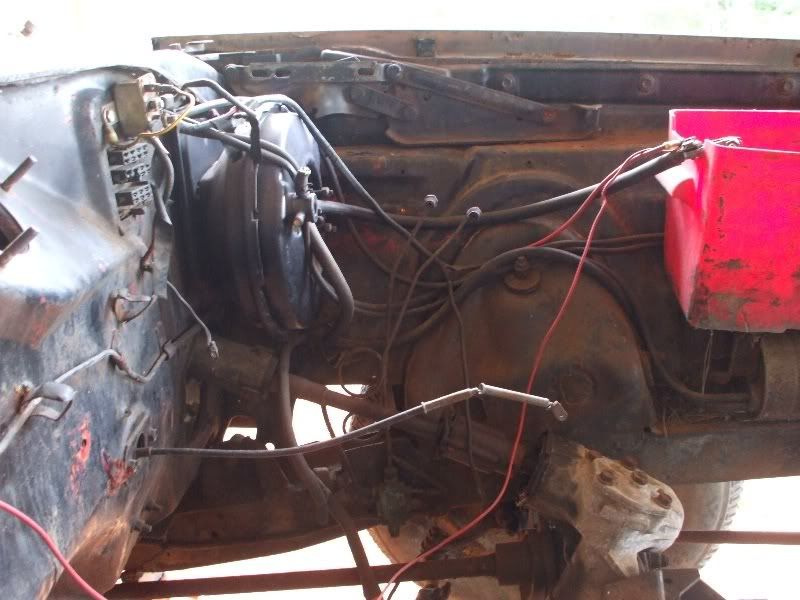
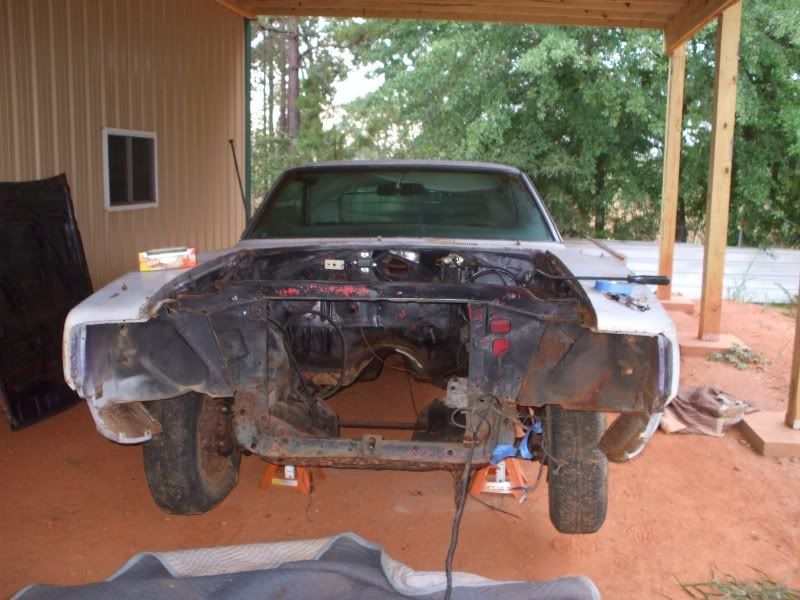
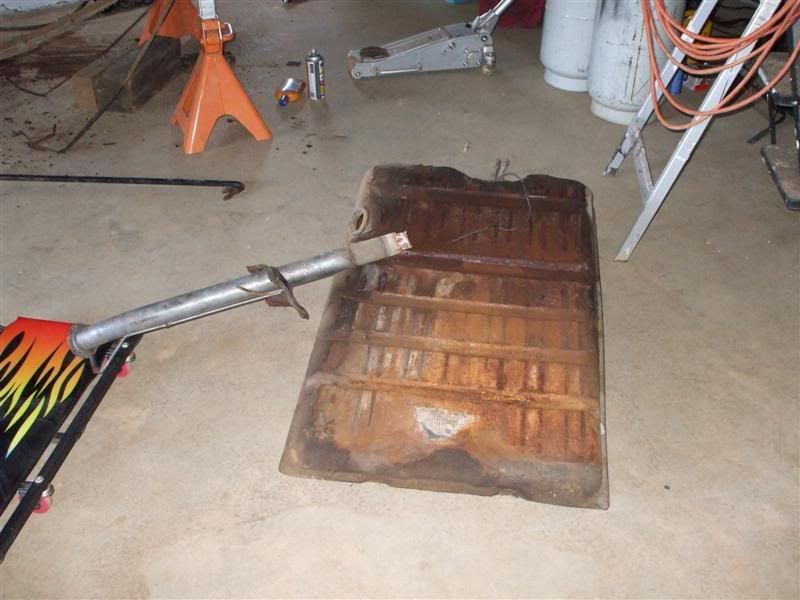
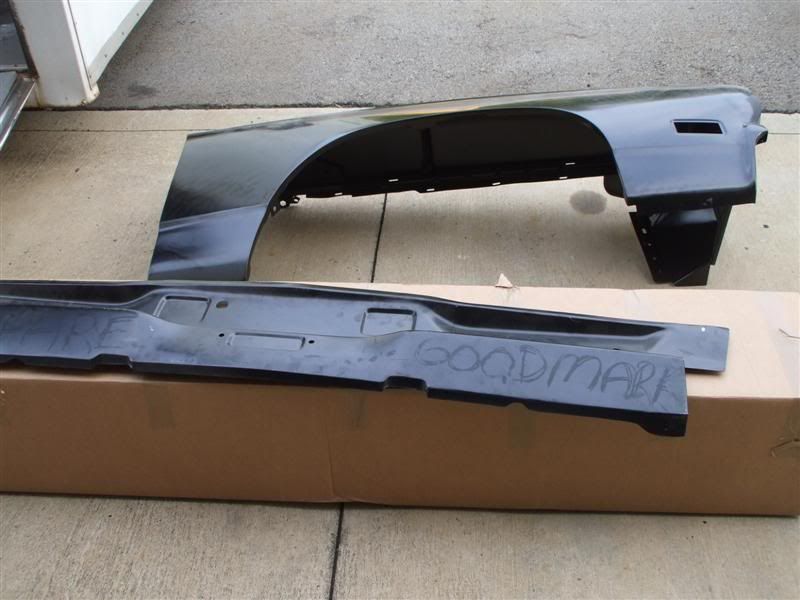
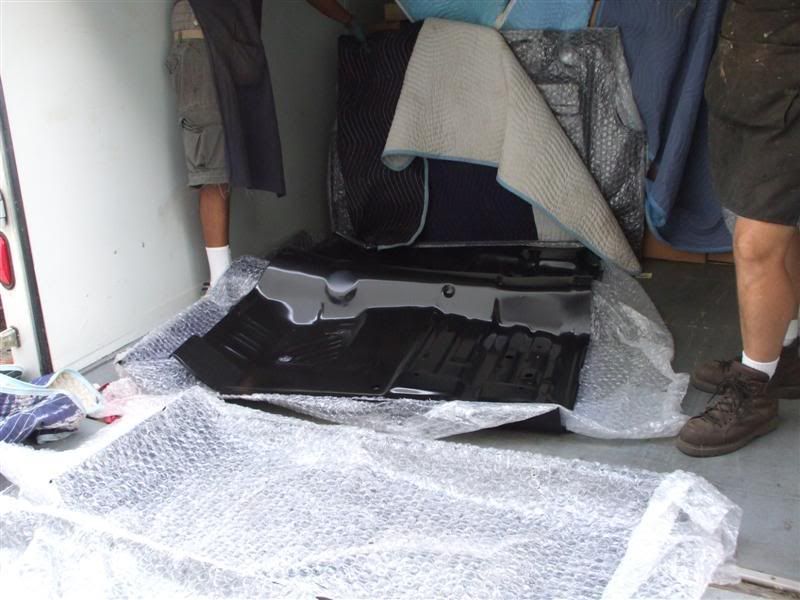
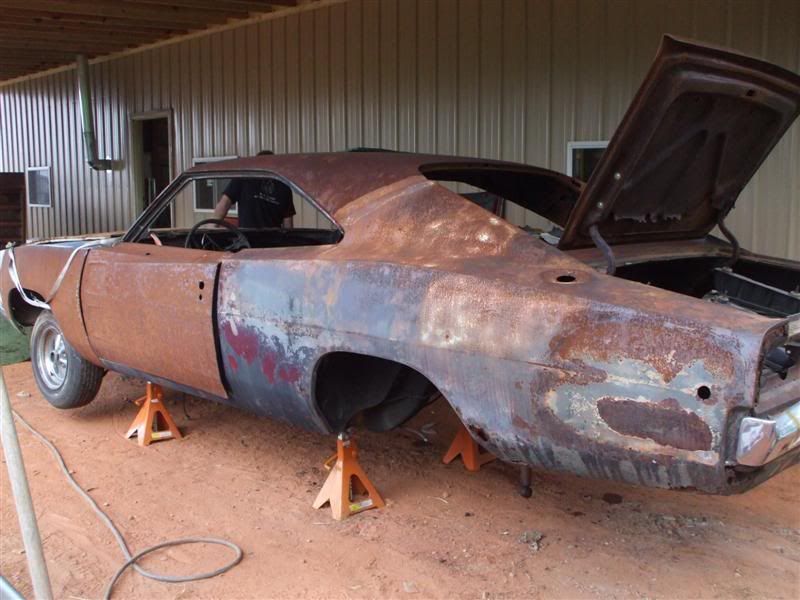
we do have some floor pans and a few other things to replace the rusted areas. Actually this car isn't that bad.
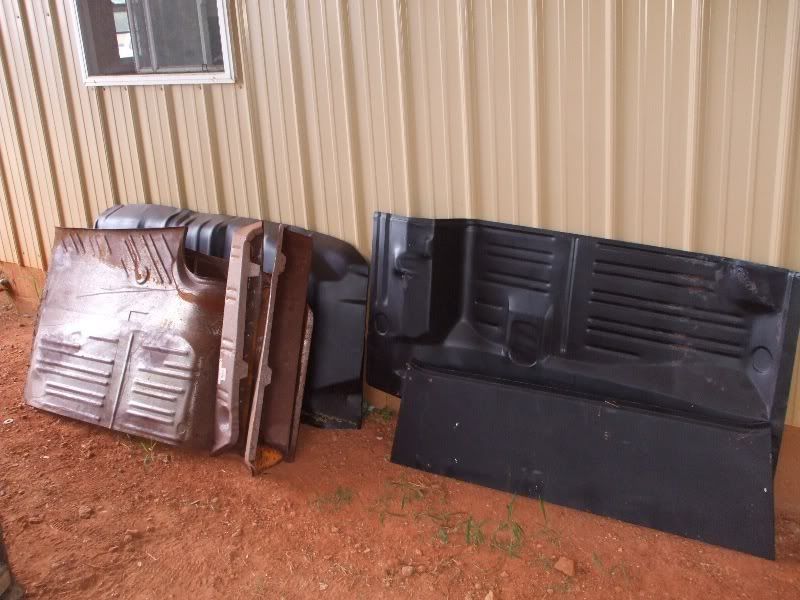
bolt remover.
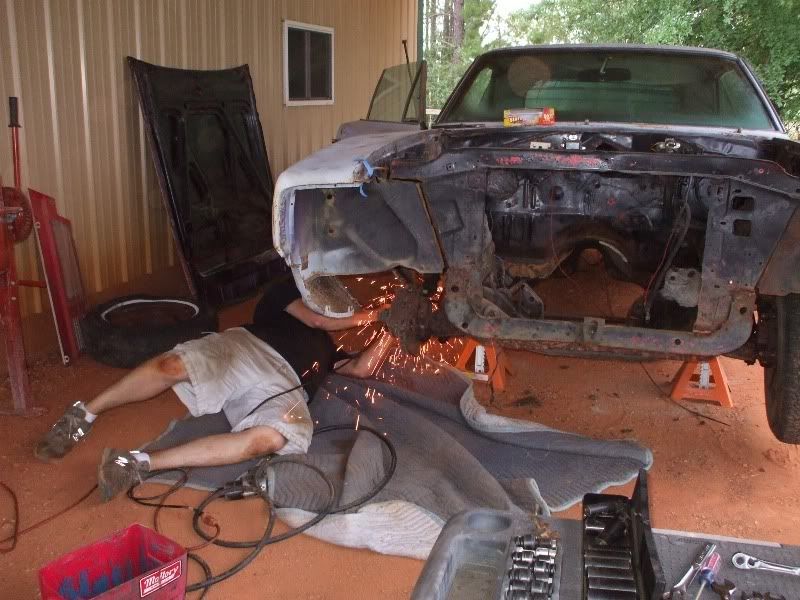
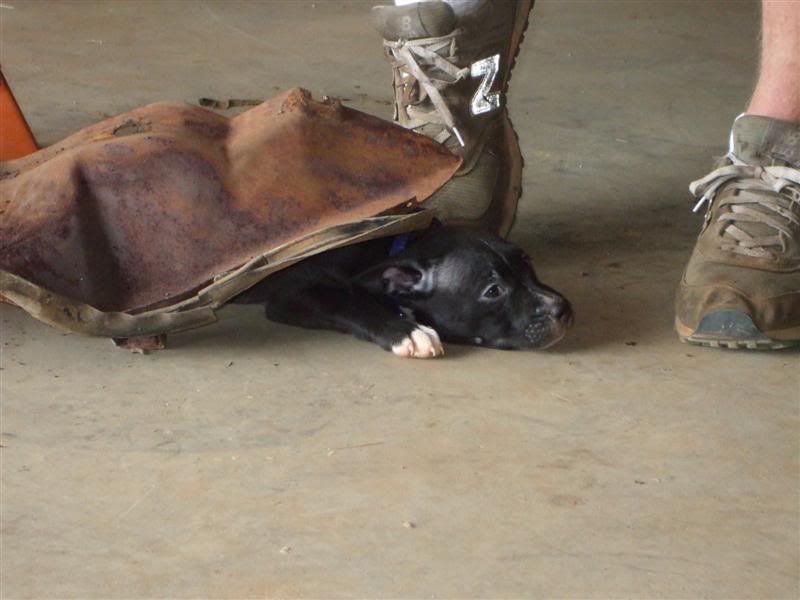
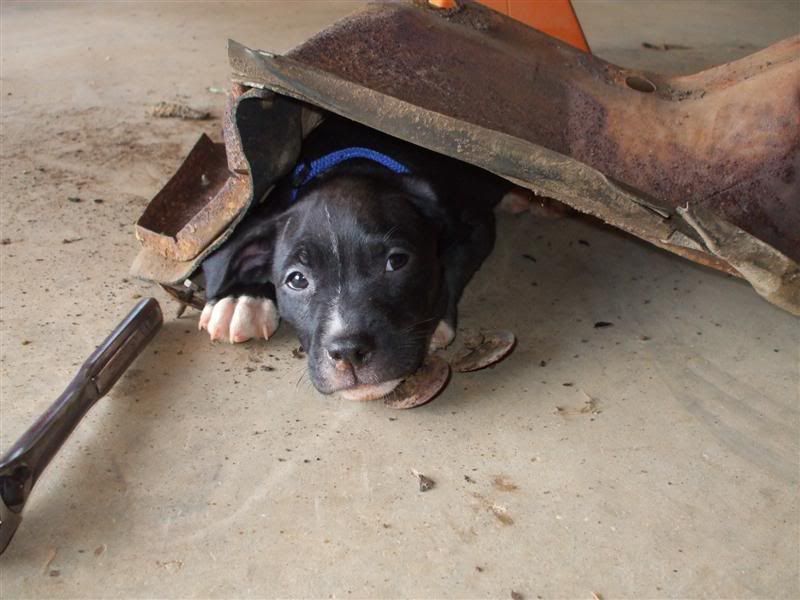
of course wrinkles has to help.
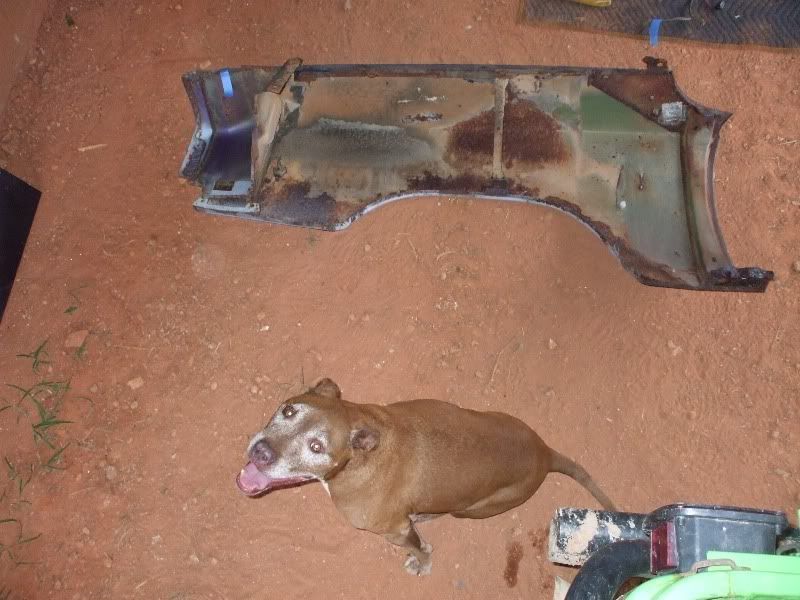
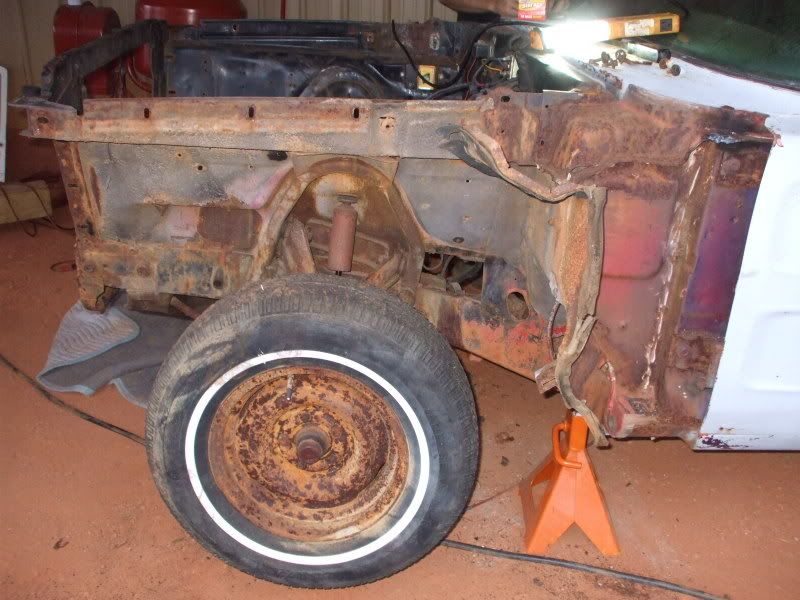
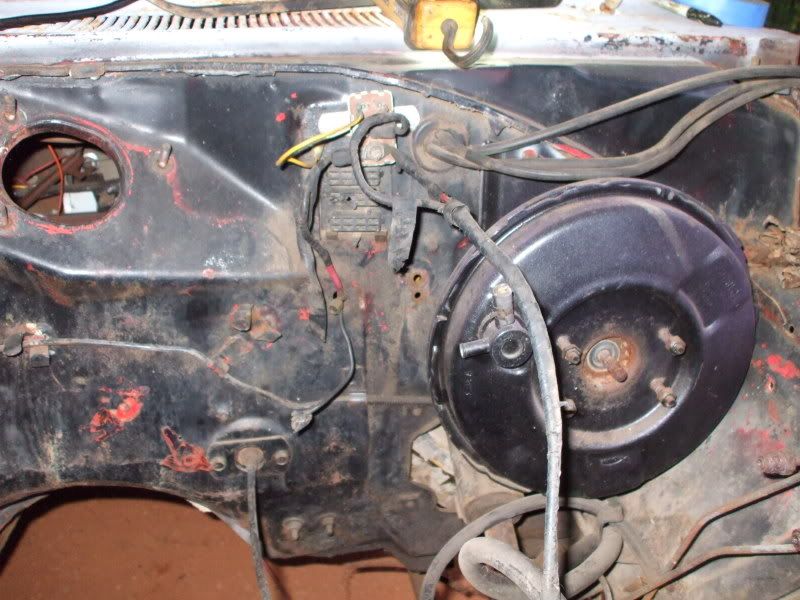
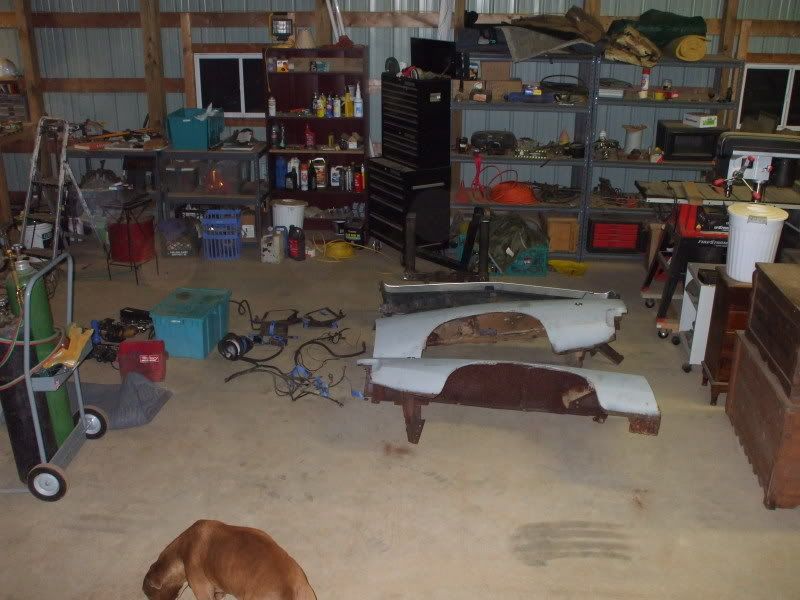
:beer:
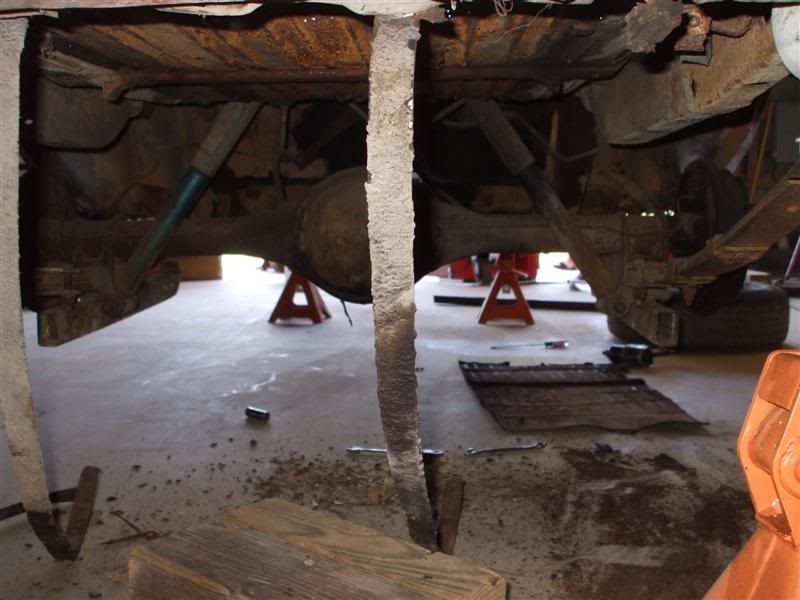
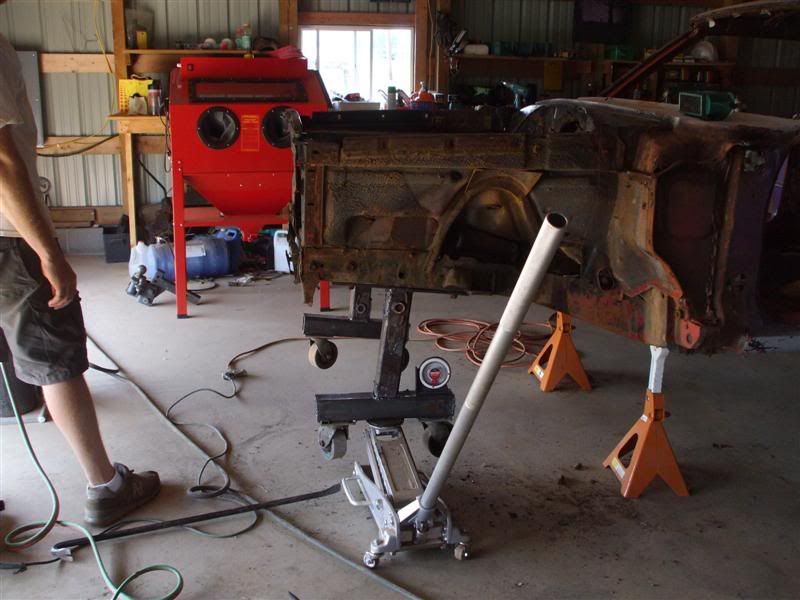
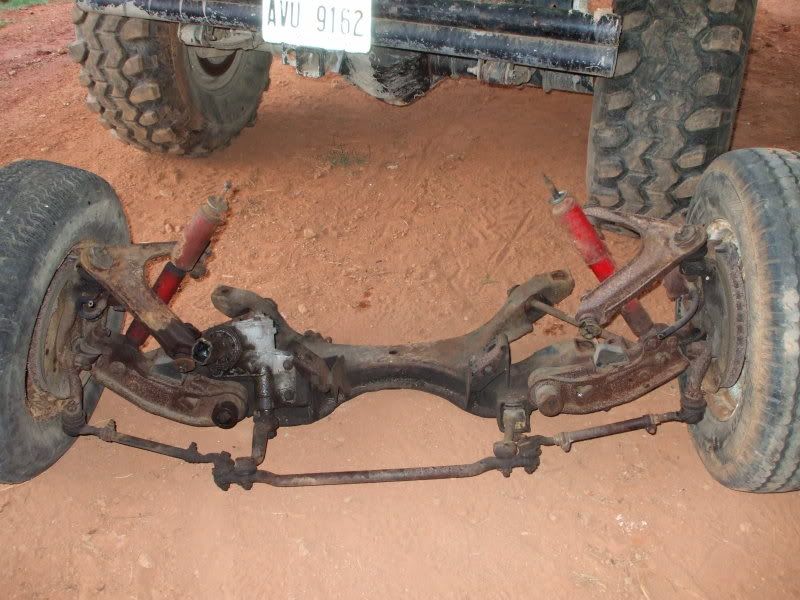
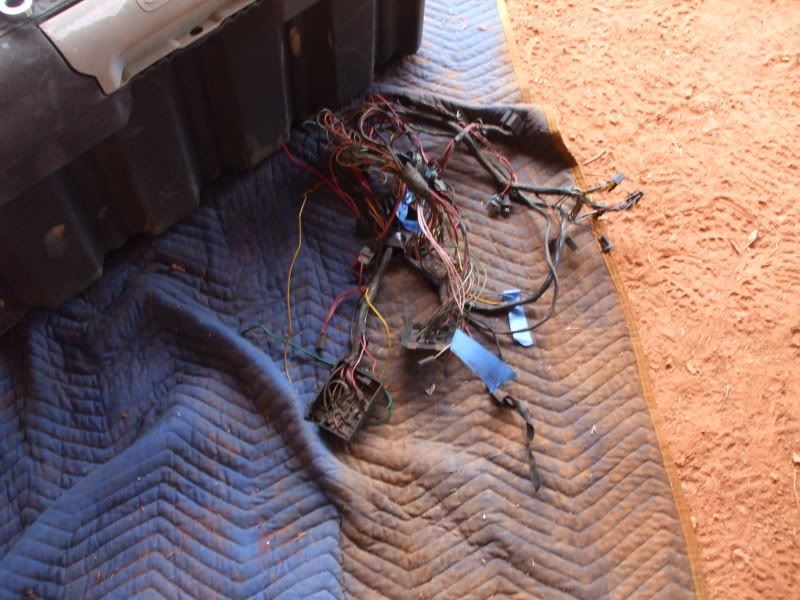
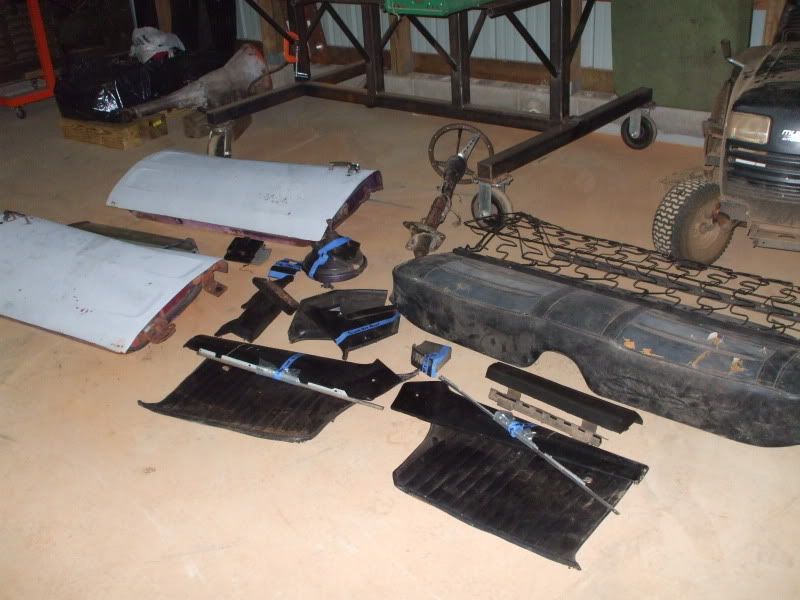
day2 progress... sub frame out... most of the inside & wiring harness etc...
this doesn't look right...
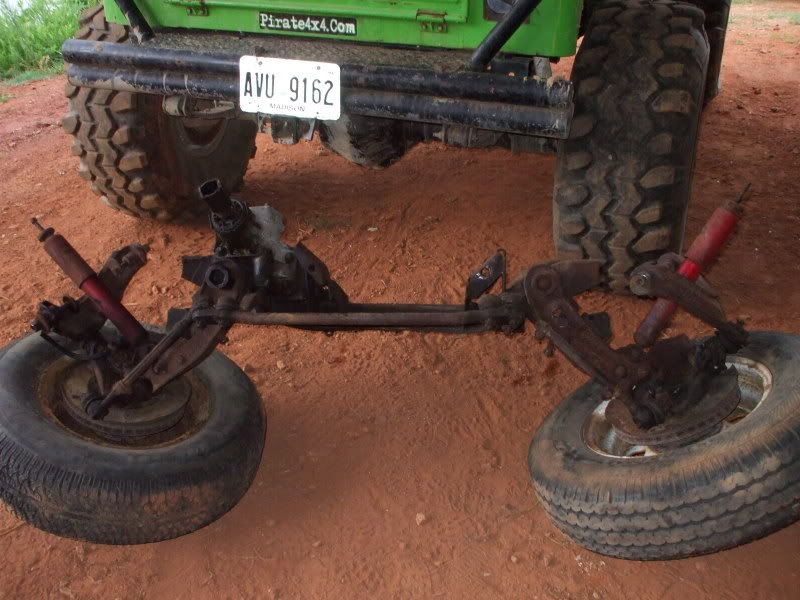
oh, that's better...
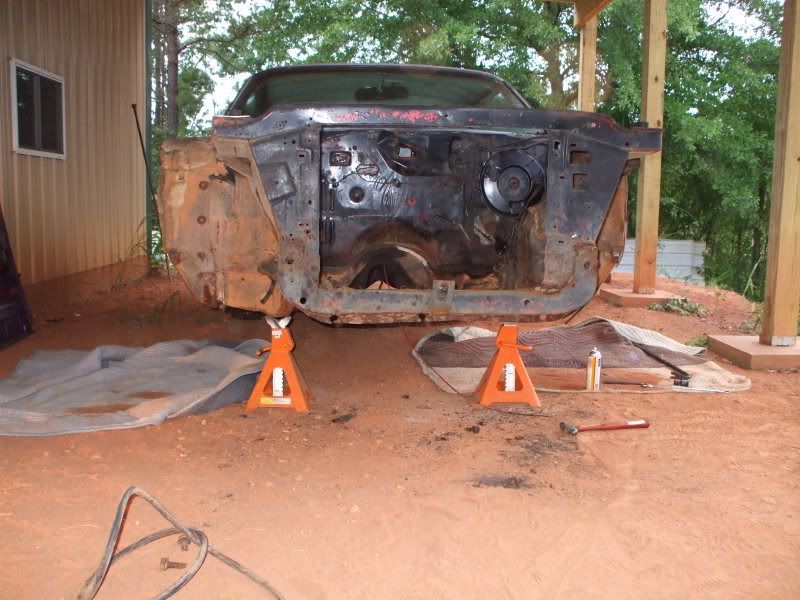
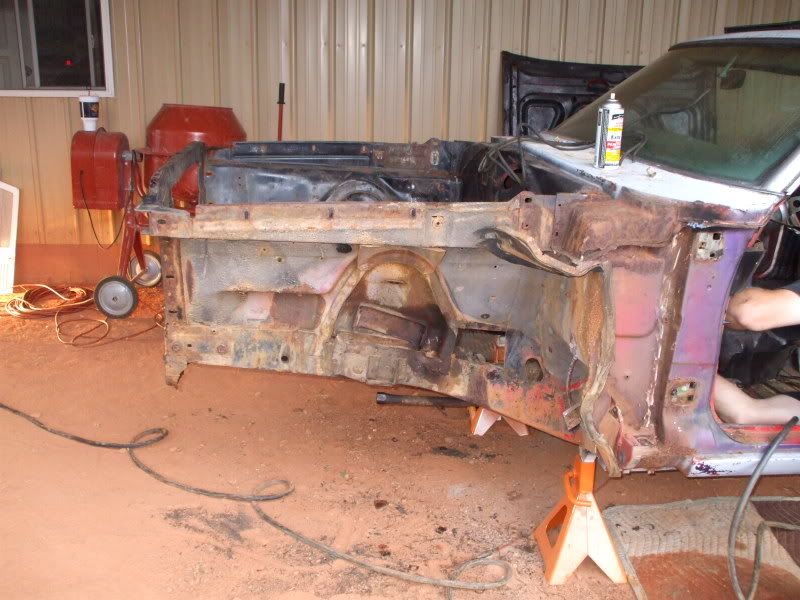
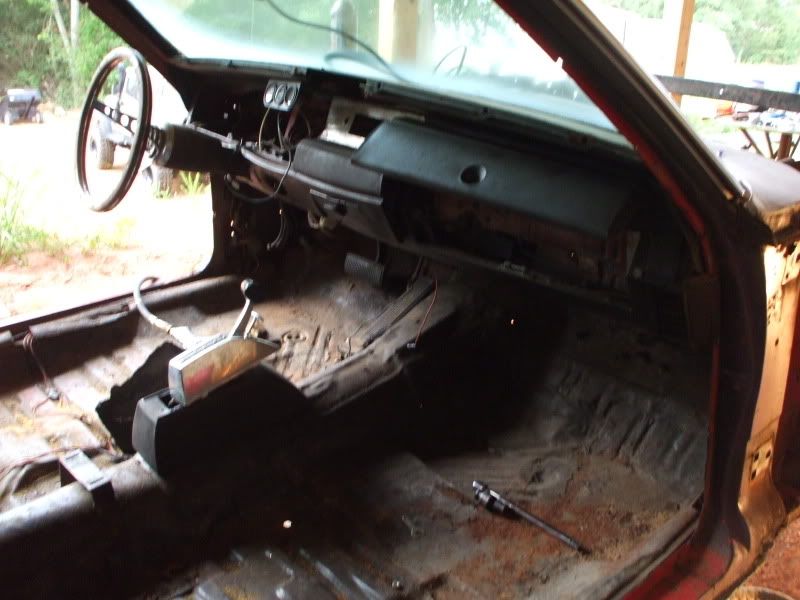
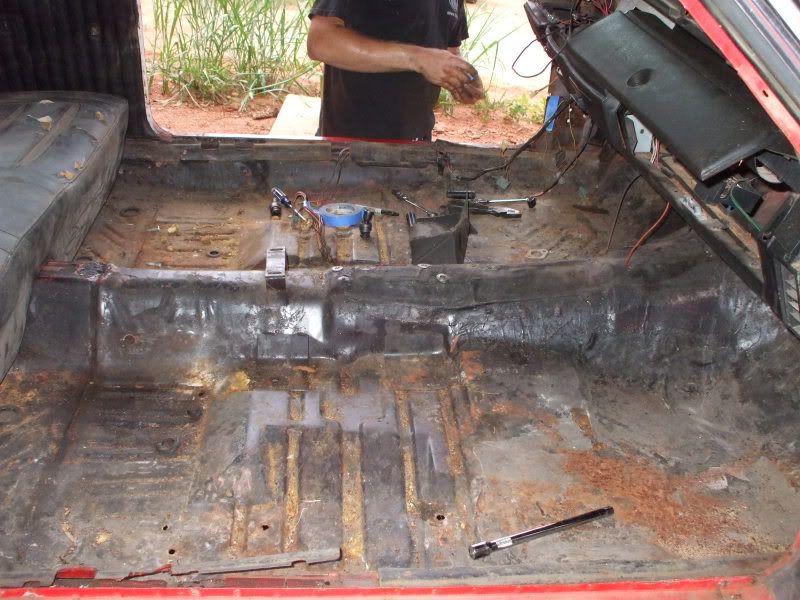
something we found under the dash that looked like it fell out of the glove box.

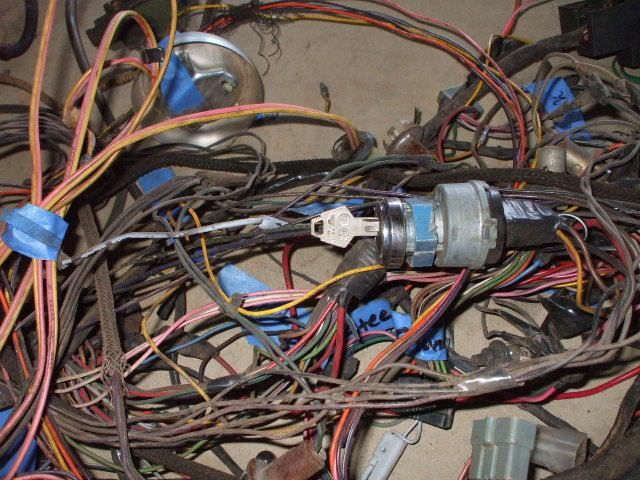
what's left of the wire harness.
start


we do have some floor pans and a few other things to replace the rusted areas. Actually this car isn't that bad.

bolt remover.

of course wrinkles has to help.


:beer:
day2 progress... sub frame out... most of the inside & wiring harness etc...
this doesn't look right...

oh, that's better...


something we found under the dash that looked like it fell out of the glove box.

what's left of the wire harness.


#2
Guest
Posts: n/a
welp day 3 of the tear down.
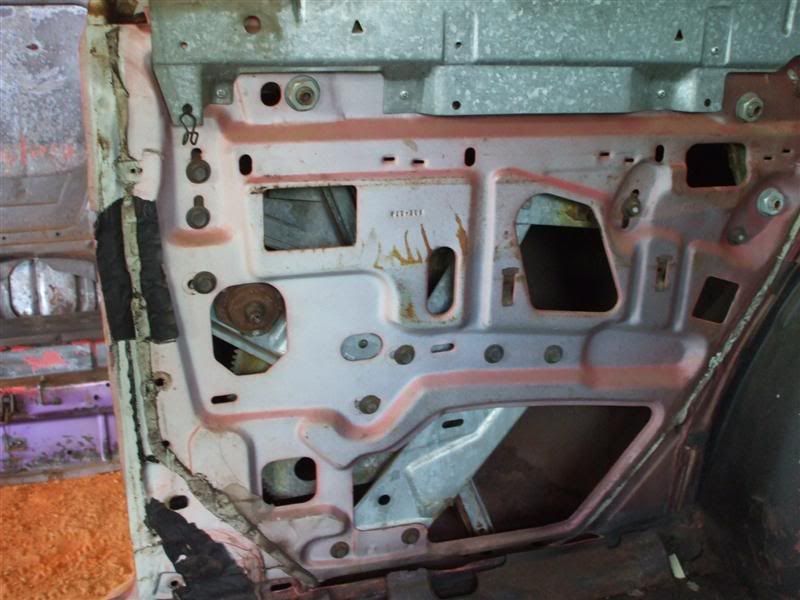
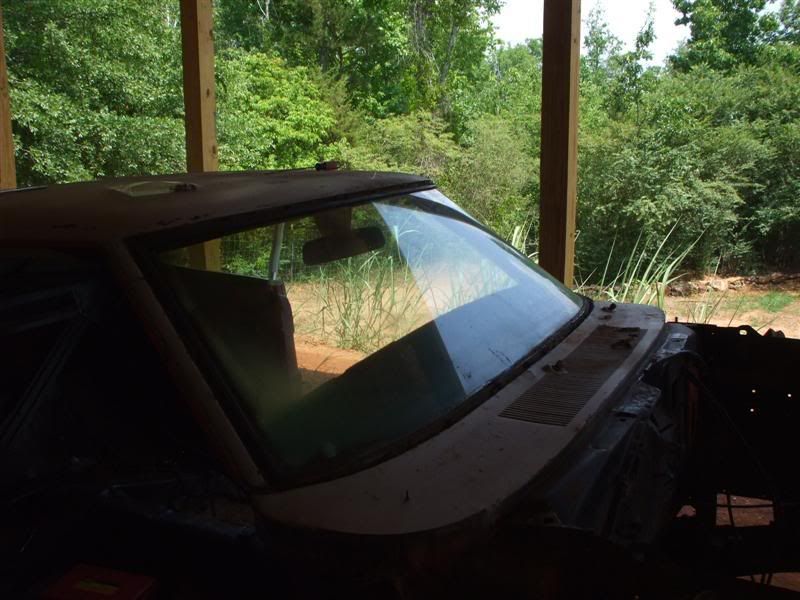
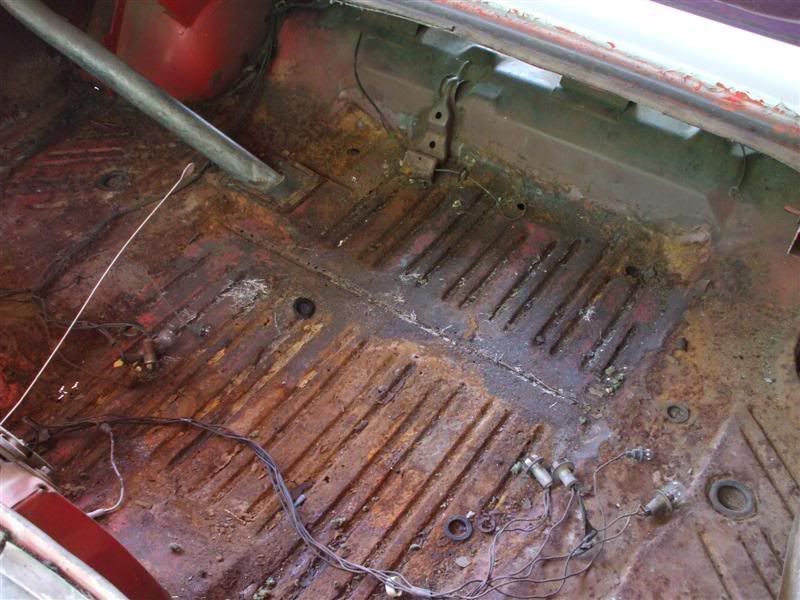
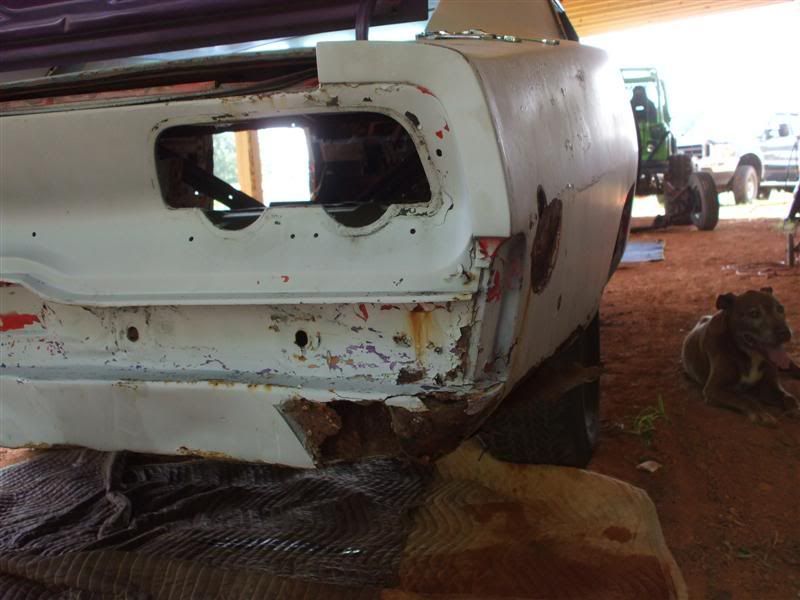
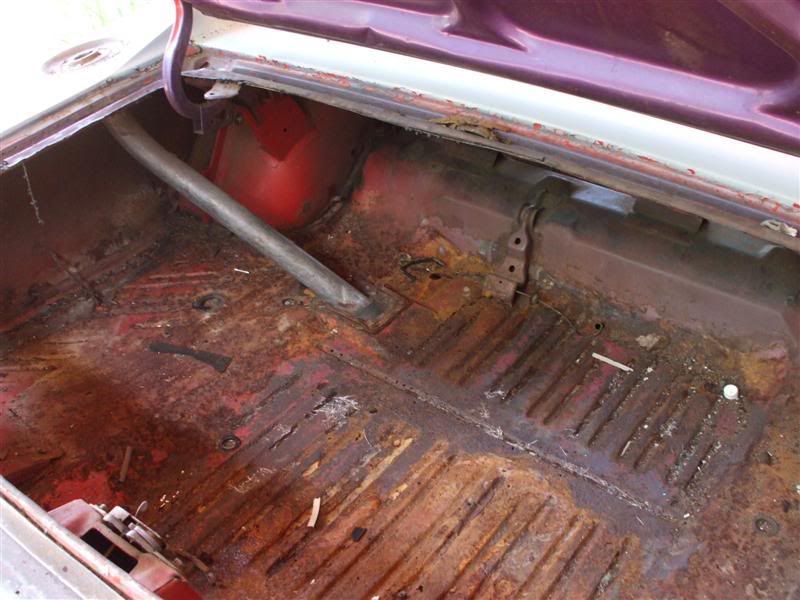
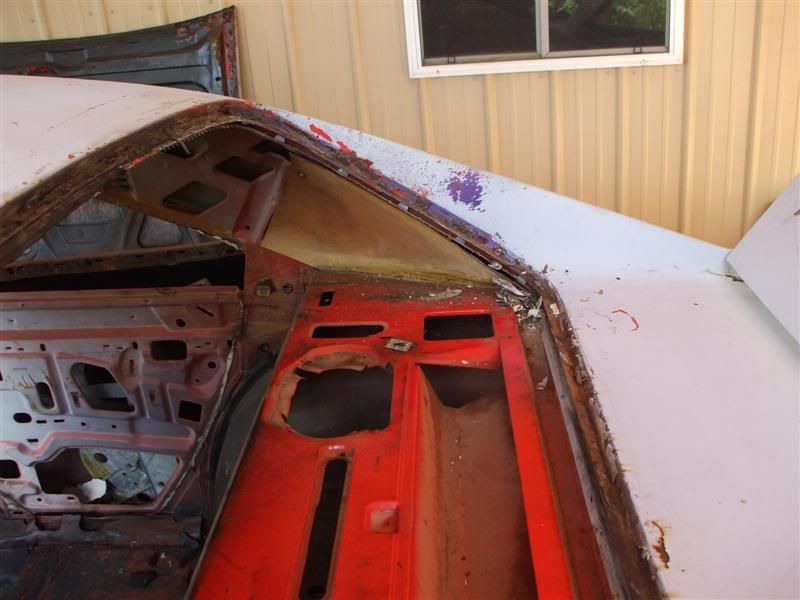
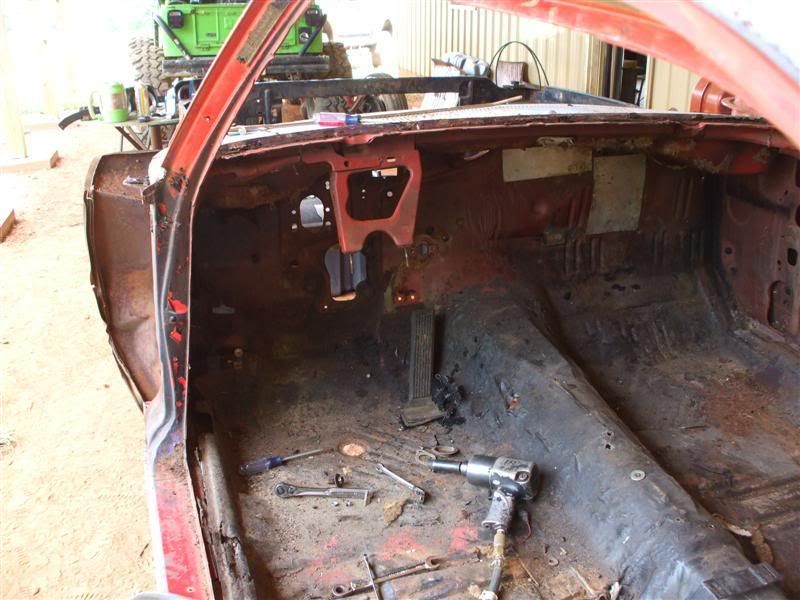
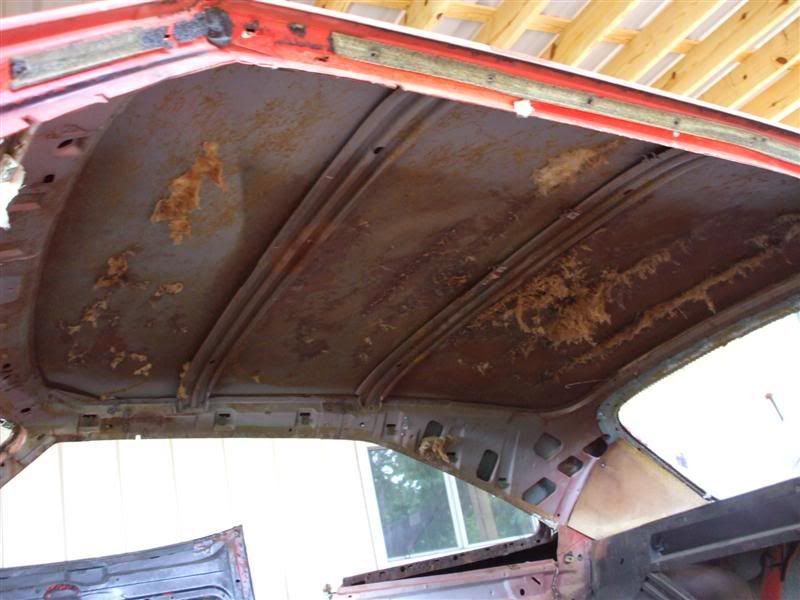
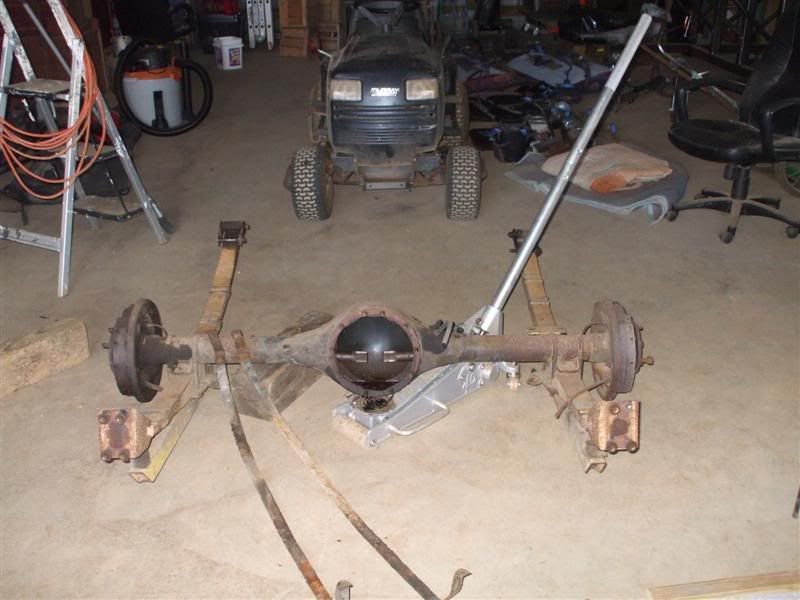
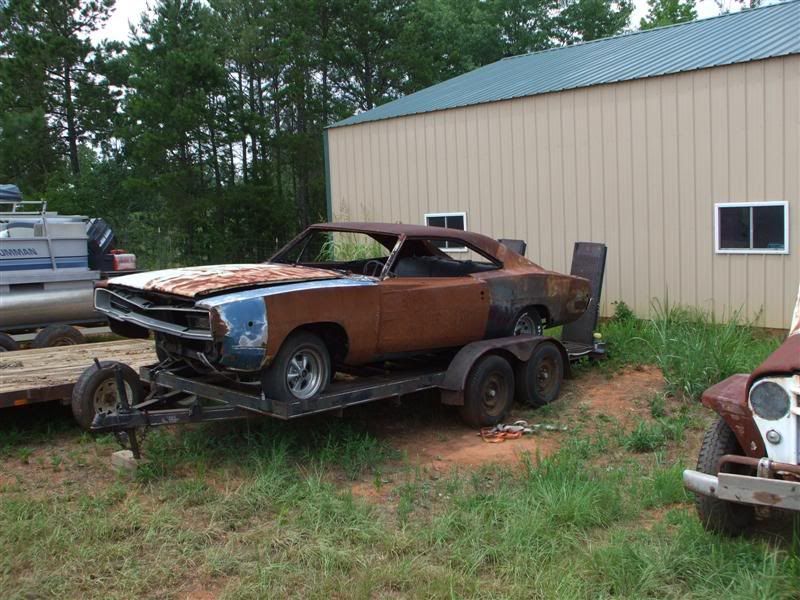
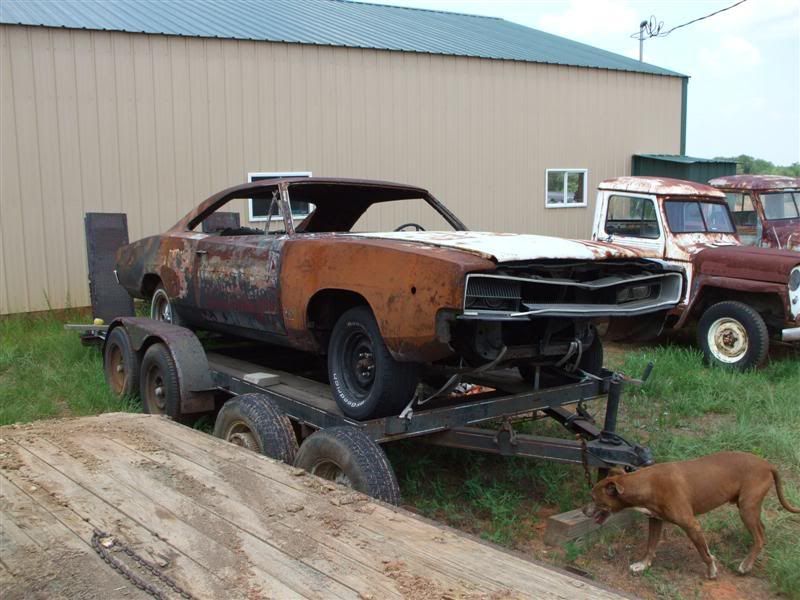
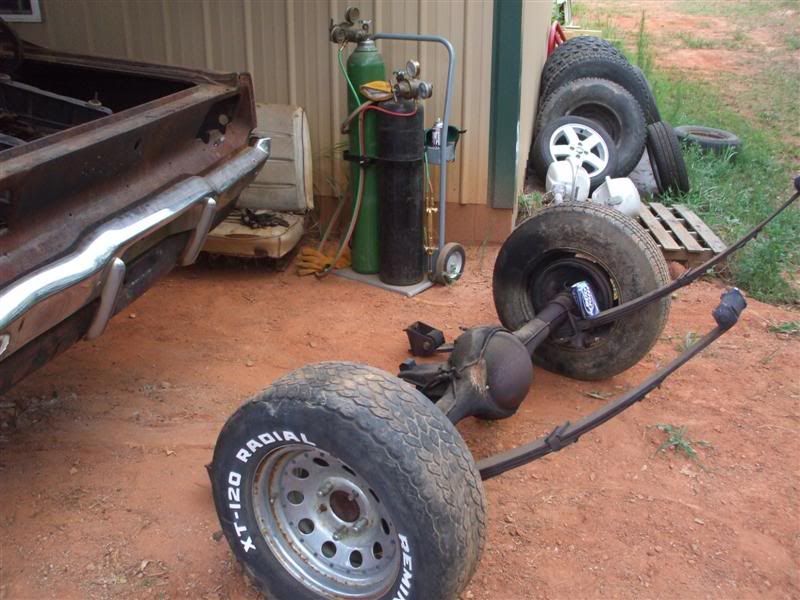
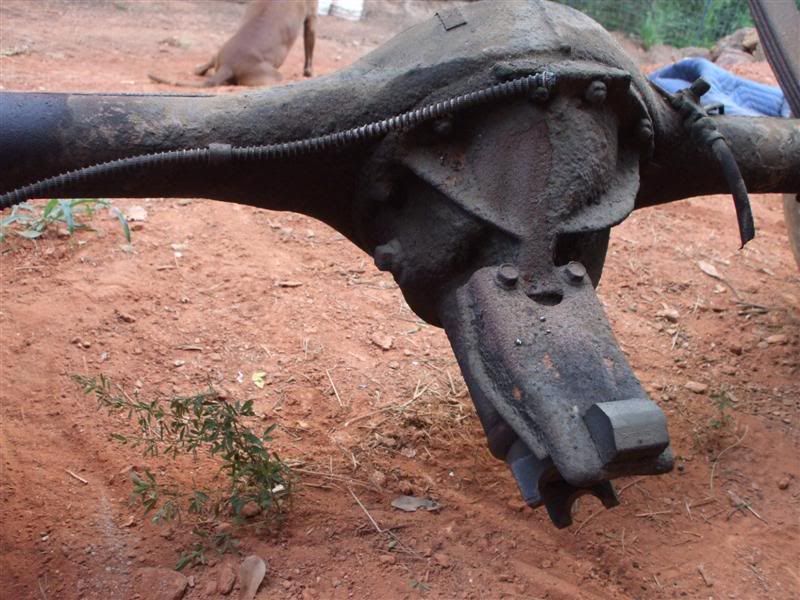
doner car. Christopher has pulling this car around for about 5 years. he got it ff of e-bay. luckily this isn't the one we are working on. yep it's a burned up car. we are going to pull parts off before it hits the crusher. complete 8 3/4 rear, and good radiator memeber that is toast on the other.
Day 4 of the tear down...
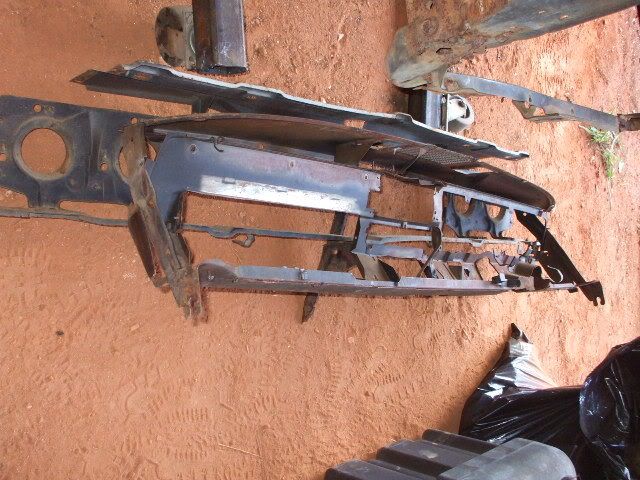
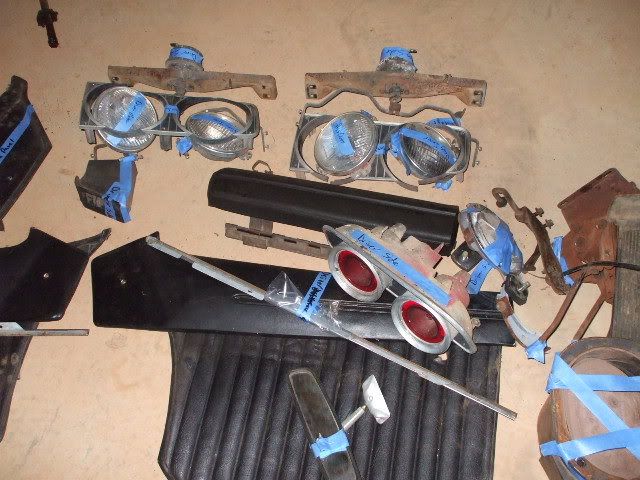
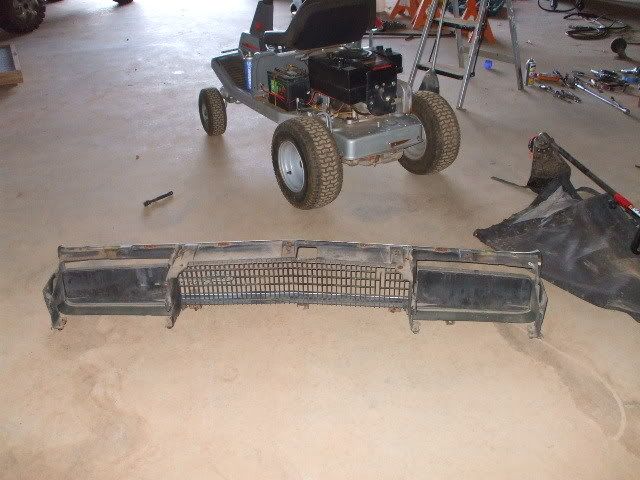
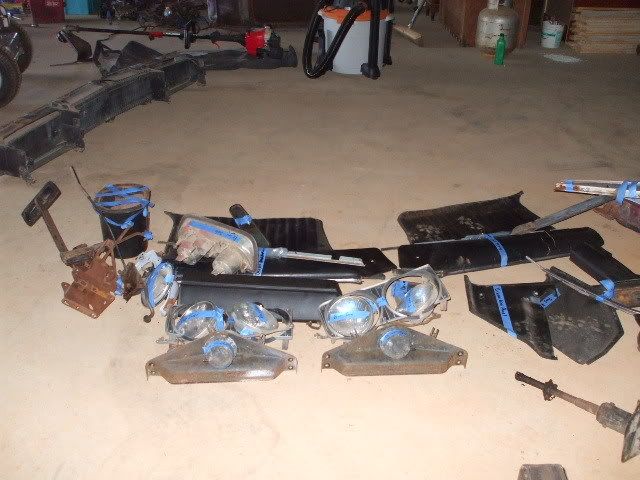
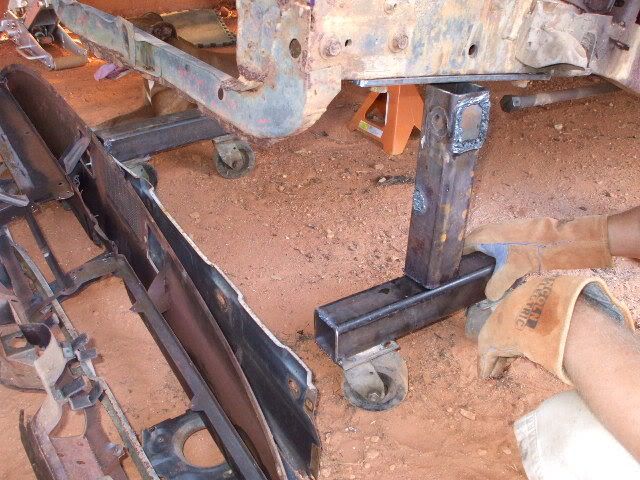


doner car. Christopher has pulling this car around for about 5 years. he got it ff of e-bay. luckily this isn't the one we are working on. yep it's a burned up car. we are going to pull parts off before it hits the crusher. complete 8 3/4 rear, and good radiator memeber that is toast on the other.


Day 4 of the tear down...


#5
Guest
Posts: n/a
Day 8
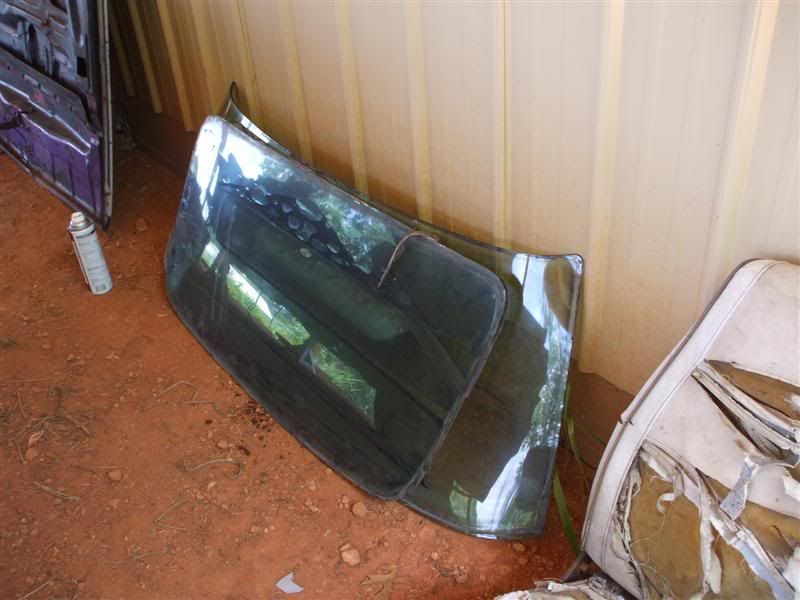
getting glass out of the doors was not a fun job.
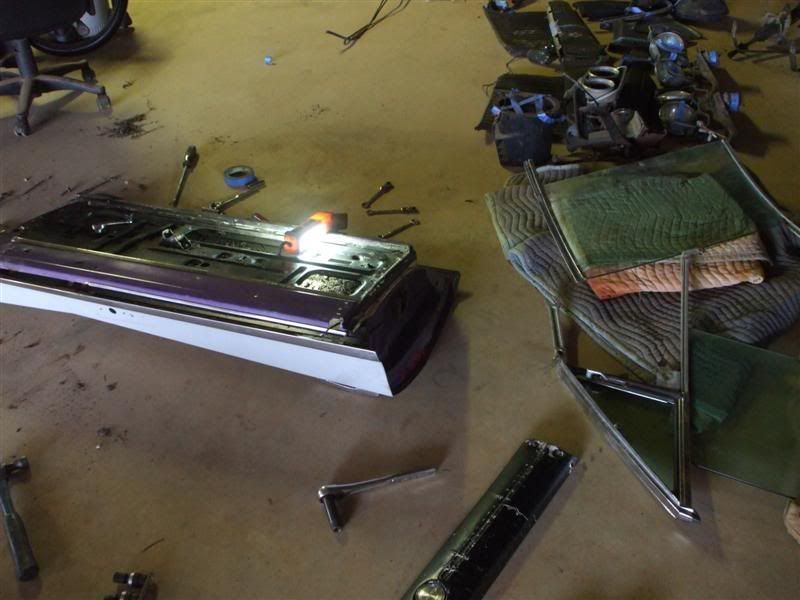
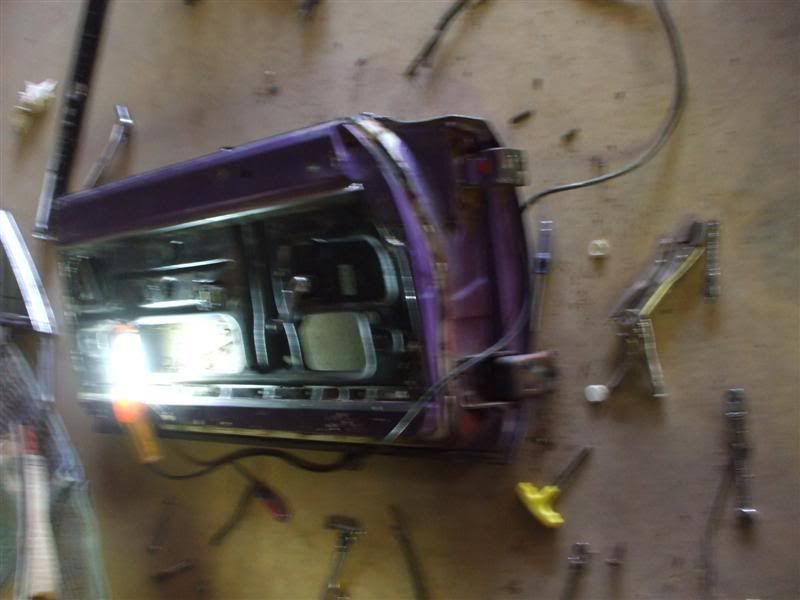
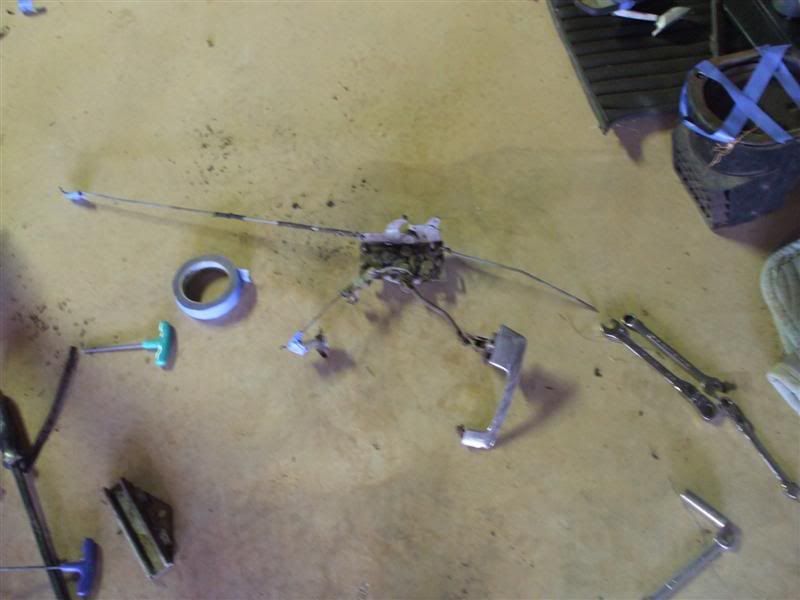
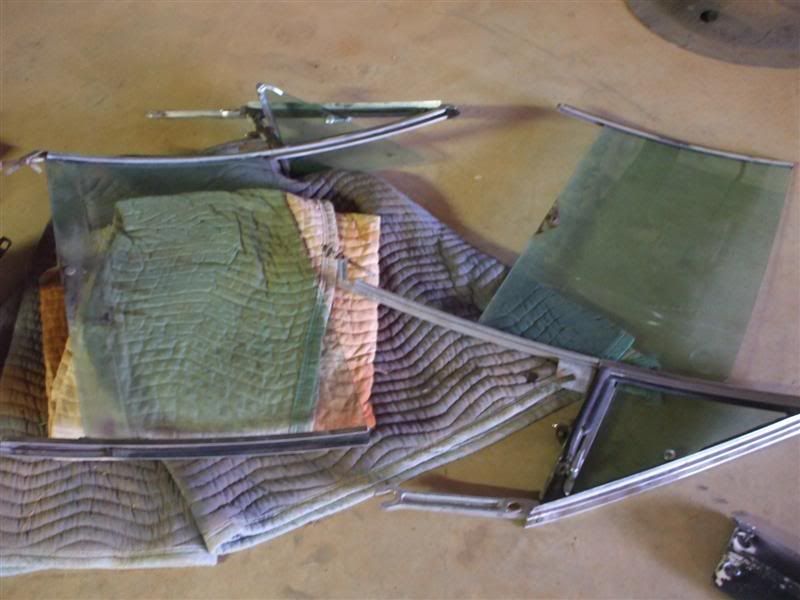
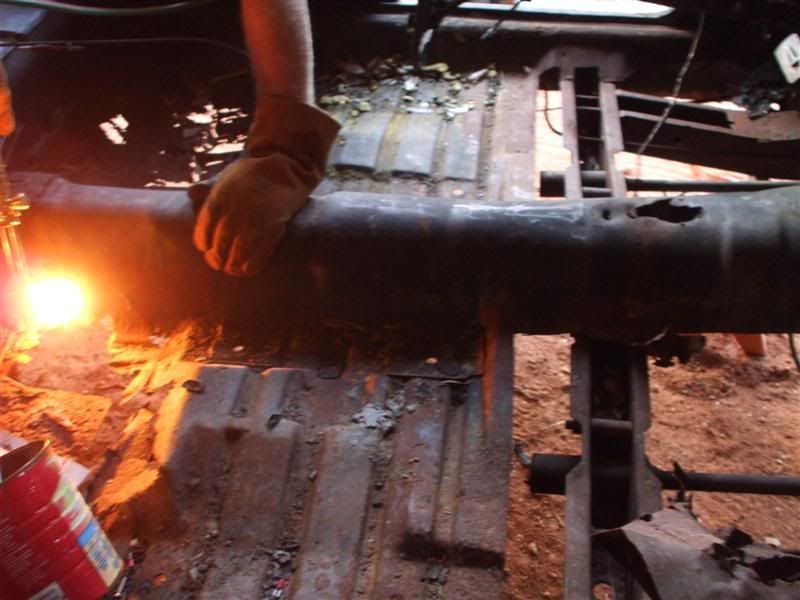
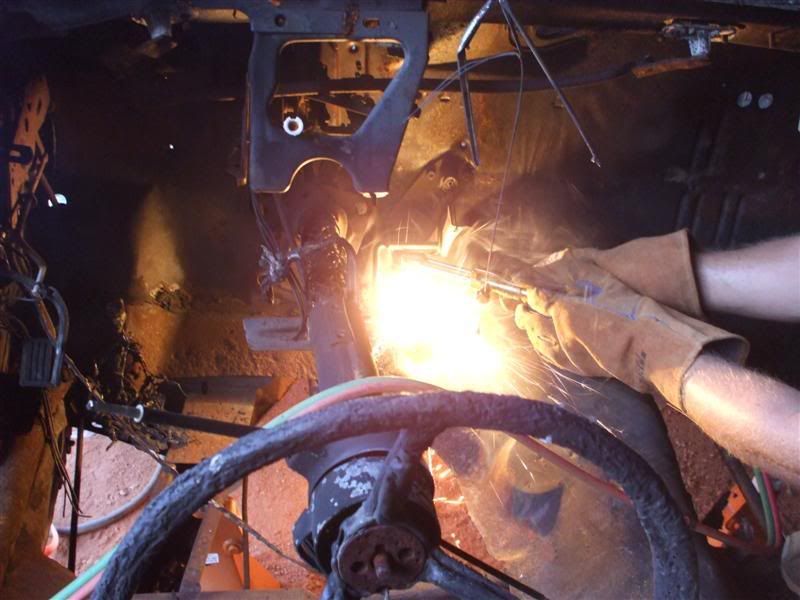
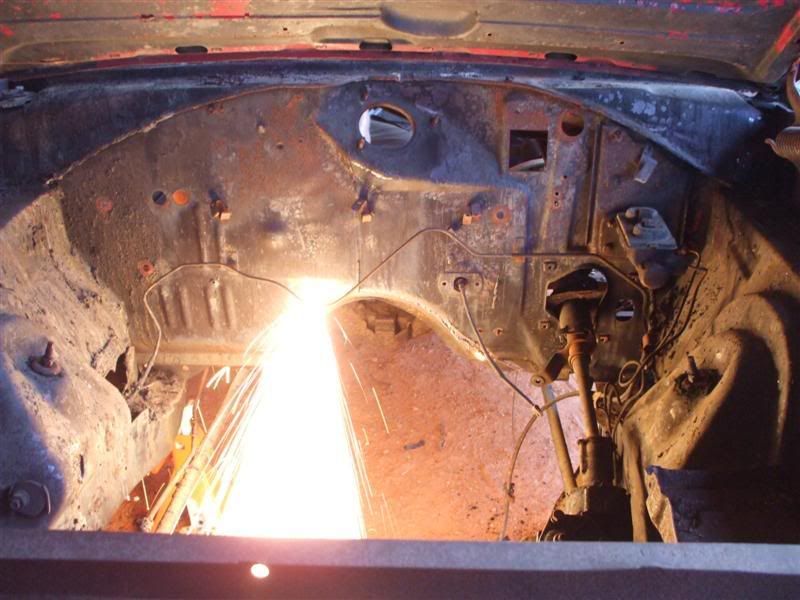
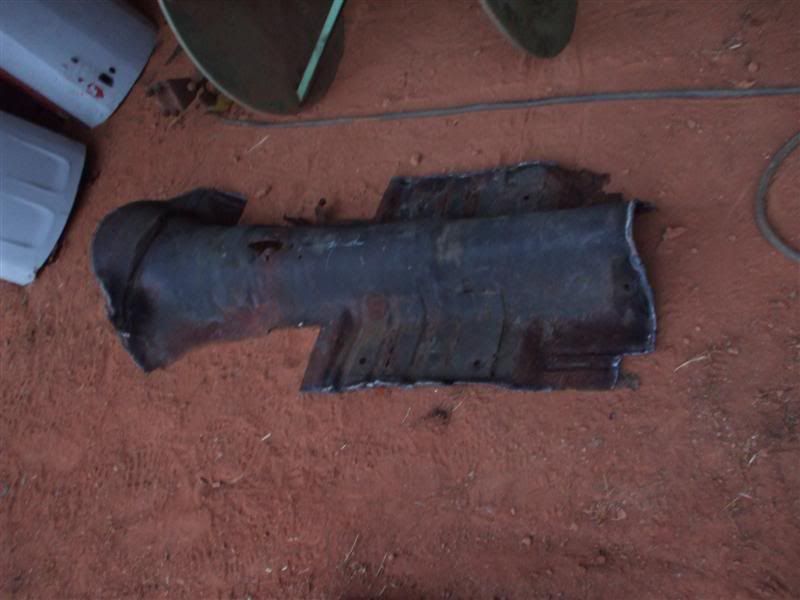
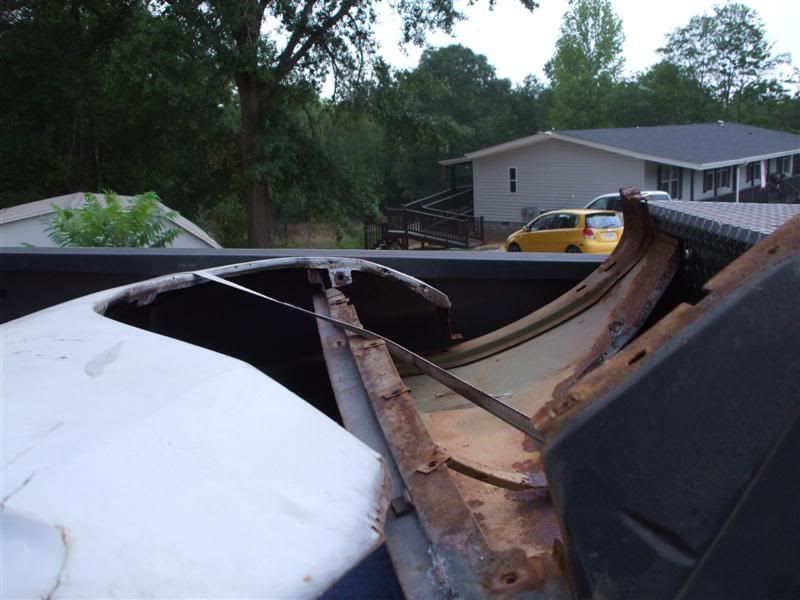
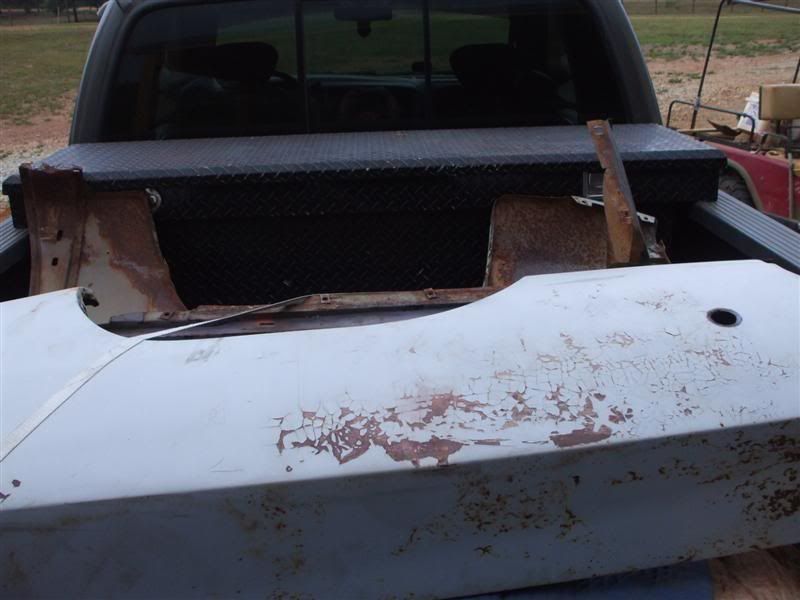
getting the parts we need from the donor
Day 9
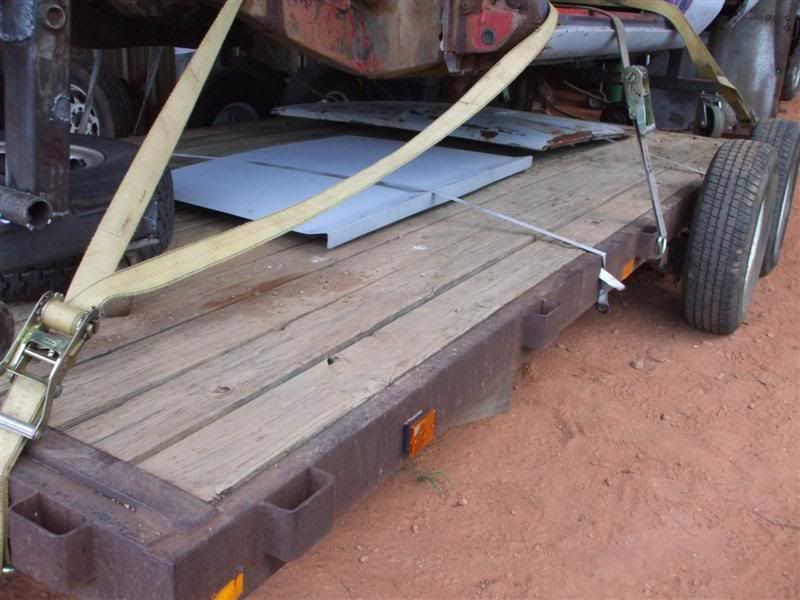
all loaded up and ready to go to the blaster
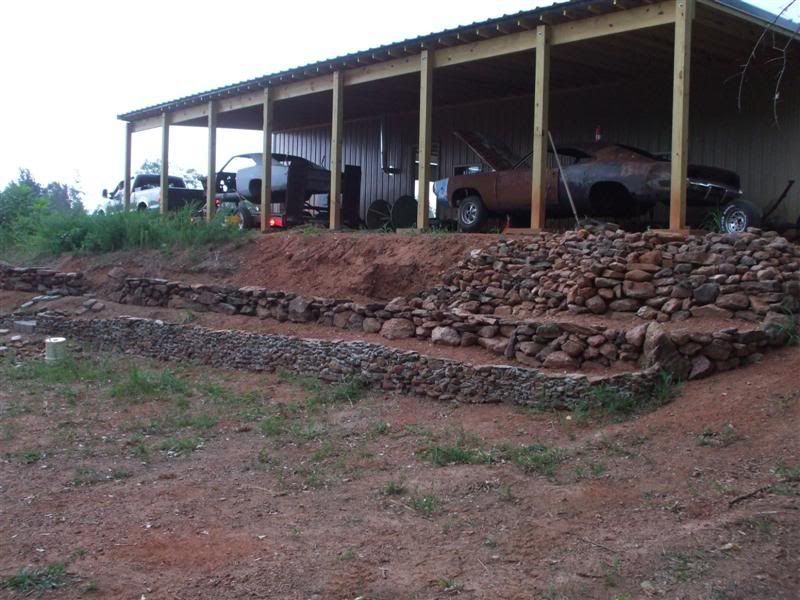
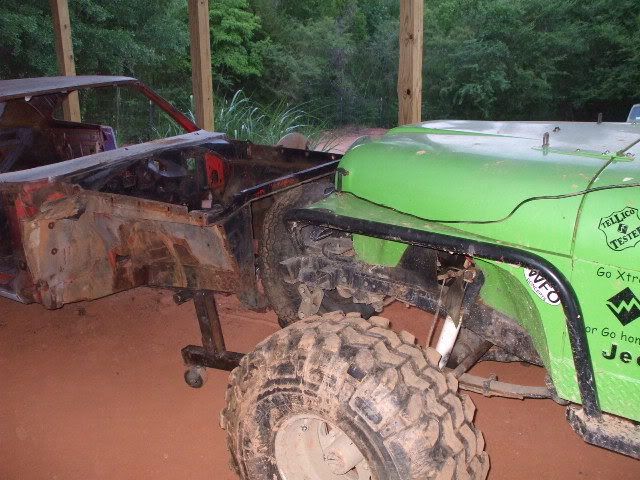
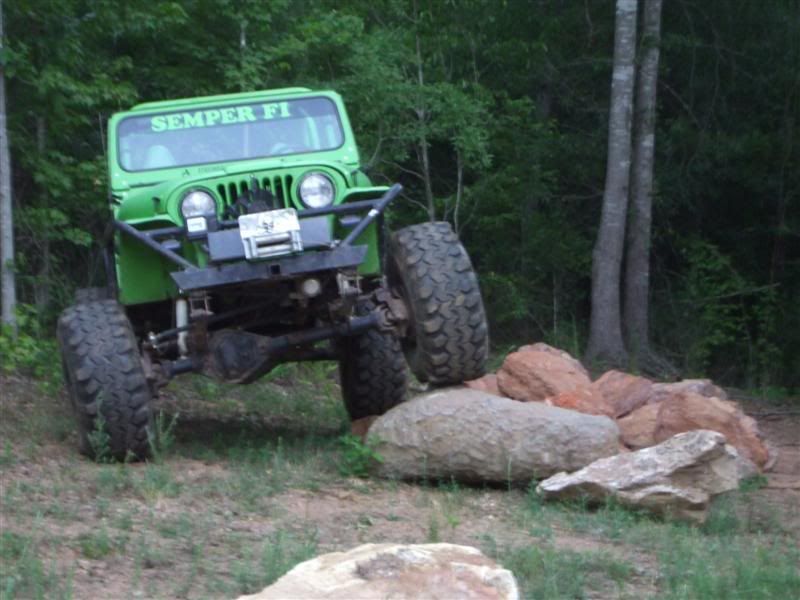
80 cj5 playing on our little rock garden
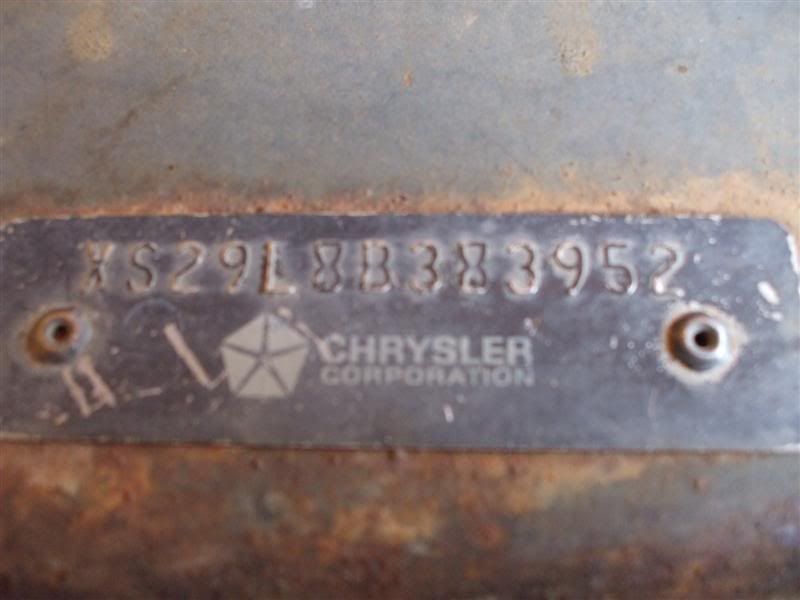
the vin #

the fender tag
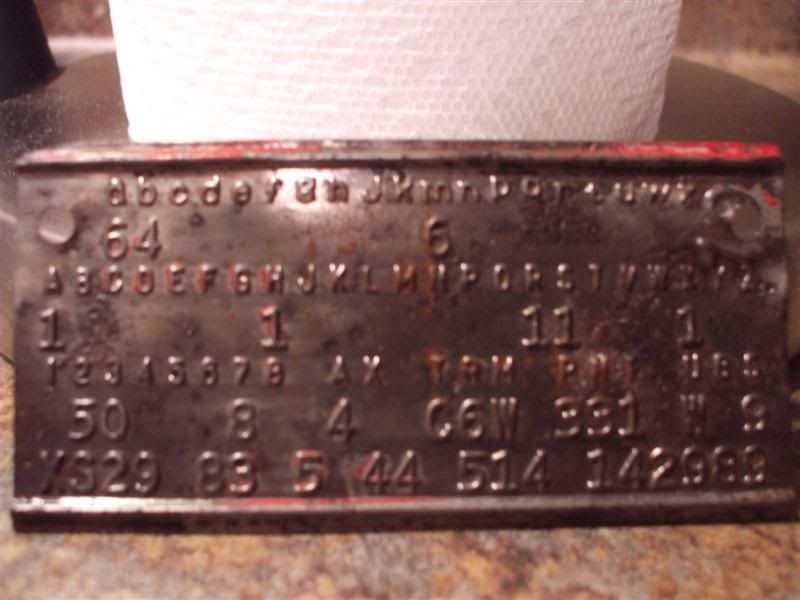
a6 = console
b4 = bucket seats
m6 = driver's outside remote operated mirror
A1 = 26" radiator
H1 = power brakes
R1 = am radio
S1 = A/C
X1 = tinted glass
2-5 = drip rail moldings
3-0 = body belt moldings
7-8 = wheel lip molding
AX-4 = 3.23 ratio
TRM = C - Charger
6 - Vinyl bucket seats
w - white & black inside colors
PNT = 3 charger red
3 charger red
1 monotone
U = W - White horizontal
P
S = 9 - Stripe deleted
XS29 = Charger, RT, 2 Door Hard Top
83 = 440 4bbl hp
5 = 3 sp Auto
44 = F70 X 14 red lines steel belted tires
514 = May 14 1968 Hamtramck, MI
142989 is the matching number.
getting glass out of the doors was not a fun job.


getting the parts we need from the donor


Day 9
all loaded up and ready to go to the blaster


80 cj5 playing on our little rock garden

the vin #

the fender tag

a6 = console
b4 = bucket seats
m6 = driver's outside remote operated mirror
A1 = 26" radiator
H1 = power brakes
R1 = am radio
S1 = A/C
X1 = tinted glass
2-5 = drip rail moldings
3-0 = body belt moldings
7-8 = wheel lip molding
AX-4 = 3.23 ratio
TRM = C - Charger
6 - Vinyl bucket seats
w - white & black inside colors
PNT = 3 charger red
3 charger red
1 monotone
U = W - White horizontal
P
S = 9 - Stripe deleted
XS29 = Charger, RT, 2 Door Hard Top
83 = 440 4bbl hp
5 = 3 sp Auto
44 = F70 X 14 red lines steel belted tires
514 = May 14 1968 Hamtramck, MI
142989 is the matching number.
#7
Guest
Posts: n/a
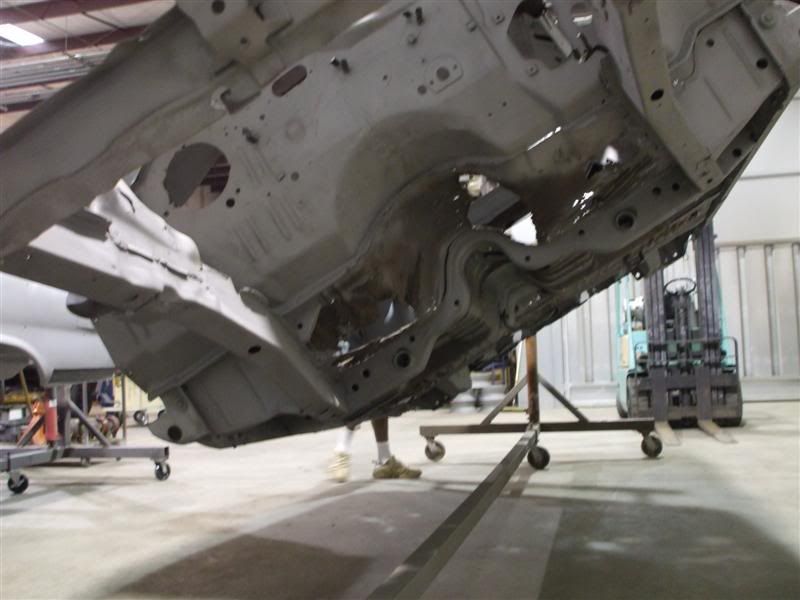
car is at the blasters...
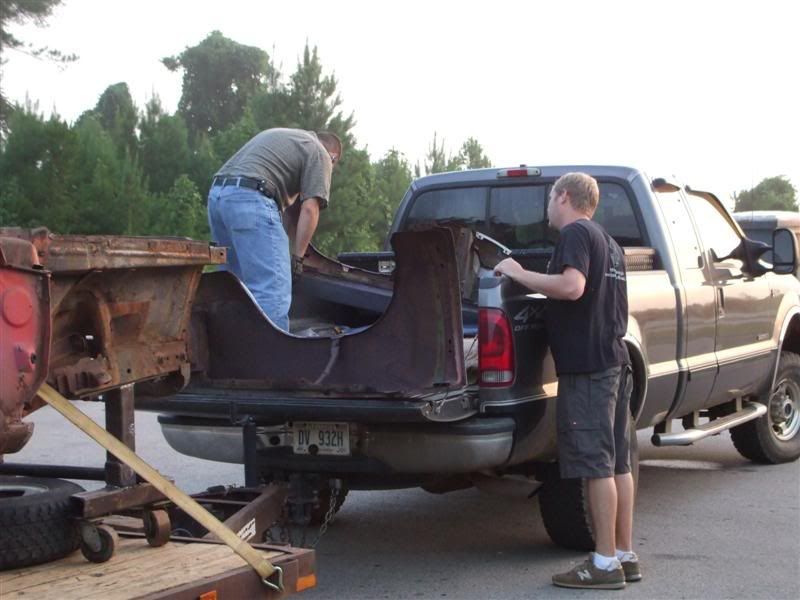
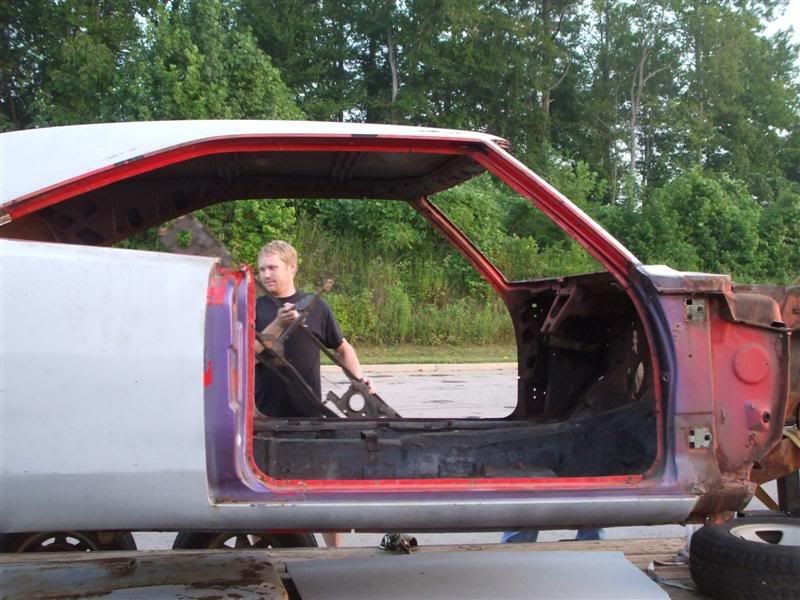
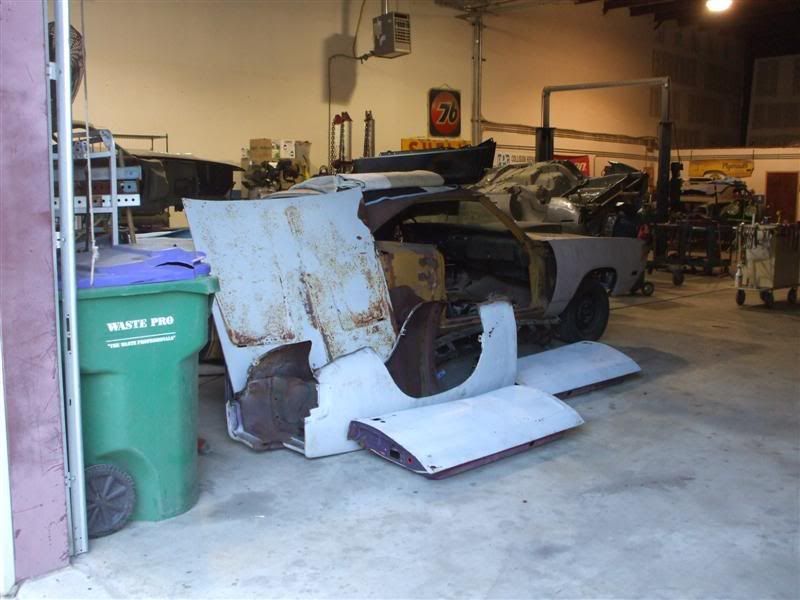
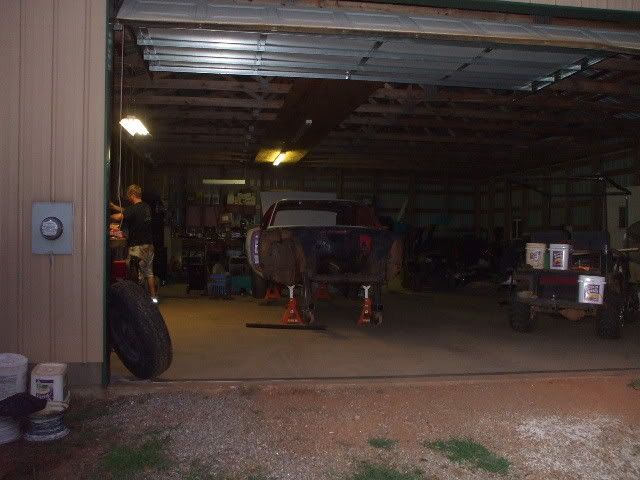
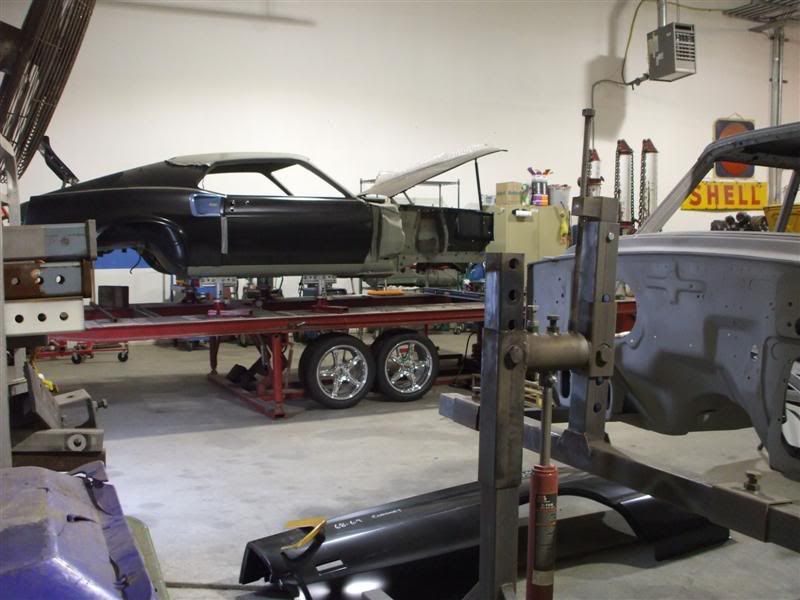
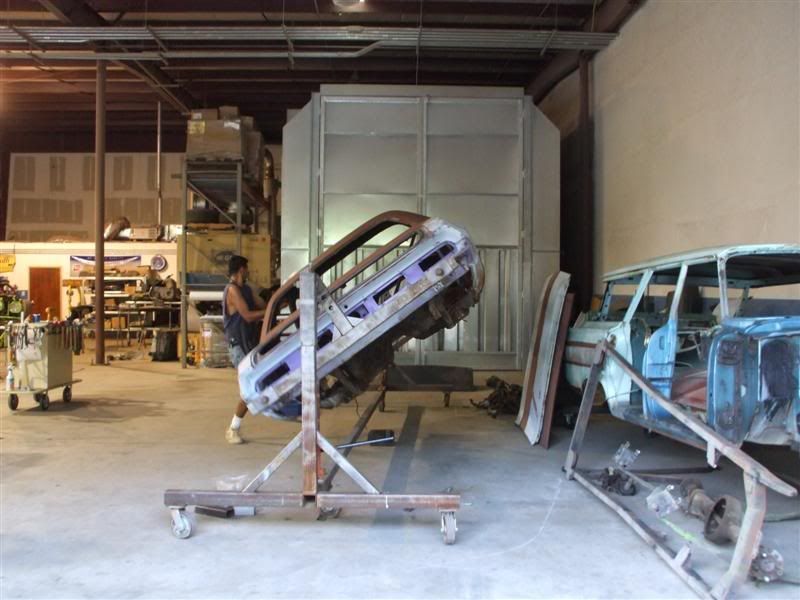
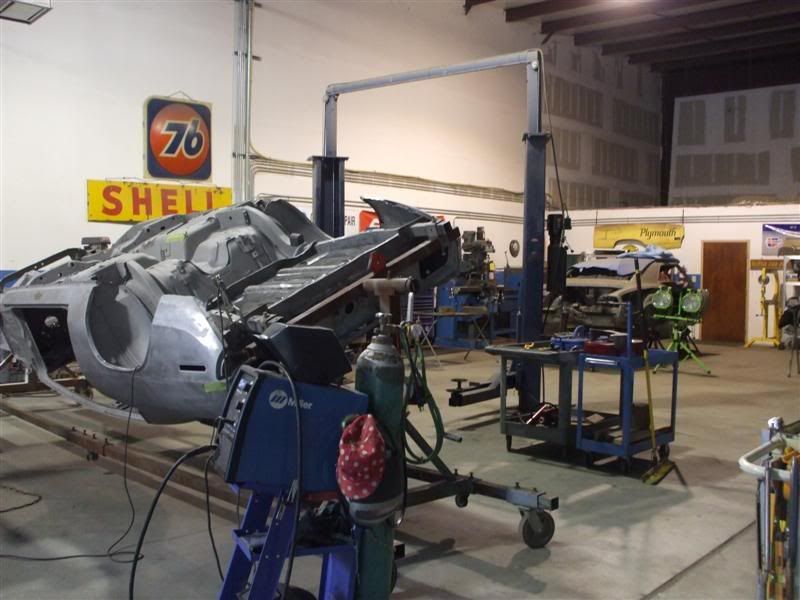
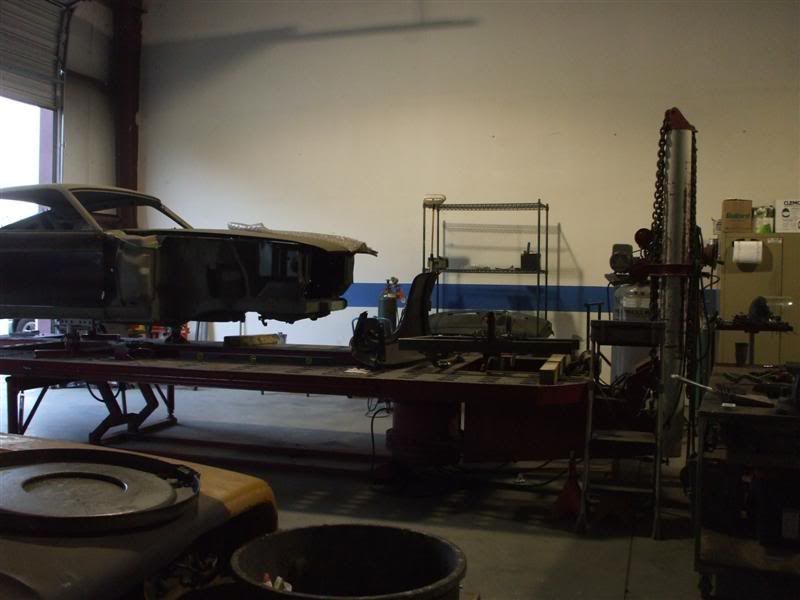
pics of the guys shop. very clean and organized.
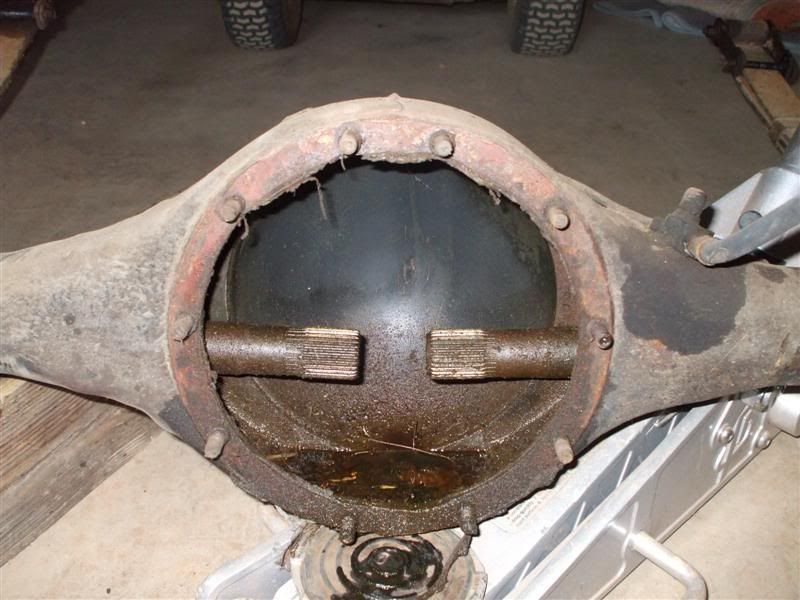
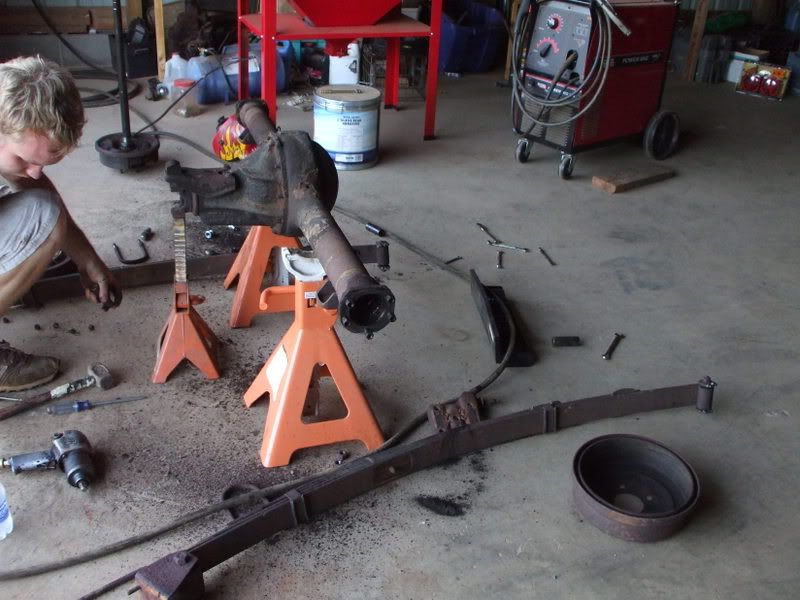
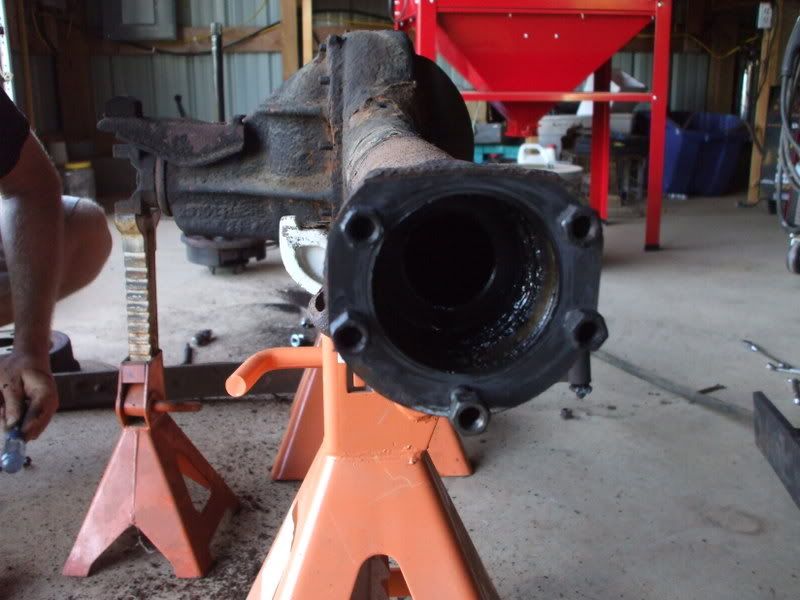
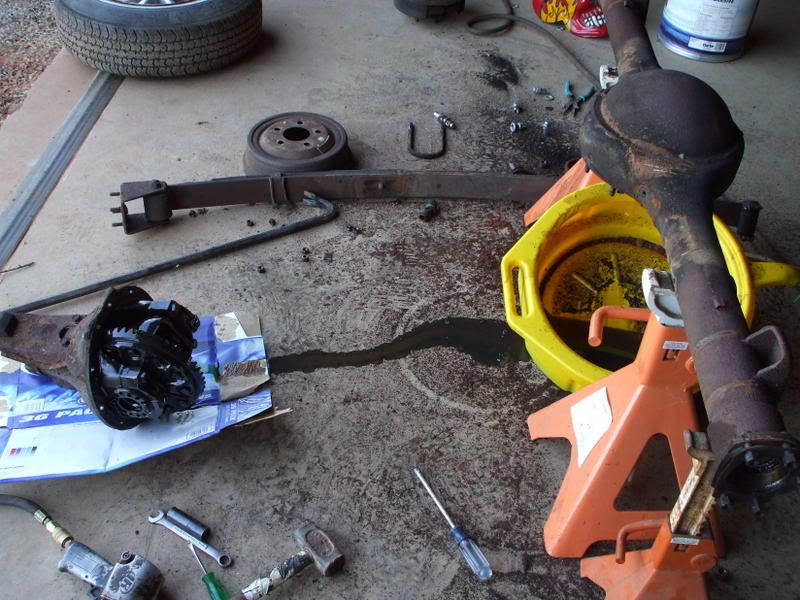
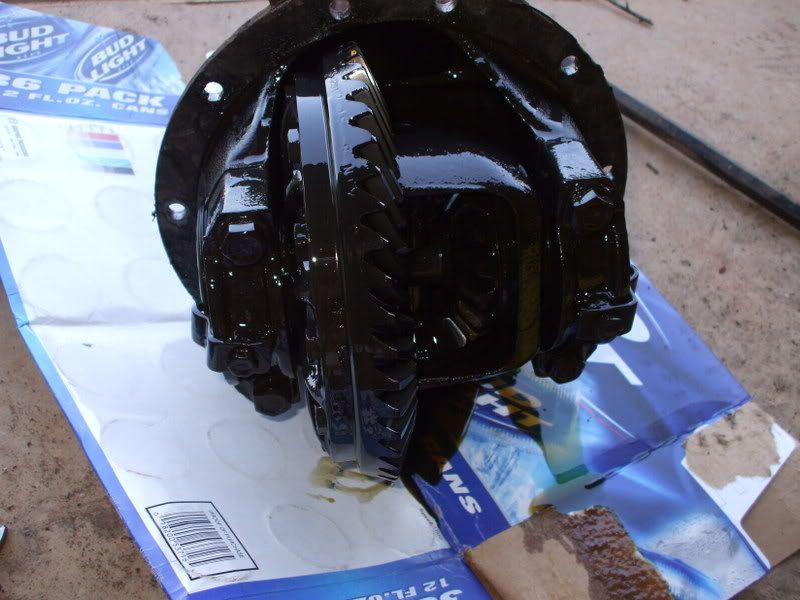
got the doner axle apart and the gears will be changed. they are 2.76's
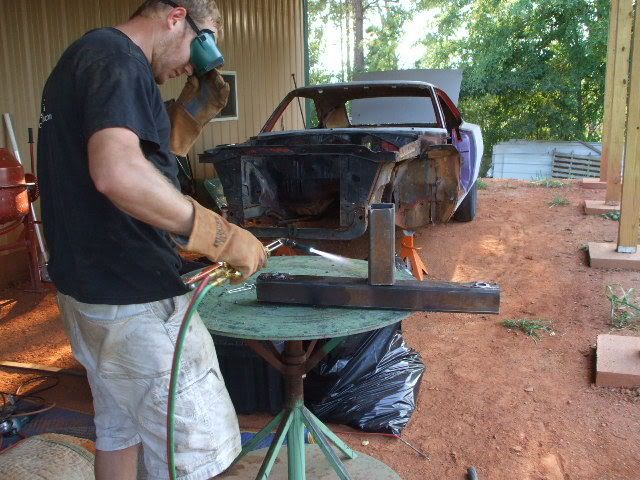
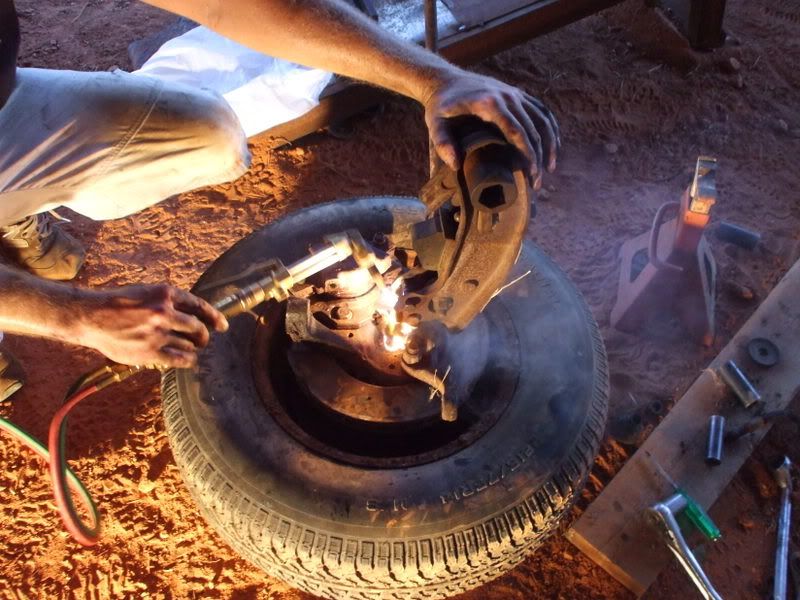
had to use the heat on the front drivers side.
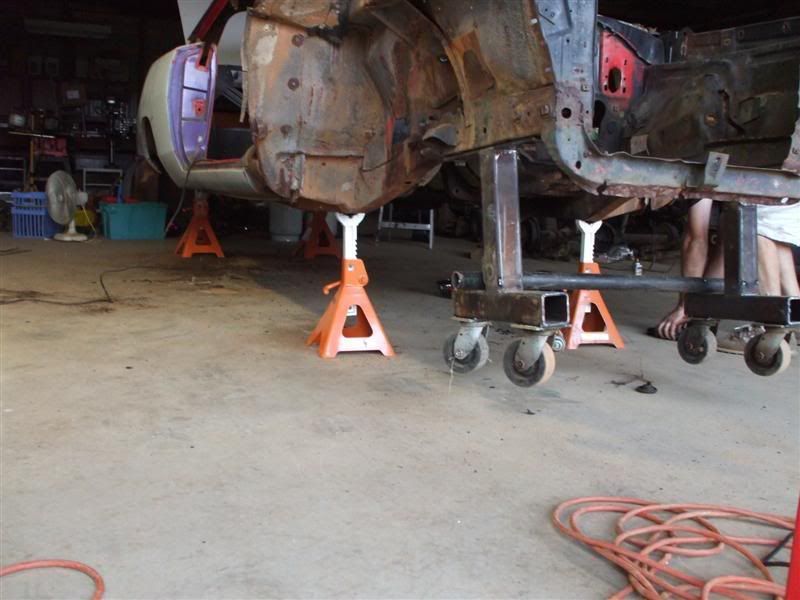
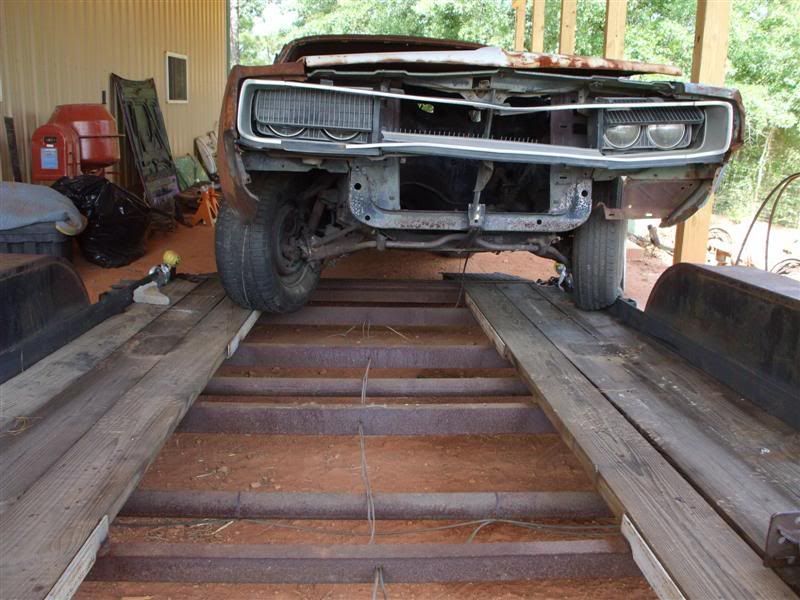
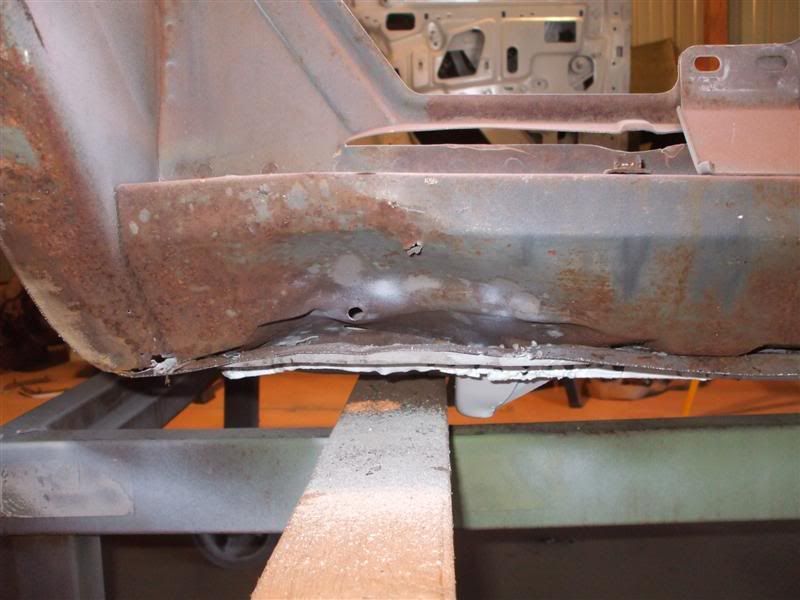
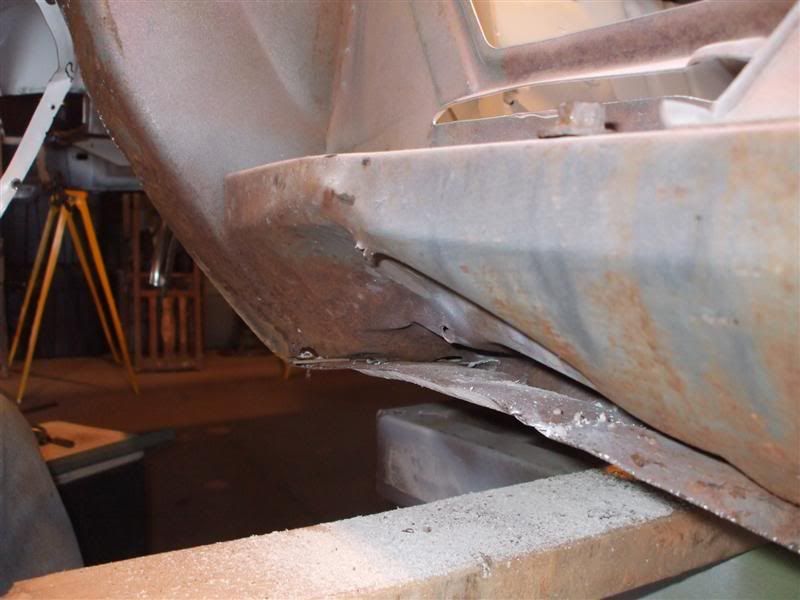
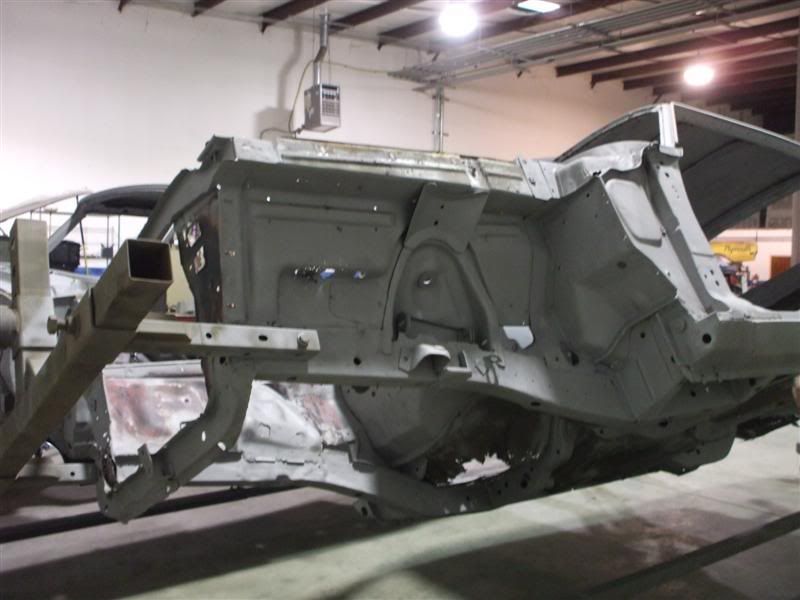
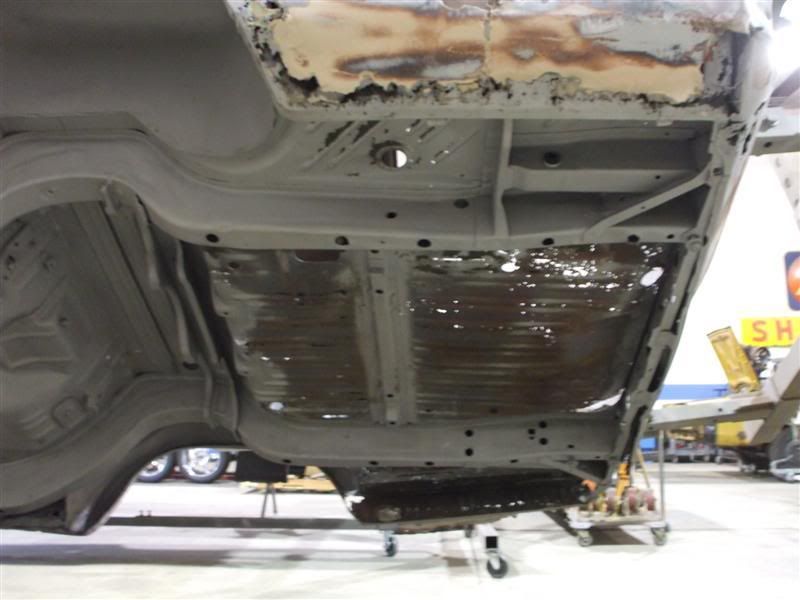
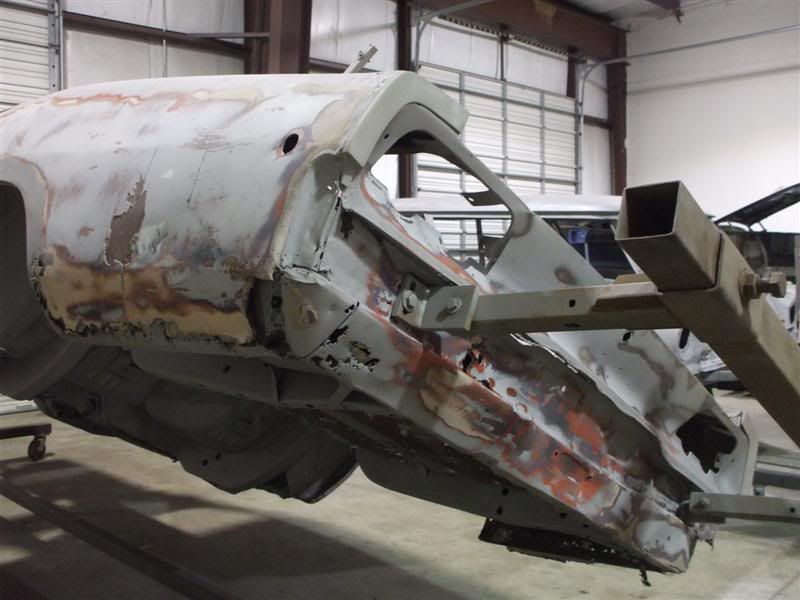
not much lately, the car is at the blaster still. little front end damage and she's gotta go on the stretcher.
look at the other frame rail, you'll see the dimples.
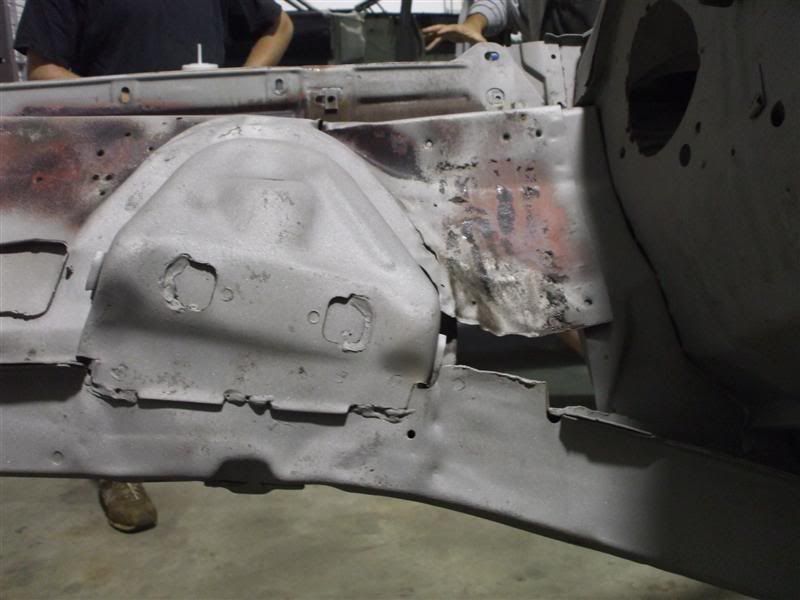
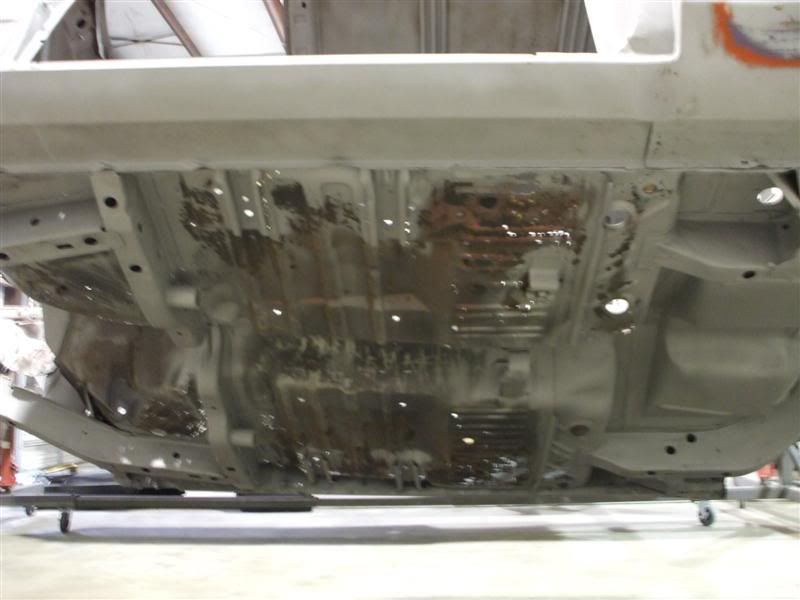
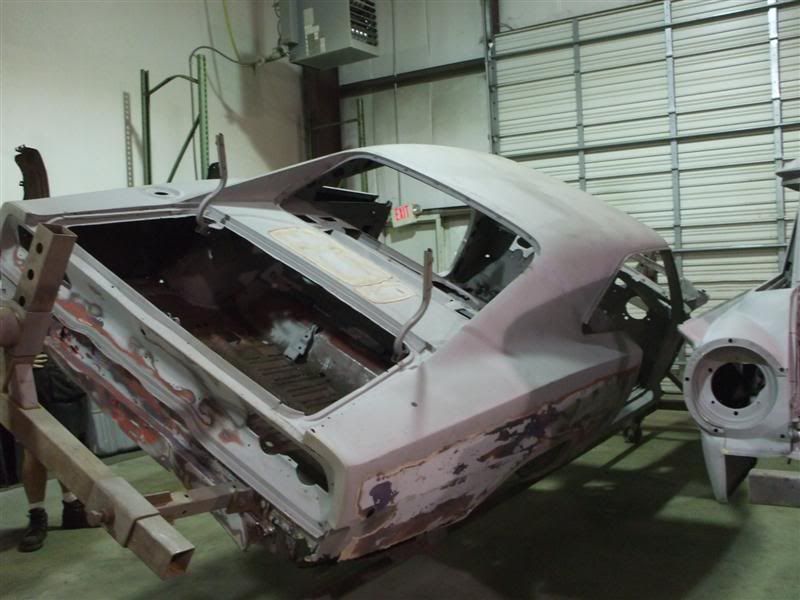
it's amazing how much the cancer sticks out when it gets cleaned up.
trunk
floor pan
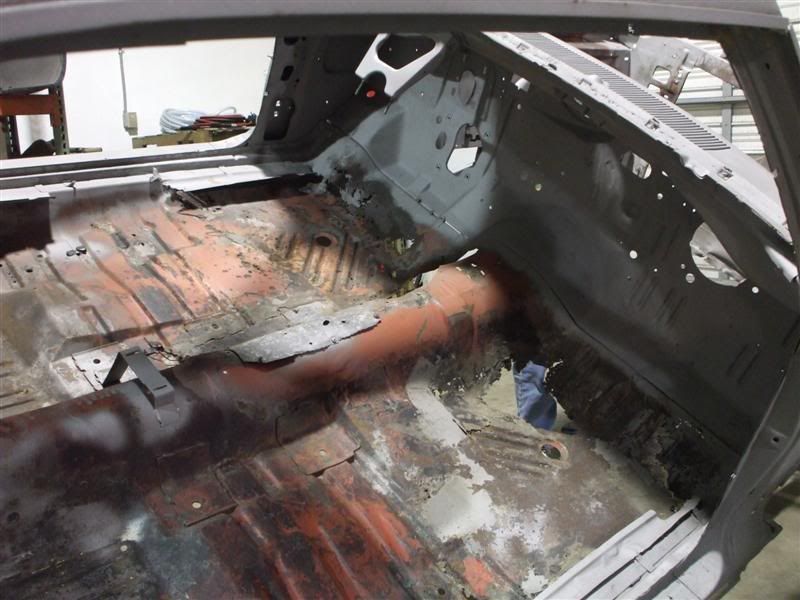


pics of the guys shop. very clean and organized.


got the doner axle apart and the gears will be changed. they are 2.76's


had to use the heat on the front drivers side.

not much lately, the car is at the blaster still. little front end damage and she's gotta go on the stretcher.
look at the other frame rail, you'll see the dimples.


it's amazing how much the cancer sticks out when it gets cleaned up.
trunk

floor pan


#10
Hats off to you
WOW MY HATS off to you , you are doing it right may take some time but it will be worth it in the long haul , im very impressed and hope you share the upcoming transformation with us.....Im sure your boy will be tickled and happy 

#11
Guest
Posts: n/a
well got some updates.
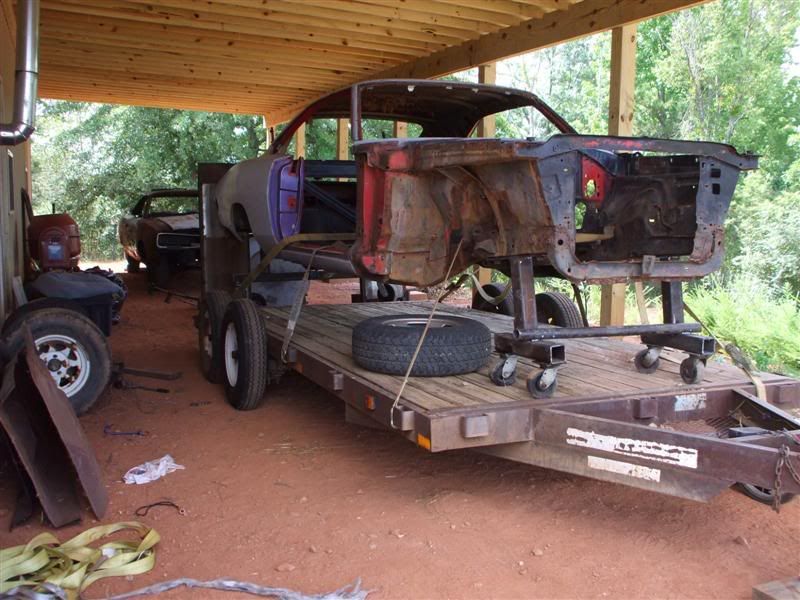
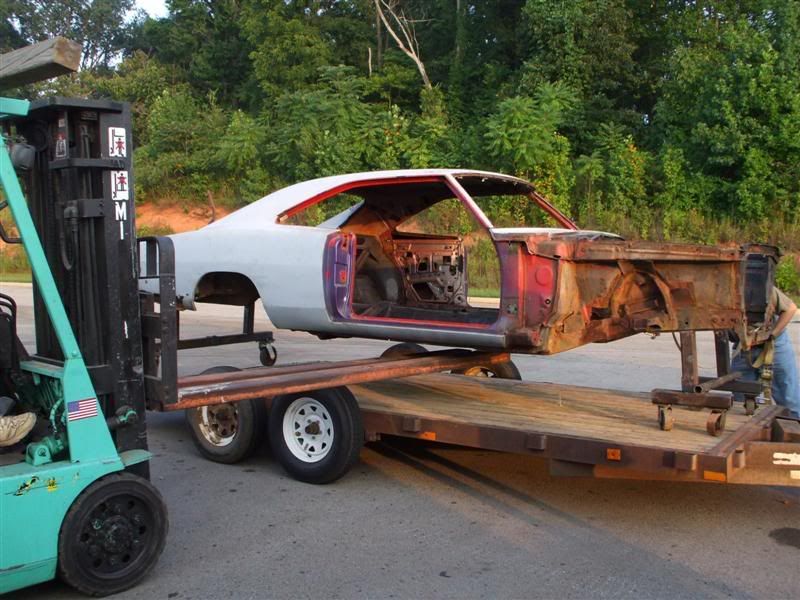
picking it up from the shop.
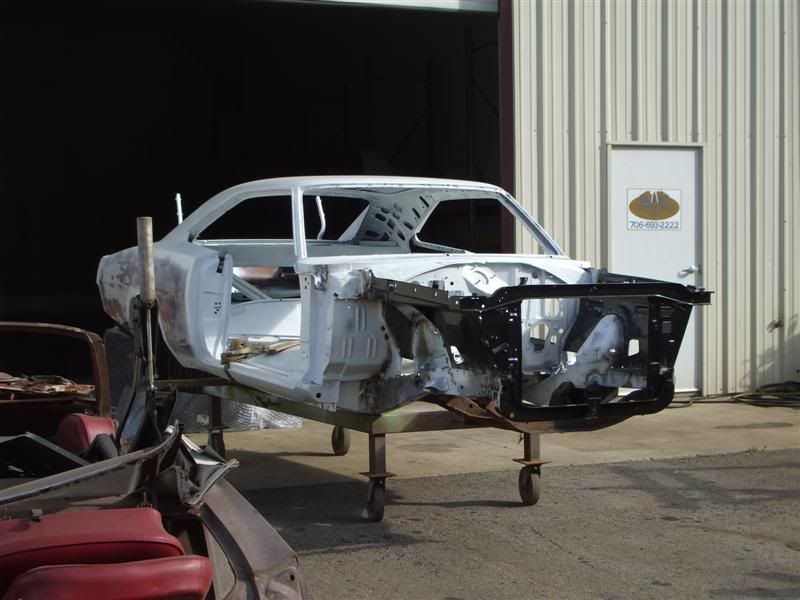
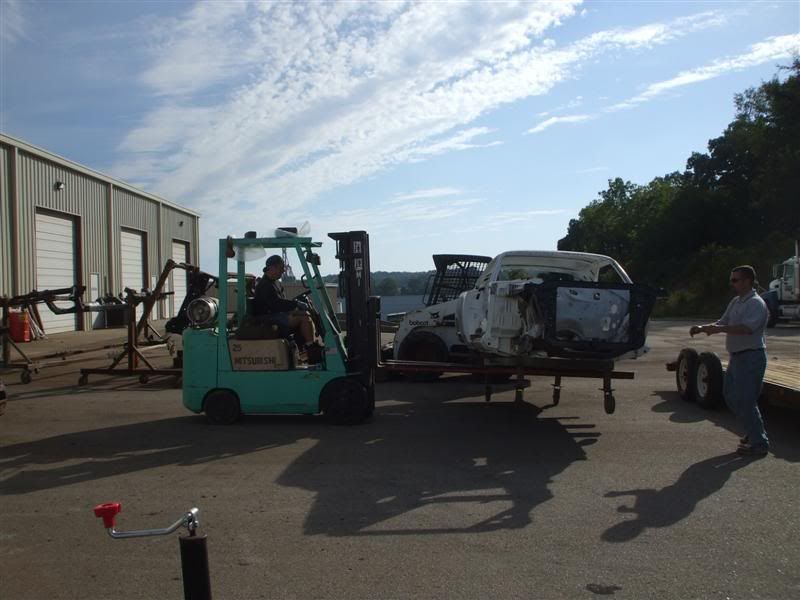
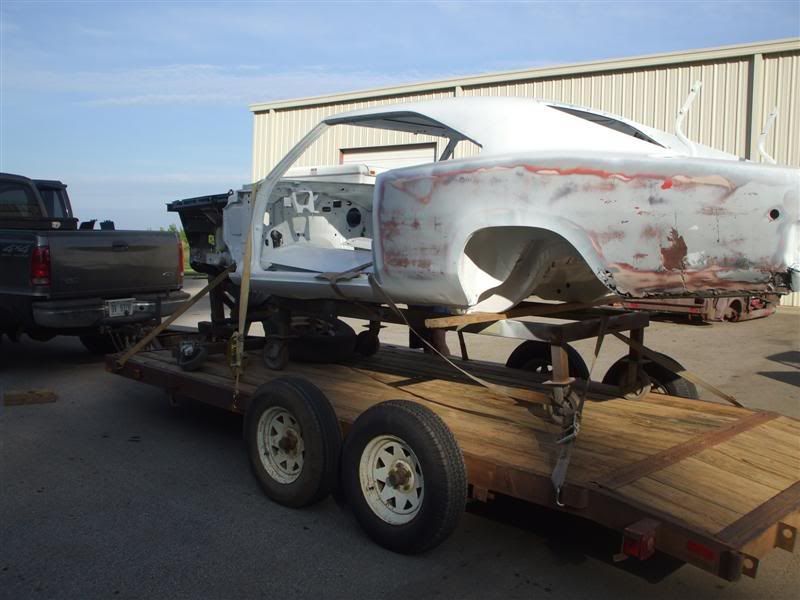
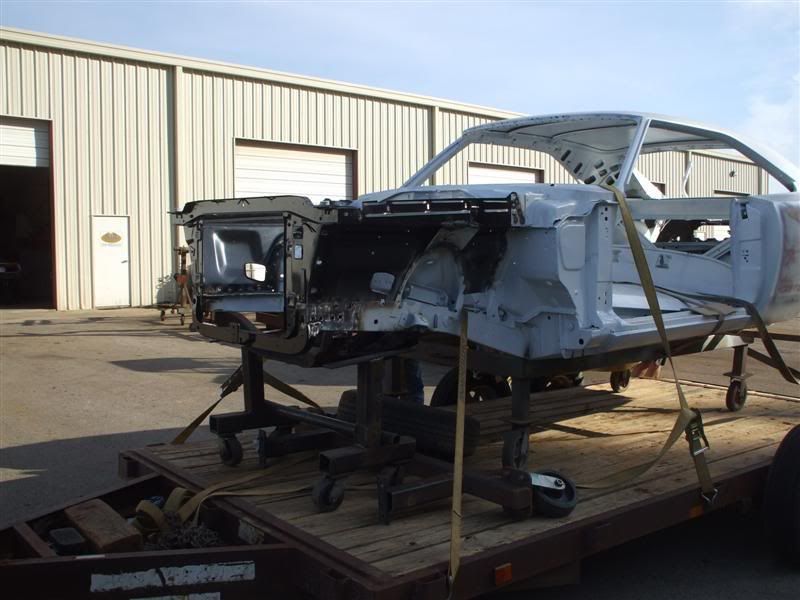
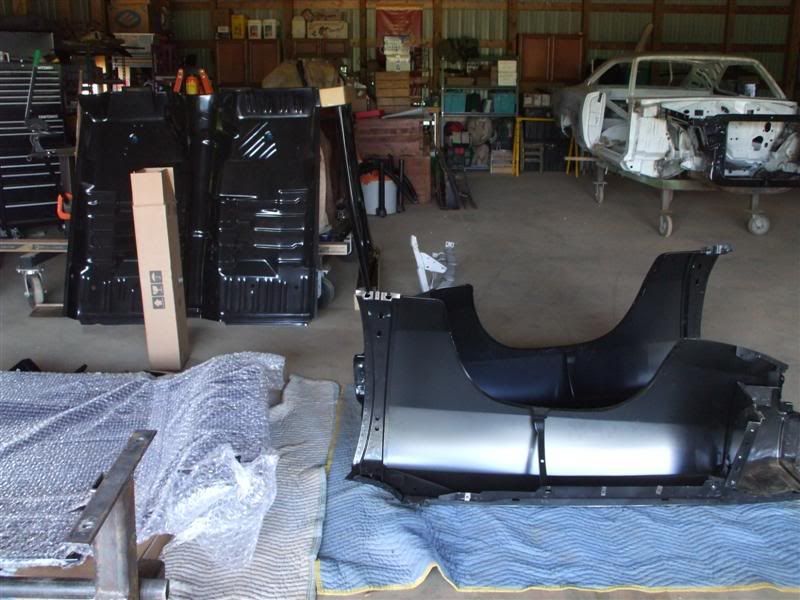
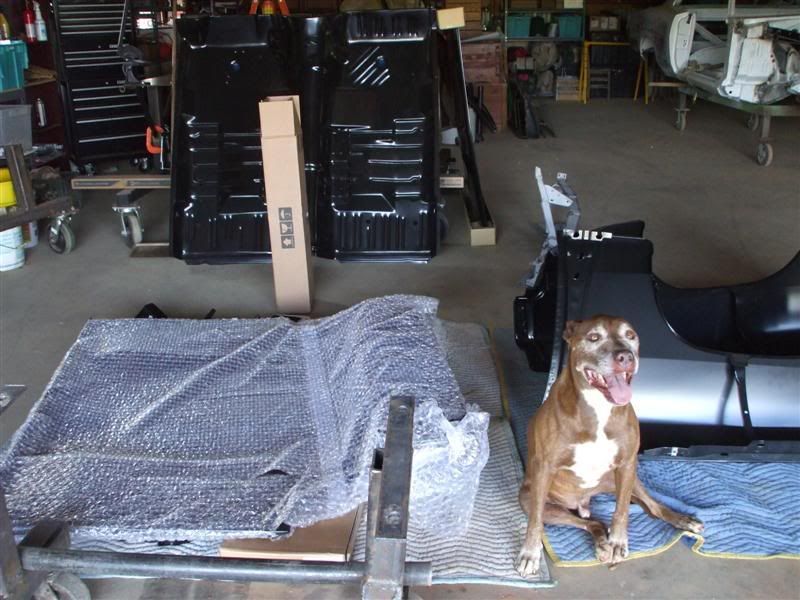
in the shop resting @ home and the metal that has to be put in.
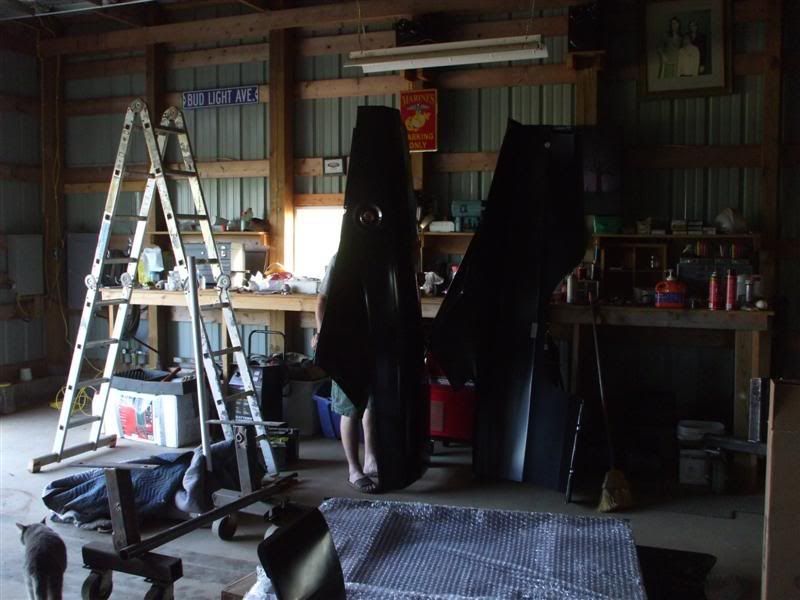
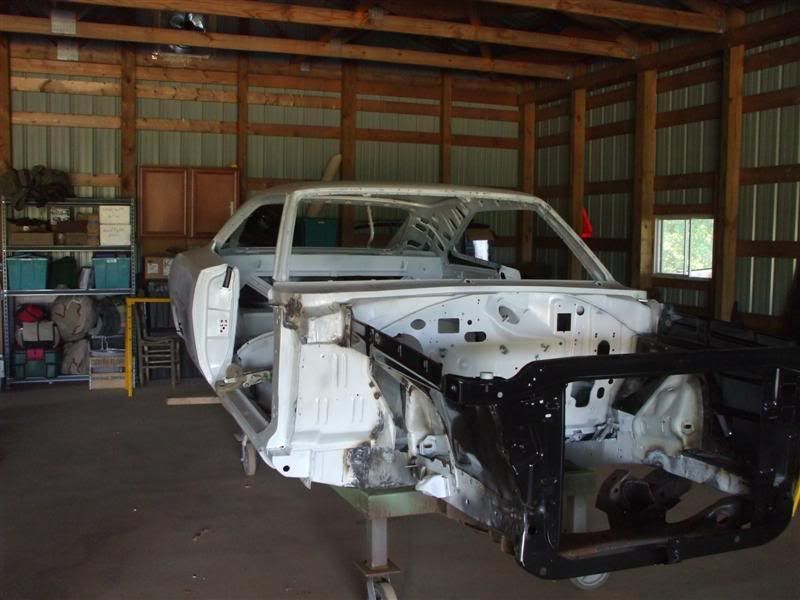
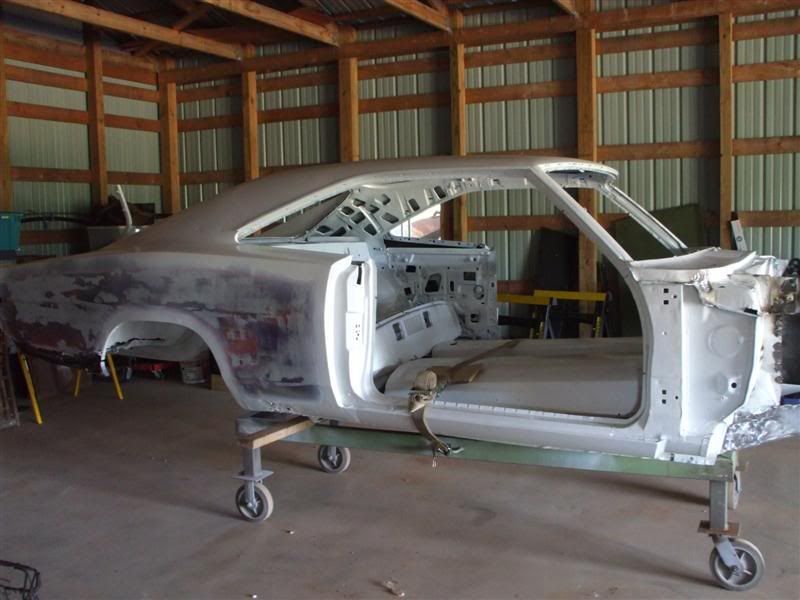
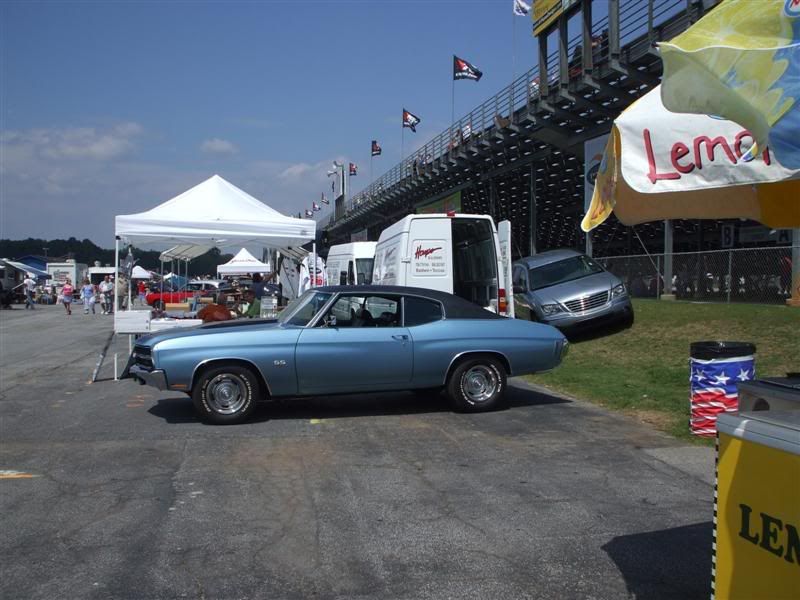
we went to a mopar show today... some pics.
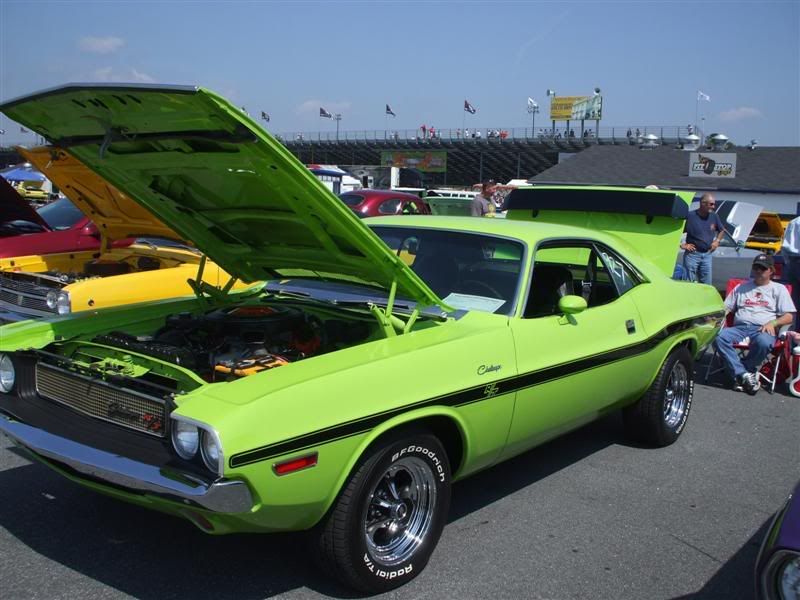
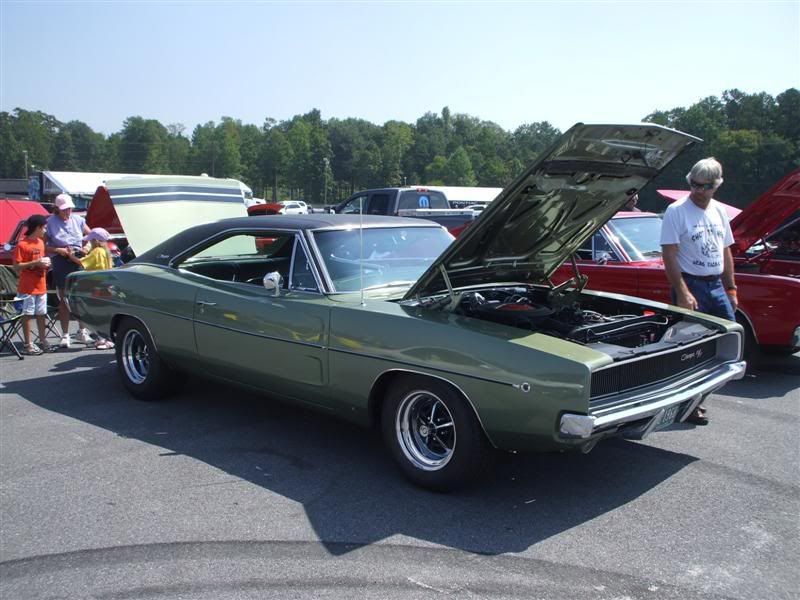
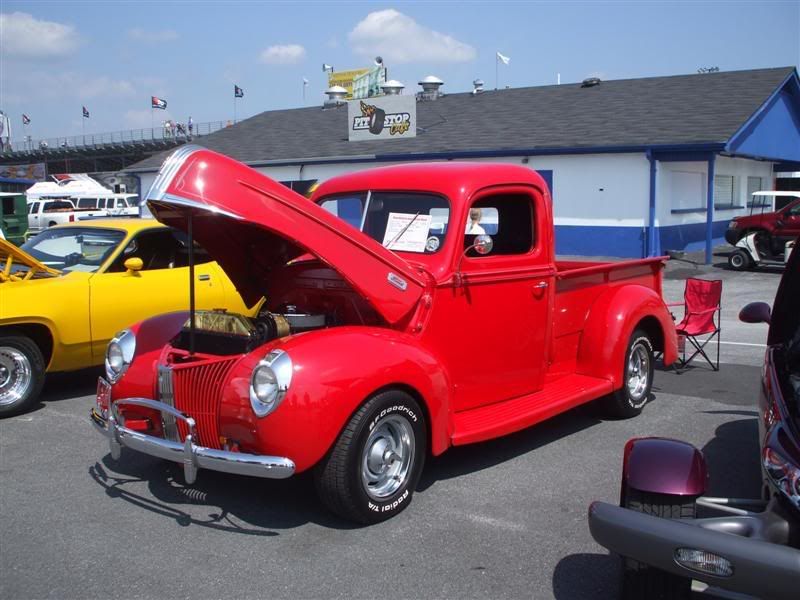
you know their is one at every show.
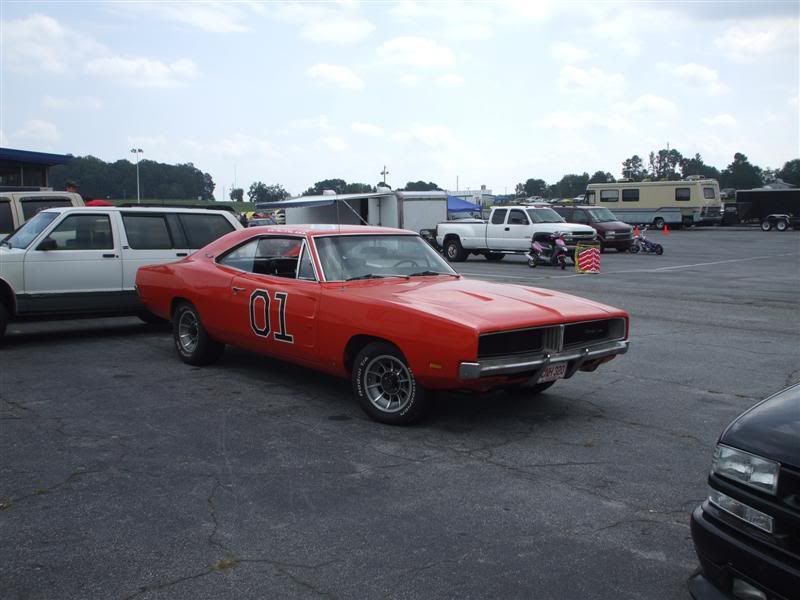
diesel dummies
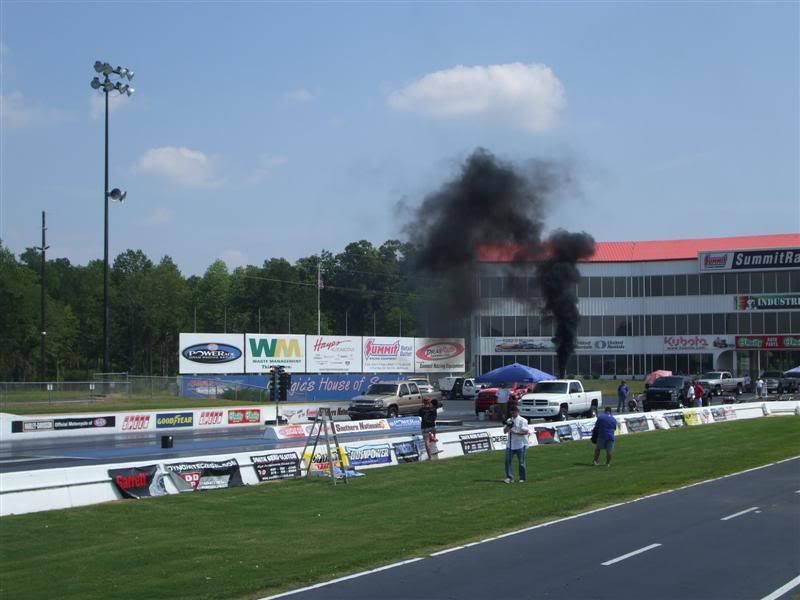
paint on this was immaculate
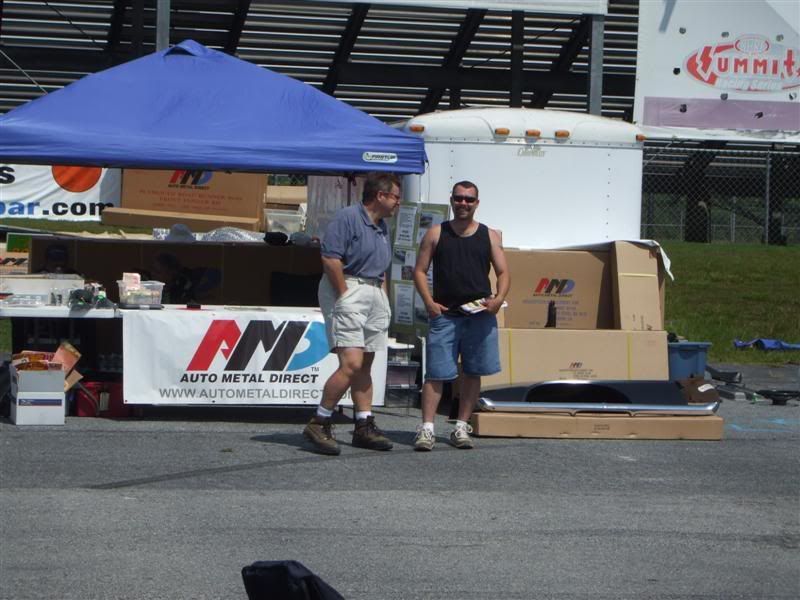
me and the AMD guy
little ones were fun to watch.

picking it up from the shop.


in the shop resting @ home and the metal that has to be put in.


we went to a mopar show today... some pics.


you know their is one at every show.

diesel dummies

paint on this was immaculate

me and the AMD guy

little ones were fun to watch.

#12
I wish I was closer to you, I'd come give you some time to help out. You're a good person to take that task on. I've pulled a few cars out of Athens, my 70 GTX came from there back about 92, and it seemed to me that area was still rich with Mopars.
#14
Guest
Posts: n/a
thanks, when we get closer to the final assembly we'll have a put together party.
sunday's tech
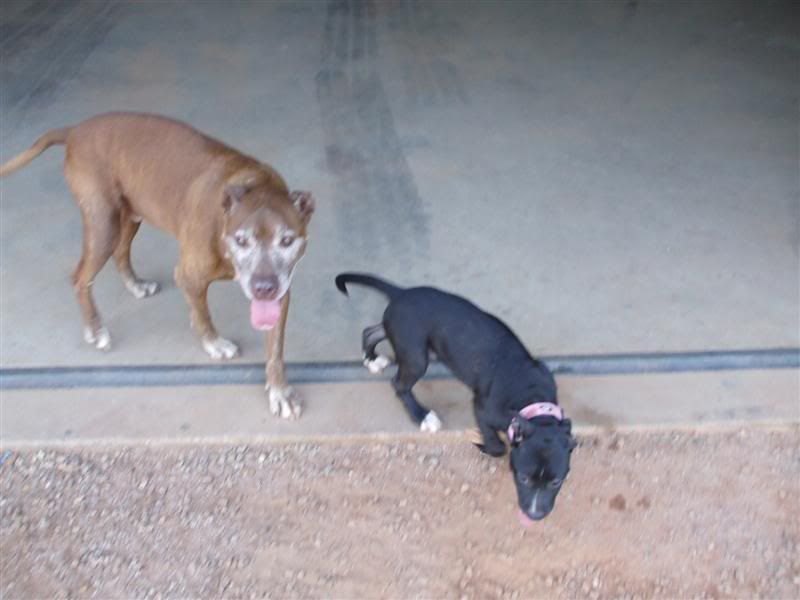
our helpers for the day. Wrinkles and Baily
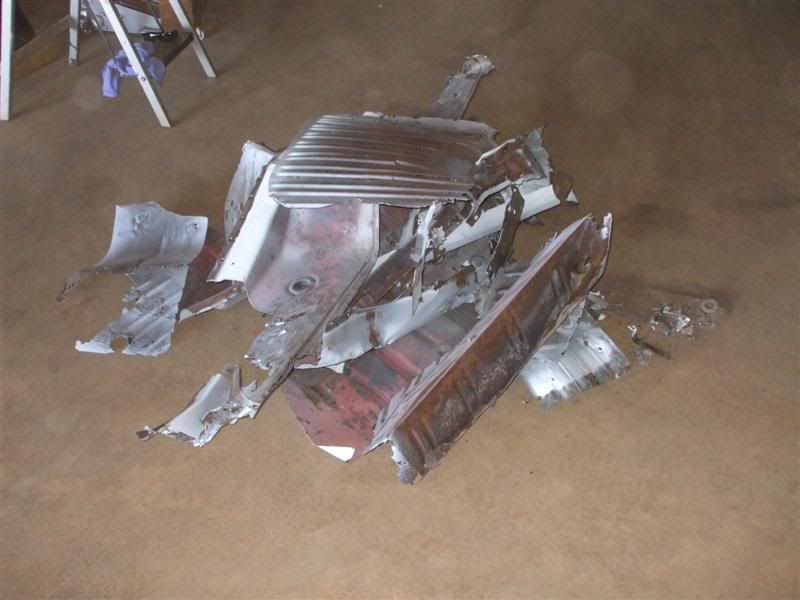
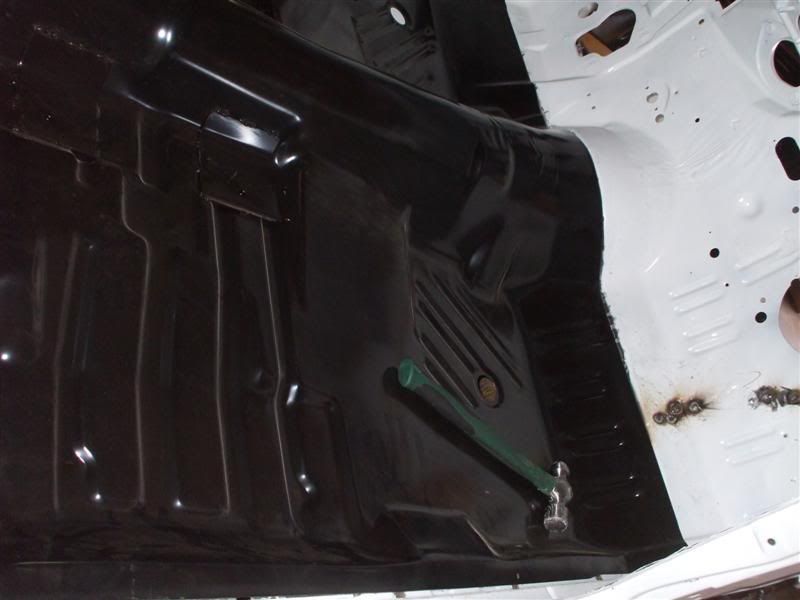
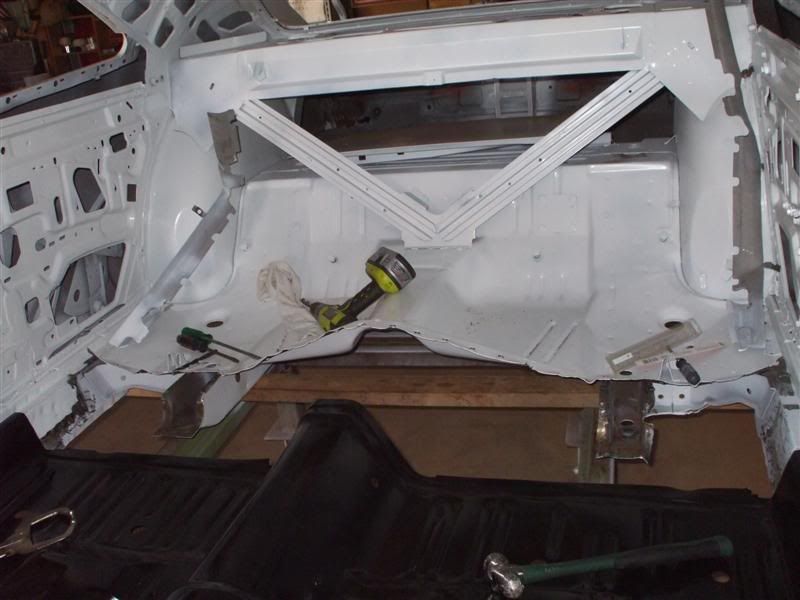
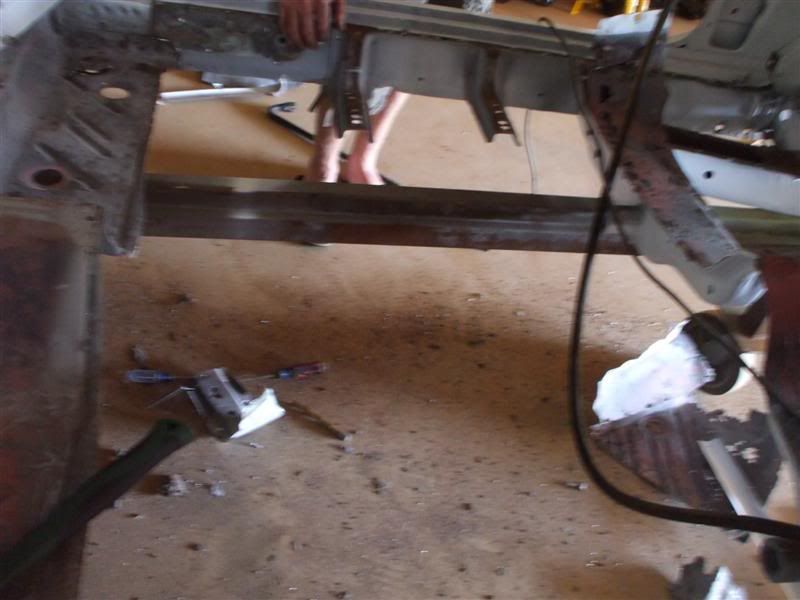
floor pan and part of the trunk pan out.
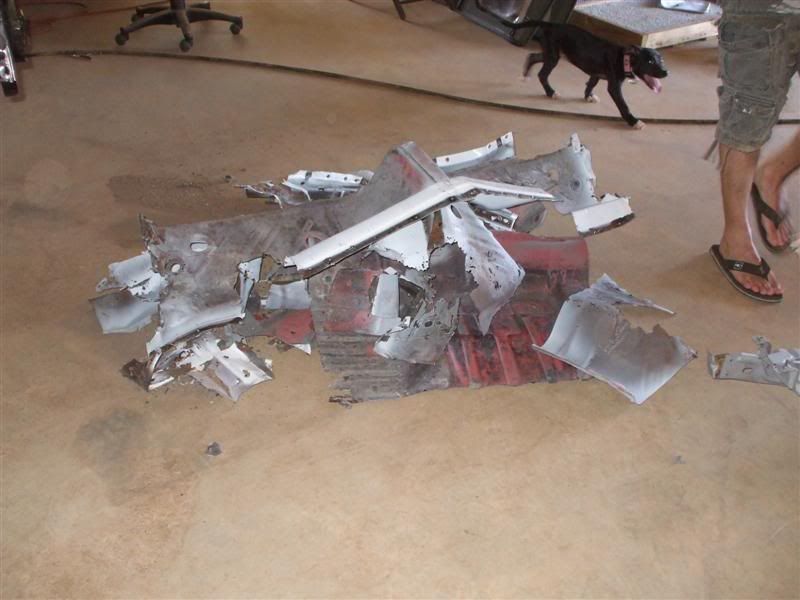
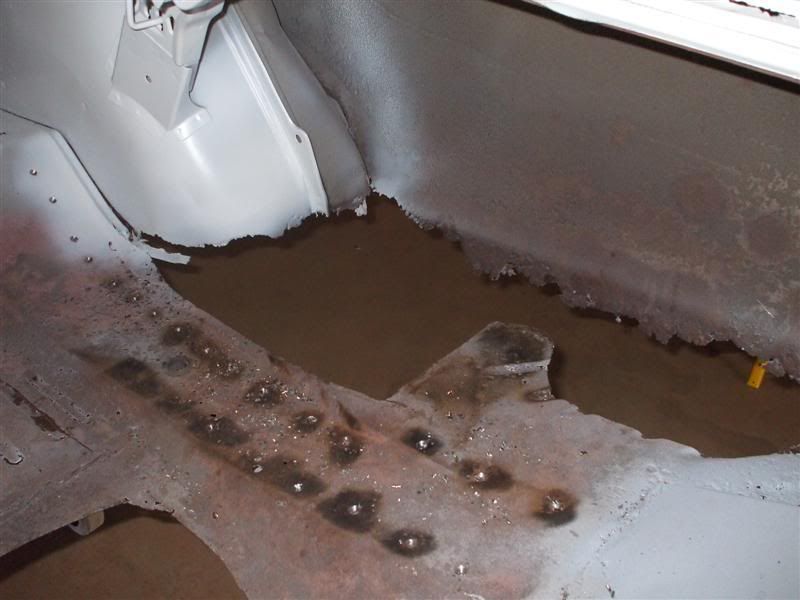
drilling out welds brings the no fun
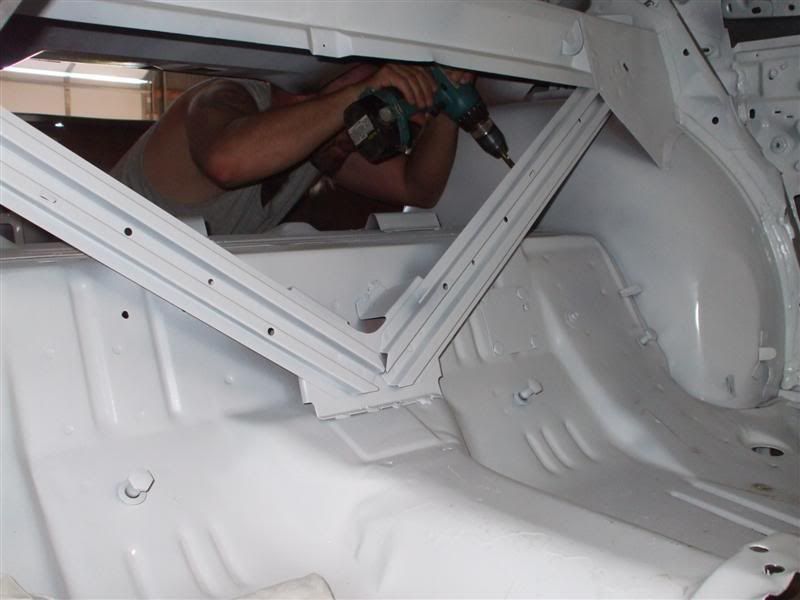
jason likes the flip flop technique.
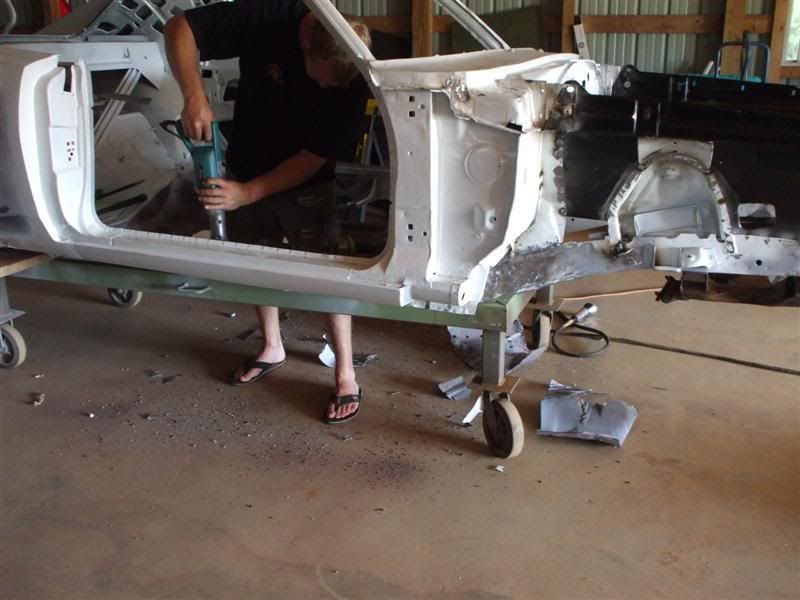
floor pans...
#17
Guest
Posts: n/a
donor car is a 68 also. what are you looking for? you never know we may have it.
they see me rolling, the hatin...
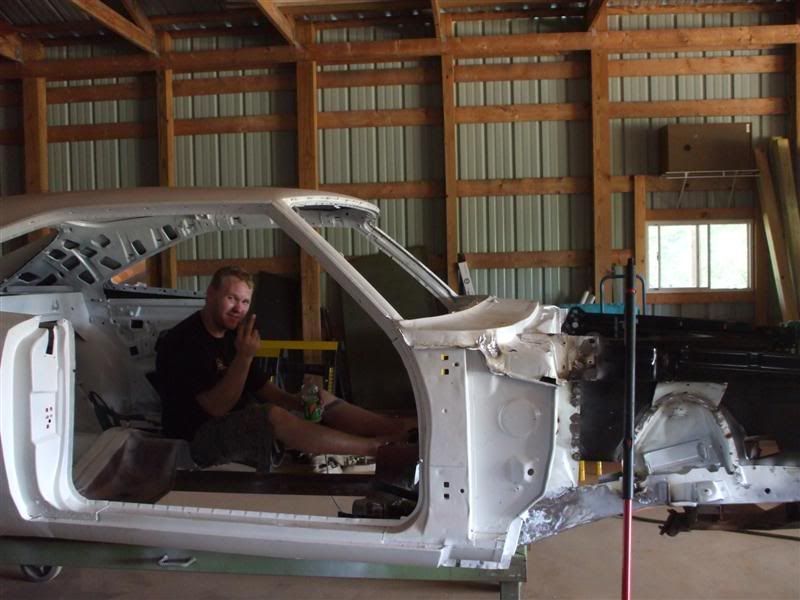
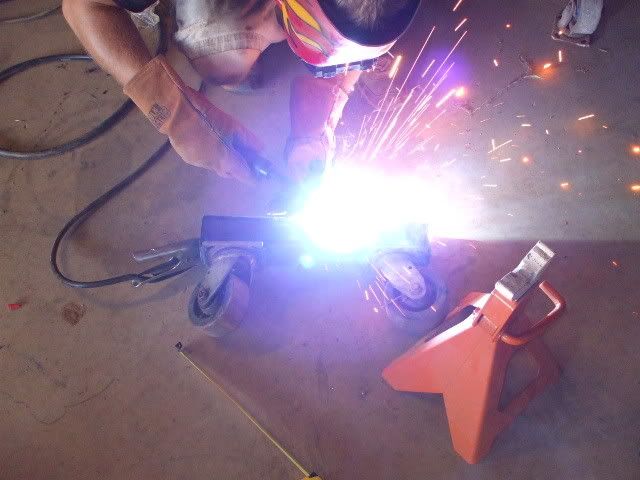
makeing the welding holes.
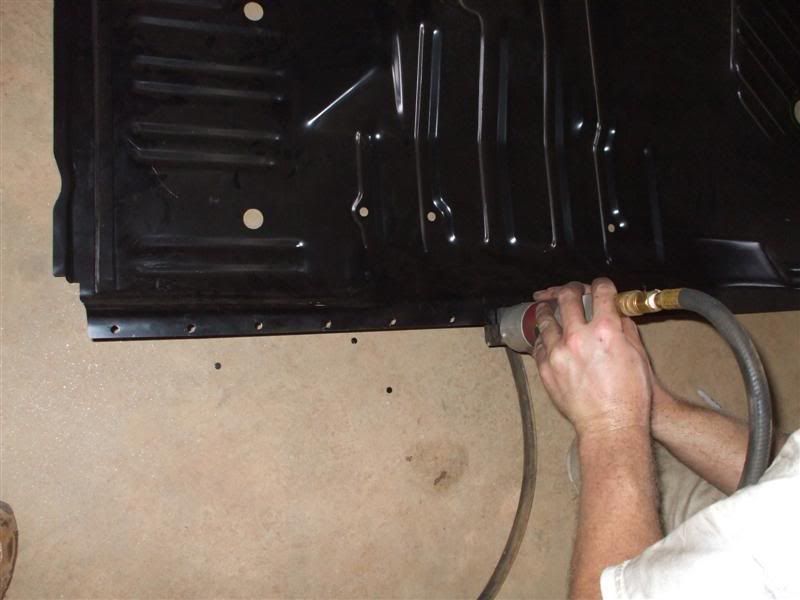
front passenger.
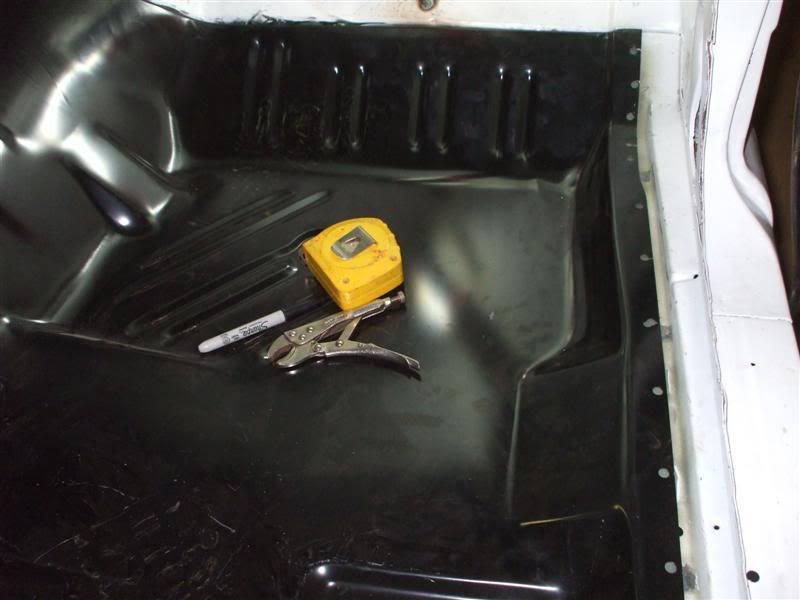
little work underneath
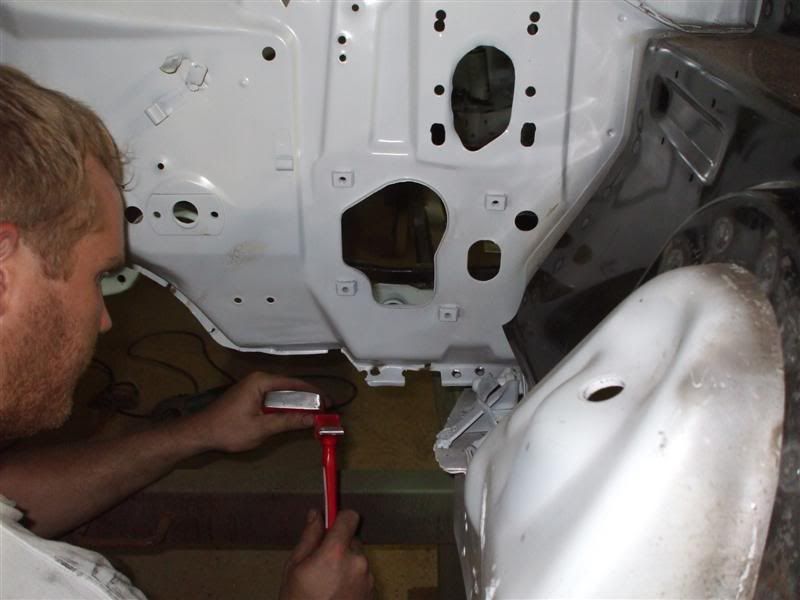
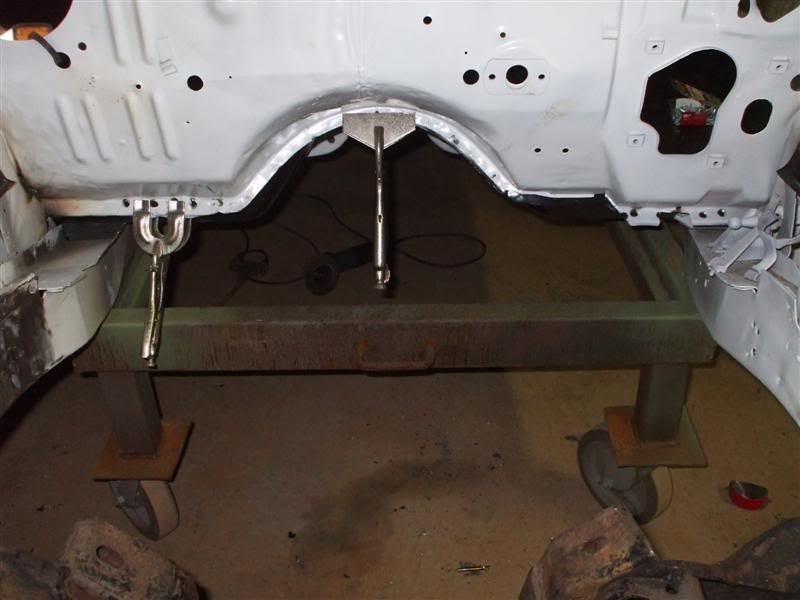
fitting like a glove.
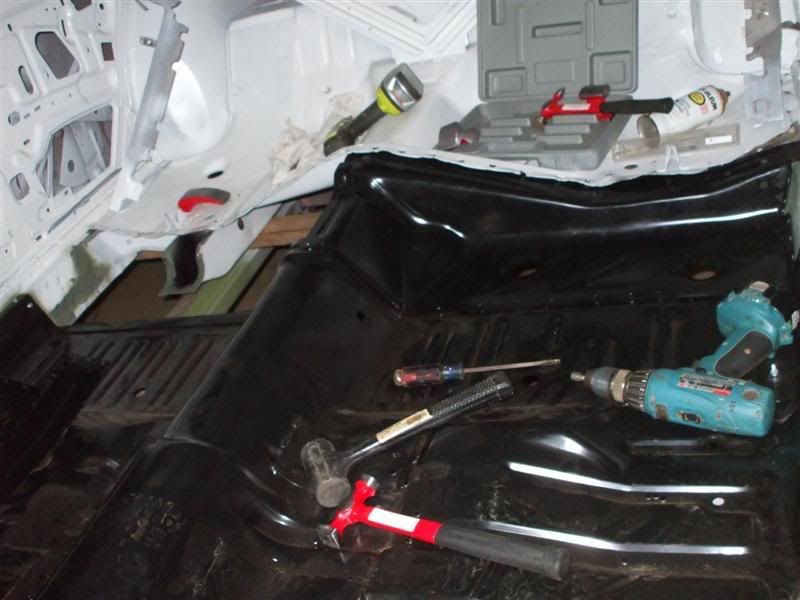
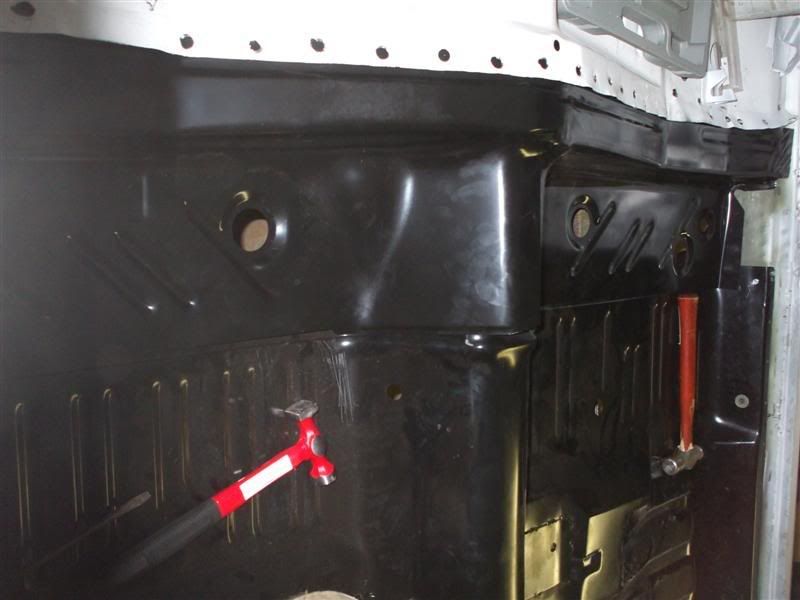
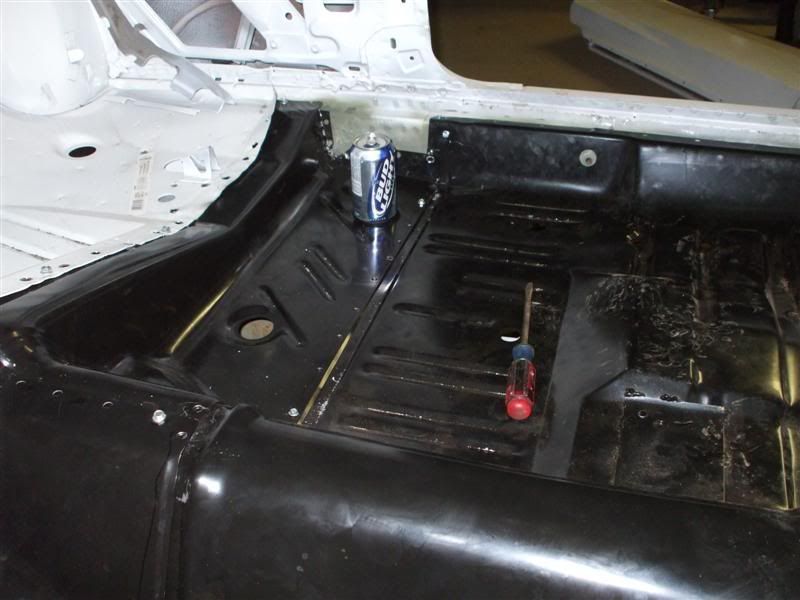
we had to stop, cause i need to get some .23 or .25 welding wire., so we just used some self tappers to hold her on.
they see me rolling, the hatin...

makeing the welding holes.

front passenger.

little work underneath


fitting like a glove.


we had to stop, cause i need to get some .23 or .25 welding wire., so we just used some self tappers to hold her on.
#19
Guest
Posts: n/a
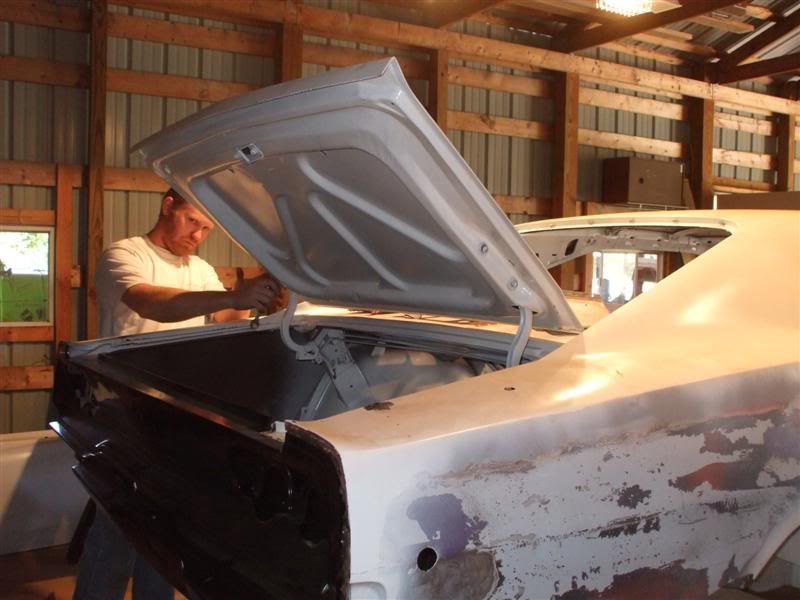
few Updates... not to much to show when all we are doing is welding and grinding.
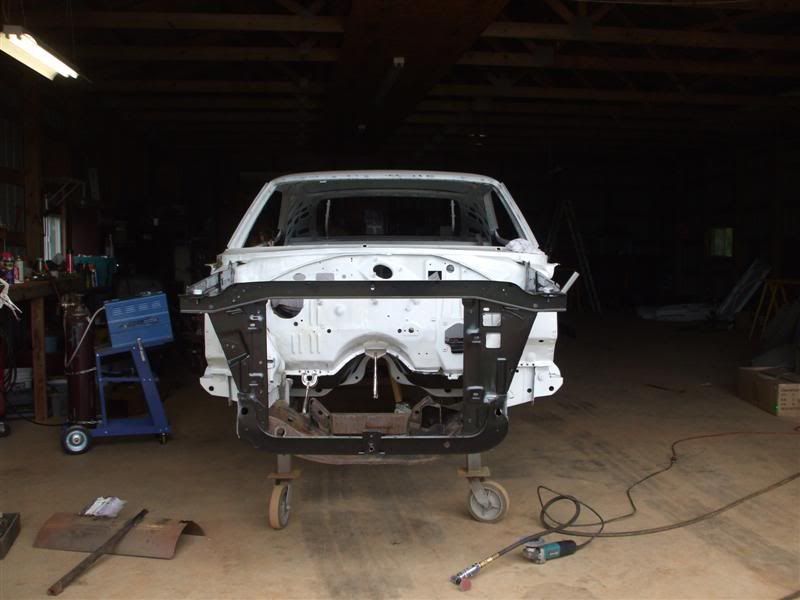
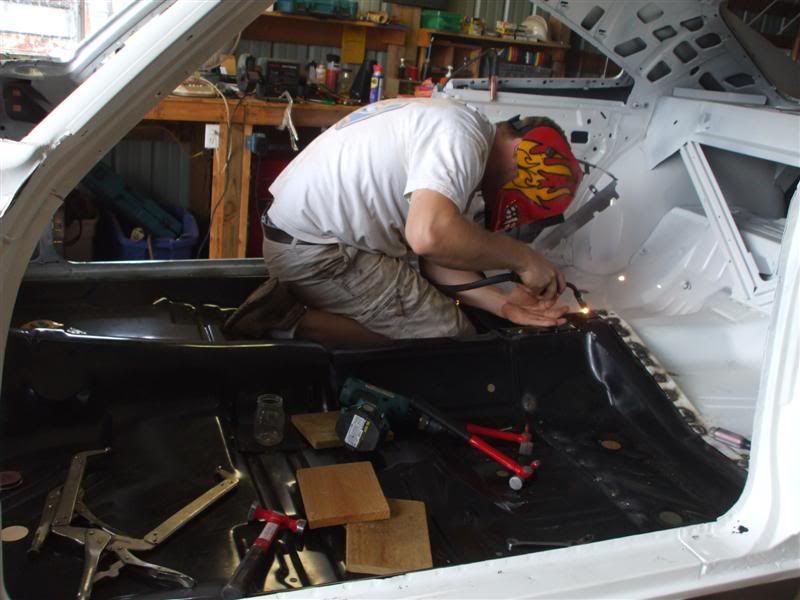
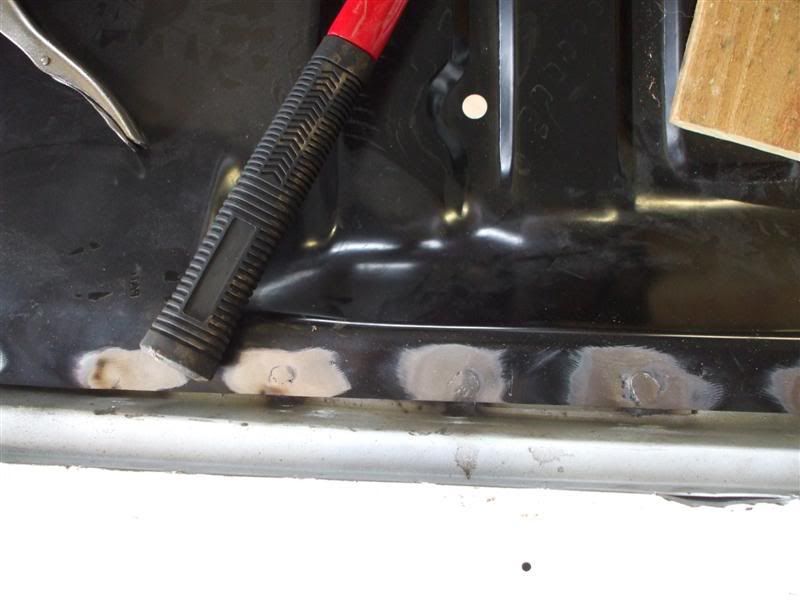
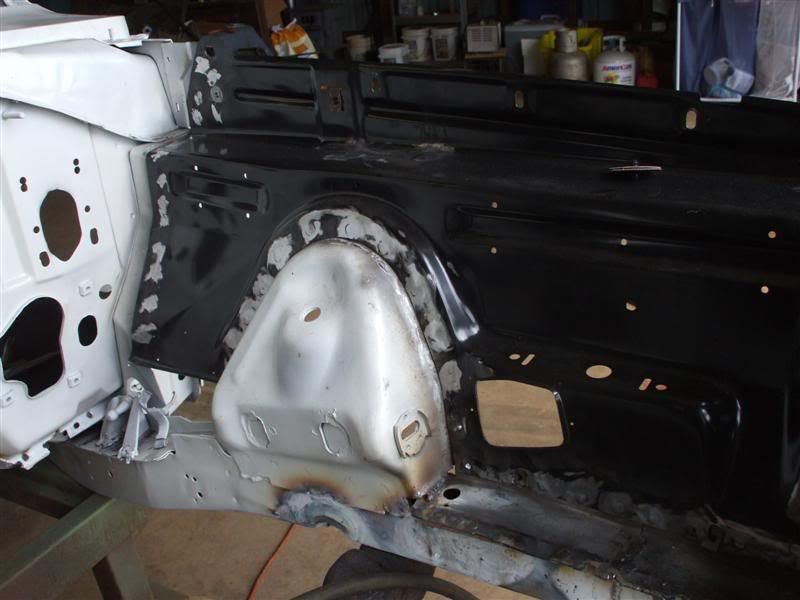
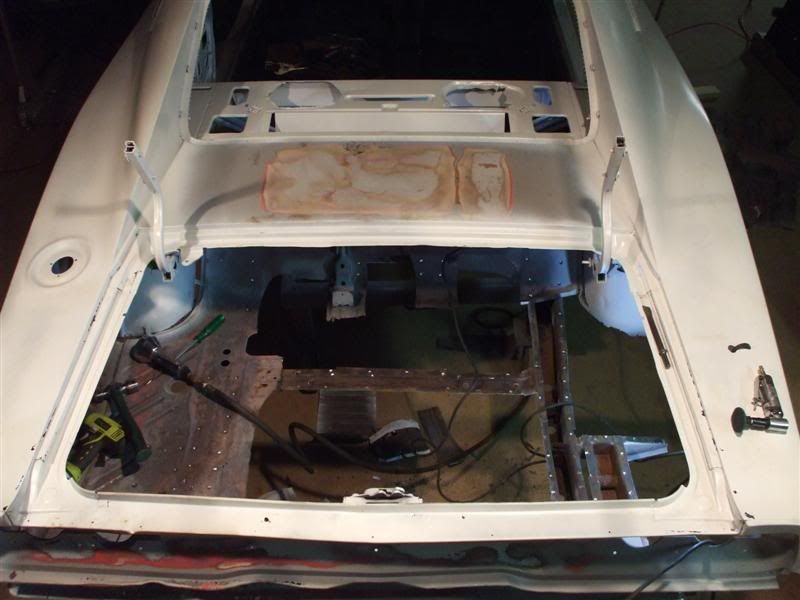
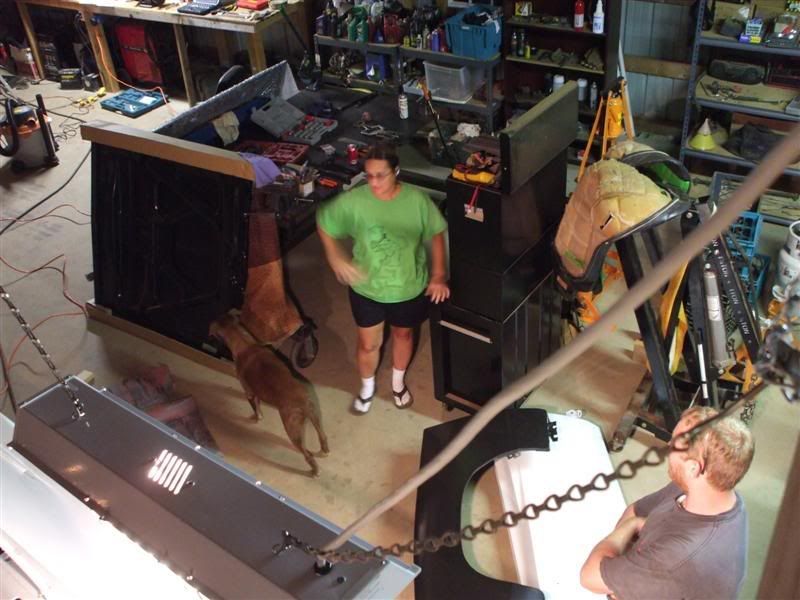
Cool thing that went down, is the tech writer Brad came by to snap some photos and get a feel for the project he has been handed.
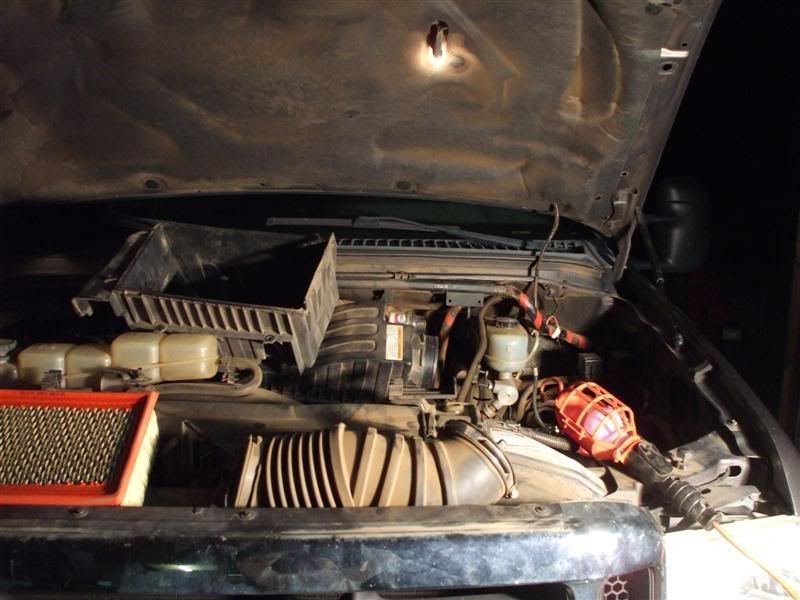
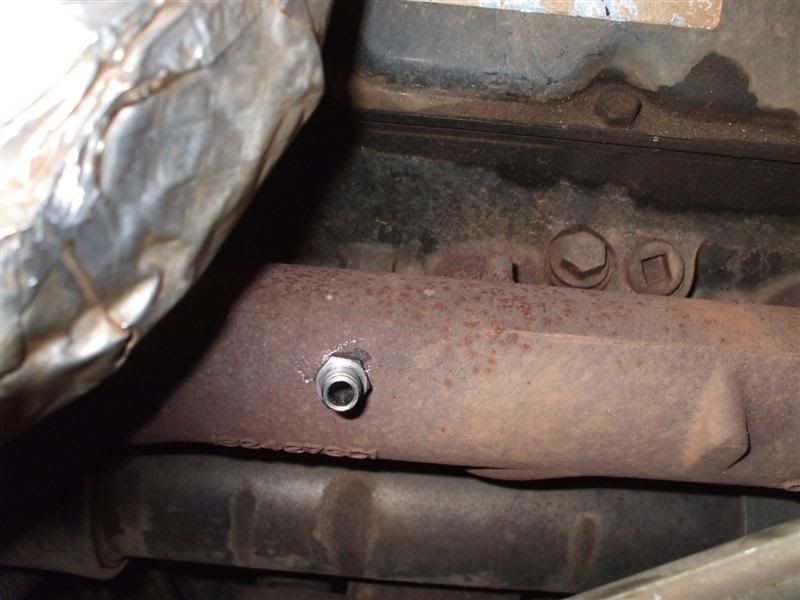
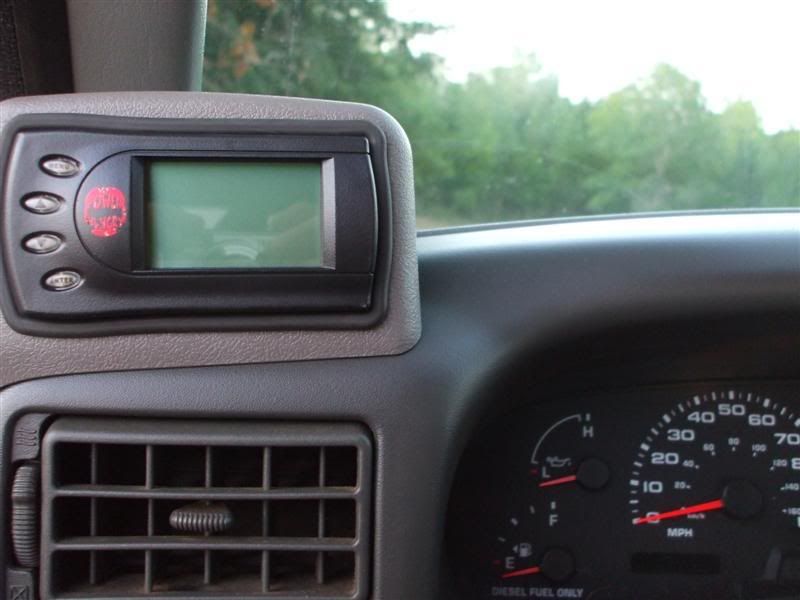
so while they did that i put a chip in the truck... powerhungry Gryphon Dash Mount.
all for now. we'll be back with more pics after this weekend...
:beer:


Cool thing that went down, is the tech writer Brad came by to snap some photos and get a feel for the project he has been handed.
so while they did that i put a chip in the truck... powerhungry Gryphon Dash Mount.


all for now. we'll be back with more pics after this weekend...
:beer:
#22
Guest
Posts: n/a
sure can... when do you want to do it? best thing is to e-mail me...
c5_buggy@yahoo.com
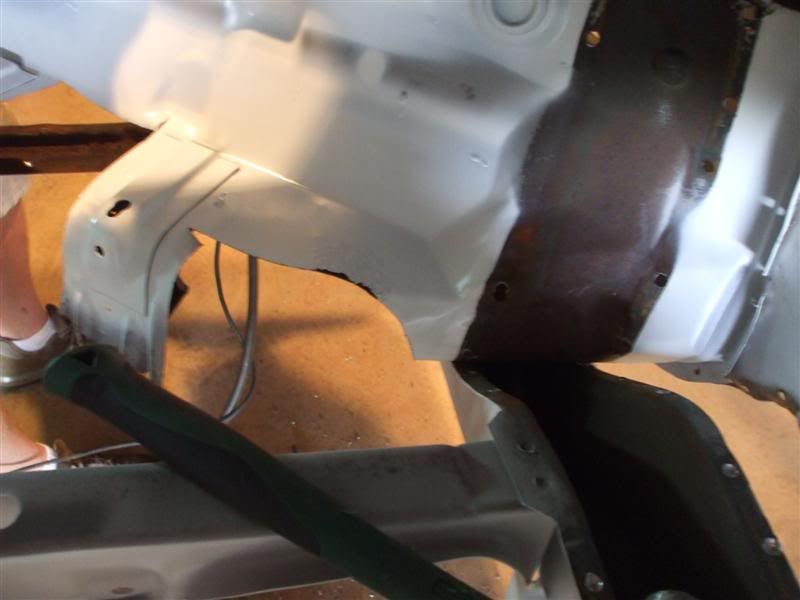
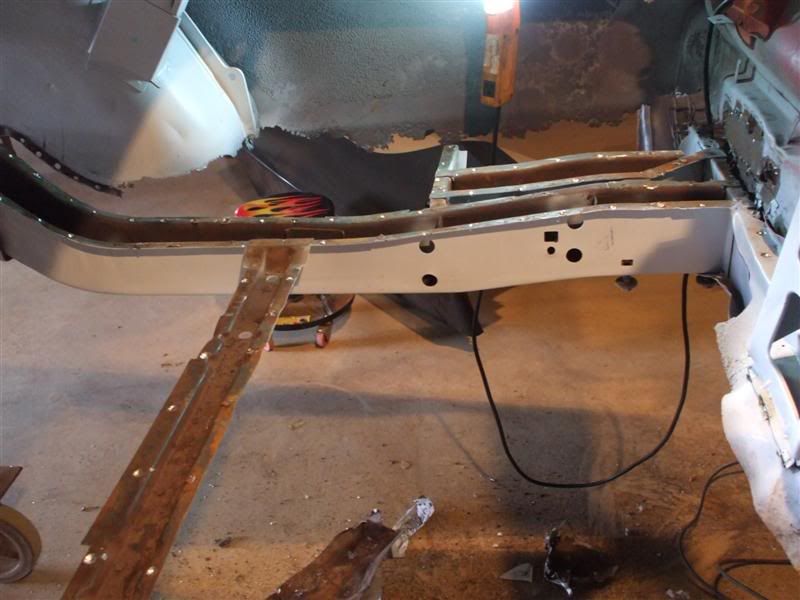
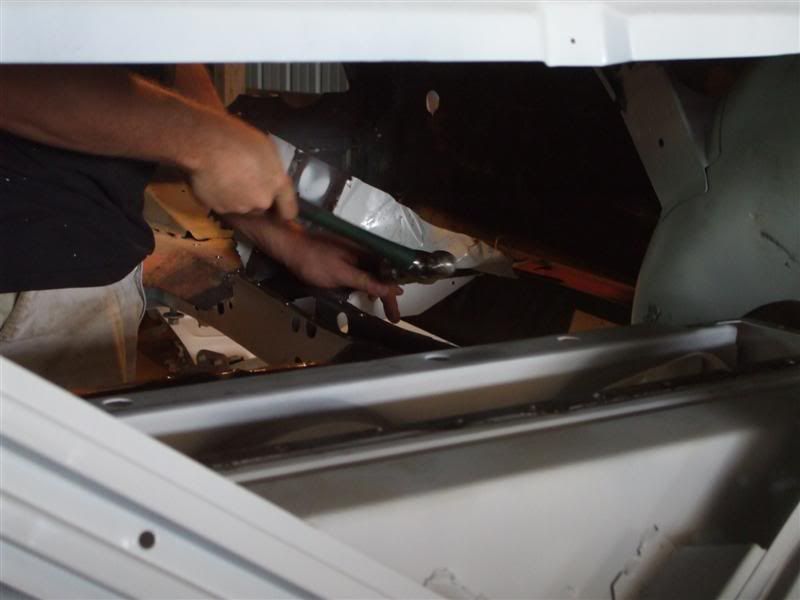
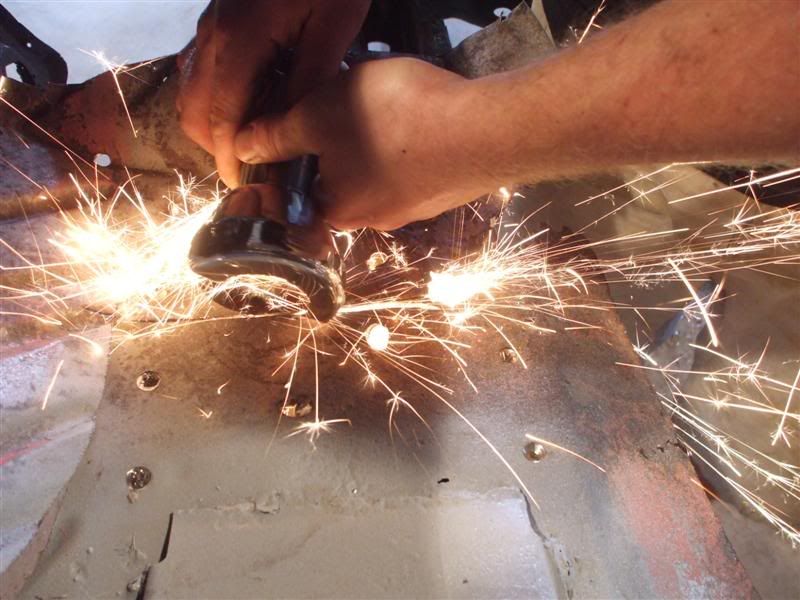
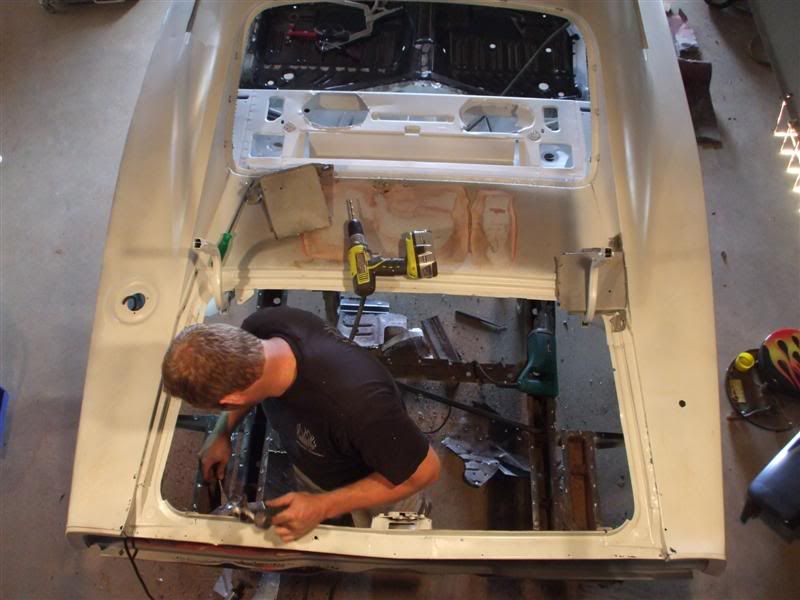
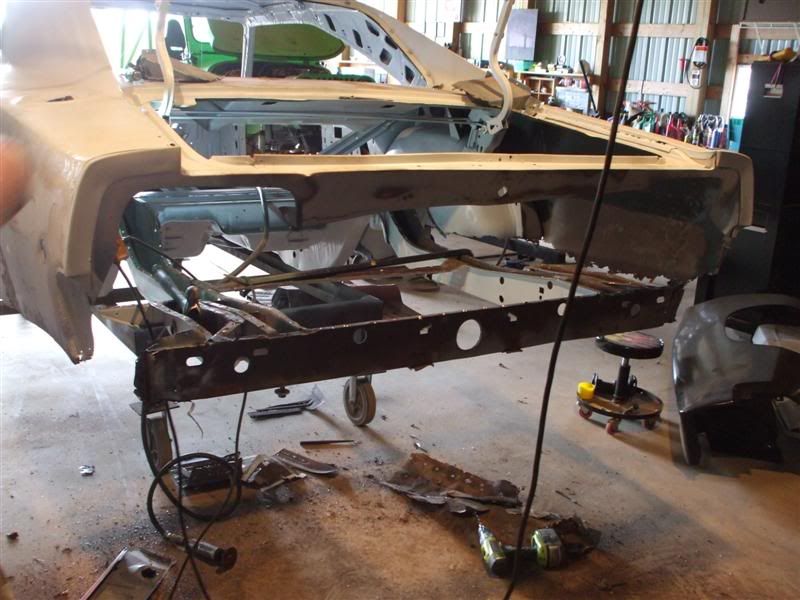
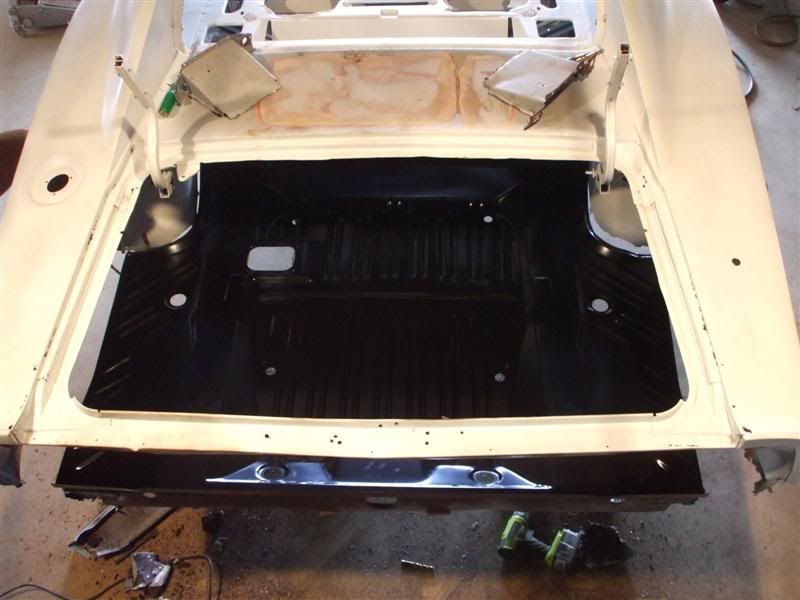
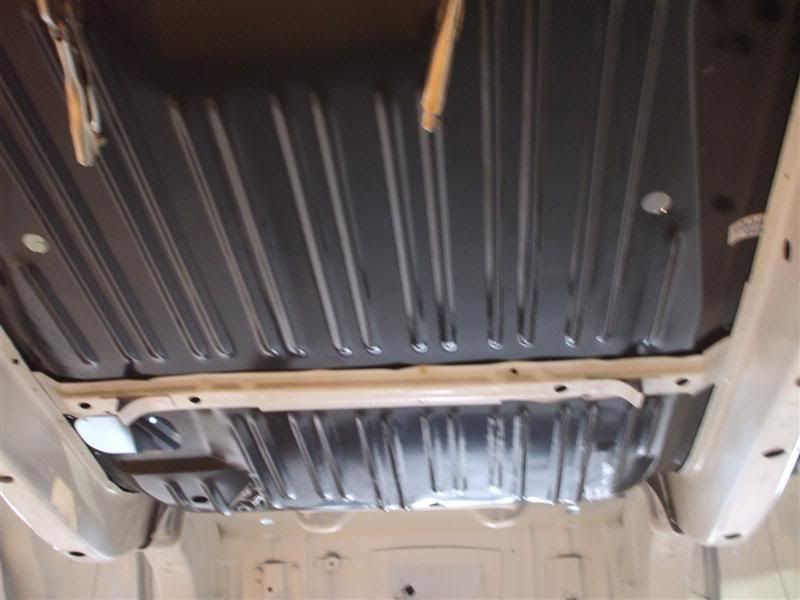
some more pics...
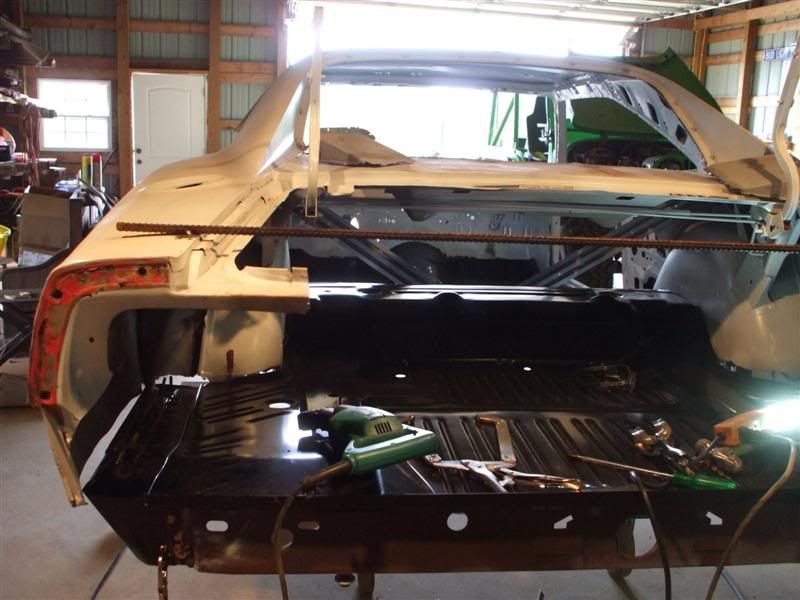
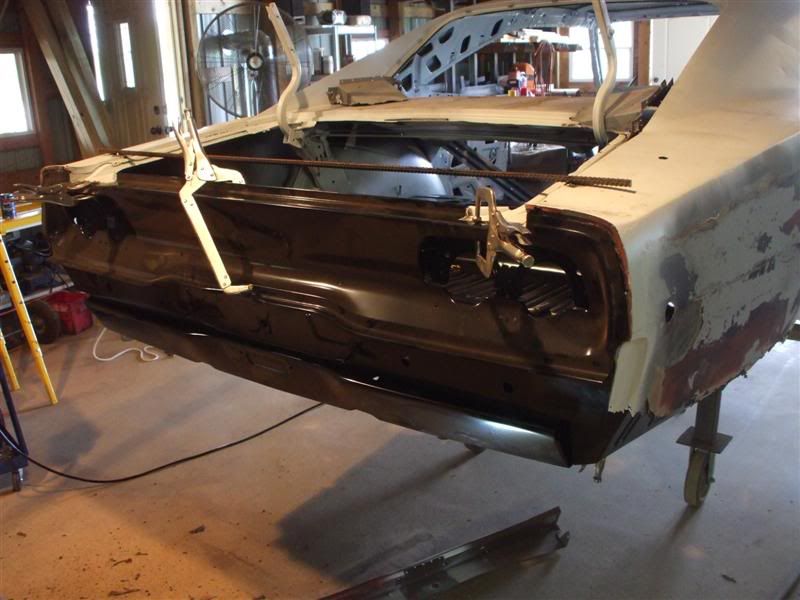
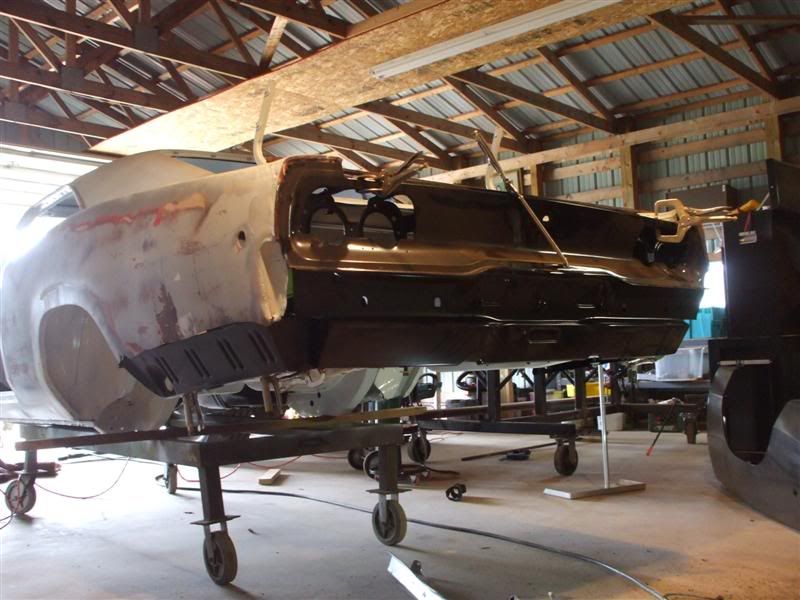
c5_buggy@yahoo.com
some more pics...


#23
Guest
Posts: n/a
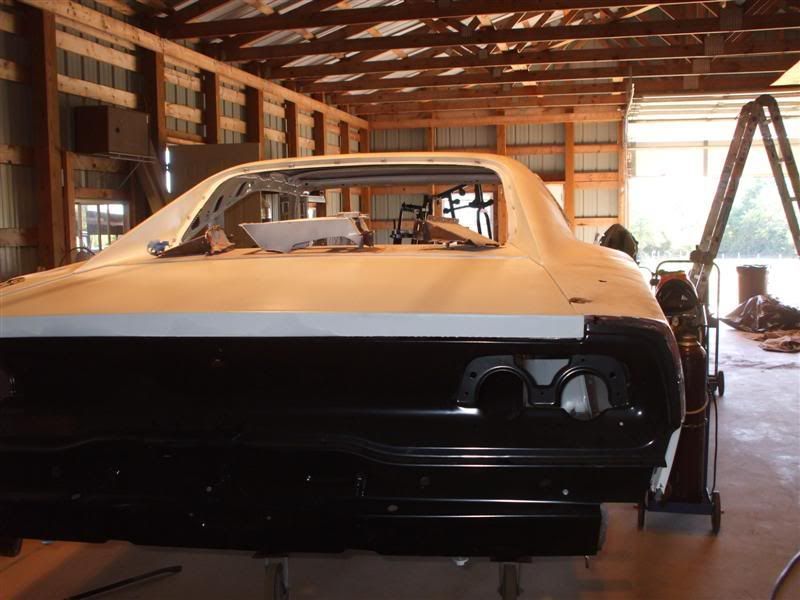
Getting back to the car finally. We had to take a couple wheeling trips to break up the ruts you know.
Getting back to the car finally. We had to take a couple wheeling trips to break up the ruts you know.
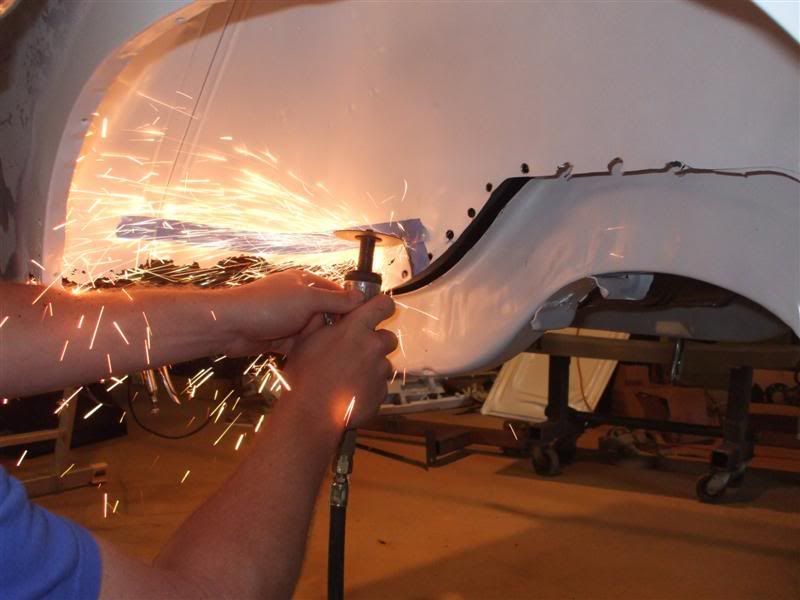
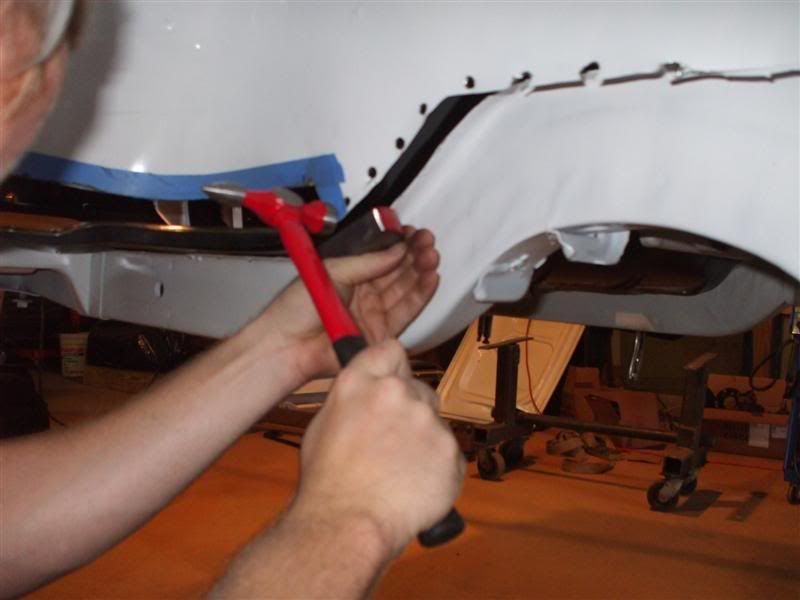
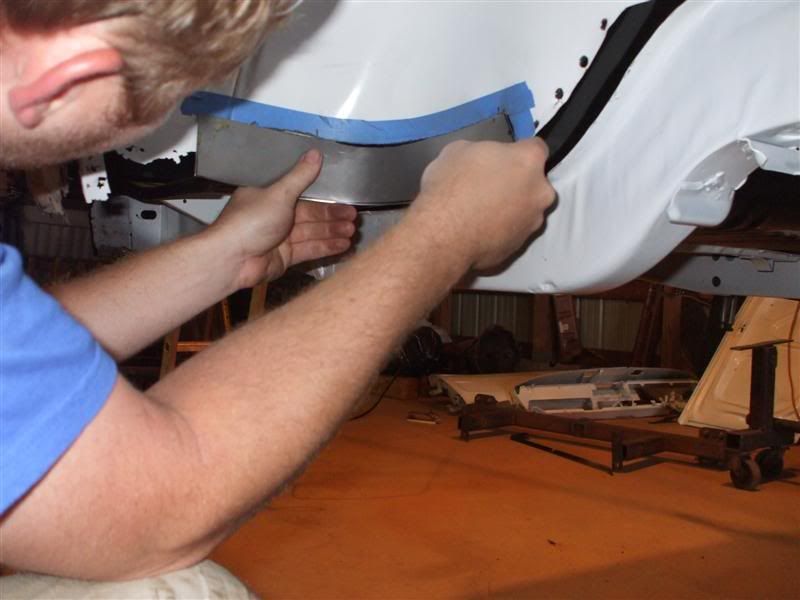
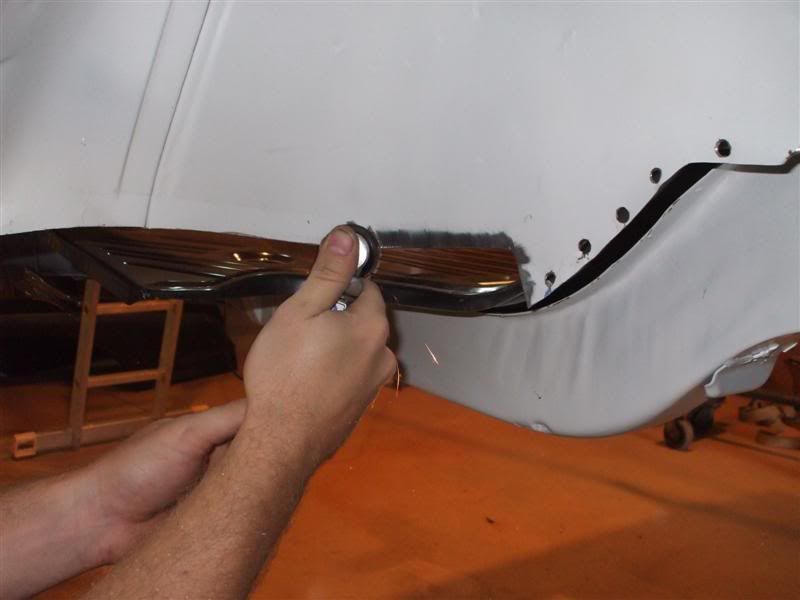
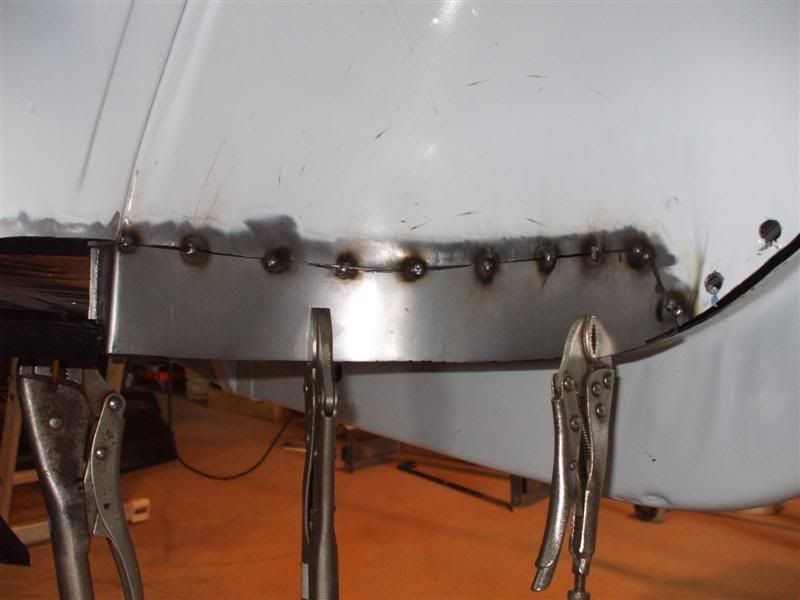
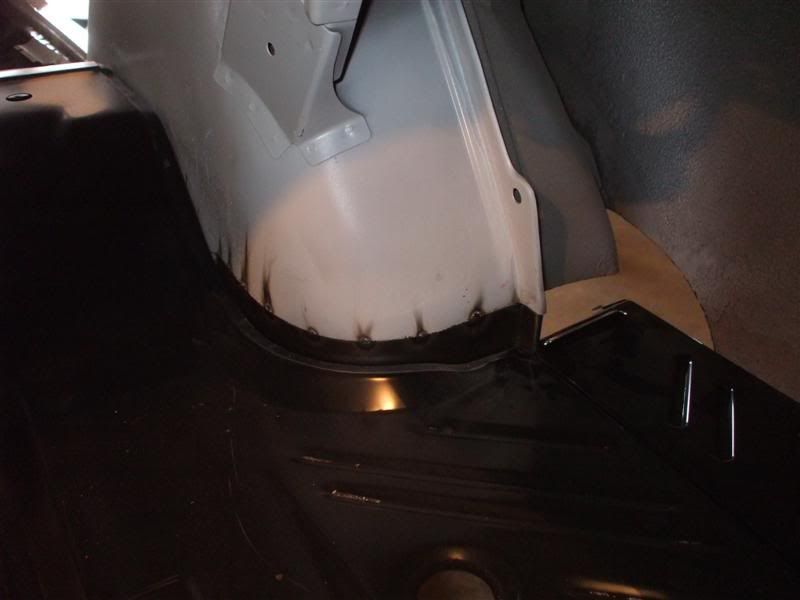
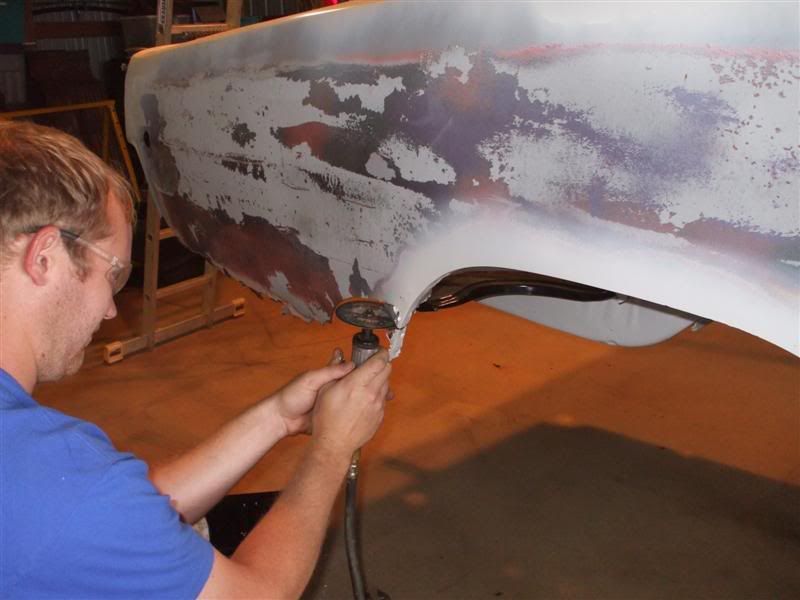
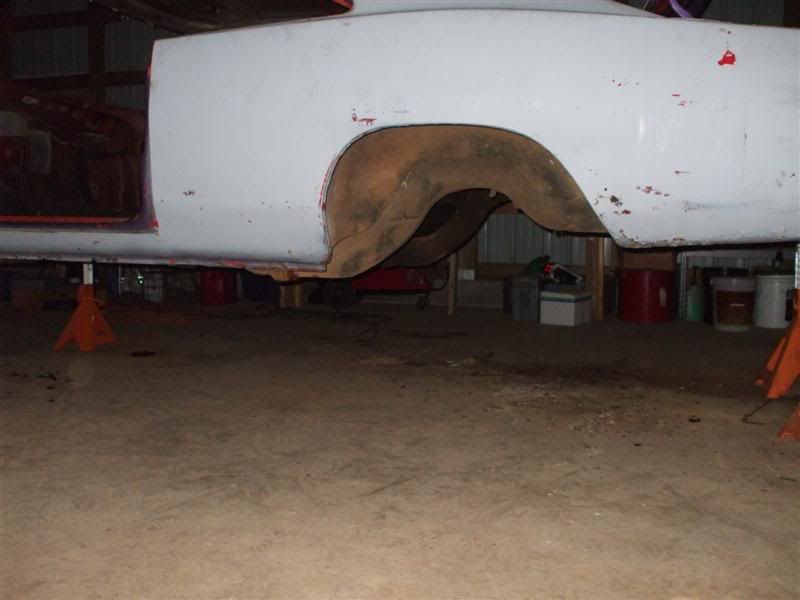
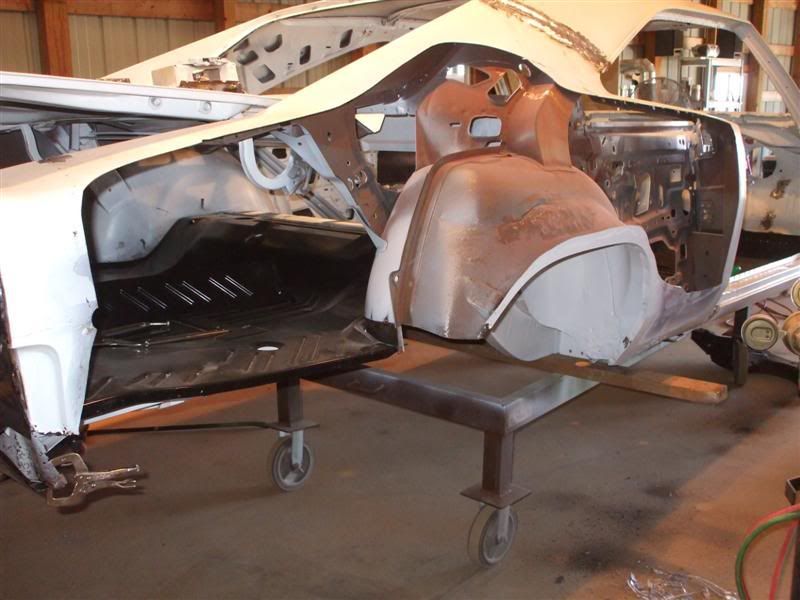
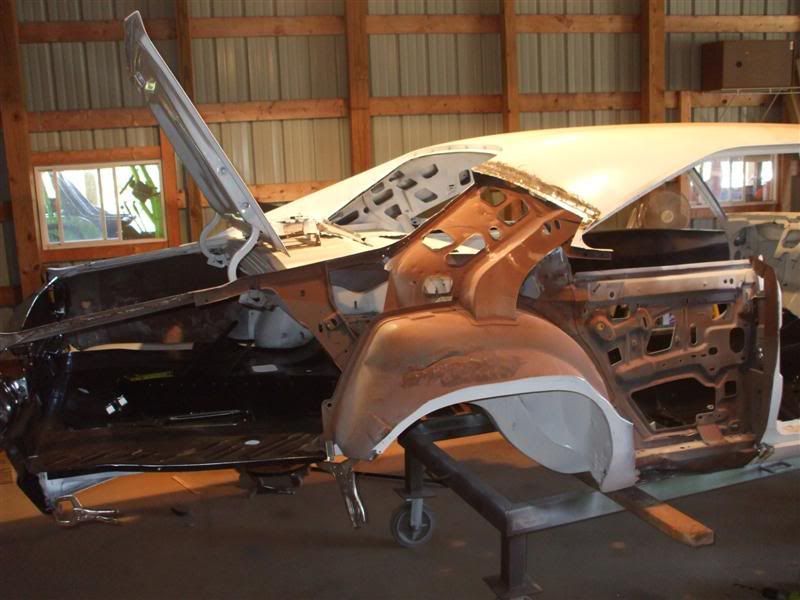
so does anyone have a 68 sitting around? i need a a couple of pics of a rear inner fender well, where it goes from the wheel well to the outside.
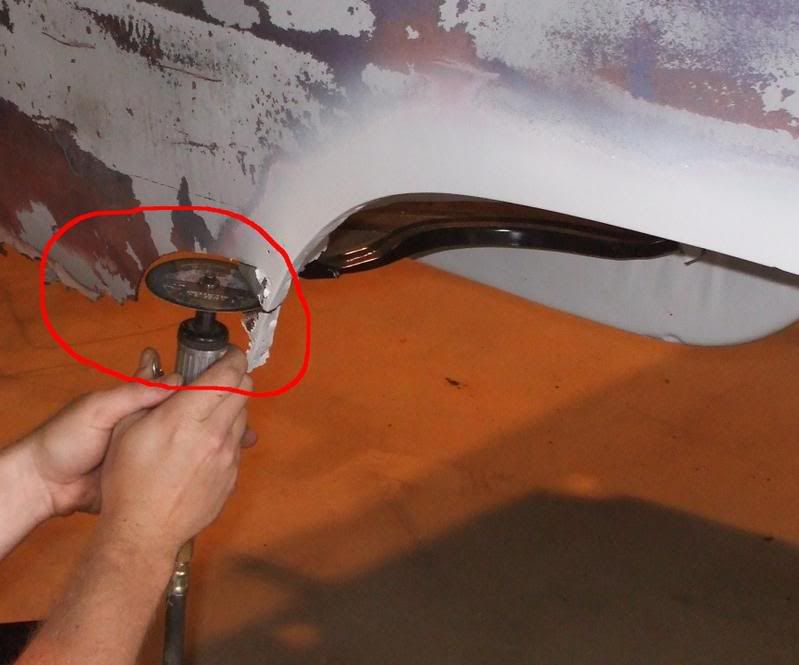
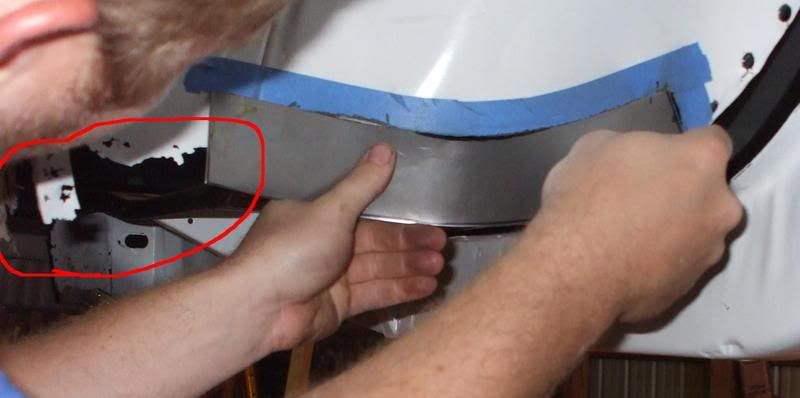
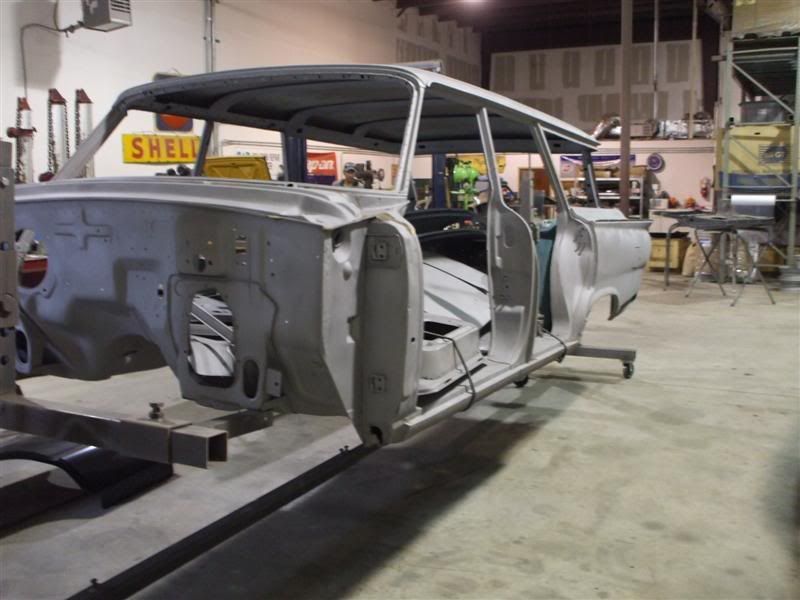
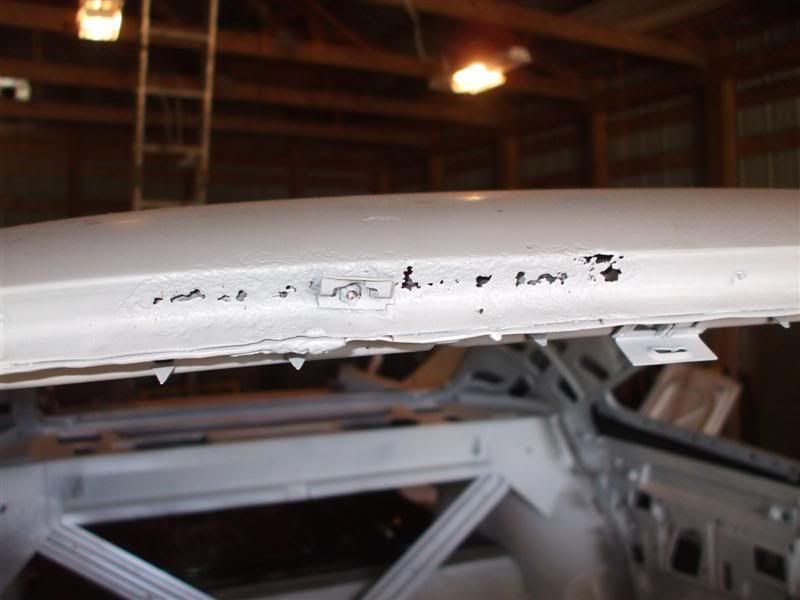
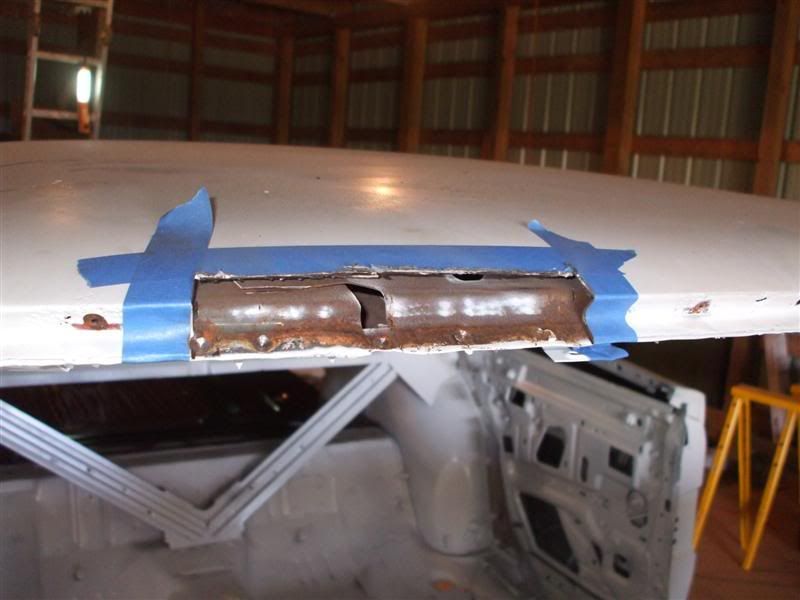
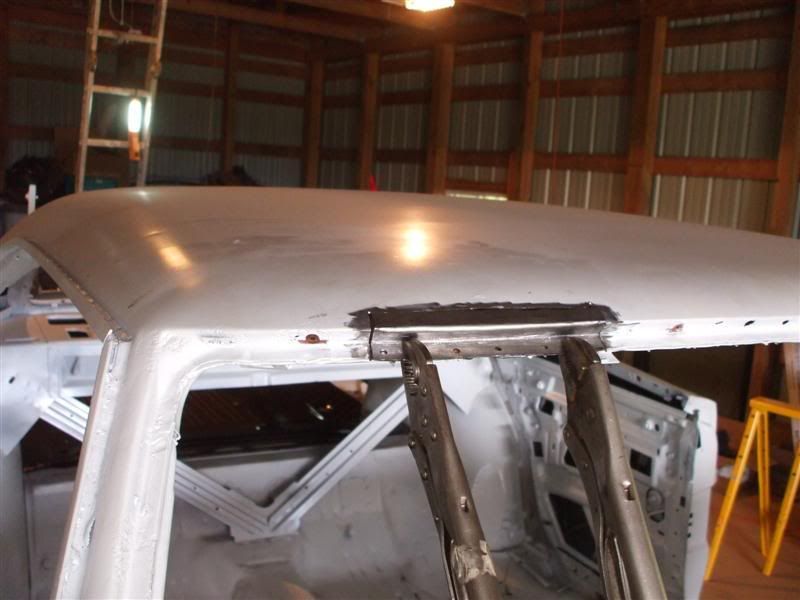
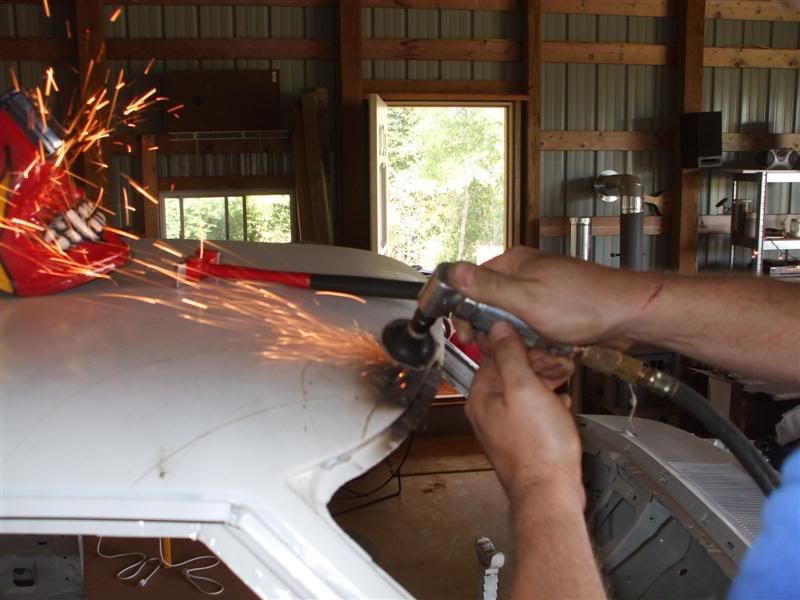
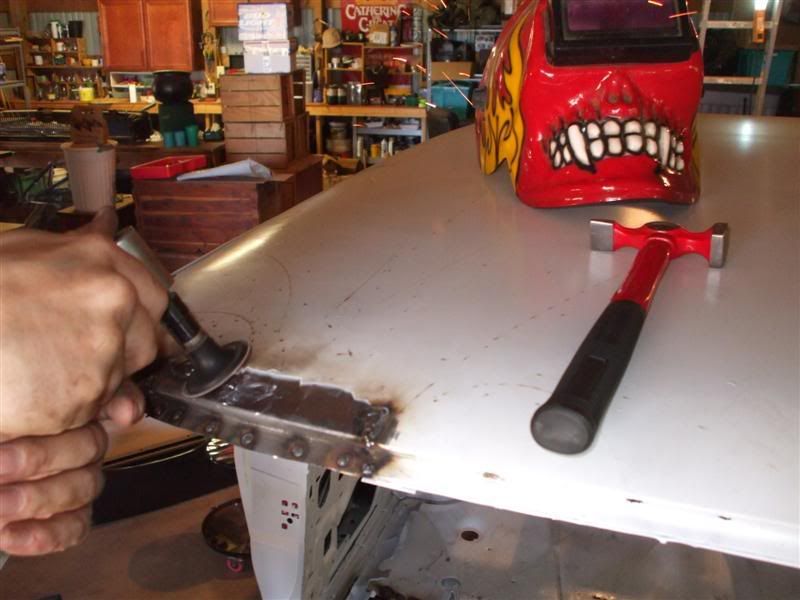
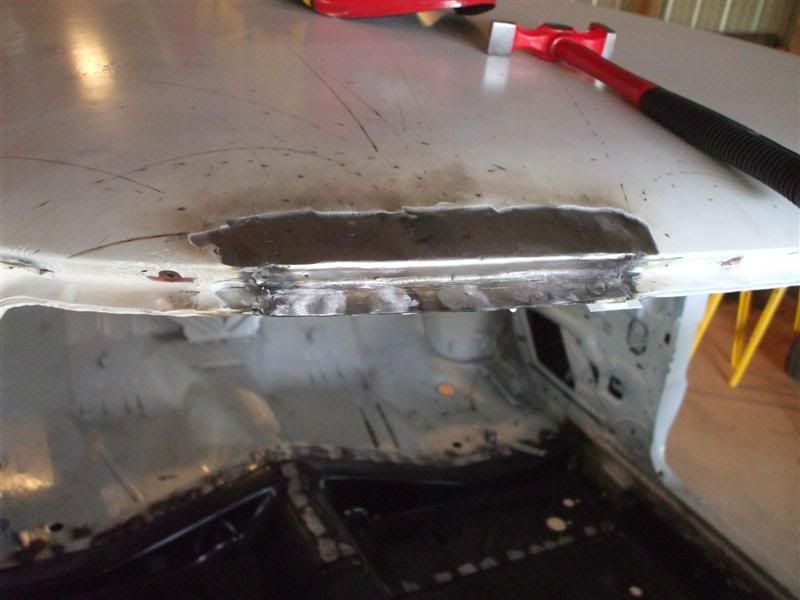
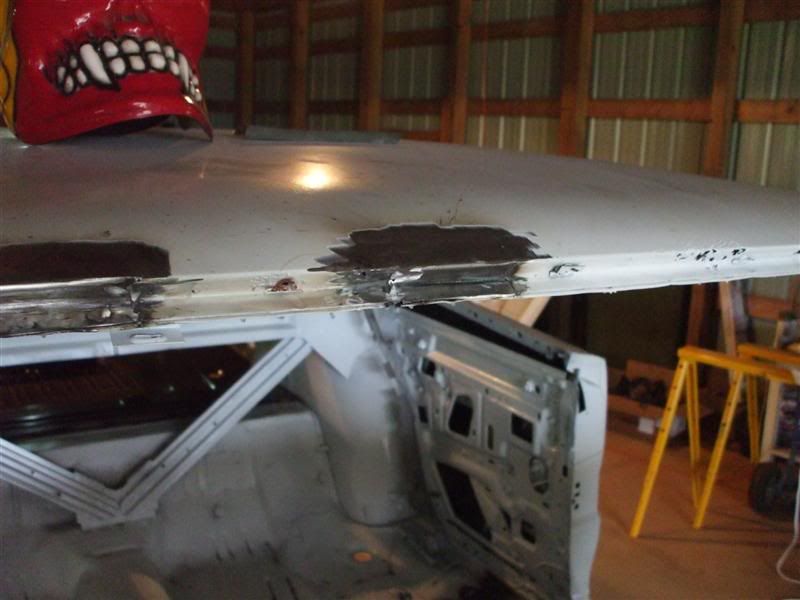
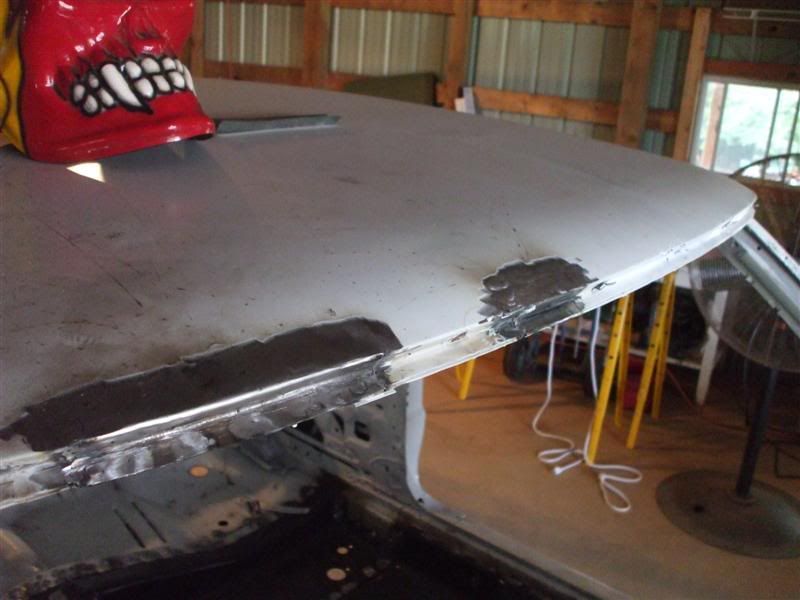
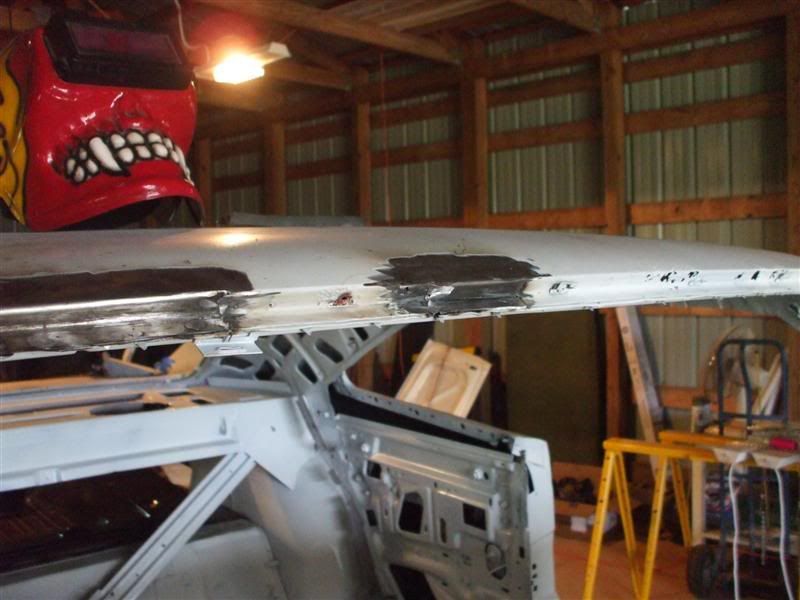
WindShield frame work
Getting back to the car finally. We had to take a couple wheeling trips to break up the ruts you know.


so does anyone have a 68 sitting around? i need a a couple of pics of a rear inner fender well, where it goes from the wheel well to the outside.


WindShield frame work


