When you click on links to various merchants on this site and make a purchase, this can result in this site earning a commission. Affiliate programs and affiliations include, but are not limited to, the eBay Partner Network.
It was a complete car missing nothing. Running and driving.
My goals from the first were to build the car that I WANTED, not some cookie cutter build. I have been to shows where there are a dozen of the same year/model car with little to distinguish them from each other. I find that to be sad, and a lack of imagination on the part of the owners.
Here's a list of mods.
Yankee Express List of modifications.
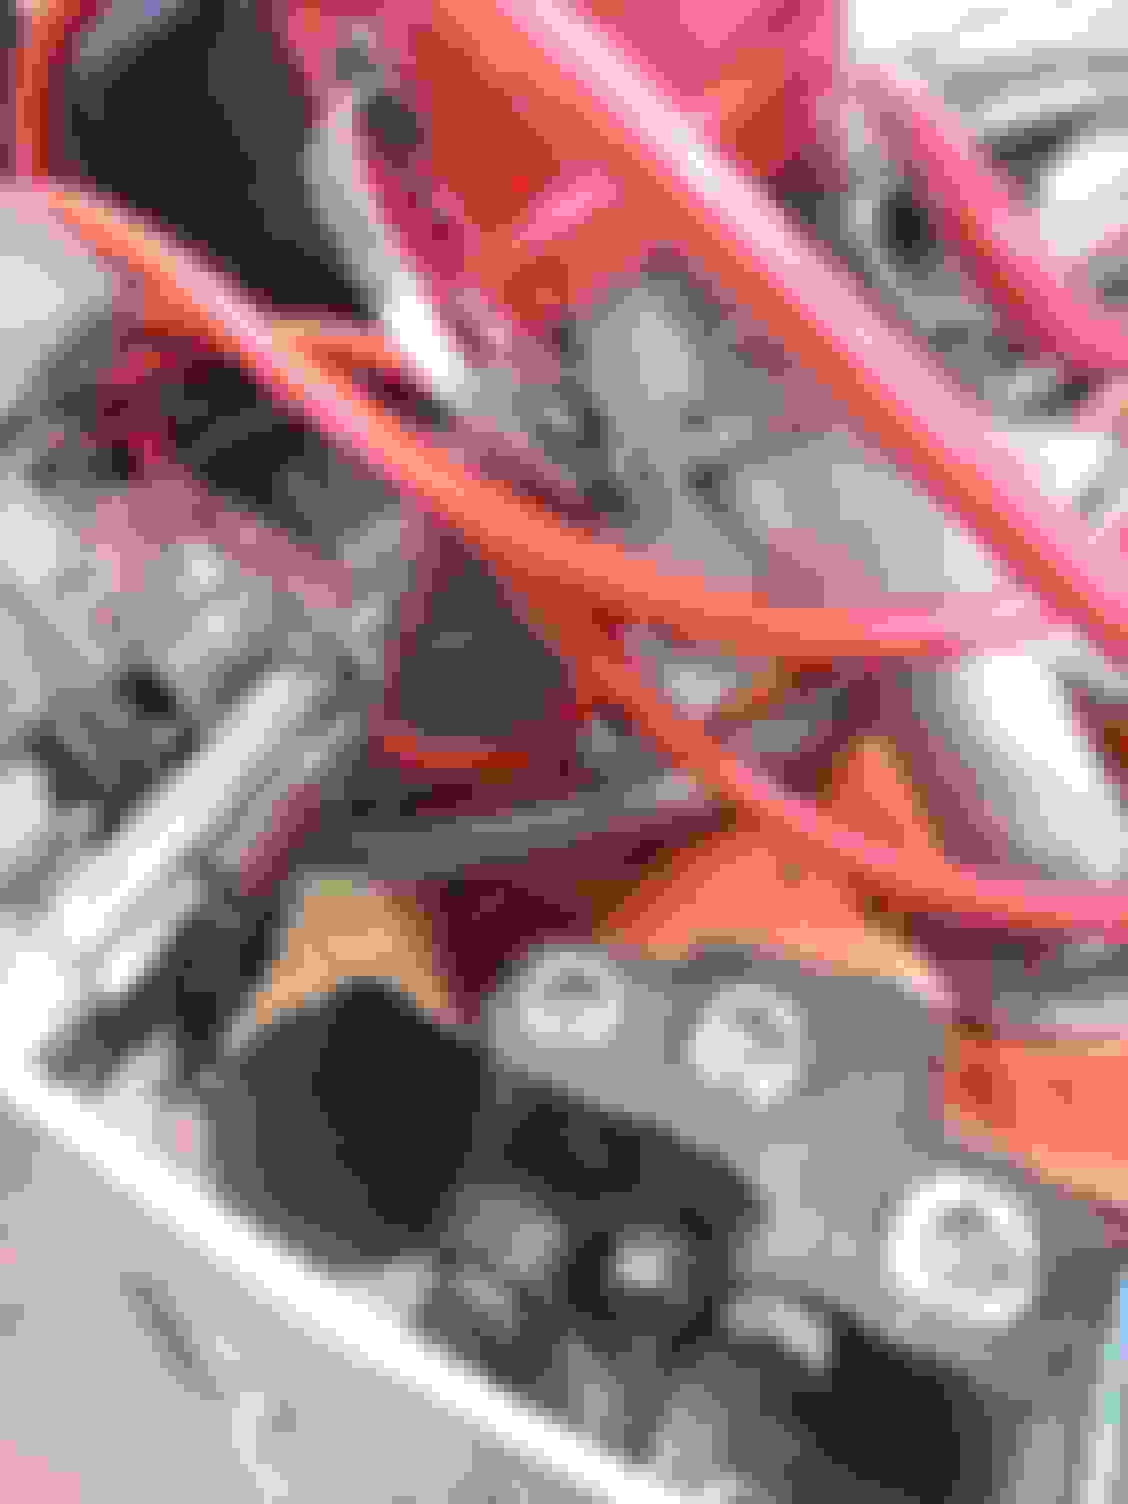
1972 440 Magnum punched out to 0.40 over, forged steel crank ground 0.10 under, Speed Pro flat top pistons, stock 440 lighter weight LY rods, Six Pac 440 Source push rods, 10* Titanium Locks, dual Springs w/ Titanium caps, stock valve train w/ positive vinyl seals. Comp cam 21-306-9 270/470 @50, MOPAR 452 heads, fully ported and polished, unshrouded valves, and port matched for intake. Wieand single plane, Holley 4160 dual feed 750 CFM, Mallory Unilite Electronic Distro & coil, and March polished aluminum pulleys. Engine machine work performed by RPM Racing Engines in Georgia, VT. Mini starter. MH water pump w/ large flow through passage, 7 quart HEMI style oil pan, Melling High volume oil pump, Mancini Racing billet aluminum rear main seal block. 74 A-727 from behind a 440 Six Pac car. Rebuilt with 4 pinion planetaries, Red Eagle Frictions and black Kolene racing steels. 5 disc clutches, hardened input shaft, forged output, 12 spring sprag, billet steel apply band strut, 4.2 ratio apply lever, shift kit. Front bumper recurved, resectioned and shortened. Ends shaped to match and hug the front fender outline contours. Air scoop cut into the center. Front fenders sectioned and the noses swept back to a 90* angle with the front of the car. 1966 Dodge Charger grill and hidden headlights w/ all trim. Modern electric motors w/ custom axles and connectors. Hand fabricated Hemi scoop, hole in hood. Fake side scoops opened and shaped with SS inserts. Rullo Motorcycle pop up gas caps on top of both quarters. stock filler door shaved.
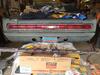
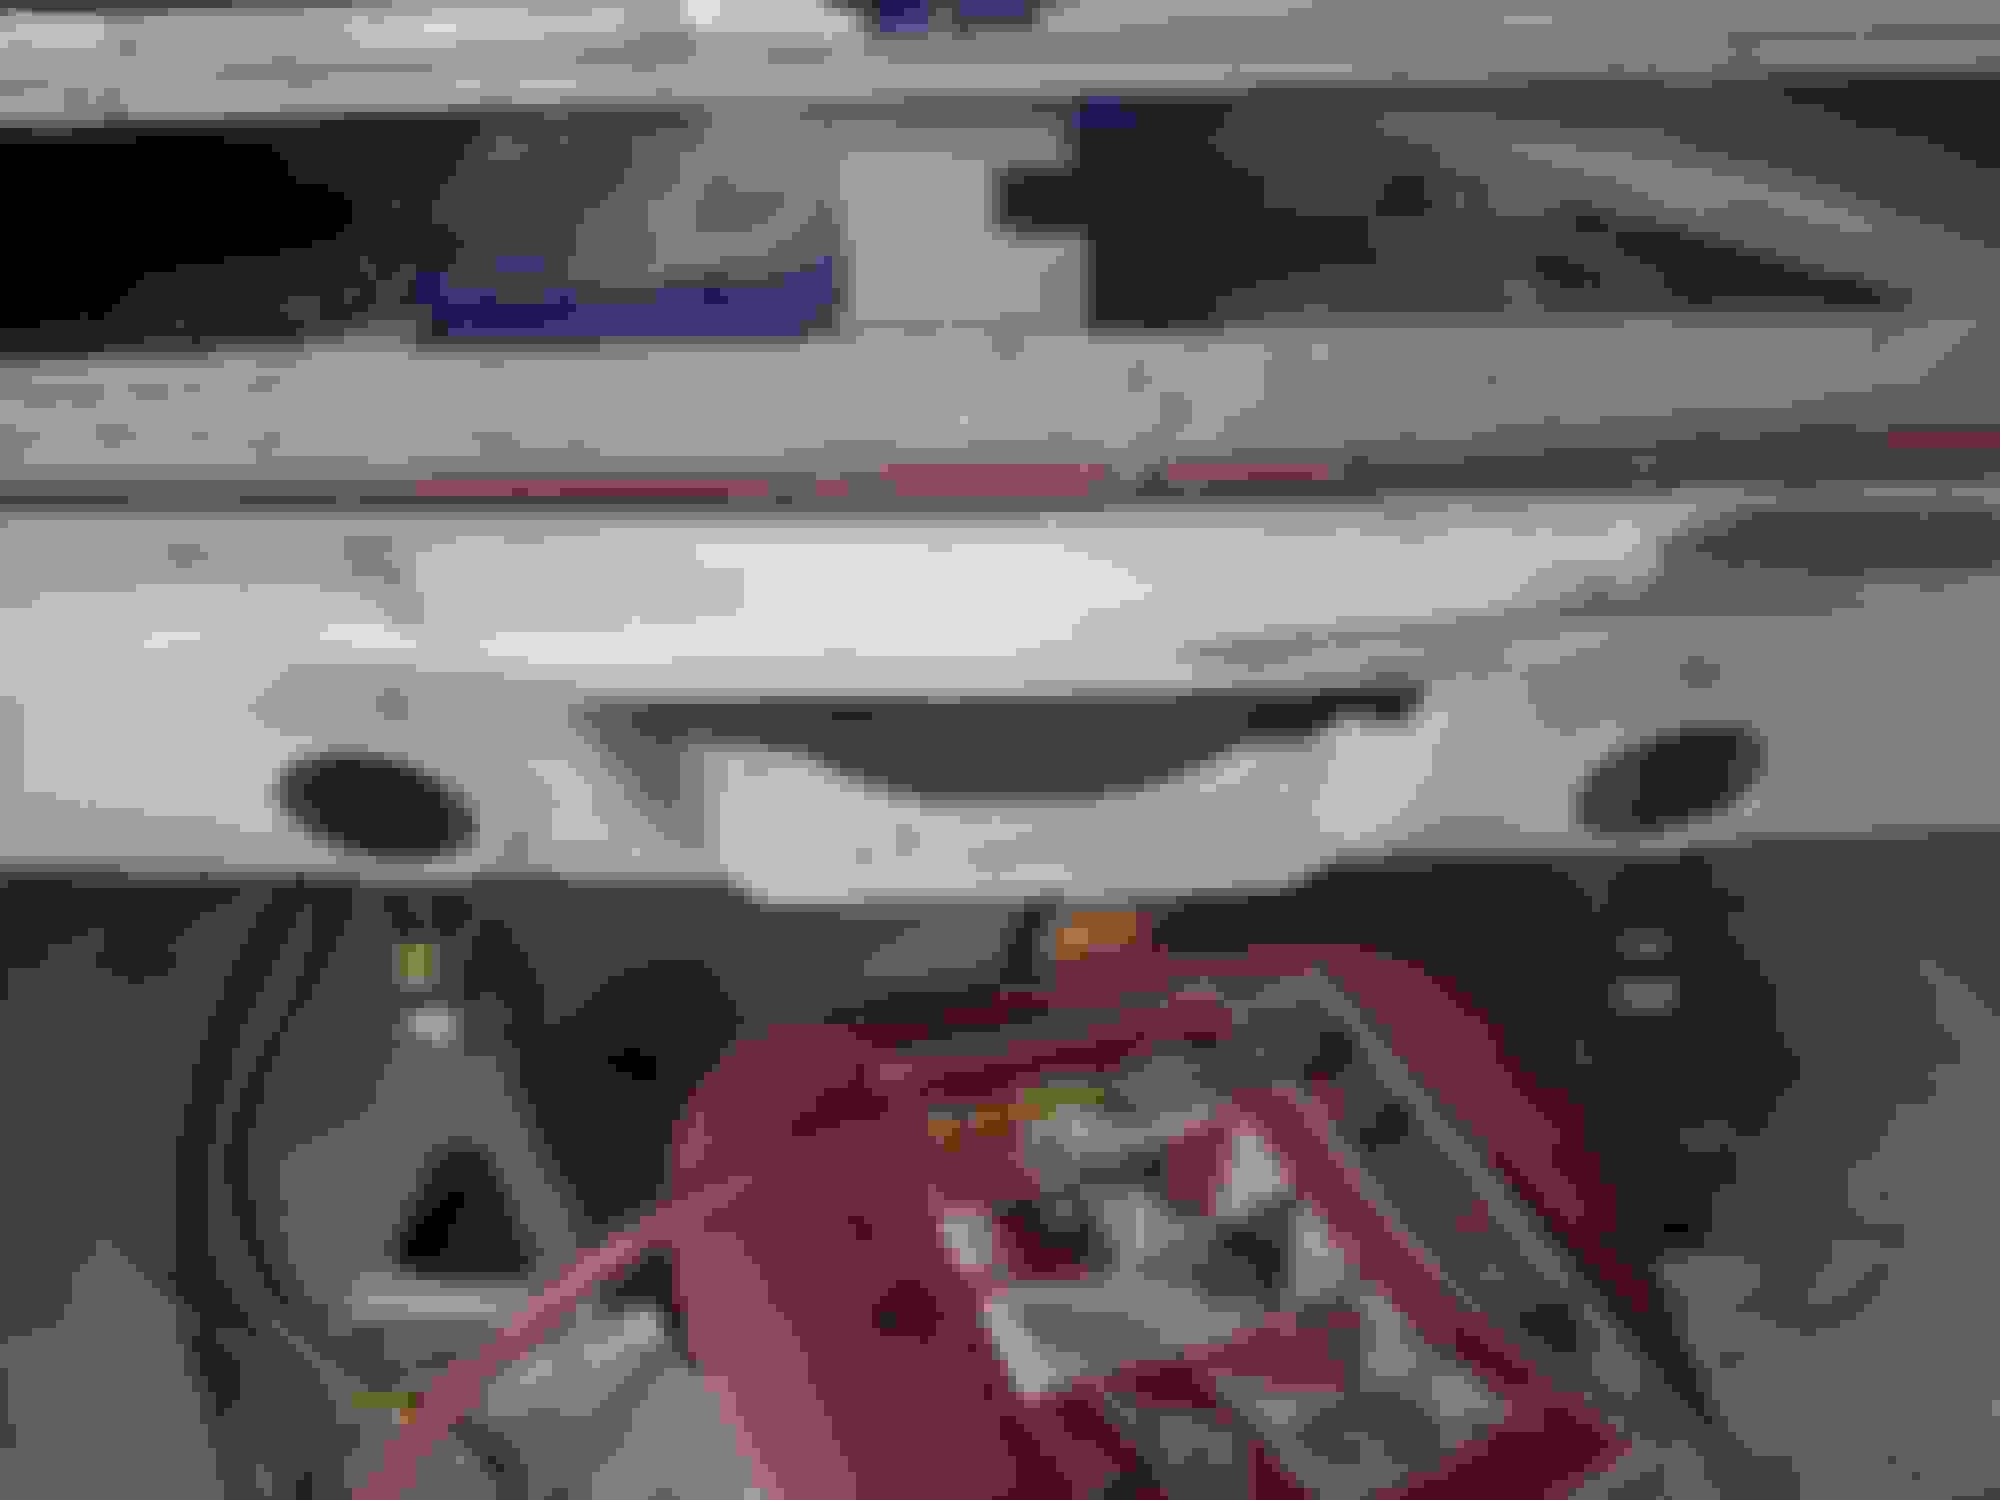
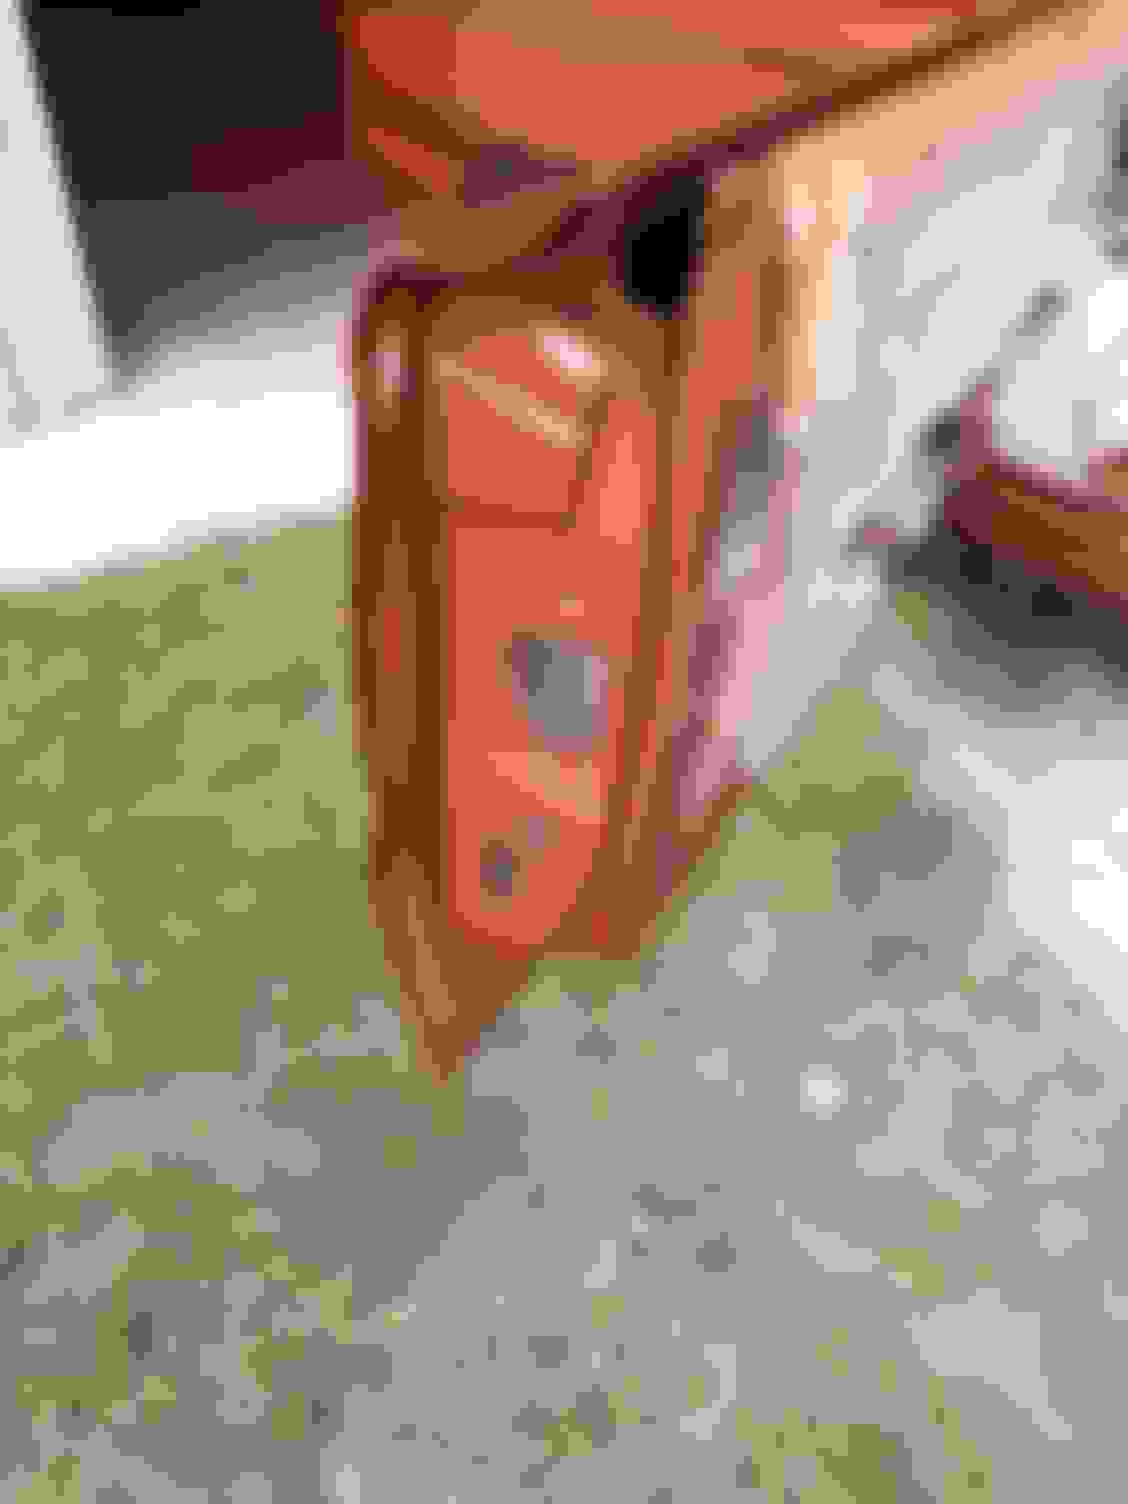
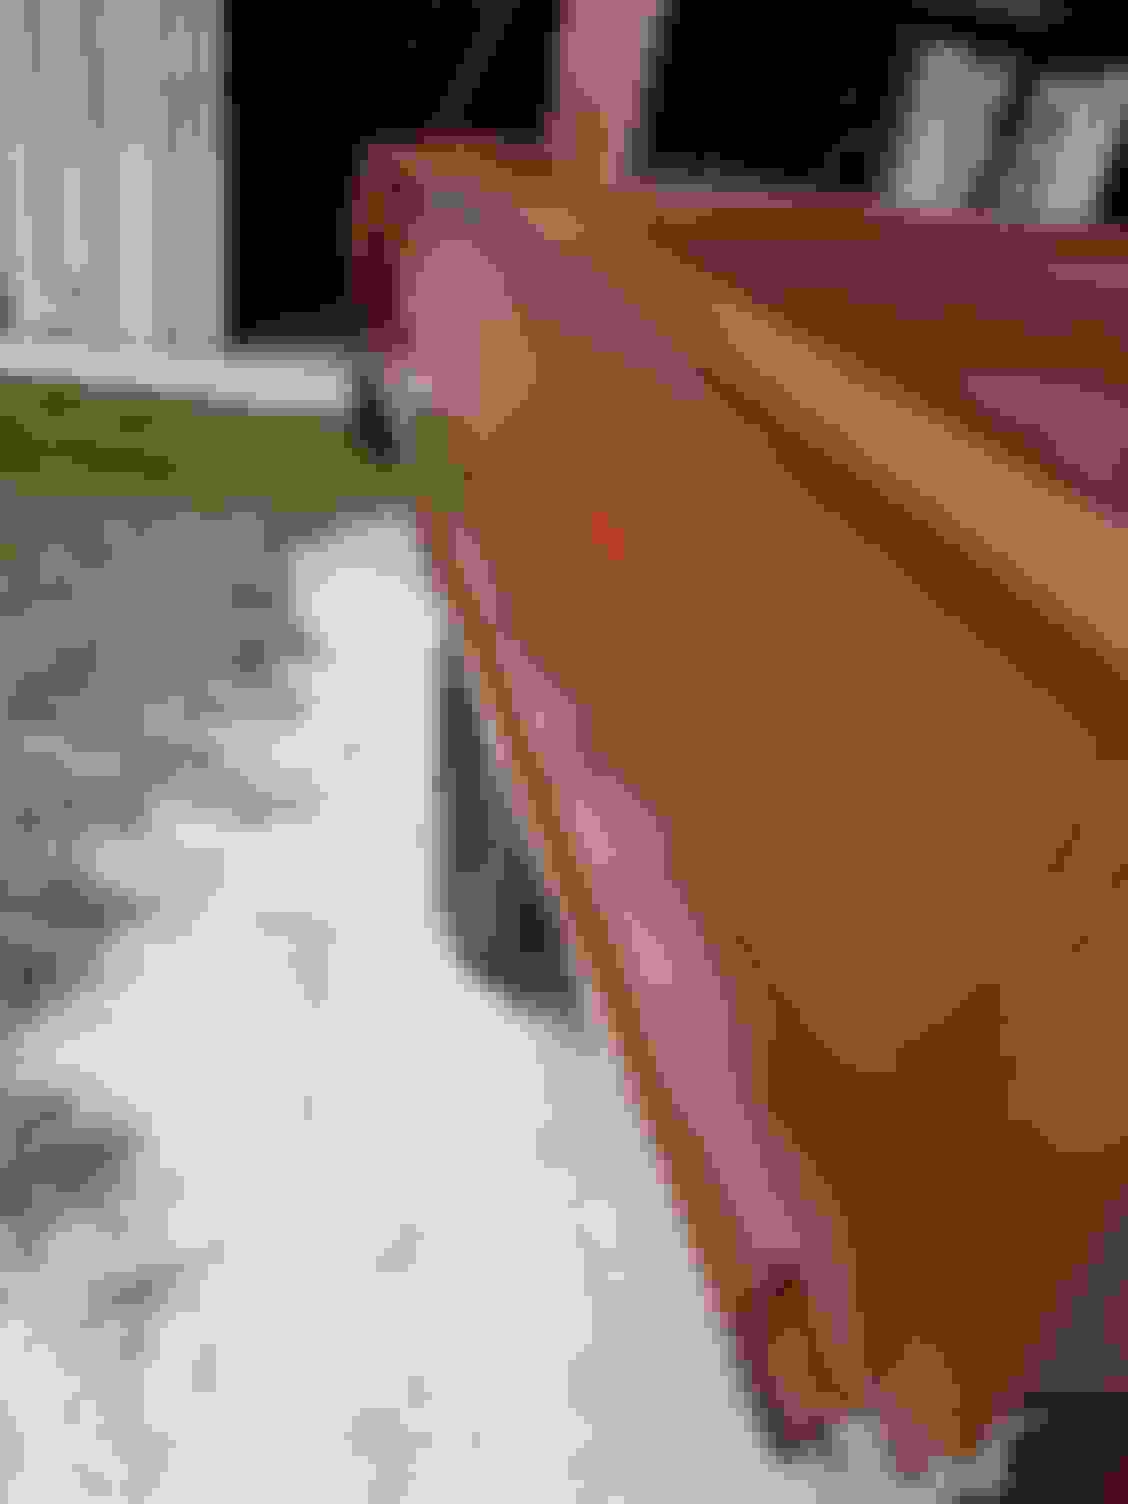
entire rear face of the Coronet reimagined to include custom fabrication to accept 1966 Ford Thunderbird taillights. 1970 Plymouth Road Runner rear bumper that has been lengthened twice for a total of 4 5/8ths inches so the upsweep at both ends will flow into the quarter tail extension outside edge profiles.
Exhaust tips to extend out of the backup light holes. Trunk floor replaced with a flat floor. wheel wells mini tubbed leaf spring relocation kit installed leaf spring axle pads relocated inboard
17-gallon aluminum fuel cell on trunk floor with two filler necks, one for each quarter mounted pop up. Fuel hoses/ pipes passing through the gas lift mounts. Gas lifts on fabricated mounts for the deck lid.
Fabricated trunk close out panels with carpet on three sides, the rear panel is a '70-inch-wide fabricated piece enclosing the 66 taillights. blast barrier between cab and trunk. 3.8" aluminum fuel line w/ AN fittings and roll over valve.
area immediately behind front bucket seats is covered by a fabricated Roadster type three-piece panel that is headed by a 1967 Plymouth Satellite rear seat topper.
2006 Volvo XC-90 baseball stitched leather buckets with 10-way power and heat plus power lumbar.
2004 AUDI A-6 Quattro AllRoad dash-console-stereo-digital/ programmable heat/AC, center pull E brake, floor shift console, Audi steering wheel. custom hand-built door treatments incorporating sections of the AUDI door panel including the release and pull handles, the lower storage cubbies and the CD changer controls. The doors have the accordion wiring pass through boots and frames installed as well as the white puddle lights on the bottoms and the red marker lights on the rear facing of the doors. Audi Symphony Stereo speakers (9) with three in each door. power windows and door locks Heat mat on floors and roof. Custom fabricated shift lever mount, E brake mounts, Console mounts and linkages. Pistol grip shifter custom formed with Black Ash wood handle. Bespoke leather/vinyl covering throughout. Factory tinted glass all around with limo tint applied to rear quarter windows and back glass. New fuzzies and seals. 3" TTI exhaust through turbo mufflers. Front disc brakes on 1976 Plymouth Volare spindles.
1966 Thunderbird Sequential taillights with controller.
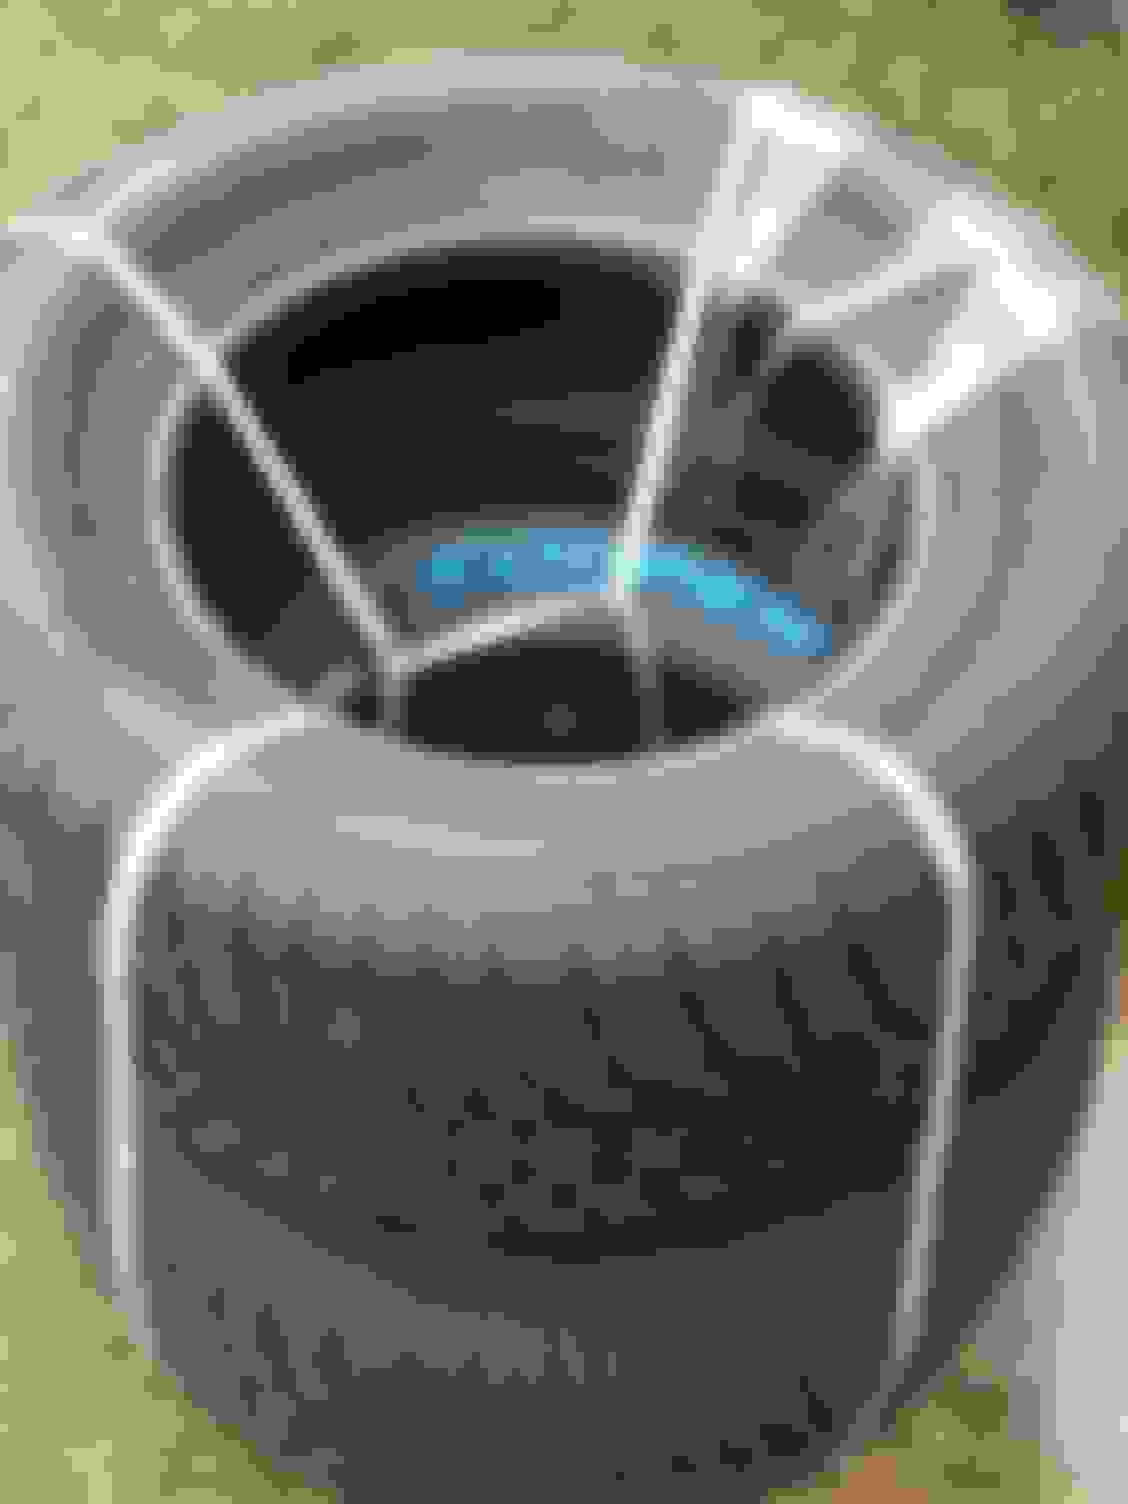
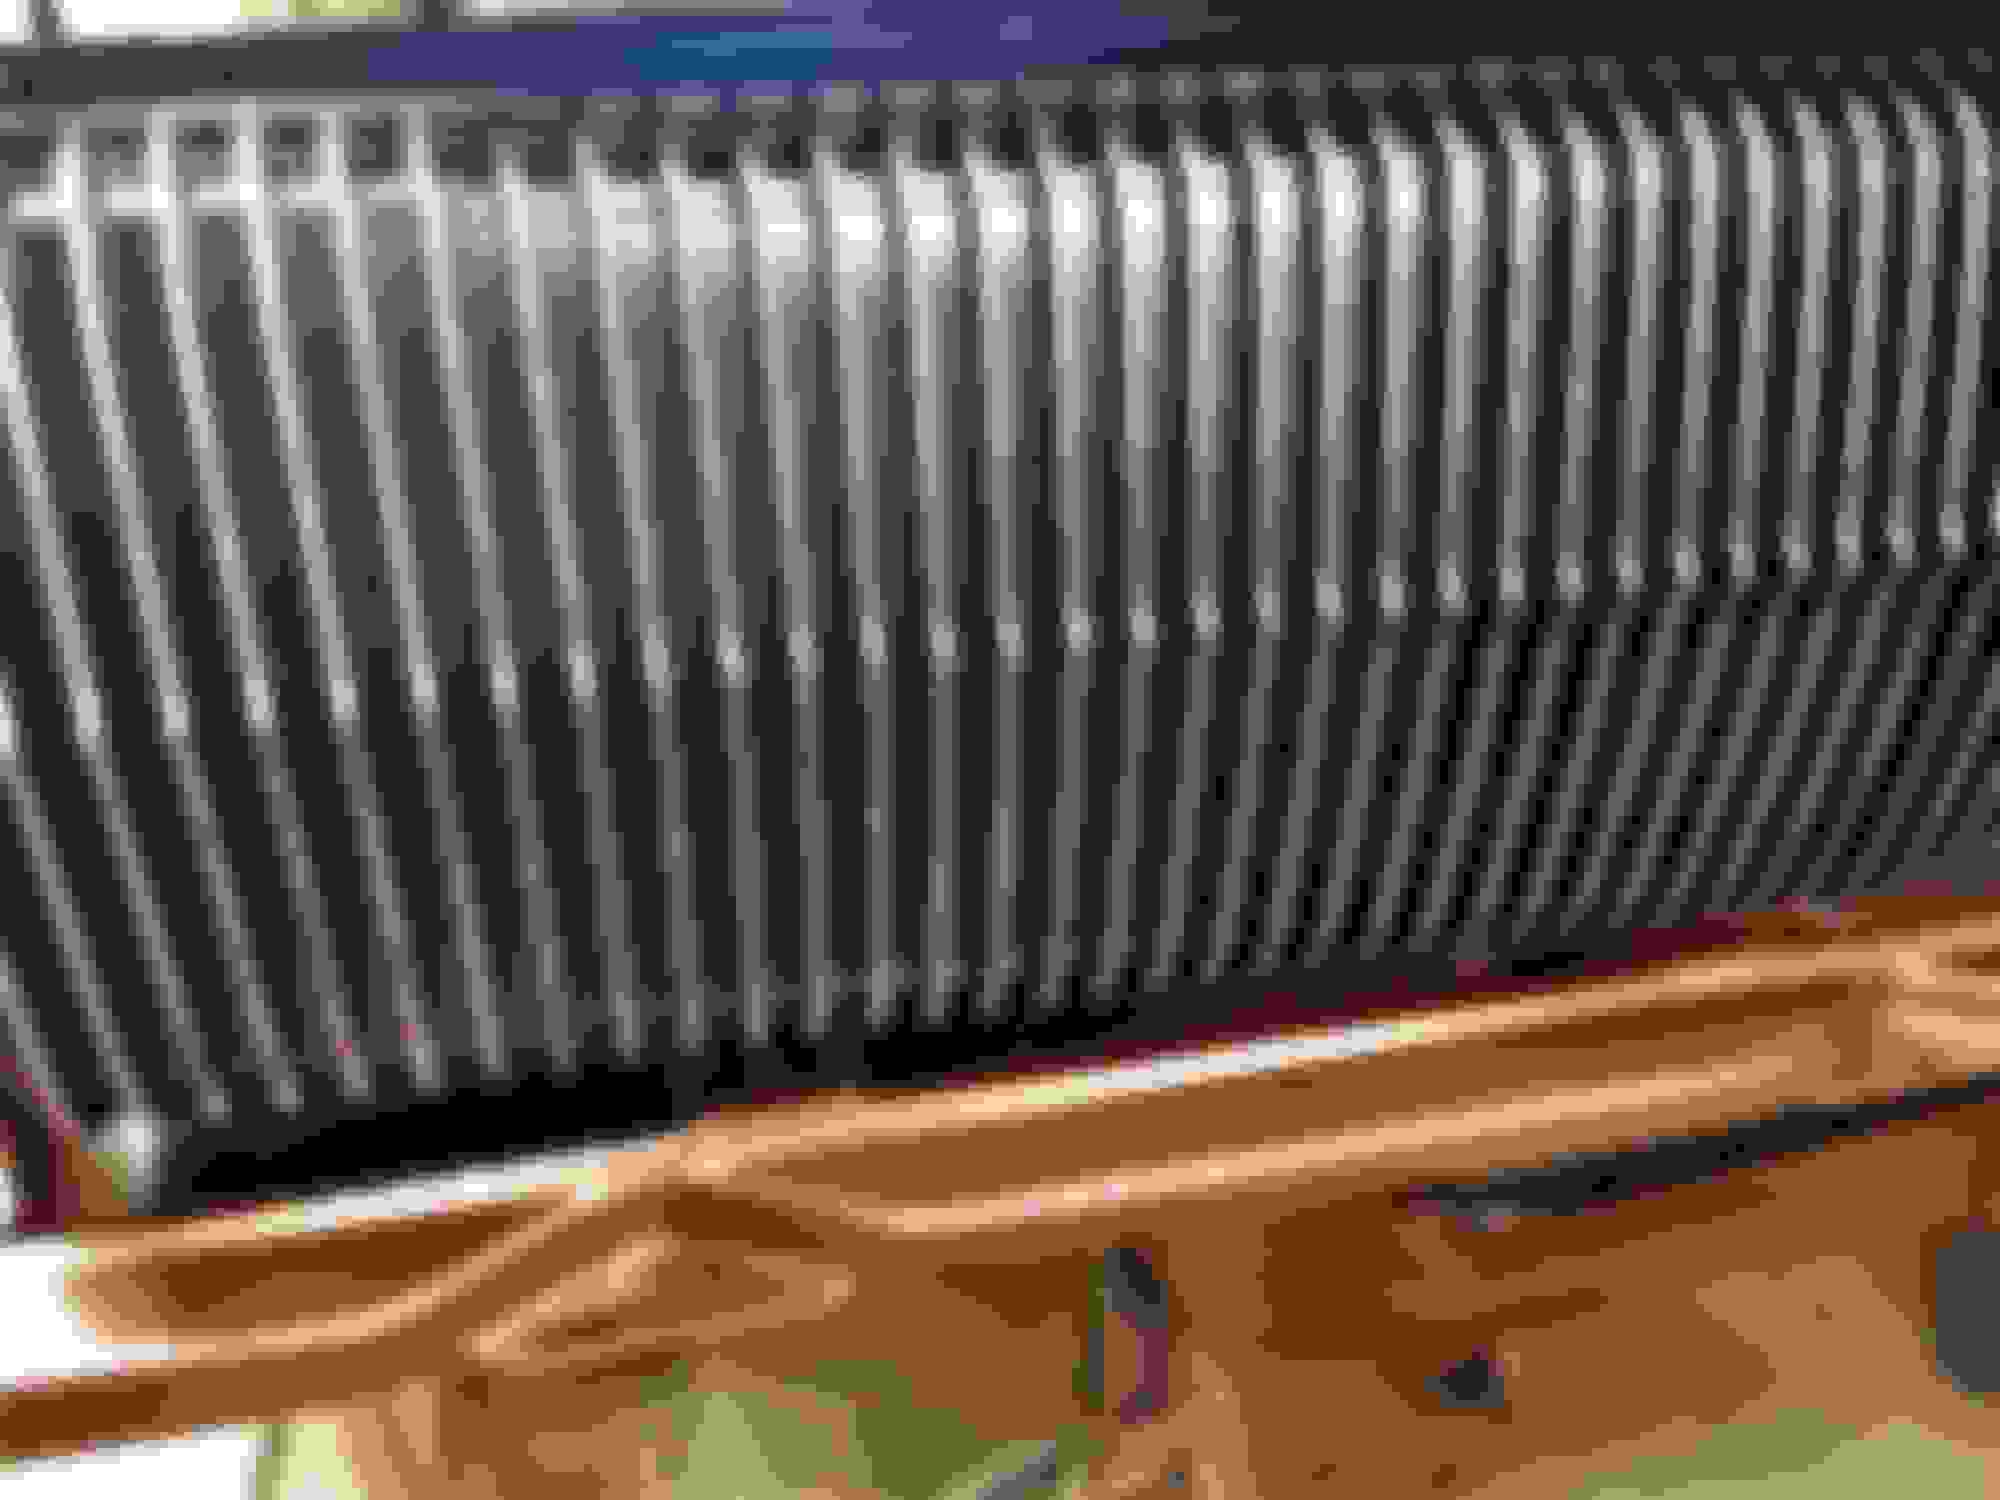
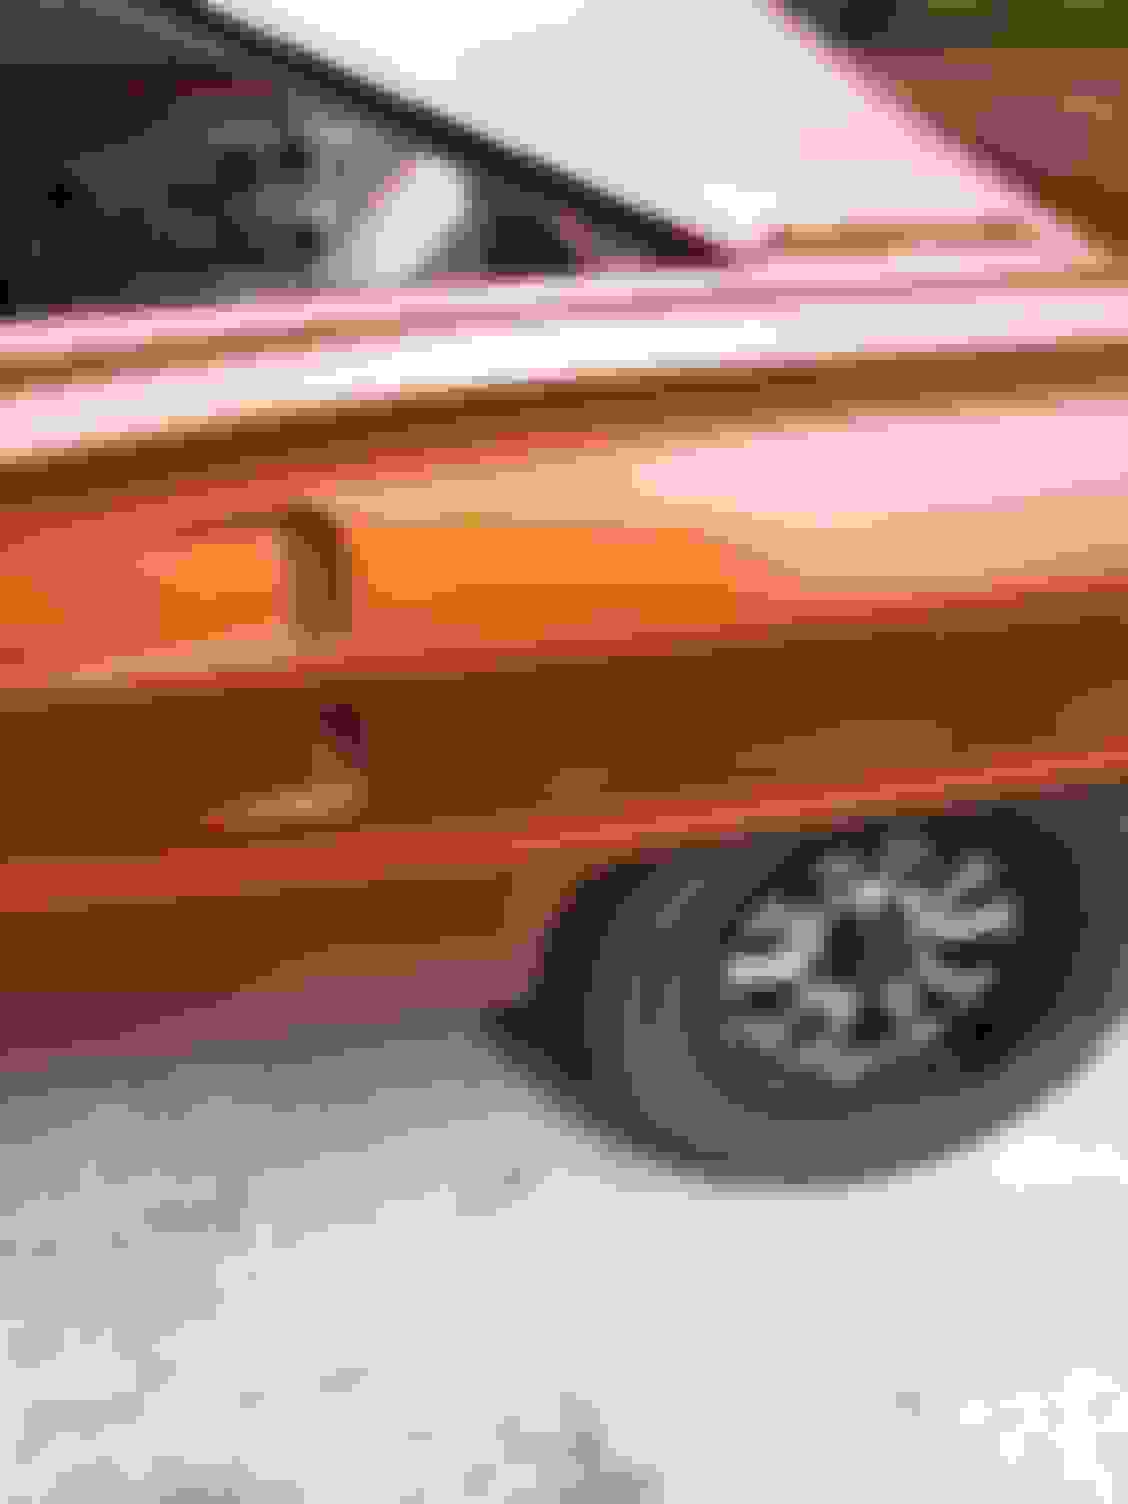
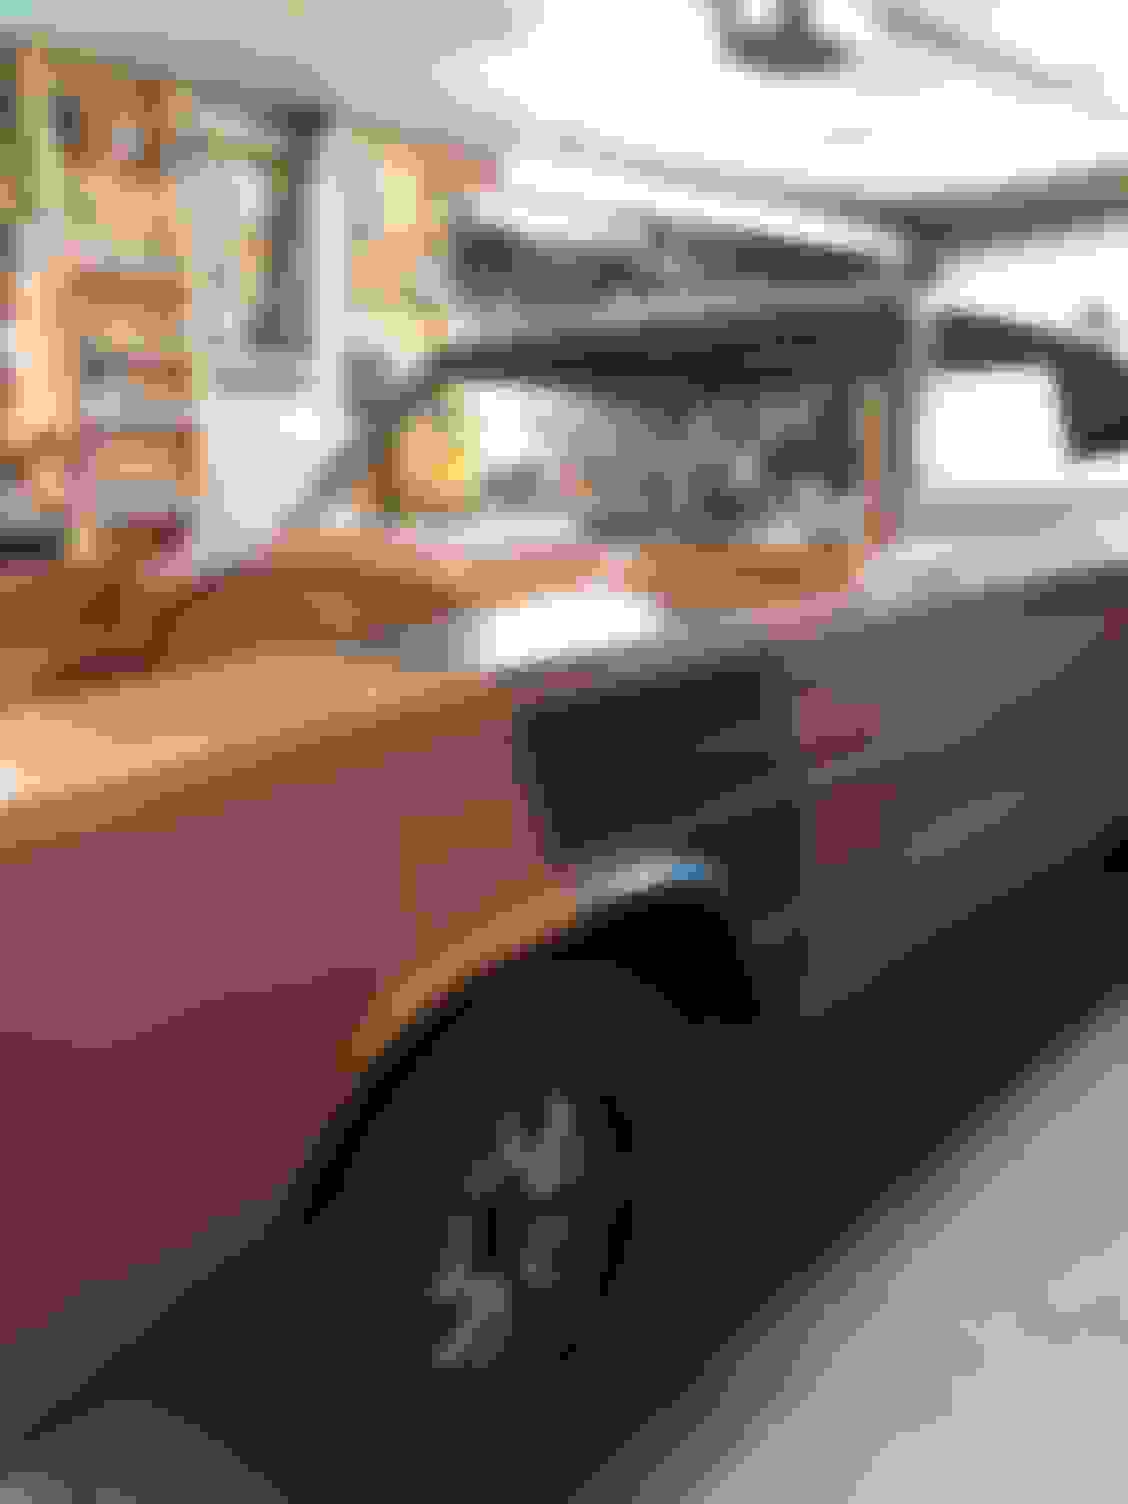
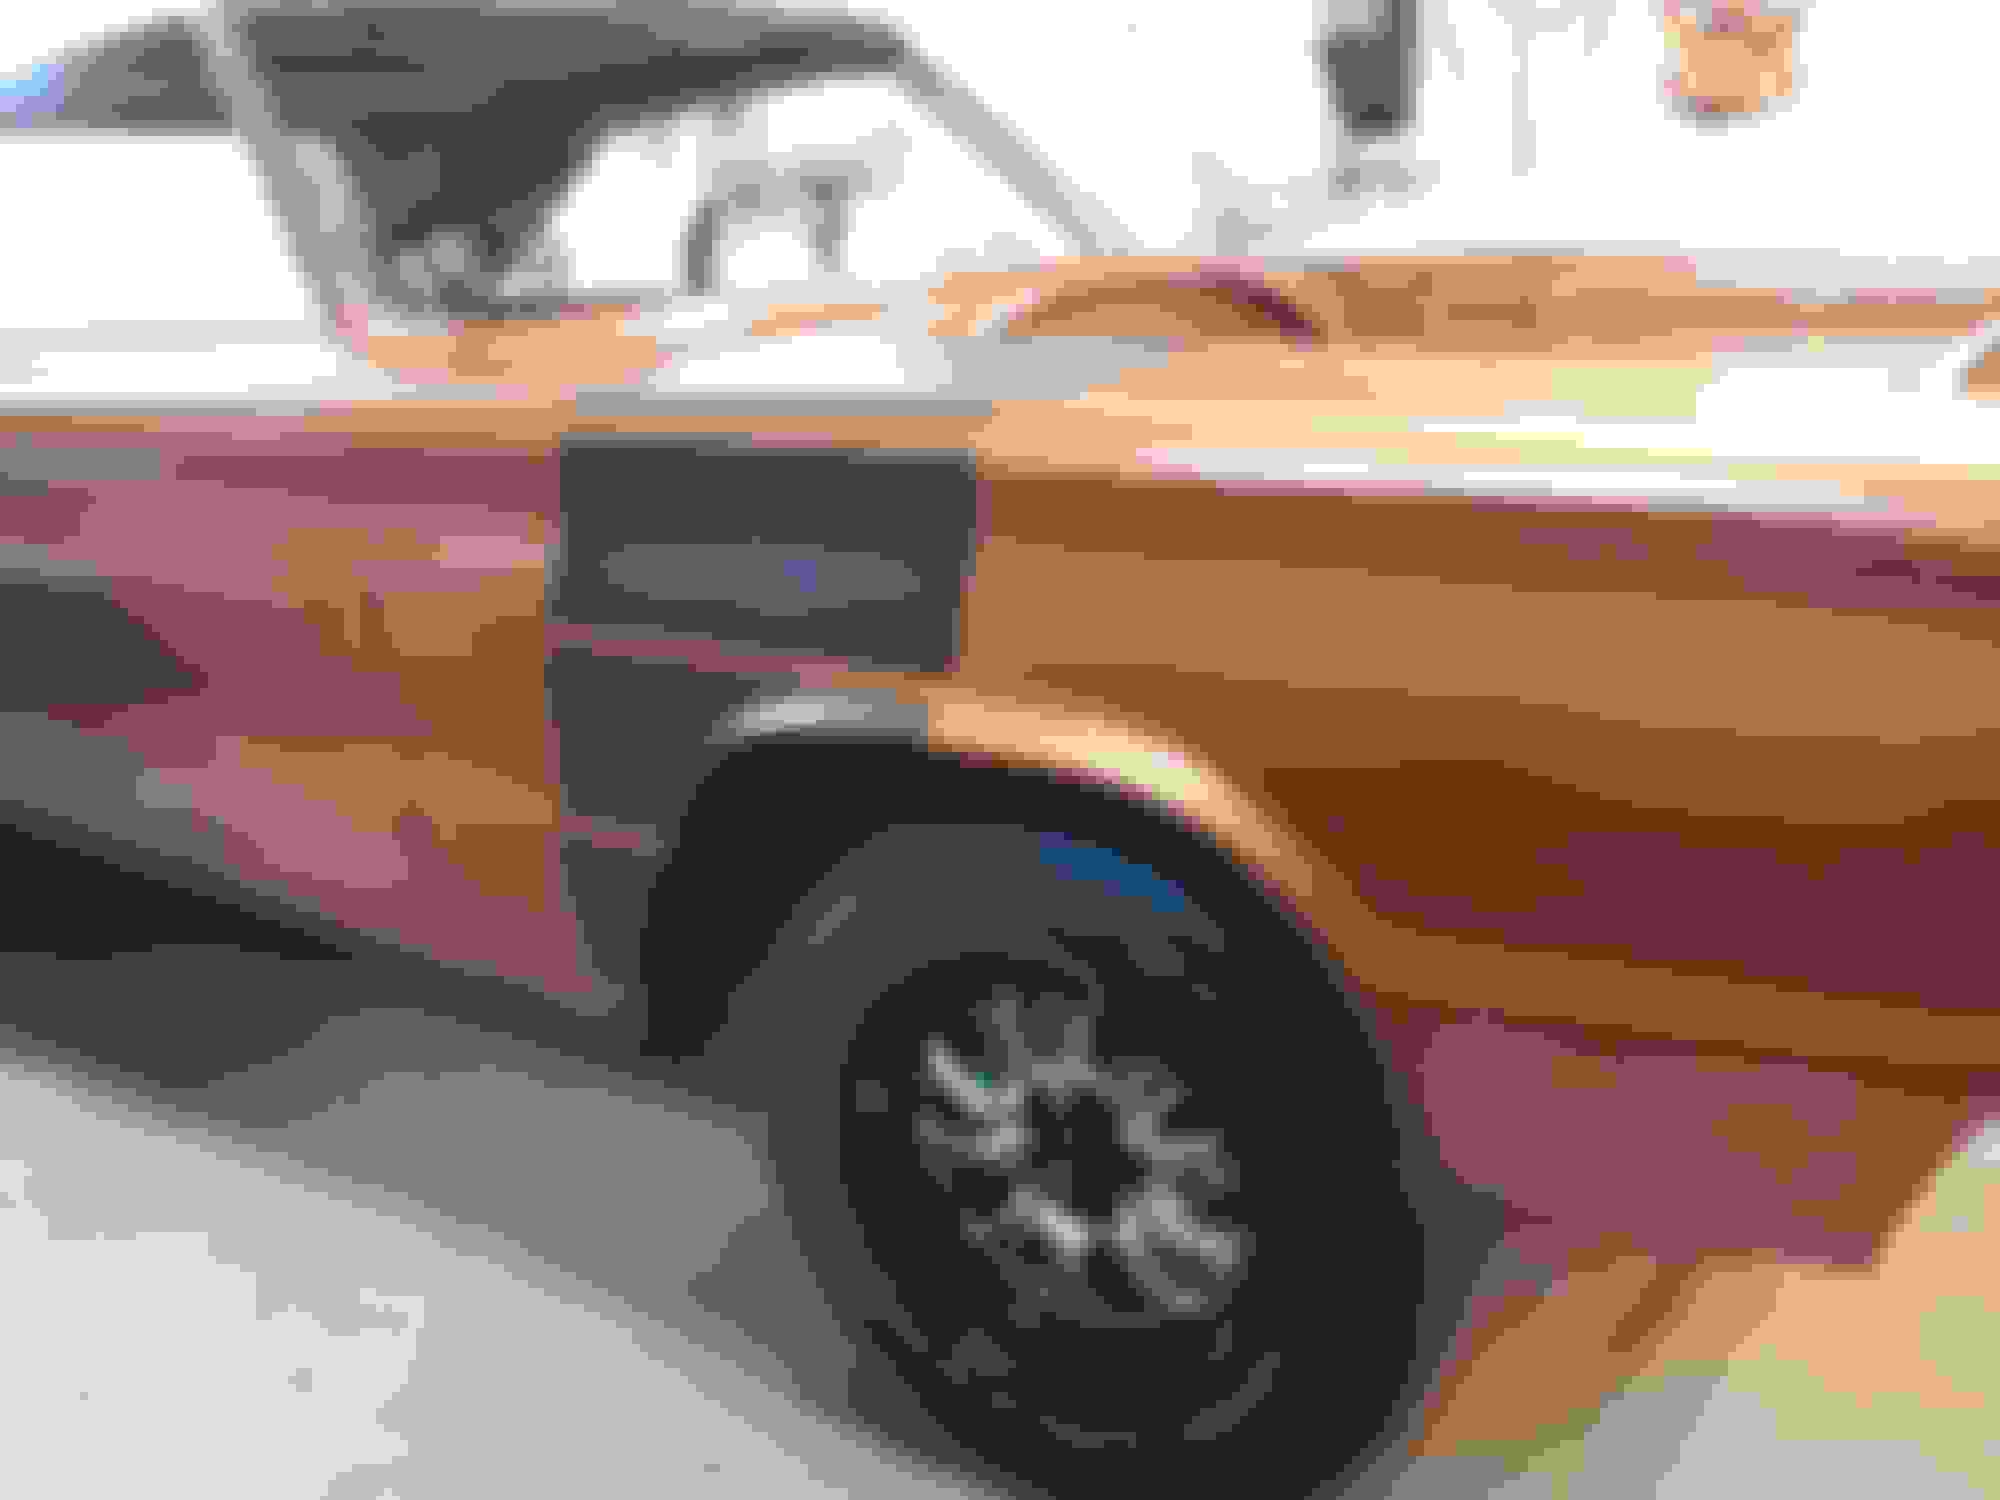
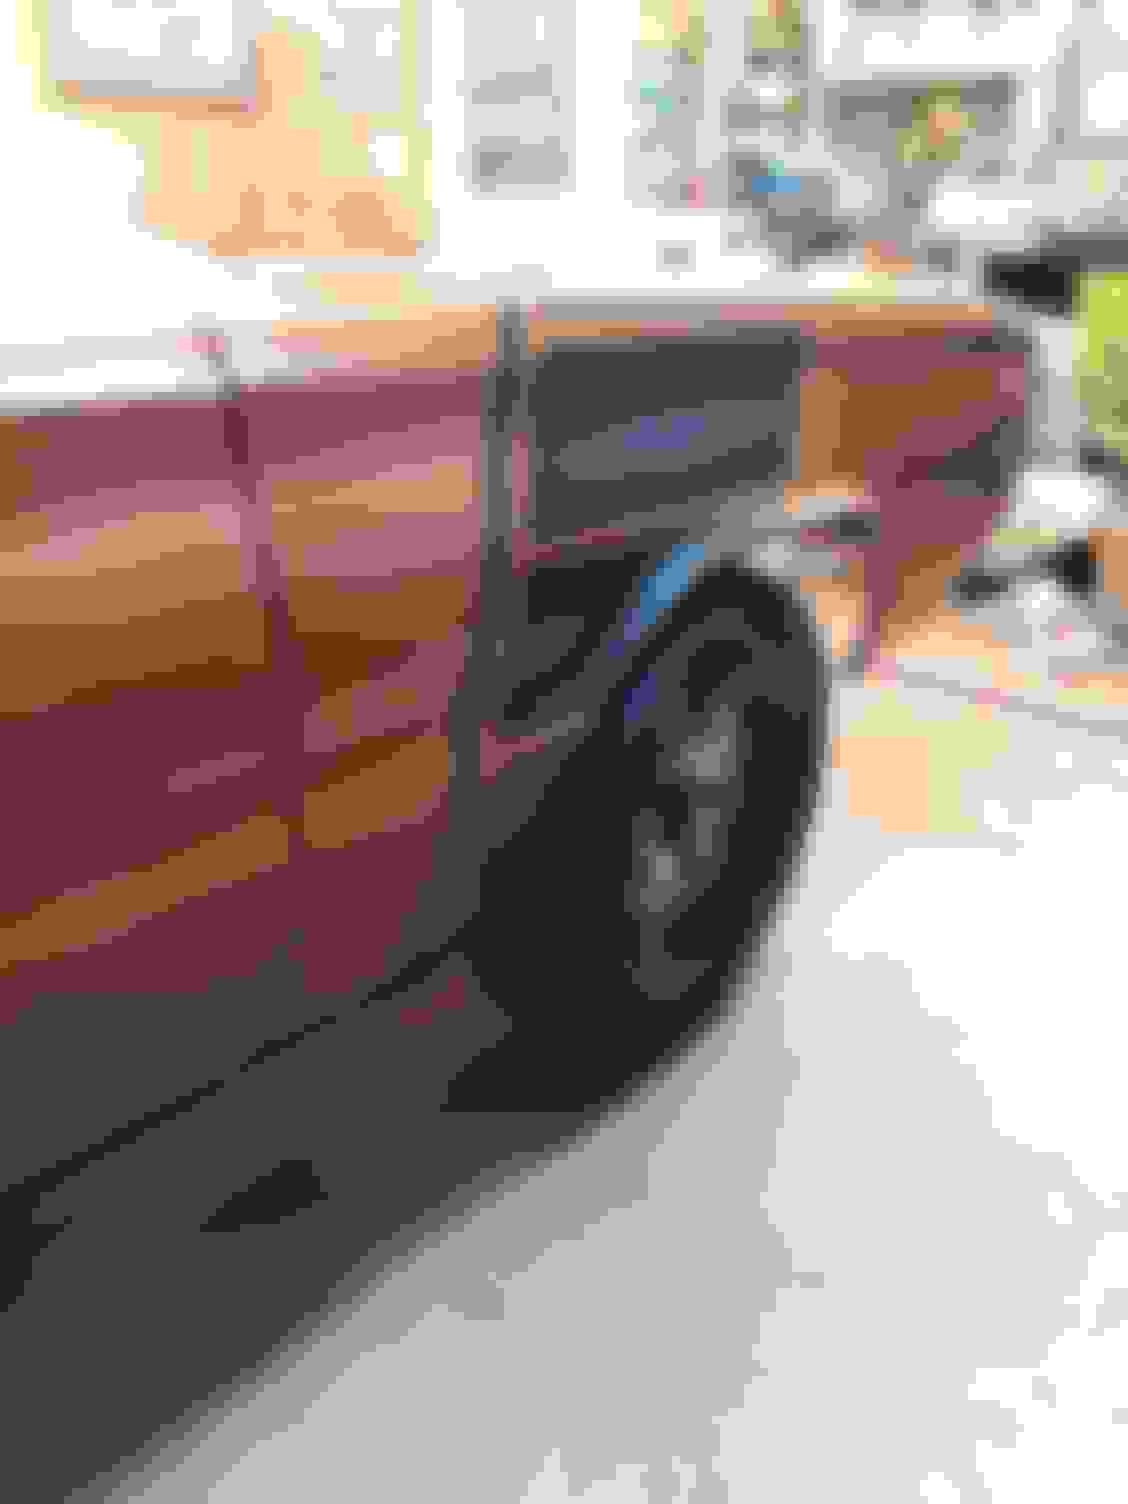
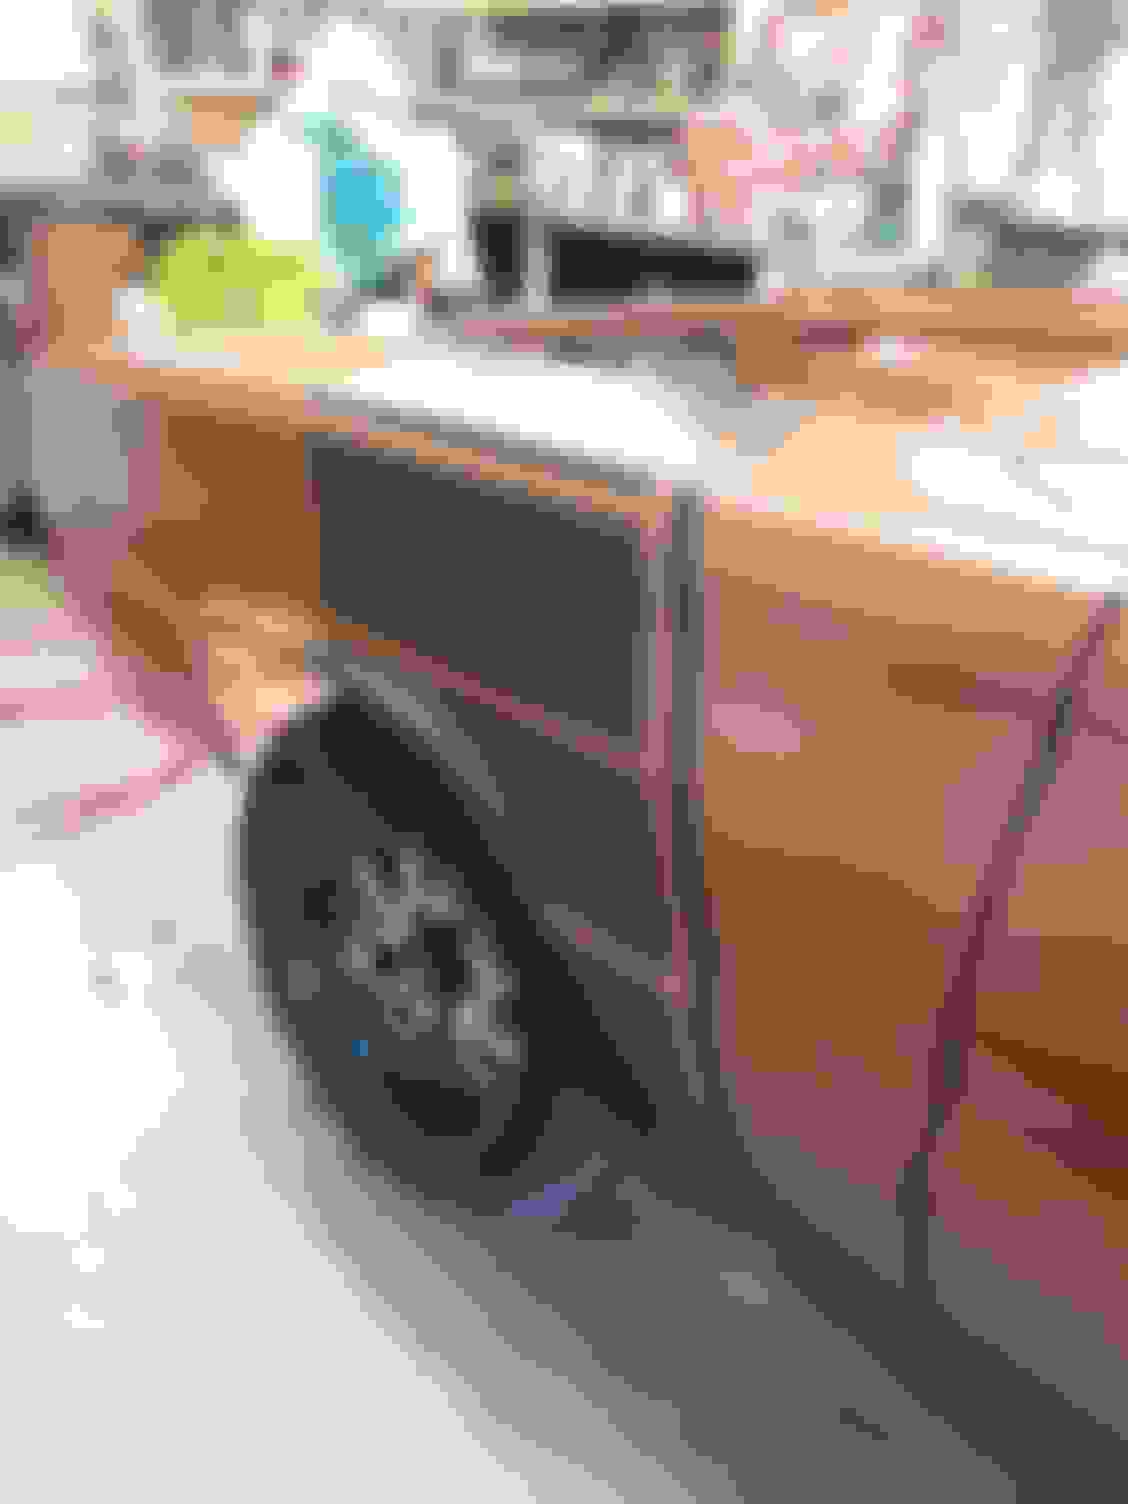
Jegs Spikes black painted wheels w/polished aluminum accents 10"x 15" rears with backspacing over 7" to center the wheels in the tubs, fronts 15"x 8". Cooper Cobra Radial GT rears in 295-50-15 and Cooper CS5 Touring radials 205-70-15 on the front. 26" wide 4 core radiator w/ 16"x 12" x 2" trans cooler. Custom spare tire mount under Roadster panels where the rear seat back would be.
More on the Yankee Express:
After getting it down to a bare shell I began the tasks of modifying the car. Starting at the rear with the big job of reinventing/ designing the entire rear face of the car. As I got into it, it snowballed. lol. Every change begat yet another change or problem to be overcome. I gained new respect for automobile designers. It's a tough and complex job.
In order to incorporate the T Bird light panel several changes would be needed. The quarter panel extensions on each side would have to be reshaped to match the ends of the light panel which are slightly taller and a little narrower than the stock lights. The issue of the trunk lid hanging down in a waterfall was solved by cutting the lid overhang off and reshaping it to stop ABOVE the light panel. This meant the trunk seal rail would need to be raised above the light panel as well. All to be fabricated from scratch.
The area around the light panel had to be designed and built to hold the panel and work in concert with the existing structures of the quarters. The rear bumper became a1970 Road Runner unit and after test fitting was cut in half and mocked up to find what length needed to be added to the center so that the ends would match the upsweep of the quarter extension edges. 4 5/8" as it turned out. In order for the 3"TTI exhaust to exit through the back up light holes the trunk spare tire well needed to go.
The ends of the rear bumper were also recurved, bent around towards the quarter surfaces. In order to hug closely the sheet metal of the quarters I would need to cut out the pockets on both sides and fabricate new ones that mimicked the leading bumper end edges. The 1967 bumper mount brackets would not work with the 1970 bumper and the 1970 brackets didn't allow the bumper to sit where I needed it to. Nor at the required angles. Slicing it in half allowed me to work with half of the weight of the heavy bumper and also allowed me to see behind the thing to figure out what needed to be done, and how to do it, to get the thing hung where I needed it to be. It turned out that the 70 brackets needed to either be held out away from the rear of the car by about 1 1/4" OR the bumper itself needed to be held out from the brackets by this much, and a little less at the bottom mounting holes. I wanted to be able to stand behind the car and look at the sides and see a continuous profile curve top to bottom. No mean feat.
I tested many different standoff measurements for each mounting hole in order to get the bumper to sit at the height and angle that I needed. Many hours spent sitting there and fooling around with spacers and nuts and sockets used as spacers to find the right numbers.
While working on all of that I decided that since I had to cut out the spare tire well the fuel tank had to go too. Not safe to have it hanging down under there without the well to protect it. Also, I never could understand why Ma Mopar decided to mar those beautiful Coke Bottle quarter panels with a huge ugly flap door for the gas filler. What a BAD idea that was. I needed correcting. Having made that decision, the next one was where to place the gas filler neck? I thought about using a 69 Charger type cap, placed up on the quarter panel top. Too clunky, and obvious. I needed stealth.
Enter Rollo motorcycle pop up weld in bung gas fillers placed on the quarter tops next to the trunk lid edge front corners. I started out with only one, on the left side. My pal Rick told me I needed another one on the right for symmetry. He was right. Wanted that outside curve... This shows the missmatch of the bumper before fabrication. After fabrication the bumper ends hug up tight. Gas filler door gone. two caps. Welding them in... Stealth! Trunk lid fabrication. Trunk lock fabrication mockup Mismatched ends. Center section back together and bodyworked.
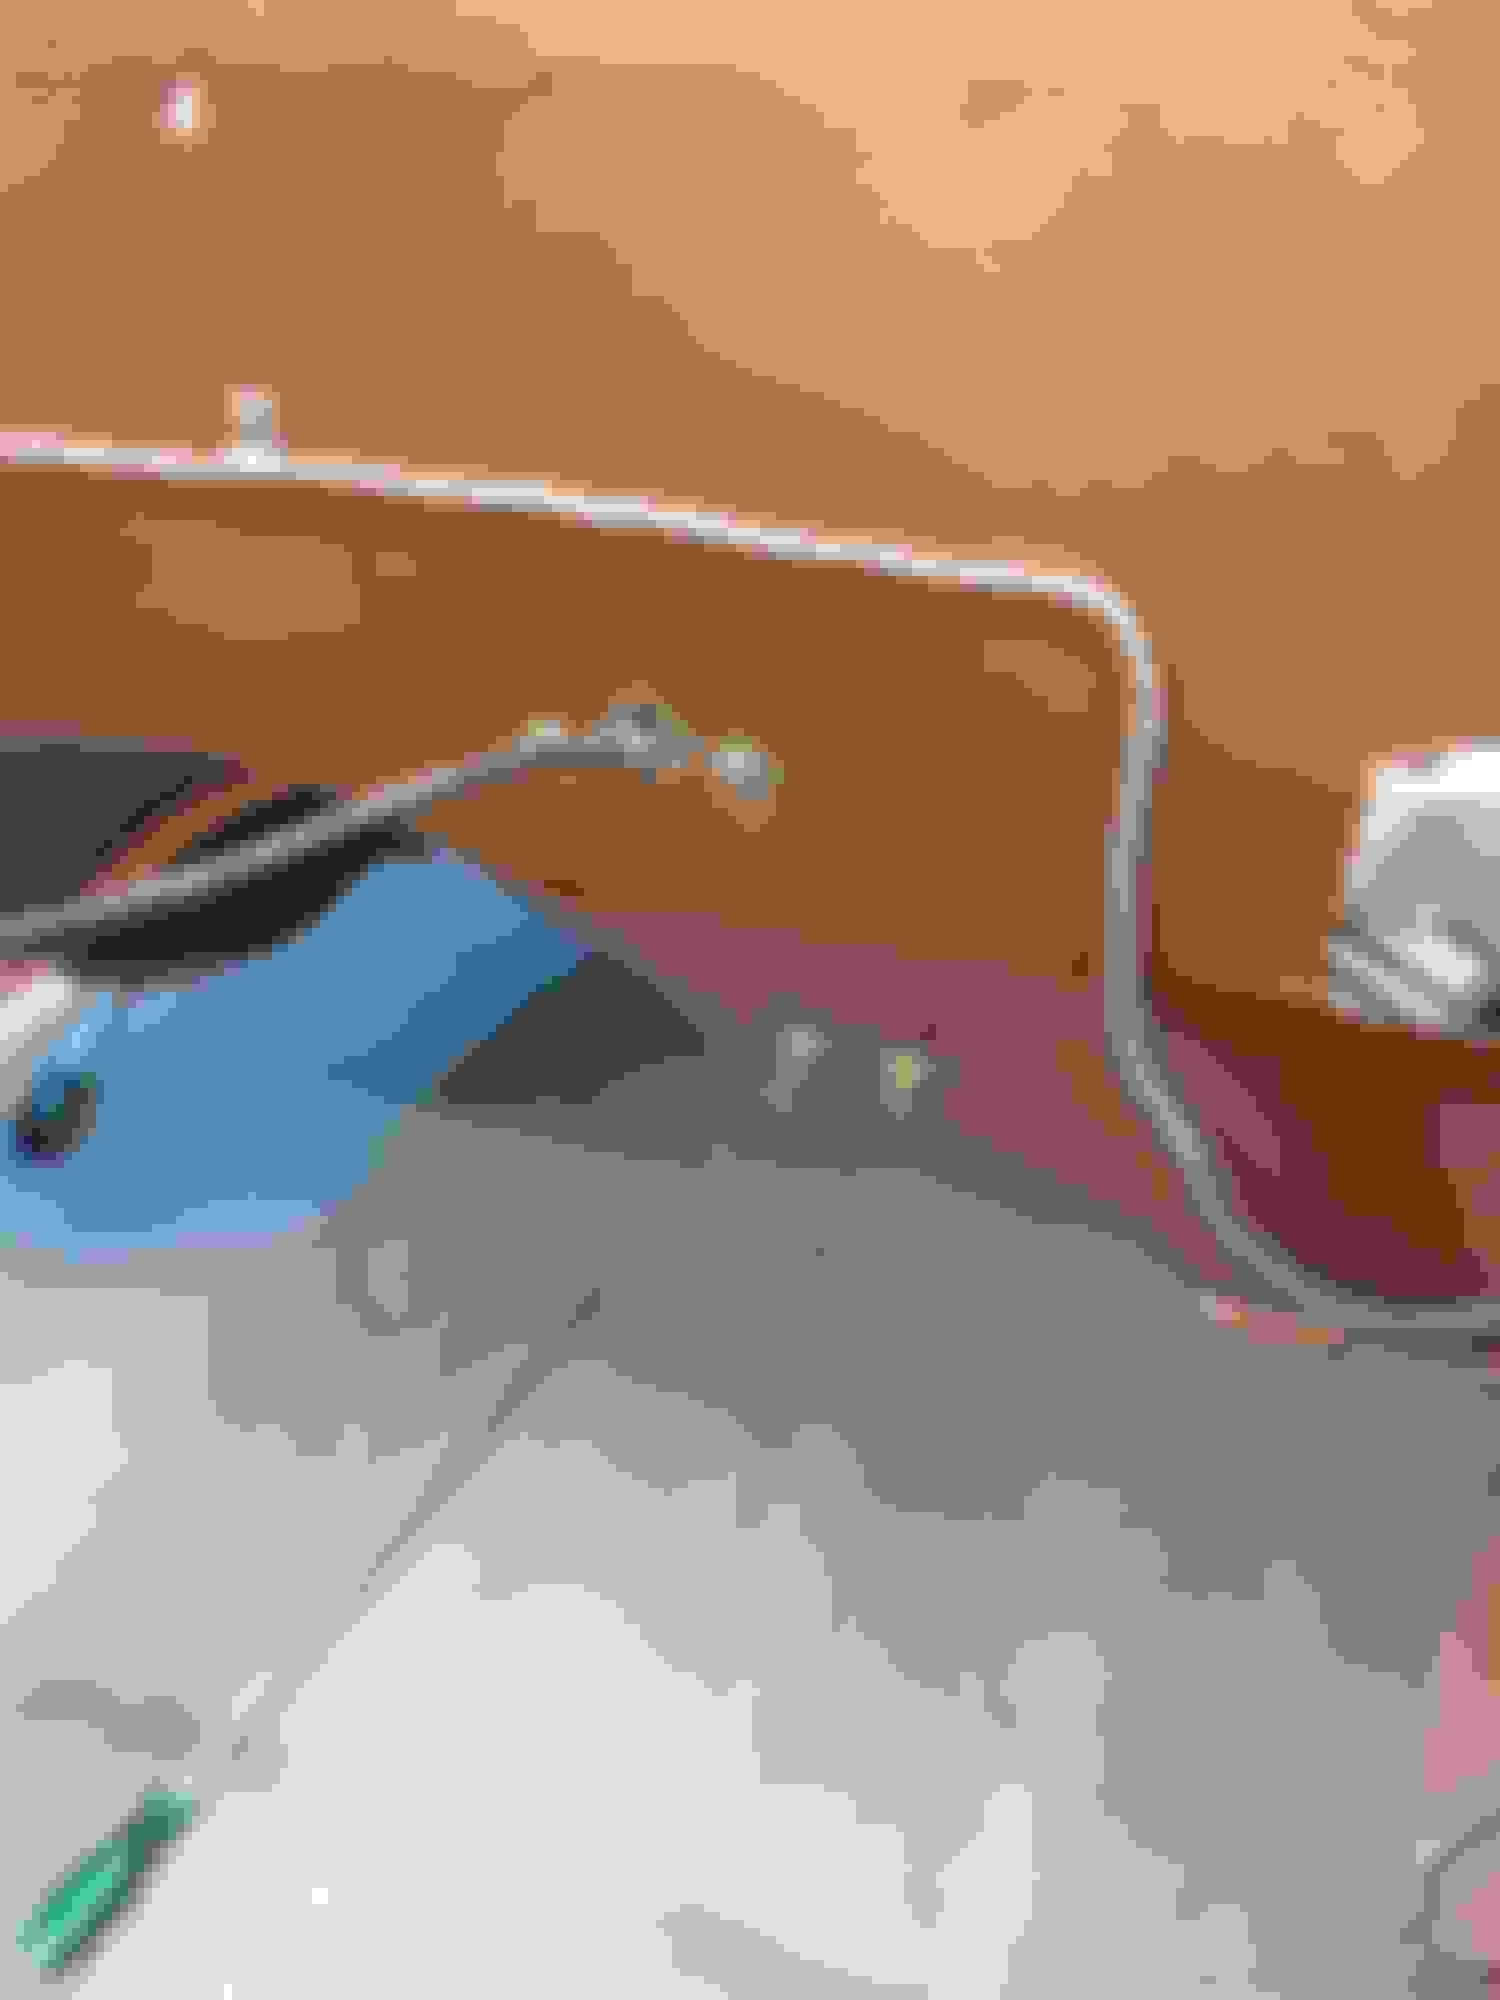
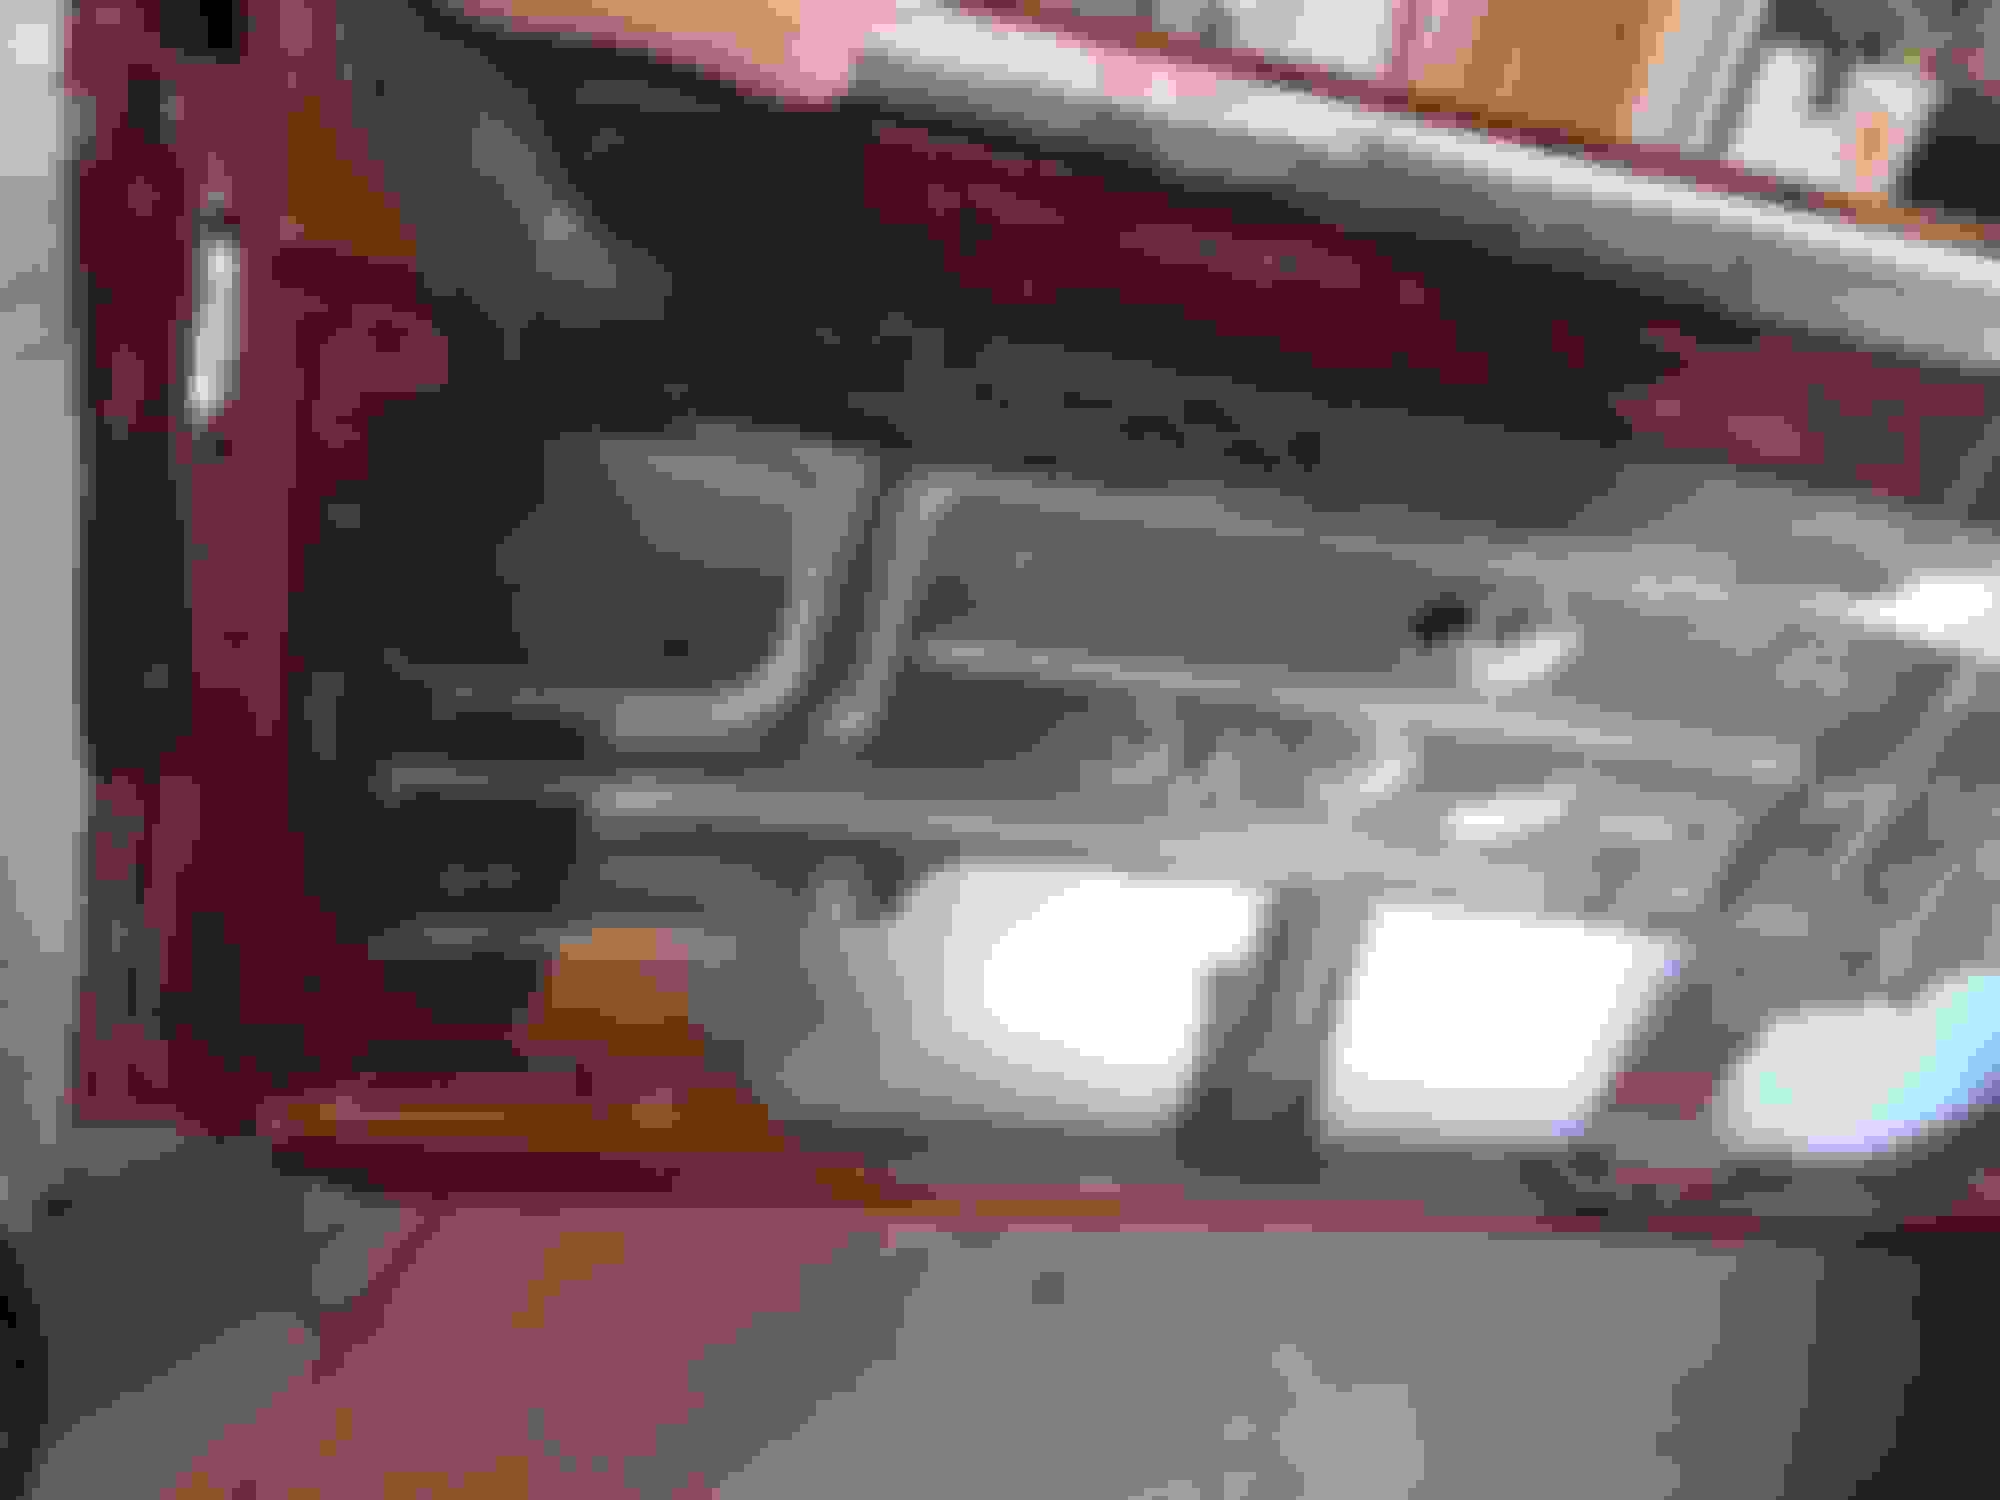
After the caps went in I needed to figure out plumbing to a fuel cell. I got a 17 gallon aluminum cell and added another neck to the right end of it. I had already made custom bracket mounts for the gas lift rods that raised the trunk lid and they were in the way of the filler hoses from the caps down to the cell. So, I thought, why not place steel pipes down at an angle through those mounts and weld them in place. Then connect the caps to the upper end via fuel hoses and the lower ends too. So I did. Very trick. lol. The Trunk latch was another issue in that he needed to be moved up but still had to miss the taillight base panel and the bulb socket pigtails. The [placement had to be spot on in order for the lid to latch correctly and line up. Lots of hours there fooling around with that equation. I made close out panels for the trunk space to clean it up. I also fabricated a 70" long closeout panel for the taillight panel to separate it from the trunk space. That gets carpet applied. Next up was a leaf spring relocation kit from Mancini Racing that would place the leaf springs directly under the frame rails. Along with this I would tub out the wheel wells to the frame sides thereby giving me 15 1/4" of room for big wide tires. These pipes also had to miss the trunk lid hinges travel arc.
The sequencer for the T Bird lights will be housed behind the left side trunk closeout panel attached to the drop off. The T Bird lights have the back up light in an oval clear insert in the center of the otherwise red panels.
The chrome 3" exhaust tips, baloney sliced, will only protrude about 3/4" from the bumper surface. If that much. There is a 18GA steel barrier between the rear of the back seat and the trunk area as a blast deterrent.
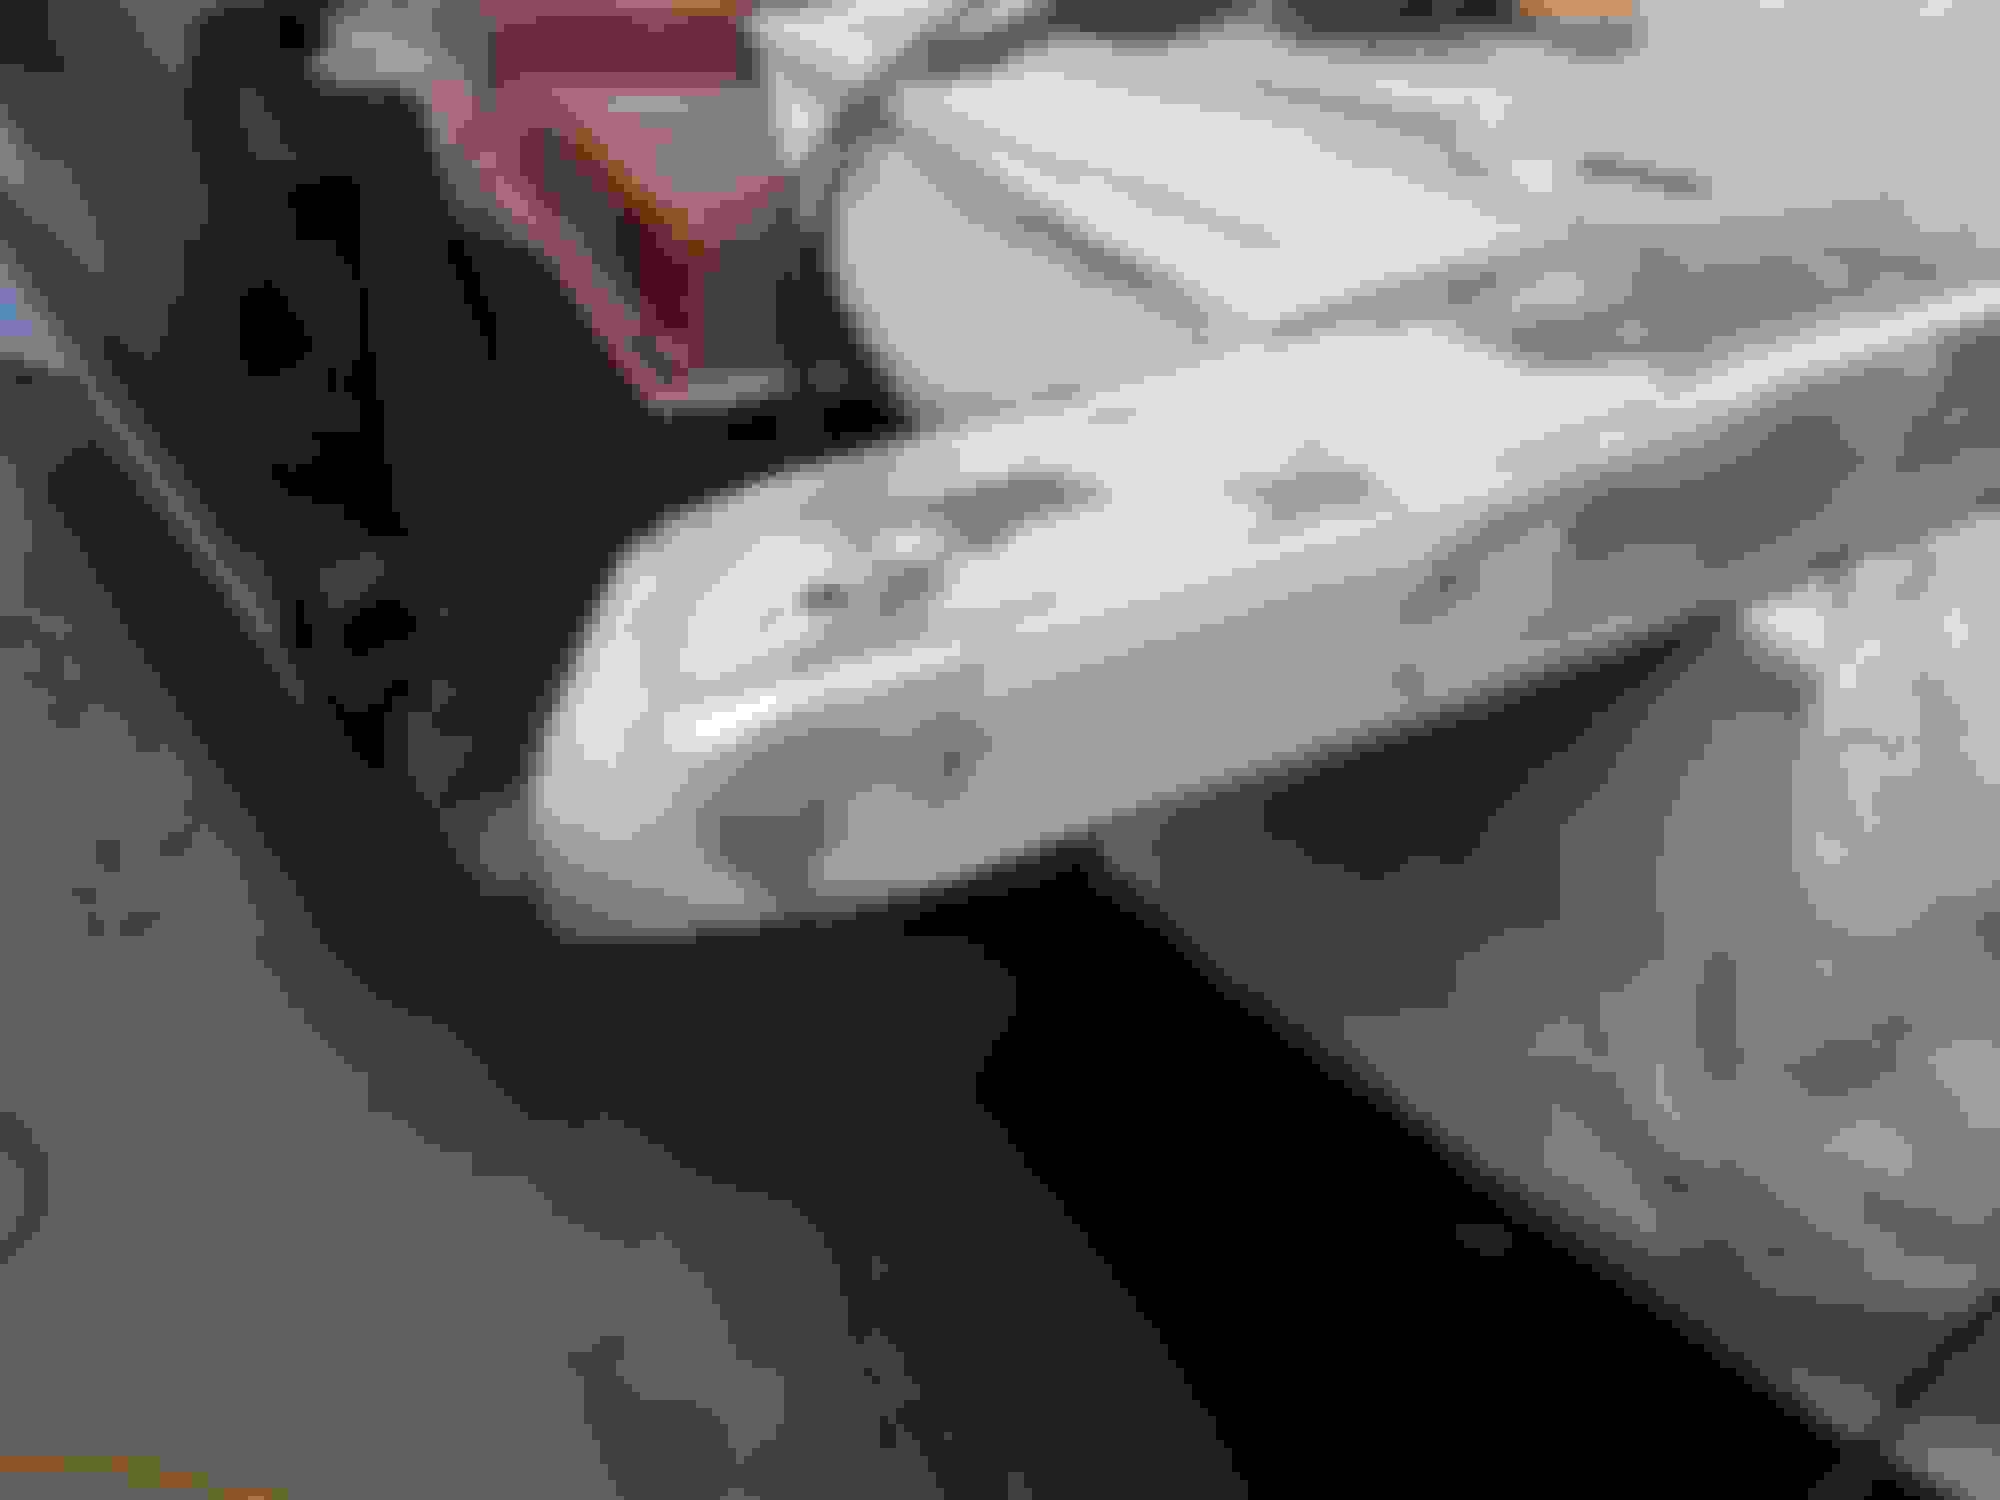
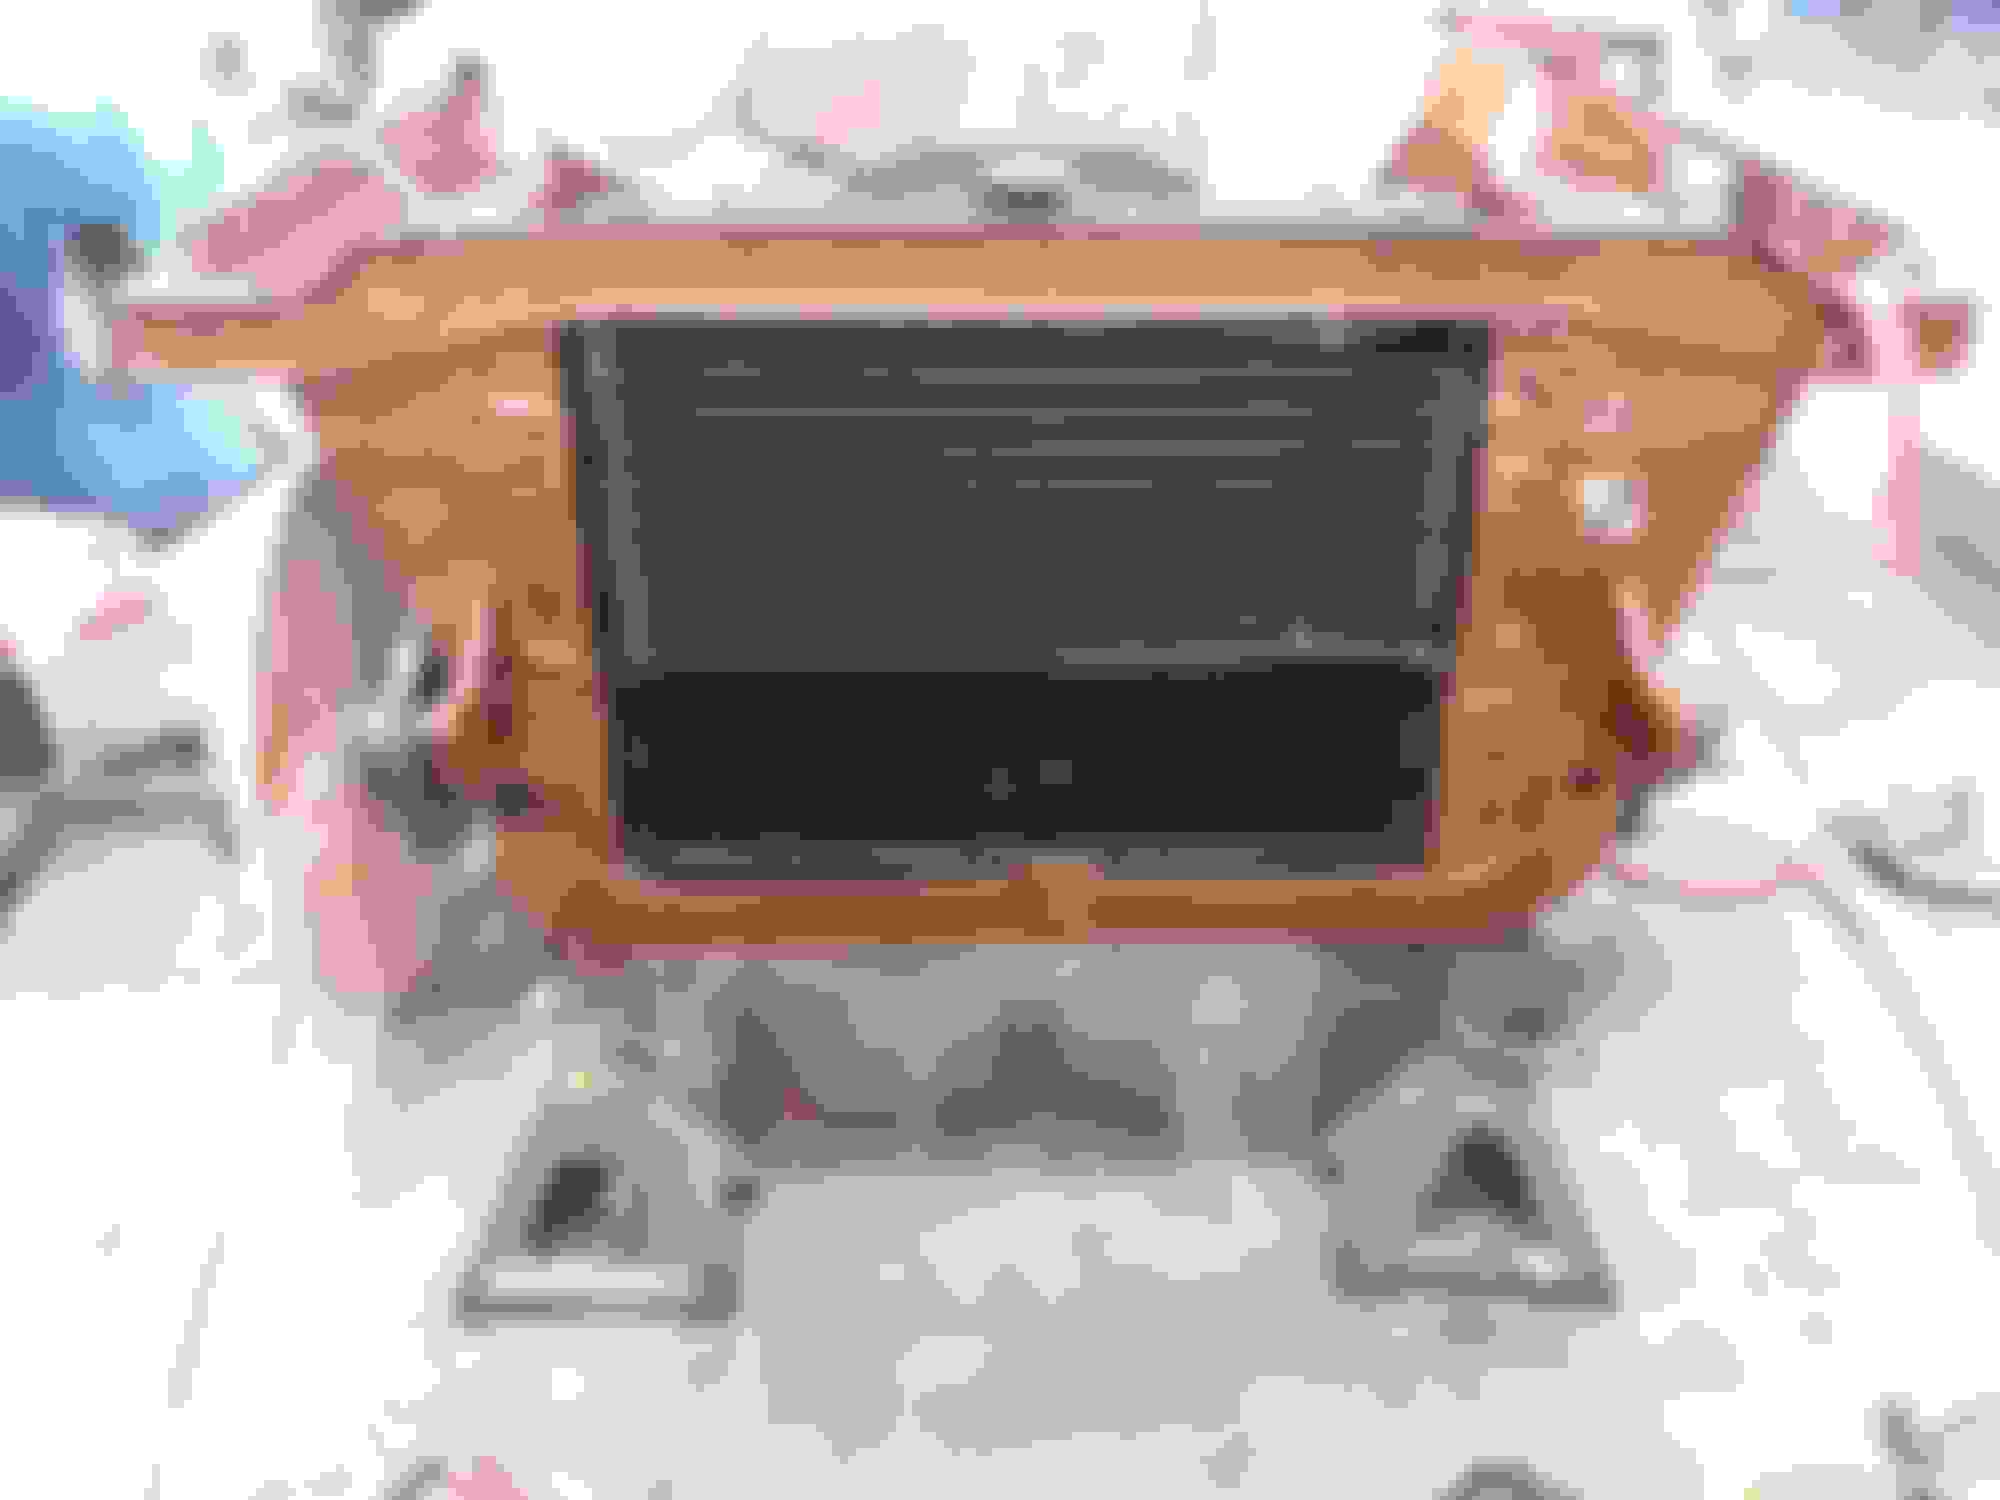
Next up on my hit list was the front end. Here I had decided to go with a 67 Charger front grill and rotating headlight buckets. The MEXICO market Coronets came standard with this front end from the factory so I knew it was a straight swap. The only different parts are the lower rad support cross bar, because of different trim, and the trim. It bolts right in otherwise. I had also decided to rid the car of those angled fender front corners. Hate them. Looks dorky to me. I see why they did it, to extend the hood diagonal contour lines out onto the fender tops. Bad Idea. I wanted to slice away those angled parts and sweep the front of the fender back to closer to 90* with the front end. More like a 70 RR. Also had to shave the bumper mounted turn signal holes as the Charger has them at either end of the grill.
The fun part was surgery to make all those fender side contours line back up and the slope down from the top, going forwards. I cut away nearly 4 inches from the front corners. The Charger chrome "C" trim on each side had to be trimmed along the back to swivel them to the rear and still meet up with the chrome trim across the bottom of the grill. The 67 headlight pans had to be removed as well.
All of this created more issues.
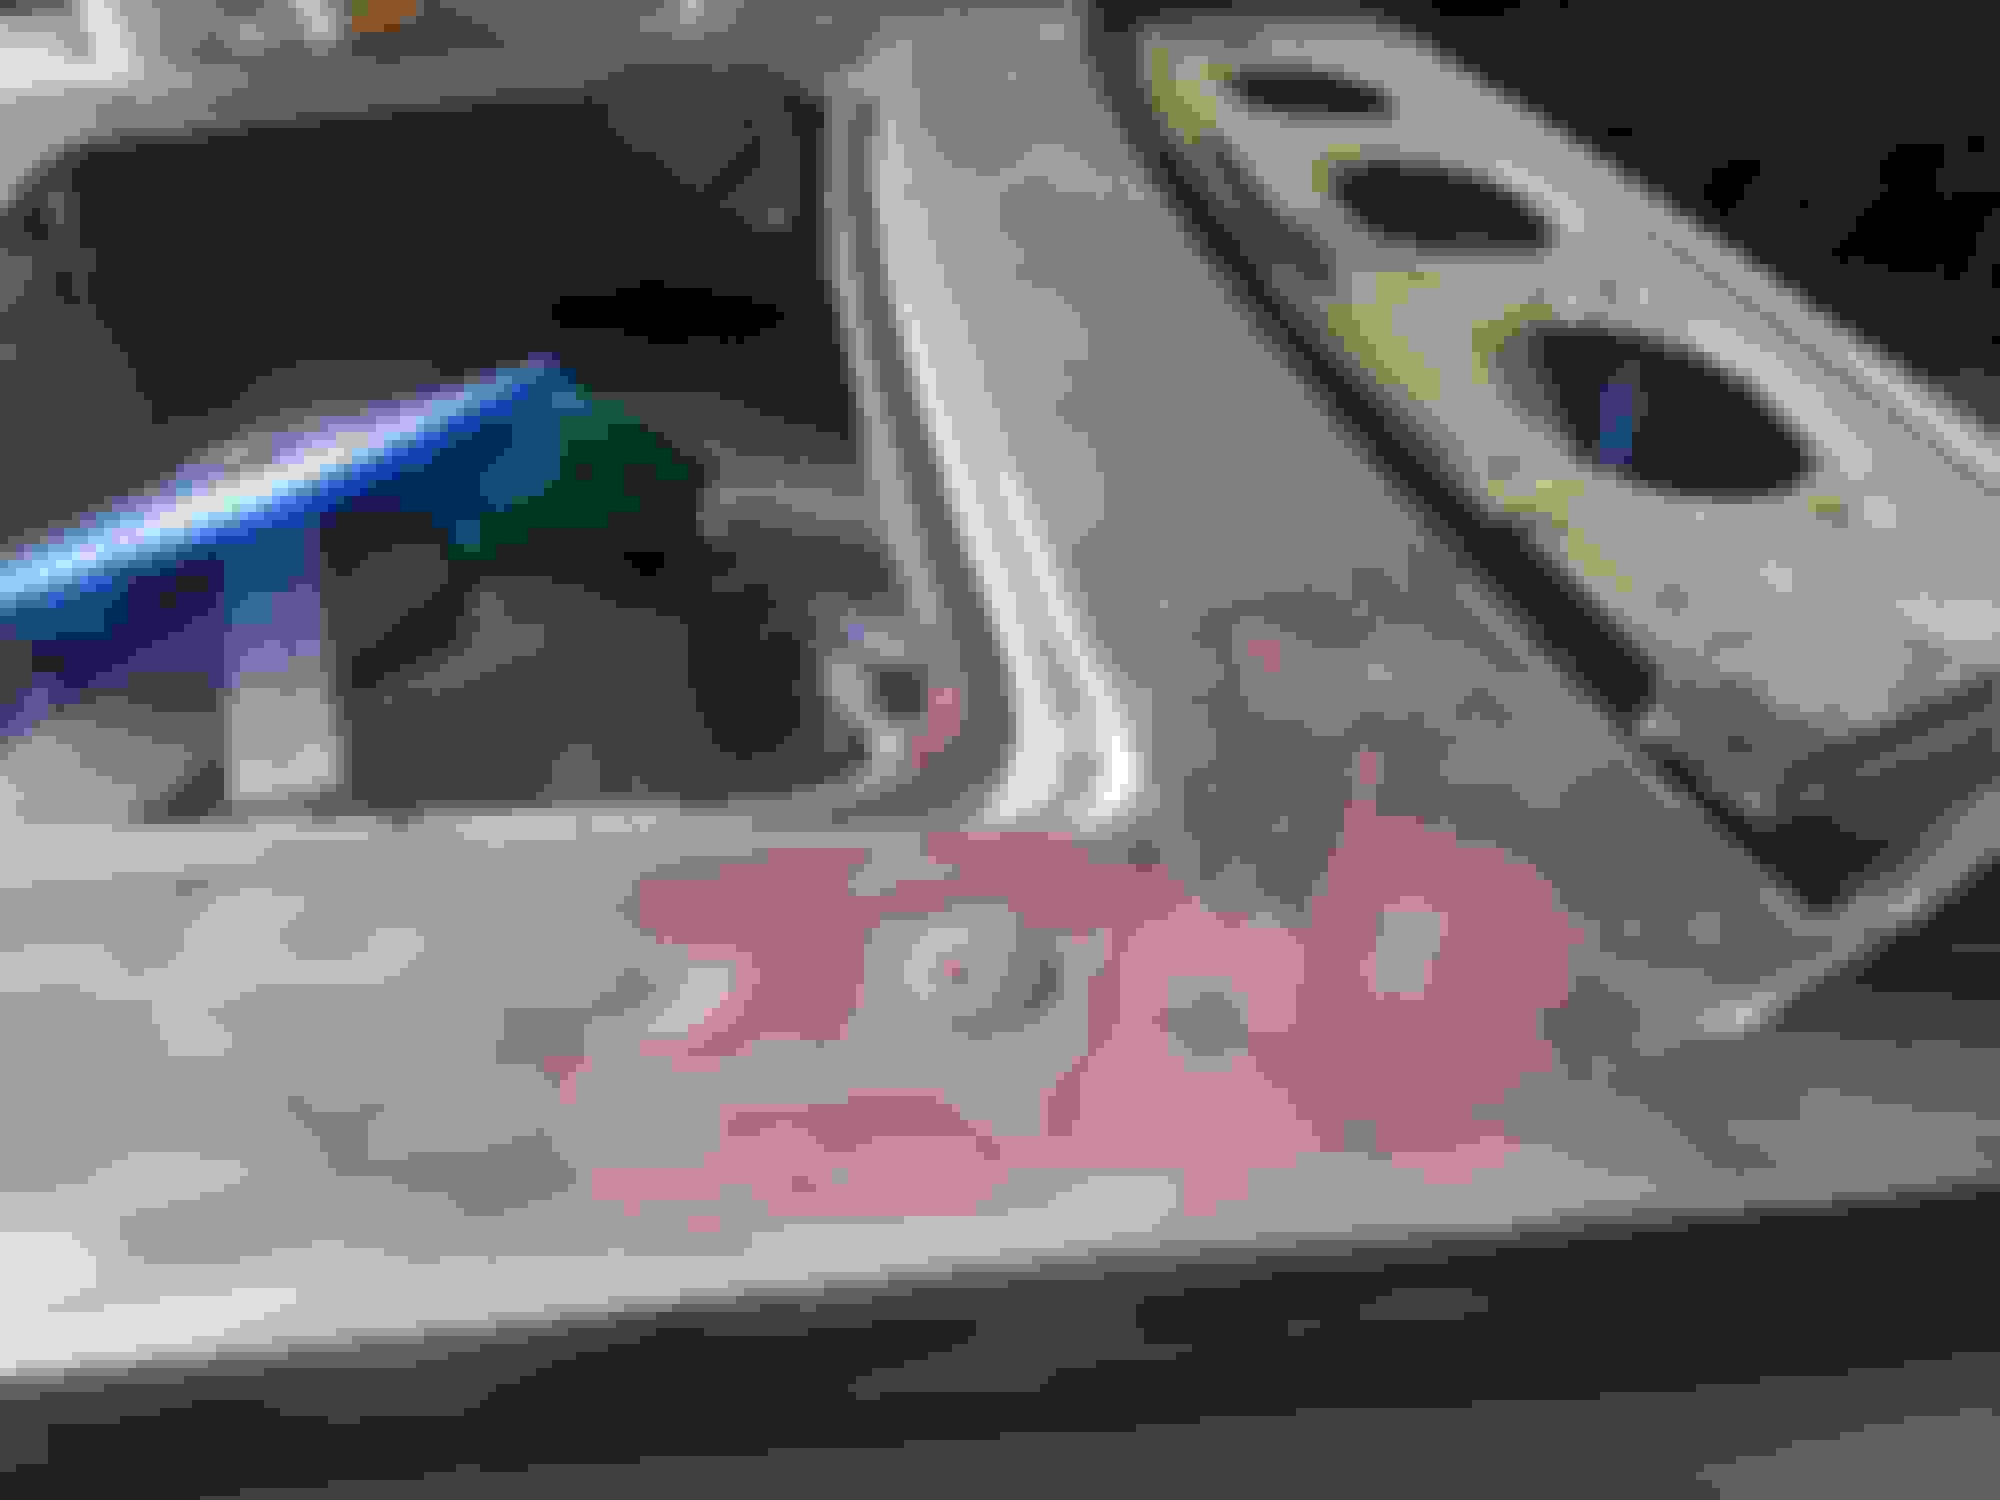
The front bumper ends no were hanging out in thin air 4" from the fenders. The front bumper needed sectioning and reshaping to hug the new fender profiles so It got cut into 7 pieces and massaged before being welded back together. The bumper mount brackets got cut into two pieces and modified to fit the new bumper. The rearwards outside ends had their profiles ground down to exactly match the pockets in the front fenders. The fender mounted turn signal indicators were shaved as was the radio antenna. Bumper ends ground down to match the fender pockets Finished bumper This shows how much got sliced Also enlarged the center plate cutout to serve as an air dam. Checking fit of trim on newly massaged front corner. Bumper surgery bodywork 67 Charger front end installed as mock up
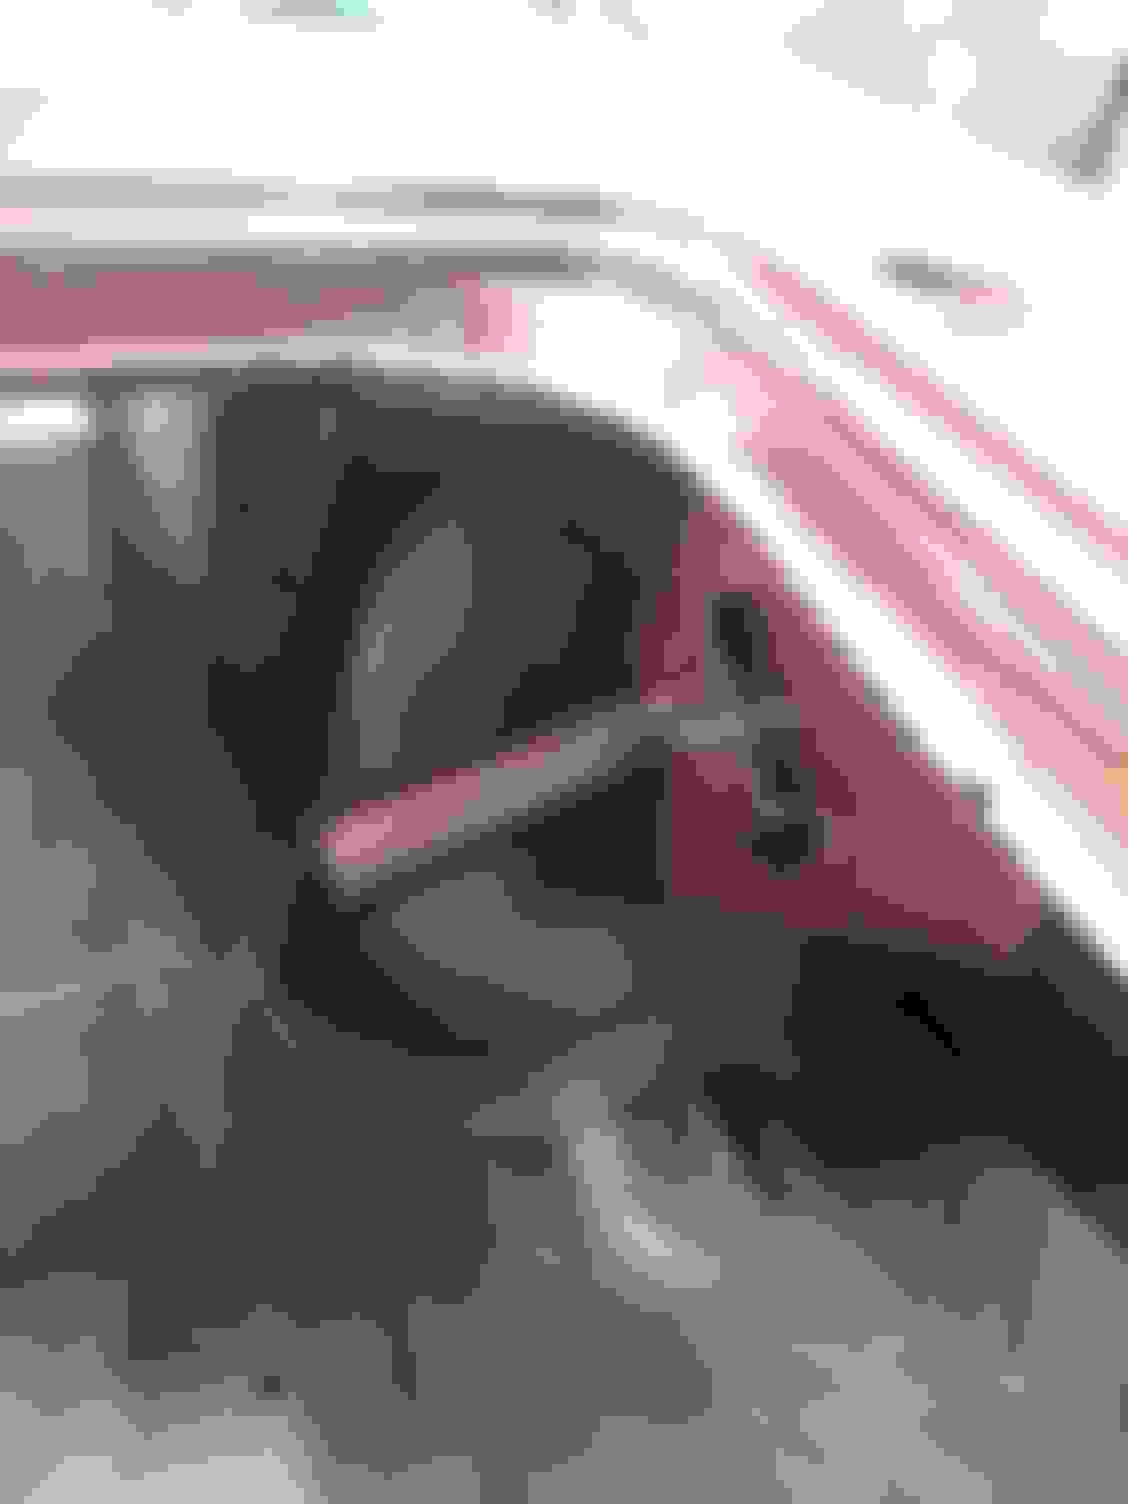
Continuing onwards, the Charger headlight motors are clunky. I decided to find some modern electric motors that would do the job. I found a pair of 12v motors with a three-bolt mounting pattern for stability against the initial load of turning the heavy headlight buckets. These made me have to devise mounting flange plates for them to hang from and linkages to connect them to the buckets. The issues here were that the only spot where I could place the flanges left me with little distance to work with to connect them to the buckets. Also the output shaft of the motors is a 1/4" D shaft and the buckets output is a **** that has a set pin hole through it that's 5/8" thick. So, much deliberation ensued.
I finally worked it out and set to building the required pieces by hand. The motors had to set at an angle to miss the rear edge of the lower grill support bar AND to miss the front of the transmission cooler face. Fractions of an inch so I had to figure it correctly.
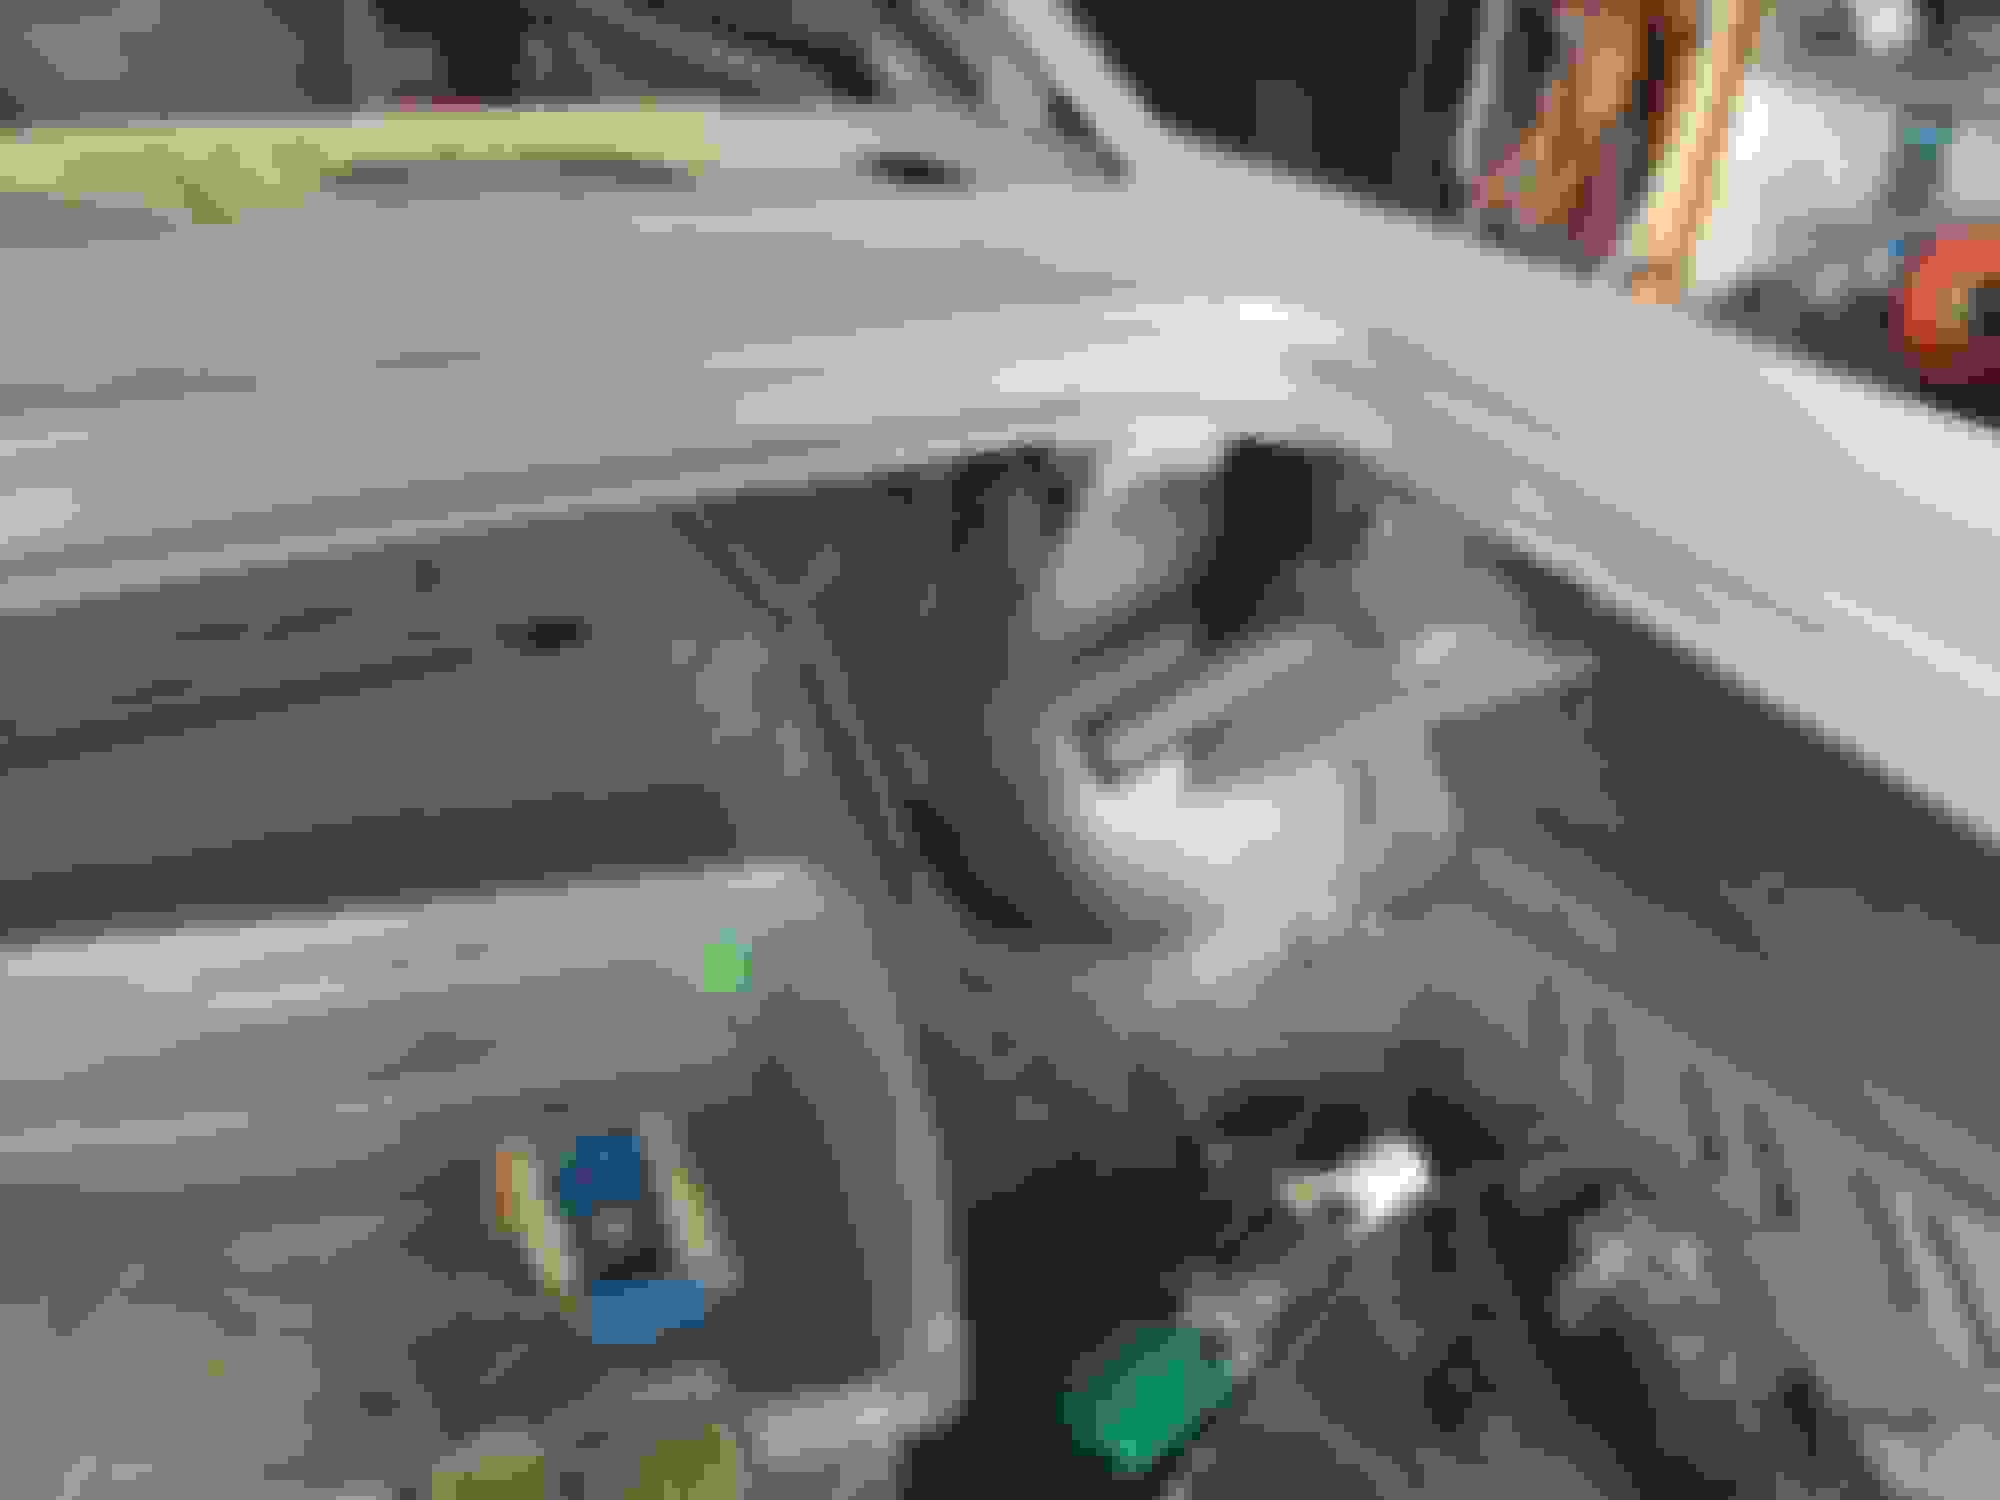
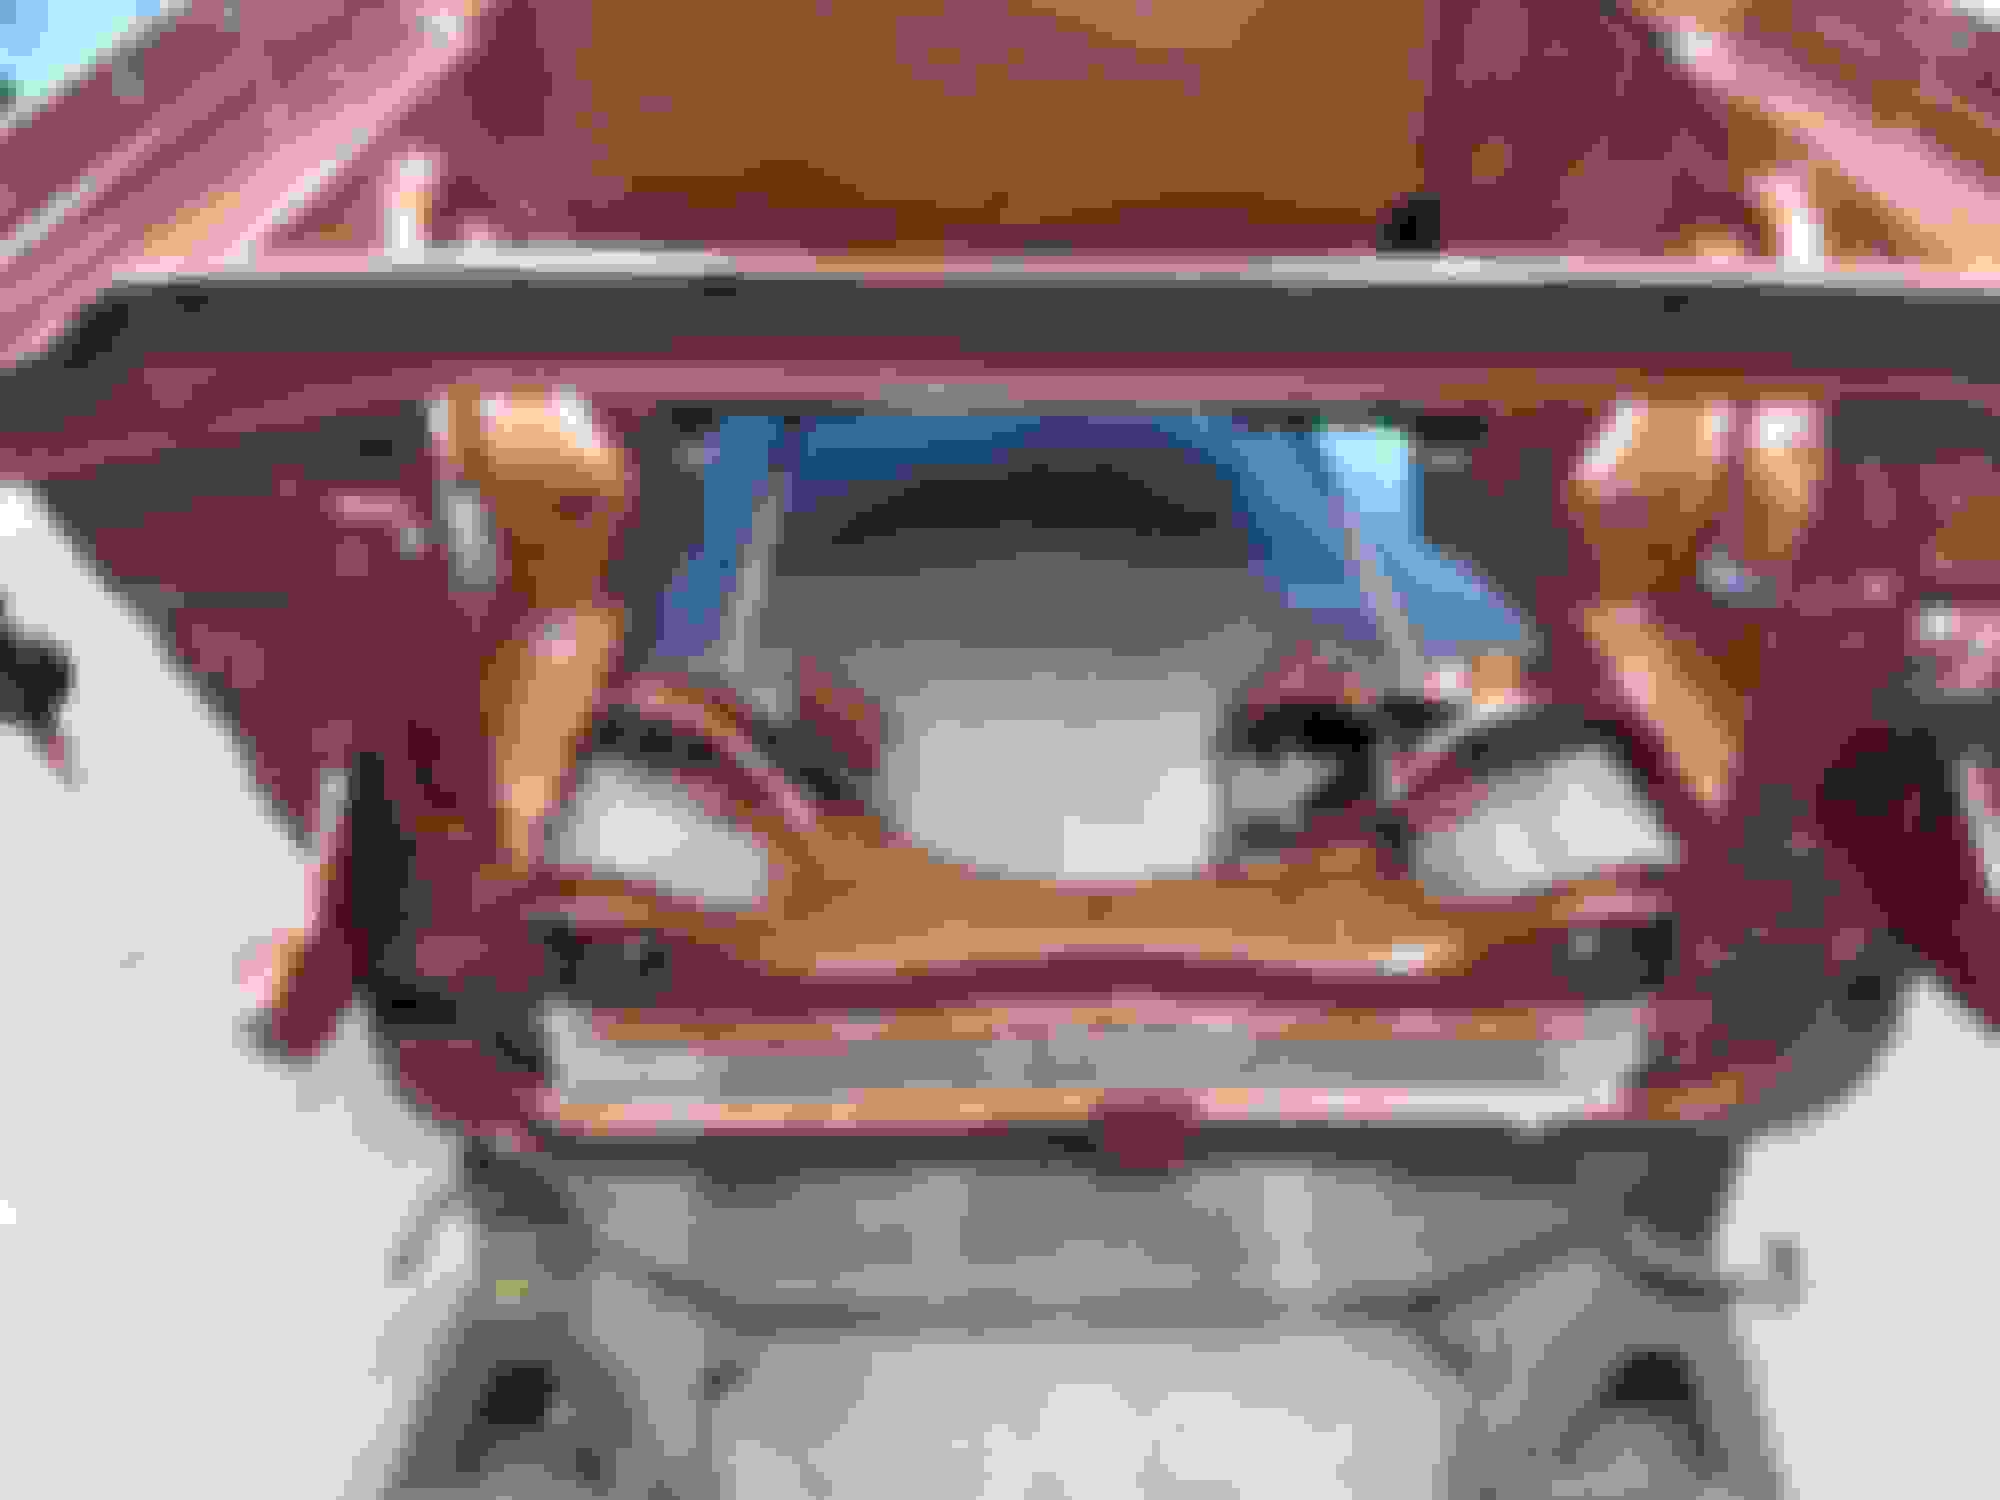
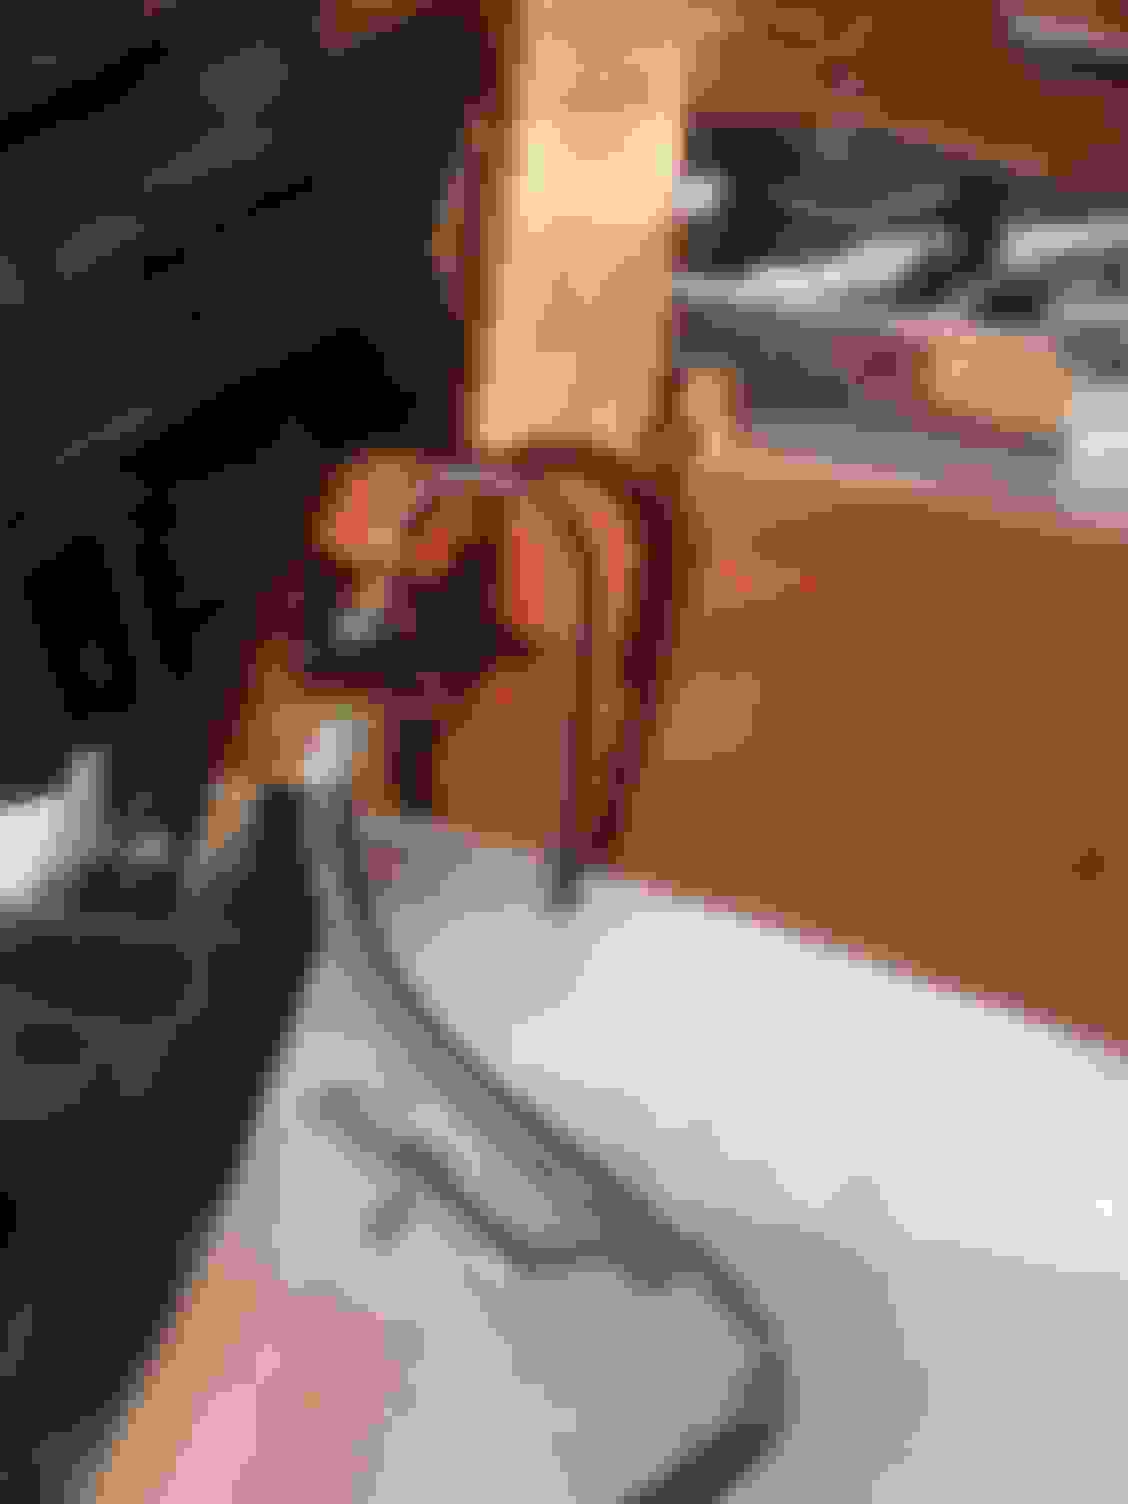
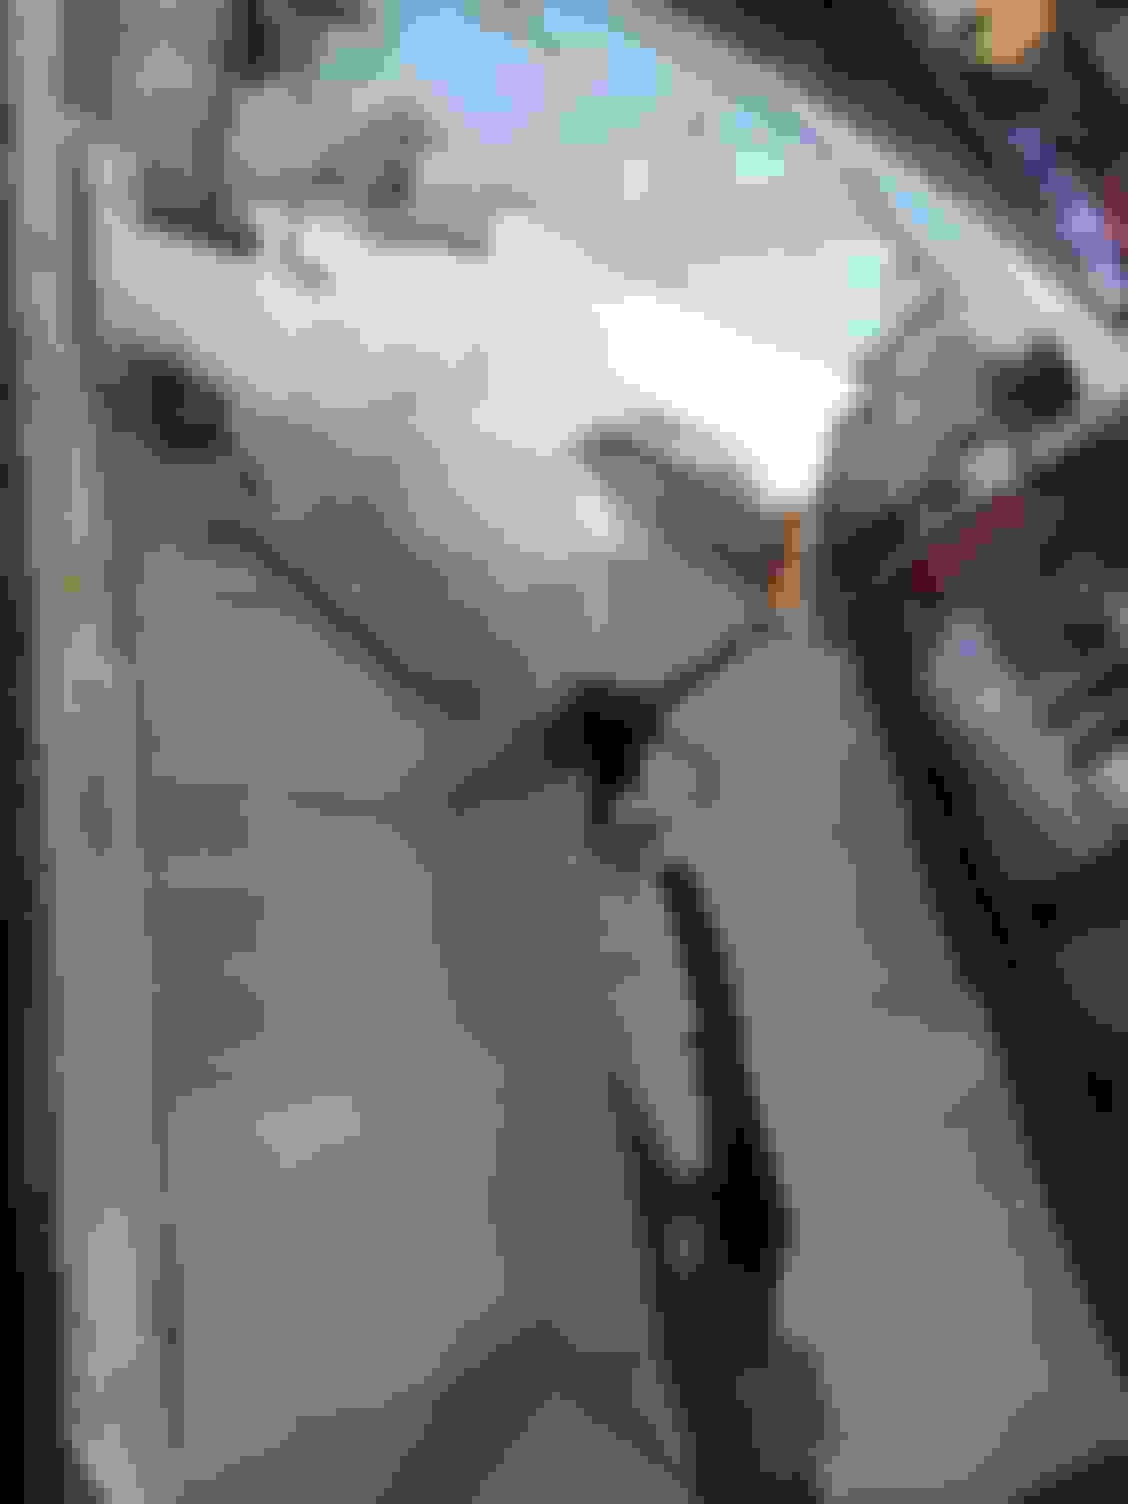
In the engine bay I fabricated inner fender close out panels to clean things up a bit. I also shaved the firewall, moving the wiper motor under the dash and filling in the dent left by it. Battery tray also was shaved as it now resides in the rear right footwell in a race box.
The front disc brakes are 1976 Volare spindles and new hardware. Put on new bumpers and stops, new UCA bearings. New rod end cups and donuts. New lines. New shocks. The K Frame got painted body color too.
The body color is Dark Chestnut Metallic AU. All wiring coming from elements that used to reside on the firewall will come through from under the dash where they now live and will come through low down behind the motor and rise up behind the motor from there to the end points. The cowl had been bashed in on the right-side end and Bondo'ed over. I cut out the damage and welded in new metal. I also cut out the front face of both cowl boxes behind the hood mounting areas because they are always a wrinkled mess on these cars. I welded in new metal.
I always dreamed of adding in a modern dash and interior to a 60's muscle car. I didn't know which modern car exactly, so I took measurements of the dash distances from dash to hump, to floor, from A pillar to A pillar and depth front to back. Armed with these numbers I went hunting through several wrecking yards in VT, NY and NH. After about 400 cars and trucks I still had not found anything I both liked, and that would fit. One day I was talking to my pal Rick about an Audi 5000 Quattro sedan I owned in West Germany and thought that I had really liked the workmanship and fit/finish of the Audi's. So, I remembered a few Audi's in the wrecking yards having passed them up thinking them too narrow. I knew there was nice one in a yard just a few miles from my house, so I went and looked at it.
It was a 2004 Audi A6 Quattro All Road wagon, sitting with all the windows up and the doors closed, black. Still shiny. It was in great condition inside, and the numbers matched. I even liked the colors. So I stripped it all out including the rear door panels, the entire dash and mounting frame, the wiring harnesses and front door panels, console and e brake. It has a 160 MPH speedo, Bose Symphony Stereo, digital climate control, center pull E Brake etc....
The Audi windshield base curve was a LOT tighter radius then the wider Coronet and had to be trimmed back. The skeleton that the Audi dash mounts to is an aluminum frame and weas 4 inches shorter on each end than the dash itself. This presented some mounting challenges that I solved by welding in fabricated mounting brackets to each front door pillar in the correct spots to have the dash sit where it needed to be.
This sounds simple but is really complex. Added into the equation is the dash to door trim flow lines, the dash height & angle visa vie the wing windows and Coronet door frames, the dash depth relating to the gas pedal location, shifter location and console mounting location plus the center pull E Brake lever mounting location. It's like holding a handful of marbles and dancing a jig without losing any.
There's a very small, sweet spot location where everything melds together and jells perfectly. FINDING that sweet spot took months of fooling around.
The shifter location is rearwards of stock by 9" and the E Brake location was an entirely new deal as the Coronet had a foot lever near the left door. I did a lot of fabrication. The seats mounted back 9" as well. Good thing I have long legs.
Once all of that was worked out, I moved on to the rest of the cab. i didn't want yet another hum drum rear bench seat. I wanted roadster panels, like a 59 Corvette. About this time I happened across a rear seat topper for sale from a 1967 Plymouth Sport Satellite. It resembles a set of wings. Low in the middle and two wings over the bucket seat backs. I wondered how this piece would look if it were set up just behind the tops of the FRONT bucket seats?
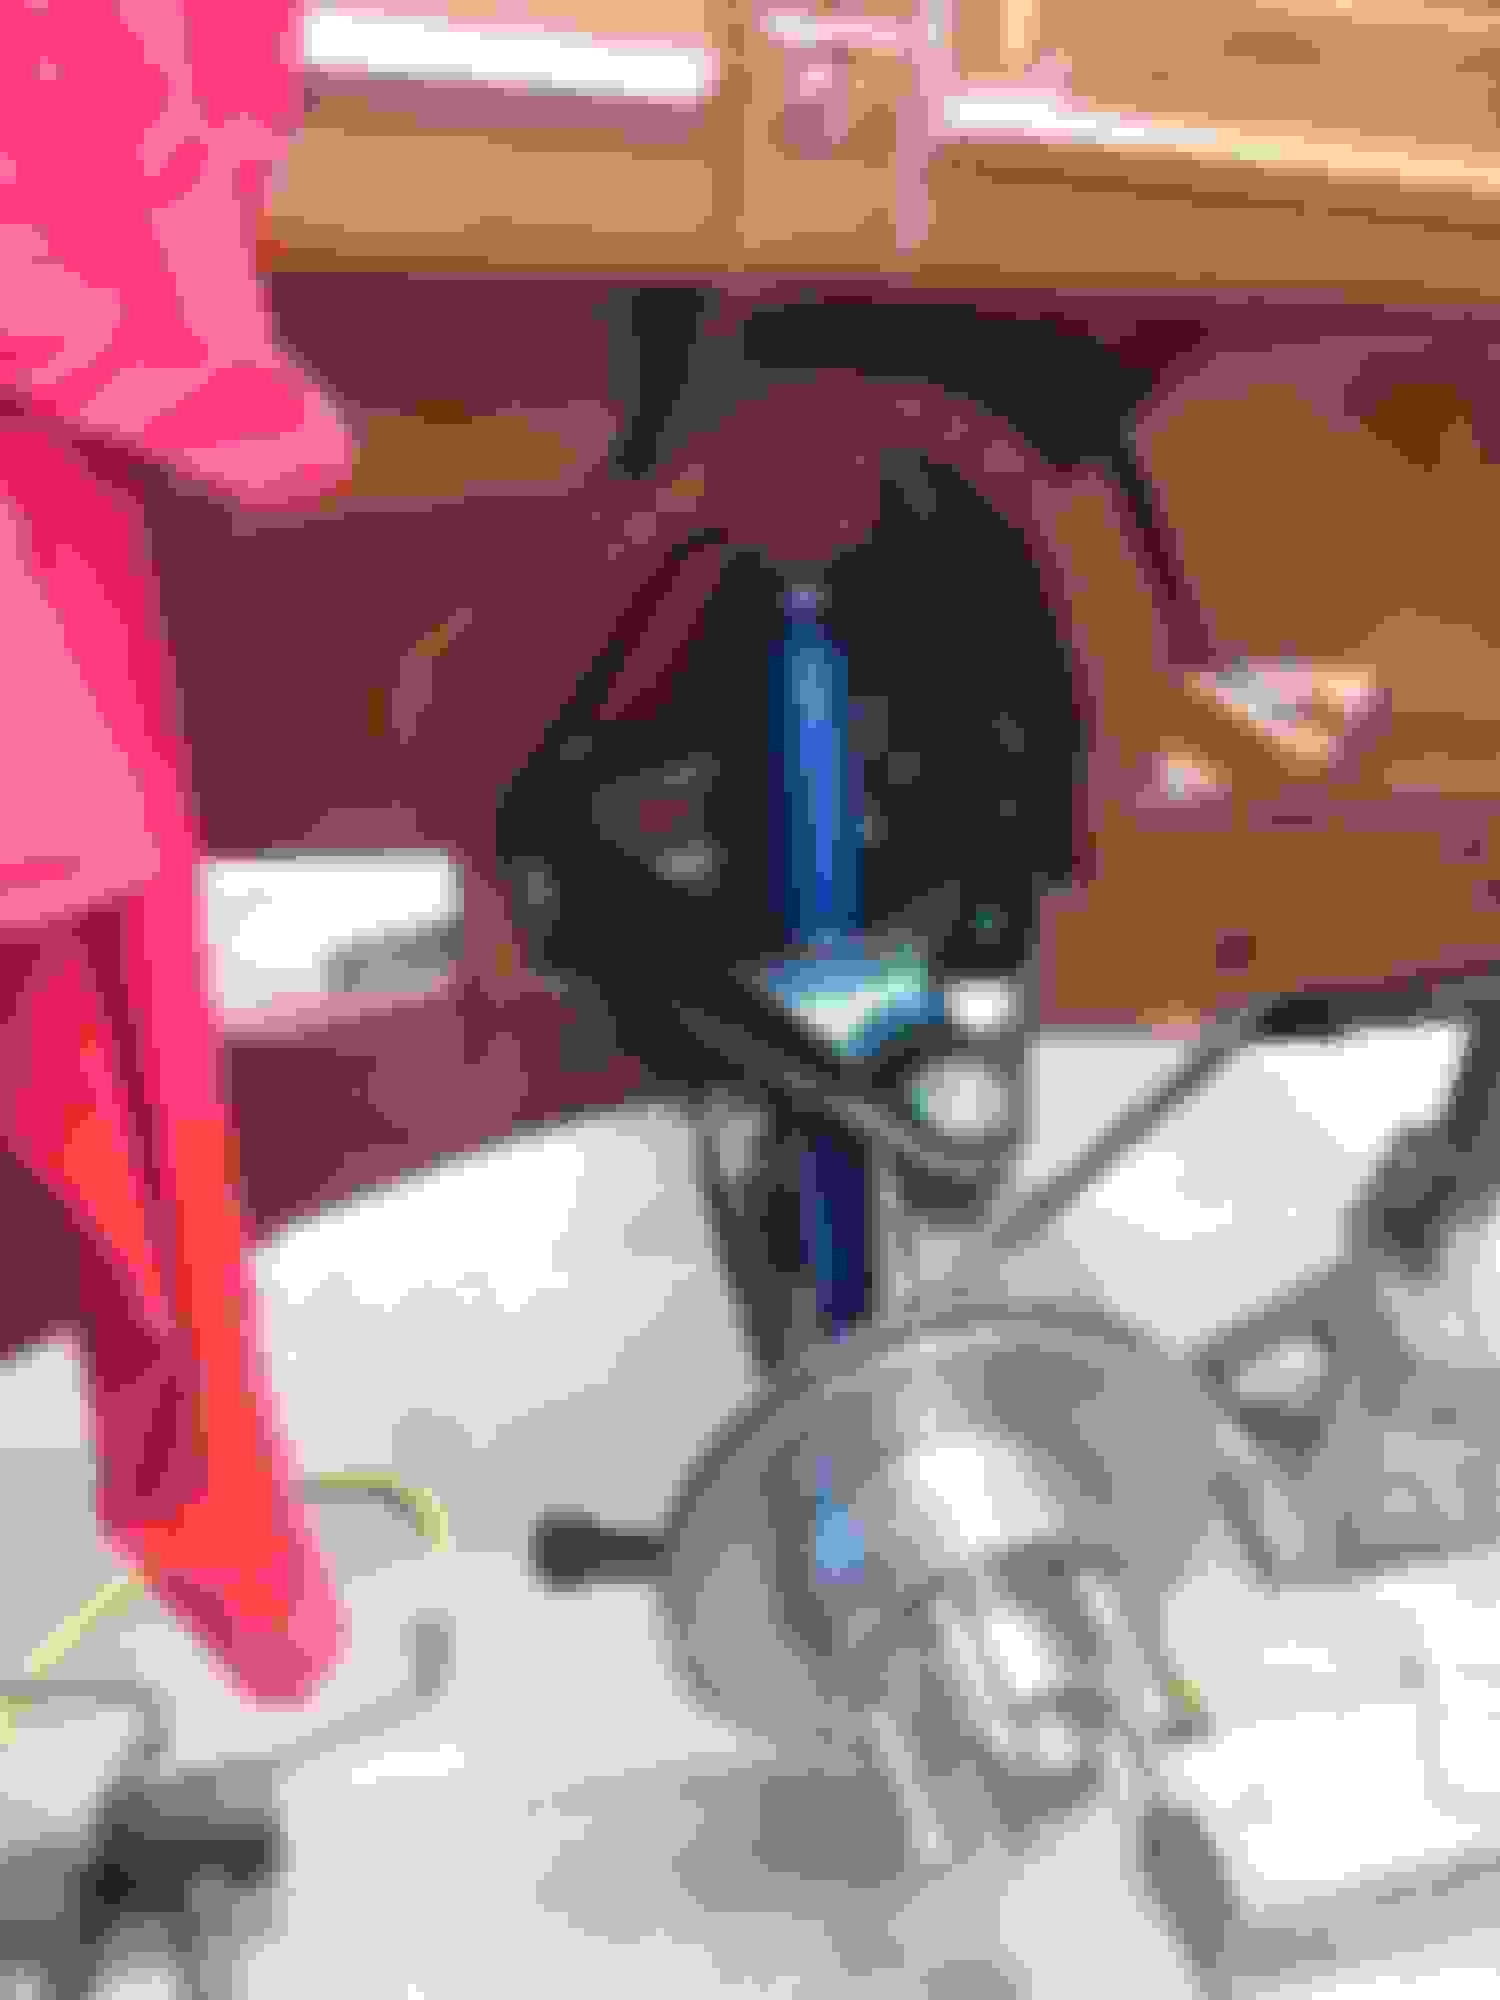
I looks great! This served as the base from which I fabricated three panels matching the curvature of the wings and a trough to run down the center slightly lower than each side. As it happened the center trough was the same width as the contour lines down the center of the hood and the trunk lid. So, now those lines flow through the entire car. Factory should have done this. lol. Under these panels resides a race tested battery box and battery in the right rear footwell, a spare tire in the center where the rear seat back would be, cleaning and detailing supplies in the left rear footwell, and a small hydraulic jack and spare belts etc...a fire extinguisher will be mounted on the left side below the quarter window.
The back of where the rear seat would rest is filled in with an 18GA steel barrier due to the fuel cell in the trunk.
The doors were another headache and took a long time to work out. To begin with, the Coronet doors are huge slabs and flat. The Audi doors are half as big and contoured. The faux wood trim on the front Audi doors wasn't long enough but the rear Audi doors were. BUT.....the rear Audi doors had different trim because the handles were located elsewhere. I solved this by slicing the forward 1/3 of the front door panel and marrying it up with the rear 2/3 of the rear door trim base. This gave me front door tweeter speaker/ the door handle and first 1 1/2" of the trim base and the rest of the trim base for the longer rear door trim. This unit then extended the entire length of the long Coronet door. THEN, I had to figure out how to achieve the correct angles and location of the thing so the lines would flow from dash through the door. They had to match up. Period. I ended up slicing the Audi door panels apart and removing the various elements to use separately, the basic elements comprise the upper trim base holding the tweeter speaker and grill, the door pull handle to open the door, the long faux wood trim piece, the center armrest/door pull handle to pull the door closed which holds the window and door lock switches, the tilt out cubby holding the memory buttons for the power seats and the woofer speaker. Placement of these elements on the huge Coronet door was a long process involving hanging and removing the door on the car several times to align the pieces to be comfortable to use from the seated position and also be spaced uniformly so they would look nice together and not haphazard. I also had to ensure that none of them interfered with the window glass inside the door or hit up against anything when the door is closed.
This is the sort of stuff that gives me new respect for car designers. The Audi also has these little oval rubber boots that are bellows and the wires pass through to the doors from under the dash. They mount to plastic collars that snap into the sheet metal, very clever. I used that on the Coronet doors and also it has two small rectangular lights in the door edges. A red one that shines to the rear of the car to alert people that the door is open, and a clear one that shines down below the door for puddles. I put THOSE in the Coronet doors, and they also just snap into place. Very trick. The shifter handle is a conglomeration of the guts from an 'Inland' shifter handle and a hand made pistol grip handle mounted on a length of 3/16" steel plate. I bent the handle to suit my needs and used a hunk of black locust wood for the handle. There's a small rod sitting up under the handle that I need to push down with the heel of my hand to get out of park and reverse.
Last edited by Ghostrider 67; 07-28-2022 at 12:57 PM.
Been busy. Got the trunk lid mounted without scratching anything. Set the 66 t bird taillights in place long enough to line up the tail extensions where they need to be so the lenses will go on later. Sanded down the entire car with 320 grit to give the next coats something to attach to. Covered the wheels and I'm waiting on the weather to break later this week, probably Friday thru Sunday in order to have the best painting environment I can get. Dug out the trunk letters DODGE and cleaned them up. I'll be slicing off the mounting posts because there's no way to reach the inside to put nuts on them. I'll use 3M trim and emblem adhesive tape. Easier to line up as well that way, I don't want to try drilling 10 tiny holes in the trunk lid and have the letters all be where they're in line.
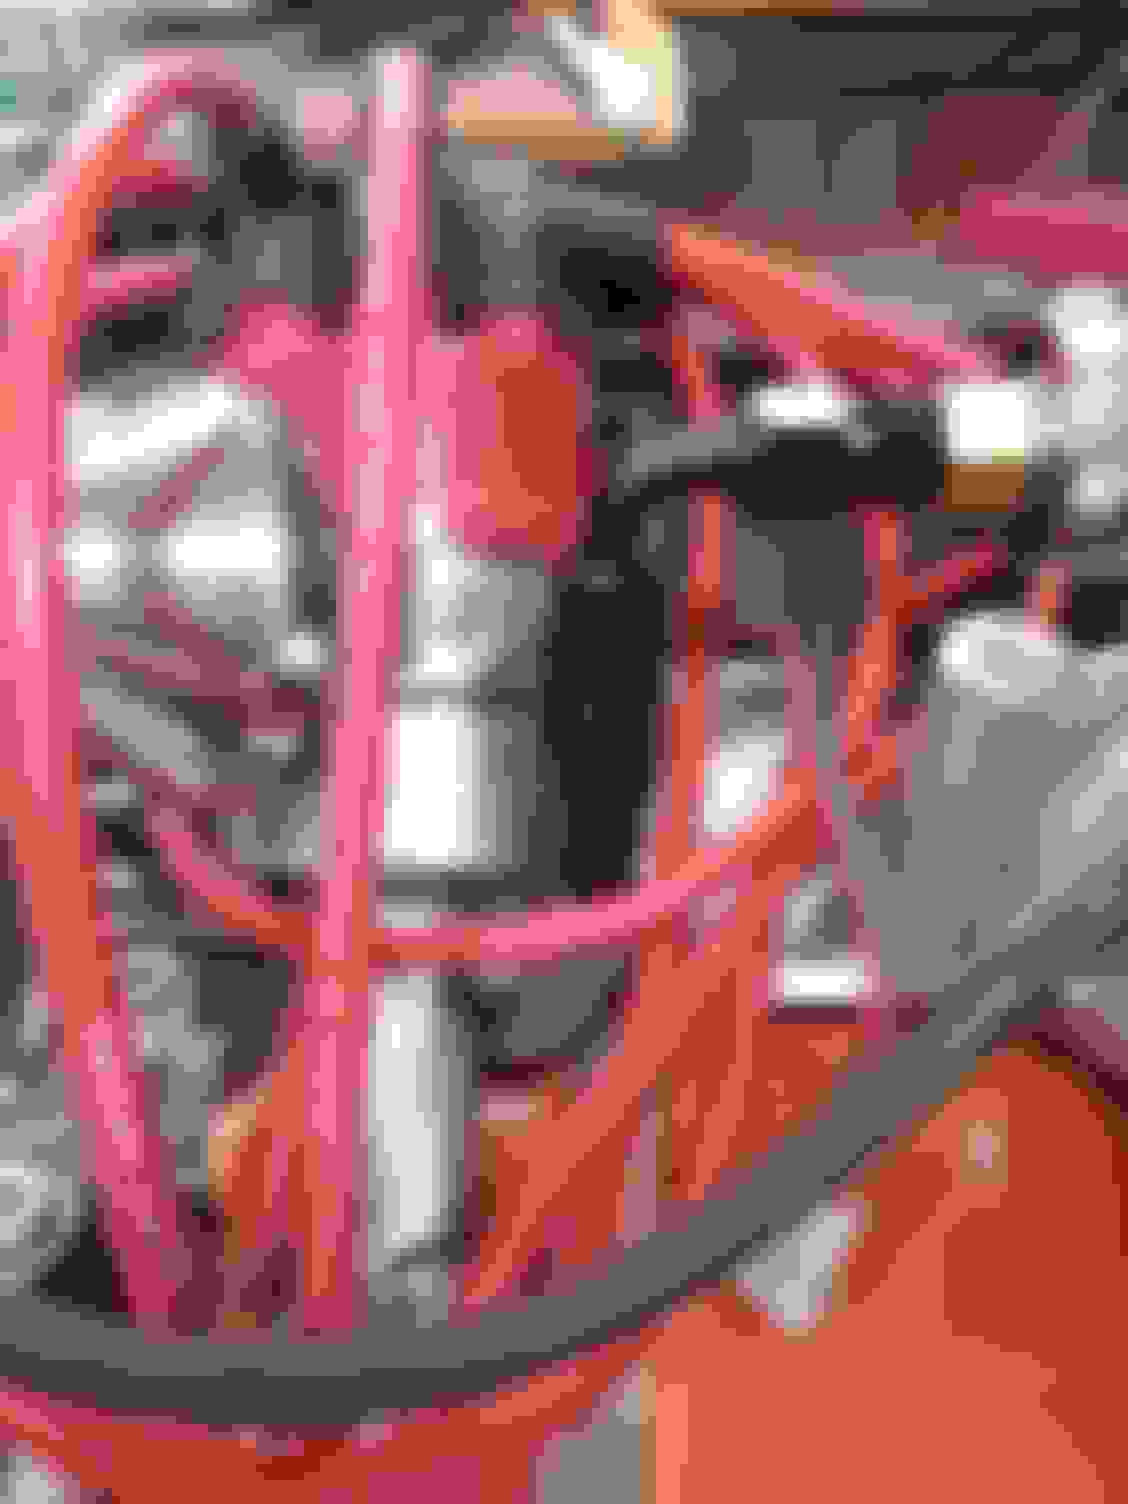
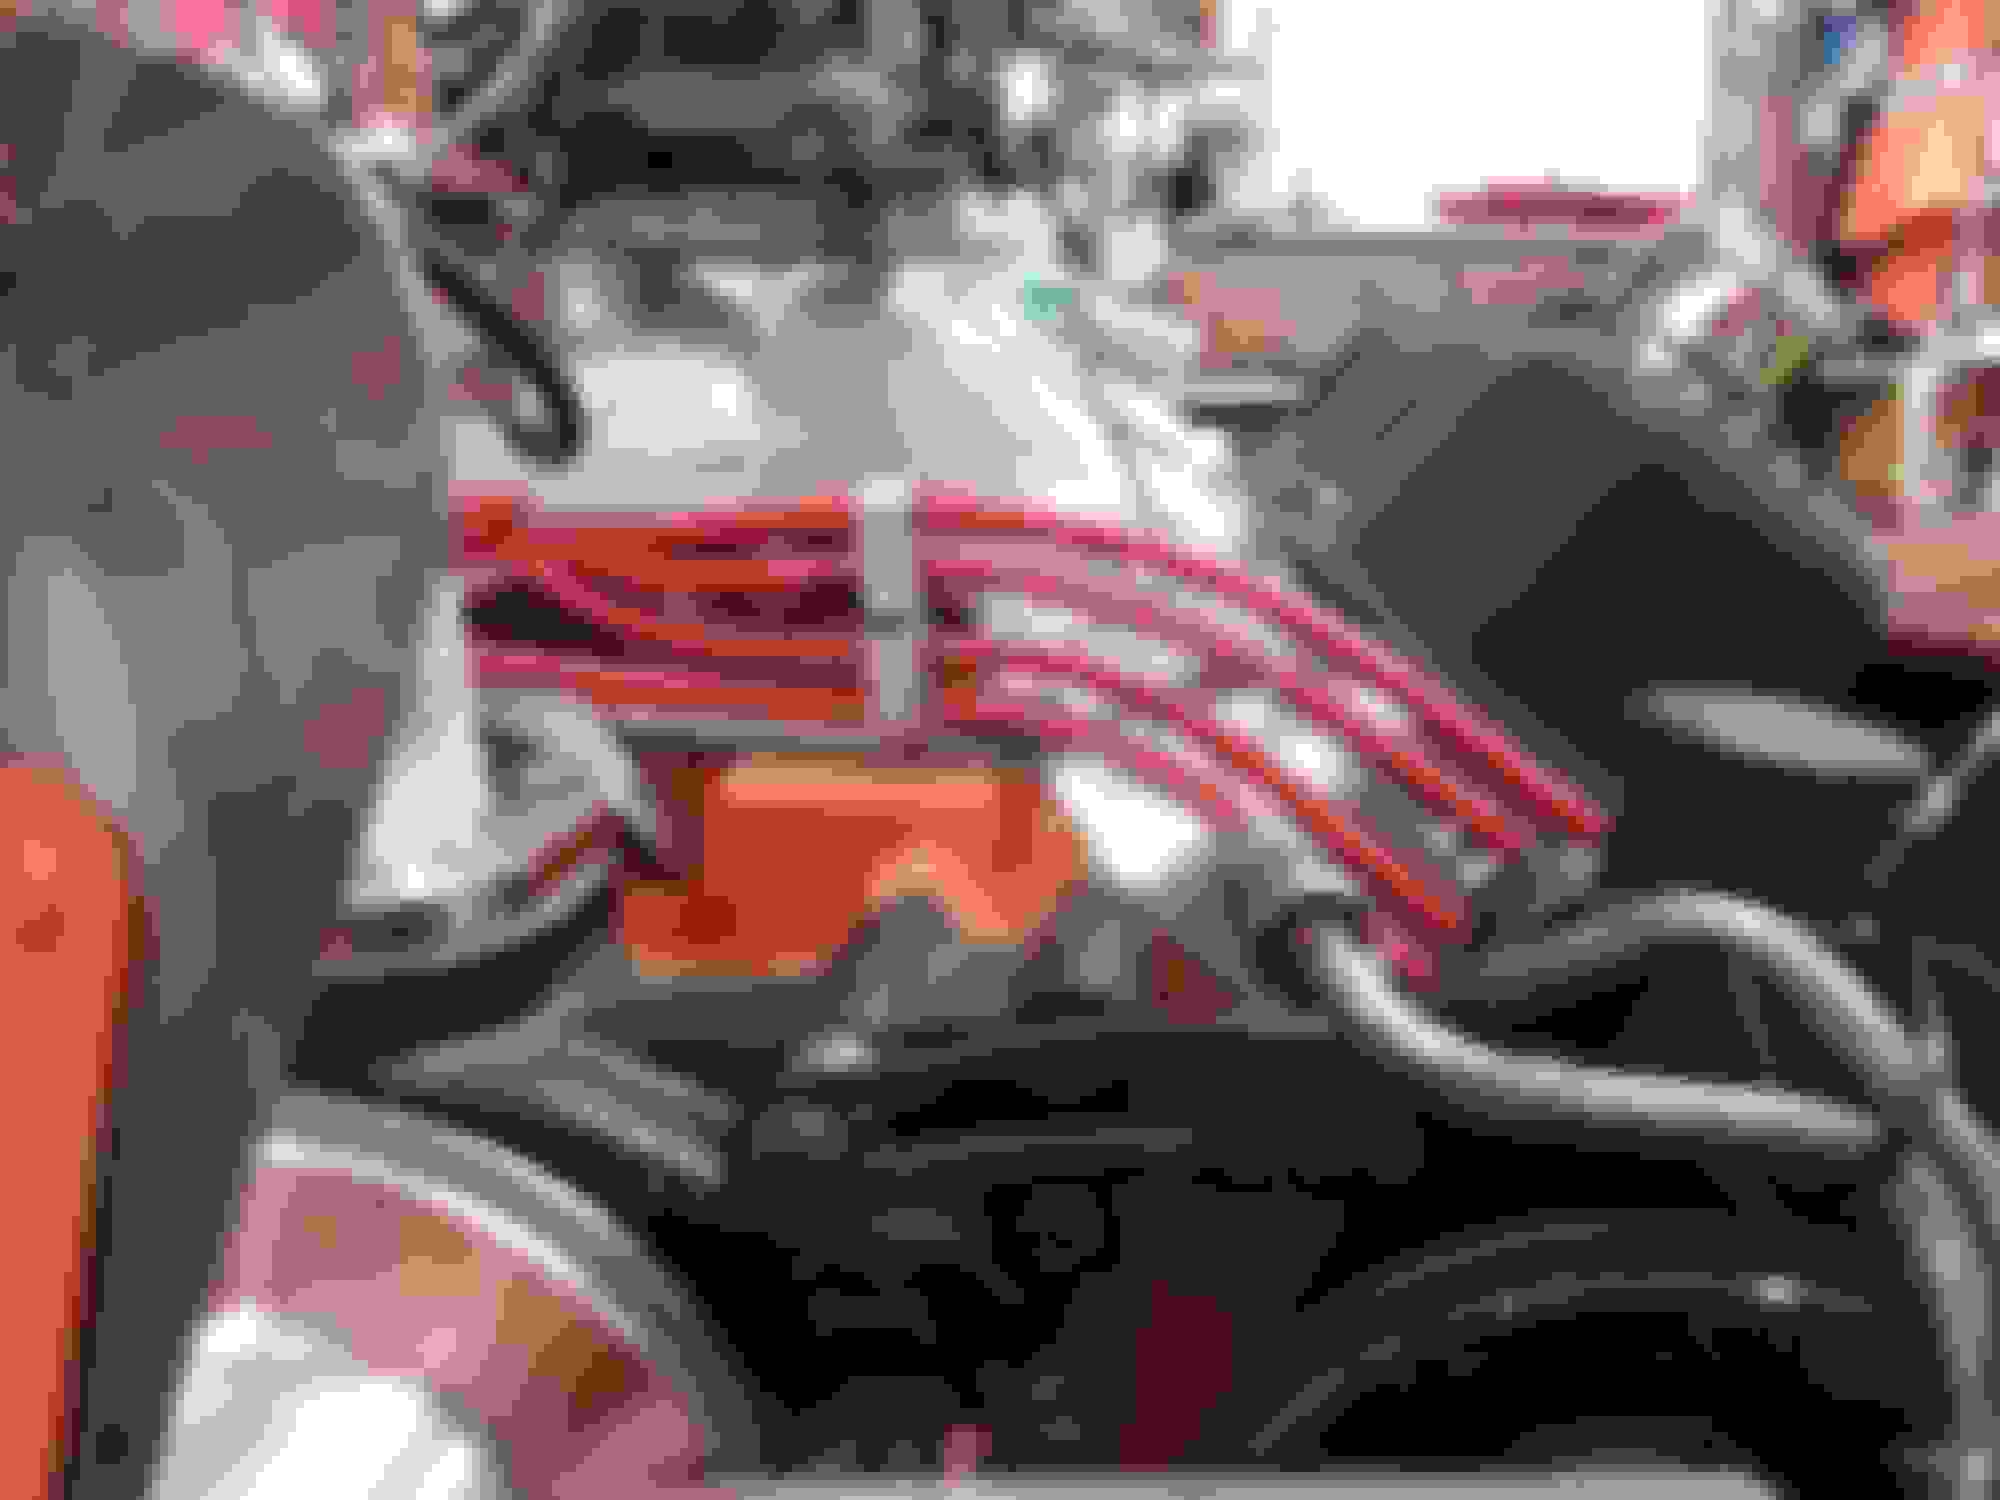
Well...got her all painted and the color shades aren't matching so I'm gonna do 'er again. I ordered a similar color but lighter and i'm going to repaint the car. I got the hood hinges sand blasted and primered. I put down heat and sound barrier in doors and quarter cavities, floor and ceiling. I adjusted the power steering pump again, to line up with the crank pulley. I modified one wire loom base to slide under the corner valve cover bolt to better separate the plug wires. I painted and installed the coil bracket I made. I assembled a braided steel fuel line from pump to carb with AN fittings.
At least it's all one color and one shade now. lol. Still need to shoot the roof and hood top in Hotrod Black. Debating on whether to add a stripe forward of the blocks too.
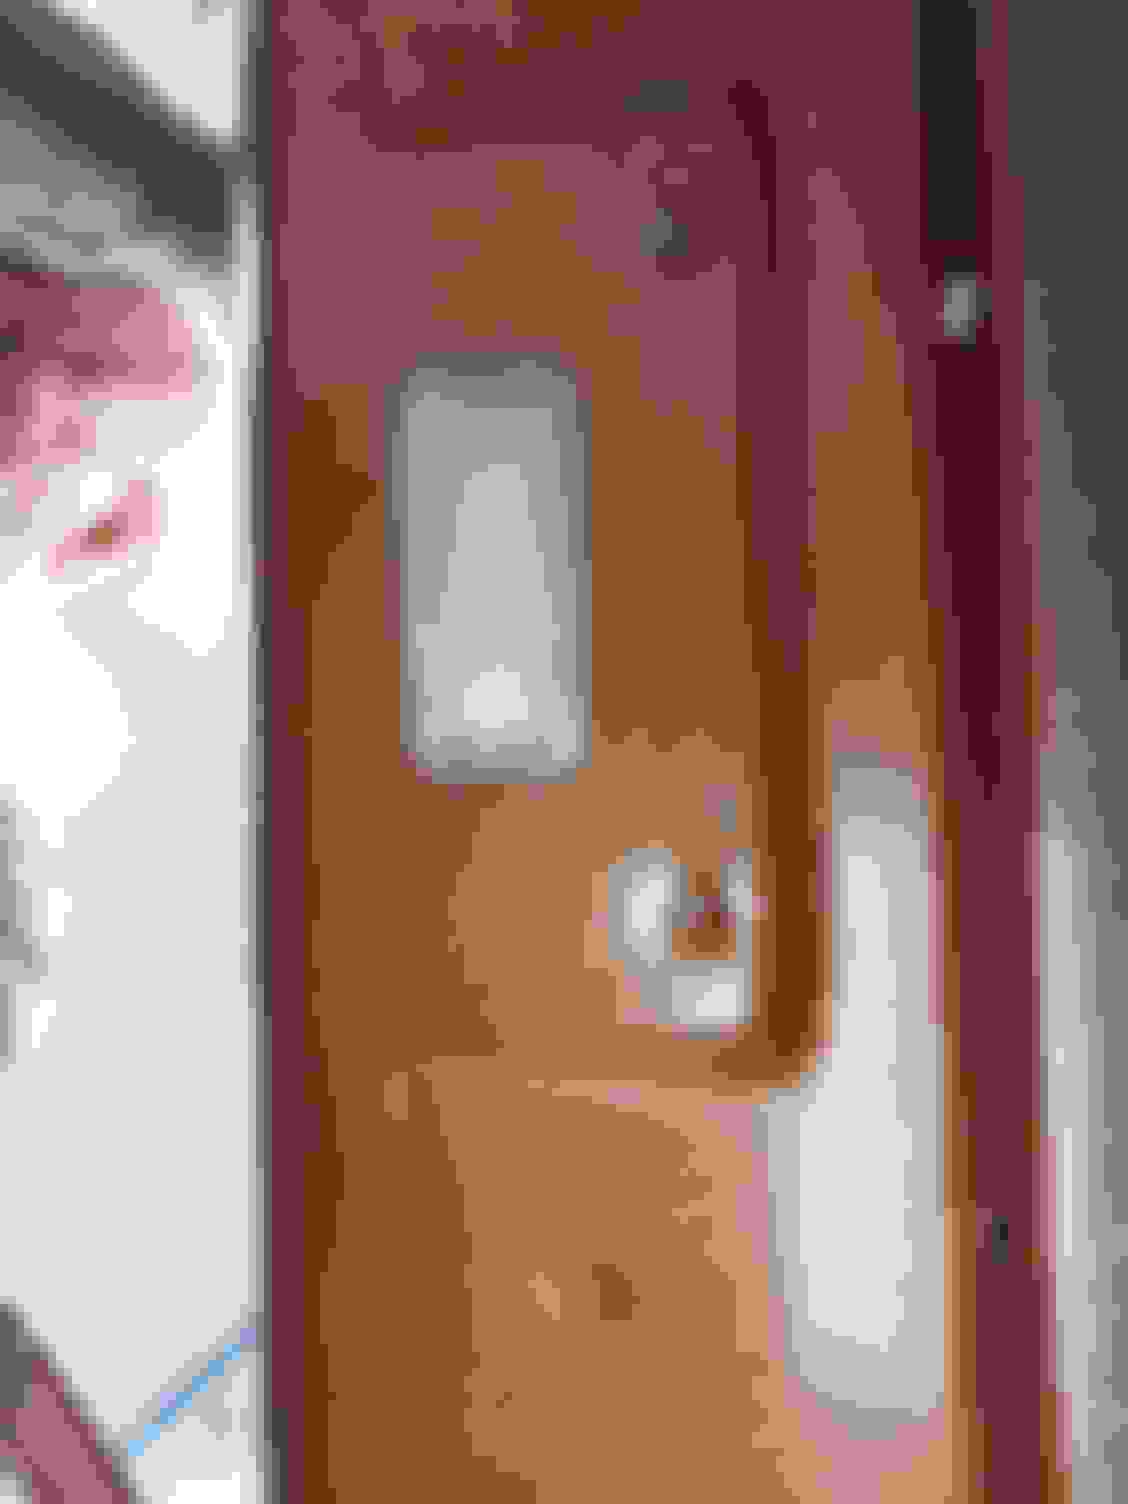
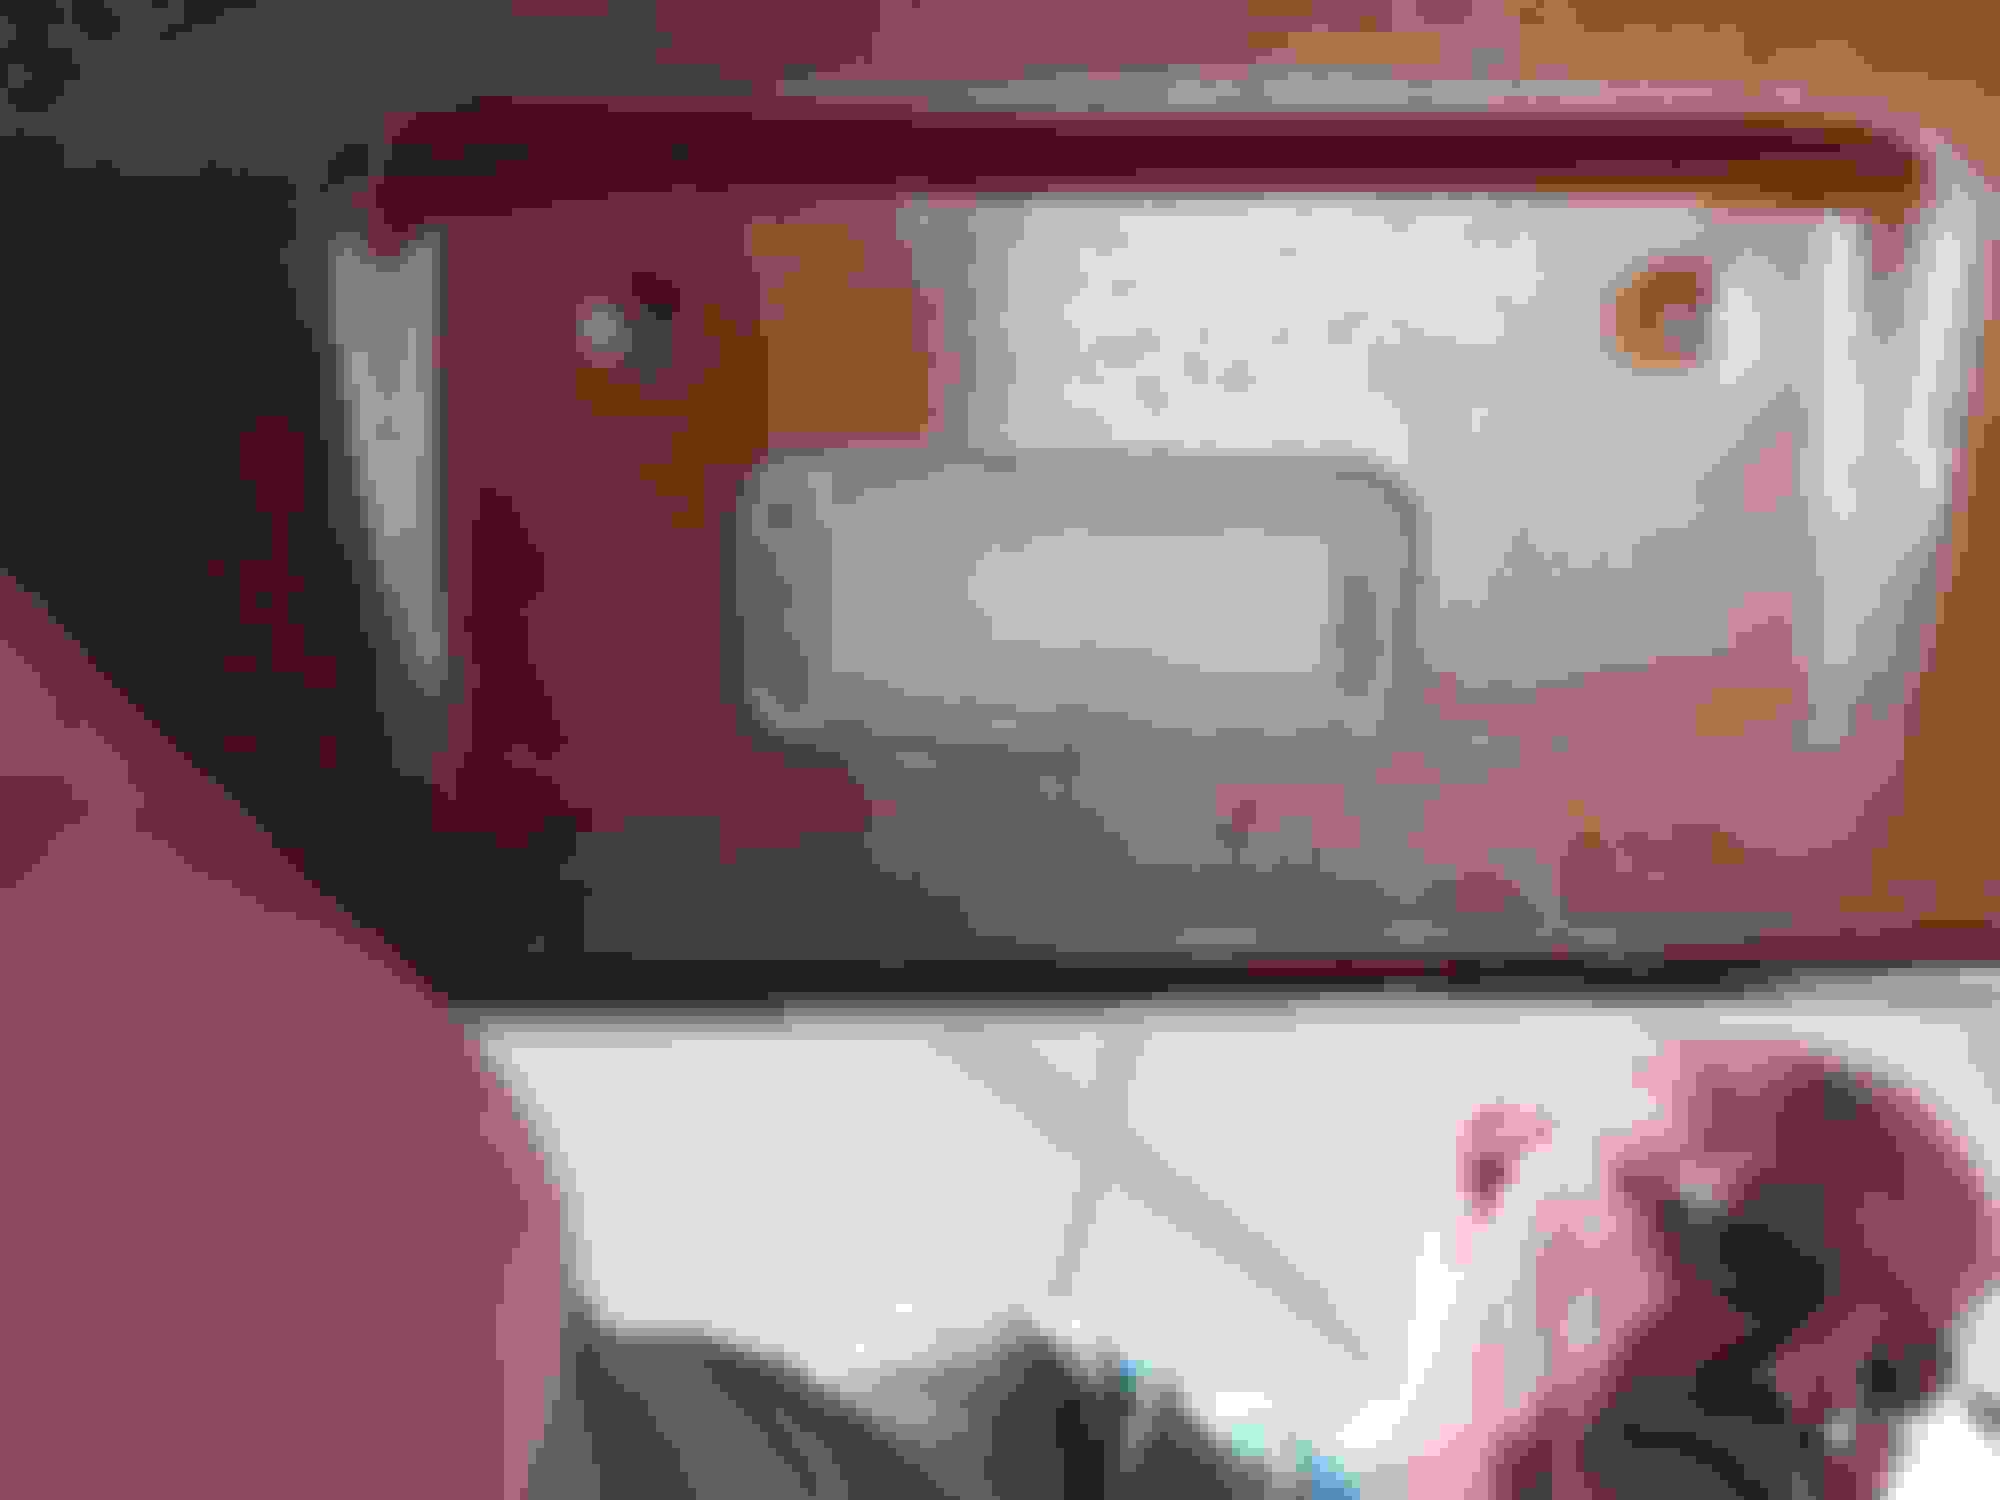
Installed the puddle lights on the door bottoms and the rear facing red marker lights in the door back face. Put the door wiring loom pass through boots into the doors and A pillars.
Looking really good !!!!!
I'm not sold on the black Bumpers, But i may come around when we see the rest of the parts on the the car....
Good Job Man !!!!
 07-25-2022, 04:48 AM