When you click on links to various merchants on this site and make a purchase, this can result in this site earning a commission. Affiliate programs and affiliations include, but are not limited to, the eBay Partner Network.
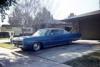
I have a 1967 Dodge Coronet 500, Cream Yellow color, 318 V8, automatic column shift, factory full tinted glass, A/C, black interior, bench seats, almost no rust, only the passenger front floor pan and surface rust.
Last edited by Ghostrider 67; Jun 7, 2022 at 03:52 PM.
Well, it has been a few years so here is what has happened to date;
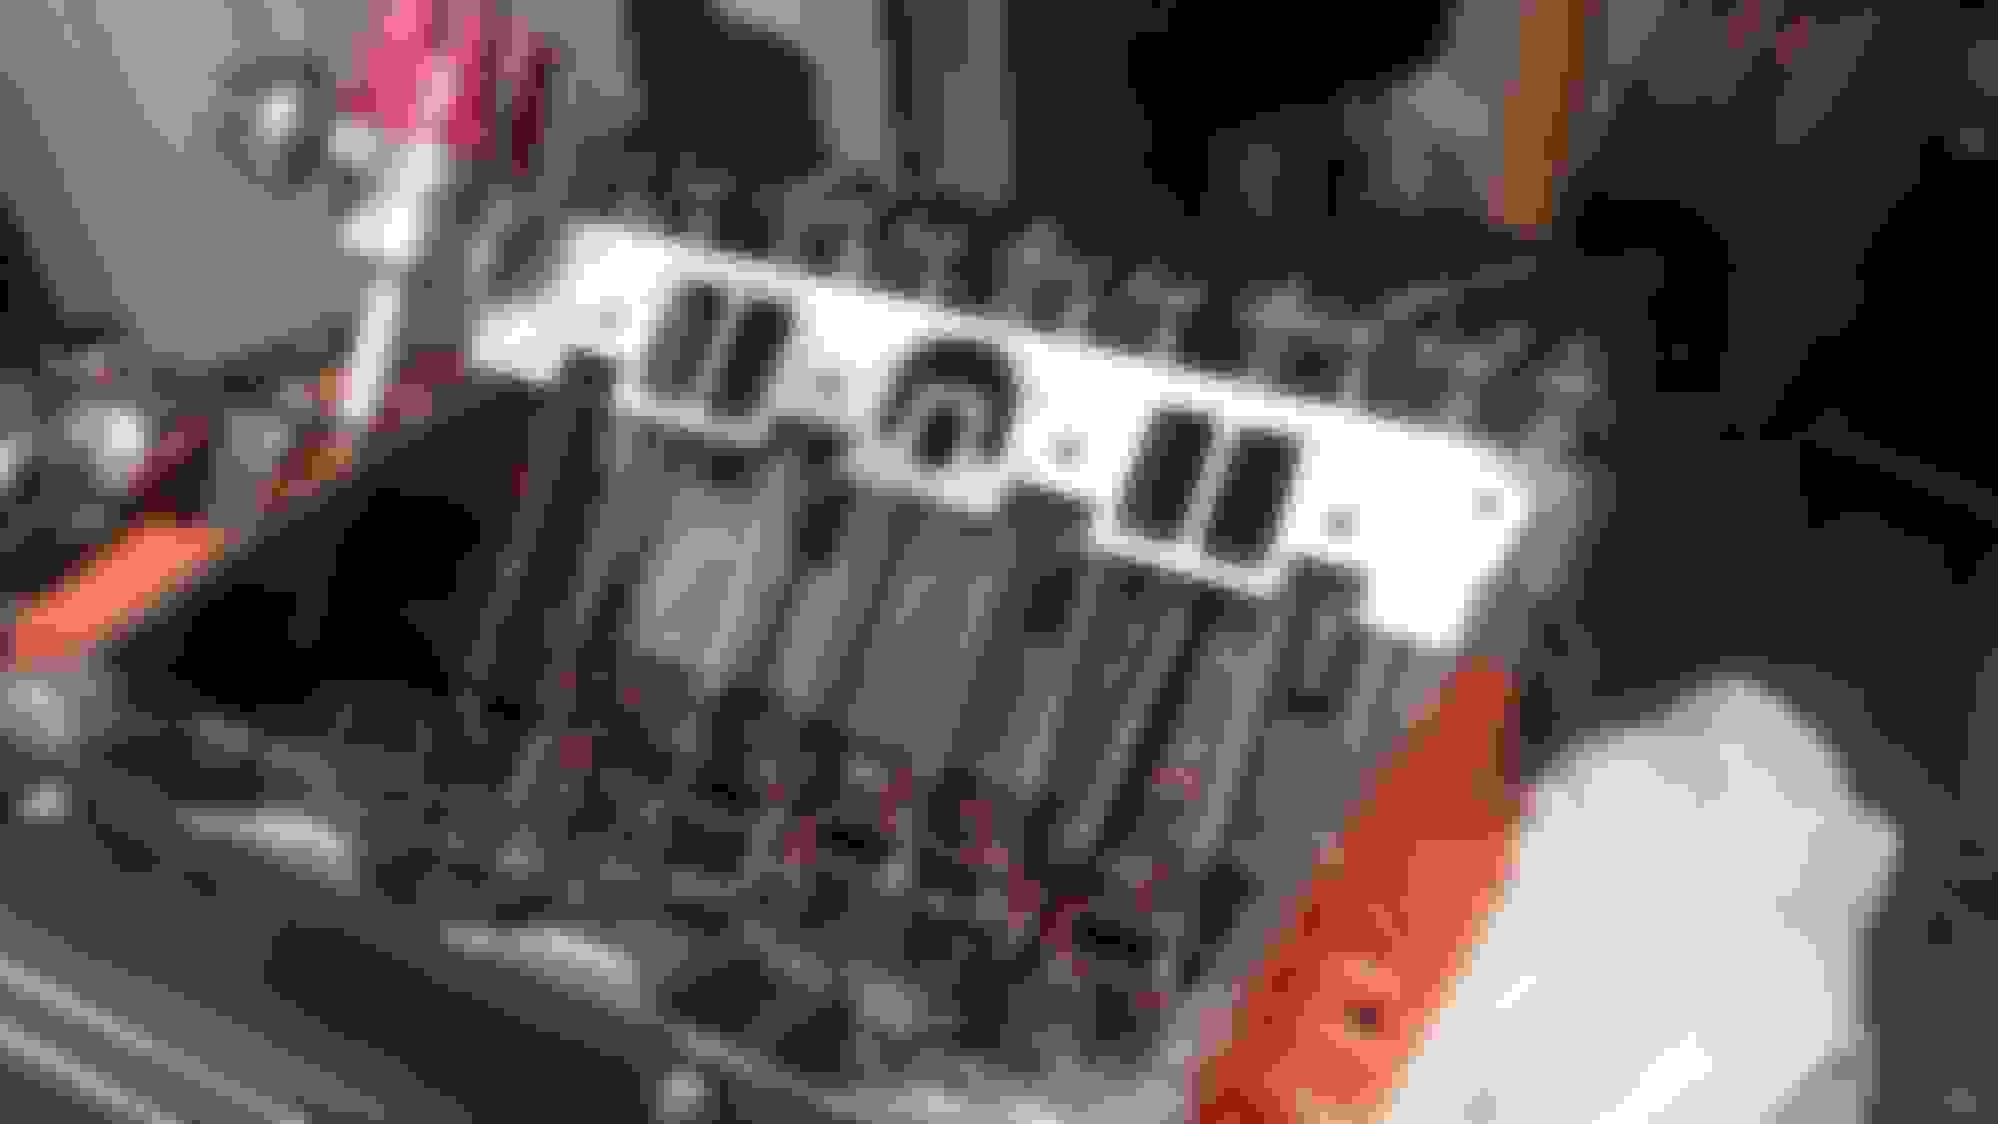
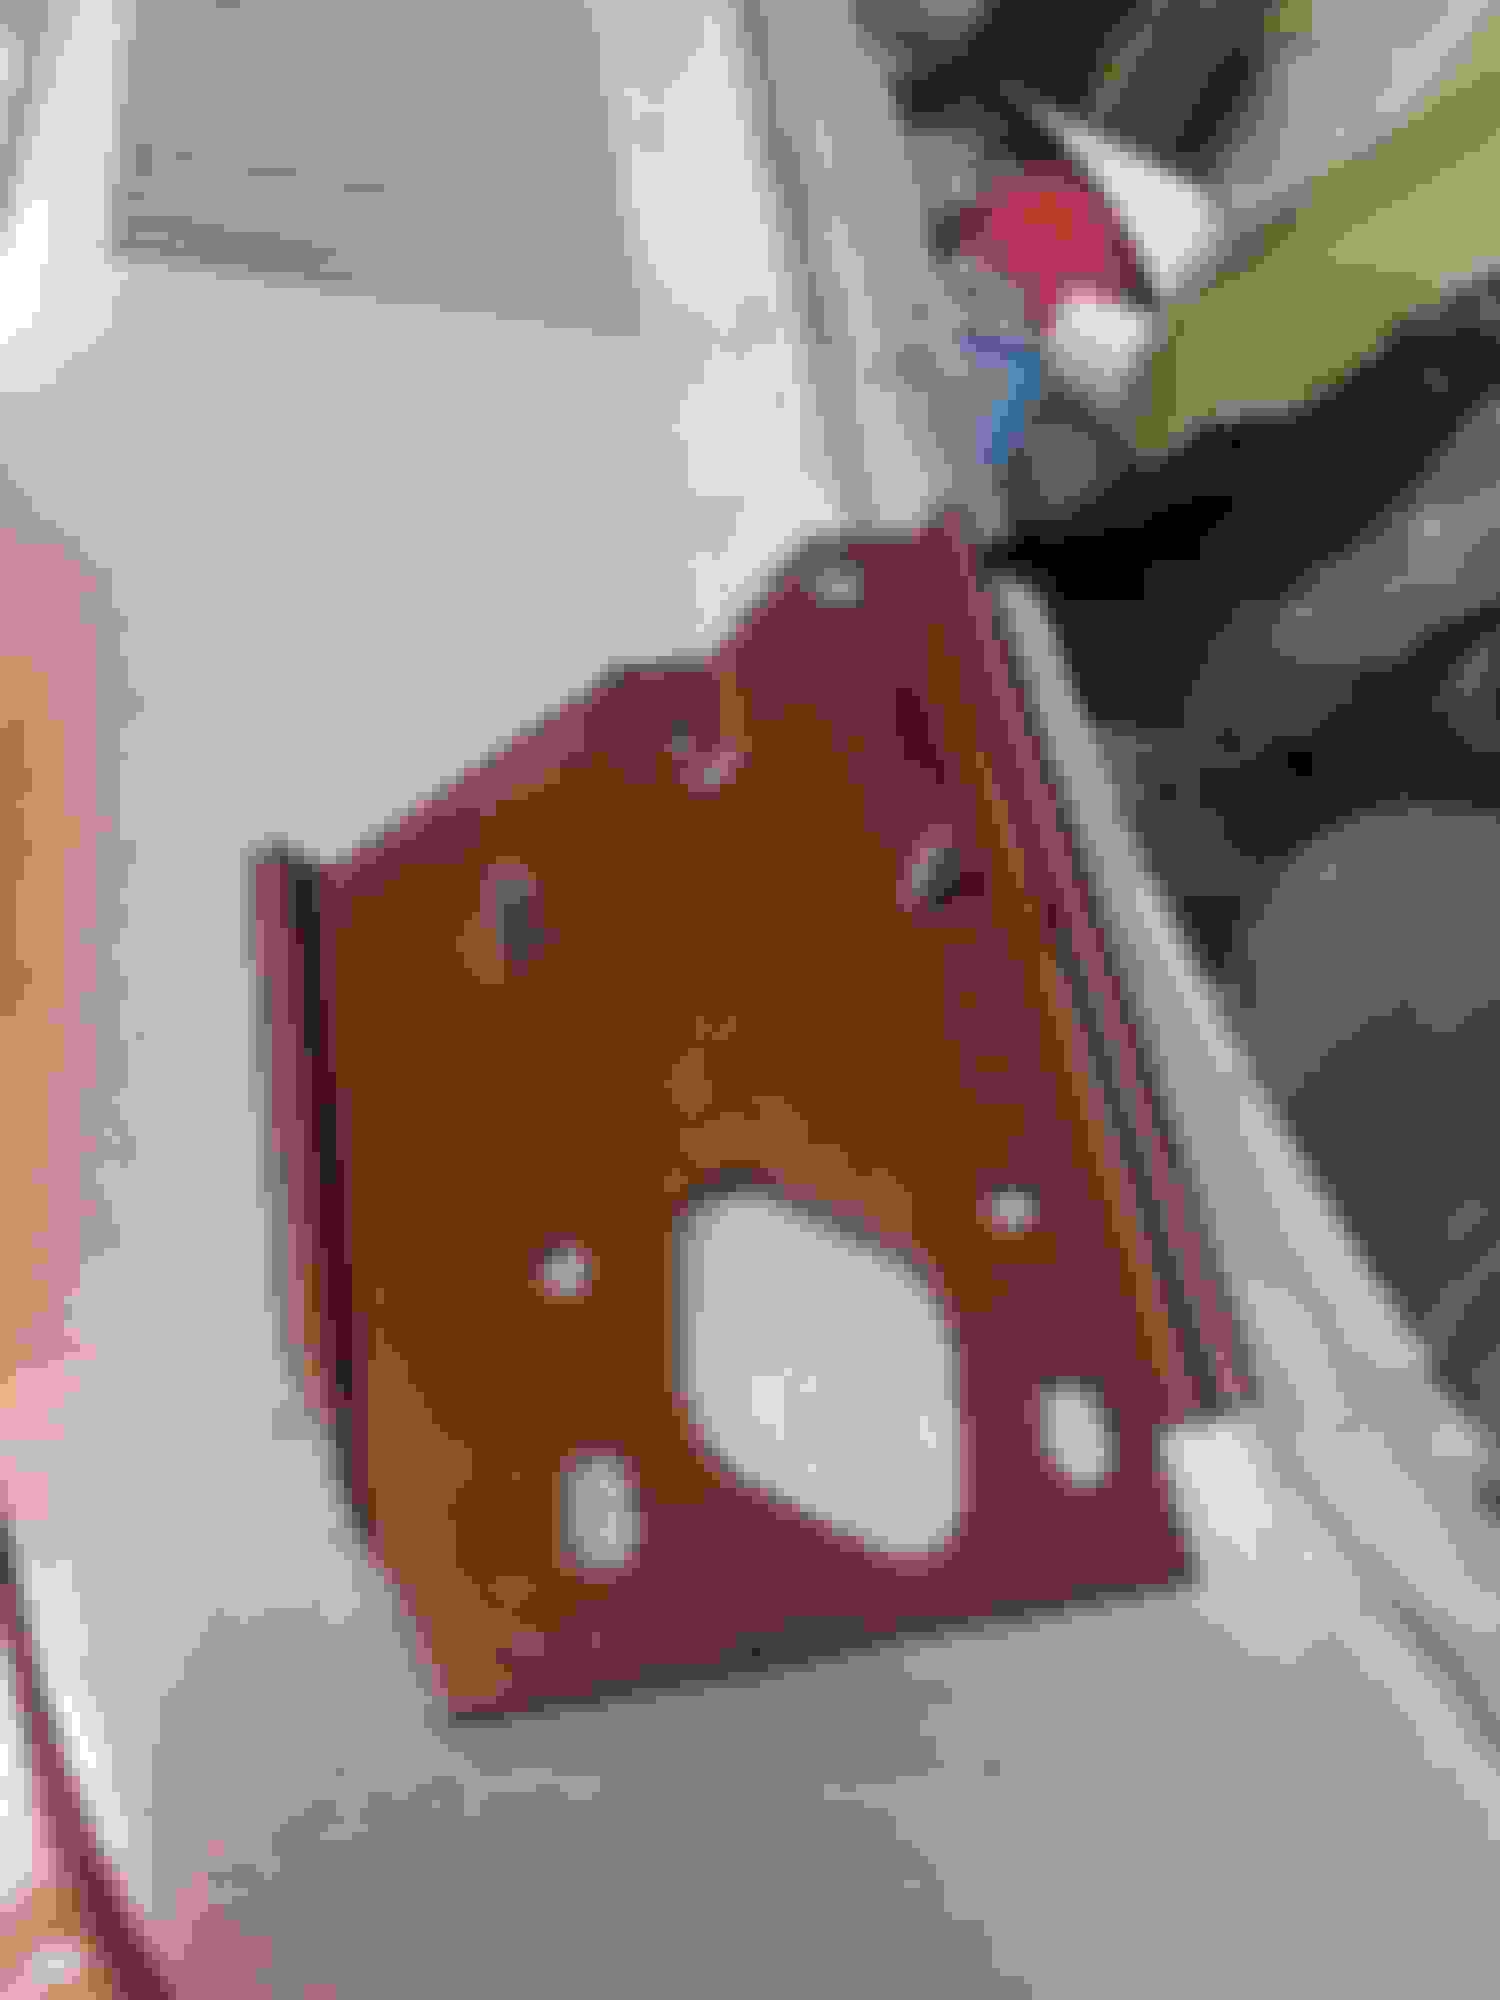
all of the fabrication has been completed. Body work is almost done, primer has been sprayed twice. 440 has been sent off to RPM Racing Engines for machining and cam bearings. Motor is 75% assembled, waiting on my Weiand intake to return from the powder coaters. There has been a LOT of fabrication, although I have tried at every point along the way to only change things that would blend in and be something the average person wouldn't notice right away. Here's some photos.
Here's a list of the changes:
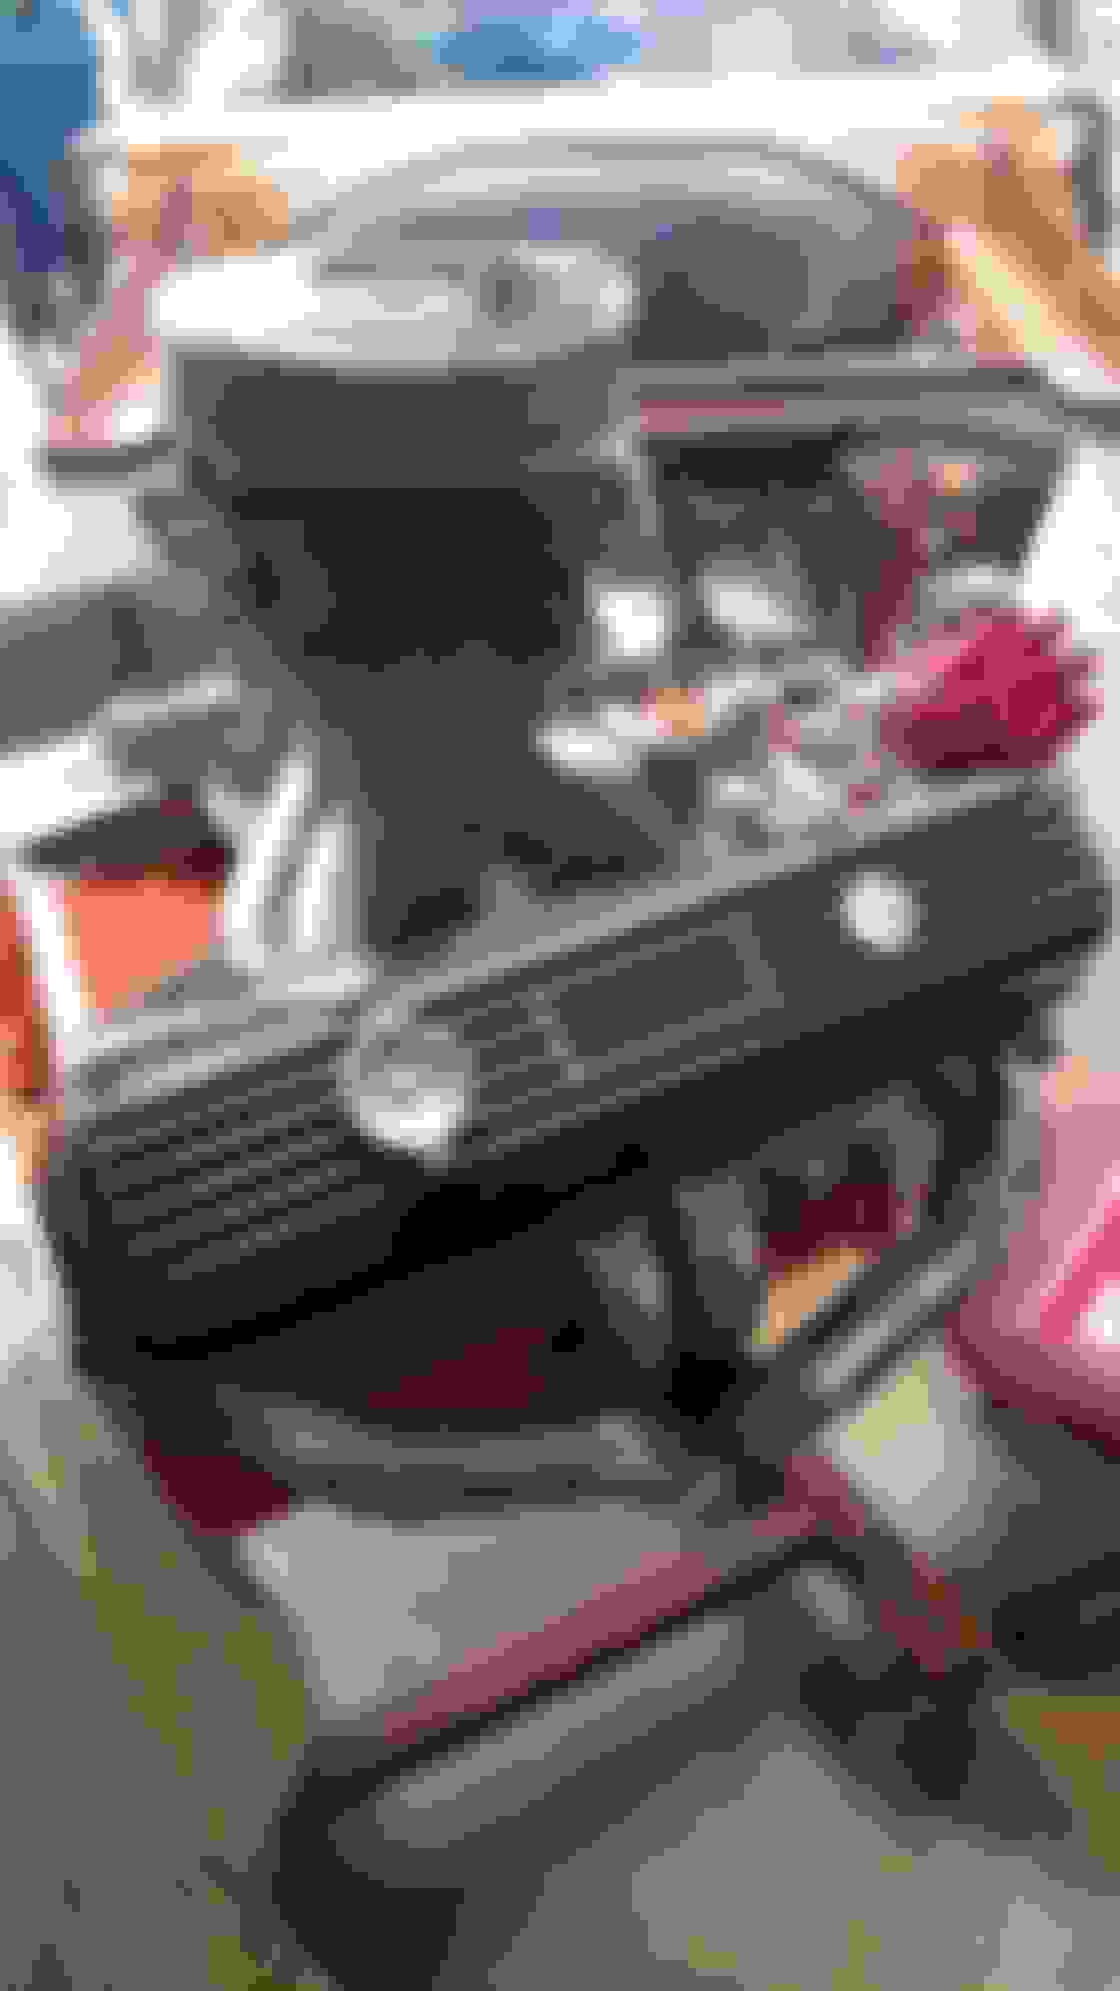
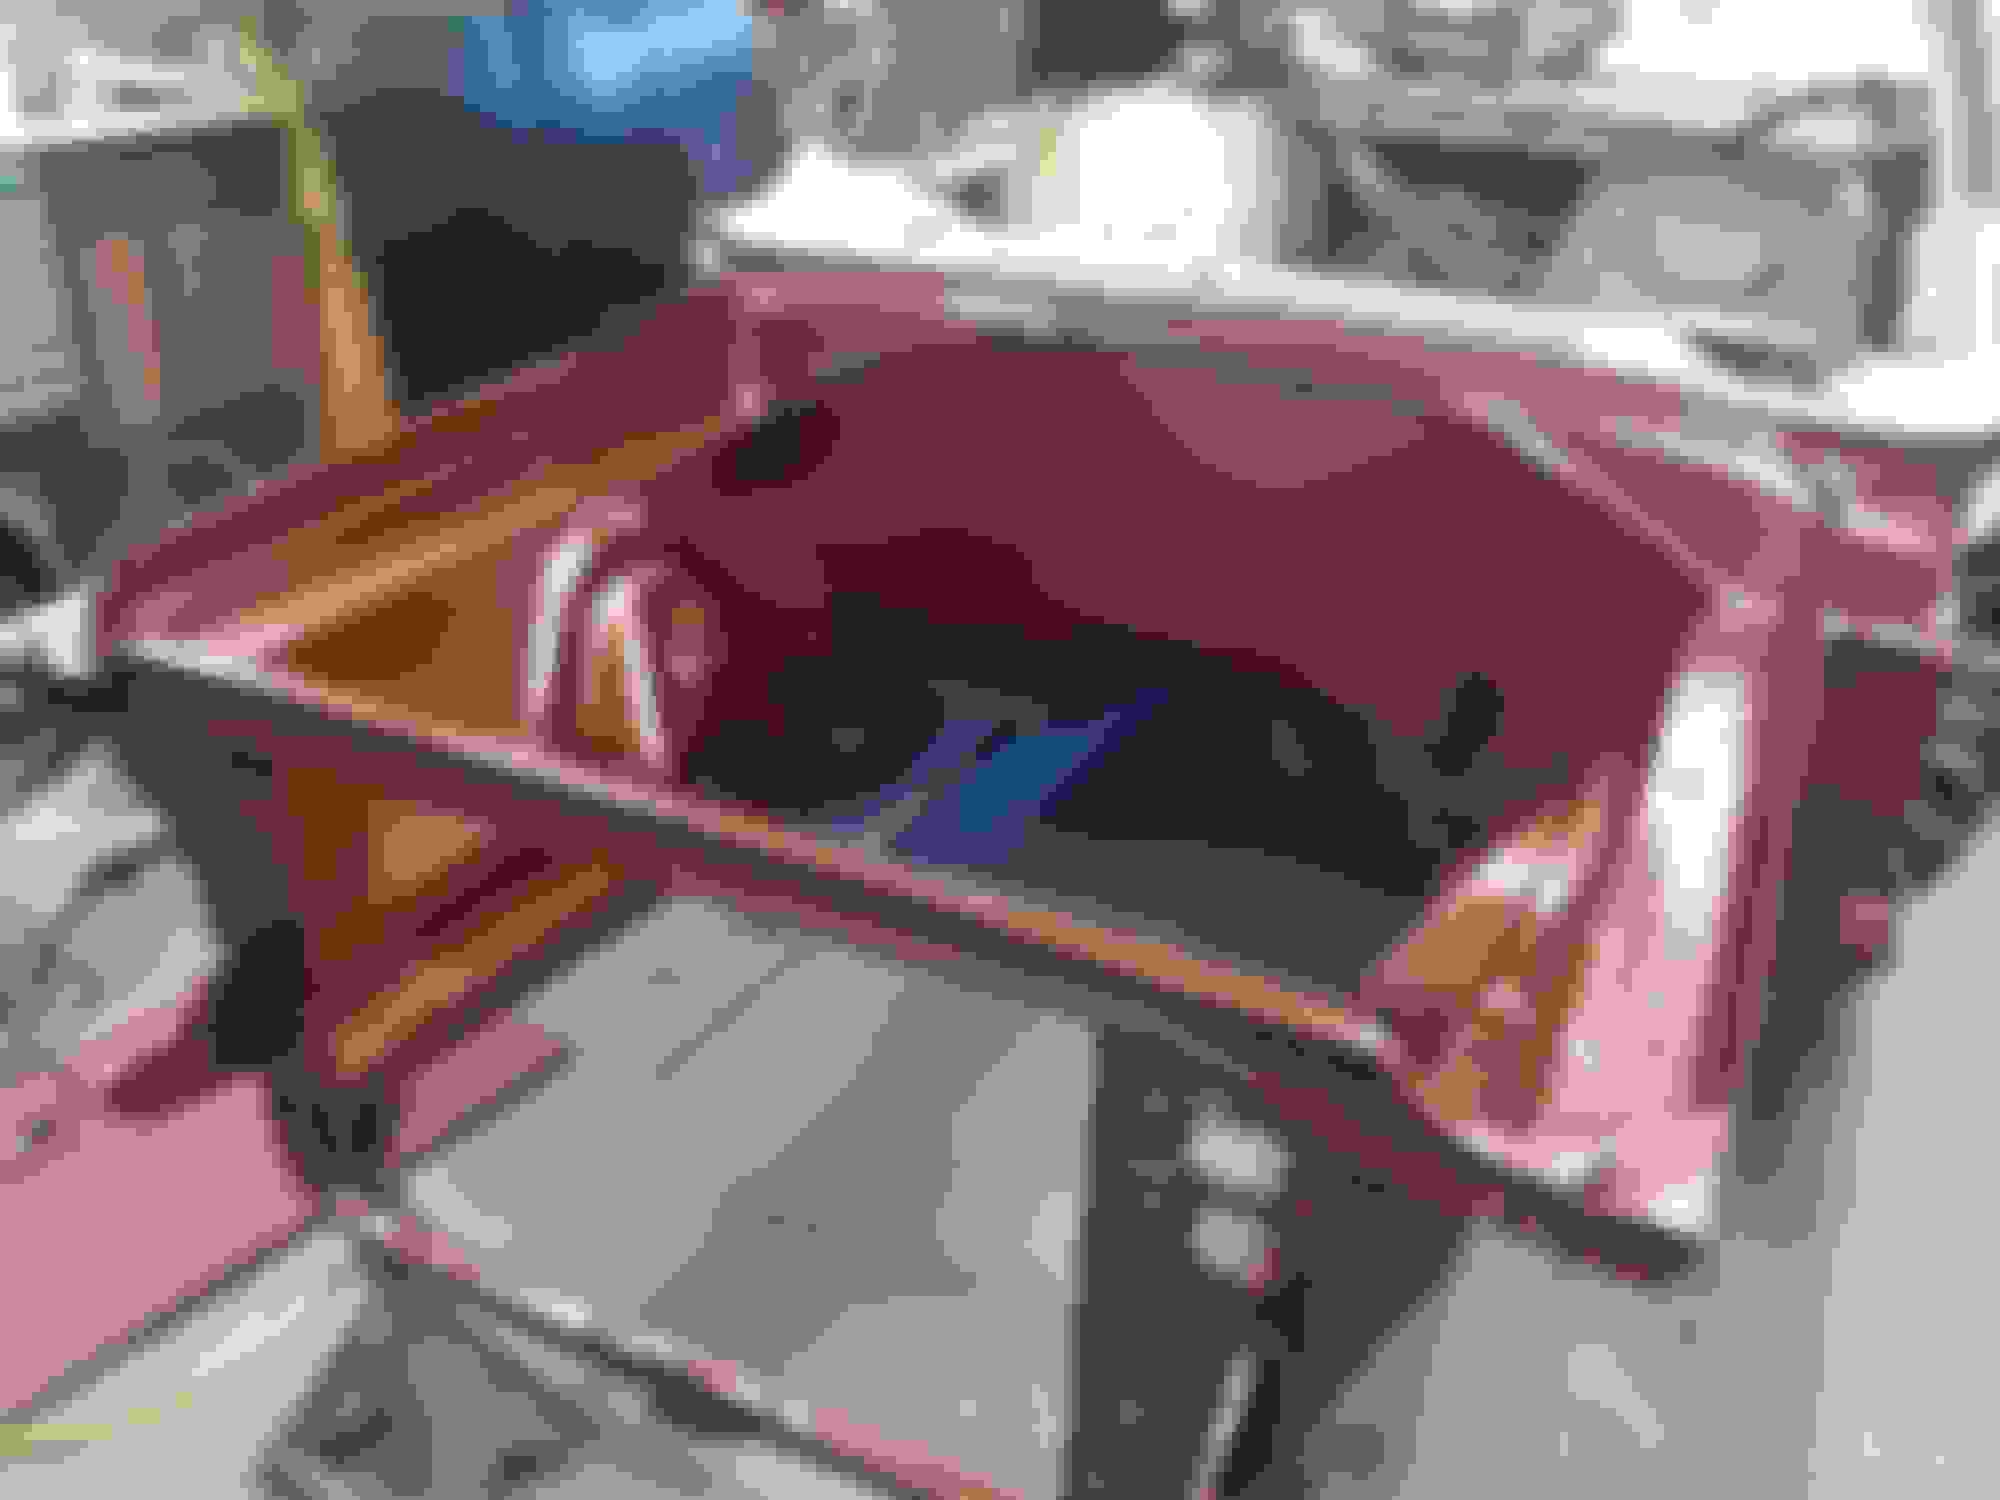
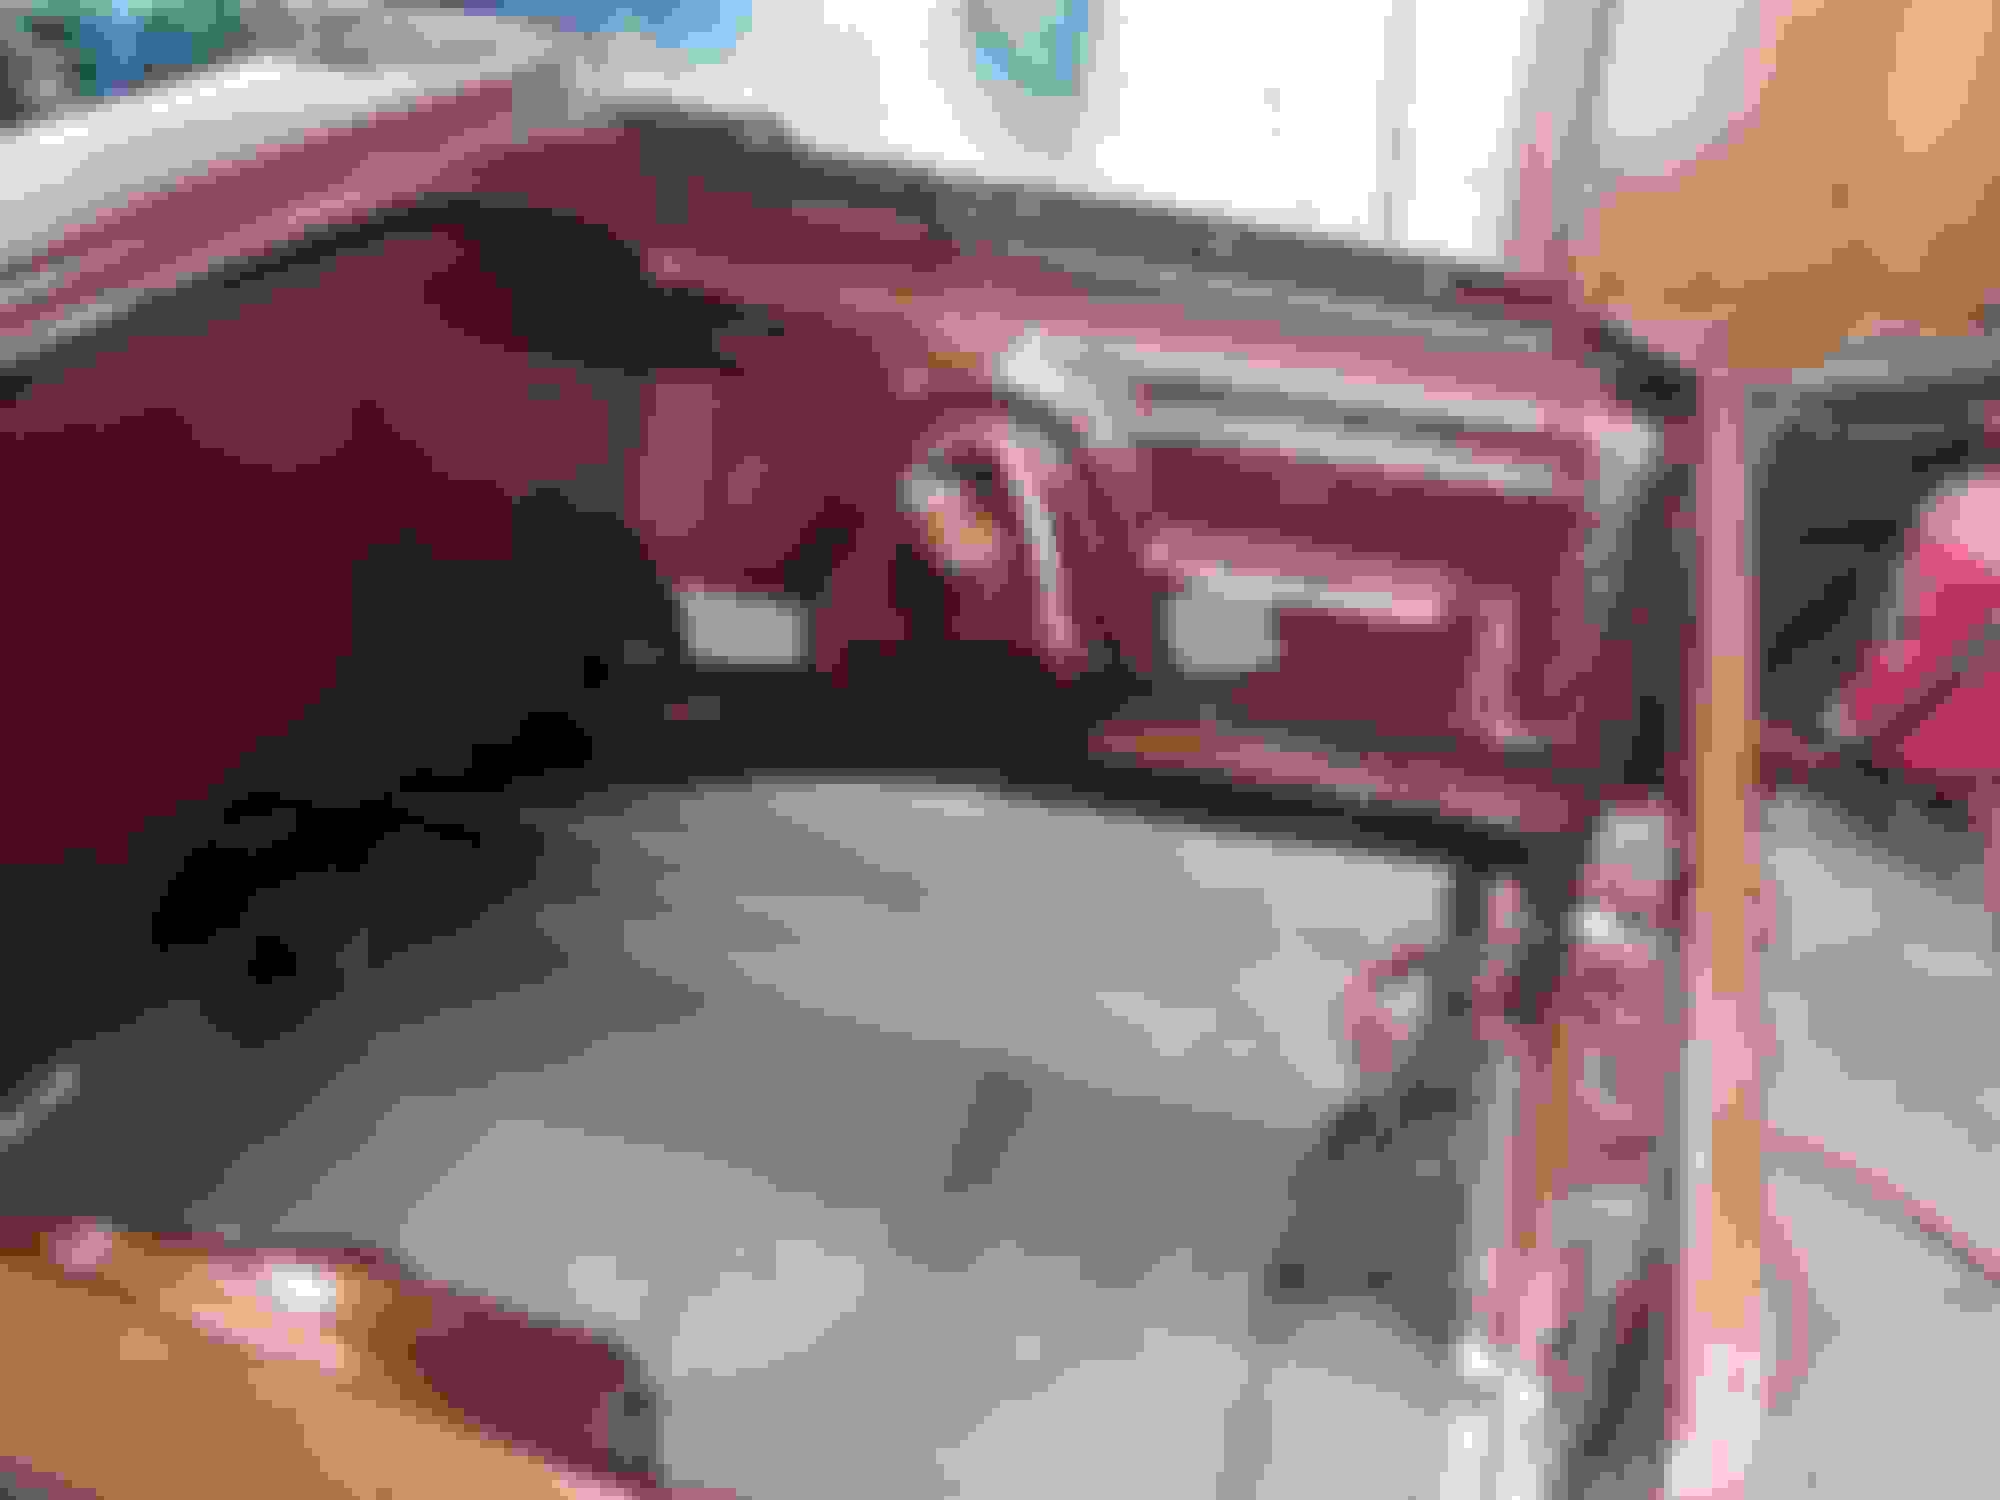
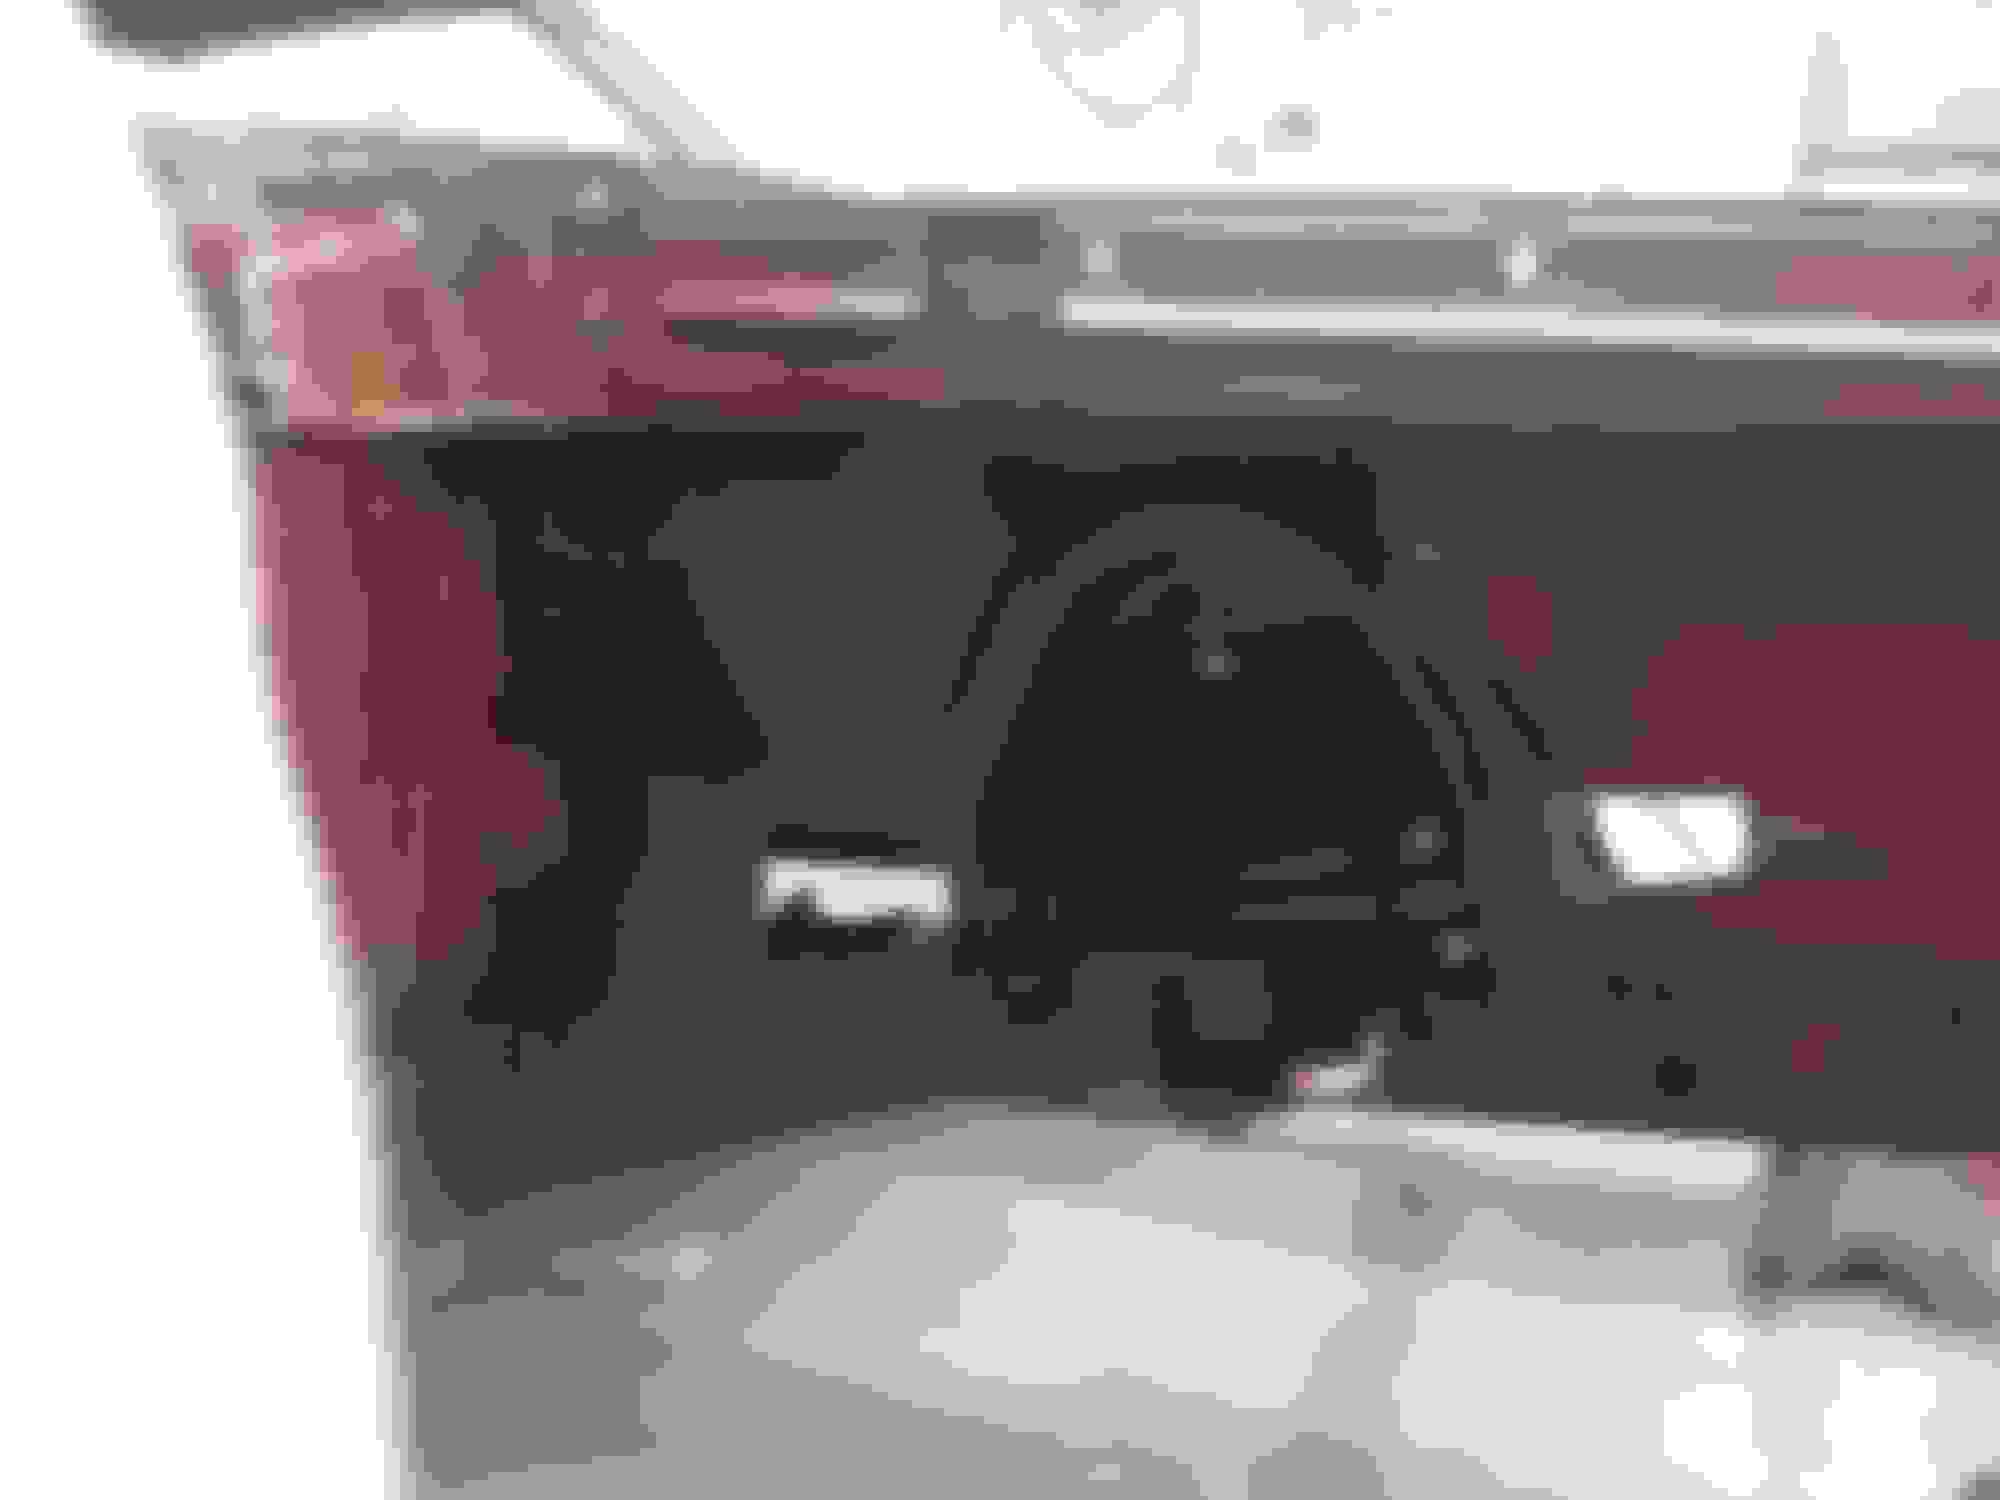
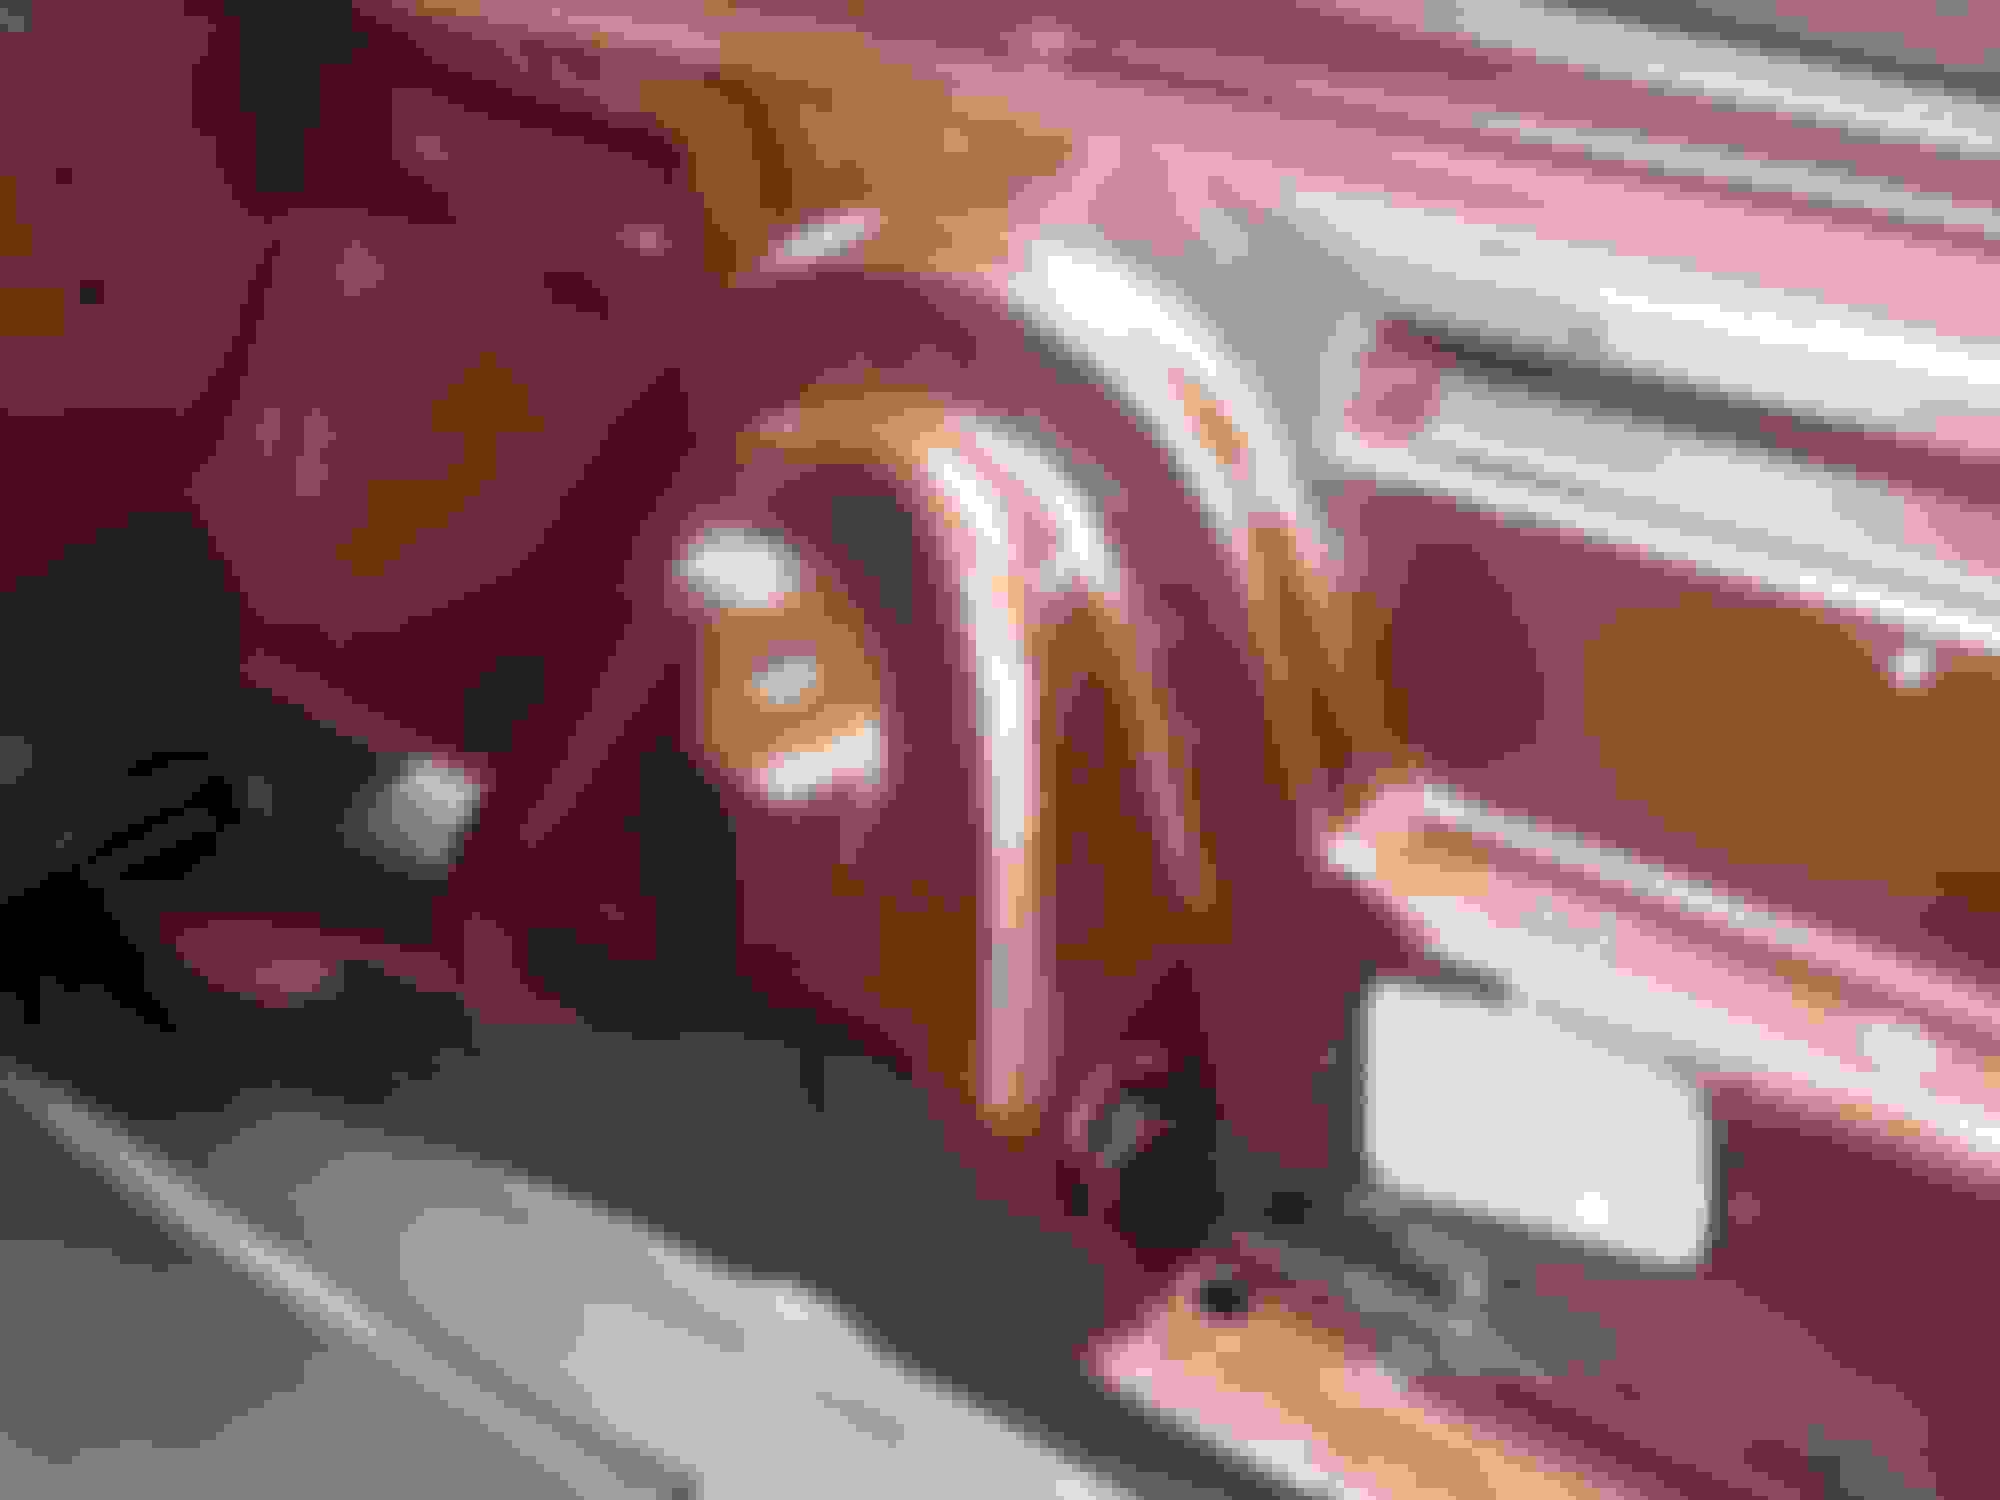
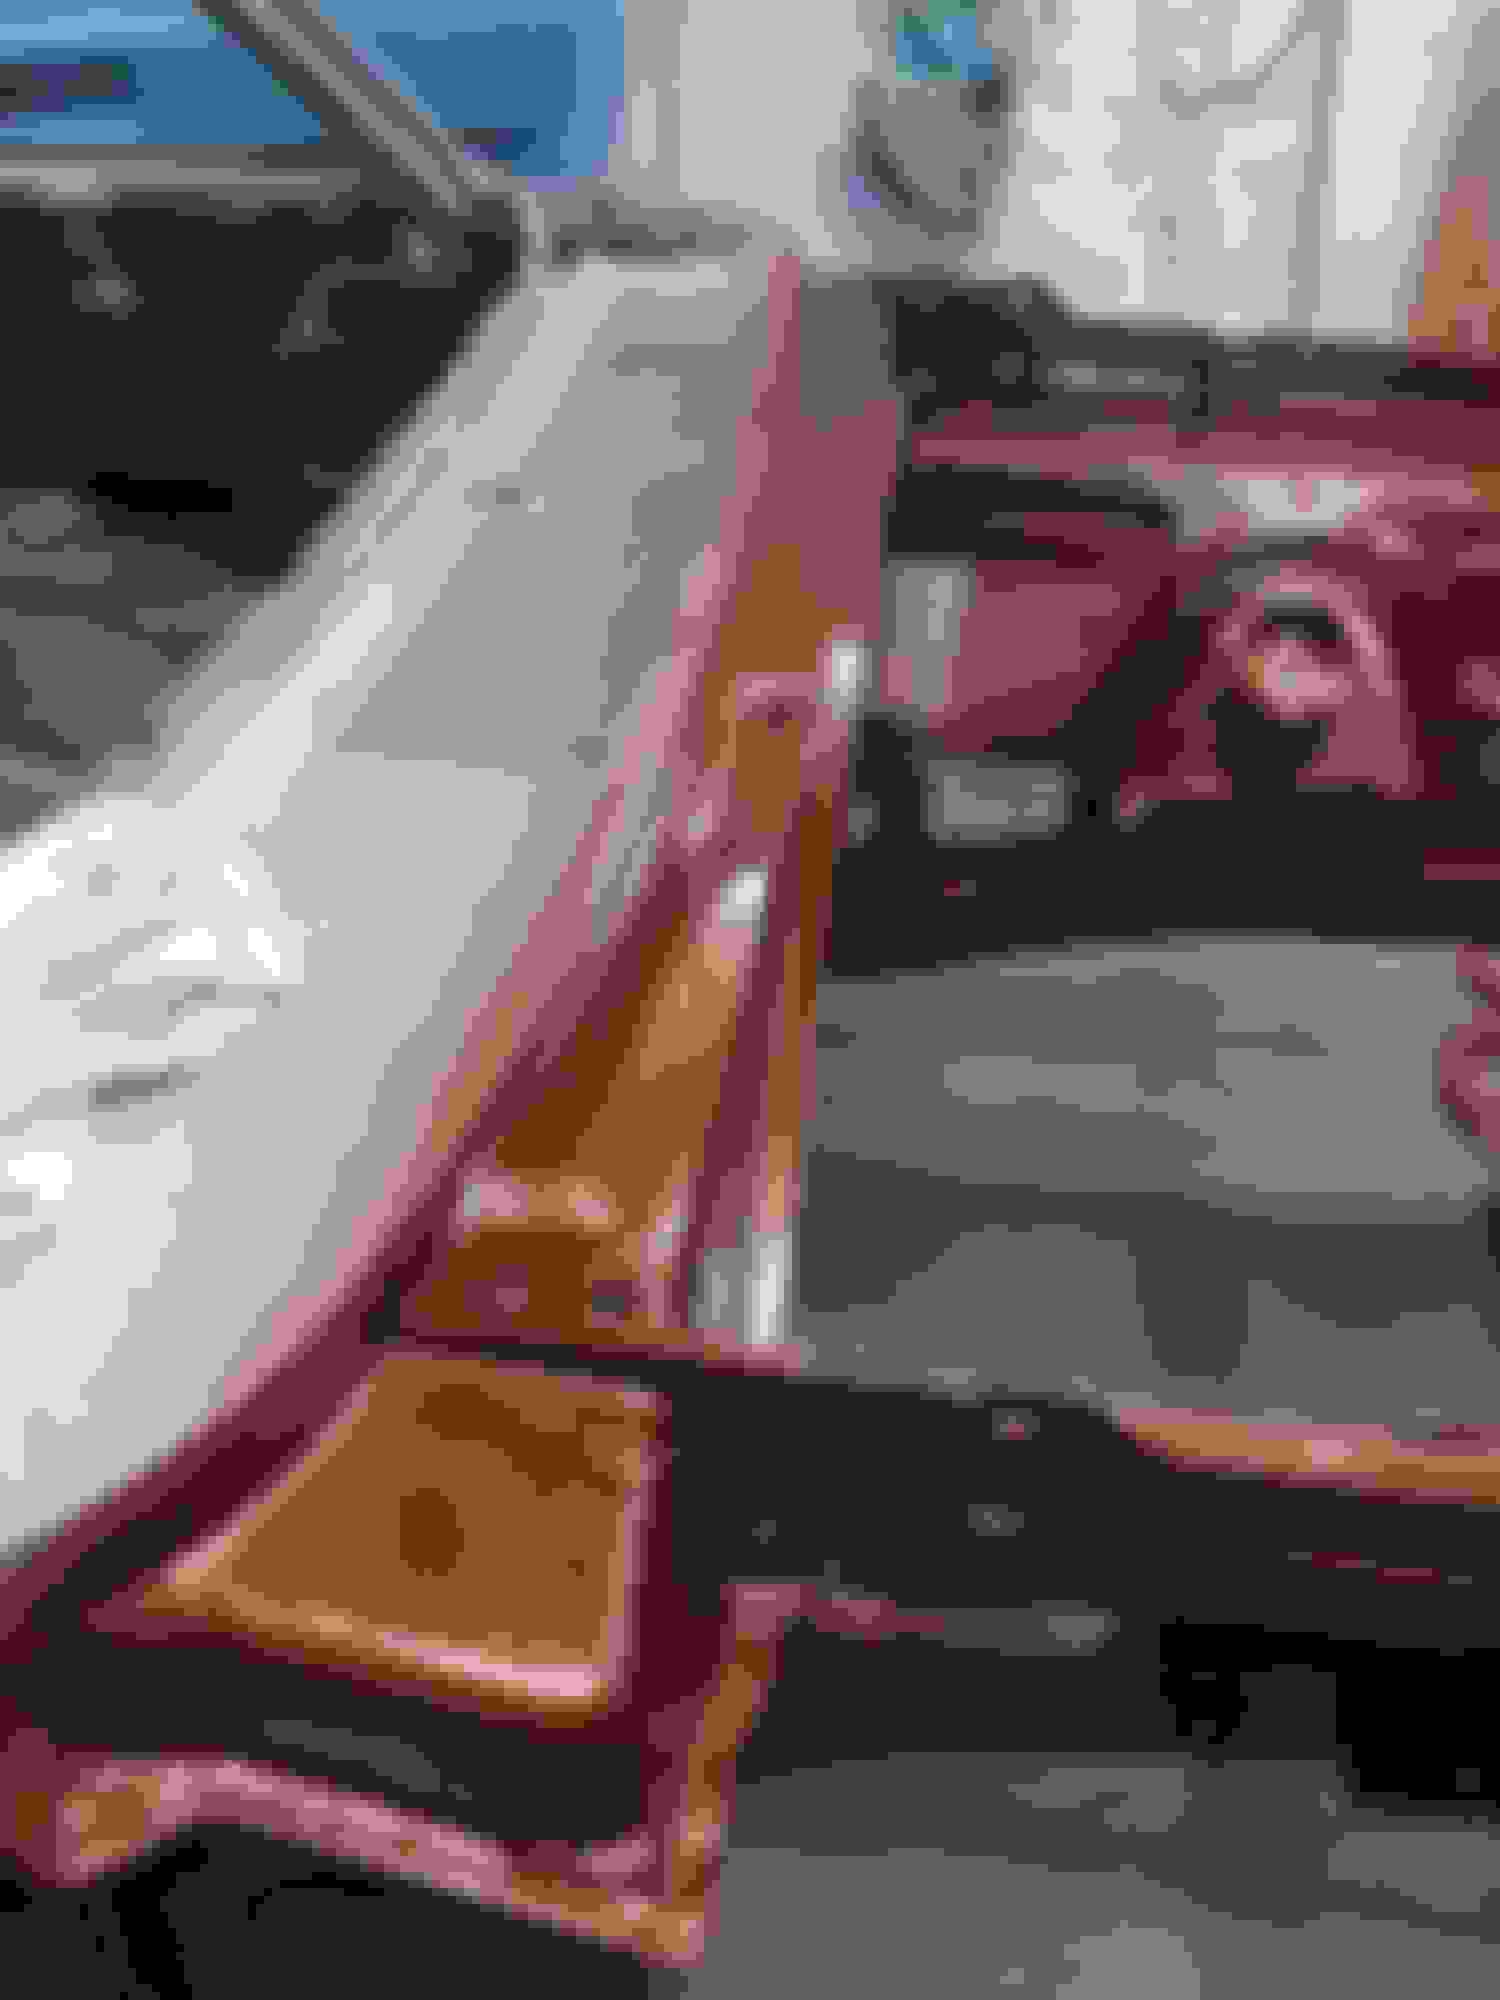
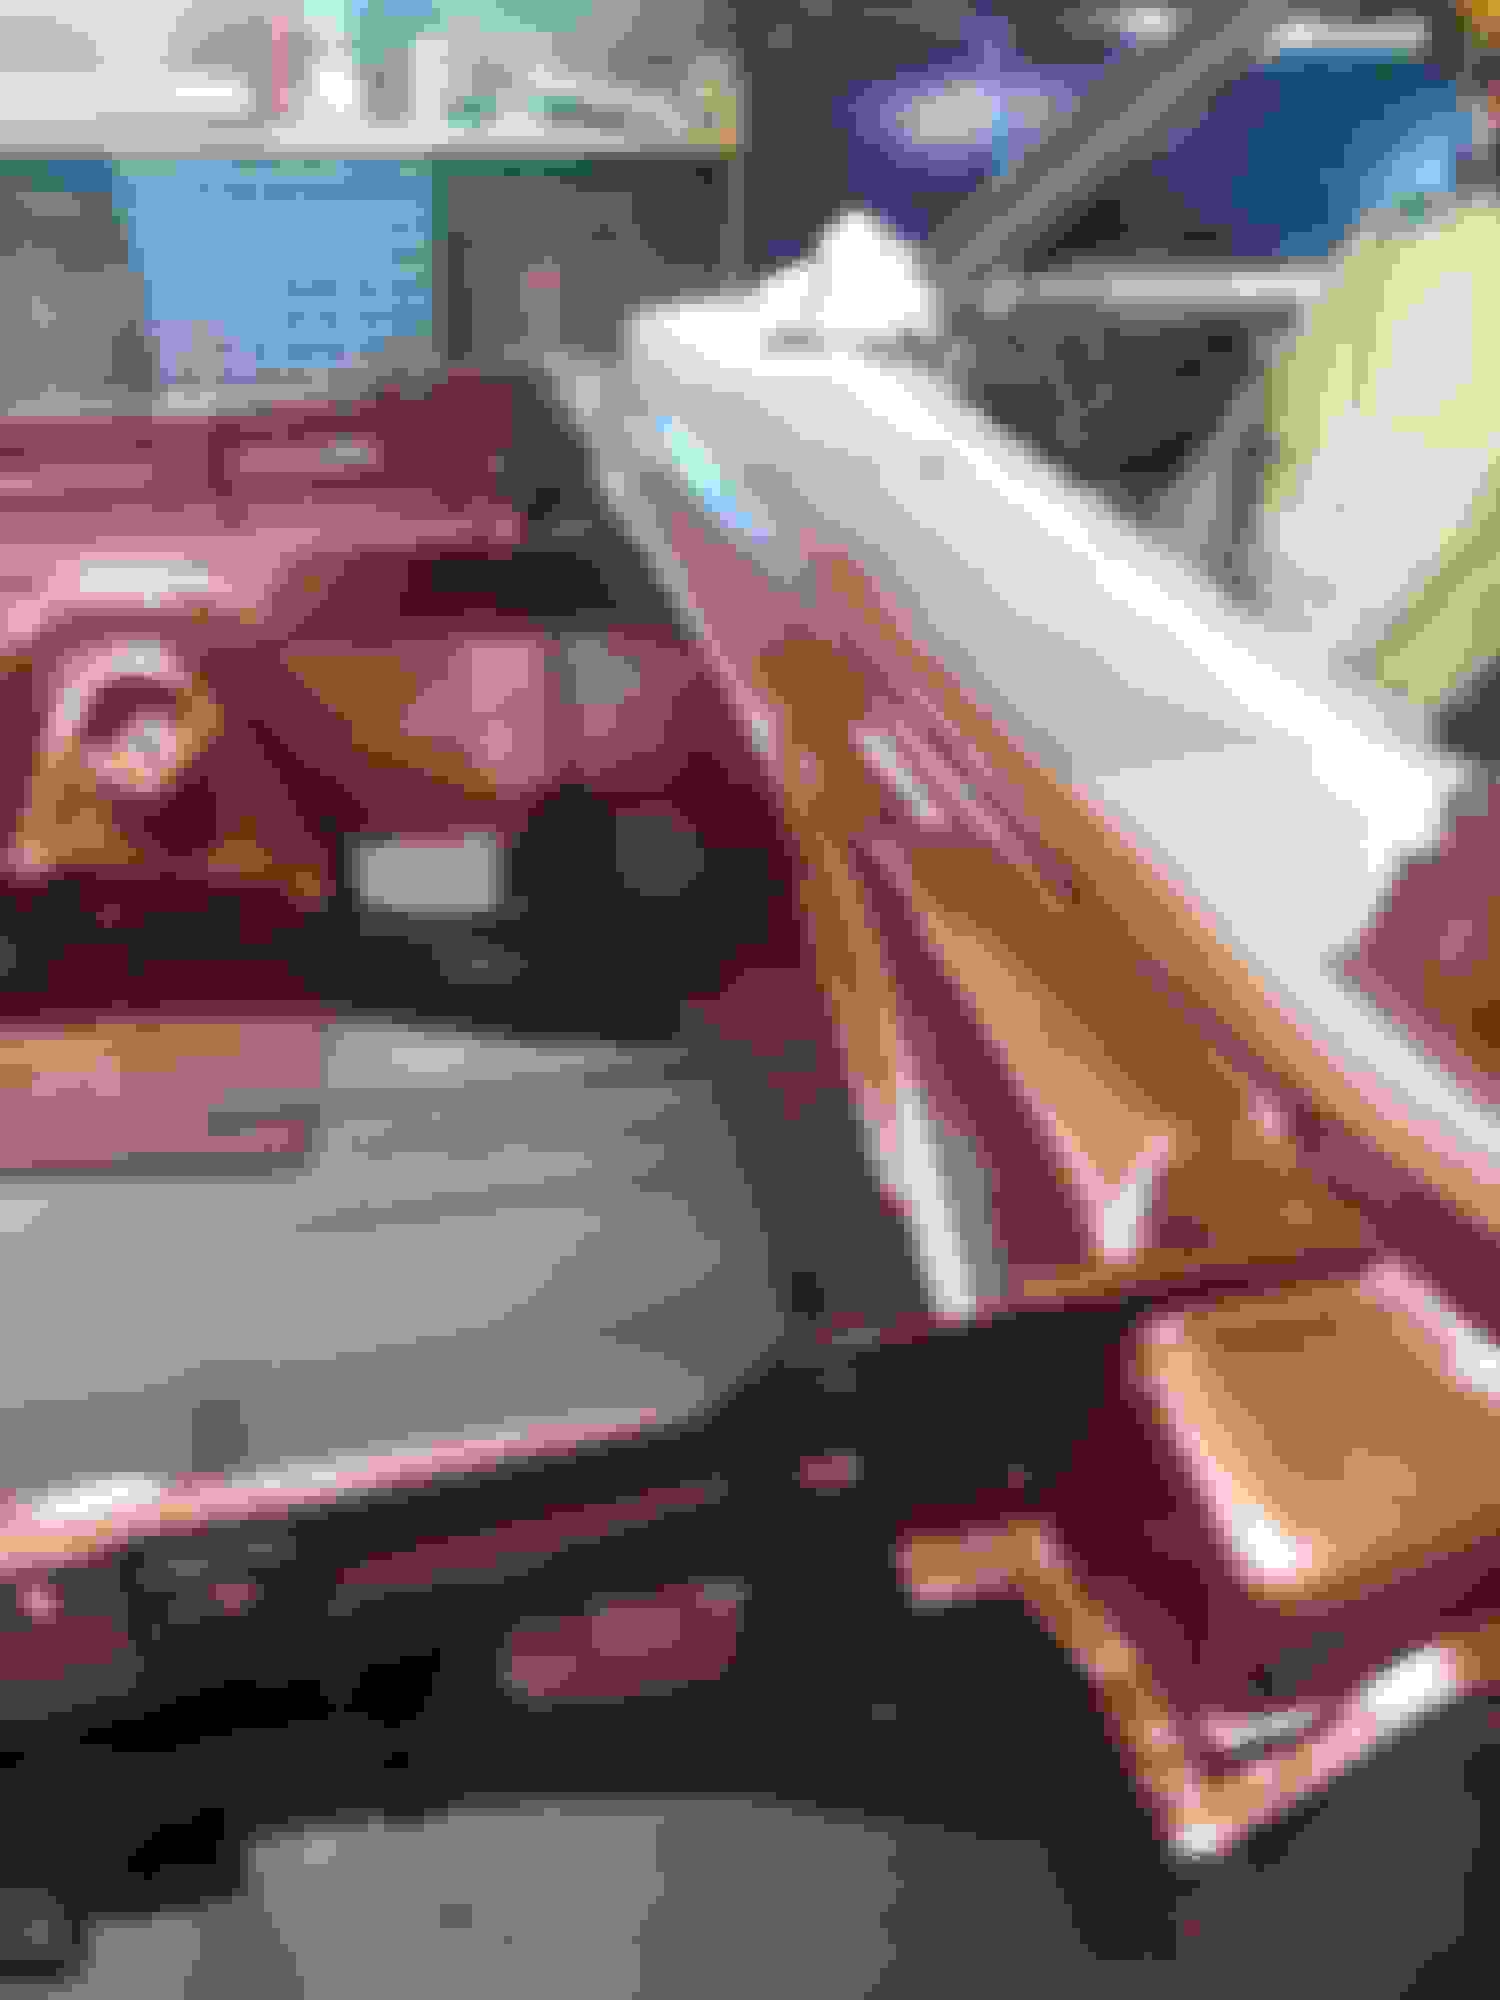
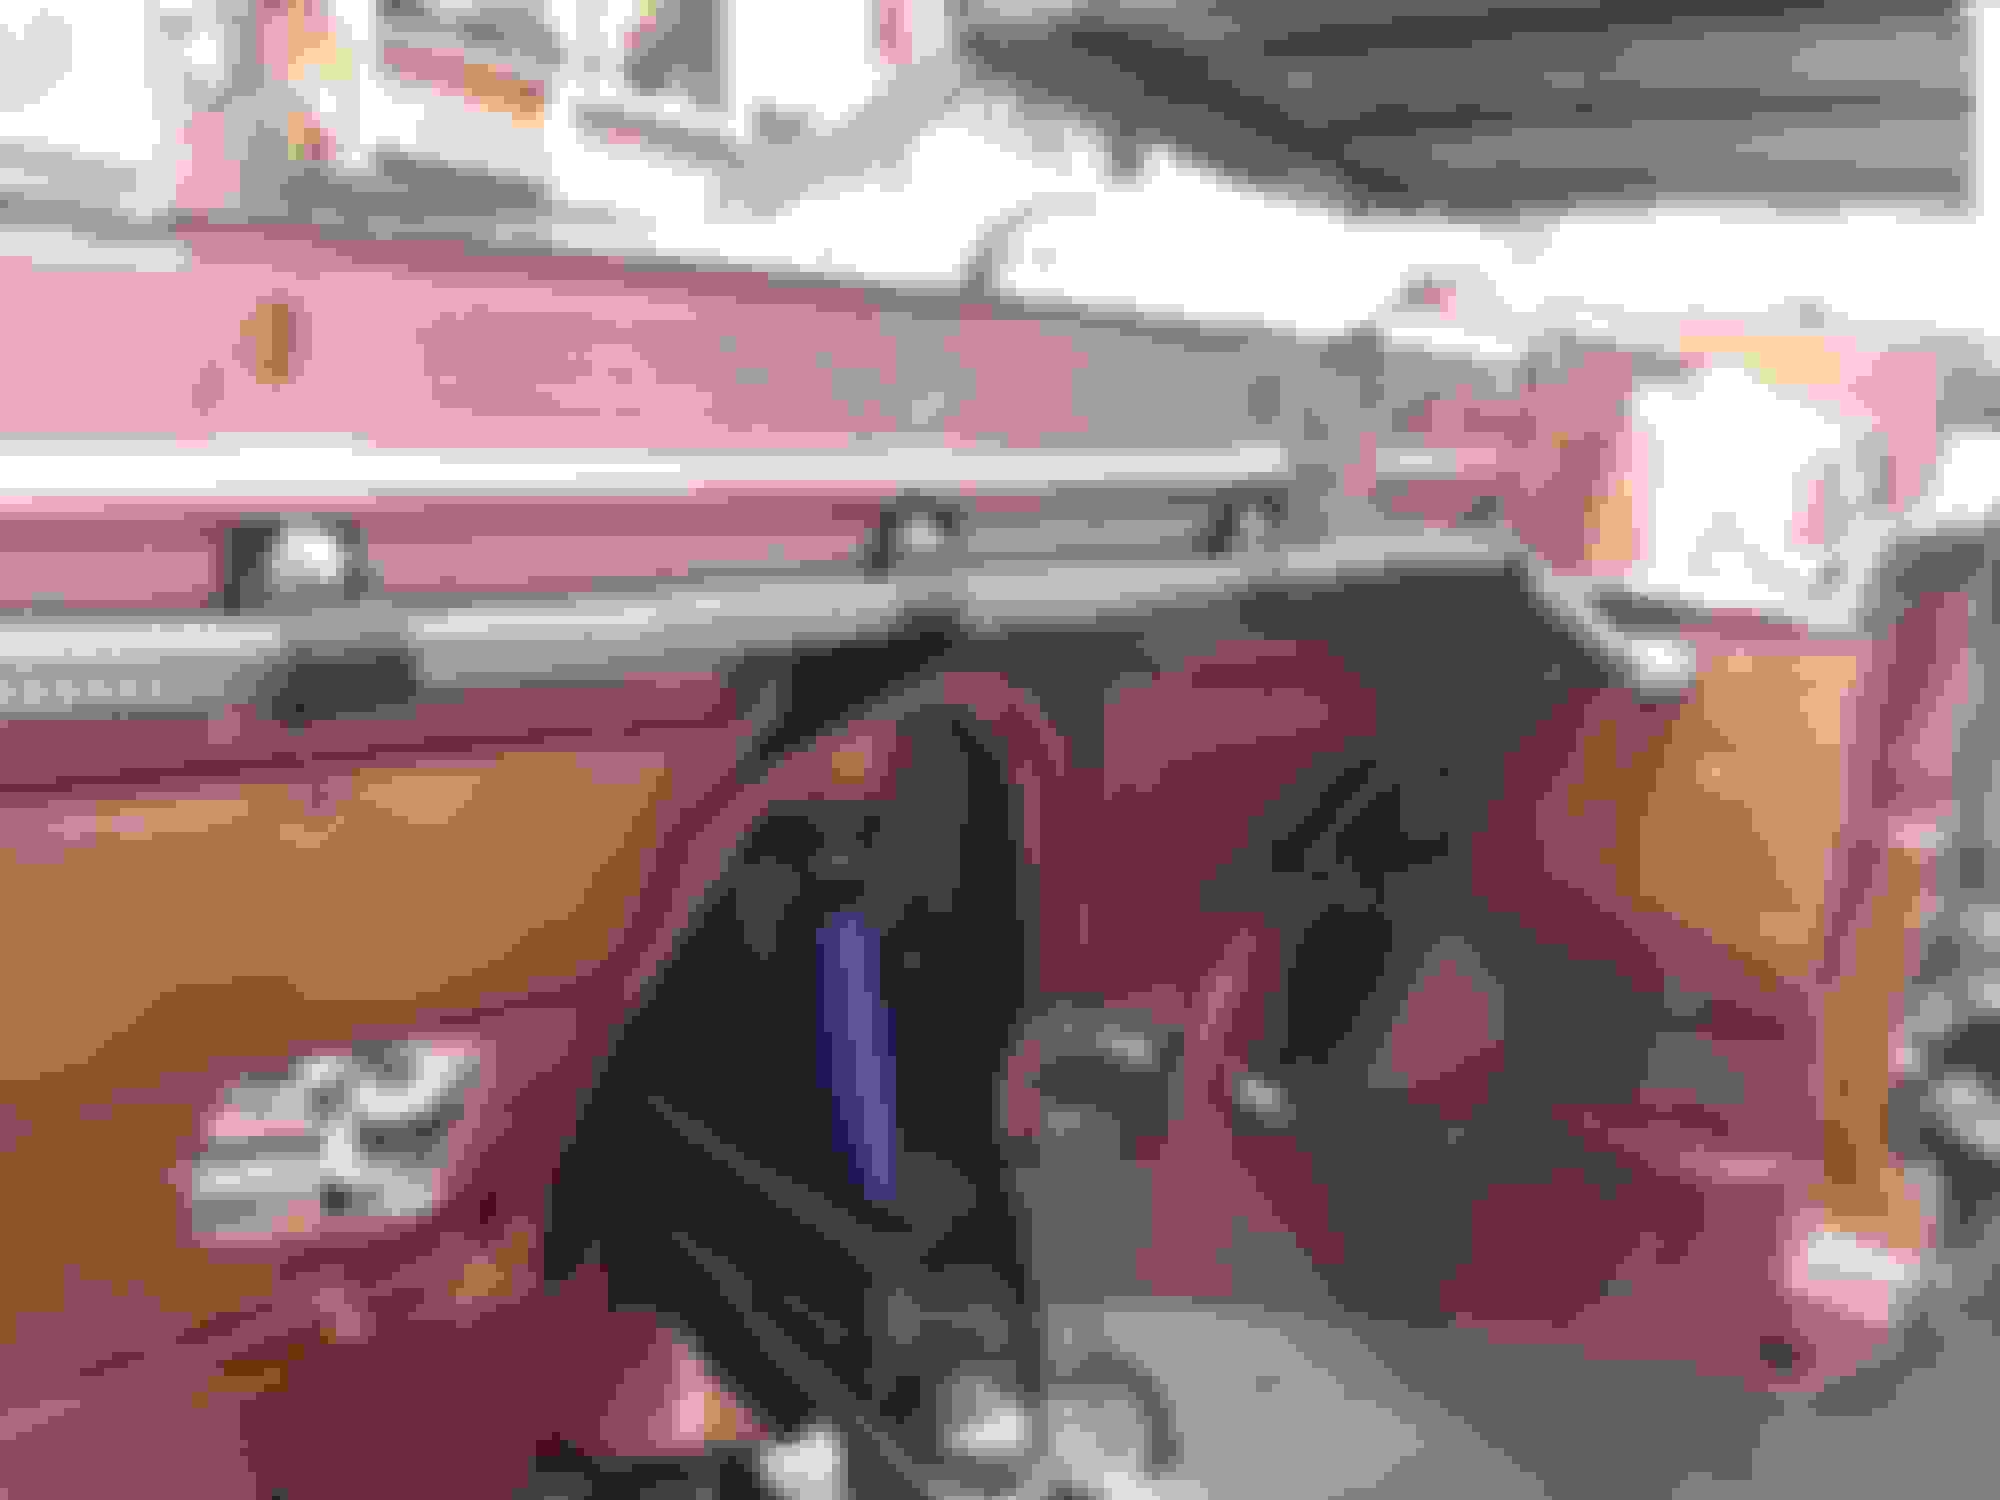
Front bumper sectioned and reshaped, fender noses swept back to 90* angles, 67 Charger front grill and lights, Hand fabbed Hemi scoop, swapped in a 440 and a 26" rad, front disc brakes and a dual M/C w/ proportioning valve, shaved the wiper motor, gas fill door, antennae, turn indicators and lights, opened the side scoops, installed dual popup gas caps, dual fill 17 gallon fuel cell, complete 2004 Audi A6 dash/console. Audi A6 door elements, roadster panel behind the bucket seats, center pull e brake, TTI exhaust, Mancini Racing leaf relocation, wells tubbed, 500 trim shaved, 70 Road Runner rear bumper lengthened 4 5/8" and recurved, trunk lid on gas lifts, wiper motor under dash.
More pics...
wow man that's a serious and killer build!! thank you for sharing!
Thanks! I fixed my air compressor this morning and am setting up to spray grey primer tomorrow morning. Going to put three coats on each bumper and the entire front clip. Need to get paint on the clip so I can bolt up the K Frame and front end gear. I'll tape it all off to spray the back half later. Need to get the bumpers blocked to see where I may need glazing. Compressor belt was loose..lol. Cleaned the gun and what not so about ready to mix and throw down.
brooooo! best of luck, i know there is an art to spraying but it's so much nicer than all the other options. get some!
Well, it went so-so...lol. Ended up with a few small runs that will wet sand out. Going to block this and put another coat on. need to adjust my gun a little for a finer spray. But, it turned out okay. I'm not building the car for SEMA or anything lol.!
Right lmaoooo! My basic rule for painting something (probably not a nice car but maybe an off-road rig and everything else): If it changed color, it's painted.
Second coat on, after correctly adjusting the gun. Went on smoother and more evenly. will let this dry for a week and then wet sand it. Clear coat that and another week to dry. Then cut & polish.
Well....yes....and no. Yes it looks nice, and I like the color, but no, it just doesn't lay down smooth enough, being a metallic. I would need to be ready to spray about 4-5 wet coats of clear after the brown flashed, so I would have material to cut and buff. Metallic cannot be cut and buffed. This a single stage metallic and fine for what it is, but I need it to be smoother and shine better. So, my choices at this point are A. scuff this up, reshoot this color and clear the hell out of it. Or B. start over with a different color type of paint.
Shot the K frame today. Pretty spectacular color in the sunlight...my k frame looks like a "Punisher" skull with a wicked scar across the left eye...lol.
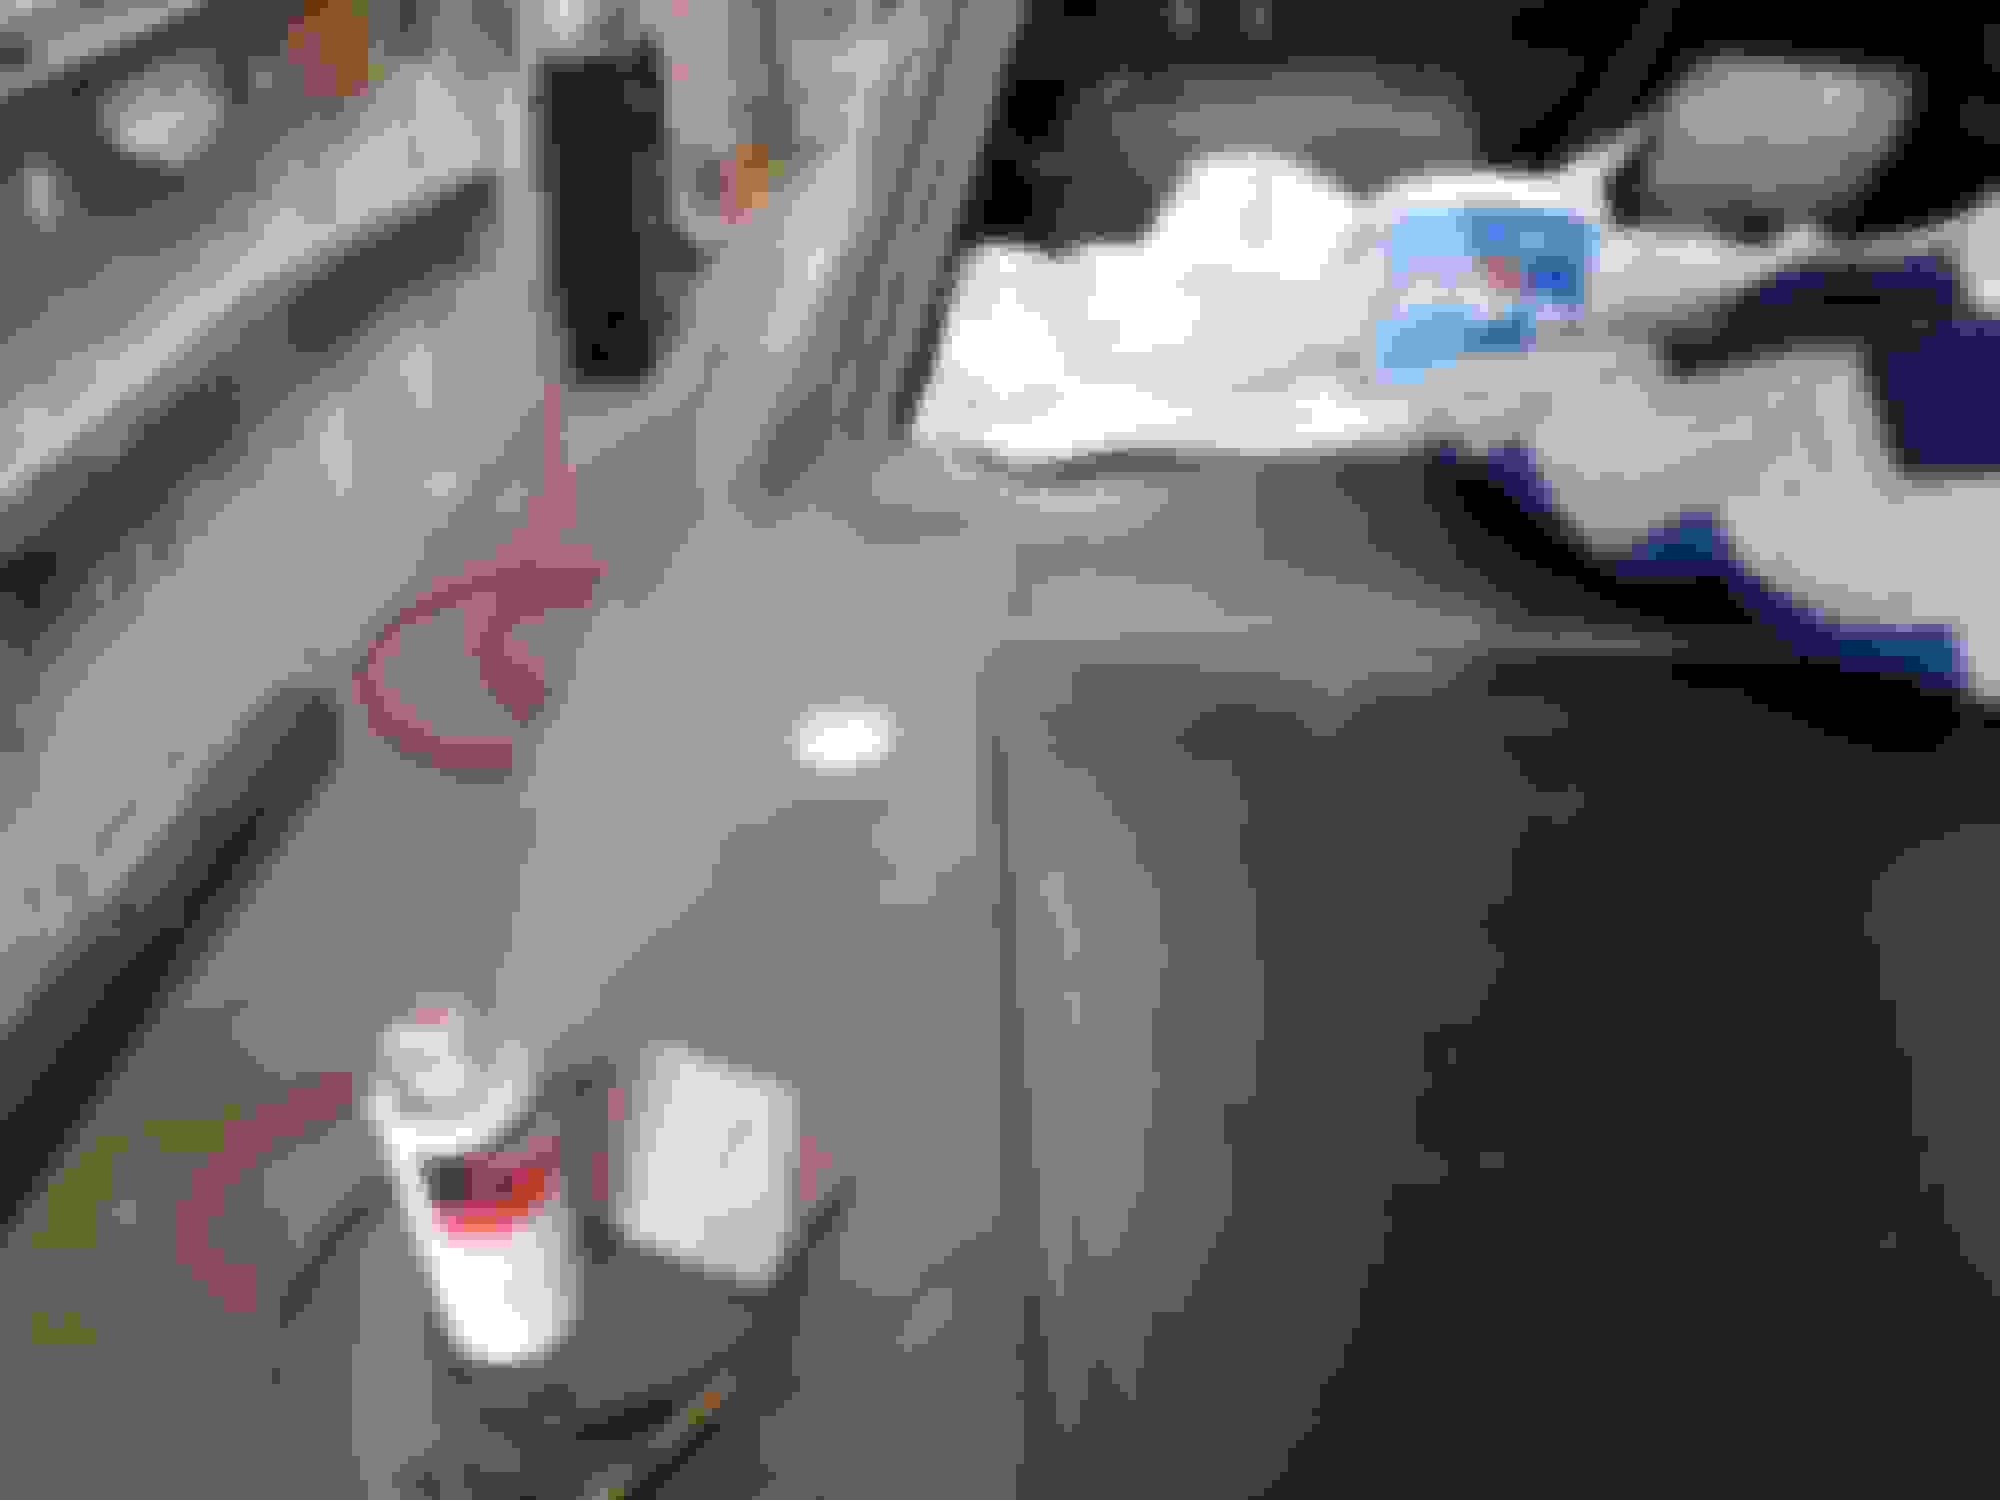
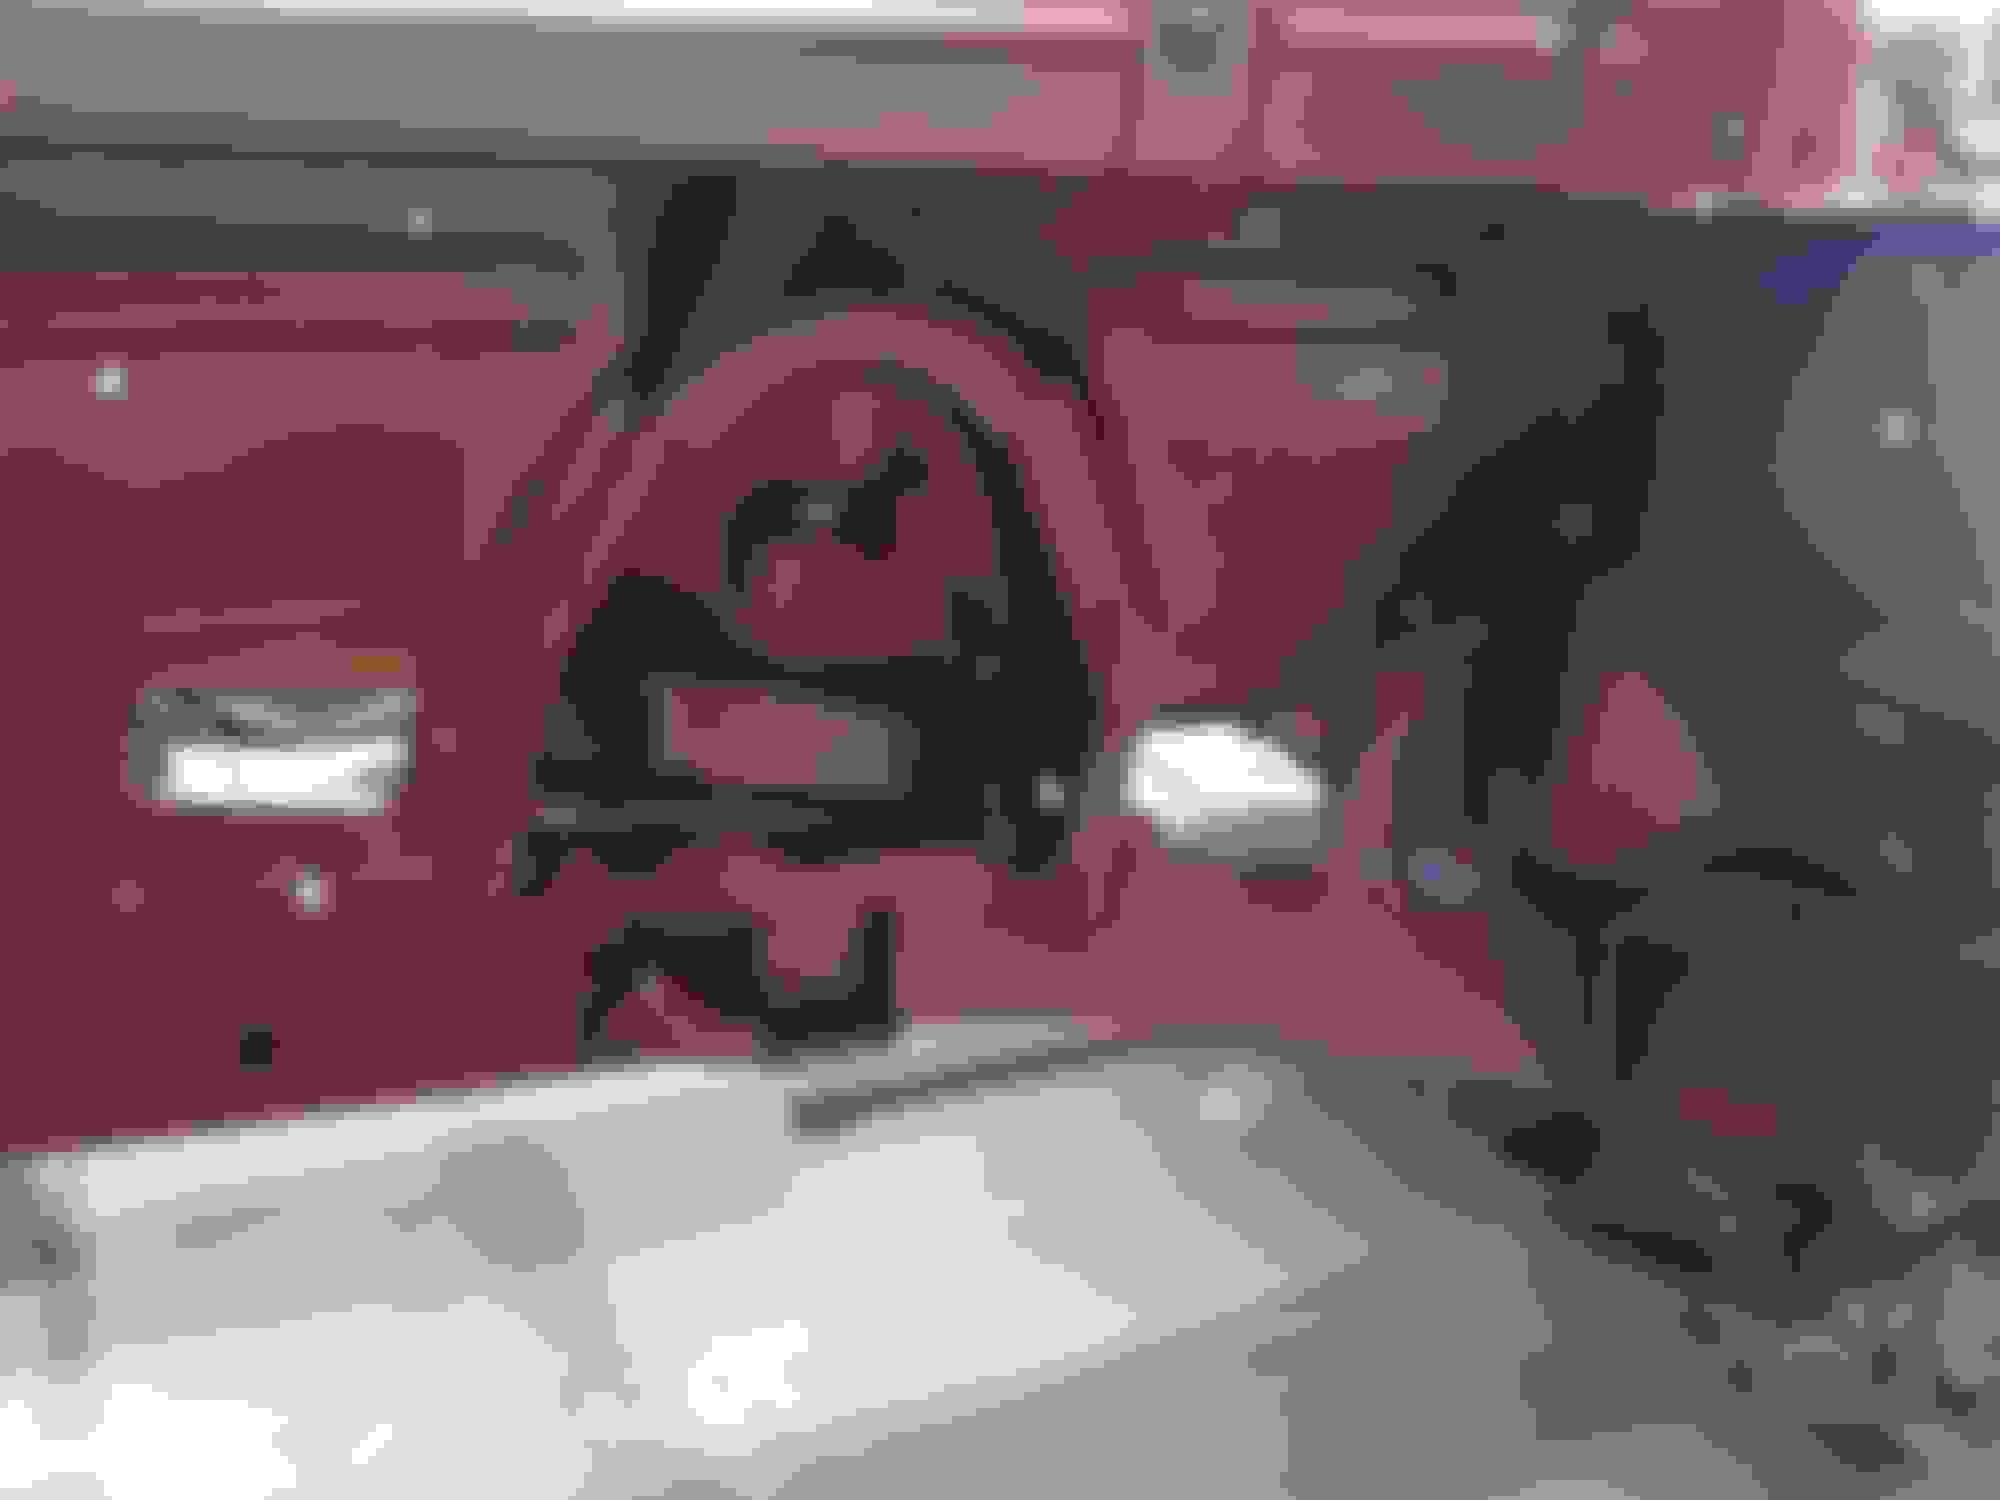
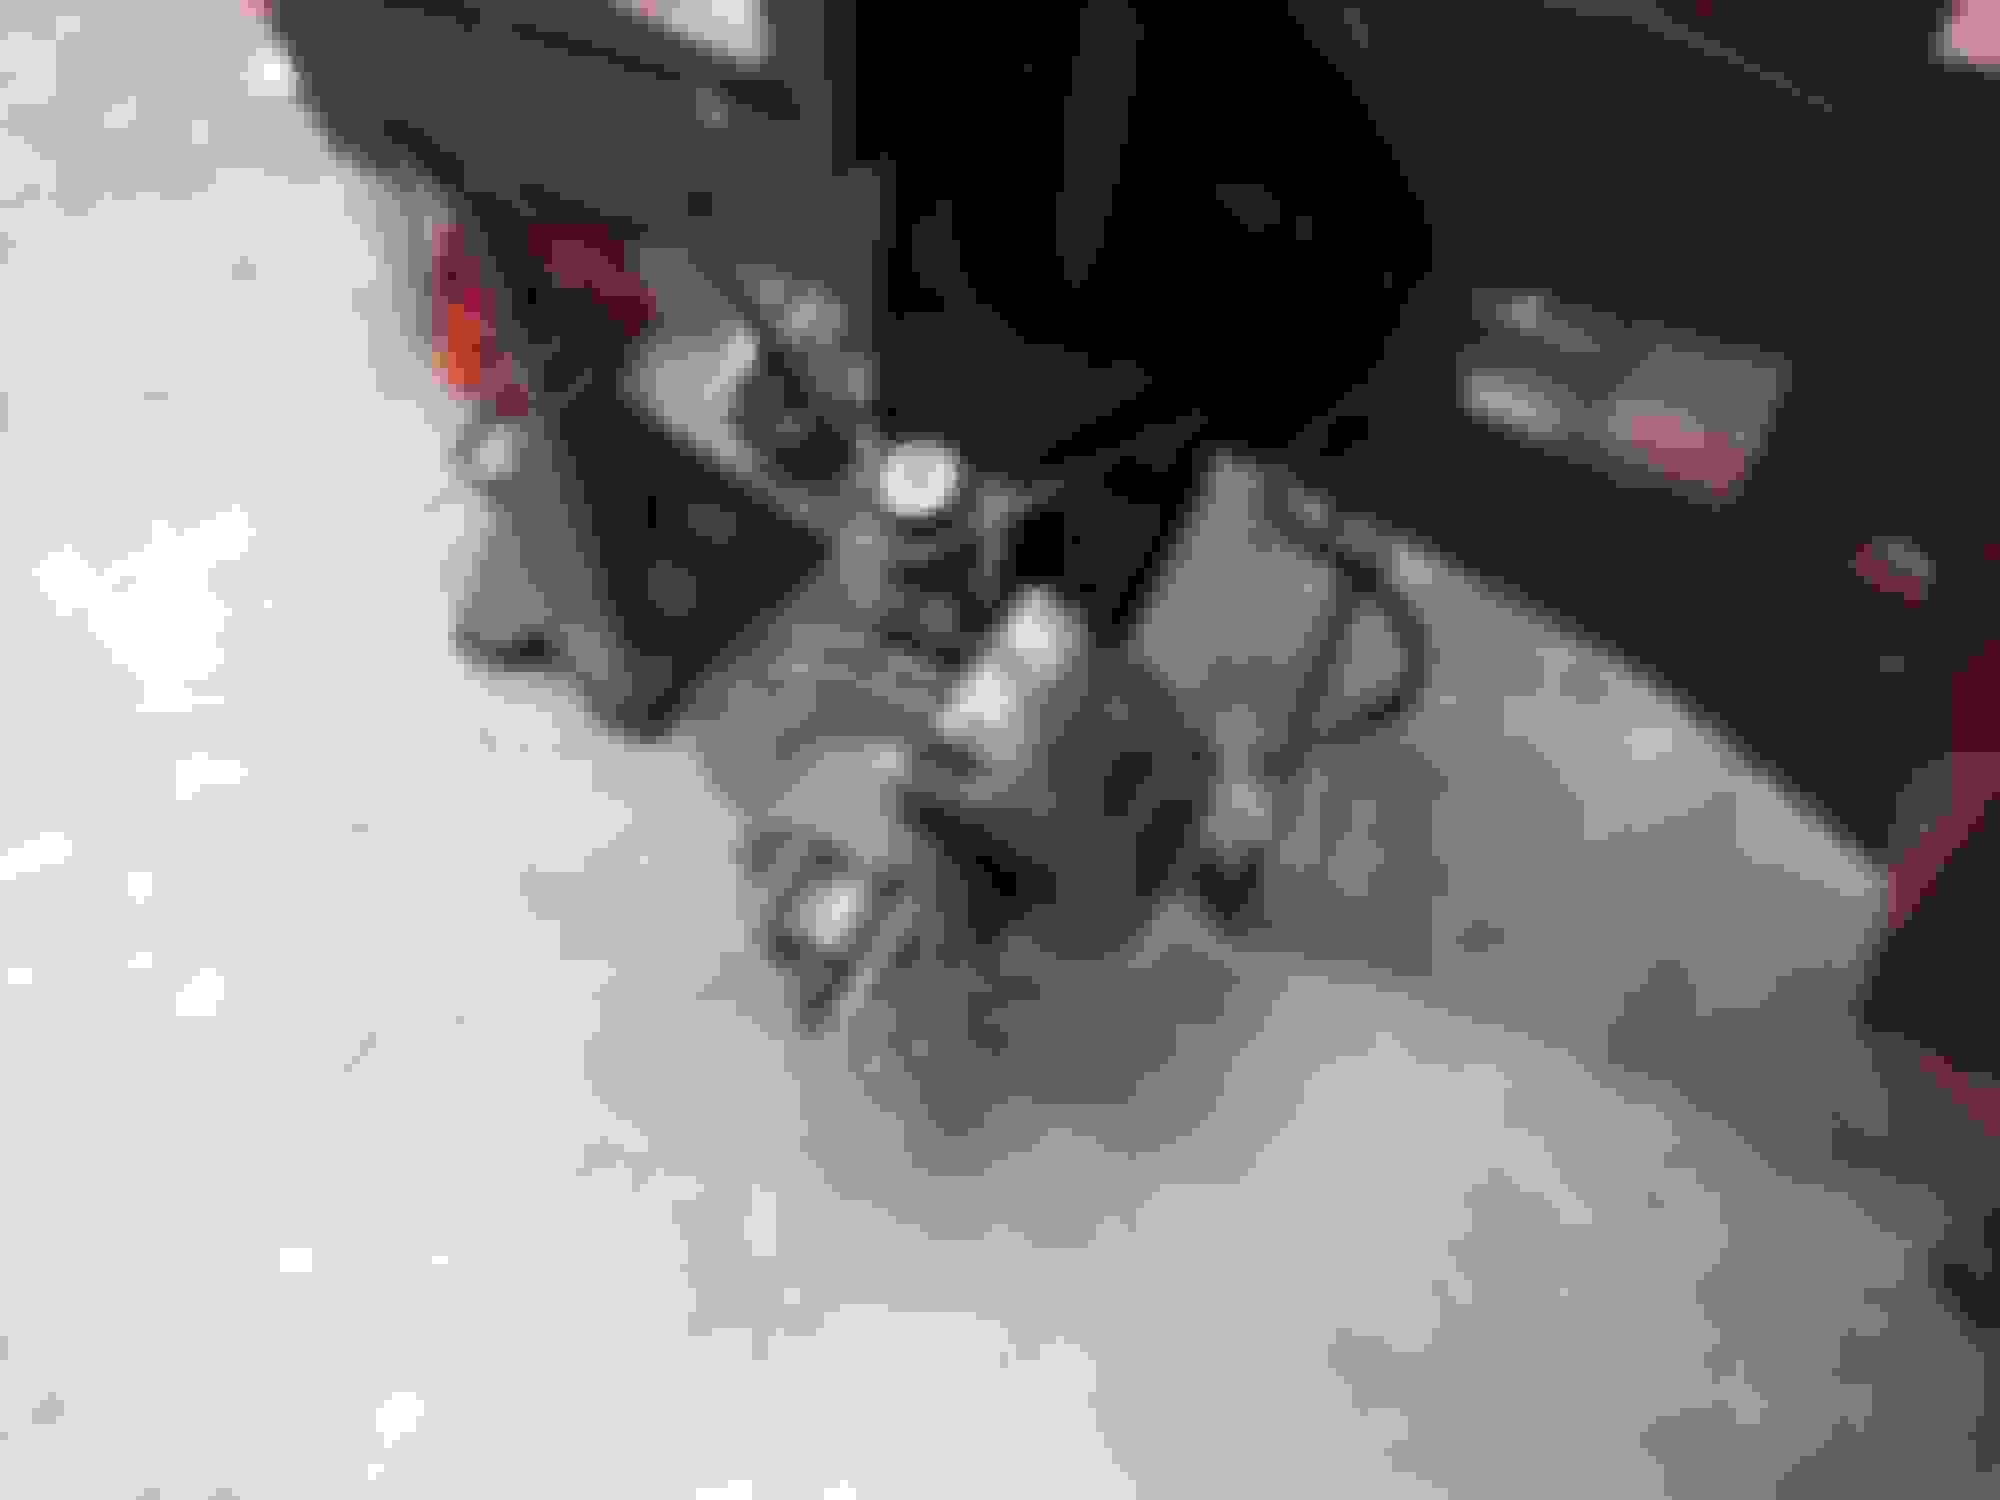
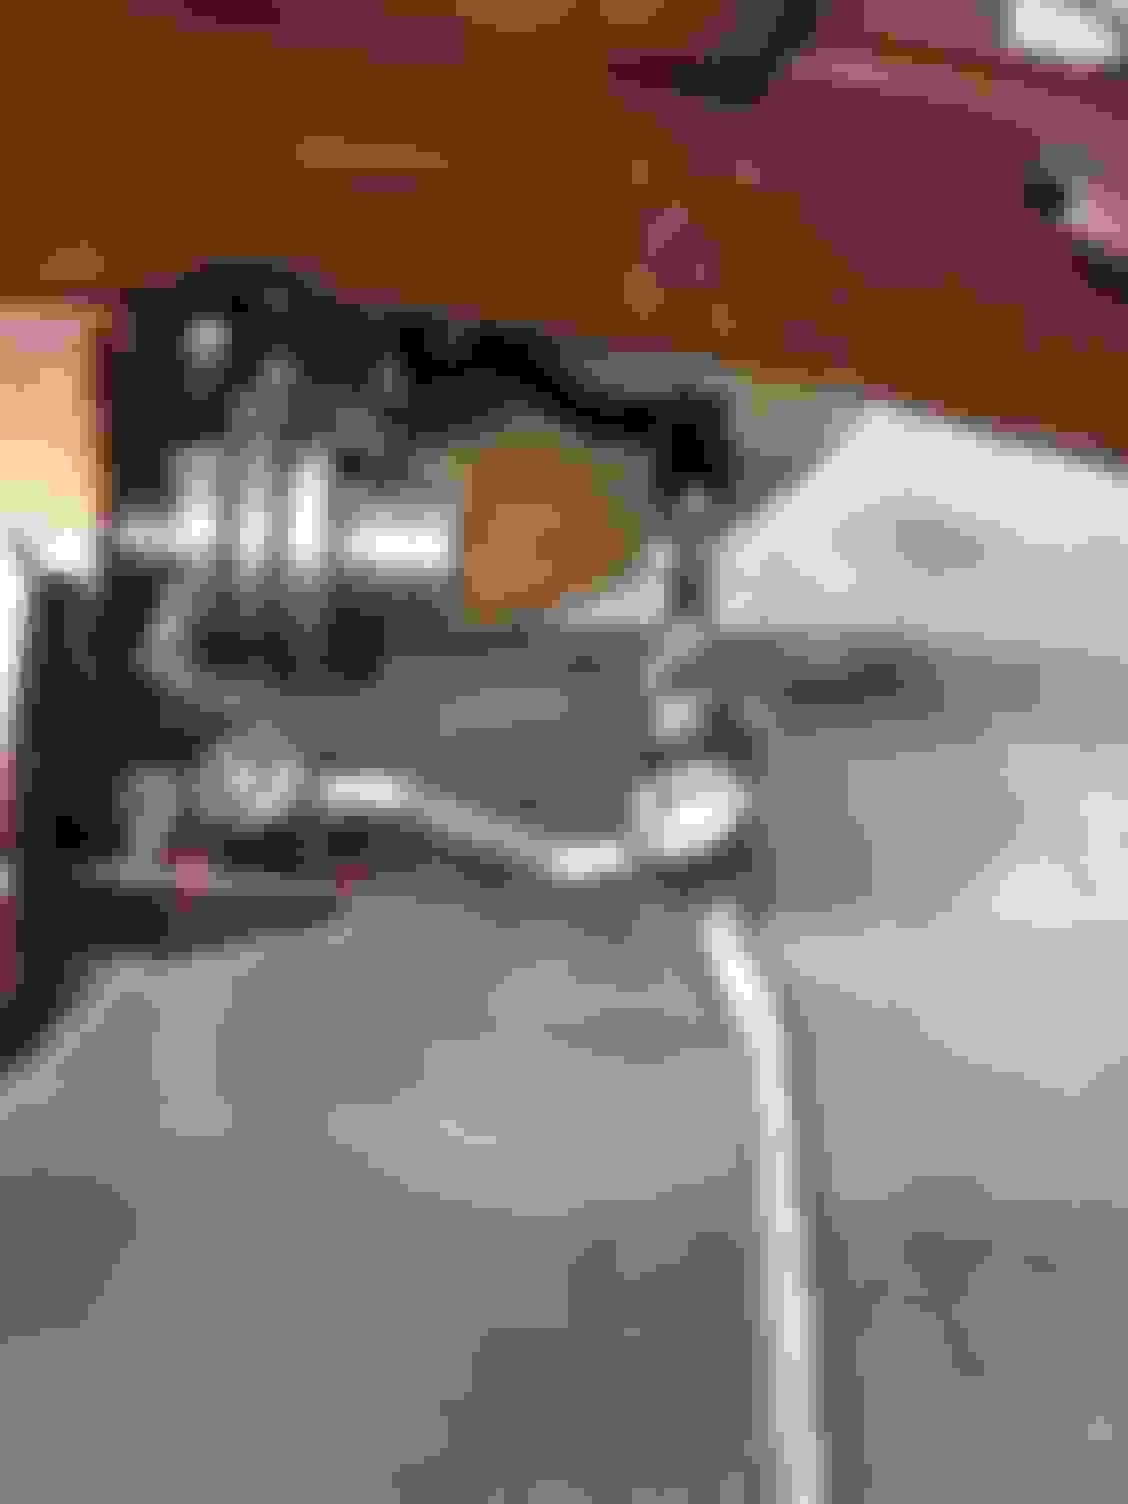
Yes it is nice! Put on some more steering linkage today. Had an idea about hiding three 2" gauges in my armrest cubby. The problem is that I have 1967 sending units ( analog) going to 2004 Audi A6 gauges (pulse). This way, i have analog gauges hidden away under my right elbow to check on start up for oil pressure, temp and fuel. maybe Battery as well if I can fit it in there.....should be able to get four in there. Would run the wiring backwards and down through the aluminum base joint and under the console in both directions. totally hidden.
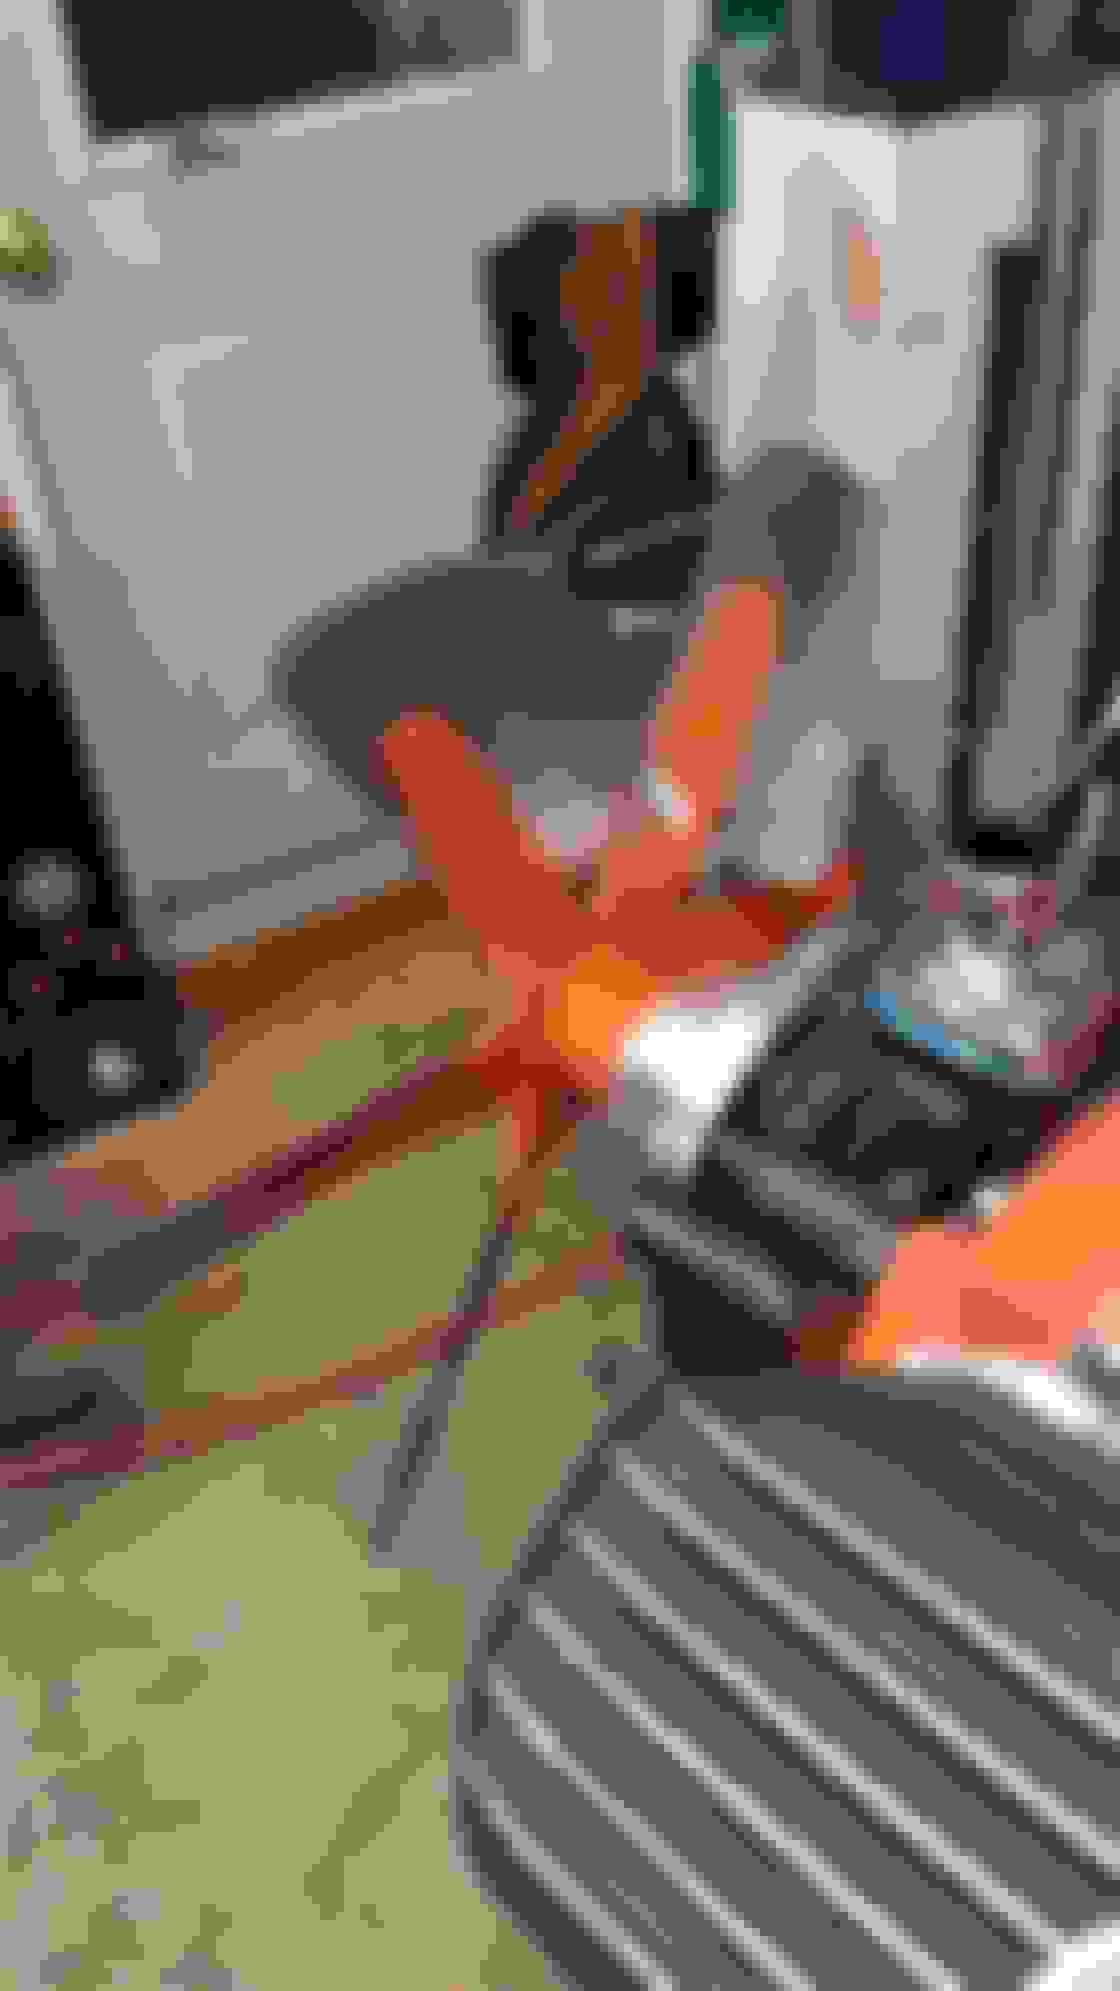
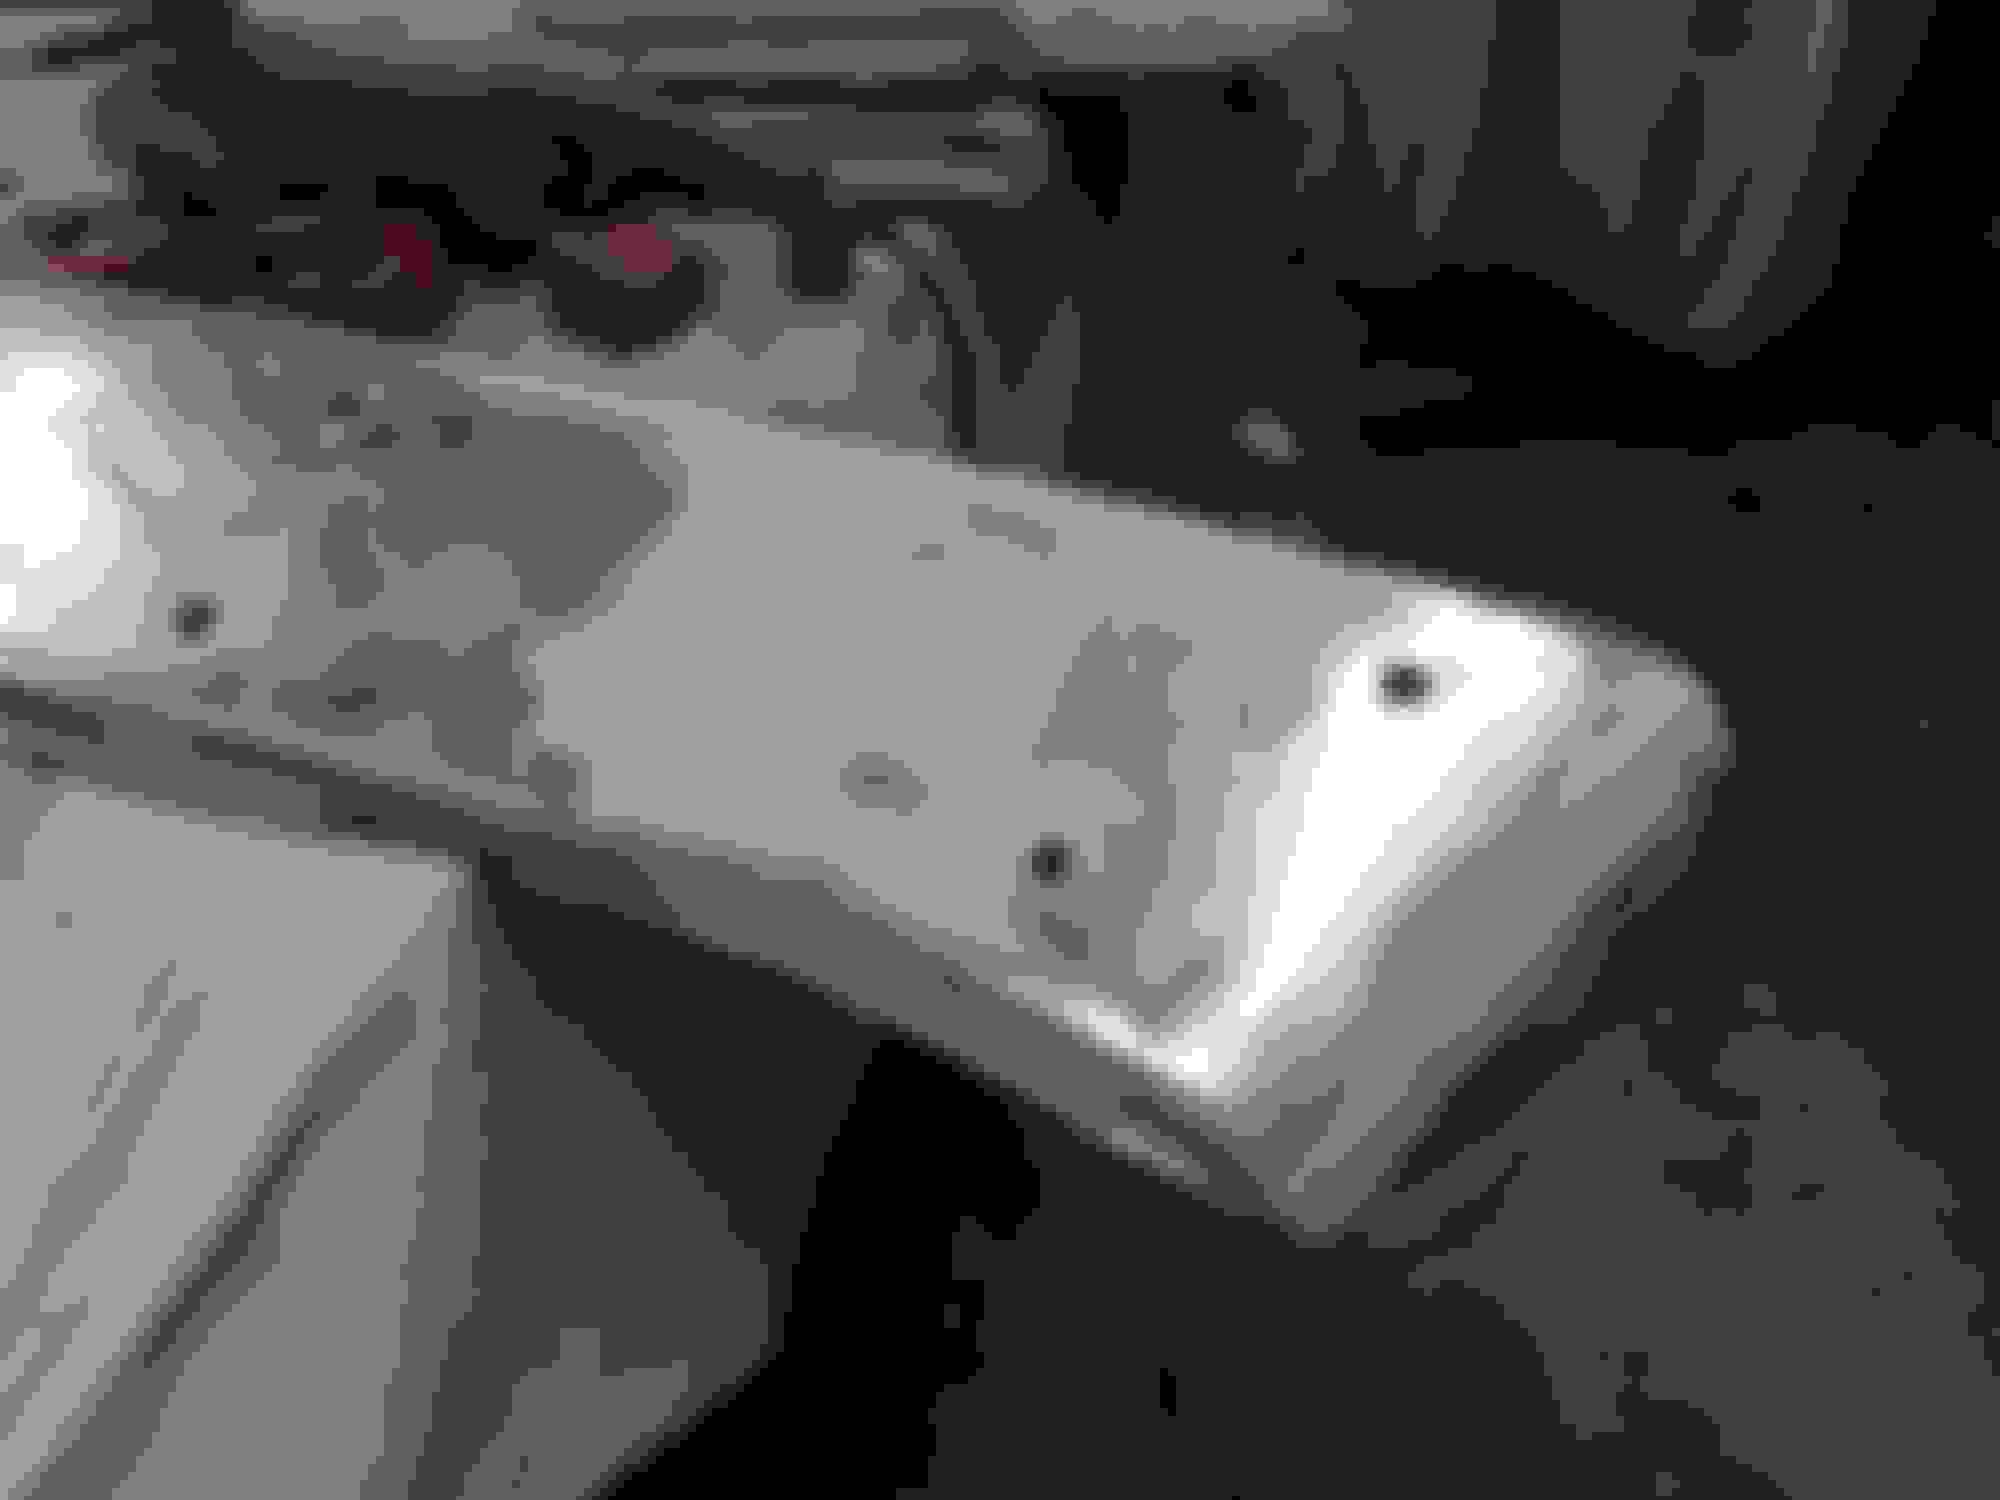
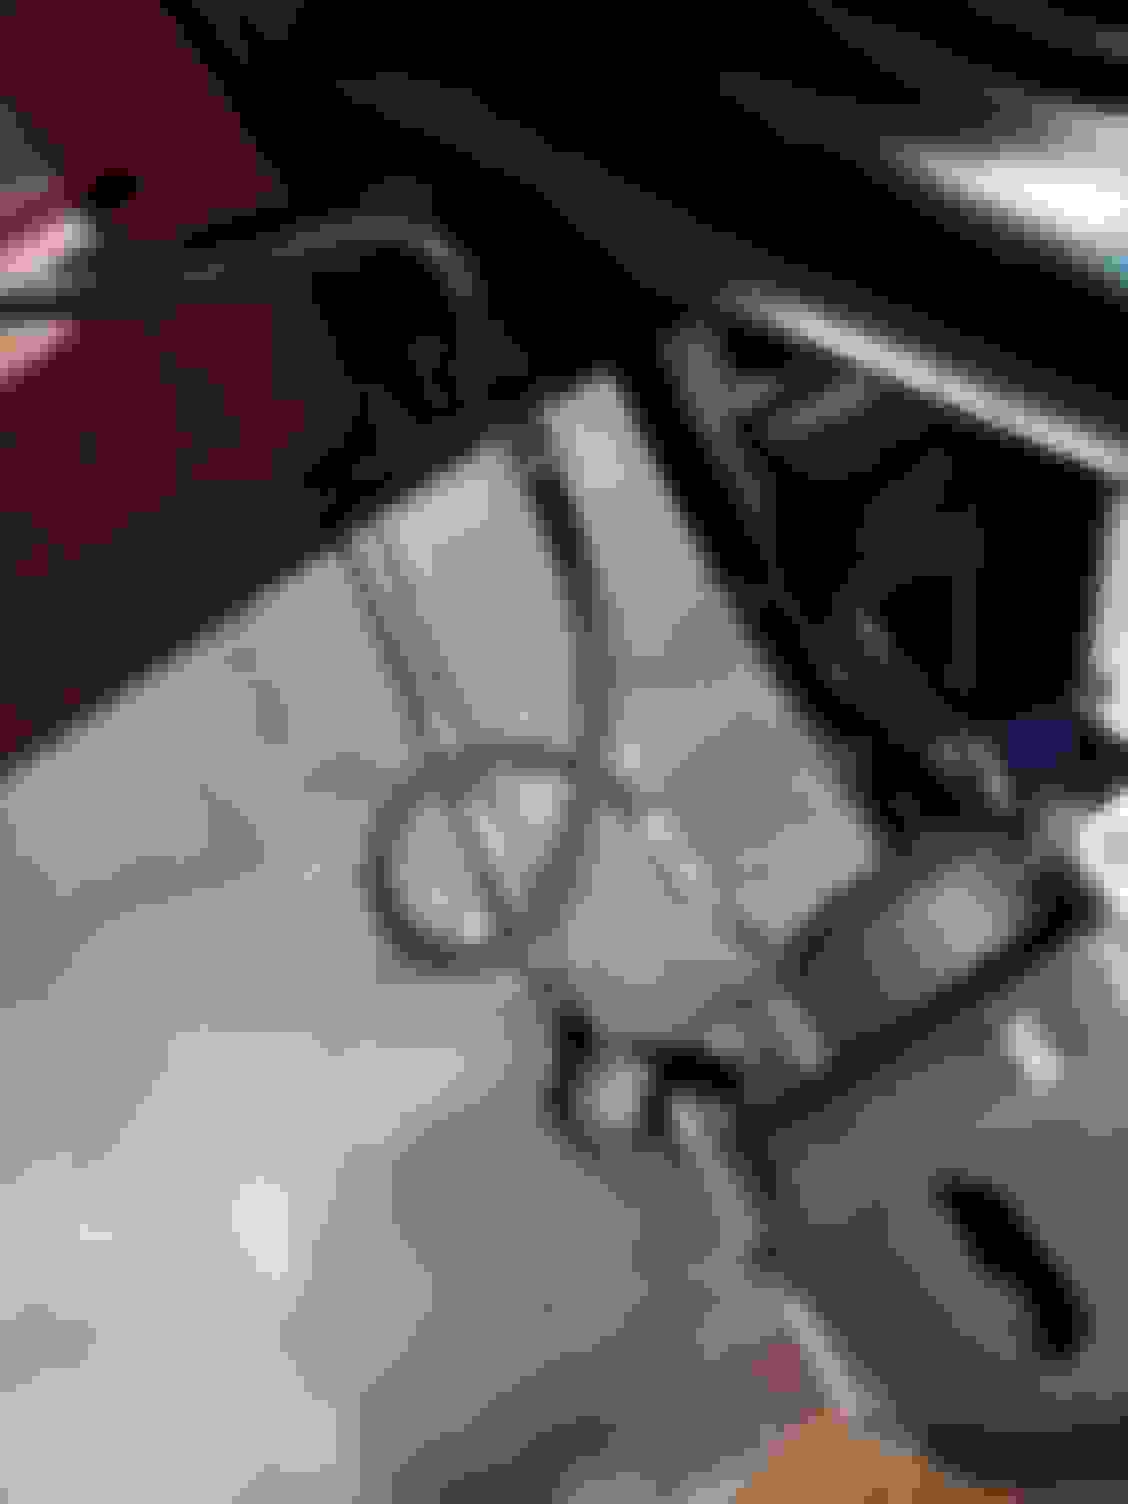
Swapped around the brake calipers and finished up the steering linkage. Started mocking up the wire looms as proof of concept. The finished version will have pvc tube protecting the CPAP air hose and the cloth straps will be metal.
Thanks! I tend to save stuff for use later. I never know what ideas i'll think up next...We were discussing hiding wires one time over at FBBO and I thought that the cpap hoses might be a good thing to try so I started saving mine. I also save all of the insulation from our packaged meal service delivery boxes. I have enough now to insulate the entire car including trunk and roof. For free!
I an concerned that stuff thrown up from the tires will shred the CPAP hose so it will be covered with PVC tubes.