I have posted this on BBD and FABO..see my 440 Build
 10-02-2010, 11:33 PM
#1
Super Moderator
Thread Starter

I have posted this on BBD and FABO..see my 440 Build
Check out these two threads I started on Big Block Dart and For A bodies Only...I have already posted them on these two site and they are very long threads....
http://www.bigblockdart.com/forum/sh...-68-Dodge-Dart
http://www.forabodiesonly.com/mopar/...ad.php?t=96239
http://www.bigblockdart.com/forum/sh...-68-Dodge-Dart
http://www.forabodiesonly.com/mopar/...ad.php?t=96239

 01-05-2012, 08:05 PM
#4
Super Moderator
Thread Starter
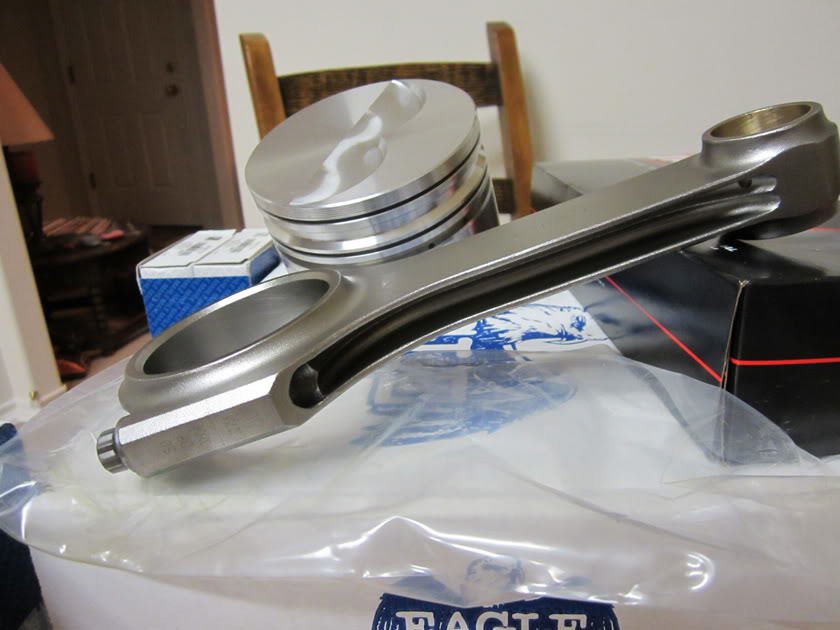
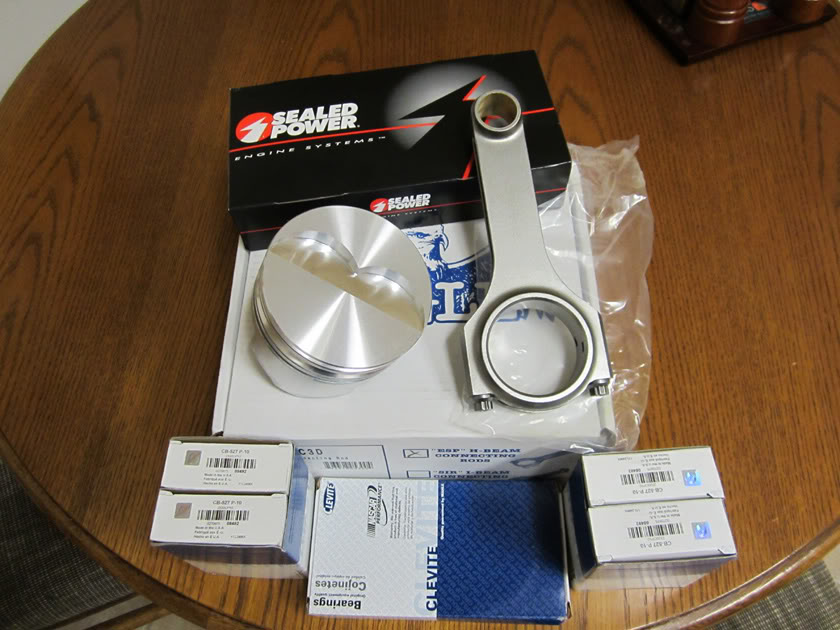
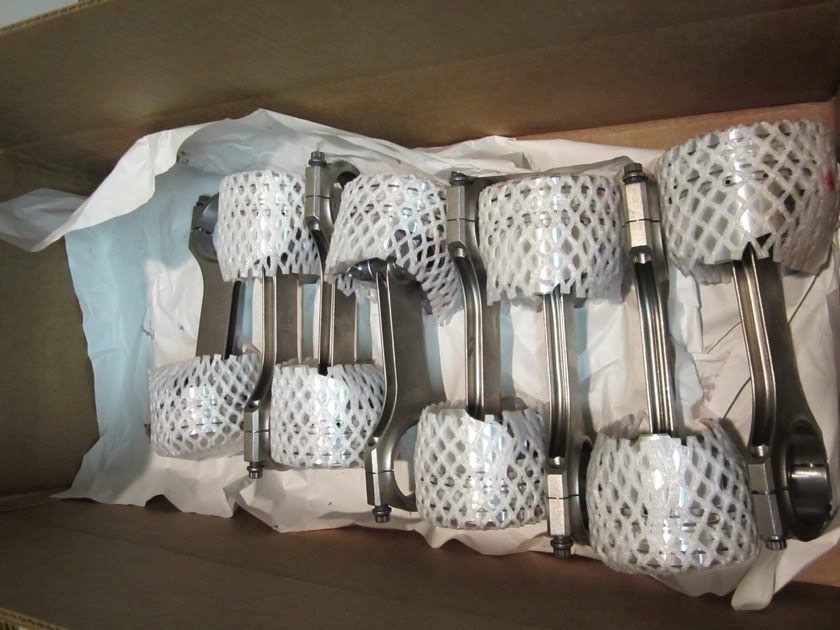
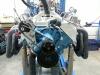
My Summit care package showed up today
Some Eagle H beam 440 rods...Some Keith Black 237 .030 pistons...Sealed power Moly rings...Clevite Series P rod and main bearings going in my 1973 440 .030 over block. I decided to stay with the same cam and such...want to run a little cooler so I can turn the A/C on. I spent 900 bucks on all of the A/C stuff and it gets hot here. Offering up my .060 over short block to the machine shop for labor. Had the forged crank turned .010 and it and the pistons, rods and rings are going to the machine shop in the morning.
 01-07-2012, 09:44 PM
#6
Super Moderator
Thread Starter
01-13-2012, 02:30 PM
#7
Super Moderator
Thread Starter
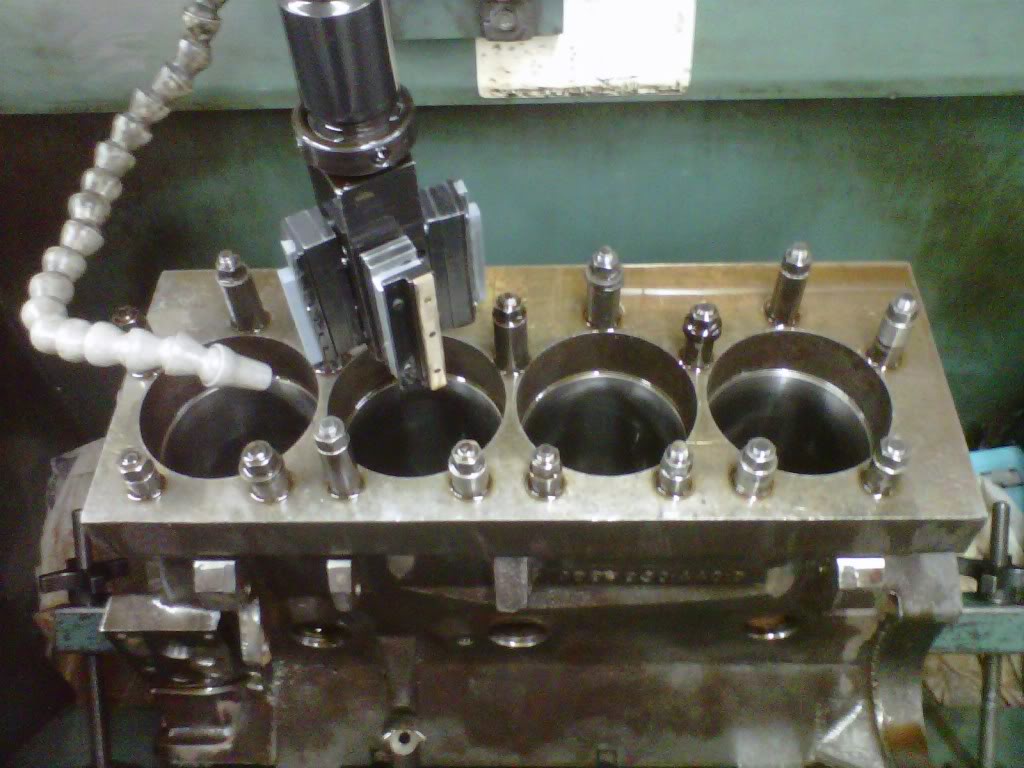
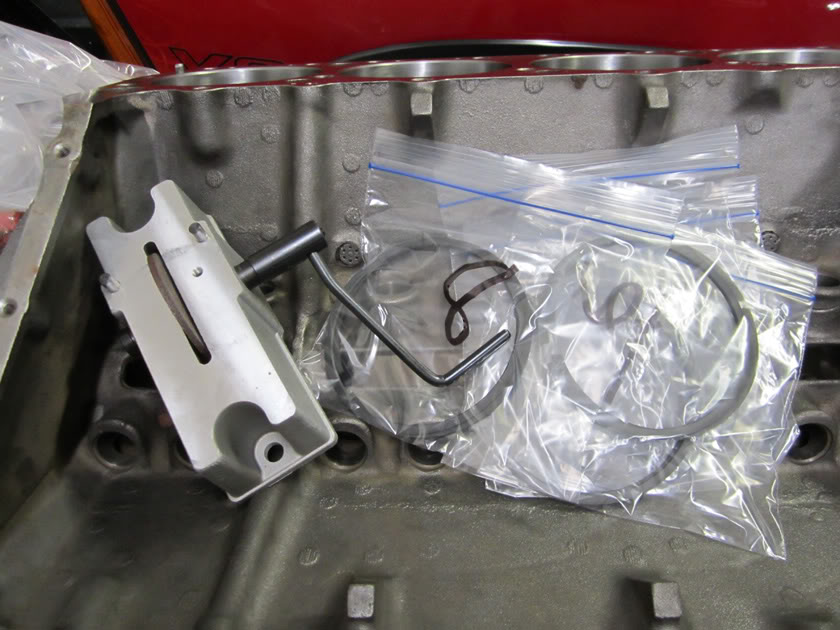
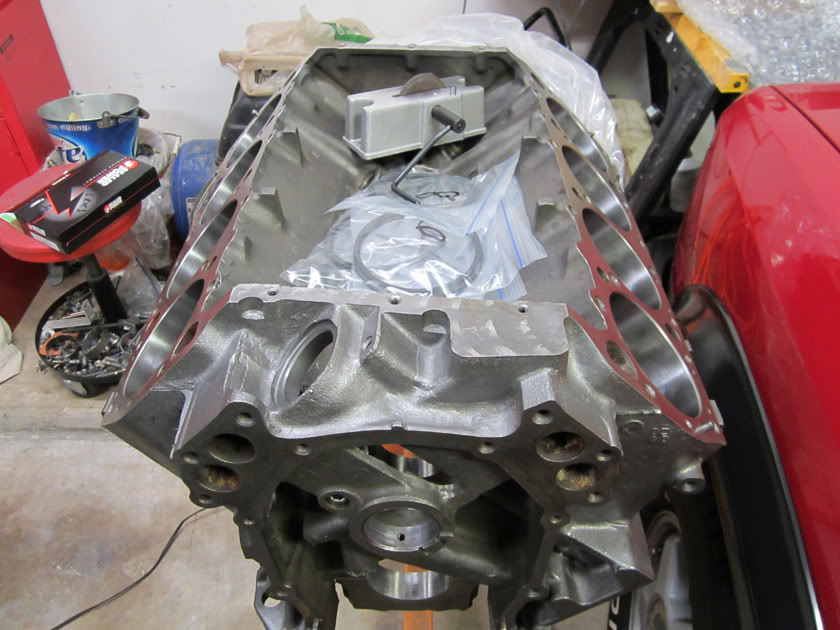
My new/old 440 block
First of all I use a very good machine shop. 100% Mopar knowledge based. They do the others also. My block cleaned up nice at .030 over. They cleaned up the deck with milling it .010. And most important they use the torque plates when boring and honing the cylinder bores. If yours doesn't have them or use them go somewhere else. I brought one rod and all the main bearings over to them today. They will align hone the mains and check the bearing clearances. I hope to have it out of the shop and ready for assembly on Tuesday.
01-19-2012, 11:14 PM
#8
Super Moderator
Thread Starter
I got the block home last night.
Okay I got home late last night then had to cruise to the storage to pick up a motor stand so block is in the back of the truck till this morning.
Hot tanked and magna-fluxed
Torque plate bored and honed .030
Milled .010 on the deck
rotating assembly balanced
line honed mains to set up bearing clearance
rods honed/re-sized for bearing clearance
drilled/tapped for 1/2" pickup
cam bearings installed
brass freeze plugs installed
bronze distributor bushing
Out the door for $850 bucks.
01-19-2012, 11:16 PM
#9
Super Moderator
Thread Starter
Block is in the garage.
Good thing I get a good workout at work throwing cases of beer from a pallet to a vertical storage tower. I got up this morning and got the block attached to the engine stand and then rolled it up the driveway into the garage. Nice and clean looking. After a couple of questions tonight I got the pistons attached to the connecting rods and two more boxes are out in the recycle bin.
 01-23-2012, 10:28 PM
#11
Super Moderator
Thread Starter
I got my piston rings filed to size tonight. .028 gap on the top rings and .018 on the second rings. Would have gotten them on the pistons but I couldn't find my piston ring pliers. I think I got jacked.
01-24-2012, 09:06 PM
#12
Mopar Fanatic
Join Date: Nov 2011
Location: Great White North
Posts: 122
Likes: 0
Received 0 Likes
on
0 Posts
Last night I got to page 10 on your BBD thread, great job, It was like reading a suspense novel, I couldn't stop until you figured out what the problem was, got everything back together and put it in by yourself and fired it up. Great pics of your build and install into the Dart, I'm lovin it! Will definitely be following this thread!
Cheers,
Joe
Cheers,
Joe
01-24-2012, 10:00 PM
#13
Super Moderator
Thread Starter
Last night I got to page 10 on your BBD thread, great job, It was like reading a suspense novel, I couldn't stop until you figured out what the problem was, got everything back together and put it in by yourself and fired it up. Great pics of your build and install into the Dart, I'm lovin it! Will definitely be following this thread!
Cheers,
Joe
Cheers,
Joe
01-25-2012, 11:00 PM
#14
Super Moderator
Thread Starter
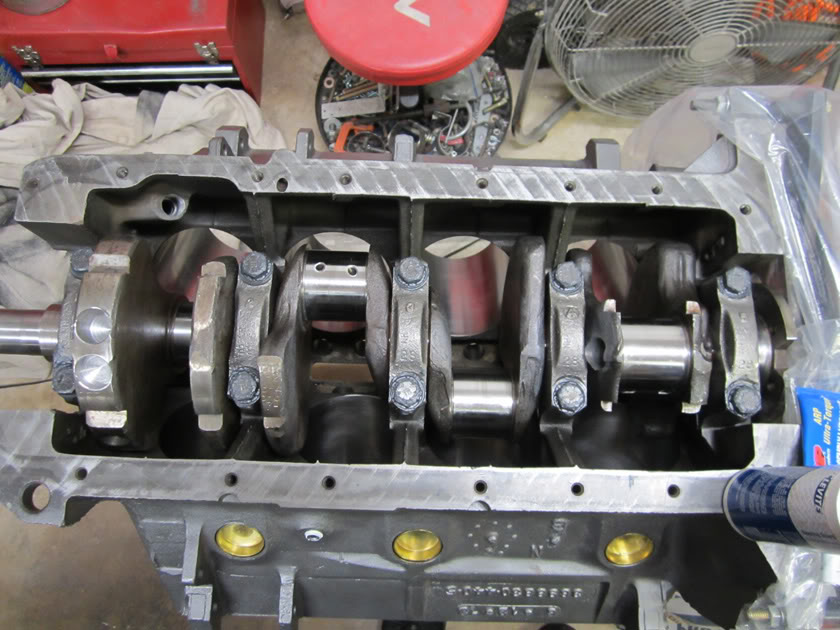
I stubbed my toe last night.
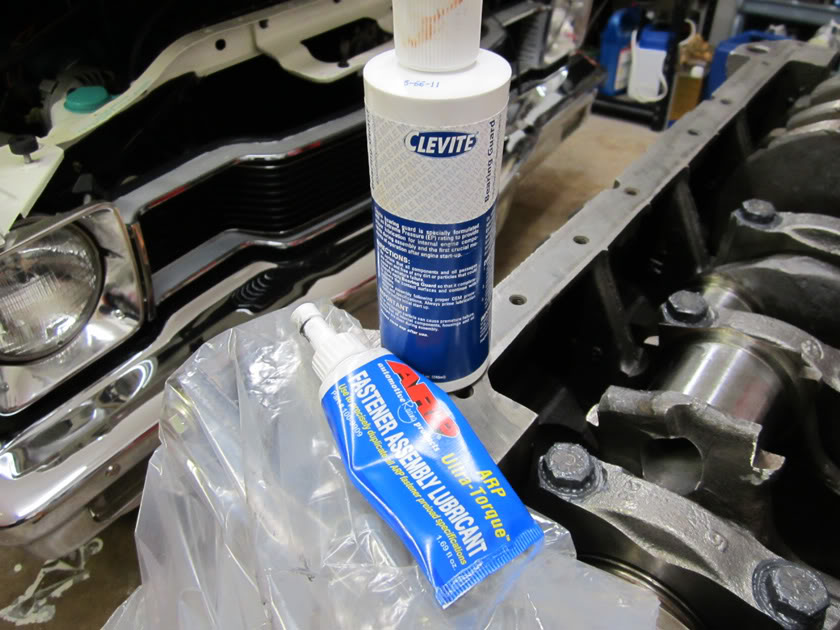
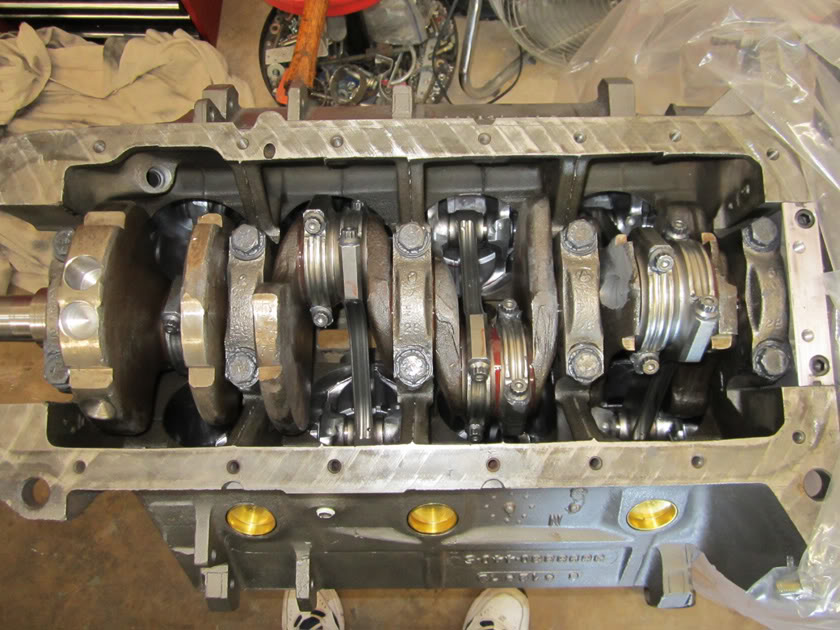
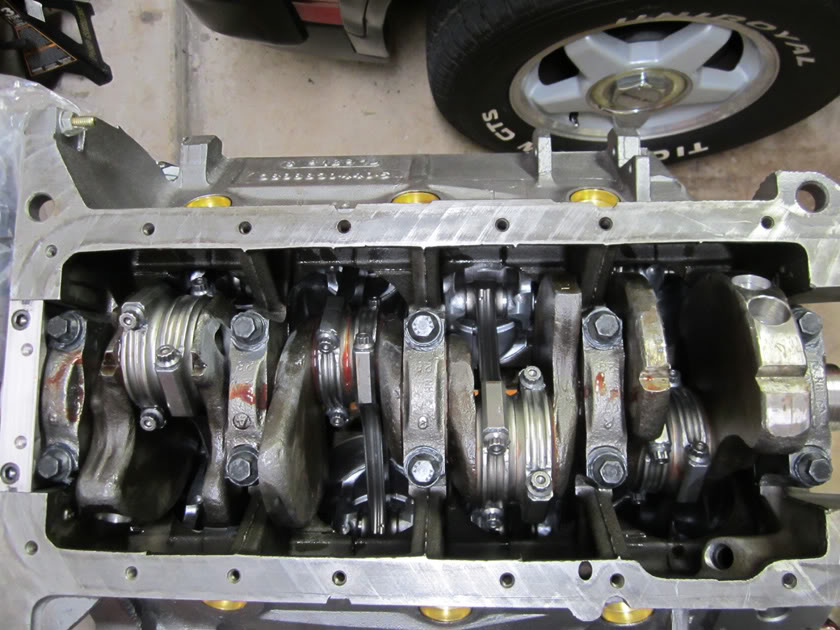
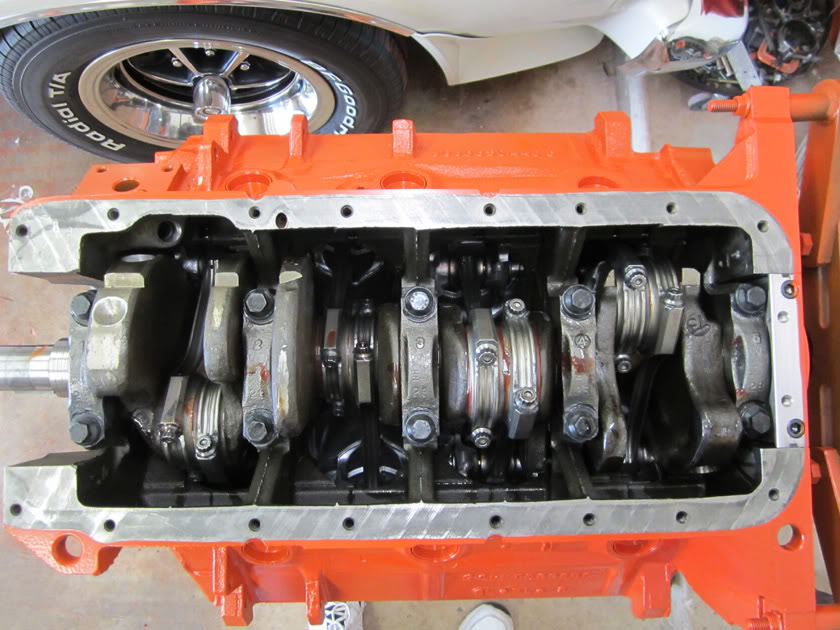
My man cave is the garage and the dining room. I get to use the table as a desk and that's also where I store alot of my parts. Well last night I stubbed my toe on the crankshaft so it was time for it to go. I got it stabbed in the motor. I torqued it in three equal steps of 55..75..and then 95 ft lbs. I use Clevite assy lube and Arp fastener lube. I also clocked the rear main seal so that both ends would be in the machined part of the block and retainer. I usually stab the camshaft first so I can hold it up from the bottom of the motor which makes it alot easier. This time I am doing it in reverse order. Friday the pistons will be in.
01-29-2012, 10:29 AM
#15
Super Moderator
Thread Starter
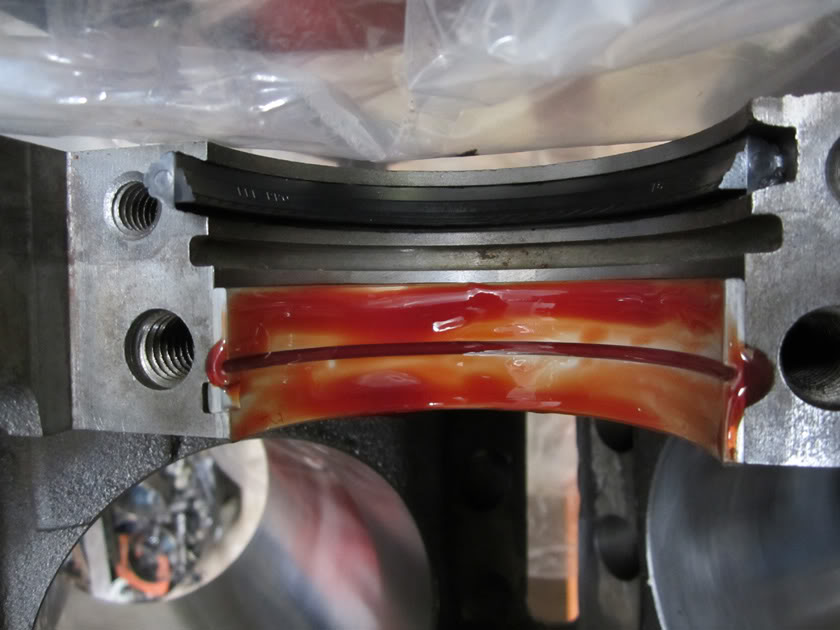
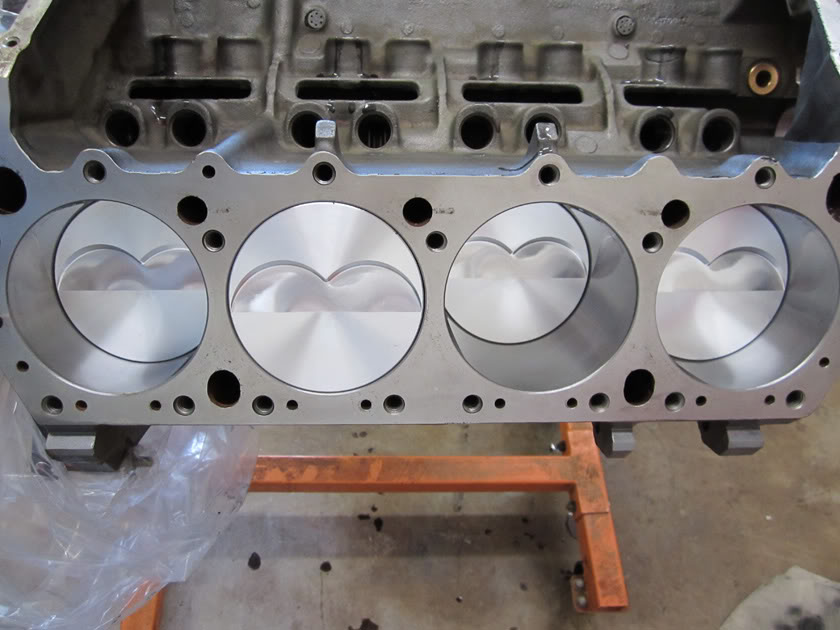
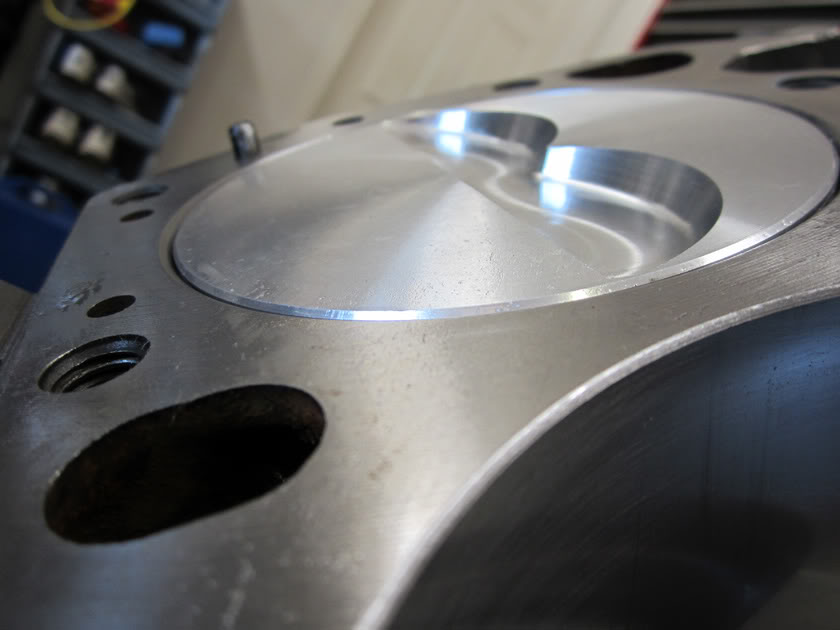
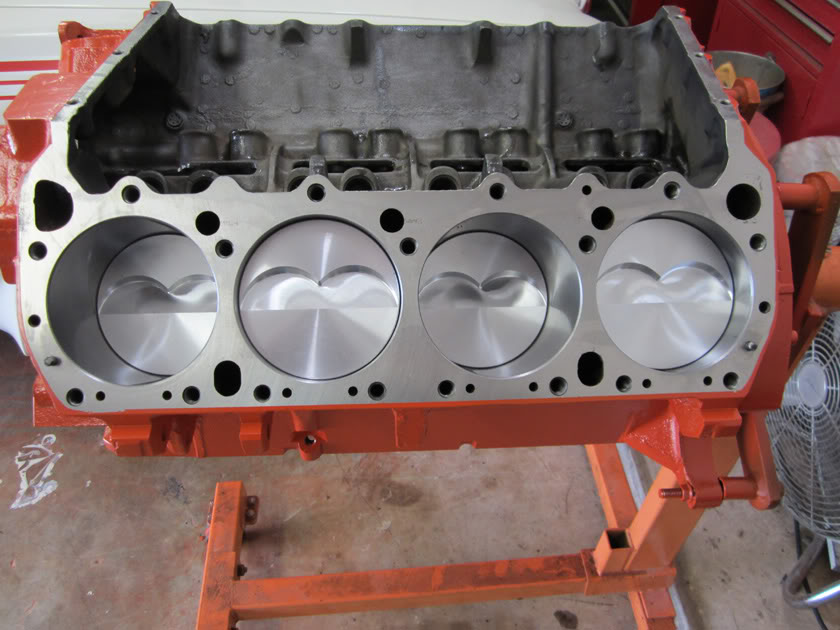
Pistons are in there.
The grand daughter showed up Friday night. I wore her out before she wore me out. But no 440 progress until yesterday. Got all eight pistons in there. I didn't have a good straight edge but I like how that piston comes up maybe a little above the deck.


01-30-2012, 08:50 PM
#16
Super Moderator
Thread Starter
I decided to try the 1/2" pickup tube before I go an farther. It screwed in there just fine. My need some tweeking with my Dutch forearm.
02-01-2012, 07:30 PM
#17
Super Moderator
Thread Starter
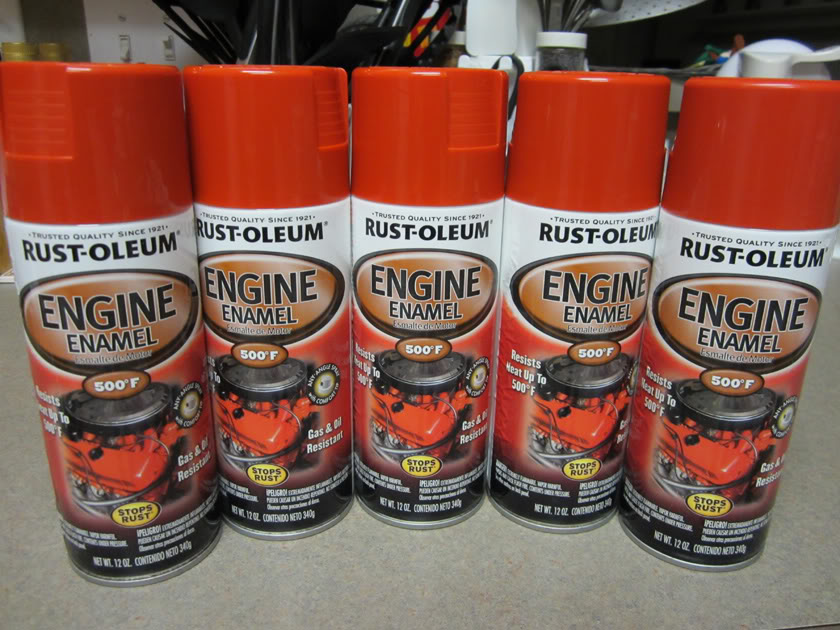
Got some paint.
More than I need but I had to order it so I made sure I got plenty. Found it at $5.65 at Summit Racing. I have always used Dupli-color engine enamel but decided to try this on a recommendation. Guess I be painting something this weekend. Hemi Orange.
02-08-2012, 09:45 PM
#18
Super Moderator
Thread Starter
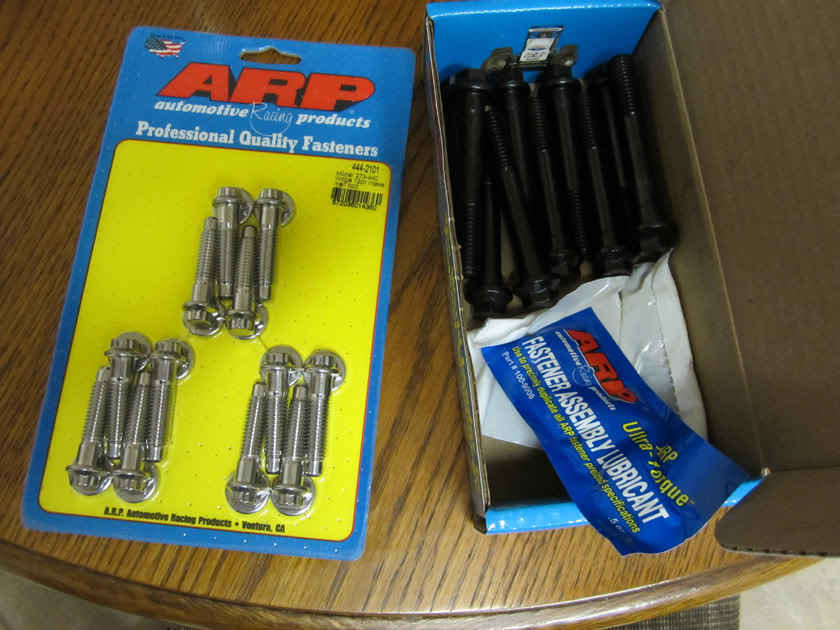
38 dollar insurance policy turned up today
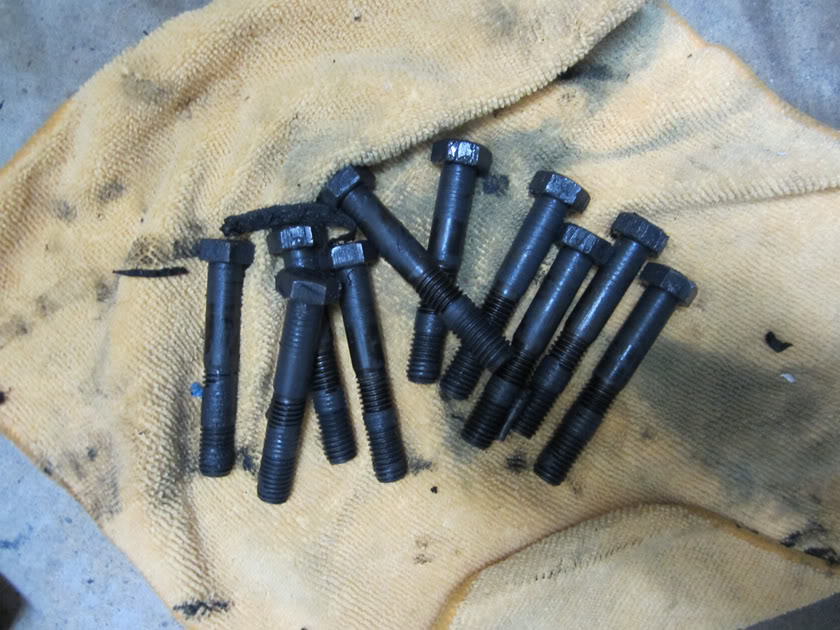
Hasn't been painting weather but hope it stays dry and warmer this weekend so I can get the block and other parts painted. A friend of mine suggested I might have some main caps walking using the factory main fasteners. So for 38 bucks I got a set of ARP main bolts. I am also going stainless fasteners on this motor. The black anodized ones actually rust around here.
So I removed the factory main fastners tonight and installed the ARP fasteners. Torqued them to 100 ft lbs. They actually torque better with the washers. The factory ones are going in the metal bin at my work.
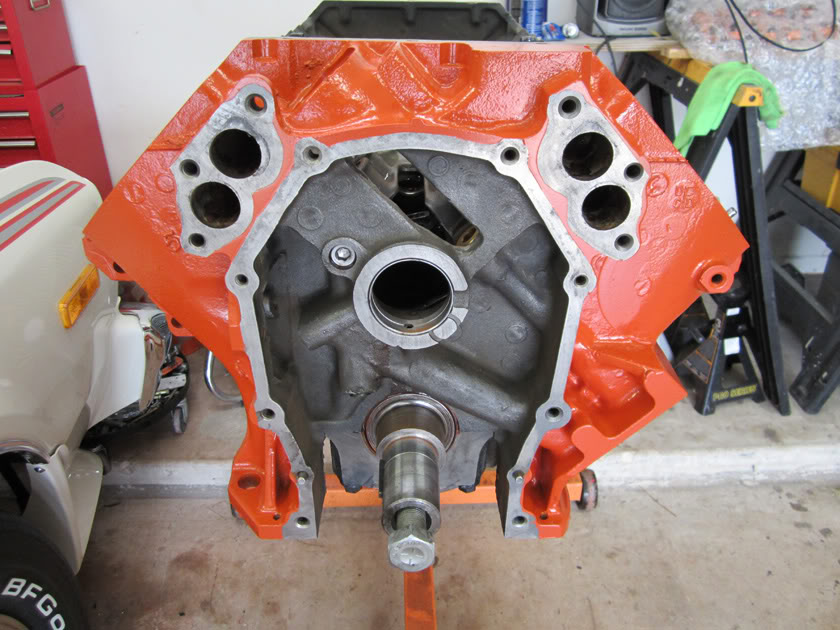
The rear seal retainer was a ton of fun. I had to use a pry bar to break it loose. Then I had to scrape it and clean it real good. I didn't use the seals that Indy sends with it. I use the Right Stuff gasket maker and I could tell it sealed real good the first time. Hence the pry bar.
So I removed the factory main fastners tonight and installed the ARP fasteners. Torqued them to 100 ft lbs. They actually torque better with the washers. The factory ones are going in the metal bin at my work.
The rear seal retainer was a ton of fun. I had to use a pry bar to break it loose. Then I had to scrape it and clean it real good. I didn't use the seals that Indy sends with it. I use the Right Stuff gasket maker and I could tell it sealed real good the first time. Hence the pry bar.
Last edited by bremereric; 02-08-2012 at 10:16 PM.
02-09-2012, 10:28 PM
#19
Super Moderator
Thread Starter
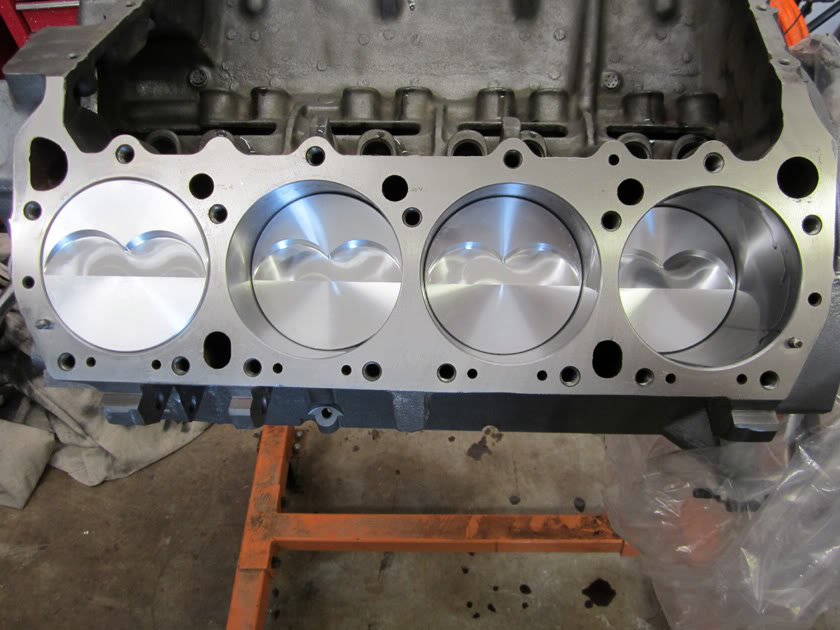
I ran my Combustion Ratio tonight
I ran mine just for ***** and grins and I came up with the following. Using the Felpro 8519's head gaskets and judging that my pistons are at zero deck and not above deck and before I have the 84cc heads shaved. The pistons have 5cc valve notches taken out of them thus the -5 cc. 10.18:1. I am hoping to bump it up a tad by cleaning up the heads.
Last edited by bremereric; 02-09-2012 at 10:37 PM.
02-11-2012, 07:43 PM
#20
Super Moderator
Thread Starter
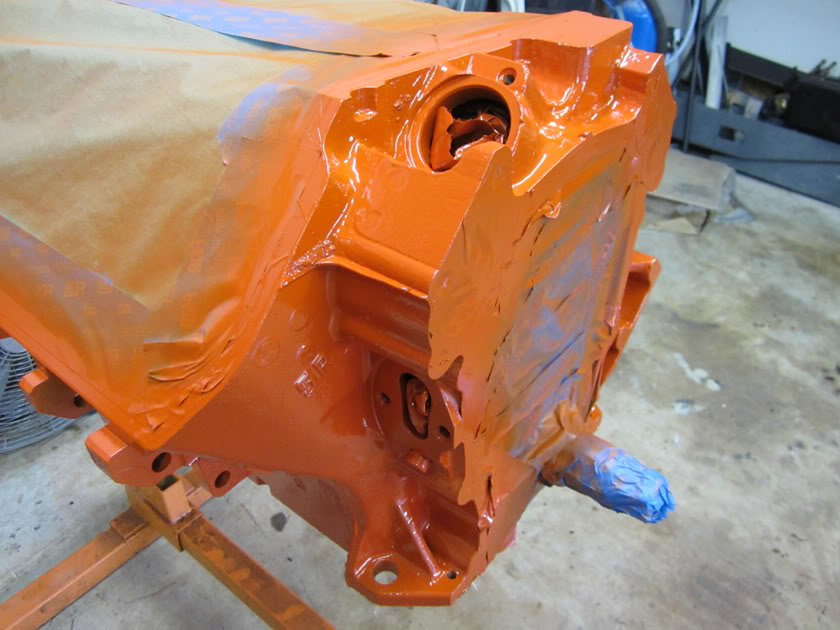
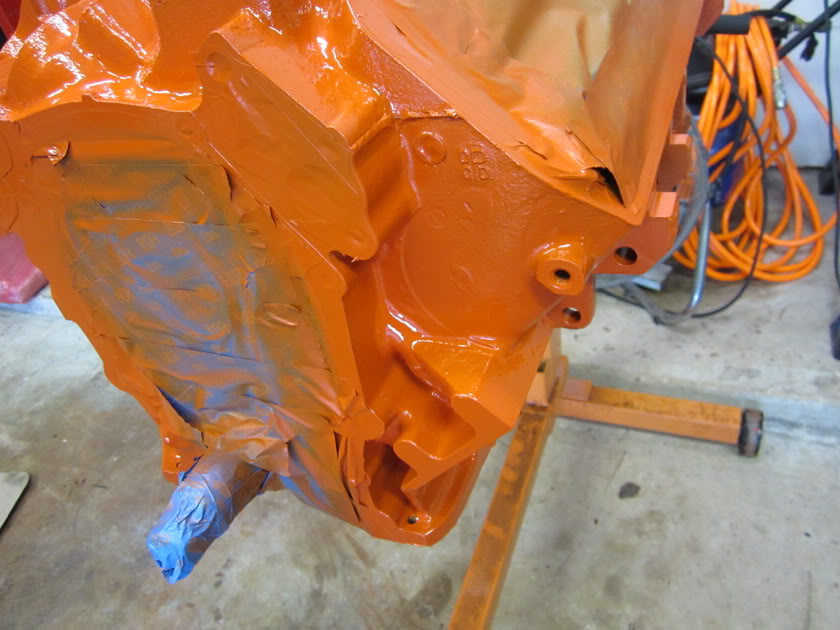
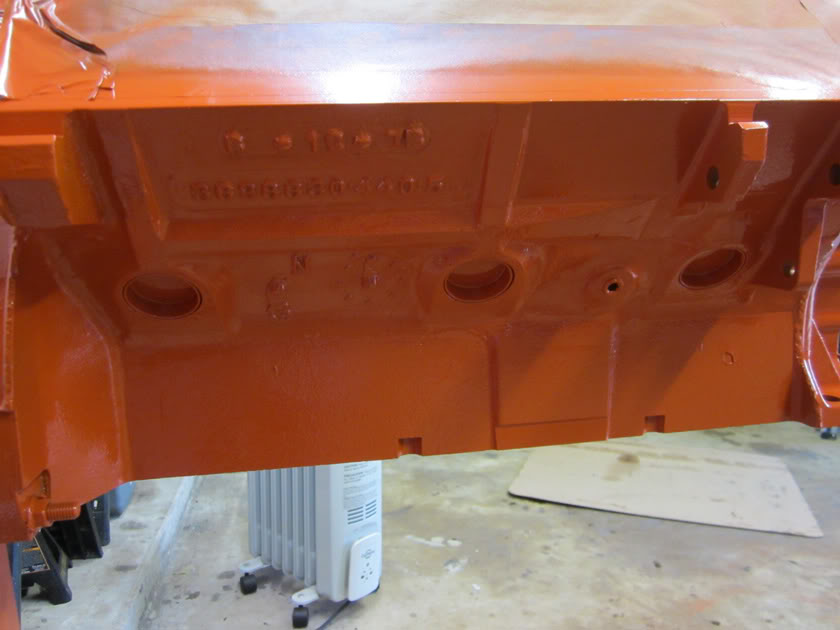
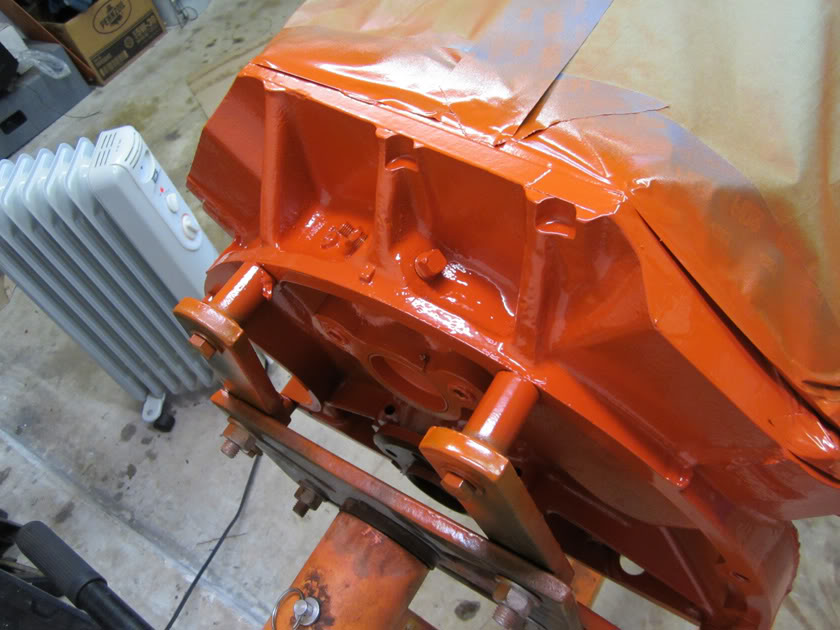
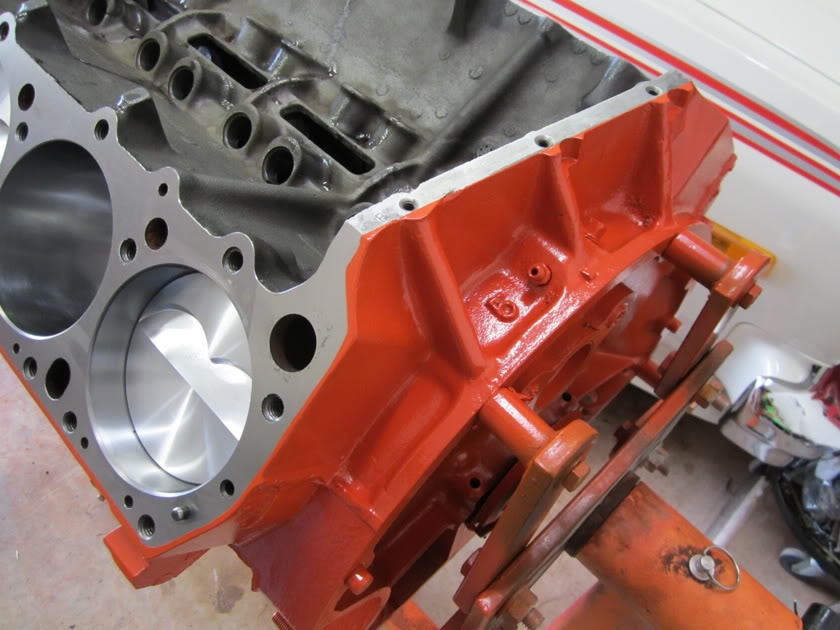
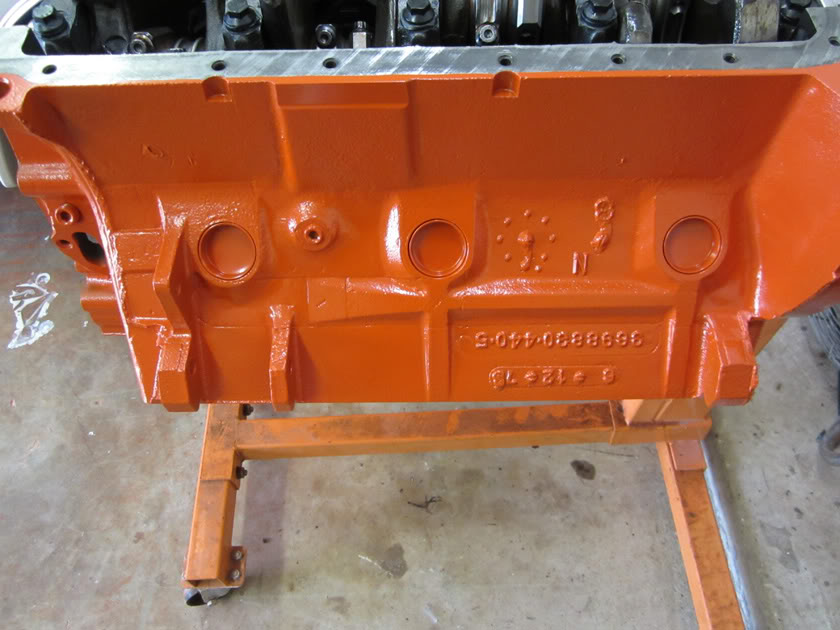
Painted the block today
It was sunny and warmed up today so I did the five car suffle and got the block painted.
Got it all taped up and prepped then shot it with a powder coat.
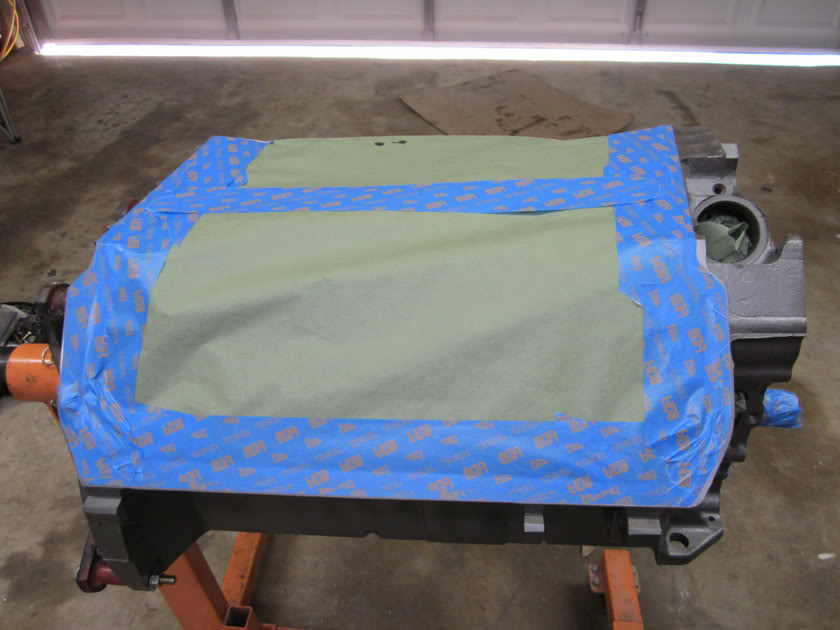
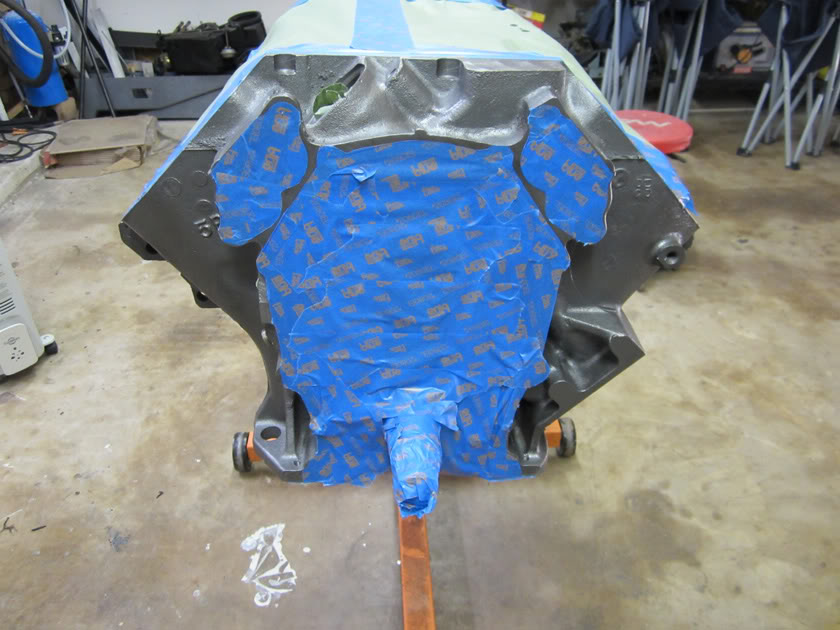
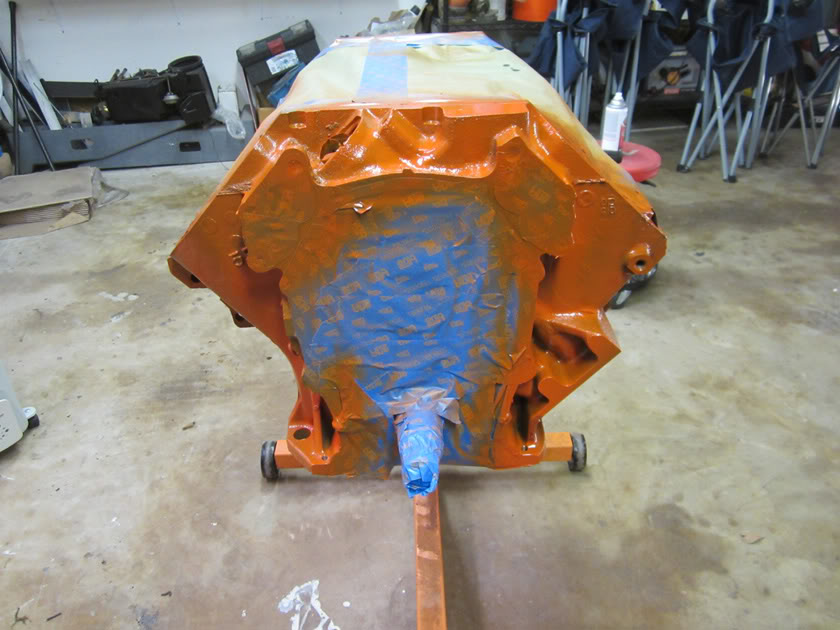
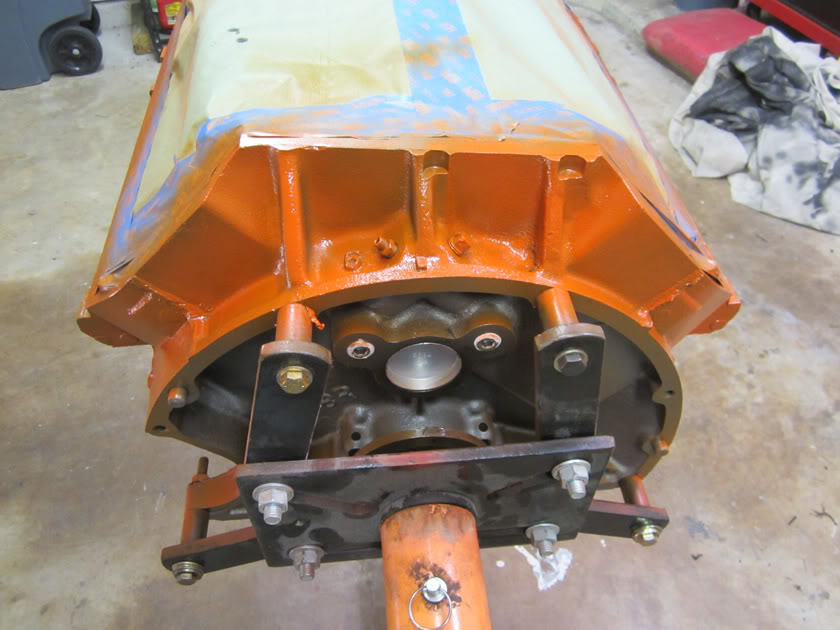
This is after the second medium coat.

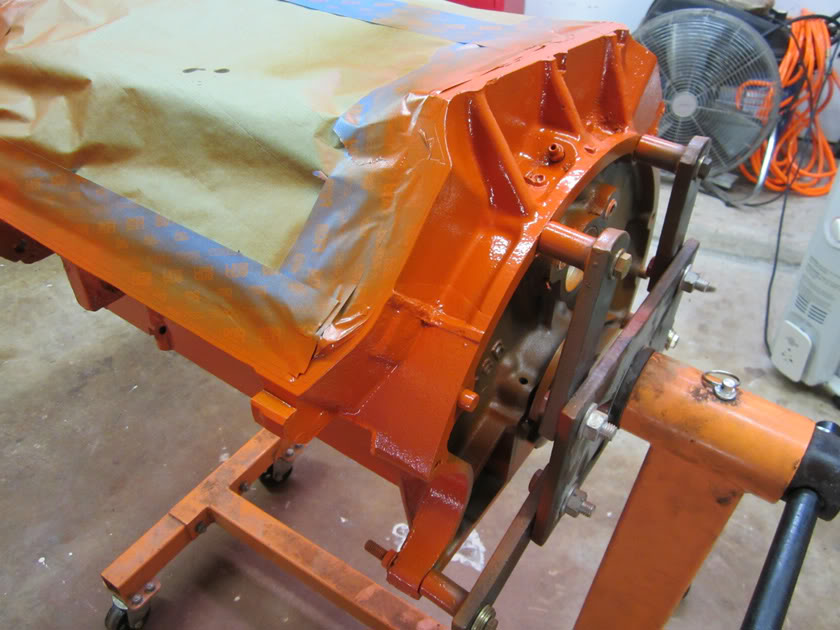
And then after the final coats. I love the big spray button on the can cause my finger felt fine after I was done painting.
Got it all taped up and prepped then shot it with a powder coat.
This is after the second medium coat.
And then after the final coats. I love the big spray button on the can cause my finger felt fine after I was done painting.
 02-12-2012, 06:09 AM
#22

How did you like the Rusto over the Dupli-color? What temp where you at when you did the painting, am in the East it's cold right now. I like how the color looks from your pics. Thanks Joe
02-13-2012, 08:14 PM
#23
Super Moderator
Thread Starter
 02-13-2012, 08:18 PM
#24
Super Moderator
Thread Starter
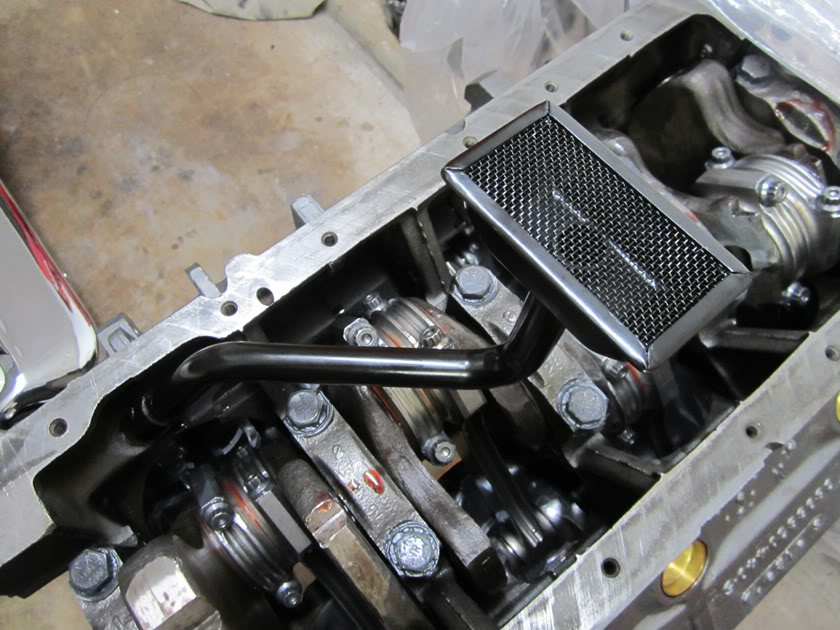
I put that radiator heater in the garage and got it up to 70 degrees. This paint says 50 to 90 degrees. Go figure that. This is my first time using it so it's a learn as you go process. The major stuff I like right now is the big white button that doesn't kill your finger. Then the overspray drops to the floor and becomes orange dust. Then it has a wider spray coverage which allows you to keep a better wet line.
02-13-2012, 08:18 PM
#25
Super Moderator
Thread Starter
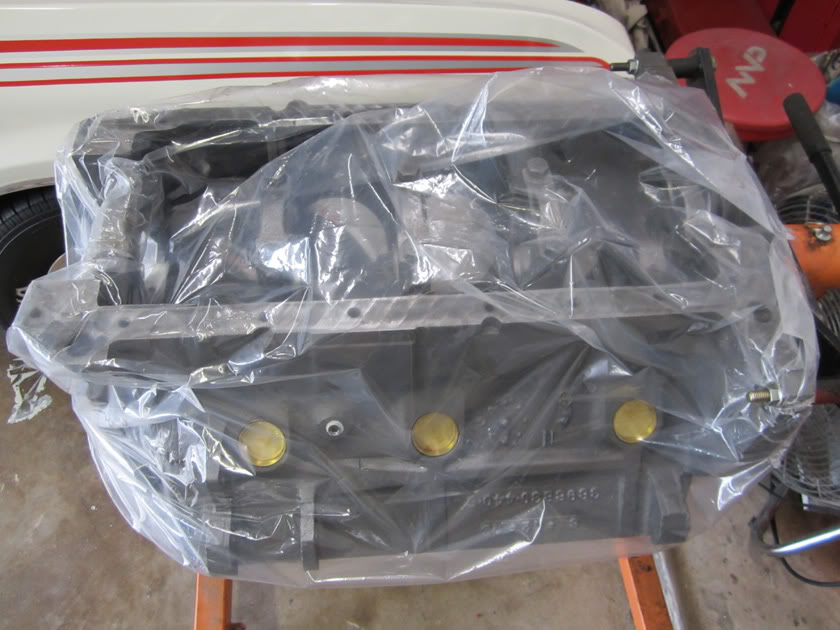
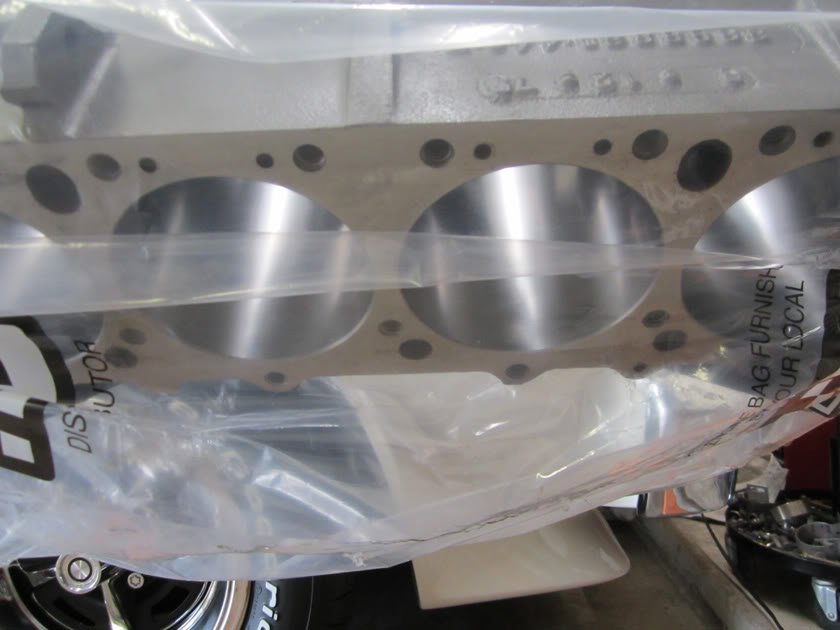
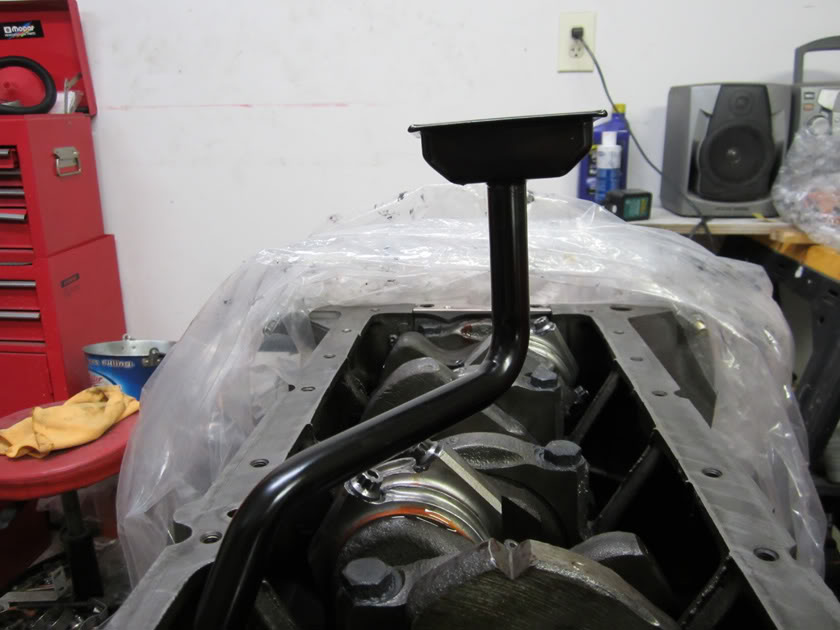
It was cold yesterday and I had my monthly Houston Mopar meeting so I came home and took the tape off then bagged the motor. I got to get busy these next upcoming weeks.
02-19-2012, 09:07 PM
#26
Super Moderator
Thread Starter
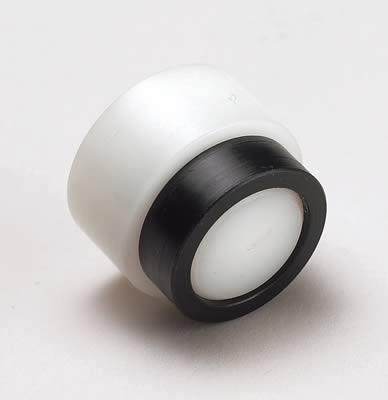
Well I was busy today
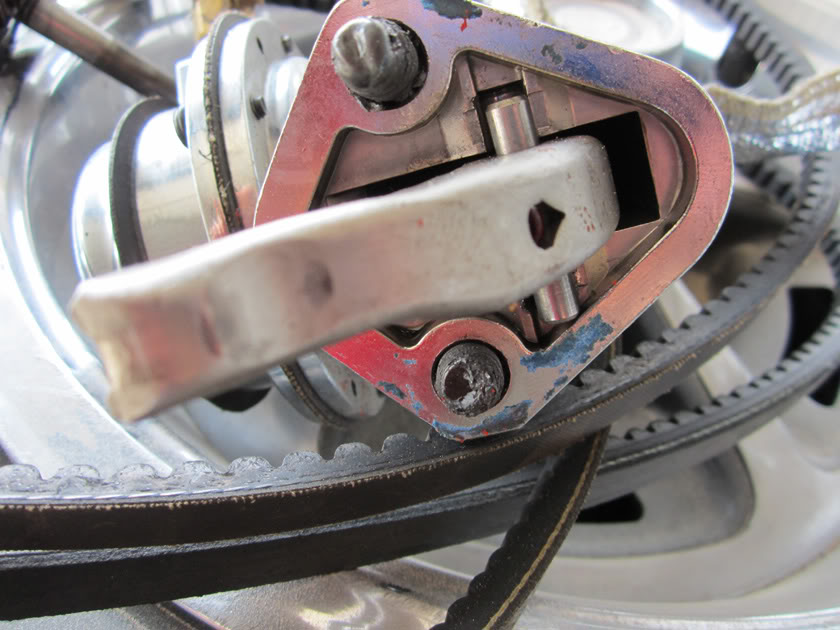
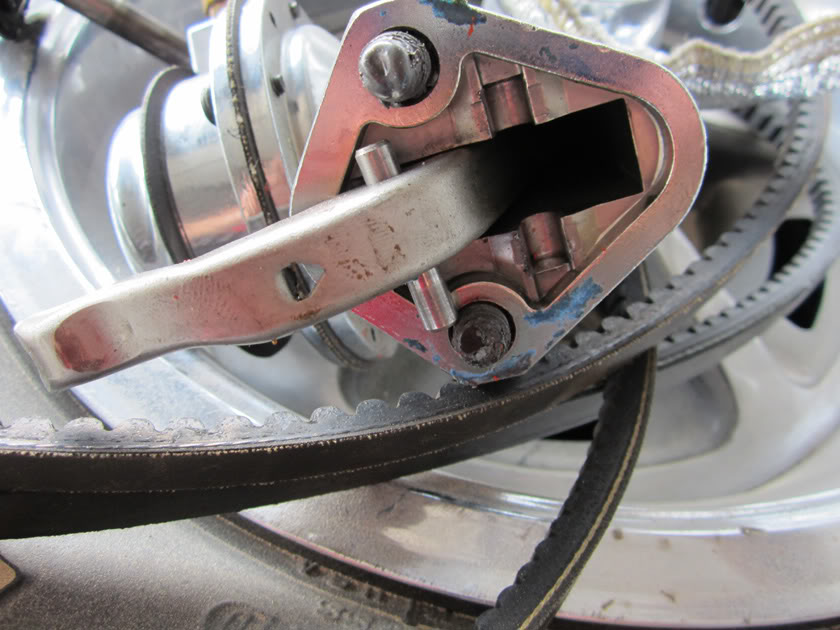
Real nice day today. I finally got my old motor out of the Dart today. I busted the heads off and removed the cam and lifters. Wow glad I did. The roller bearing button on the end of the cam almost ate through the timing cover. I already have a new cover on the way and am going to use another type of button on this build. I will also clean up the heads tomorrow and take them for a close .010" shave. The lifters, cam, fuel pump pushrod and distributor gear look brand new.
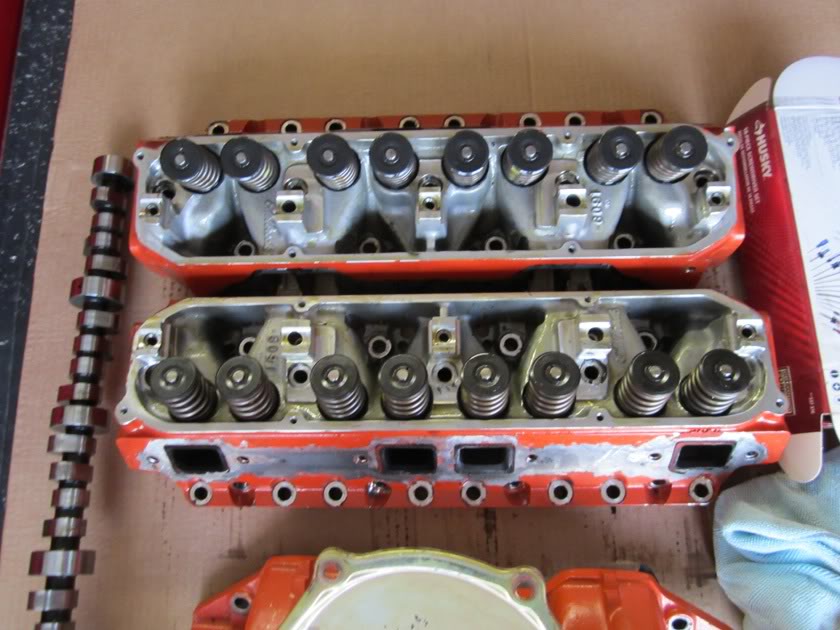
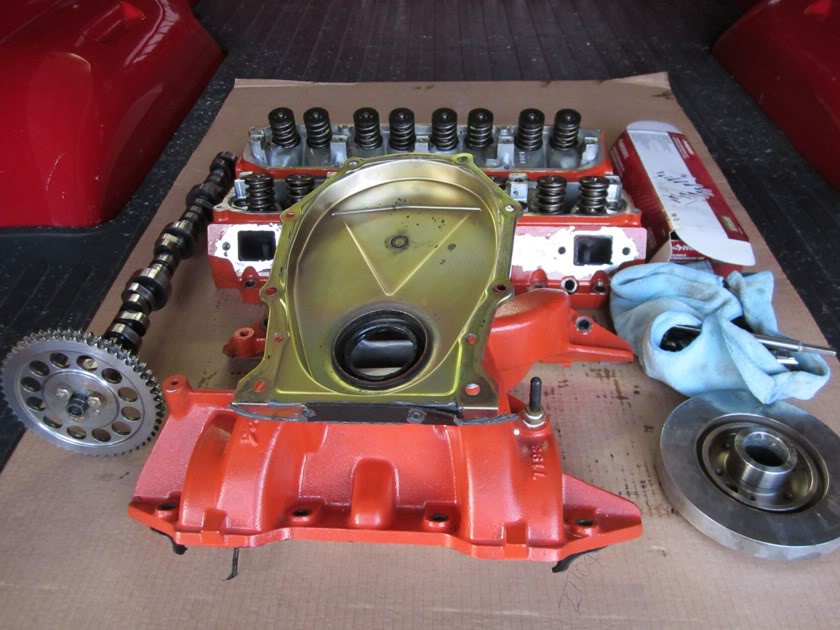
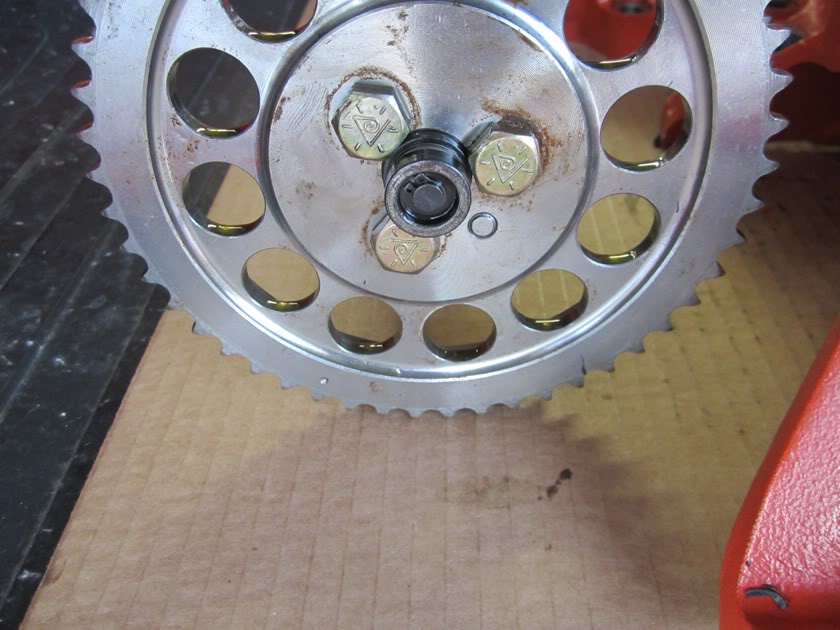
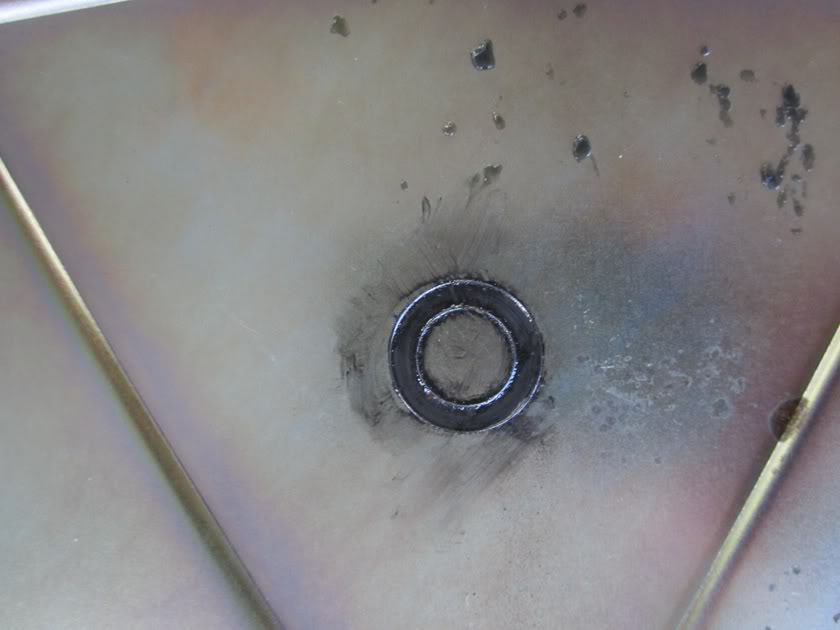
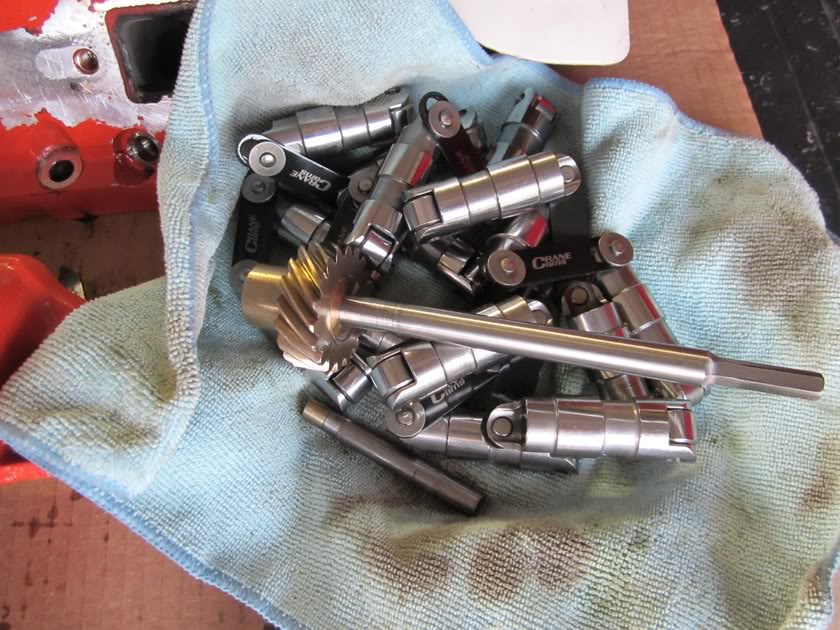
I already have a new cover on the way and am going to use another type of button on this build. I will also clean up the heads tomorrow and take them for a close .010" shave. The lifters, cam, fuel pump pushrod and distributor gear look brand new.
 02-20-2012, 10:08 AM
#29
Super Moderator
Thread Starter
02-20-2012, 08:39 PM
#30
Super Moderator
Thread Starter
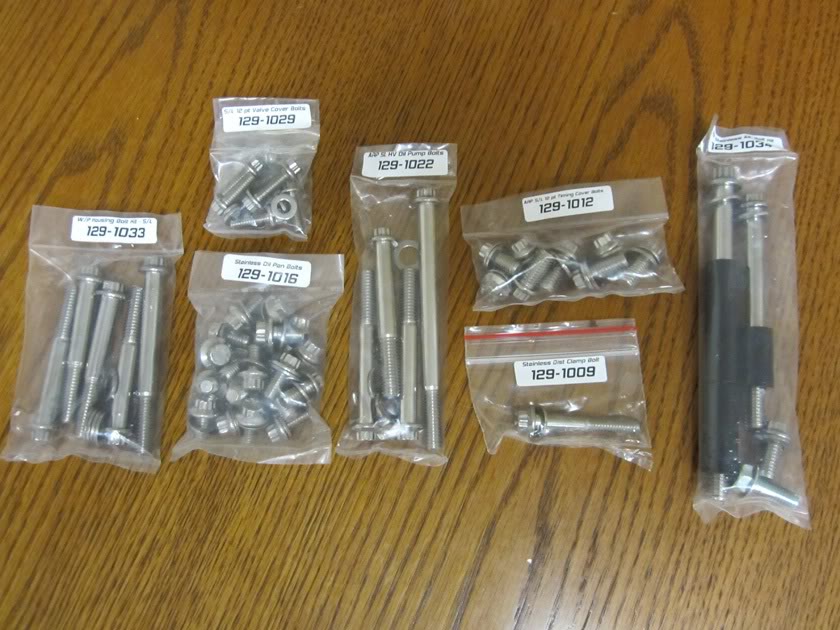
I got some more stainless bolts for the valve covers, timing cover, oil pan, water pump housing, alternator, distributor holddown and HV oil pump. Things down here rust. If ARP made stainless steel head bolts I would get them to. I have some more of them coming from Summit Racing to finish out the rest.