I never would think I would own one of these
 10-14-2011, 11:38 PM
#571
Super Moderator
Thread Starter

 10-15-2011, 12:16 AM
#572
Mopar Fanatic
 10-15-2011, 09:16 PM
#573
Super Moderator
Thread Starter
Okay some positives today
Positives
1. The car cleaned up nice and I got it out of the garage.
2. It made it to the gas station and back. I came back a gave it a few more degrees of timing.
3. The car made a second trip and up to 60 miles an hour. And the rear window louvers did not fly off.
4. I made it back home safe with no leaks or break downs.
The plus's...
1. The new Hurst Gearshift is a great upgrade and worked well.
2. The police gearbox is tighter and had greater stability and quicker turning.
3. The rubber biscuits are gone and I got no boat ride effect. It feels more like the road now.
The problems...
1. The throttle return still sticks if the choke is engaged. Working with Holley on that.
2. The car runs warmer....used to stay at middle of the guage...it now goes to the 3/4 line. Okay this motor produces more HP and is at higher compression so I was already expecting to have to do something about the cooling...remember that I still have that puny two core radiator...I have a thing to try and the idea came from 1980 Volare.
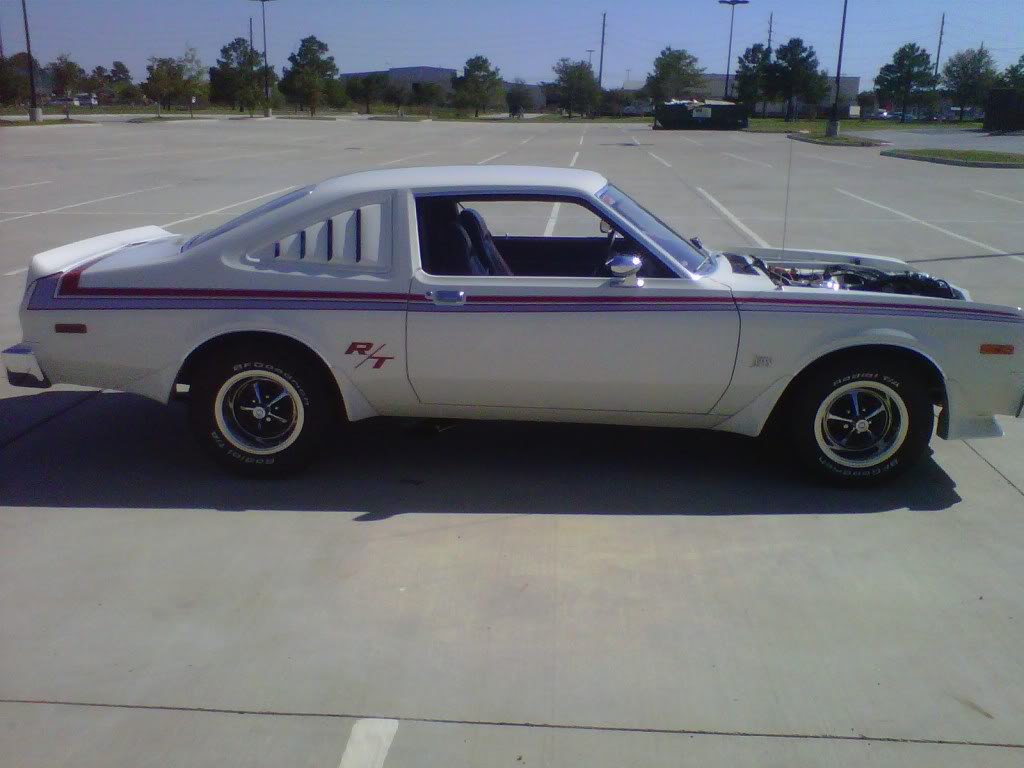
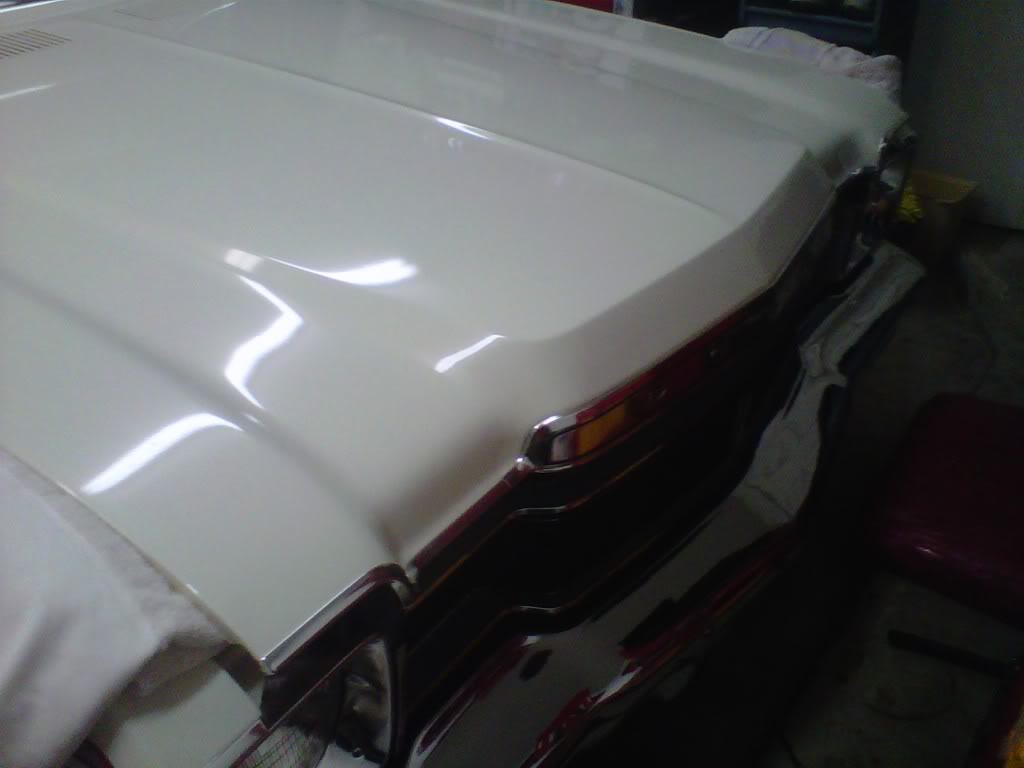
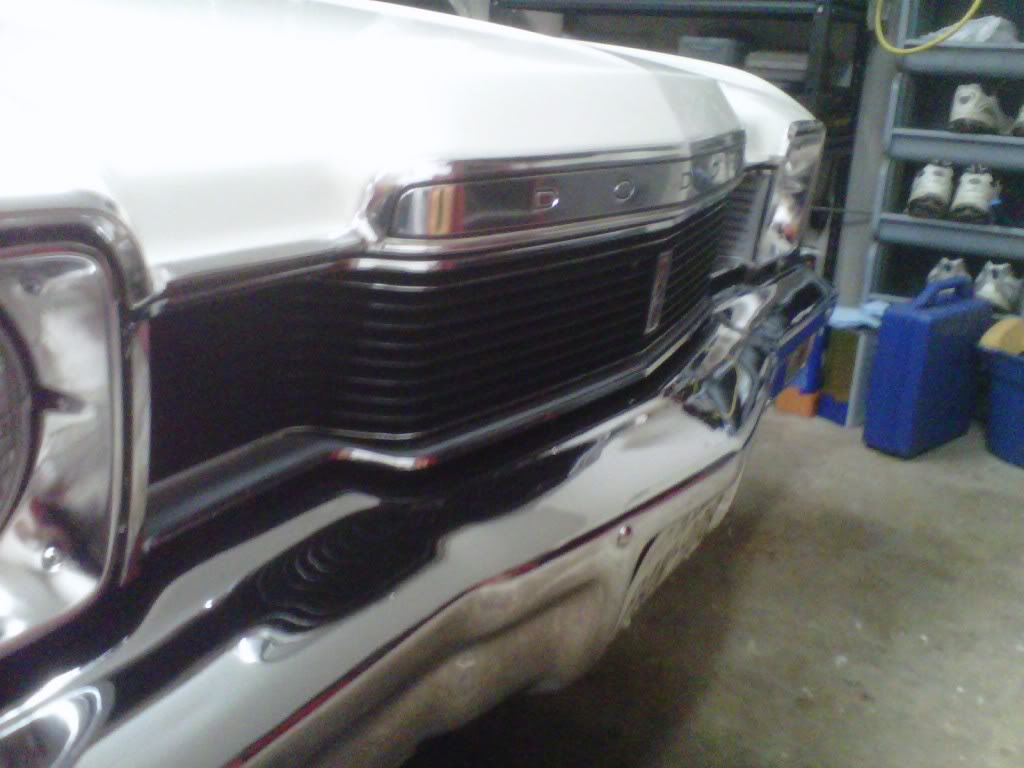
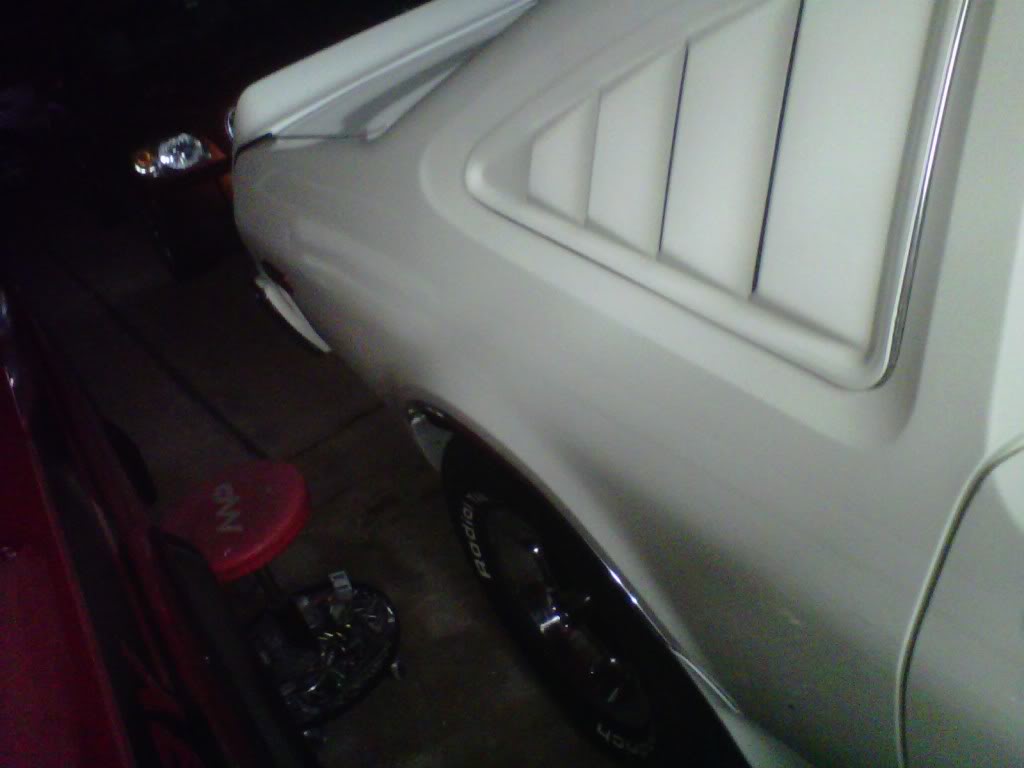
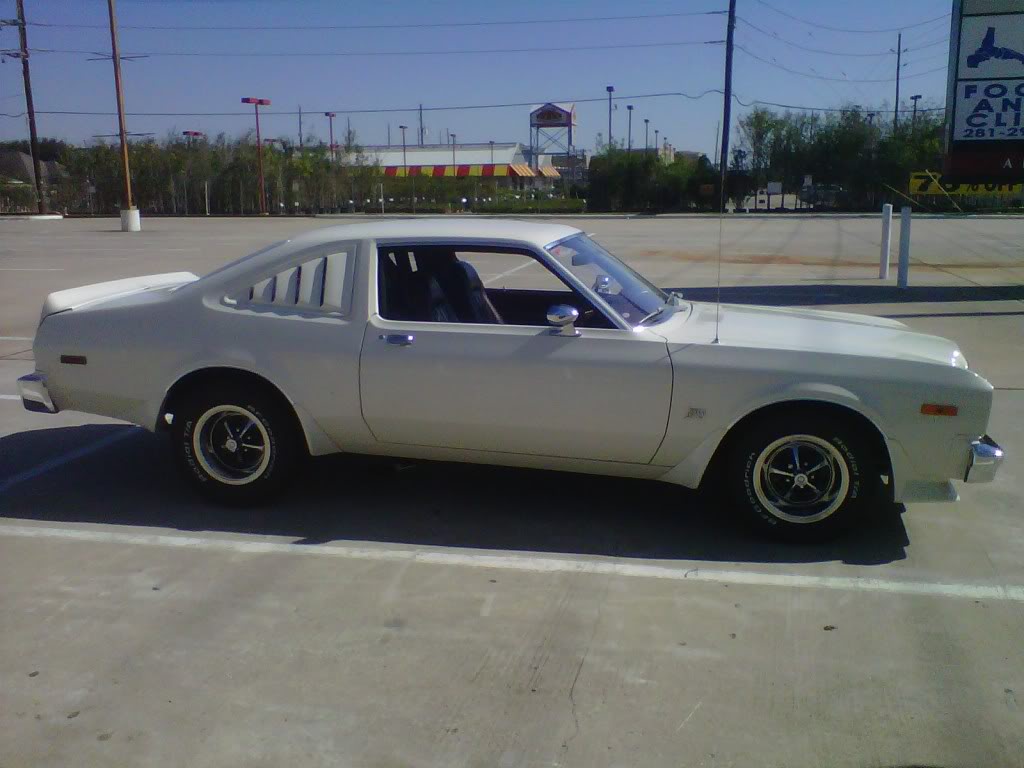
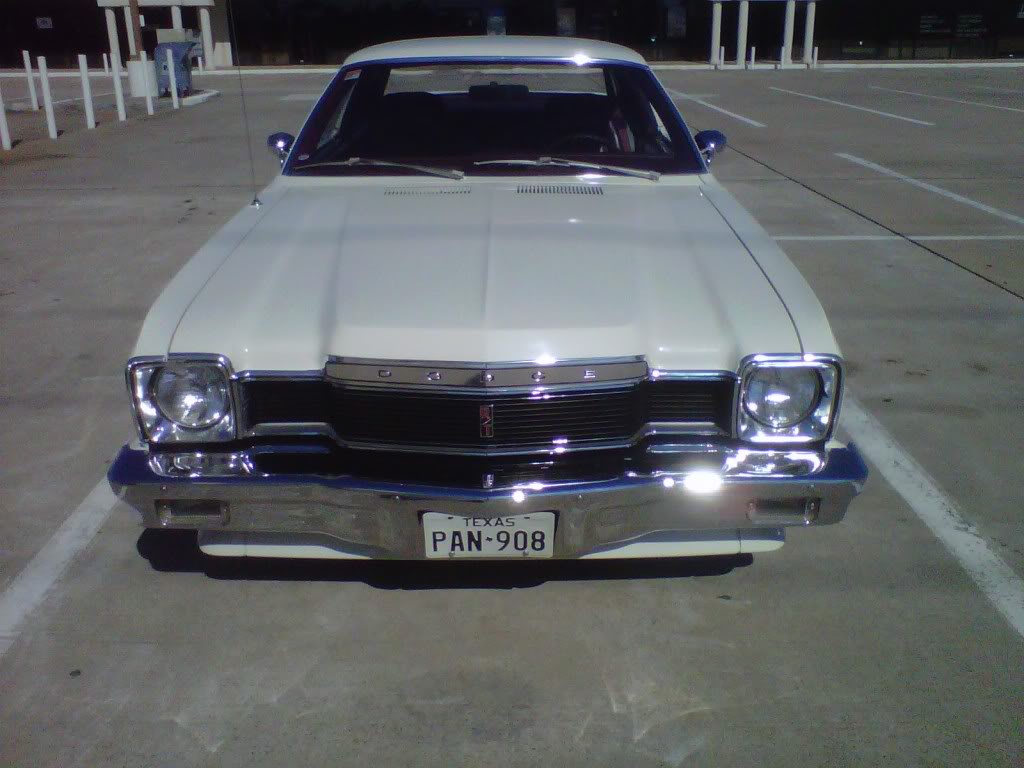
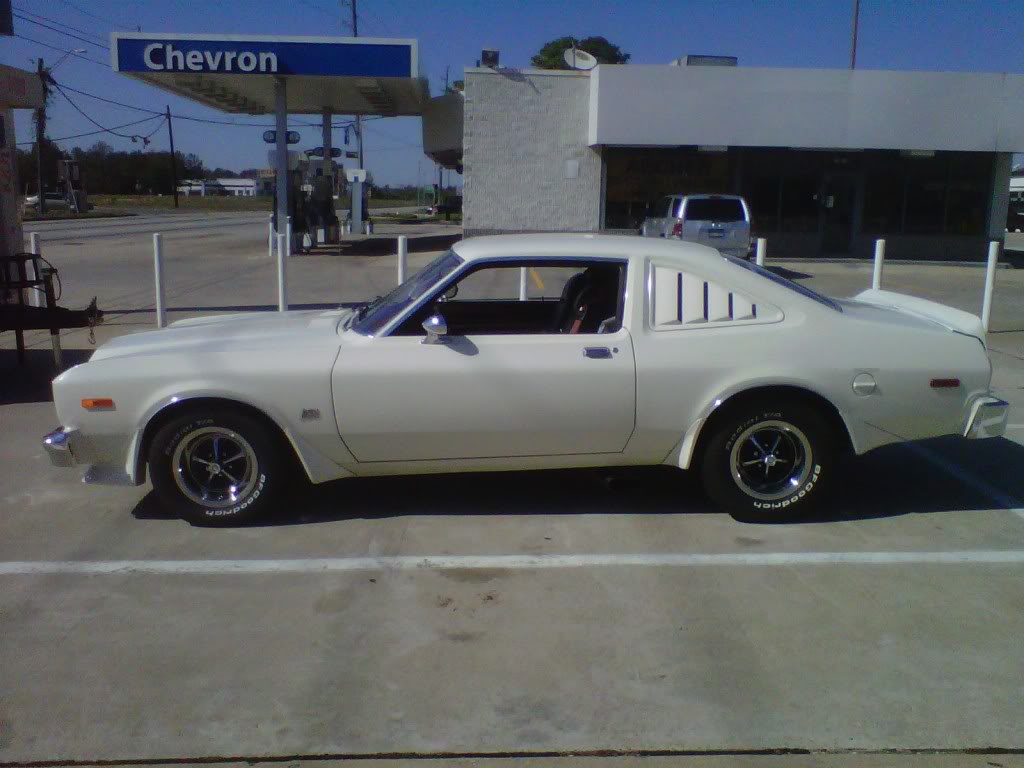
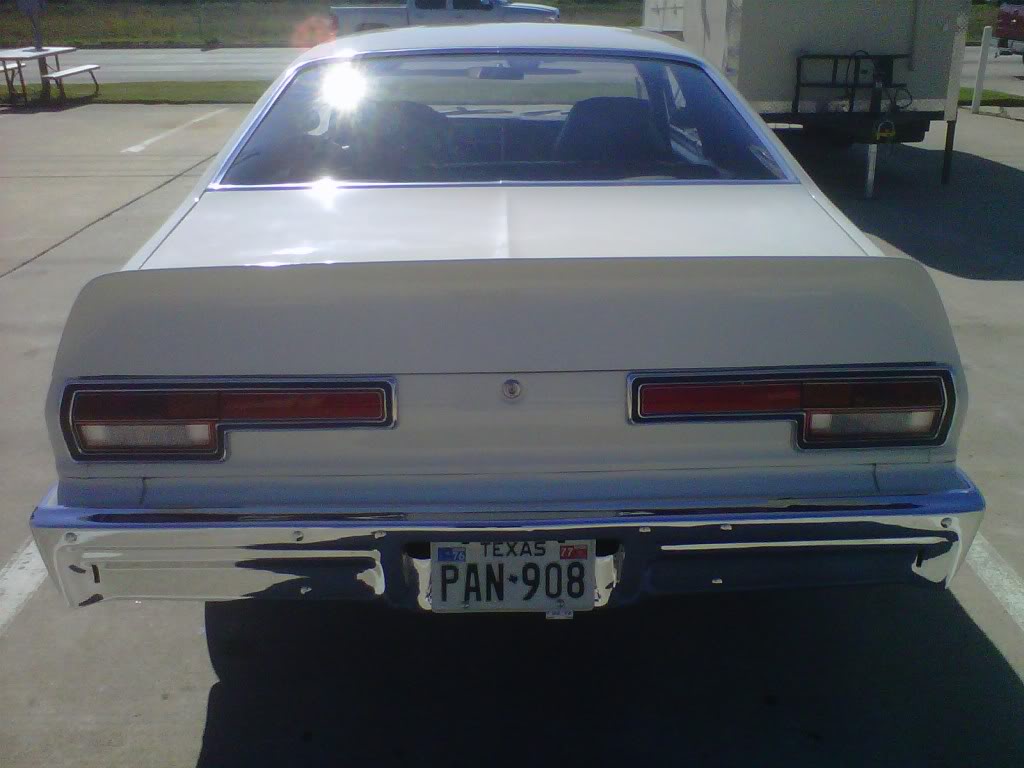
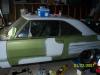
Well here's the outside sunny day pics..Right in the Texas Roadhouse parking lot...
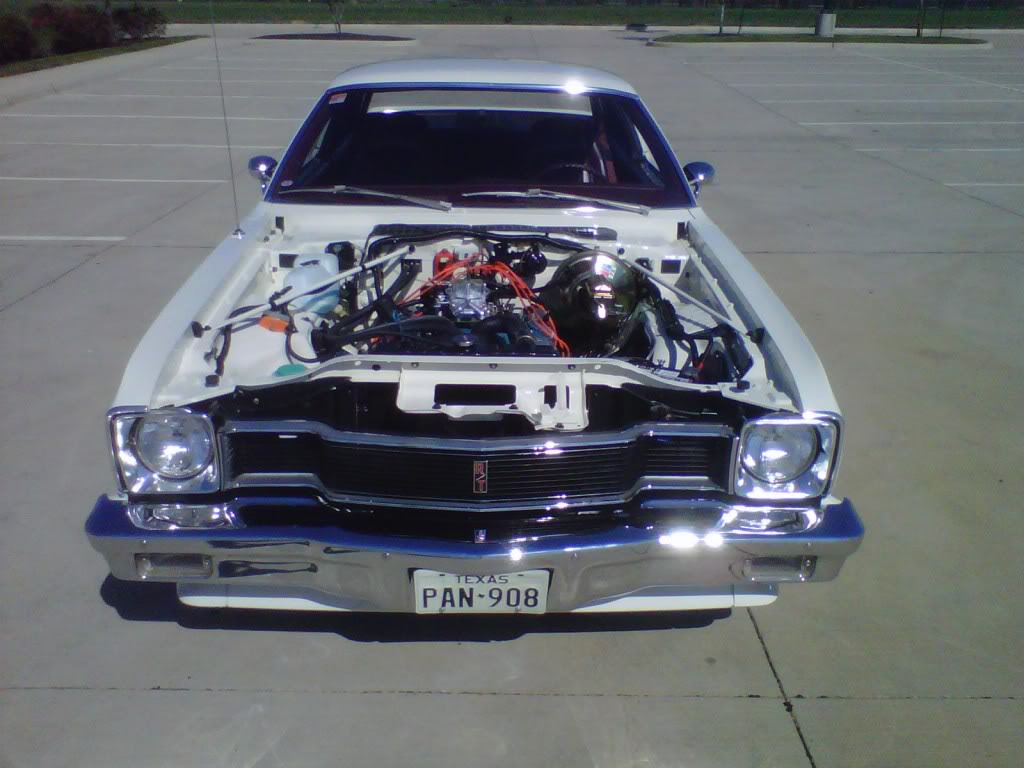
1. The car cleaned up nice and I got it out of the garage.
2. It made it to the gas station and back. I came back a gave it a few more degrees of timing.
3. The car made a second trip and up to 60 miles an hour. And the rear window louvers did not fly off.
4. I made it back home safe with no leaks or break downs.
The plus's...
1. The new Hurst Gearshift is a great upgrade and worked well.
2. The police gearbox is tighter and had greater stability and quicker turning.
3. The rubber biscuits are gone and I got no boat ride effect. It feels more like the road now.
The problems...
1. The throttle return still sticks if the choke is engaged. Working with Holley on that.
2. The car runs warmer....used to stay at middle of the guage...it now goes to the 3/4 line. Okay this motor produces more HP and is at higher compression so I was already expecting to have to do something about the cooling...remember that I still have that puny two core radiator...I have a thing to try and the idea came from 1980 Volare.
Well here's the outside sunny day pics..Right in the Texas Roadhouse parking lot...
10-15-2011, 10:30 PM
#574
Mopar Fanatic
Positives
1. The car cleaned up nice and I got it out of the garage.
2. It made it to the gas station and back. I came back a gave it a few more degrees of timing.
3. The car made a second trip and up to 60 miles an hour. And the rear window louvers did not fly off.
4. I made it back home safe with no leaks or break downs.
The plus's...
1. The new Hurst Gearshift is a great upgrade and worked well.
2. The police gearbox is tighter and had greater stability and quicker turning.
3. The rubber biscuits are gone and I got no boat ride effect. It feels more like the road now.
The problems...
1. The throttle return still sticks if the choke is engaged. Working with Holley on that.
2. The car runs warmer....used to stay at middle of the guage...it now goes to the 3/4 line. Okay this motor produces more HP and is at higher compression so I was already expecting to have to do something about the cooling...remember that I still have that puny two core radiator...I have a thing to try and the idea came from 1980 Volare.
Well here's the outside sunny day pics..Right in the Texas Roadhouse parking lot...
Oh.... needs to be lowered.....

 10-16-2011, 08:57 PM
#576
Super Moderator
Thread Starter
I did what i said I was going to do
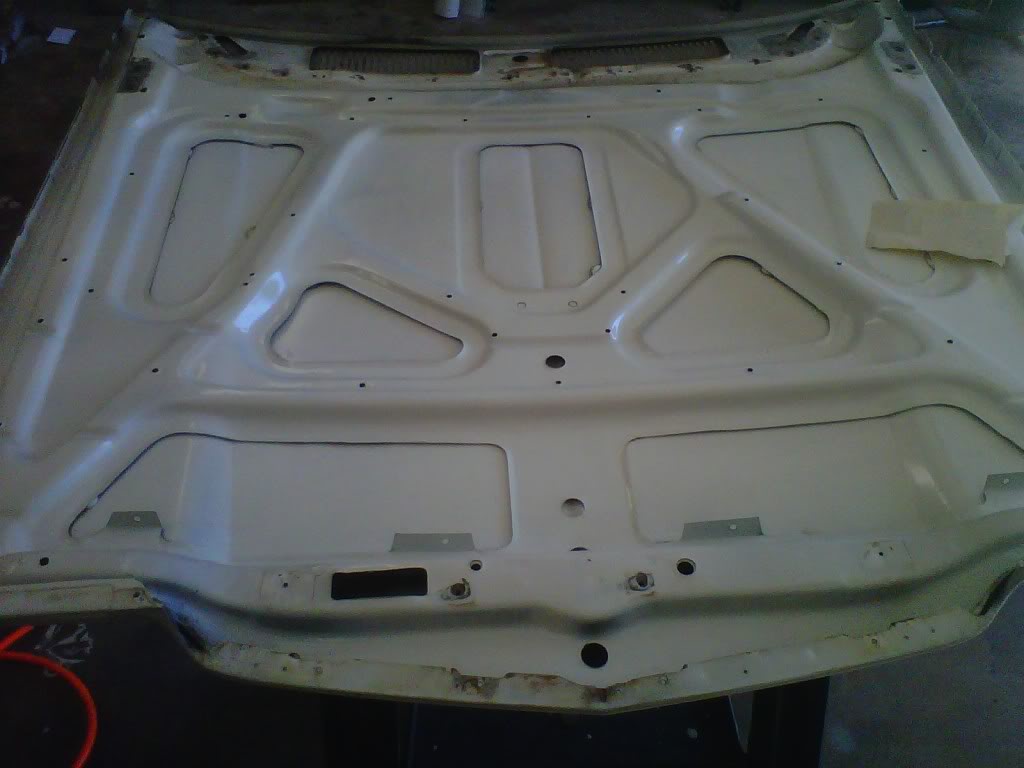
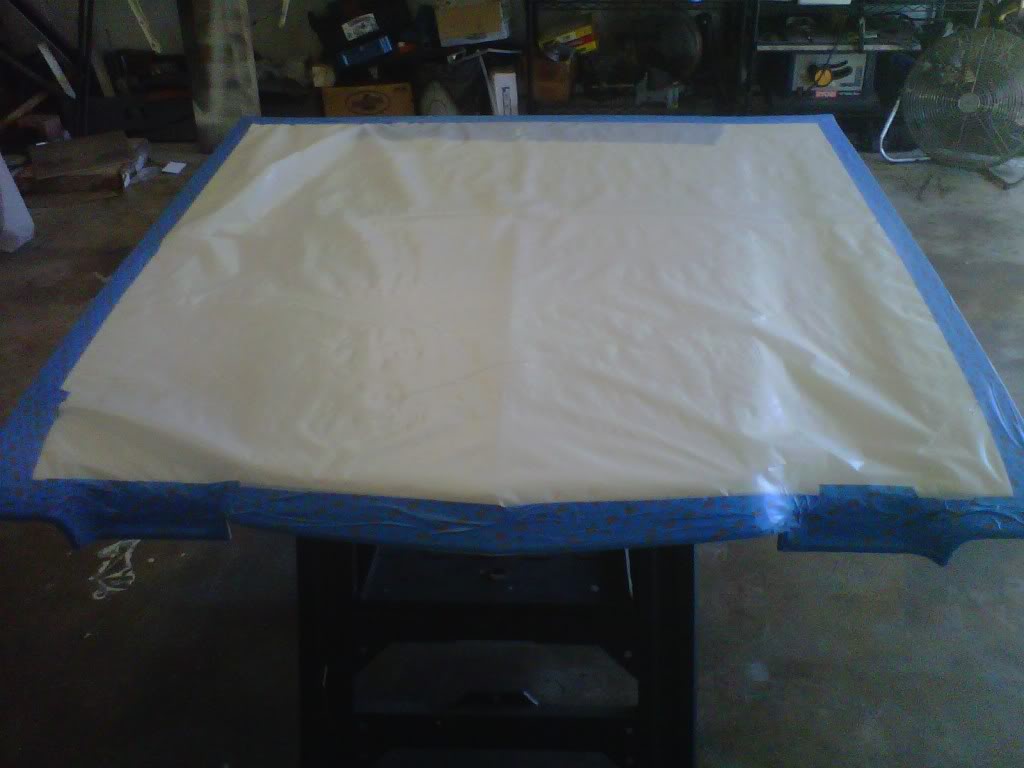
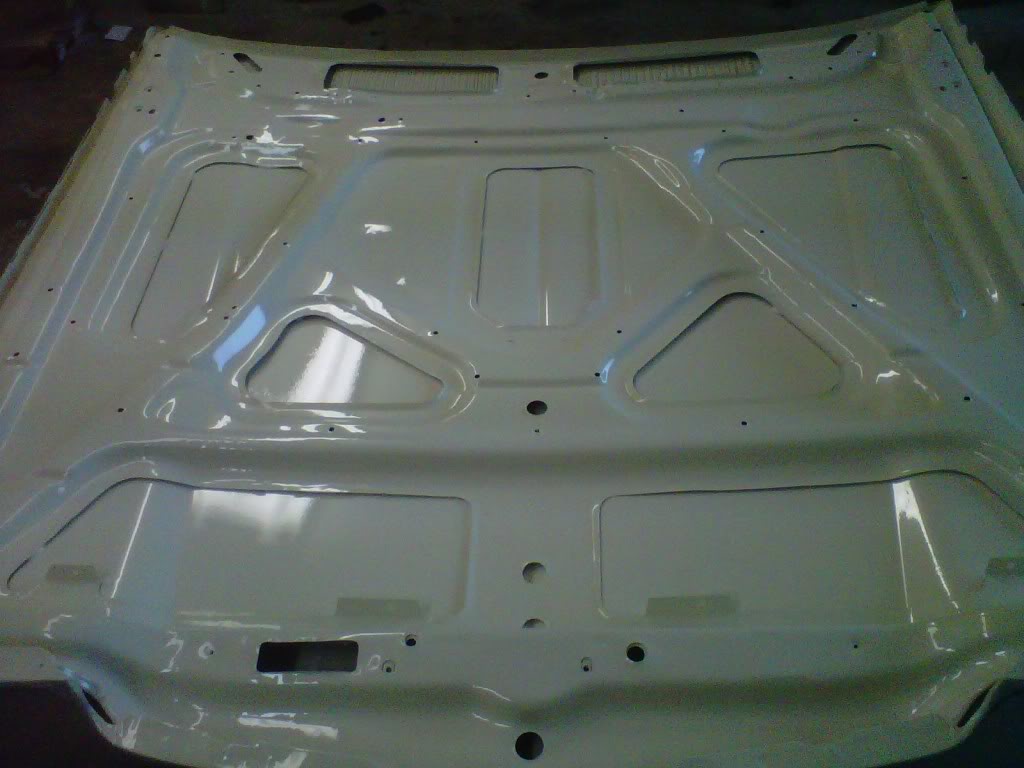
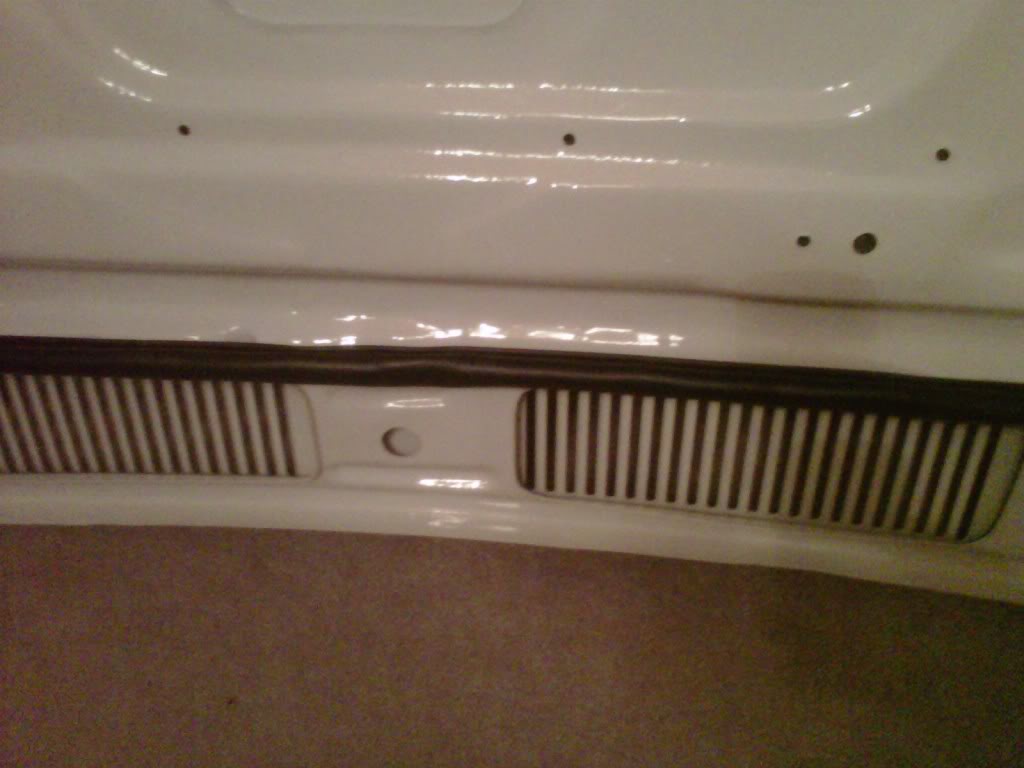
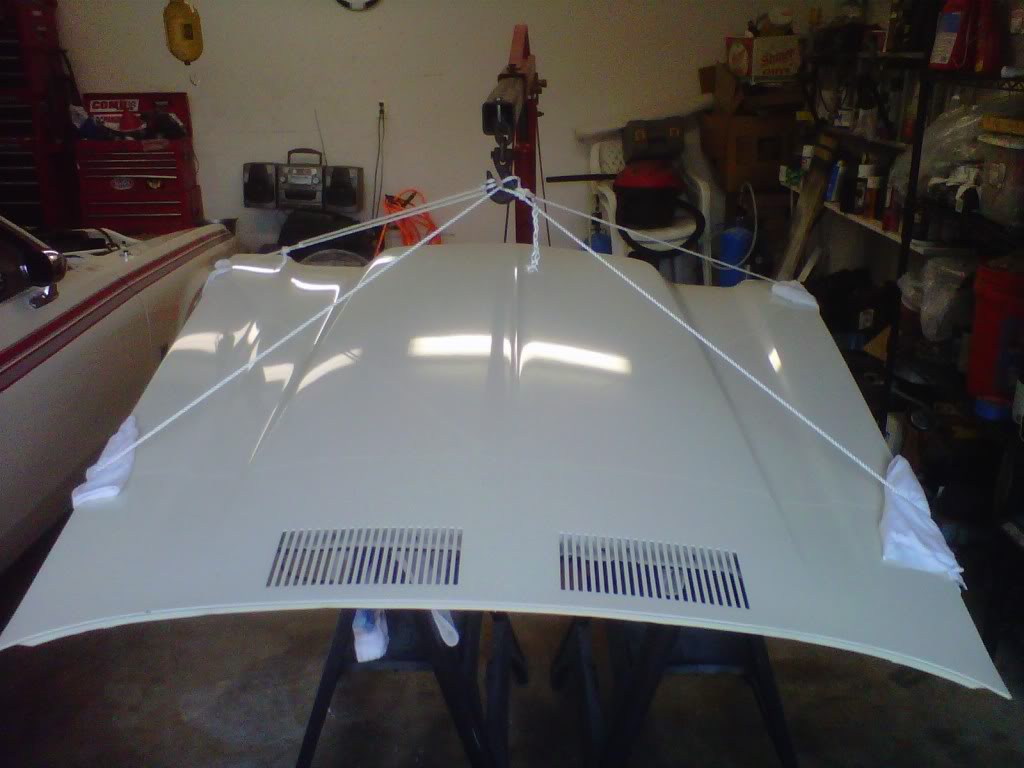
I got the hood done today...looks 500 percent better than the factory did to the underneath of the hood.
Started off with mechanically and hand sanding the rust...priming the bare metal and rusty areas and then three coats of paint...pictures tell the story..
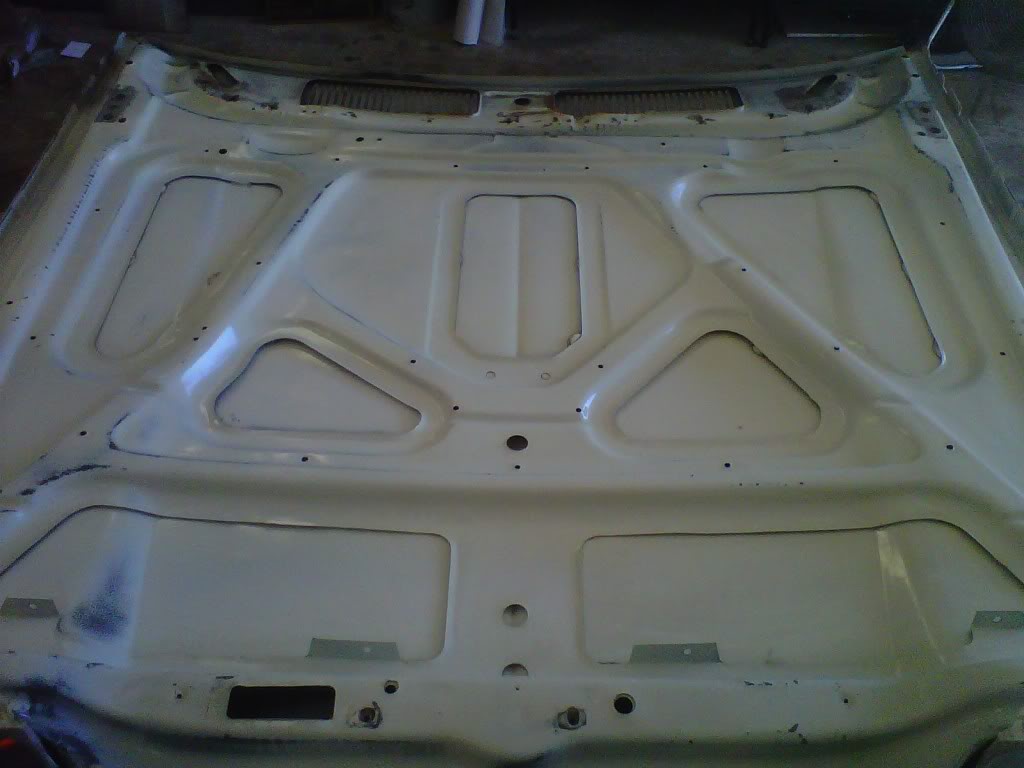

I did not get a chance to do the Stripe off wheel..That will be hopefully tomorrow night.
Started off with mechanically and hand sanding the rust...priming the bare metal and rusty areas and then three coats of paint...pictures tell the story..
I did not get a chance to do the Stripe off wheel..That will be hopefully tomorrow night.
10-17-2011, 10:49 PM
#579
Super Moderator
Thread Starter
I went to my storage tonight for a spare ladder to do some wifey do's...changed out four bulbs in our recessed lighting in the kitchen. Then hung some Halloween stuff outside. 
Then it was time...stripe on and then stripe off...scary but it worked good...have to buff the entire trunk lid when finished.

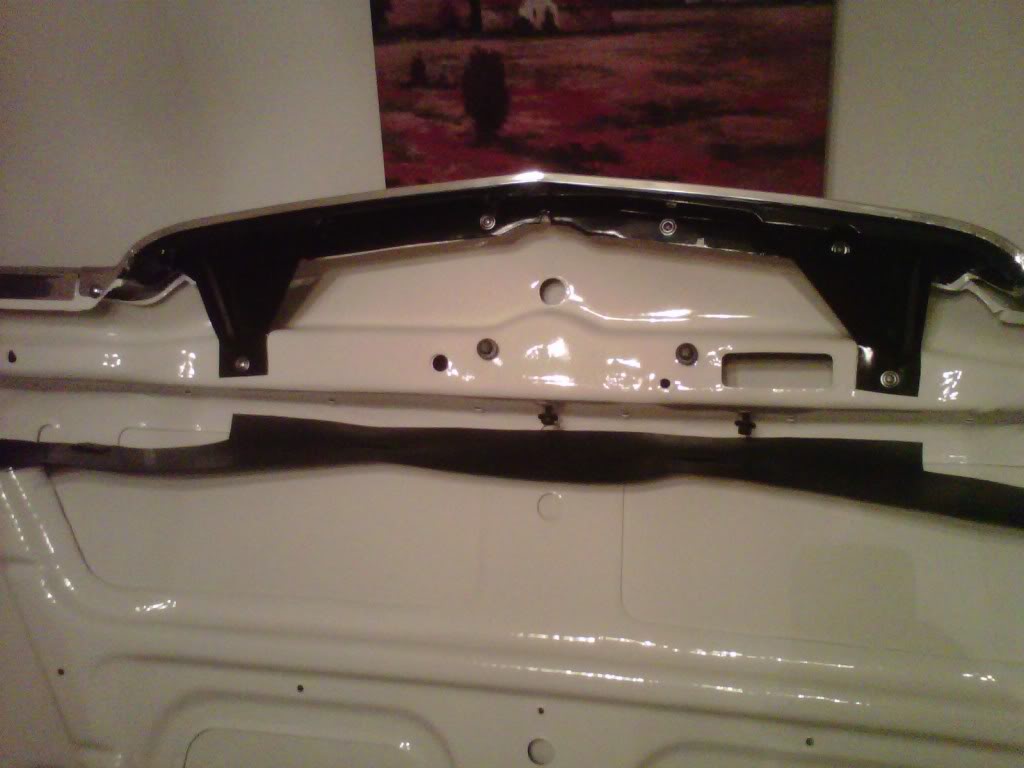
Then added some bling to the hood...the big Dodge emblem and trim...the new cowl seal the the radiator yolk seal I made way back when.
Then it was time...stripe on and then stripe off...scary but it worked good...have to buff the entire trunk lid when finished.
Then added some bling to the hood...the big Dodge emblem and trim...the new cowl seal the the radiator yolk seal I made way back when.
10-18-2011, 10:12 PM
#580
Super Moderator
Thread Starter
Was getting lame on the holiday stuff..Had to spend sometime on the Halloween decorations out front. Then I started on the decals again...I had more energy than my battery did for my Dewalt drill. My other battery went bad and I am down to one. I am charging it right now and I will go out and hammer on it somemore tonight. Still no damage to the paint just like the lady said.
10-18-2011, 10:17 PM
#581
Super Moderator
Thread Starter
Alright outlasted one more battery..I will borrow and bring home a corded drill tomorrow night from work. I want to get one side done.
10-19-2011, 08:18 AM
#583
Super Moderator
Thread Starter
10-19-2011, 11:55 AM
#584
Mopar Fanatic
Yeah, i know the difference. your makin a super pak clone so thus you need different stripes. your car was just a plain jane r/t to start.
Keep up the good work! opcorn:
Keep up the good work!
opcorn:
10-19-2011, 12:51 PM
#585
Super Moderator
Thread Starter
 10-19-2011, 09:32 PM
#586
Super Moderator
Thread Starter
Okay I did as promised...it's a good workout on your forearms also. When I was done I blew it off with my air compressor..trunk lid...rear quarter panel...door and front fender. Wheel is kinda small now and that drill motor is closer to the paint. Not being a cheapo I will spring for a new wheel before I start on the other side.
10-23-2011, 10:21 PM
#587
Super Moderator
Thread Starter
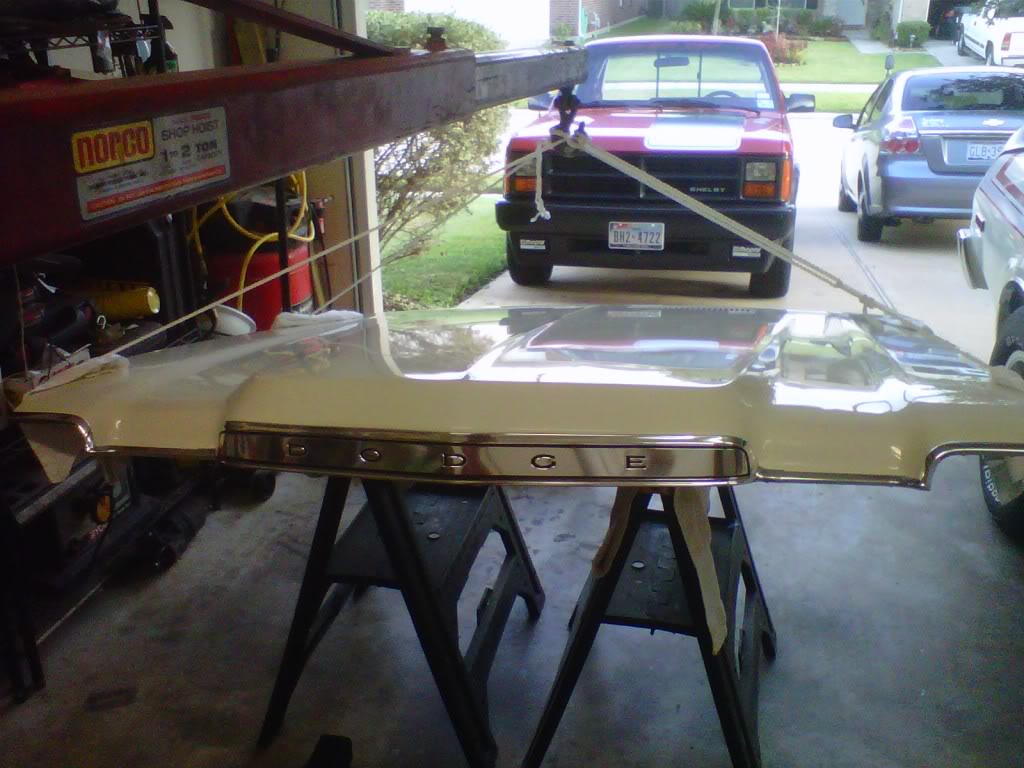
Sometimes you have to do it yourself
With male neighbors out of town and such I had to get my hood on by myself..worked great, looks goofy and maybe scary. 10 bucks worth of new rope. Borrowed the engine hoist from work again and it's on there. I still have a wide gap on one side and a narrow one on the other. Once I get the springs back on I will go for finishing the adjustments.
10-24-2011, 10:09 PM
#588
Super Moderator
Thread Starter
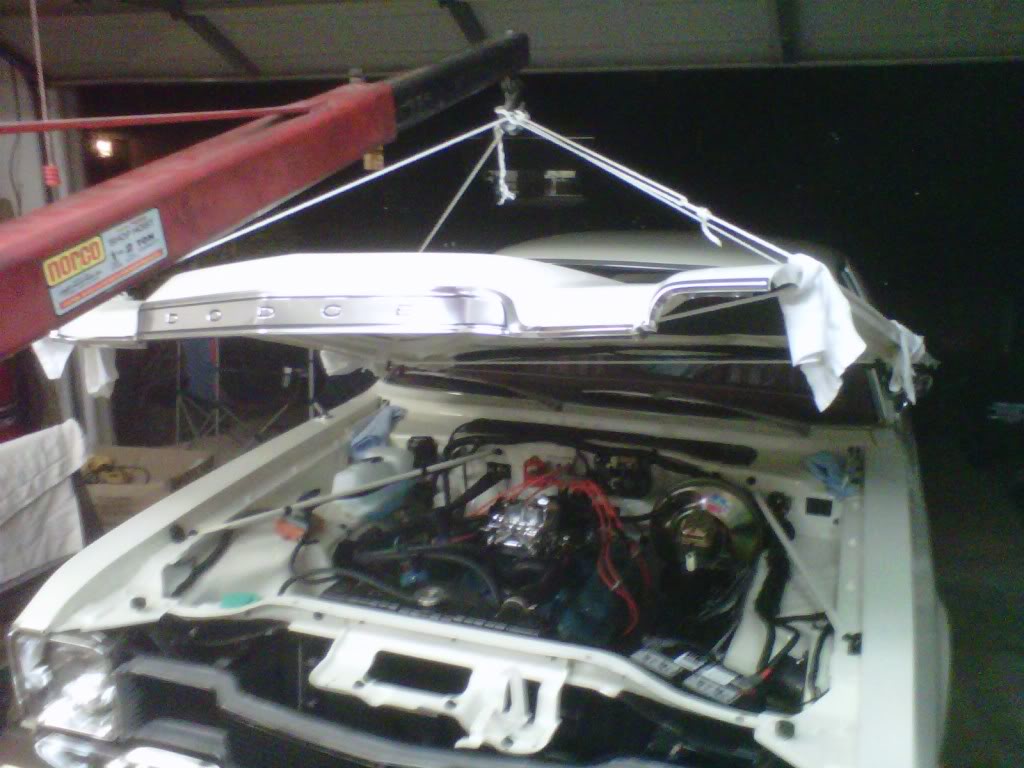
Hood is on there..
 Just like a flock of flying pigs..I am happy to have gotten that hood out of my dining room and back on the car. I got the gaps more even on both sides...the hood opens and closes. It still needs to come up a little in the back and the gaps straitened out little. I am going to let the guys finish adjusting it at the body shop and put the latch on. Hope the pictures aren't as fuzzy as last night.
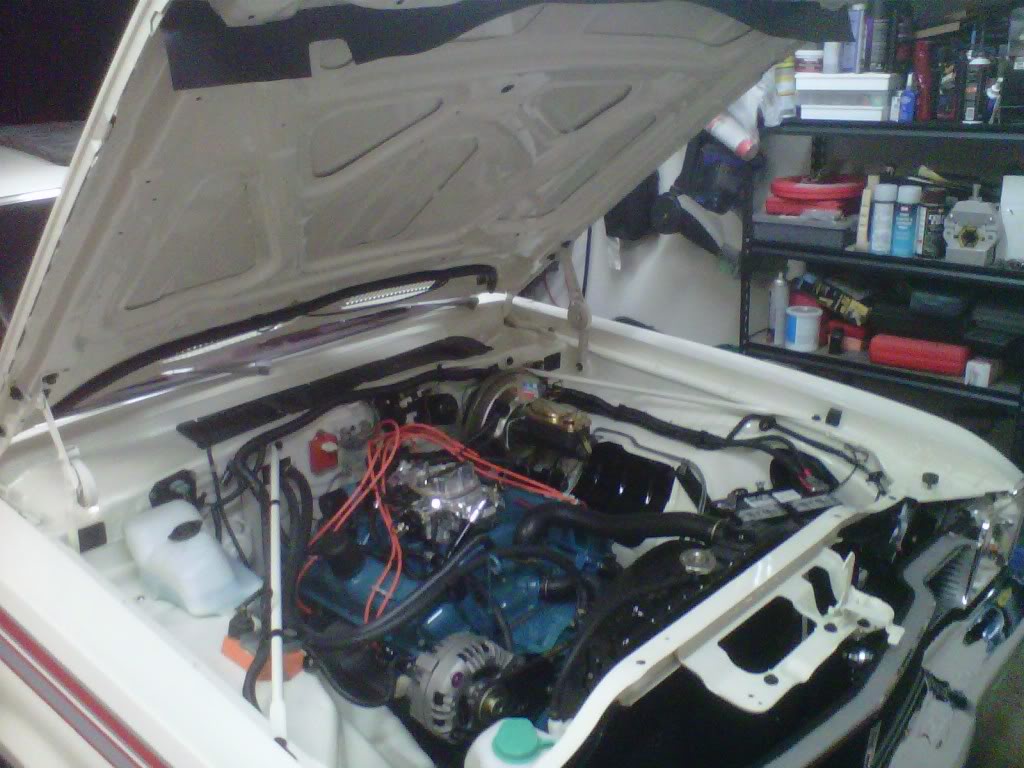

 10-25-2011, 09:24 PM
#590
Super Moderator
Thread Starter
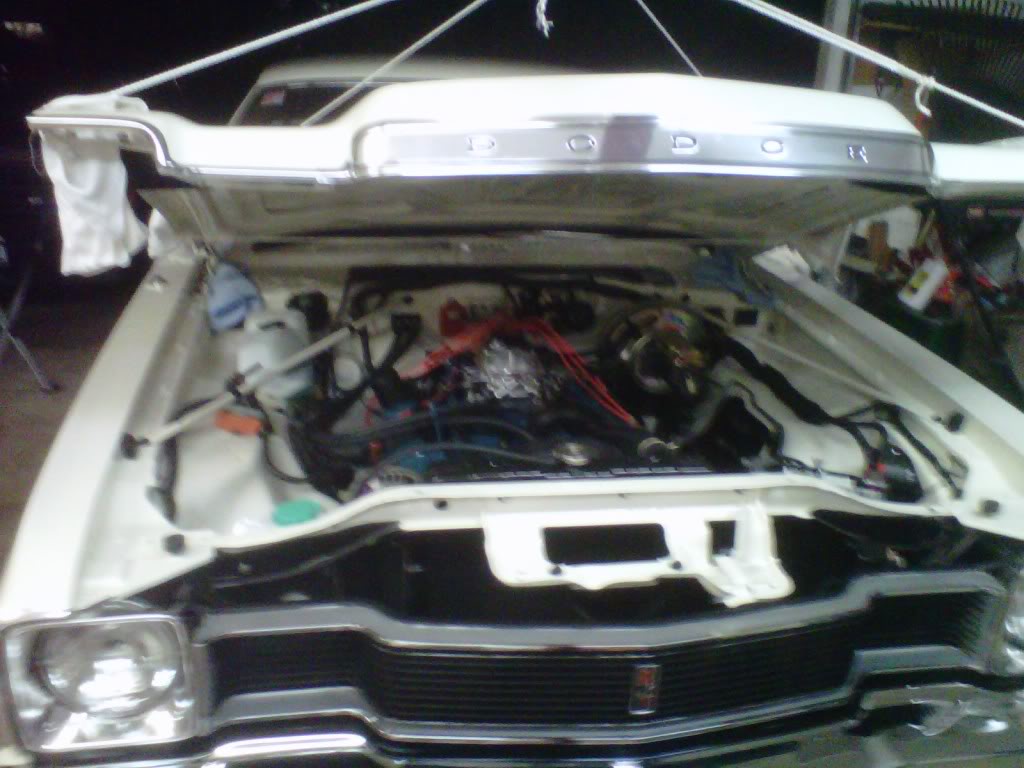
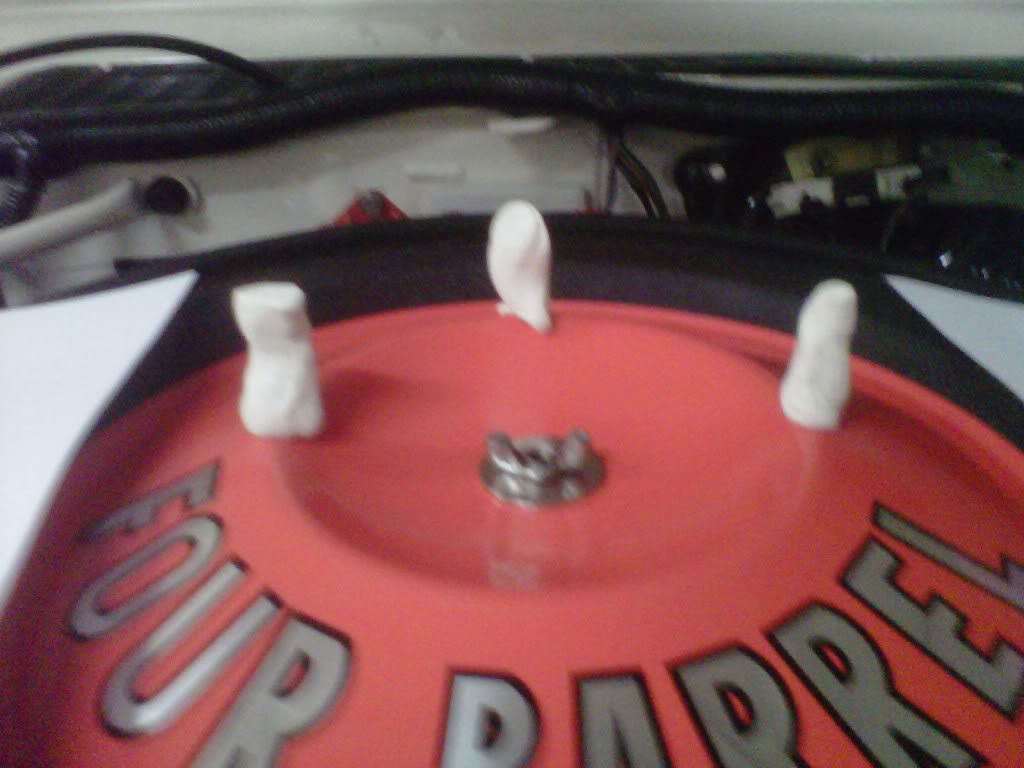
I got the hood better aligned tonight before installing the latch. First of all the funny looking modeling clay sitting on top of the air cleaner..it always looks scary so I go slow and close it slowly. When you look at it from the side it looks high.
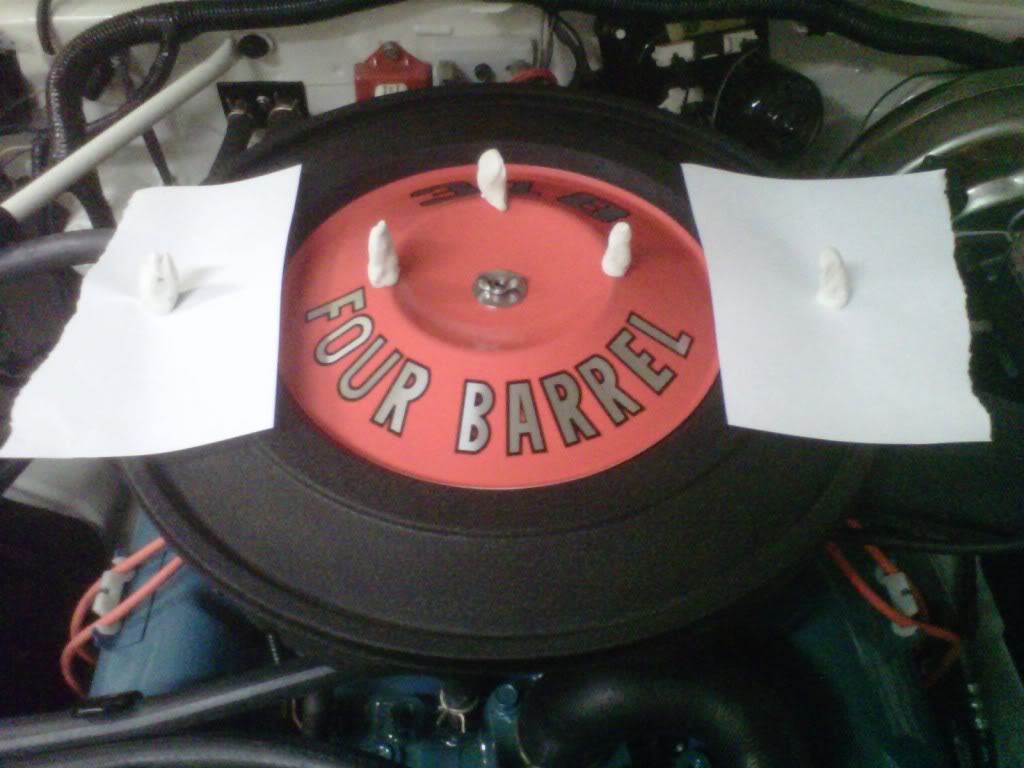
Then the results...only two pieces were even smashed a bit...
Then the latch was installed and the hood is finally closed and latched.
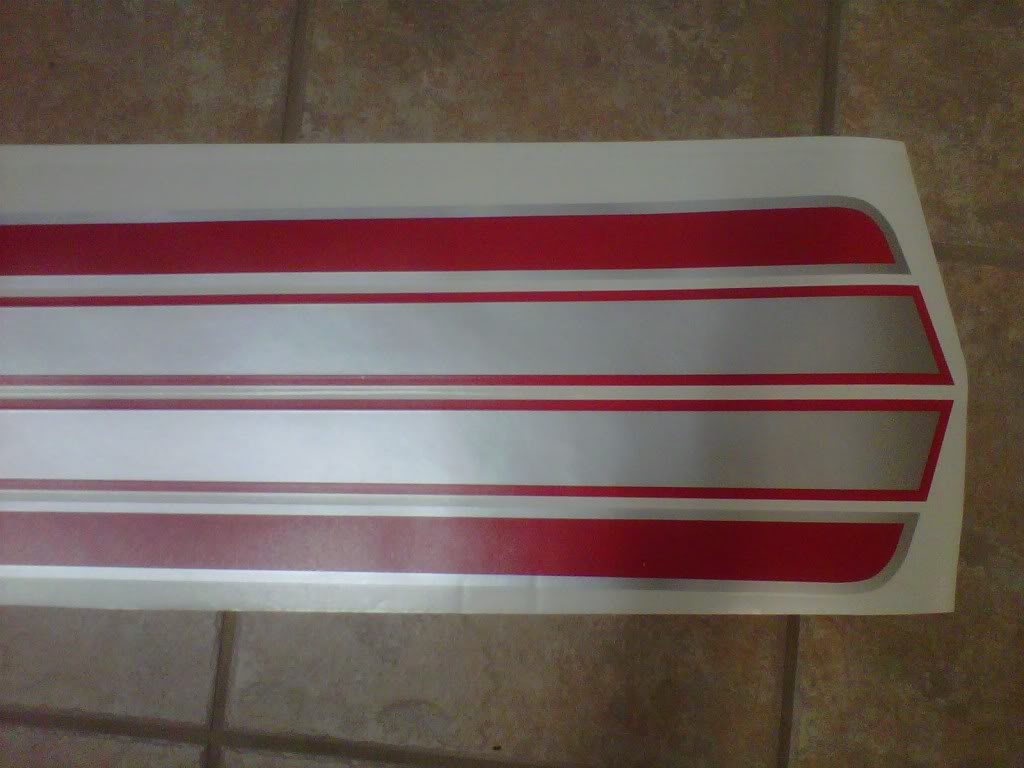
Then I finished the last decals on the rear quarter panel....ready for the auto body shop..
Then the results...only two pieces were even smashed a bit...
Then the latch was installed and the hood is finally closed and latched.
Then I finished the last decals on the rear quarter panel....ready for the auto body shop..
10-27-2011, 09:58 PM
#591
Super Moderator
Thread Starter
Ran the car last night and bumped the timing up 2 more degrees. I am getting rid of more air pockets each time I run it. I can see the temp gauge bounce back and forth and my overflow/coolent bottle has less in it with no leaks. Air cleaner is snugged down now. All I have to deal with now is that sticking fast idle cam and paint the exhaust manifold bolts that factory cast grey.
10-27-2011, 10:09 PM
#592
Super Moderator
Thread Starter
Not much done tonight...we finally got some rain and a cool front blowing through so I kept the garage door closed and put two coats of POR 15 high heat gray on the exhaust manifold bolts. I gave them all the once over before paint them.
Last edited by bremereric; 10-28-2011 at 09:43 AM.
10-29-2011, 07:46 AM
#593
Super Moderator
Thread Starter
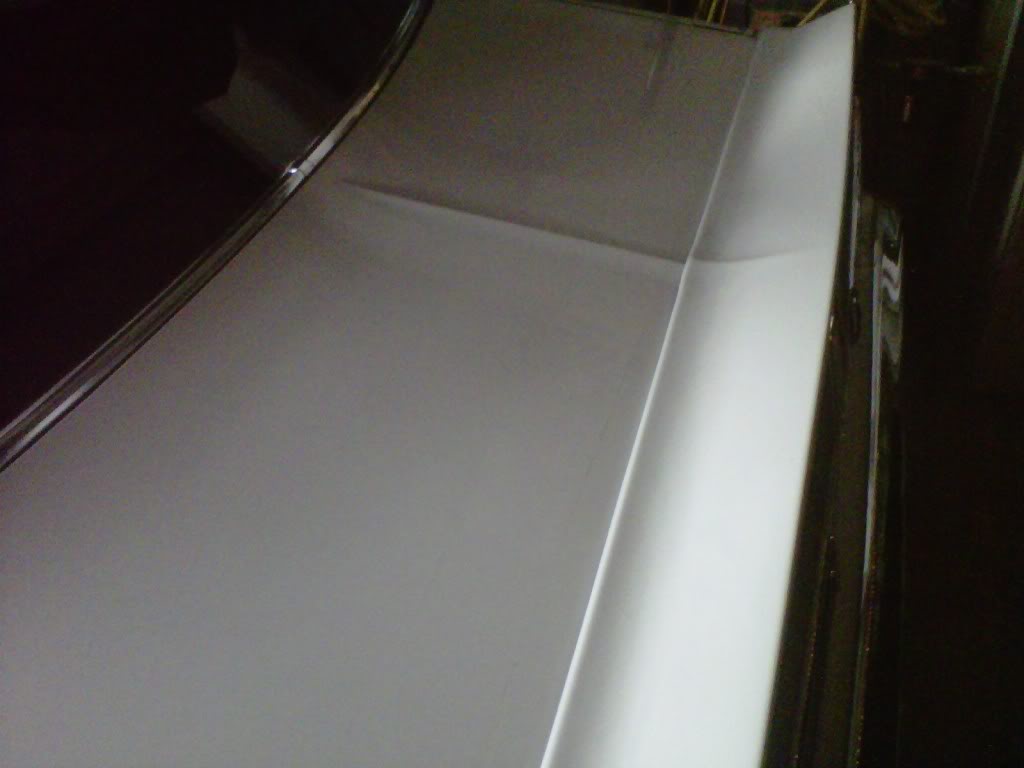
It was cool enough last night to use a heat gun to remove the decal on the rear spoiler. I then cleaned it up nicely with some Meguiar's Ultimate rubbing compound. That stuff is good. If I had the time and experience I would color sand it and buff it out myself. It is going to the body shop Monday afternoon.
10-29-2011, 09:42 PM
#594
Super Moderator
Thread Starter
I couldn't wait to find out..talking to the boss of the autobody shop I am good with on Friday he mentioned that the paint may be shot..Well on the trunk lid it was..I went to the paint shop and got some 2000 grit wet/dry sand paper. I hit several test spots on the side and it did remove the dirt/wax lines. However on the trunk lid the decals ate into the paint so much it will have to be repainted. I color sanded and hand buffed the passenger rear quarter panel. Will finish up the sides tomorrow. Any little bit I can do will save me money at the body shop.
10-30-2011, 02:53 PM
#595
Super Moderator
Thread Starter
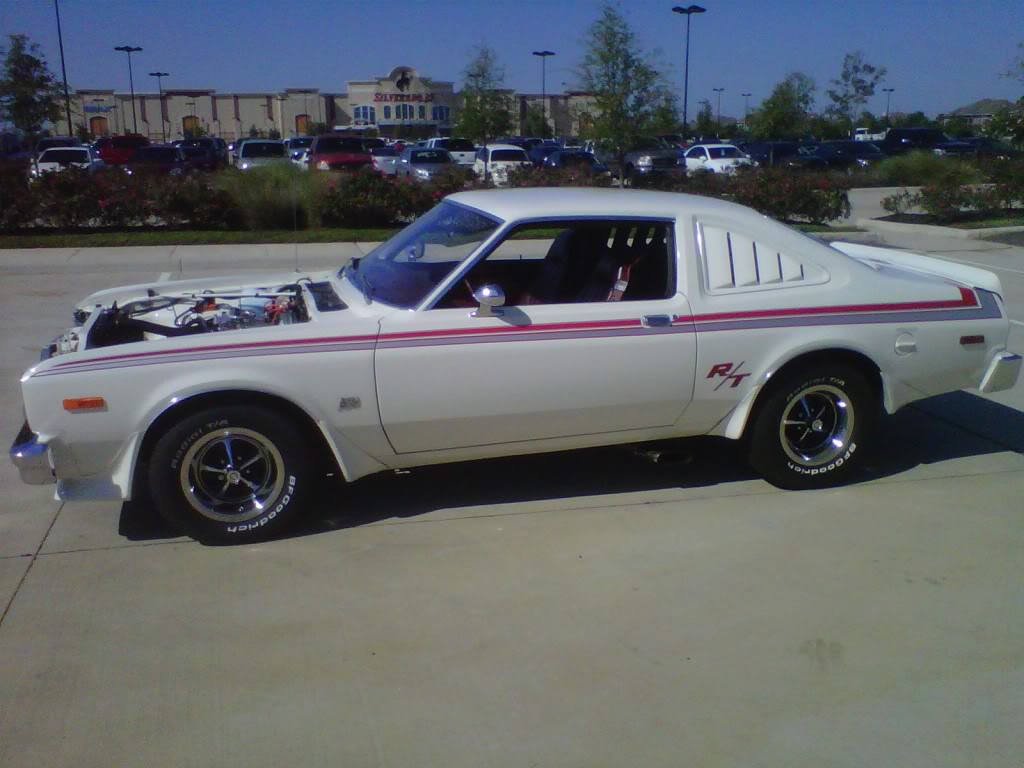
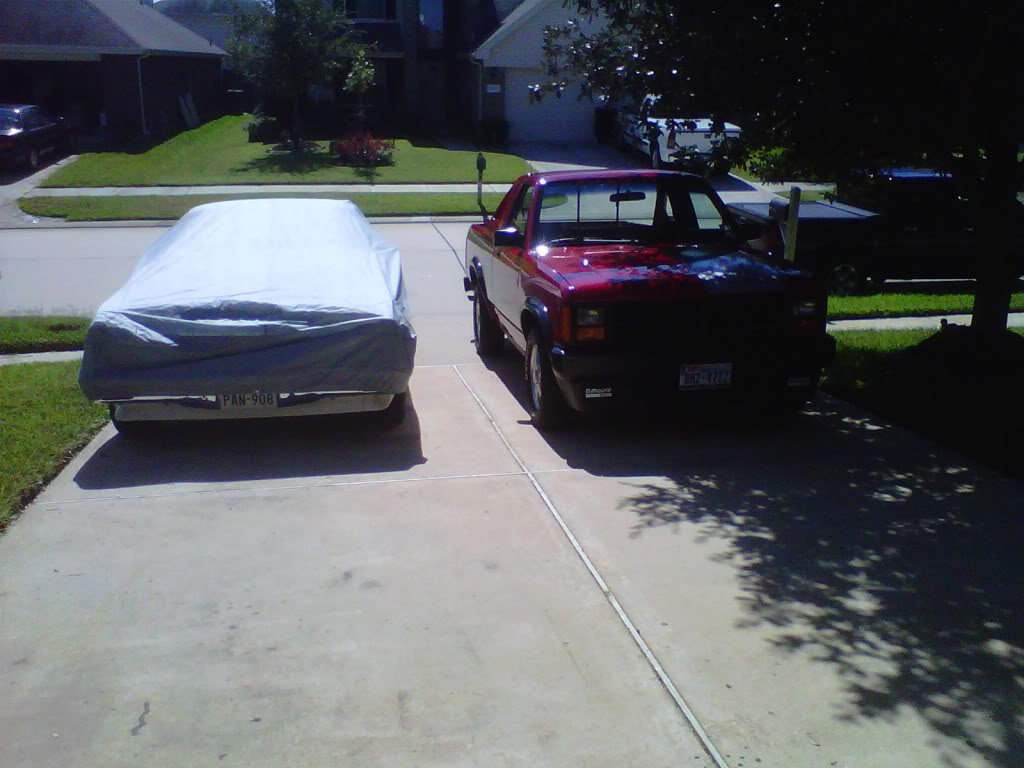
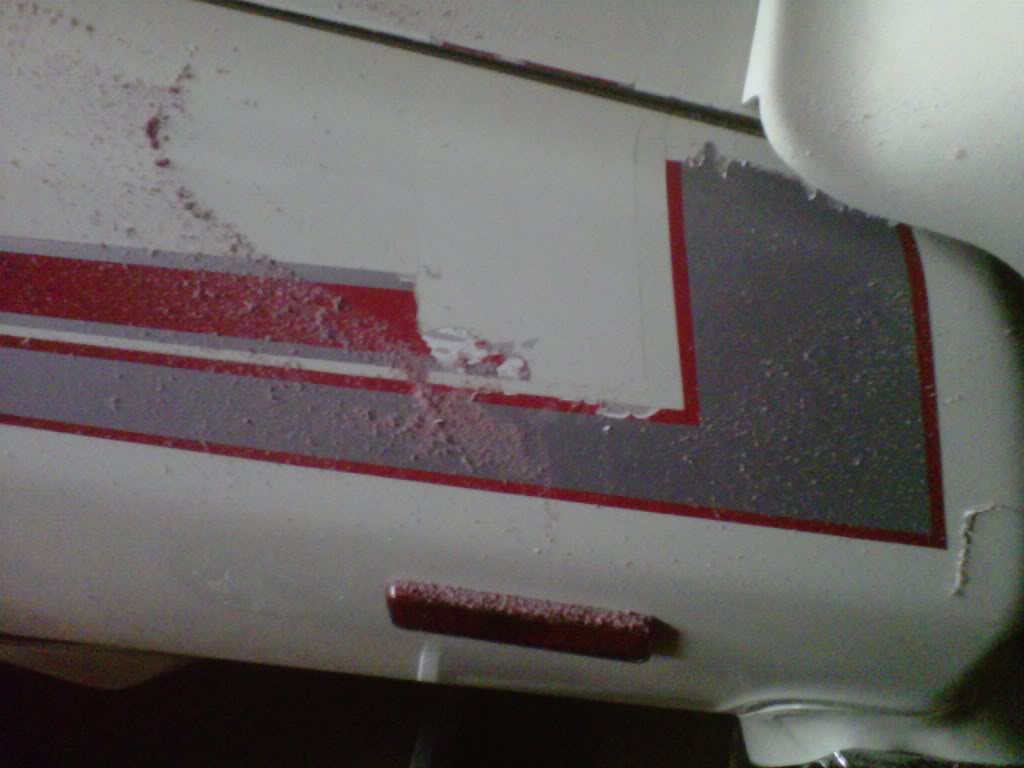
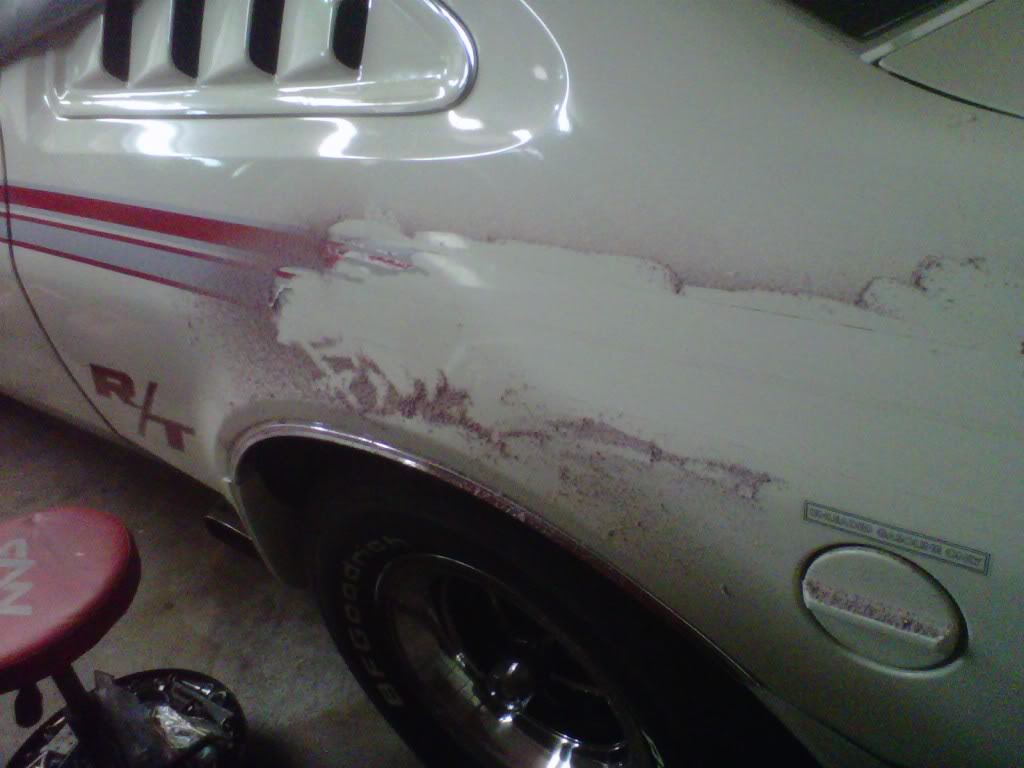
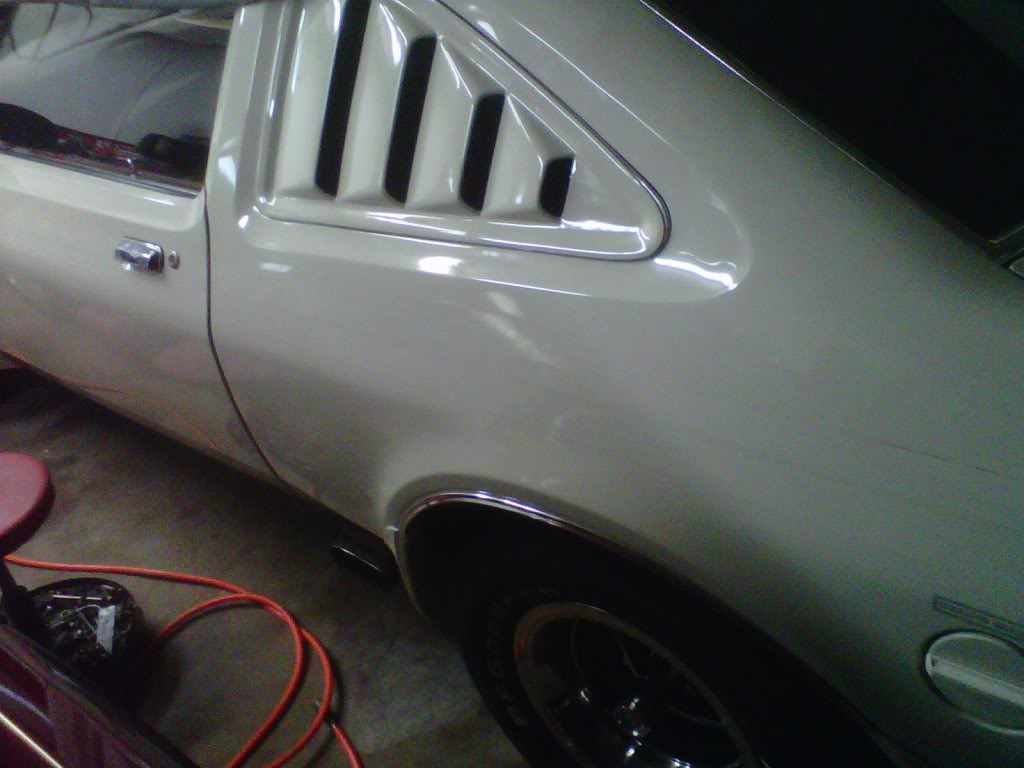
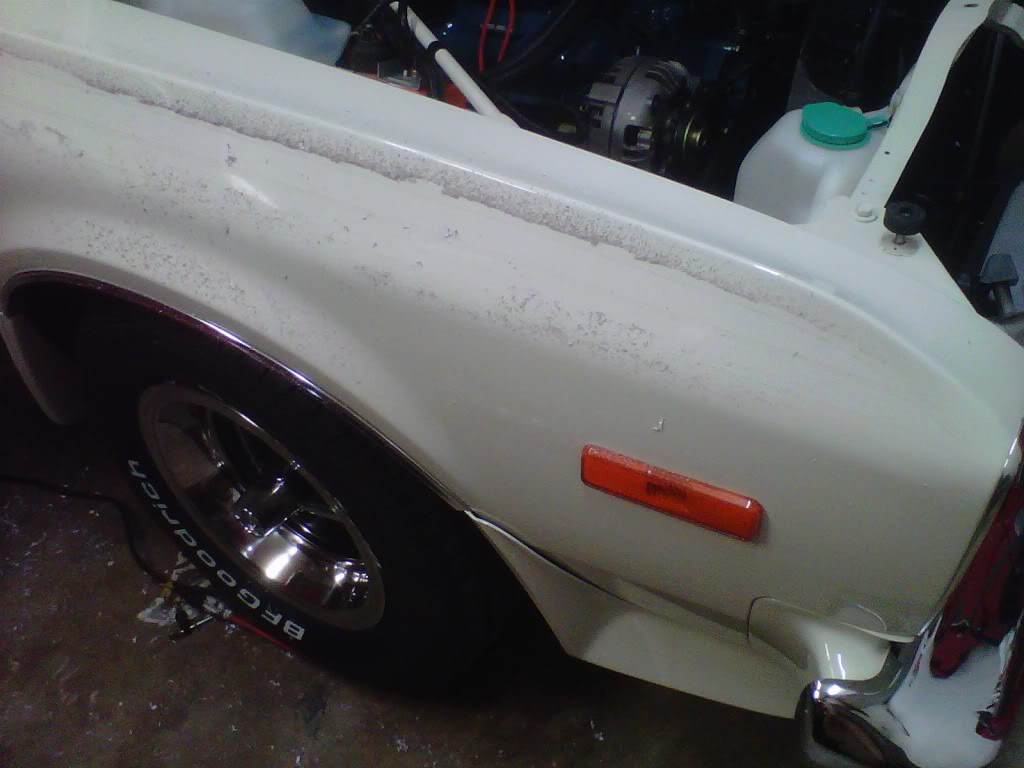
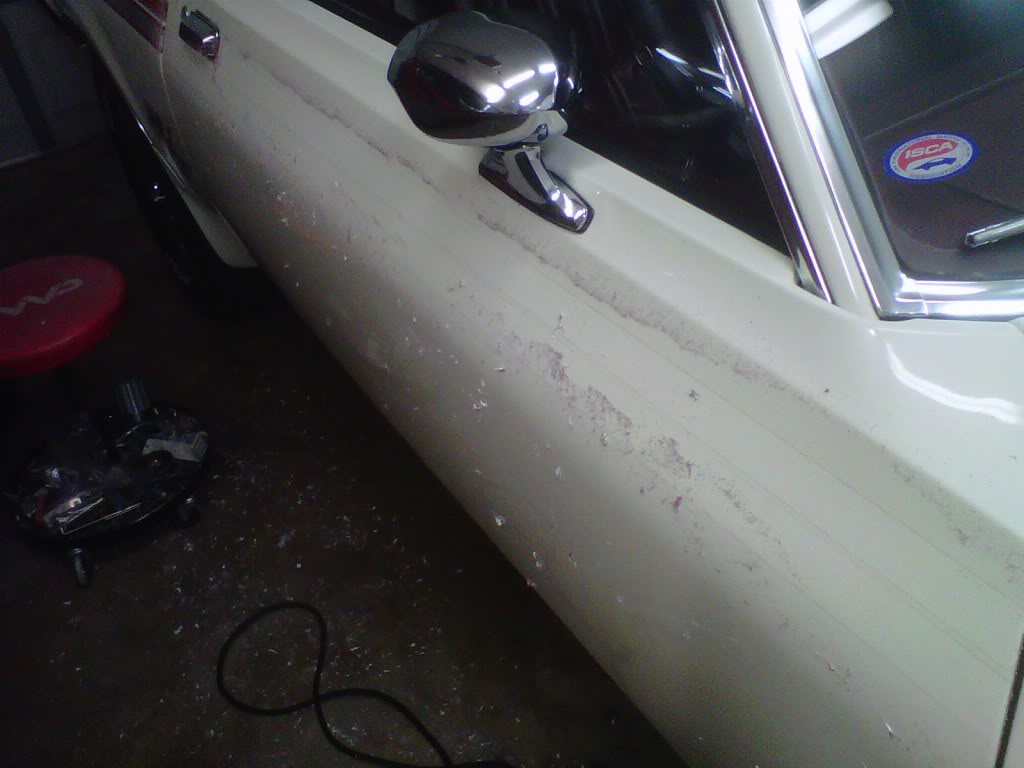
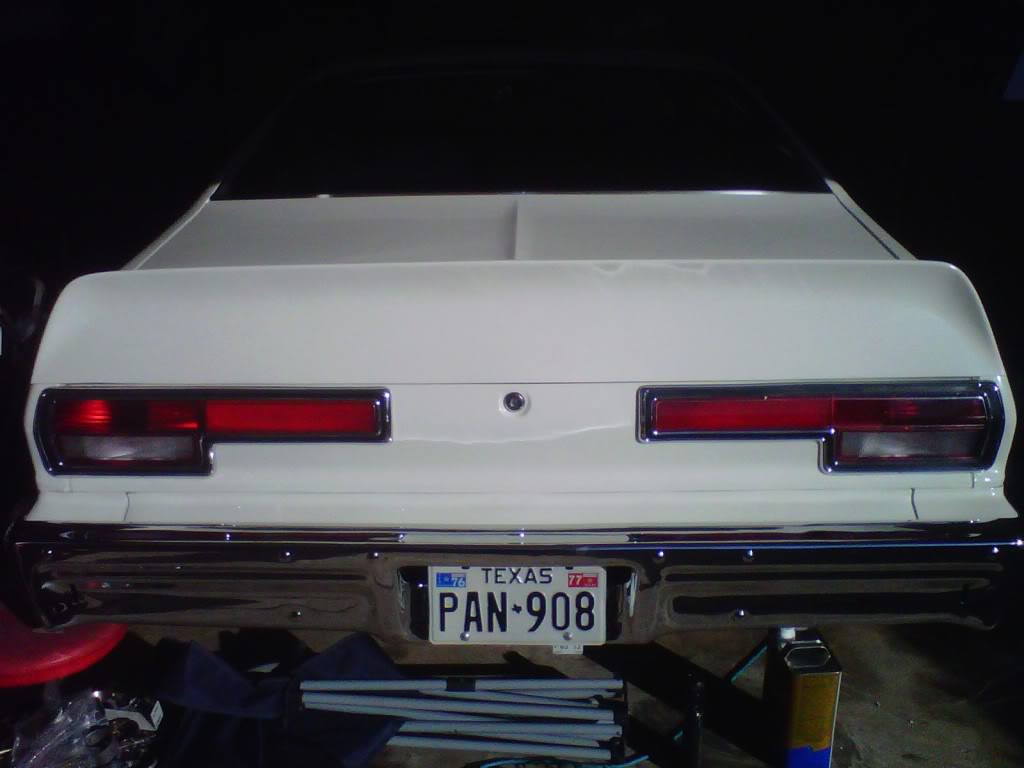
Out and about with no stripes on...
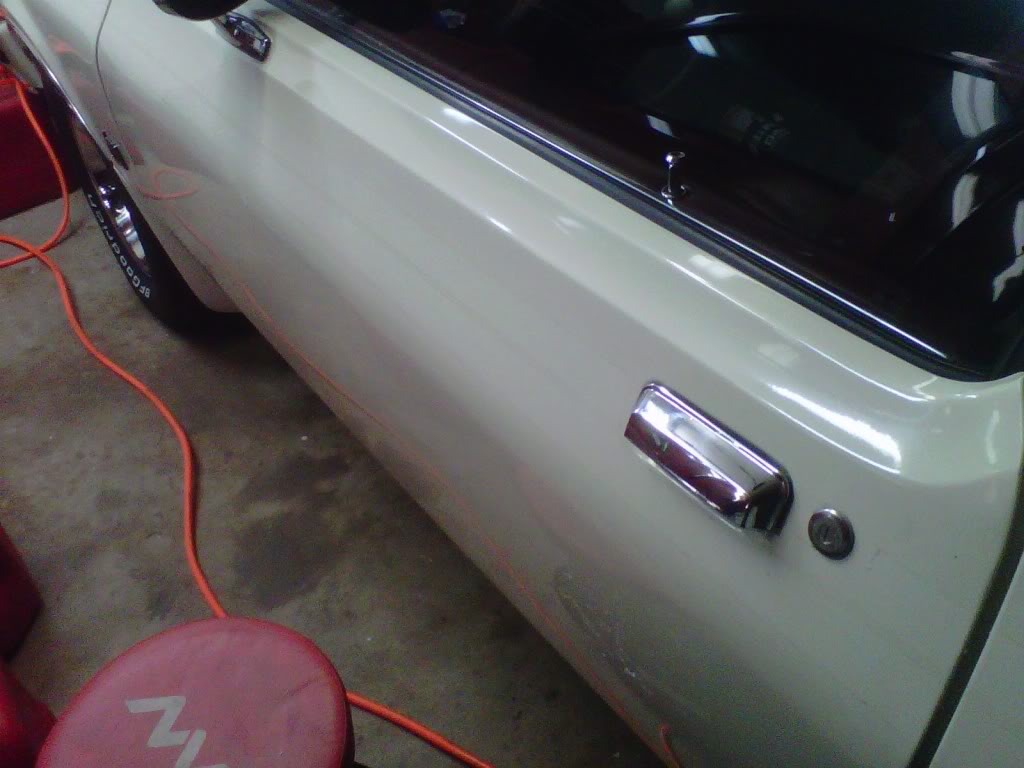
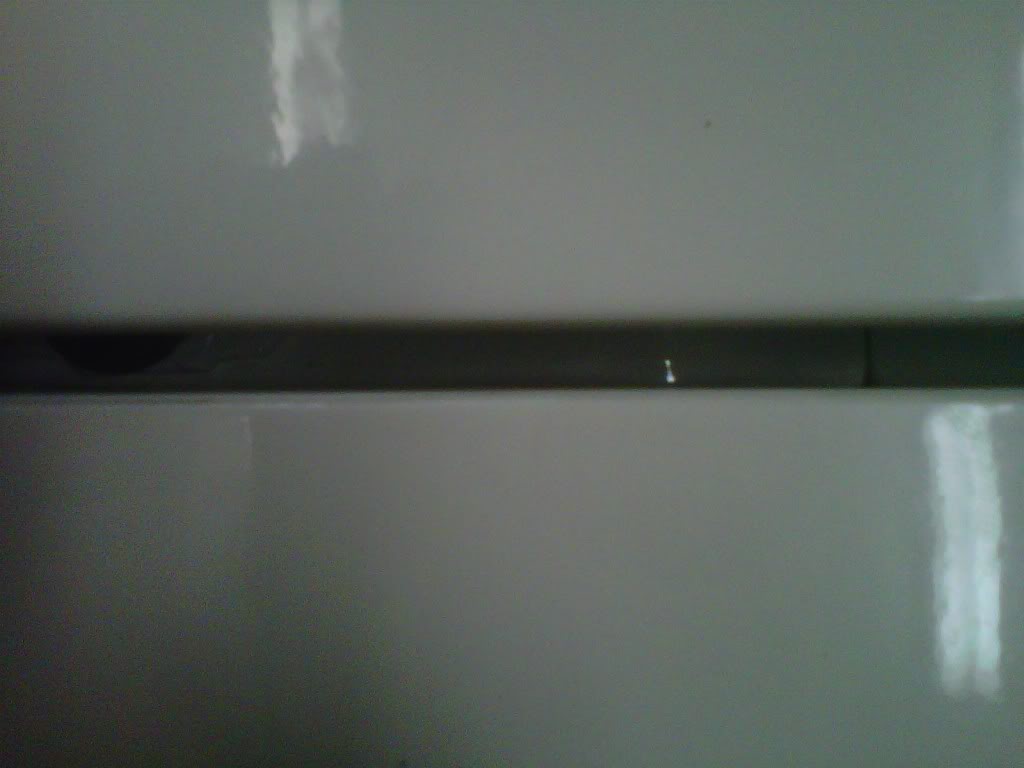
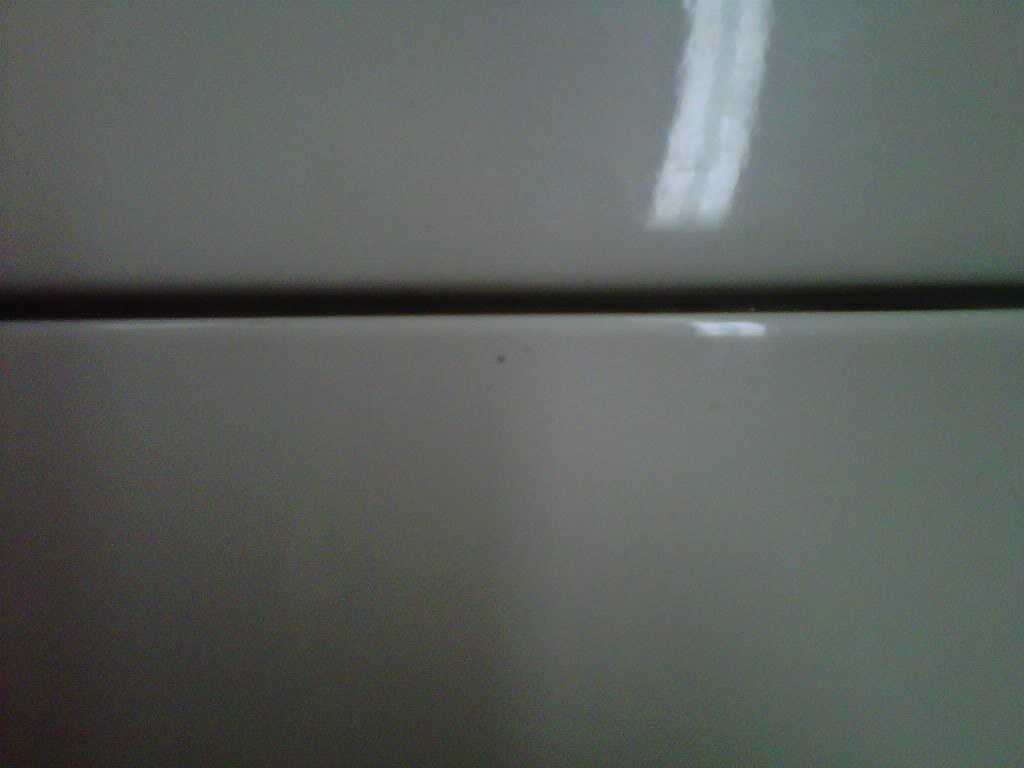
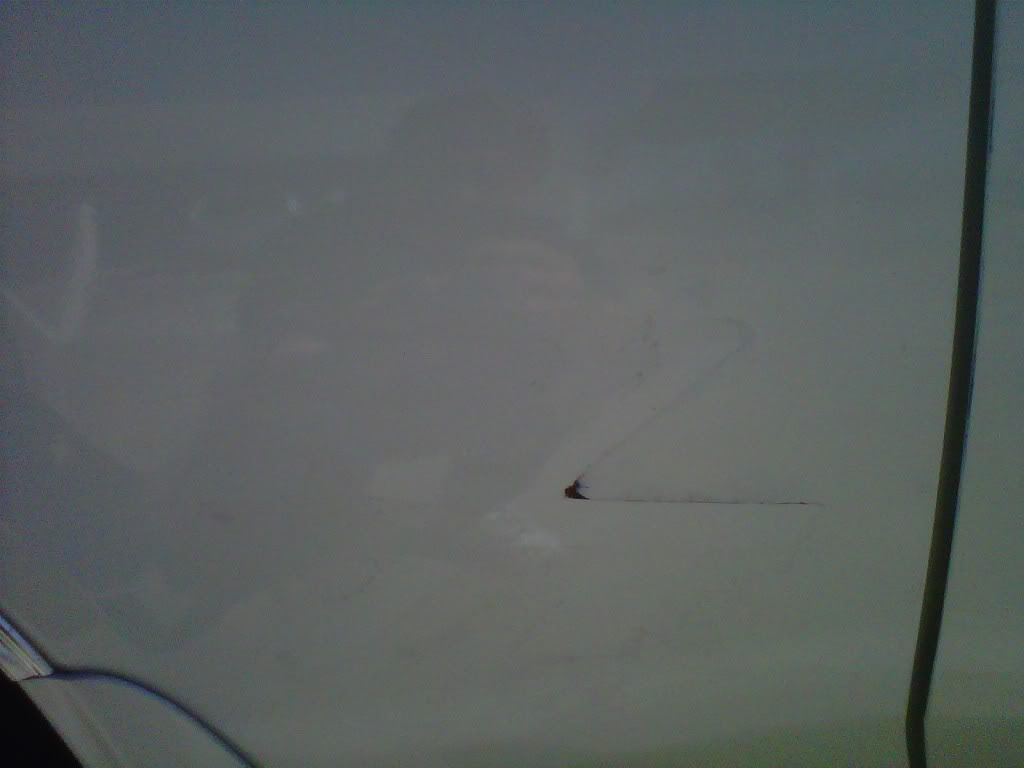
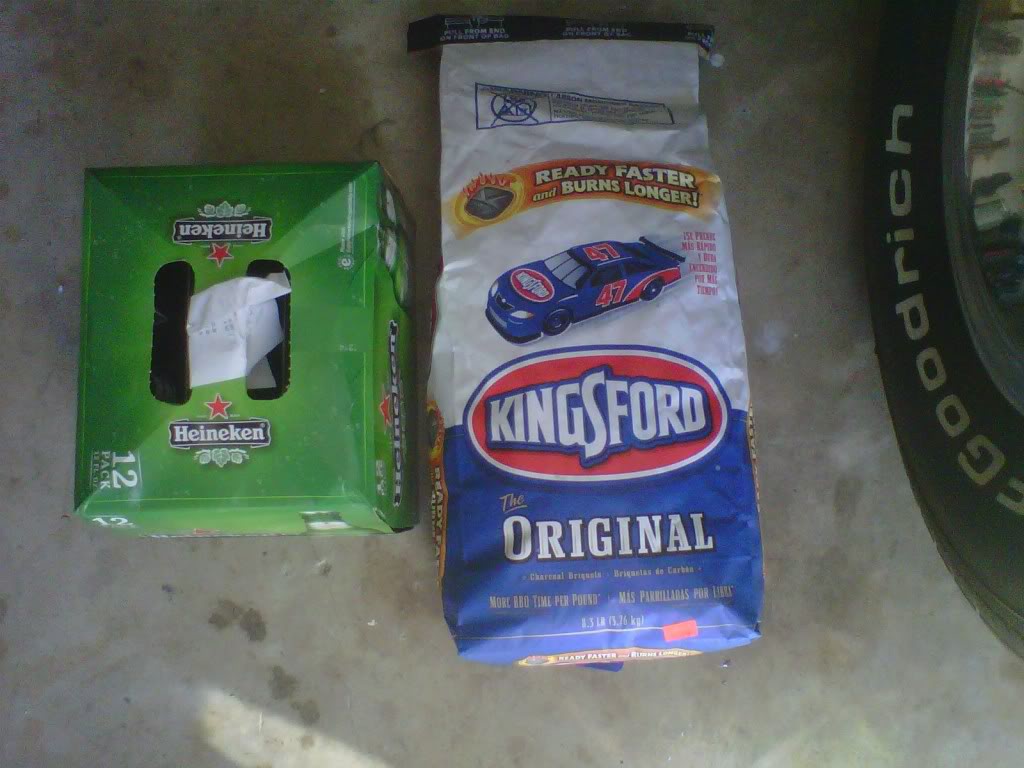
I finished color sanding the decal lines and hand buffed everything. Looks naked. Real bad spot on the passenger side R/T decal area..someone before me peeled the decal and the paint with it. They will be able to sand it down...build it up and cut it with a buffer and blend it in. Went out for about five miles this time and had it up to seventy mph twice..nice to have that tight cop gearbox. Brought home some grilling and chilling stuff.
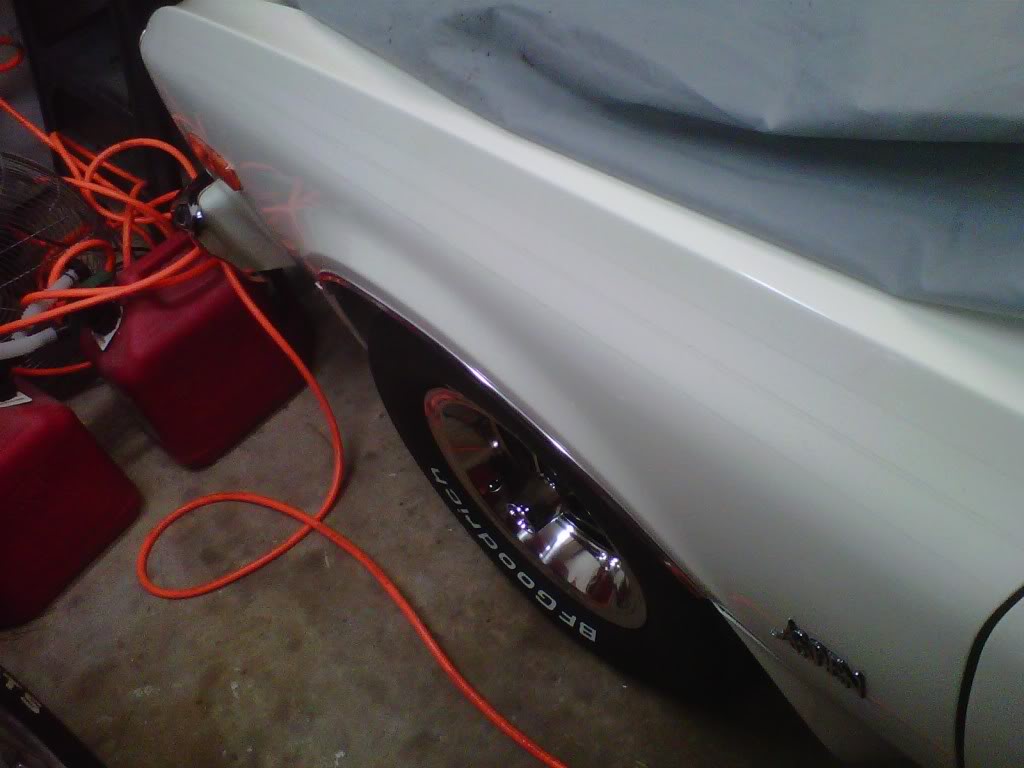
Peeled off paint.....
Grilling and chilling must haves...
Peeled off paint.....
Grilling and chilling must haves...
 11-01-2011, 12:41 PM
#598
Super Moderator
Thread Starter
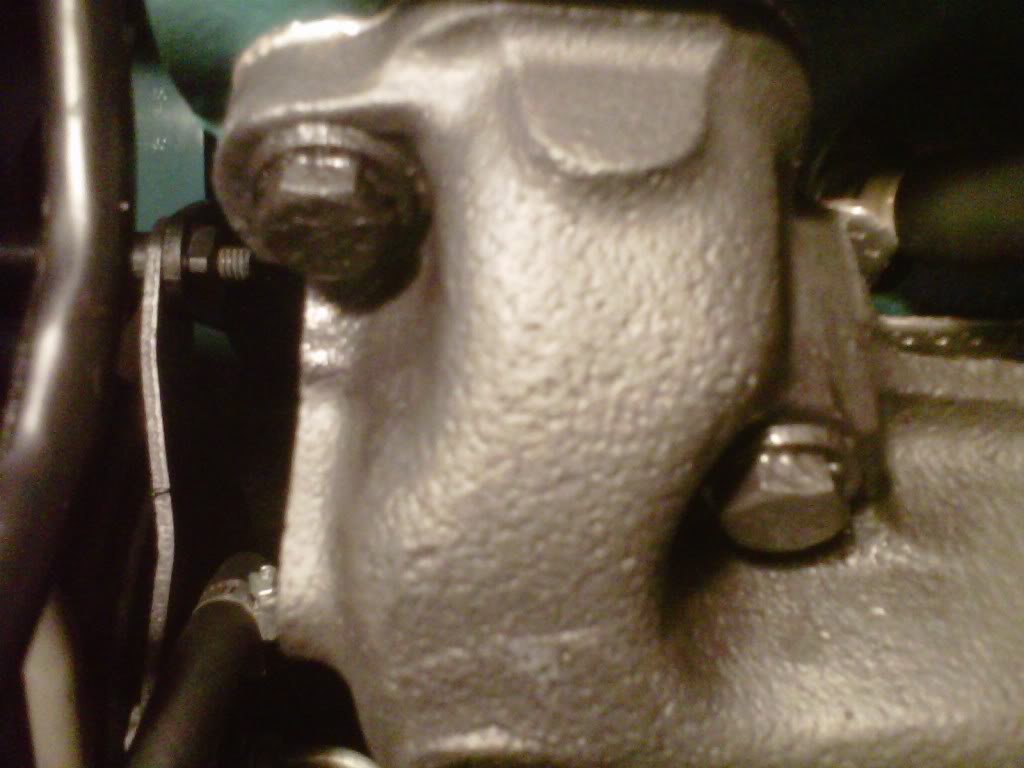
After I drove the car yesterday I had my first leak..coming right out of the driver's side front exhaust manifold bolt. So I got four studs at O'Rielly's.
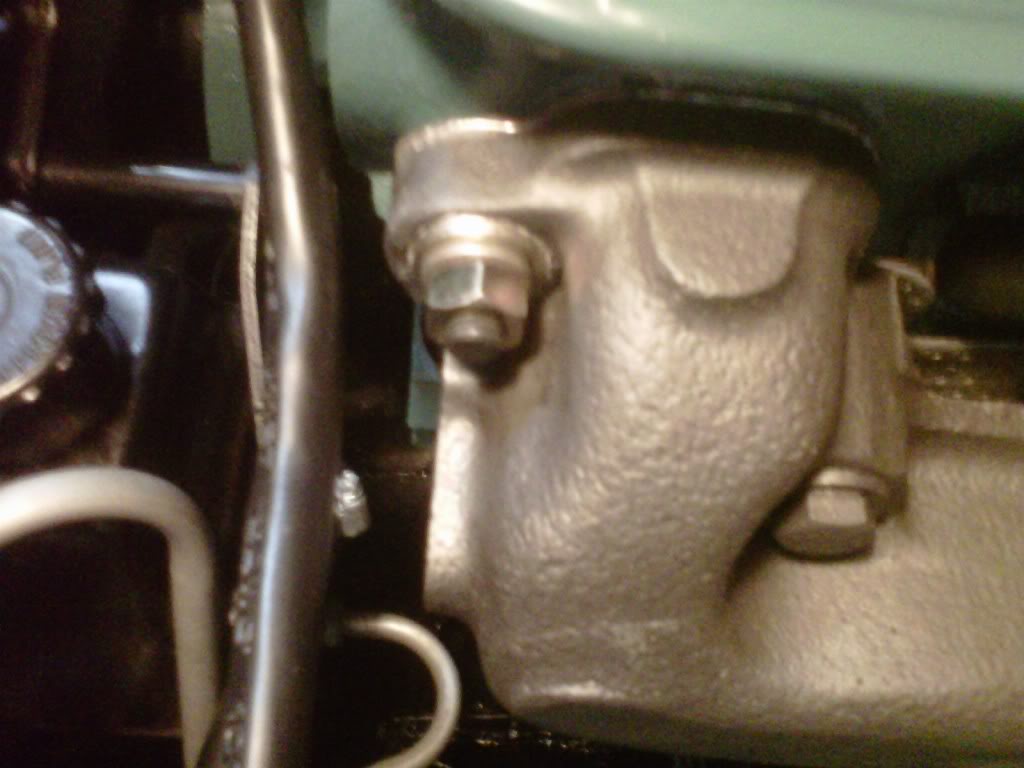
Last night I installed studs in all four corners of the exhaust manifolds and filled the radiator back up. No gravity leaks so I fired her up in the garage and let her come up to temp. Still no leaks. I also fixed the fast idle cam getting stuck last night. I did the following after talking to a Holley Tech. (RickyR)
"Then I would remove the limiter tabs on the choke cap
And with the engine cold and not running
Hold the throttle � open and turn the choke cap until the choke plate is all the way open
and then real slow turn it the other way watching it close
as soon as it is all the way closed stop right there do not add any pressure
You want it all the way closed with no extra pressure
then tighten the screws and this should let it step off of the fast idle."
This also worked and it idles at 750 RPM now. I then took another short cruise came back and shot the radiator with my thermal gun and it was running at 171 degrees. I was going to the body shop today but called them and they said Thursday morning. I may have to find another shop if it doesn't get in there by this Friday.
11-02-2011, 09:58 PM
#599
Super Moderator
Thread Starter
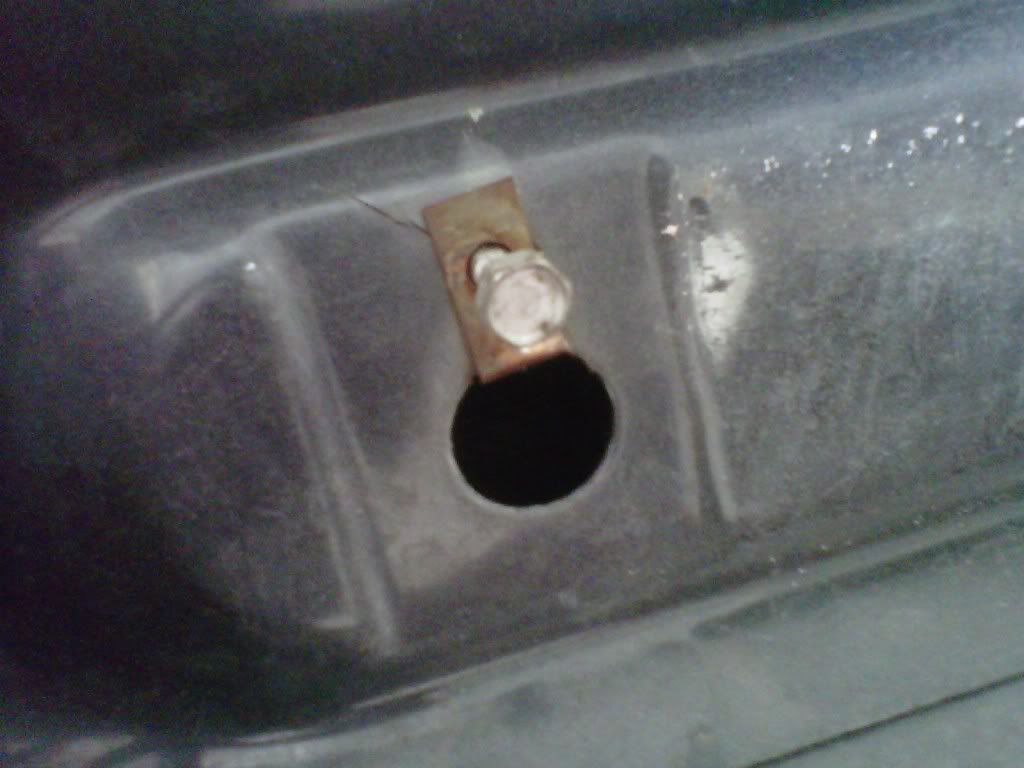
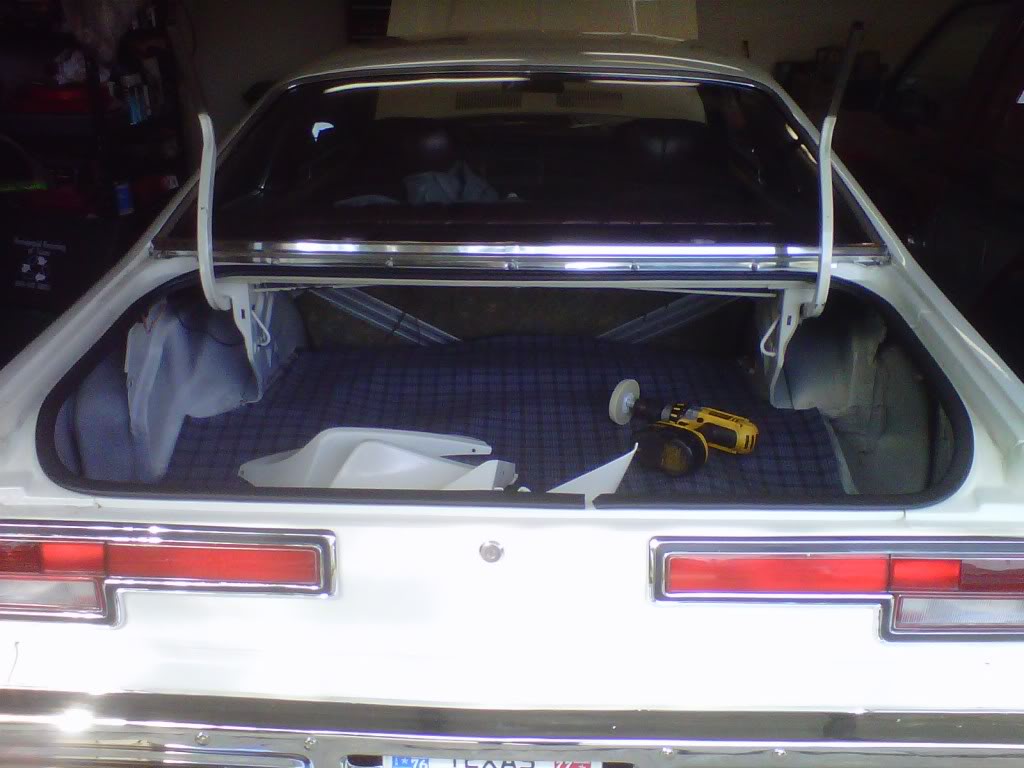
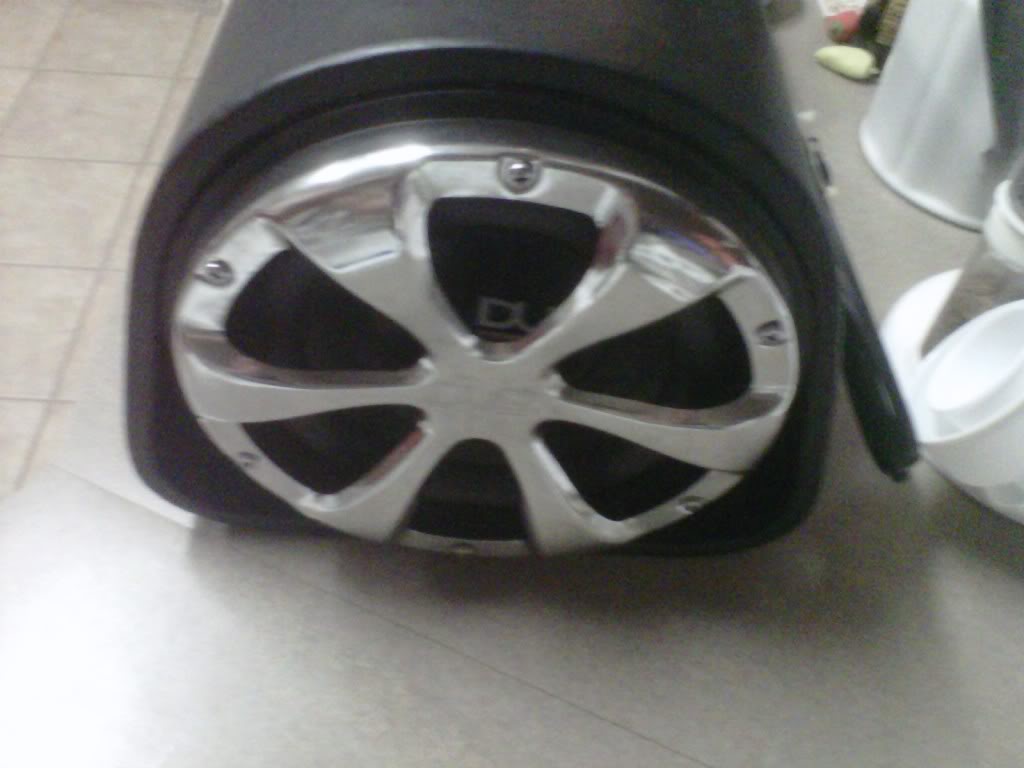
Sub-woofer out of the trunk...this car is not going to be one of those thumpers anymore...never really worked so I removed it from the trunk and removed the power switch from under the dash...much cleaner now. If you want it make me an offer.

11-05-2011, 08:54 PM
#600
Super Moderator
Thread Starter
Painter buddy Rudy from work came over today...we agreed on a price and talked about everything. He will start right away. I already took off the rear spoiler and trunk lid.