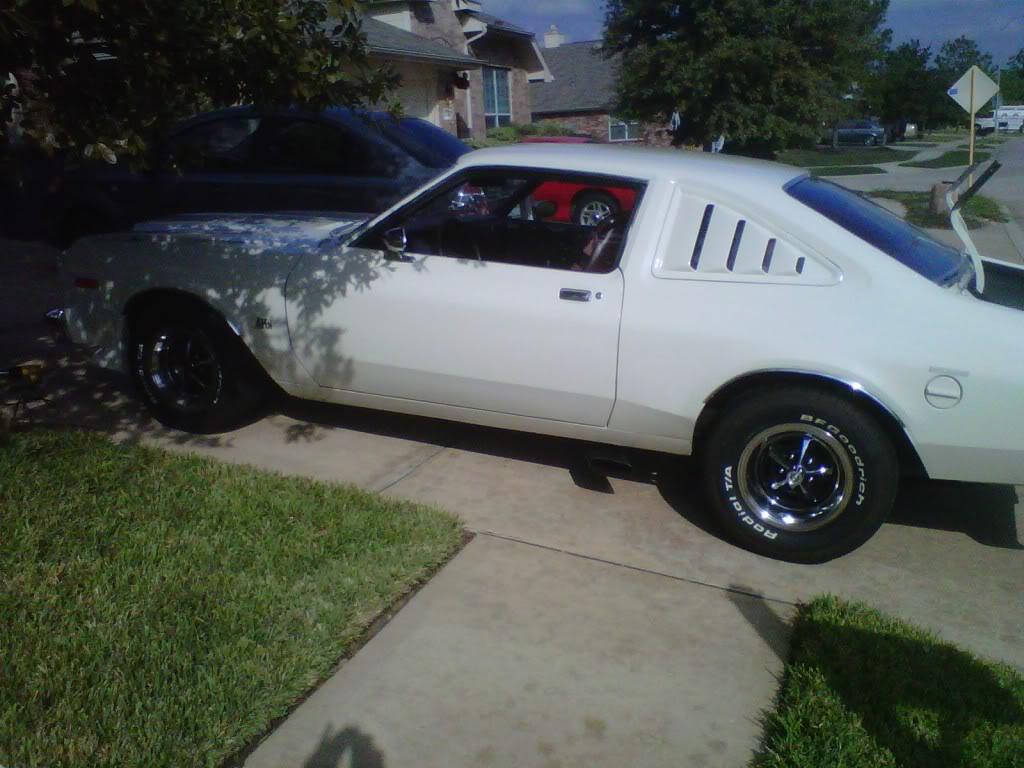
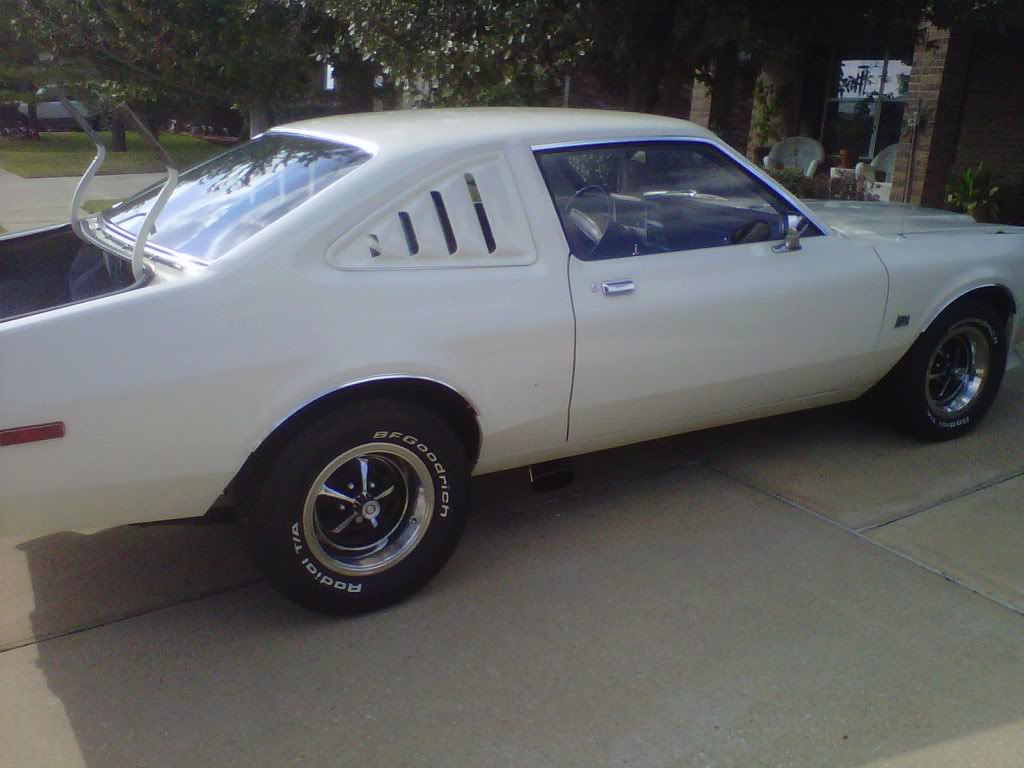
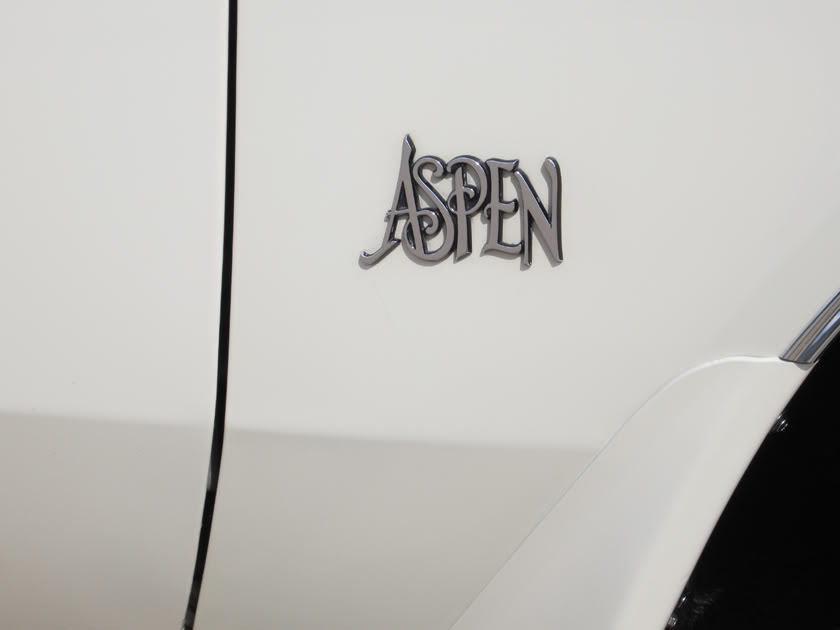
I never would think I would own one of these
 11-05-2011, 09:19 PM
#601
Super Moderator
Thread Starter

Later on Today...
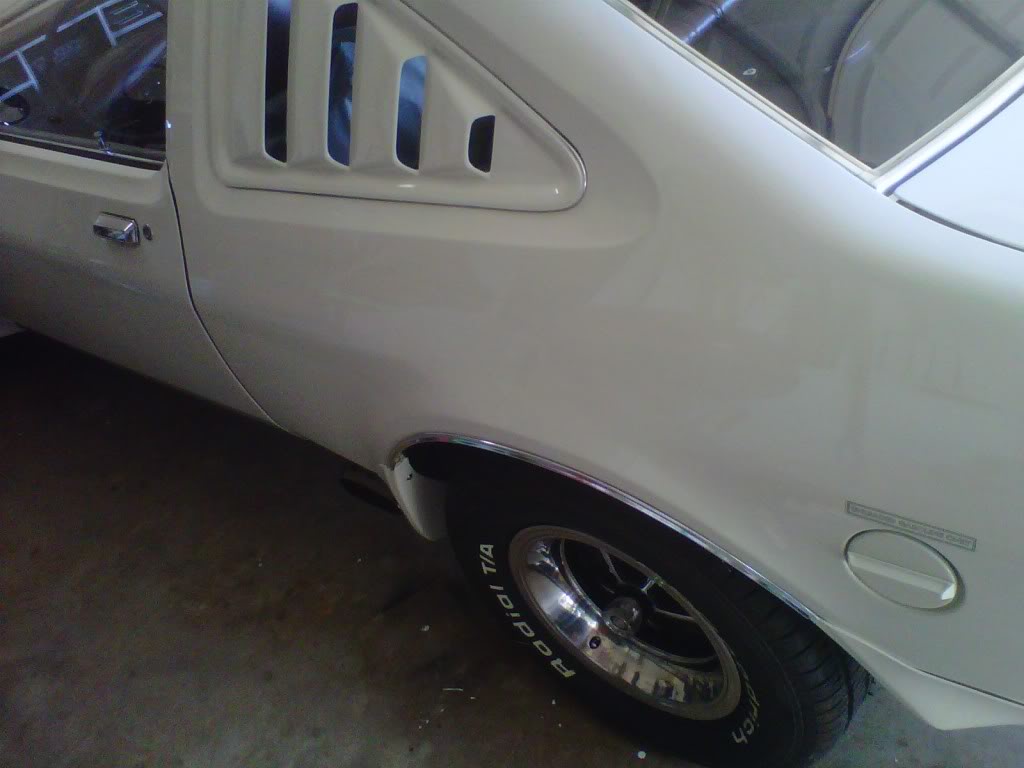
I pulled it out into the drive way to remove the remaining decals at the doors. Had to swing them wide open and use heatgun to remove them from inside the car. No Flares.
 11-07-2011, 09:28 PM
#602
Super Moderator
Thread Starter
Handed my trunk lid and 6 wheel flares to the painter today...he will work on those and then come over Wednesday and Thursday to work on the car. I started to smell gas near the rear of the car last week. I found a small gas leak at the fuel sending unit. I got a replacement gasket and lock ring at O'Rielly's today.
http://www.oreillyauto.com/site/c/se...977&vi=1069512
I siphoned out 10 gallons then removed the sending unit..I had to sand some slight rust off of the gasket area. I put it back in with the new gasket and lock ring..filled it up with some gas and did a test run. I don't need anymore problems. 14 days to show time.
11-11-2011, 08:04 AM
#603
Super Moderator
Thread Starter
Progress
Yesterday my painter came over and sanded and primed the torn paint spot.

Today he came over and sanded some more and then blended in some paint and reducer. Tomorrow him and another painter will come over and buff the car out. He has the rear spoiler, the rear trunk lid and the 6 wheel flares painted.
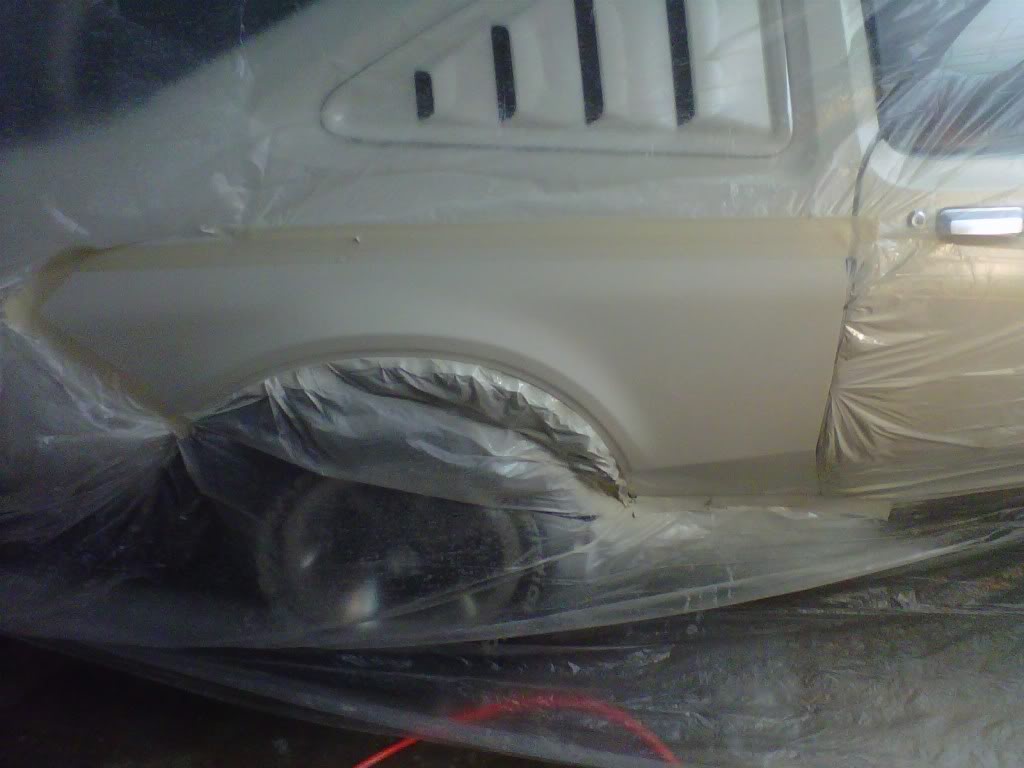
Today he came over and sanded some more and then blended in some paint and reducer. Tomorrow him and another painter will come over and buff the car out. He has the rear spoiler, the rear trunk lid and the 6 wheel flares painted.
Last edited by bremereric; 11-11-2011 at 08:15 AM.
11-12-2011, 07:07 PM
#604
Super Moderator
Thread Starter
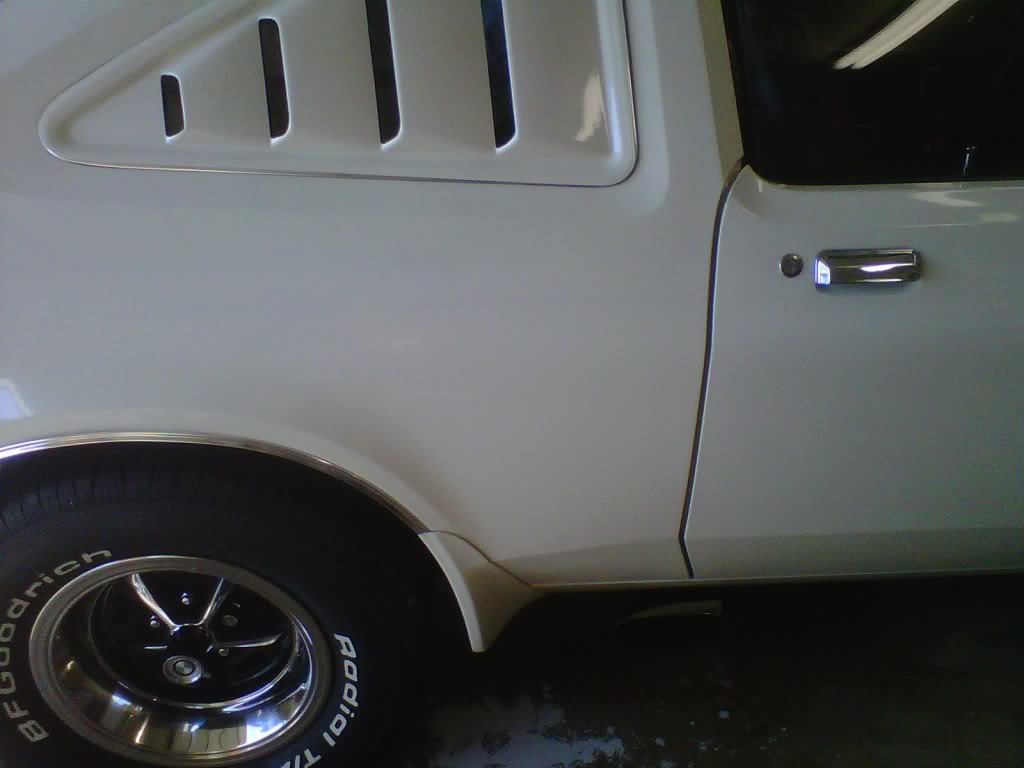
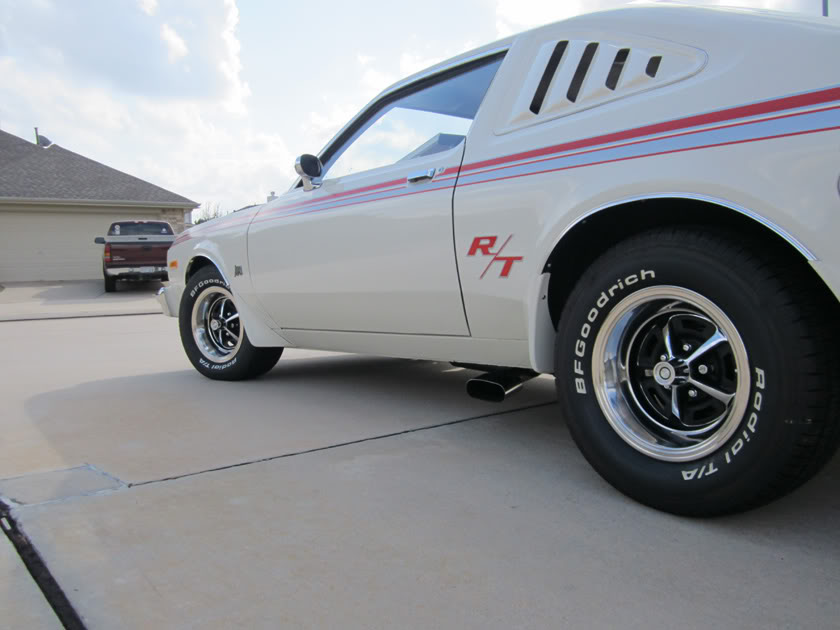
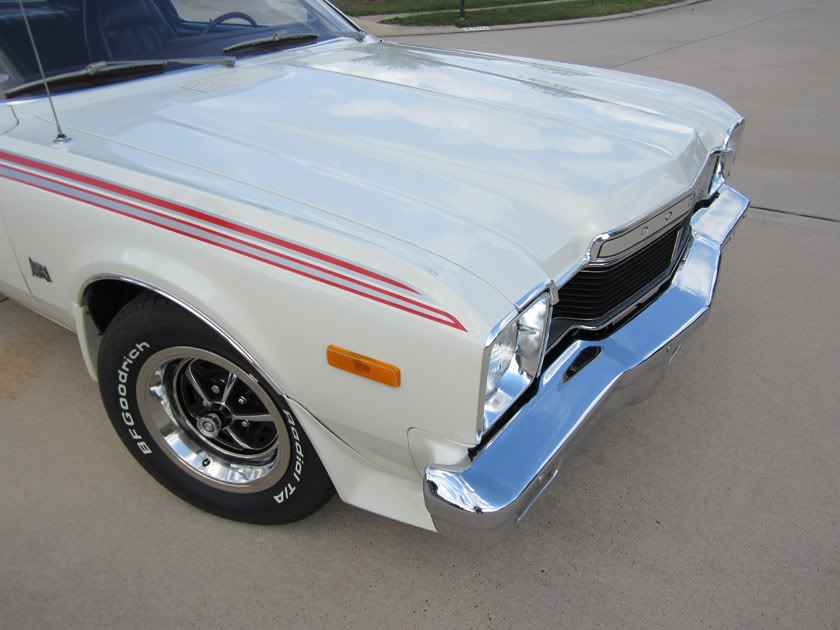
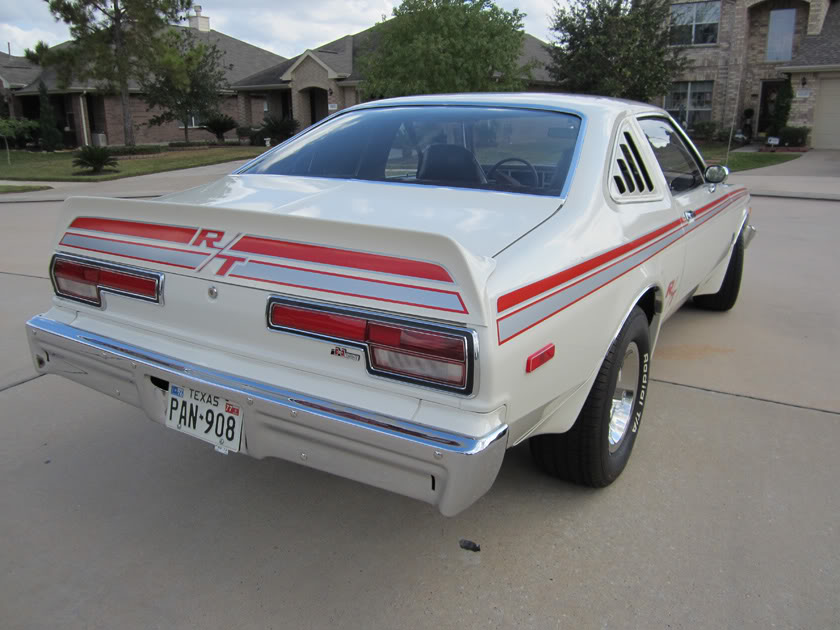
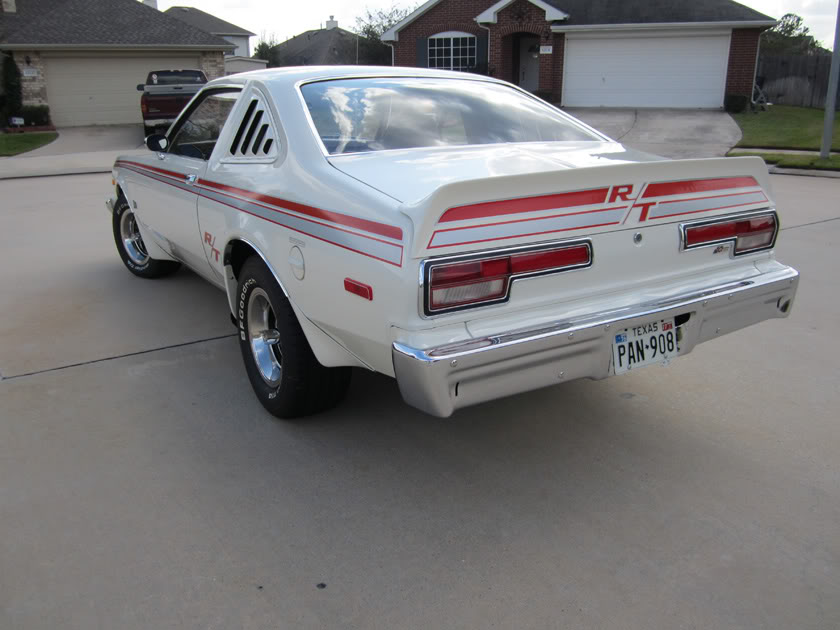
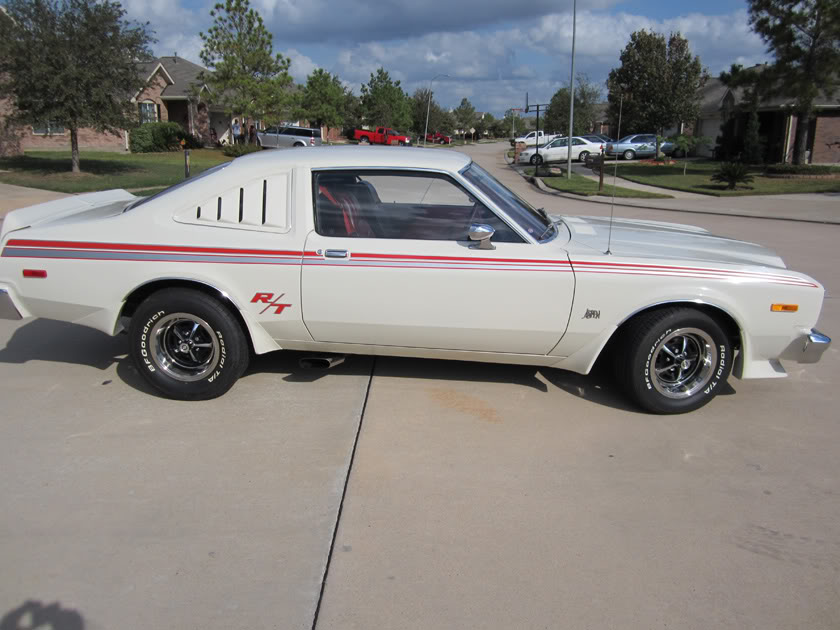
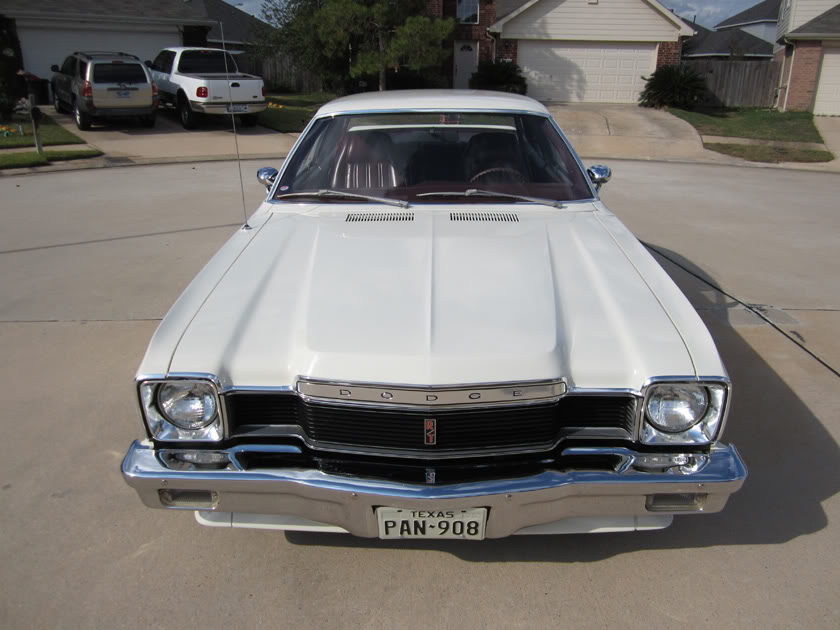
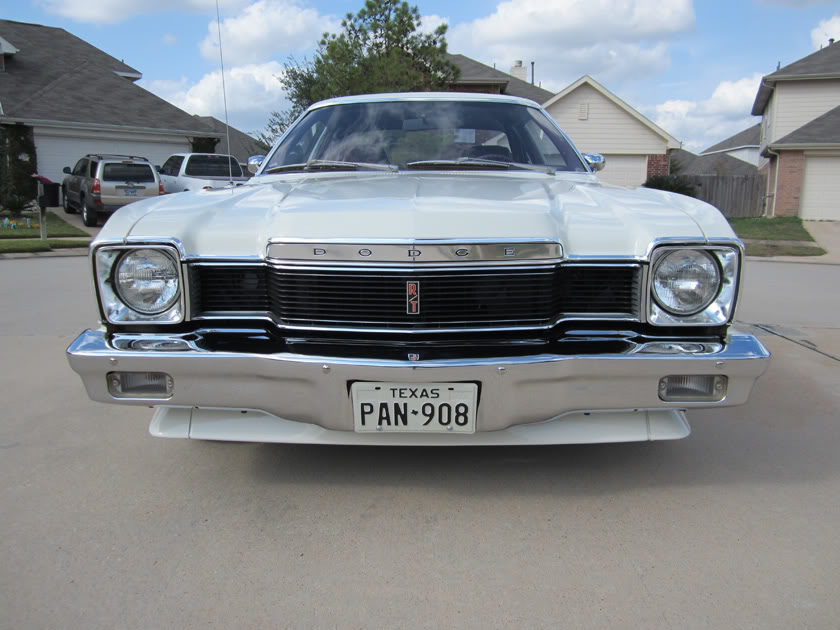
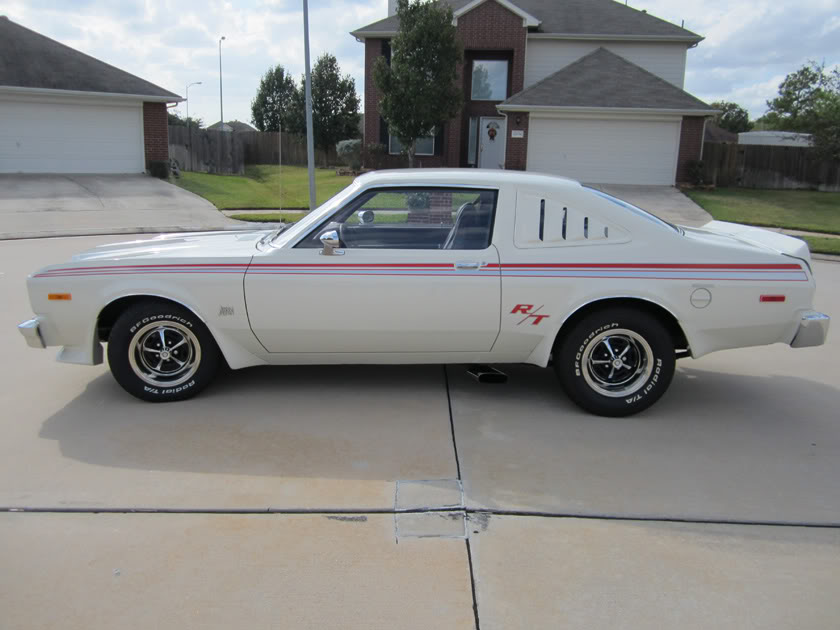
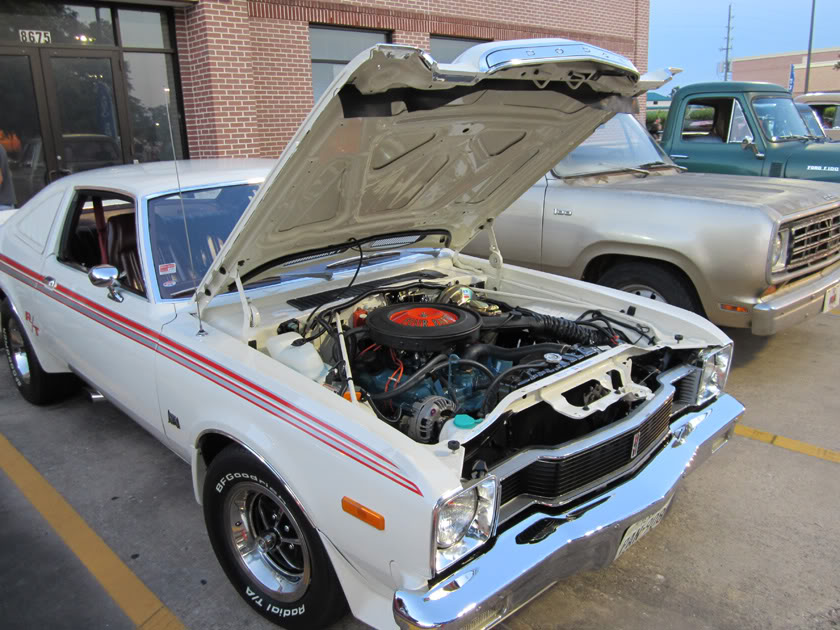
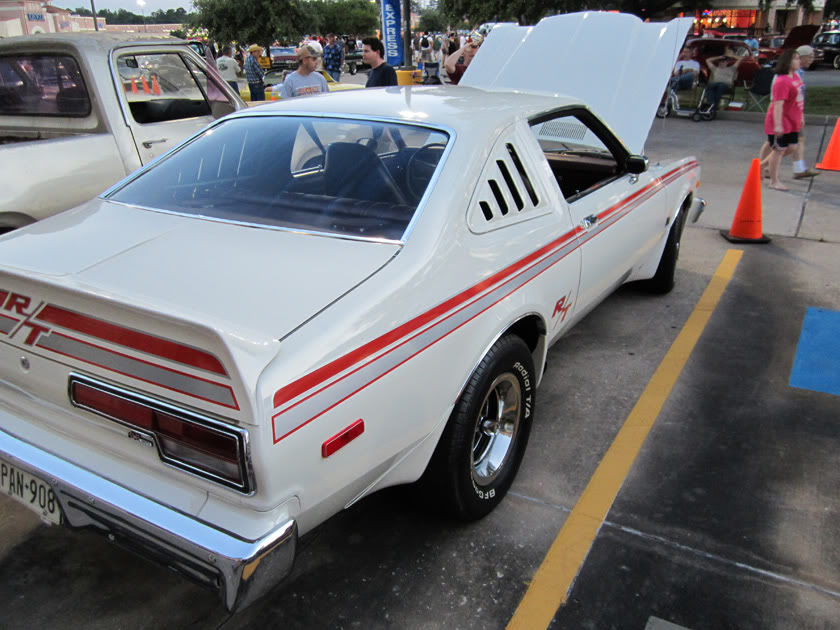
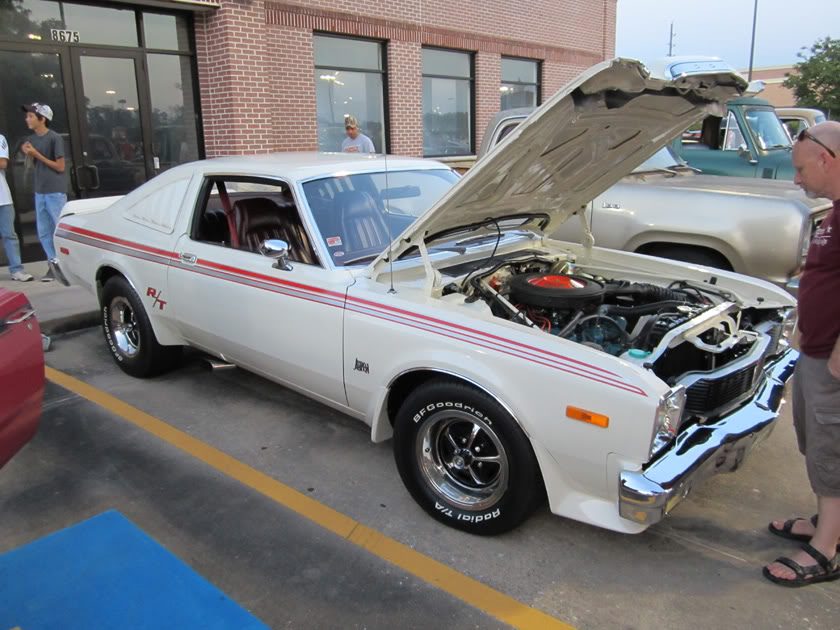
Buffed out nice for a 34 year old paint job
The place where the painter fixed the torn paint and then blended it in turned out great.
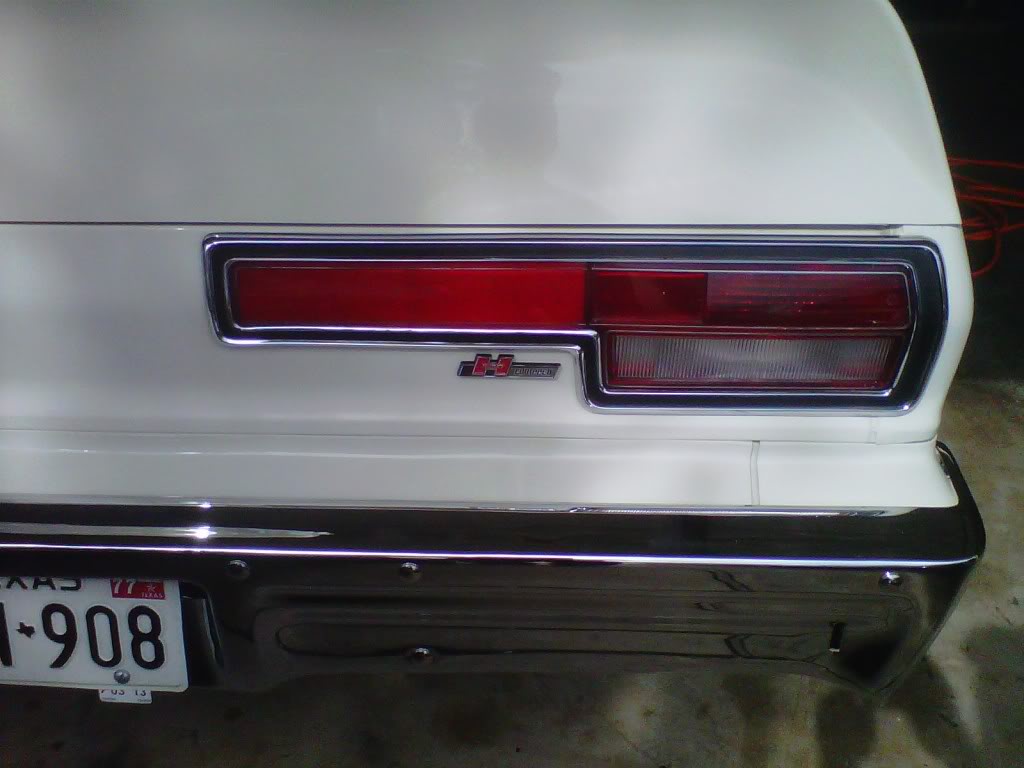
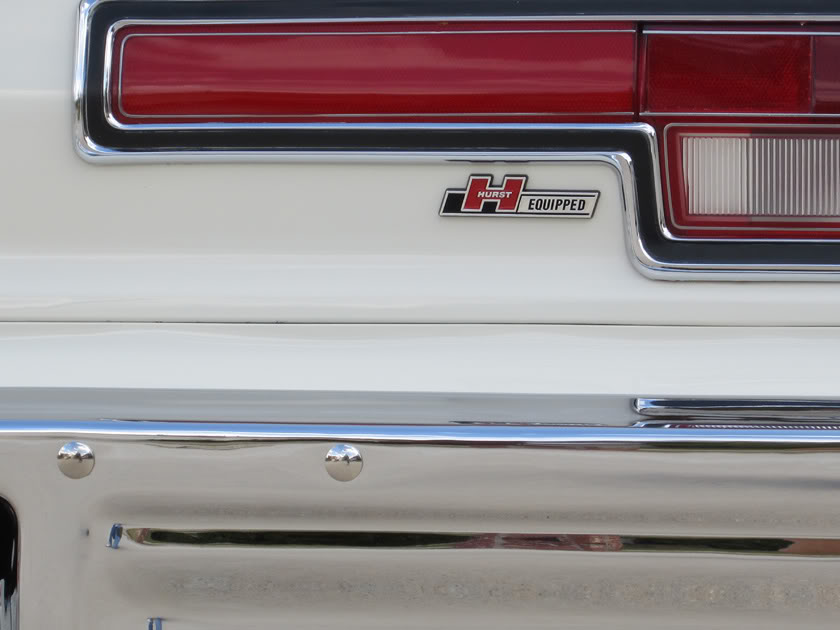
I decided to put the Hurst Equipped emblem out back....it blends in well with the colors of the tail lights and bezel...
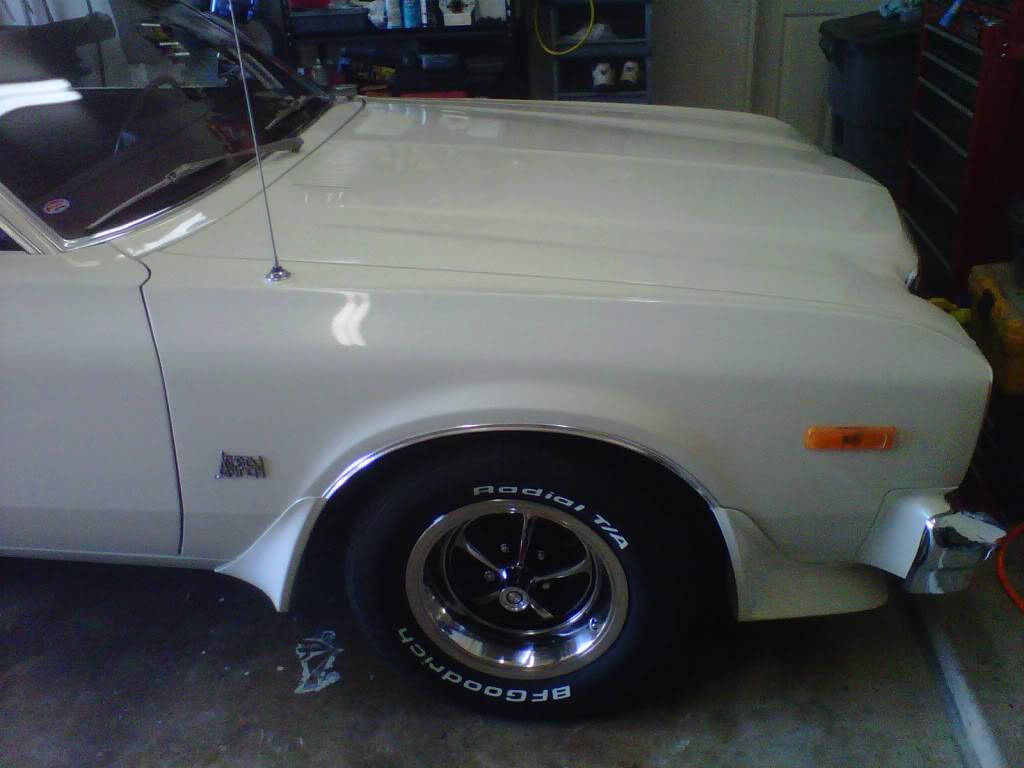
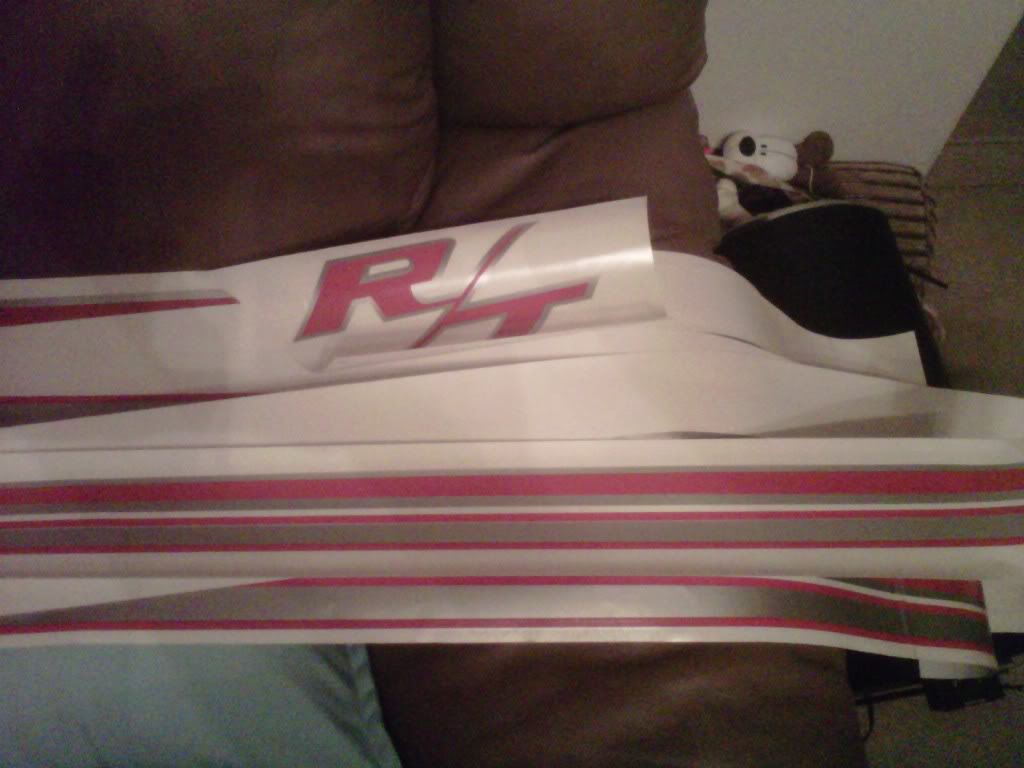
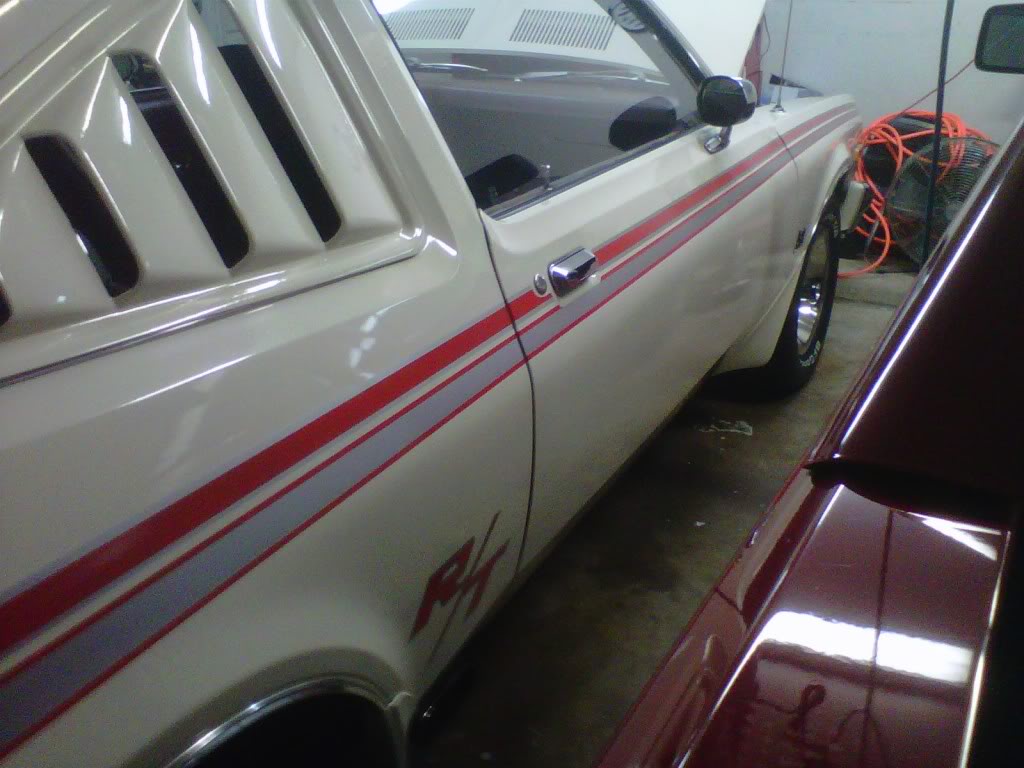
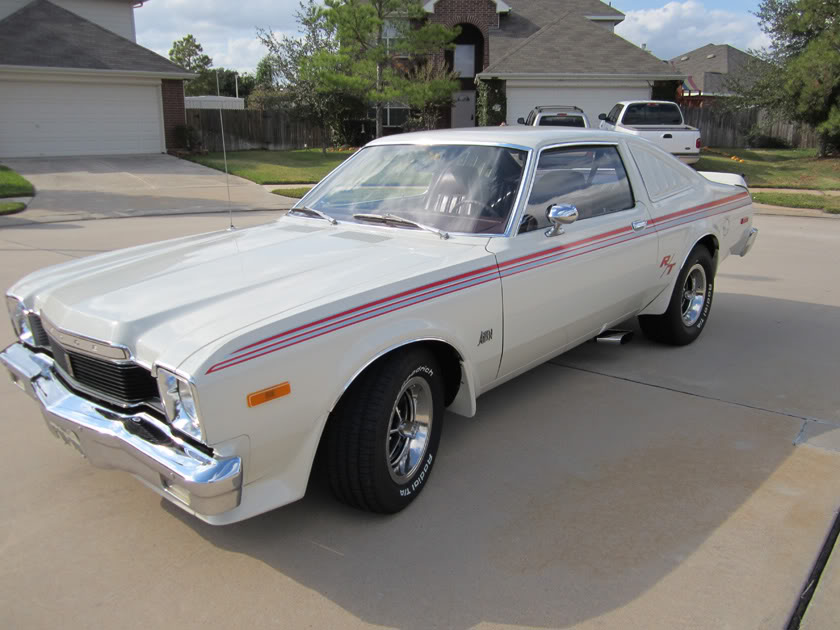
Then just some pictures of it shinning with all peices back on....just have to get the decals on now....going to use some Meguire's show car glaze on it later on this week. After decals are put on I will have to detail the interior and exterior.
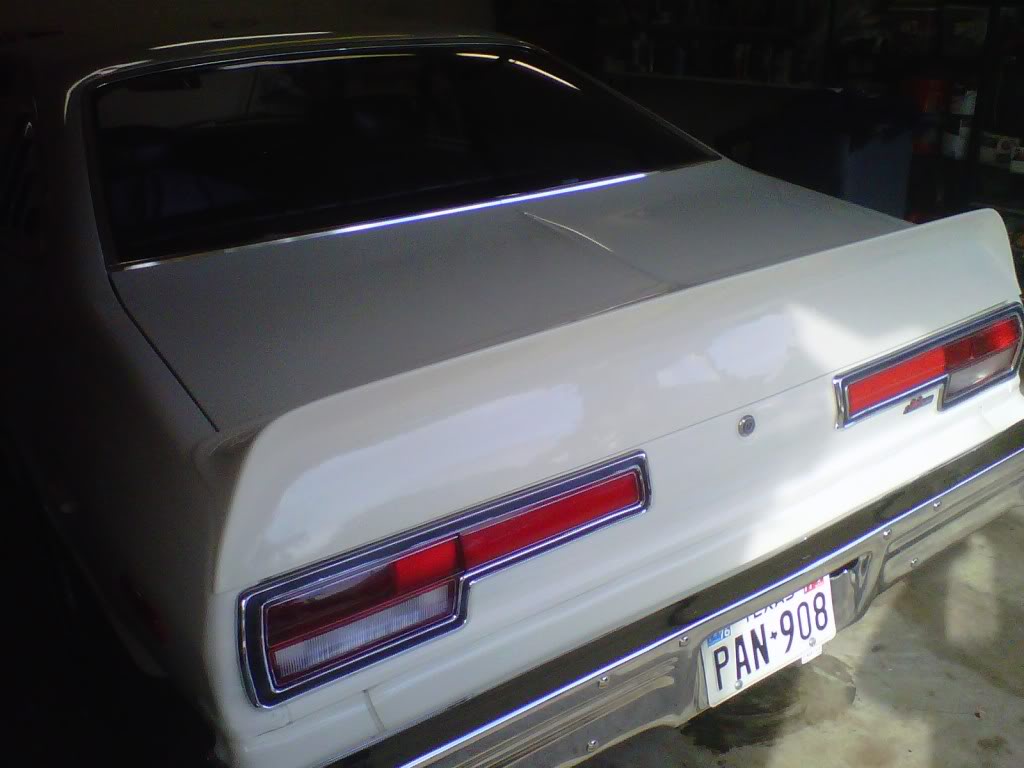
I decided to put the Hurst Equipped emblem out back....it blends in well with the colors of the tail lights and bezel...
Then just some pictures of it shinning with all peices back on....just have to get the decals on now....going to use some Meguire's show car glaze on it later on this week. After decals are put on I will have to detail the interior and exterior.
Last edited by bremereric; 11-13-2011 at 09:01 AM.
 11-16-2011, 10:26 PM
#606
Super Moderator
Thread Starter
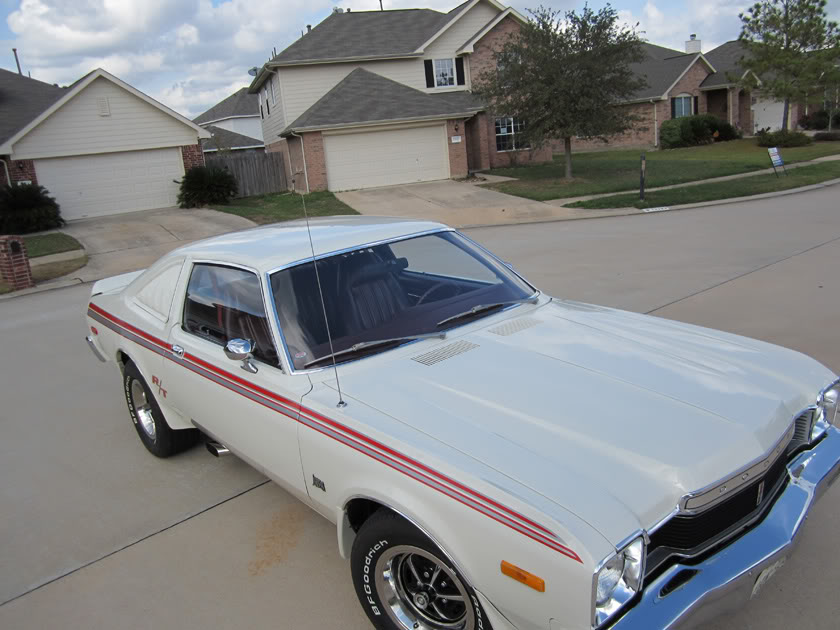
They showed up about 4:00 today and were complete by 5:30. I came home from work and then went back to work after they were through. He wanted 150 bucks and I wrote him a check for 200 bucks. I didn't really want to post a picture because it won't show how good the car looks now but here is a small one showing everything but the rear quarter panel. I waxed everything north of the decals tonight with Mequire's Show Car carnuba wax. I also painted the exhaust manifold studs with the Por 15 high heat paint. 6 days until I take it to the big show.
11-17-2011, 09:35 PM
#607
Super Moderator
Thread Starter
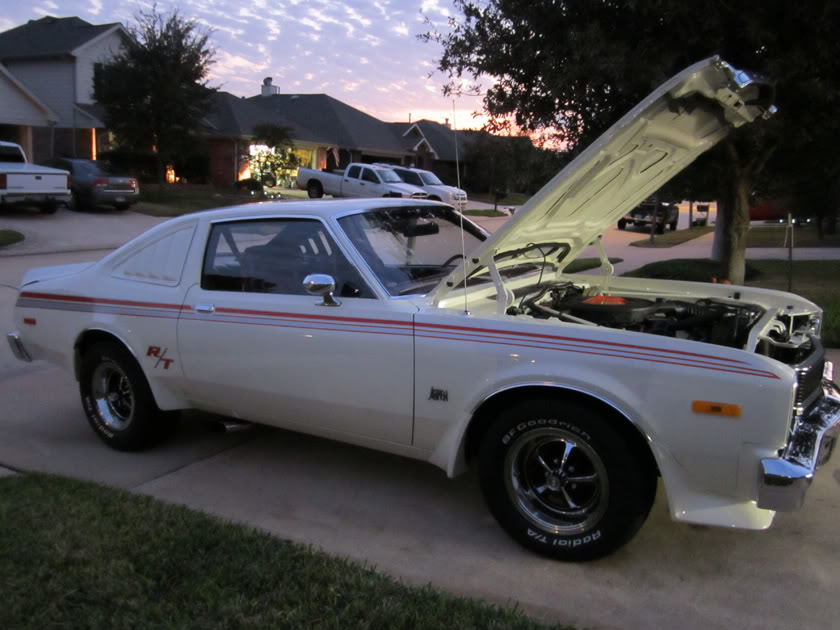
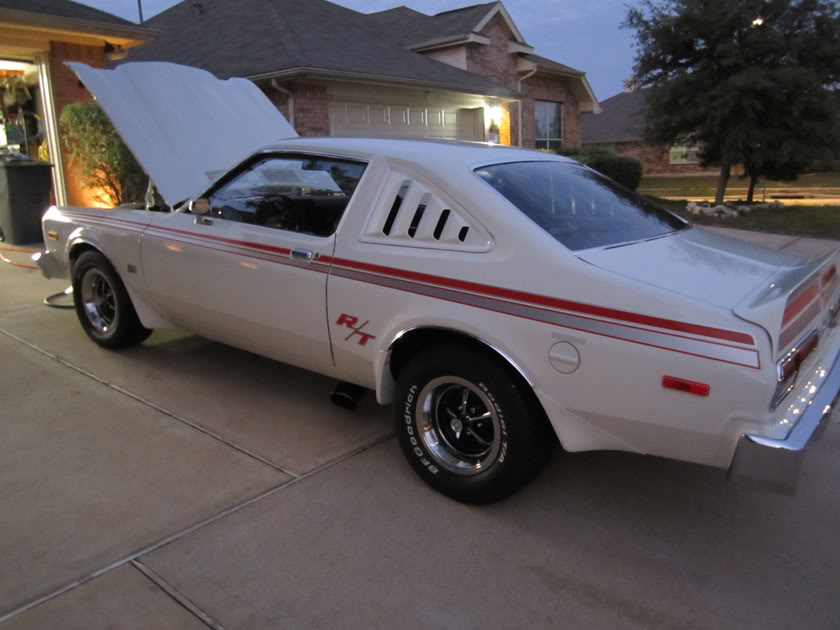
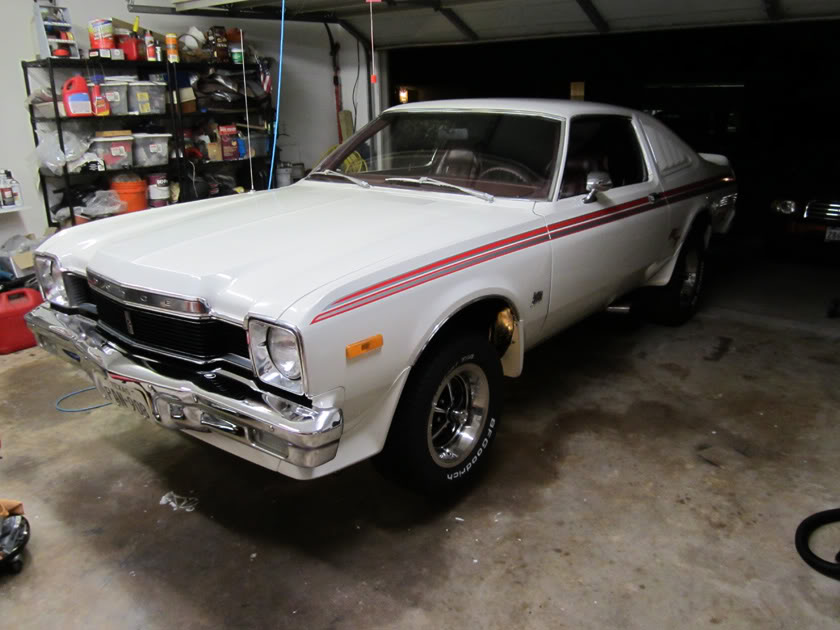
I didn't get crap done tonight but I am off that crappy Blackberry camera for now on...I had to resize the photos but these were done at night in my garage. Sony Powershot to the rescue.
11-19-2011, 07:42 PM
#608
Super Moderator
Thread Starter
Okay out of the blue three weeks ago I got a phone call from someone with Autorama asking me if someone could interview me in 2 to 3 weeks. Right at 3 weeks Jeff Yei whom is a free lance reporter called me Friday. He came over today. I took him up to the pool/park/tennis court area in the Shelby and he said it would be a good spot. I drove the Aspen up there (forgot my own camera) and moved the car around several times for hundreds of pictures including my ugly mug. Have nothing to prove it yet. 30% chance that it gets in the newspaper to advertise for Autorama. He is going to write a longer story for sale to a magazine.
After all that I got the trunk and interior cleaned up. I installed the new Steele Rubber door seals and they worked great. I had to re-use my old push in pin that holds the very front section of the seal. Here's a couple of pictures. Don't like seeing the 3-M velcro tape holding the rear louvers on but it holds them on there good.
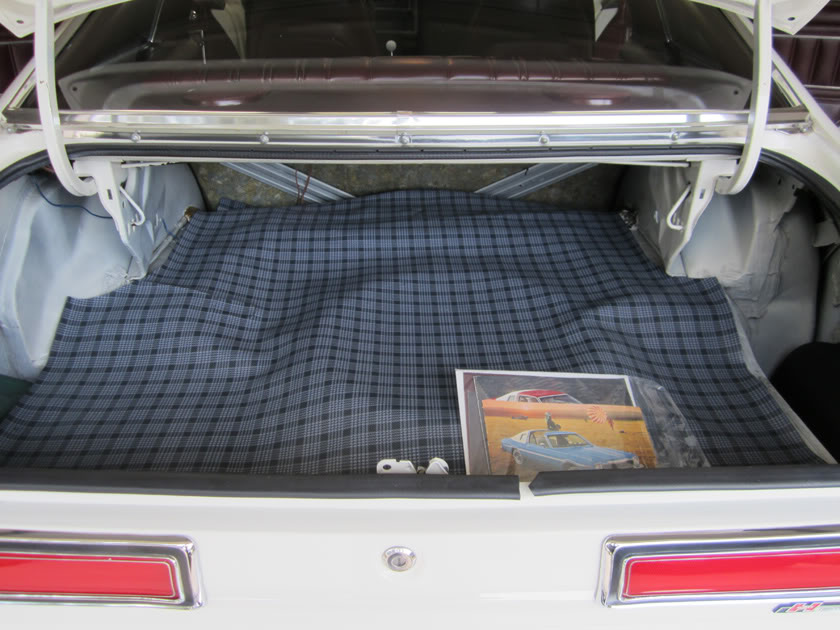
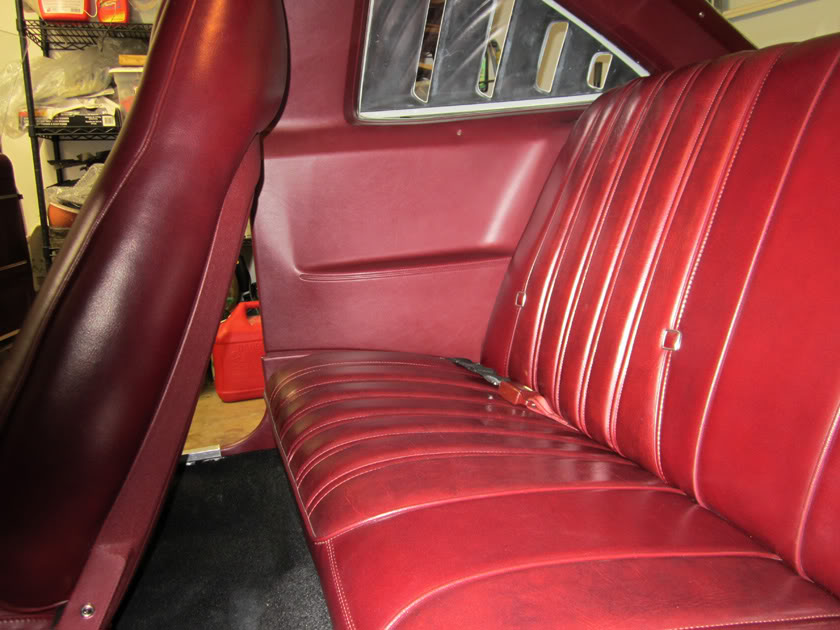
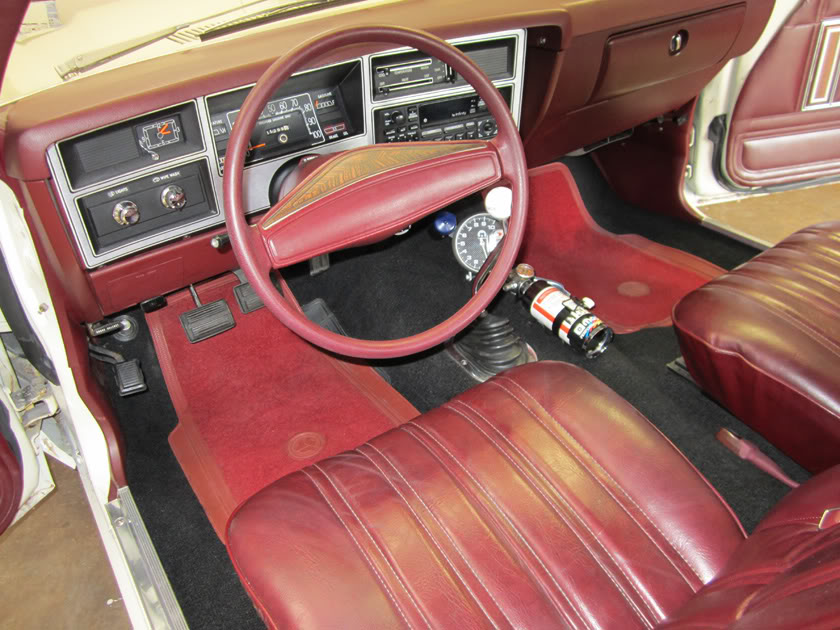

After all that I got the trunk and interior cleaned up. I installed the new Steele Rubber door seals and they worked great. I had to re-use my old push in pin that holds the very front section of the seal. Here's a couple of pictures. Don't like seeing the 3-M velcro tape holding the rear louvers on but it holds them on there good.
11-20-2011, 11:28 PM
#609
Super Moderator
Thread Starter
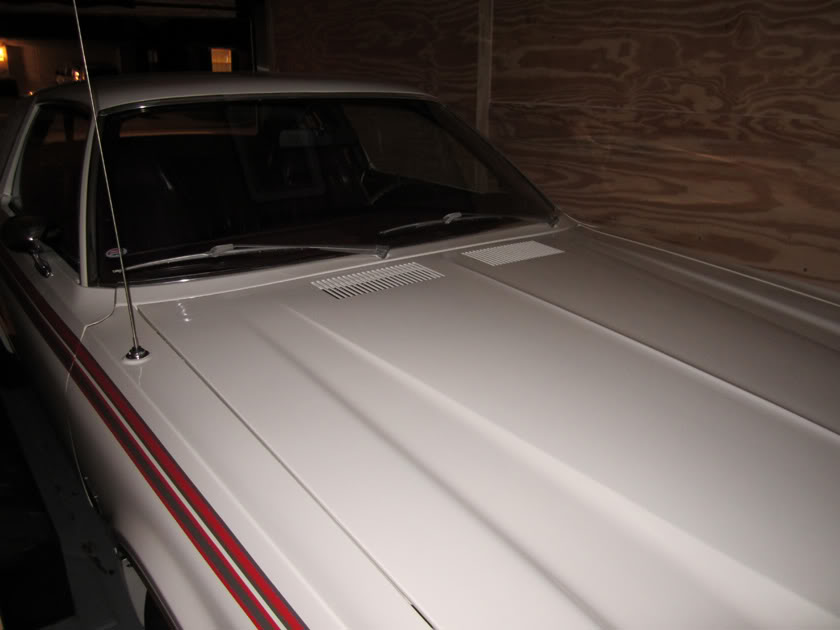
My own photo shoot today....last picture is of it jacked up in the garage for front end cleaning...and two outdoors night shots..


Last edited by bremereric; 11-20-2011 at 11:31 PM.
11-21-2011, 10:21 PM
#610
Super Moderator
Thread Starter
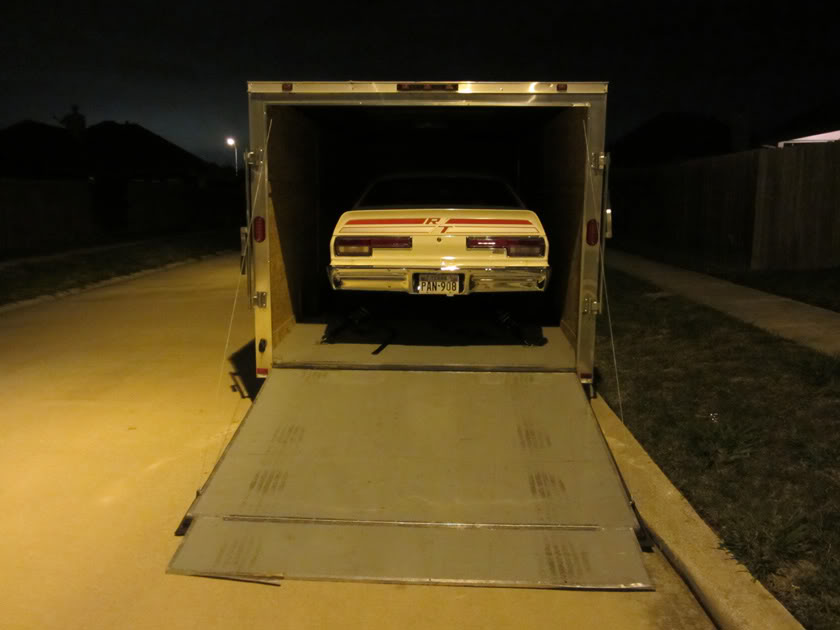
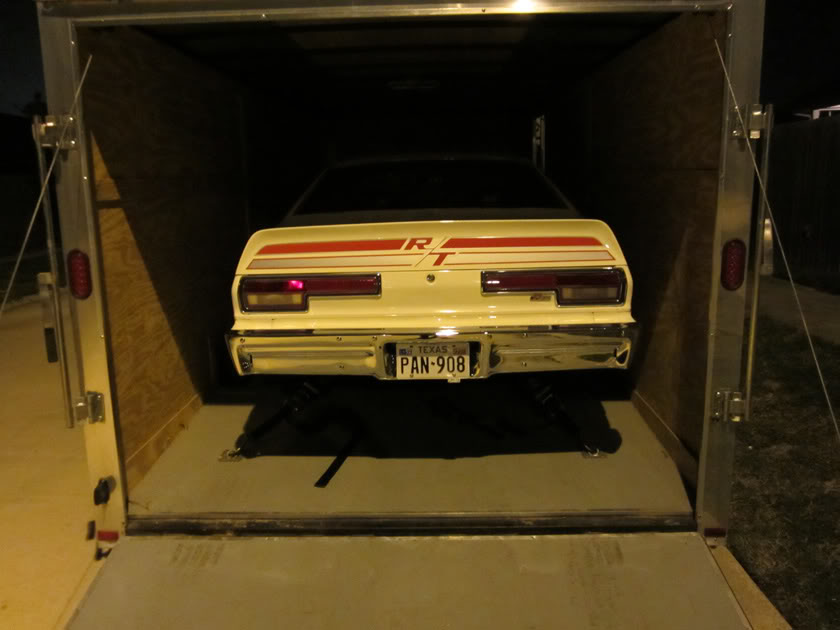
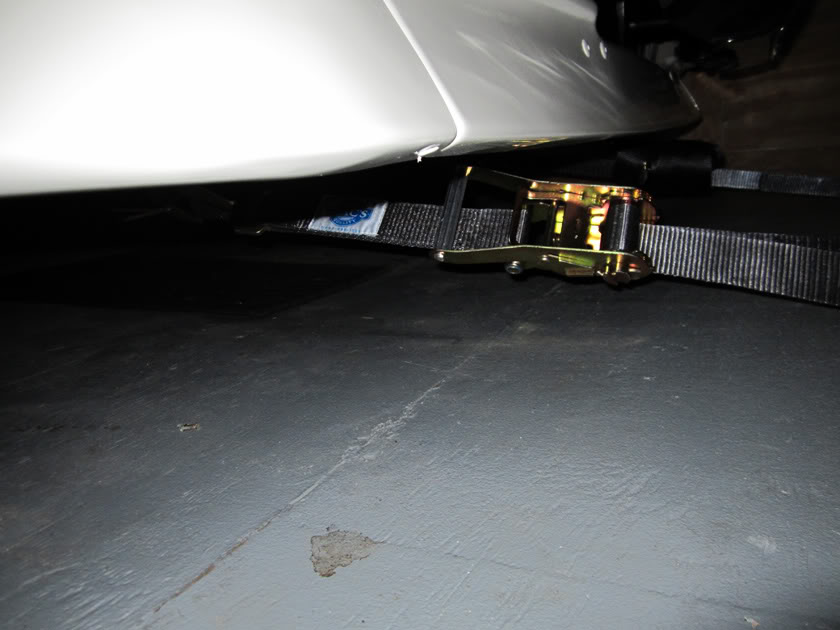
It's in there...70% chance of rain tomorrow.
That's not going to ruin my day tomorrow. Scary how the front two straps are close to the front spoiler. Going to check it again in the daylight but 99% sure the front spoiler is coming off for my sake. This car has given me a hard time this year. I think it did not want to go to Autorama. I had a real late night again. Drive 40 miles to pick up my buddy's tow rig and 40 miles back. When I get a bigger place one will be in the works.
11-22-2011, 05:16 PM
#611
Super Moderator
Thread Starter
Here ya go...have fun with this
Those two guys talk cars everyday. You get to see me to.
http://inwheeltime.com/jeff-yip-if-i...st-be-autorama
http://inwheeltime.com/jeff-yip-if-i...st-be-autorama
Last edited by bremereric; 11-22-2011 at 08:37 PM.

 Awesome!!!
 11-27-2011, 01:02 PM
#614
Super Moderator
Thread Starter
 11-27-2011, 09:18 PM
#615
Super Moderator
Thread Starter
Sweating bigger bullets
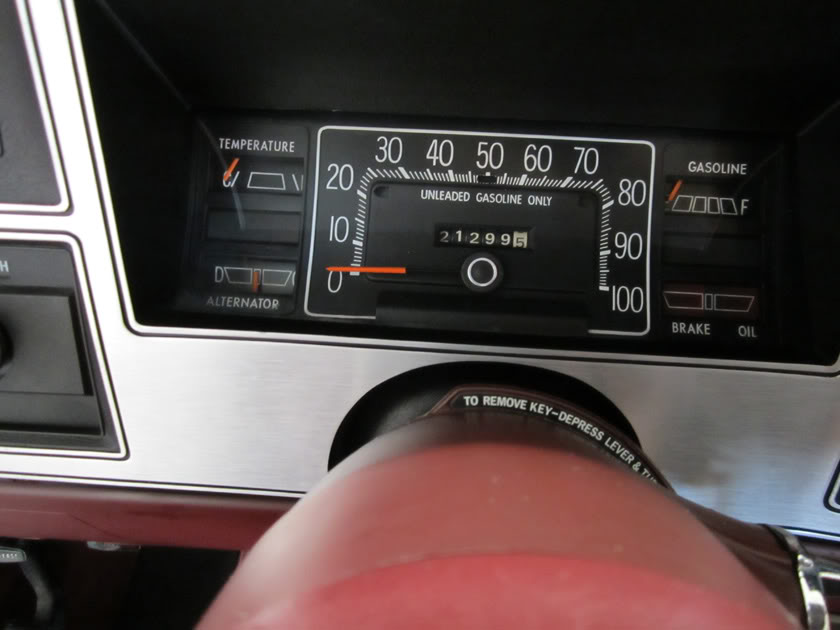
Good news and bad news....the bad news is that my buddy's truck would not start....so I had to drive my car home tonight. The good news is that after 33 miles at runs of 70 to 80 mph...I did not crash....I did not lose any parts off the car...the temp needle stayed in the center and AC/DC was jamming on the radio. Back home at last.
Last edited by bremereric; 11-27-2011 at 09:21 PM.
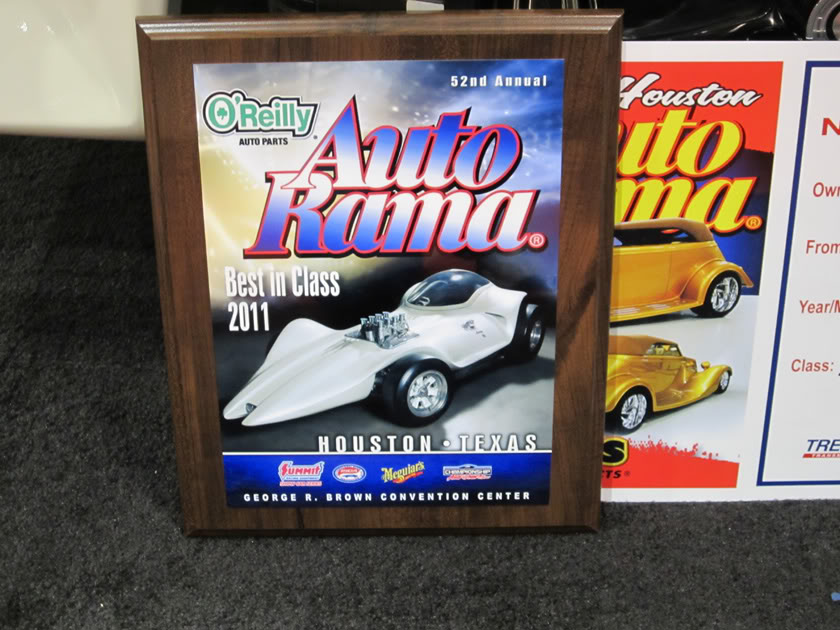
12-01-2011, 07:27 PM
#616
Mopar Fanatic
Dude, your car is looking freakin beautiful now!!!! I thought it was really nice when you first got it, but now?! Good job on the award too, you've earned it!
12-01-2011, 07:45 PM
#617
Super Moderator
Thread Starter
Yeap I am a pretty happy camper now. I am going to the muffler shop in a couple of weeks. I am going to change the mufflers to some flowmasters and run the exhaust out back, may have to have both pipes exit the passenger side but I think it will complete the stock look.
 01-25-2012, 10:20 PM
#619
Super Moderator
Thread Starter
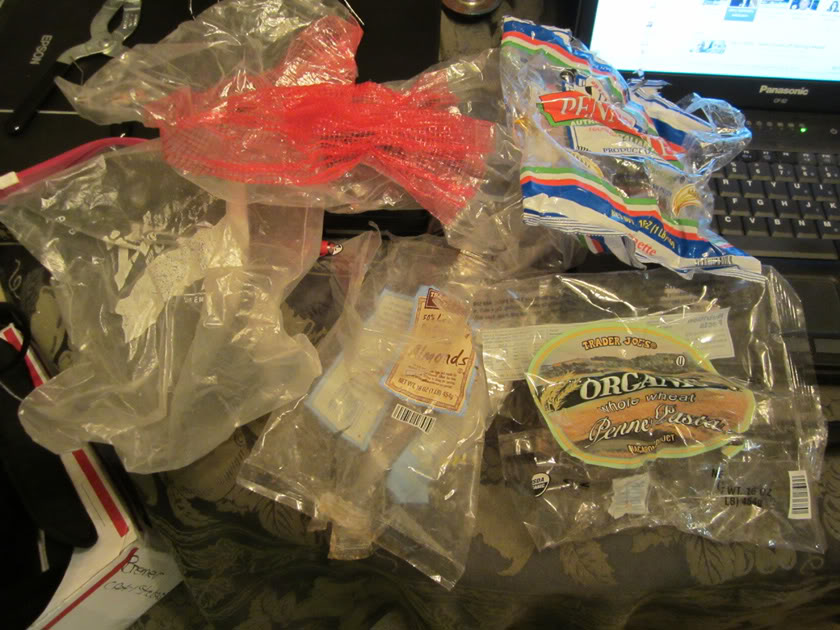
Got some more of Mopar Marty's trash
I really mean trash. I got a large zip lock bag which I smelled for residue and could not locate any. One potatoe or apple bag. One almond and two pasta bags. There was more but I was afraid to dig any deeper into the box. If you guys don't know who he is his name is Martin Kholner and he runs Arizona Parts. He is a really good fair priced mostly NOS part supplier.
Then I found what I really ordered. Two NOS headlight bezels.
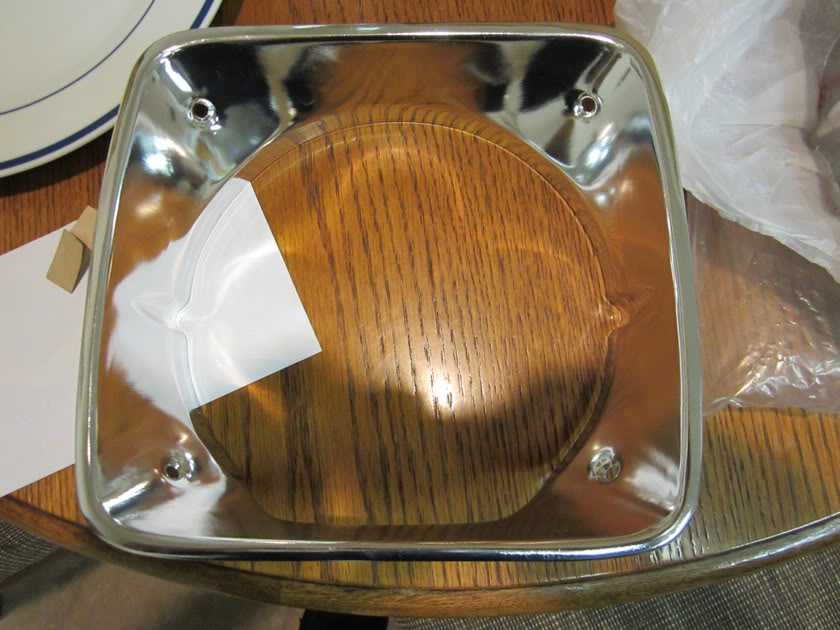
One of mine has a stain on the top. Once I change them out I will post them up for sale to benefit someone else. The ones on the car are in very good shape.
If you guys don't know who he is his name is Martin Kholner and he runs Arizona Parts. He is a really good fair priced mostly NOS part supplier.Then I found what I really ordered. Two NOS headlight bezels.
One of mine has a stain on the top. Once I change them out I will post them up for sale to benefit someone else. The ones on the car are in very good shape.
Last edited by bremereric; 03-01-2012 at 08:39 PM.
03-01-2012, 08:40 PM
#620
Super Moderator
Thread Starter
No re-pops for these cars. So NOS is the way to go.
Alot of parts on my car are NOS. The only thing I bought re-popped is the front spoiler that is still in my bedroom and the hood insulation that I sold to someone.
Two more pieces to the puzzle showed up tonight. I can tell you that the manufacturer didn't care about the silver paint overspray. A couple of rub marks where they rubbed in the box but they are 100% genuine.
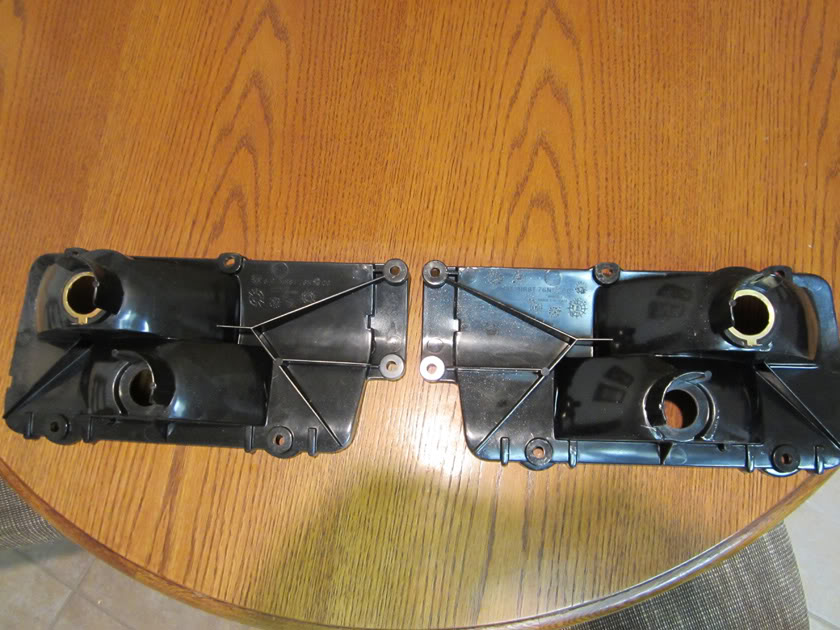
Two more pieces to the puzzle showed up tonight. I can tell you that the manufacturer didn't care about the silver paint overspray. A couple of rub marks where they rubbed in the box but they are 100% genuine.
03-04-2012, 09:35 PM
#621
Super Moderator
Thread Starter
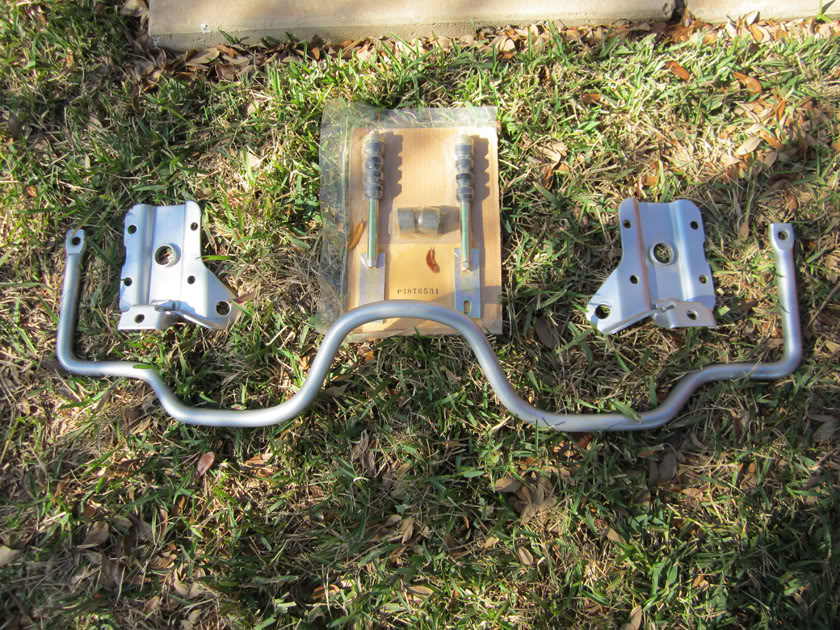
I got my 1" sway bar from BillAz today. After a half day a work I drove up to Kingwood and met him to pick it up. We talked for a while and then I got back home and snapped a couple of pictures. I still need the two 4014708 and 4024709 brackets that bolt to the frame.
03-14-2012, 09:16 PM
#622
Super Moderator
Thread Starter
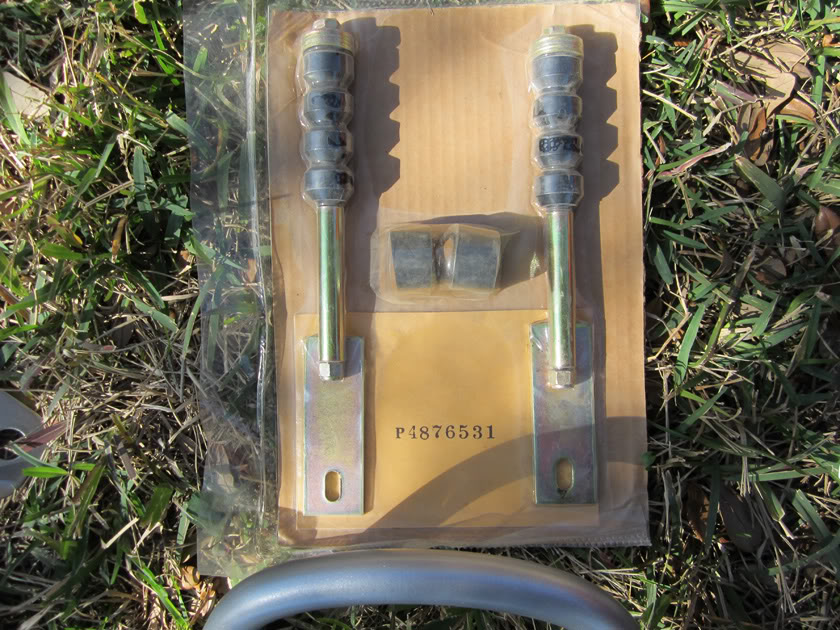
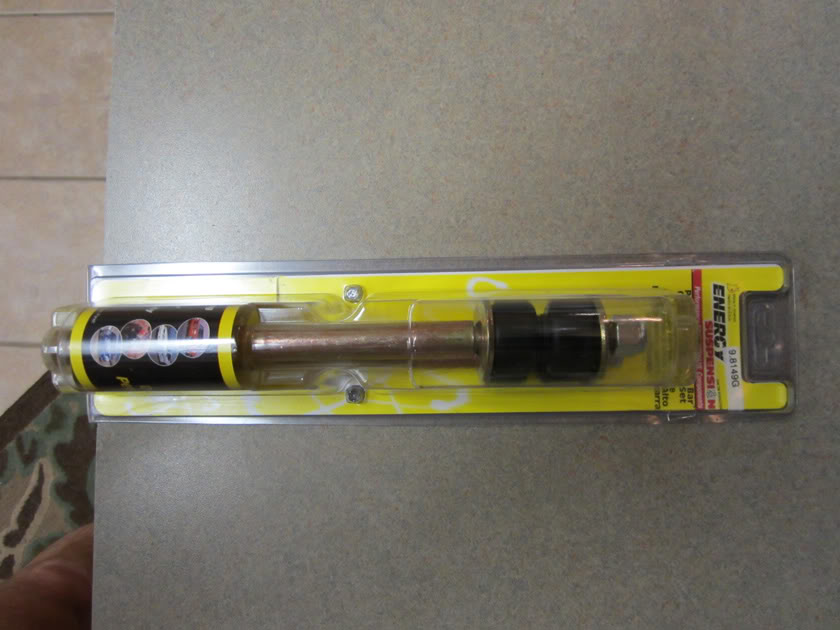
My ES end link kit showed up today. I opted black. The bushing is backordered till the 21st. It's a one inch bushing in black. 9.8149G is the part number for this end link kit.
03-26-2012, 09:09 PM
#623
Super Moderator
Thread Starter
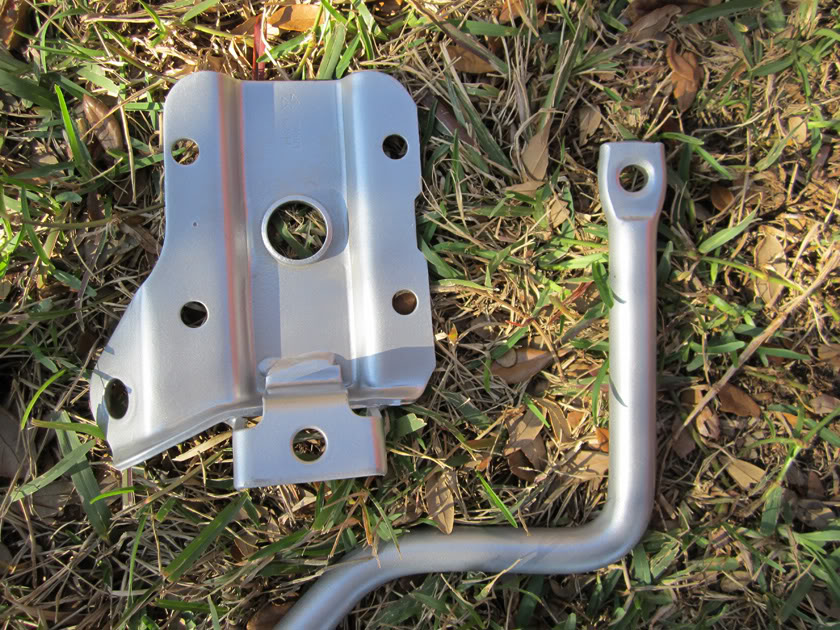
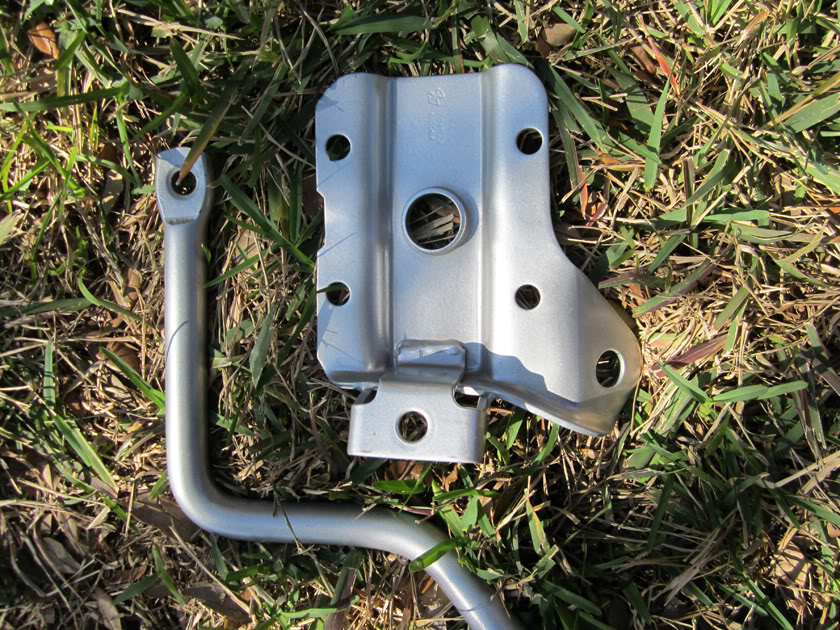
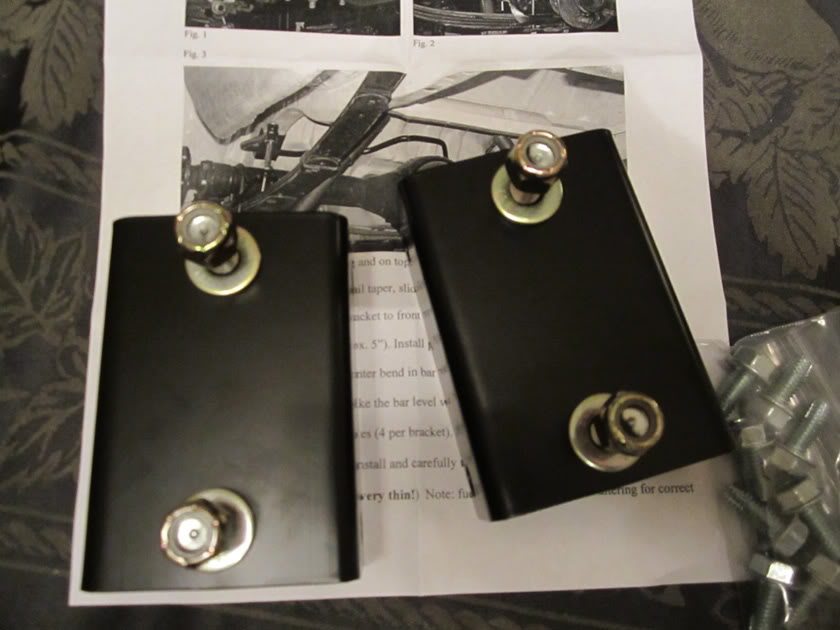
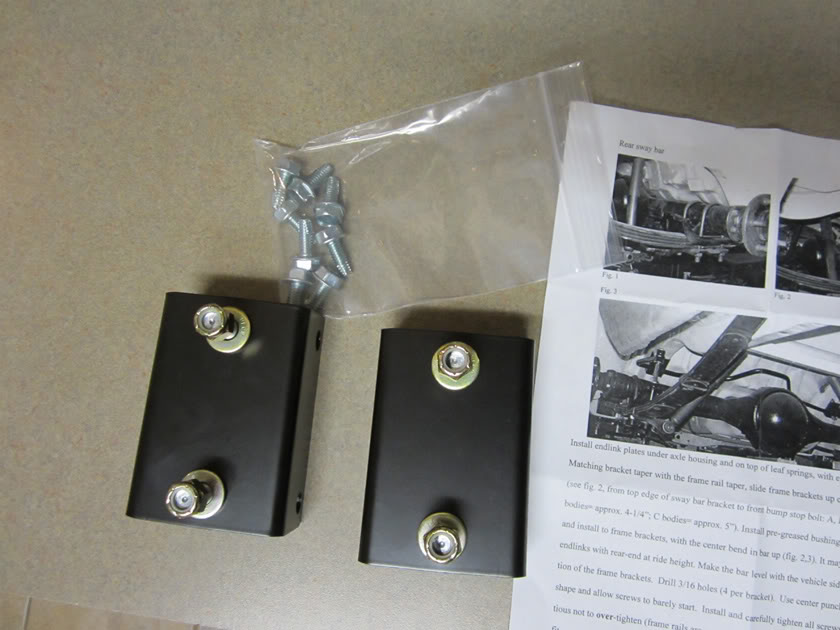
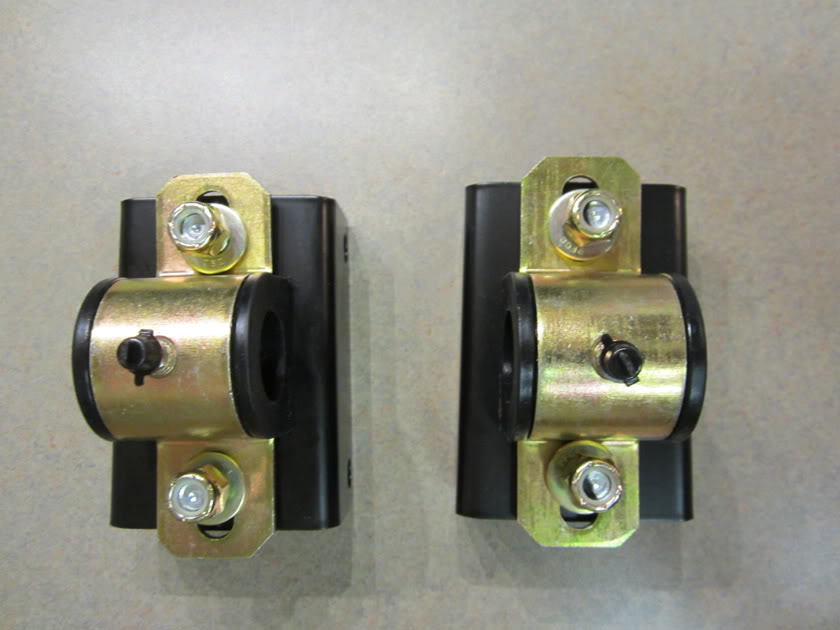
Finally got the brackets from Firm Feel just took pics and did not get to slide them under the car yet. 75 bucks to the door was fine by me.


03-26-2012, 09:14 PM
#624
Super Moderator
Thread Starter
Finally got the brackets from Firm Feel just took pics and did not get to slide them under the car yet. 75 bucks to the door was fine by me.
04-06-2012, 10:33 PM
#625
Super Moderator
Thread Starter
My greaseable rear sway bar bushings came in today. I climbed underneath the car and found out the brackets will work if I use a washer on each side to shim them or I can through bolt them.
04-07-2012, 08:29 PM
#626
Super Moderator
Thread Starter
I did get another chance to make it to the Saturday meet today and made it there and back. Lots of the same looks. Some laugh and some can't believe they are seeing one.

04-12-2012, 09:46 PM
#627
Super Moderator
Thread Starter
Baby steps
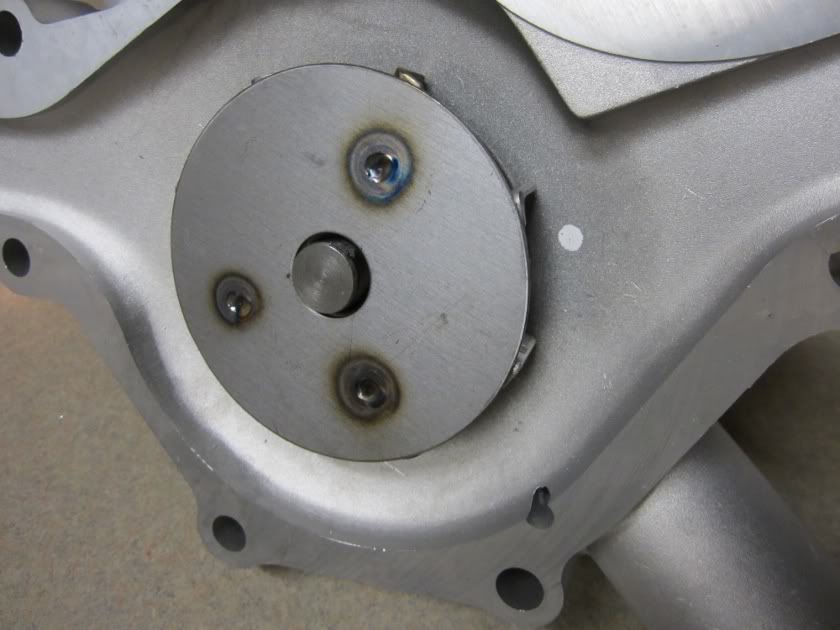
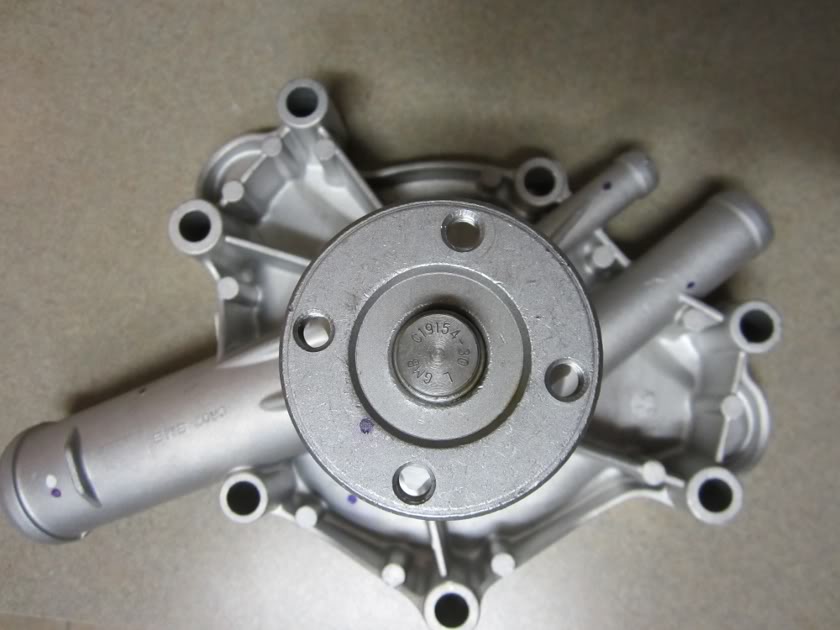
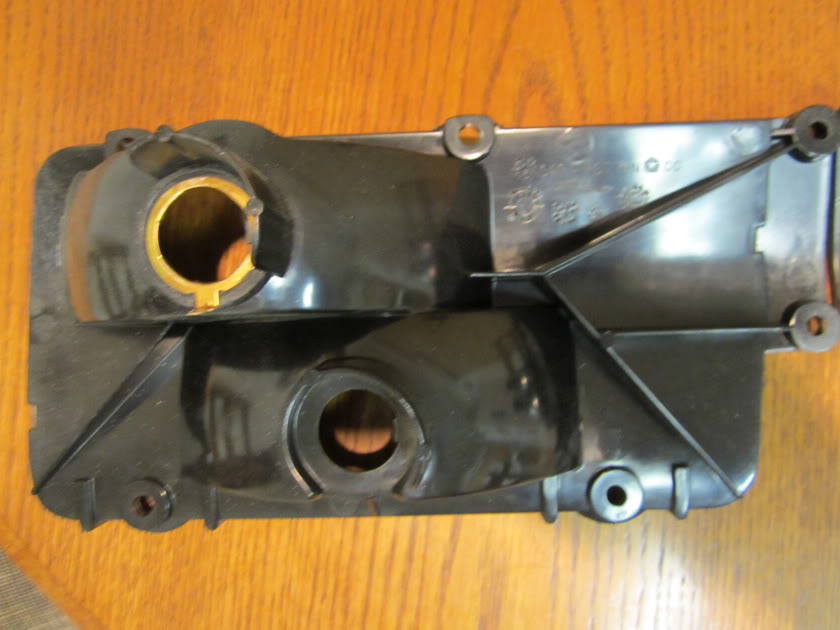
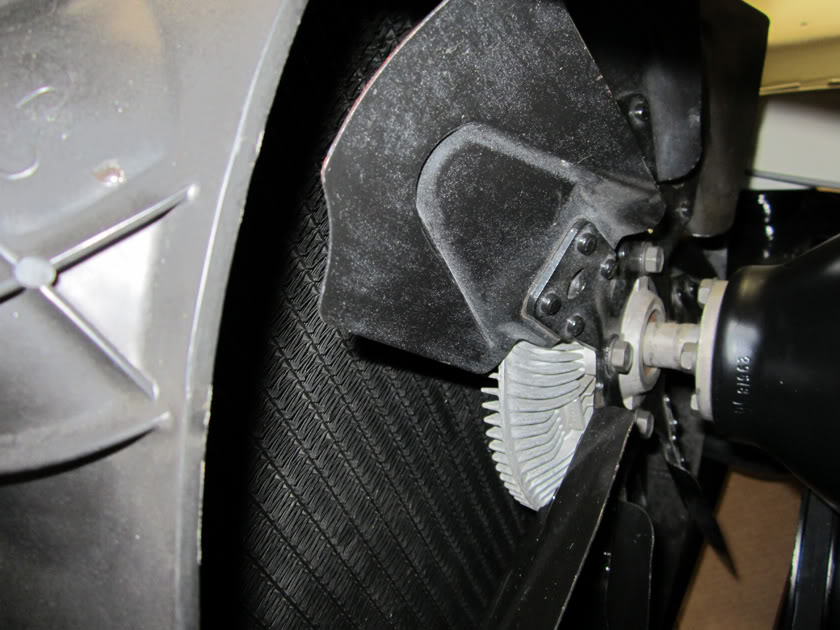
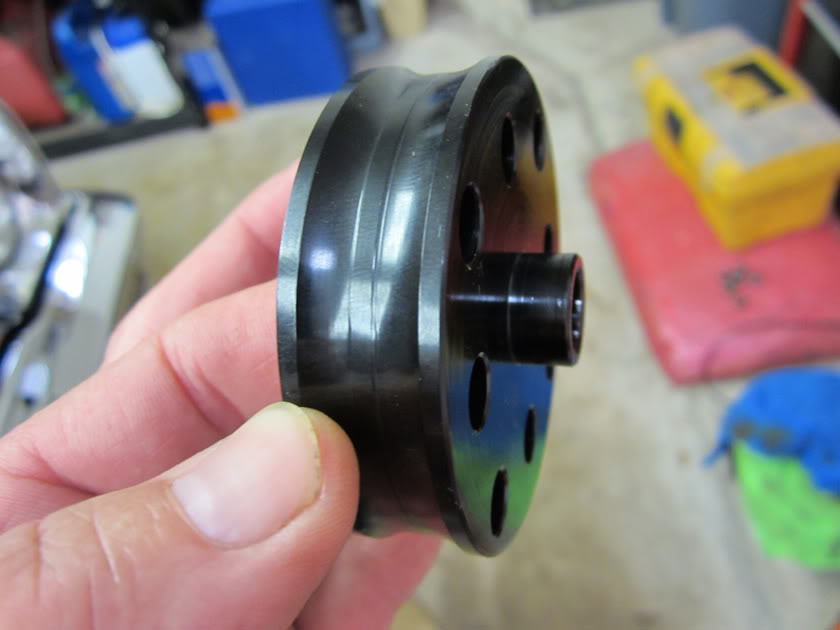
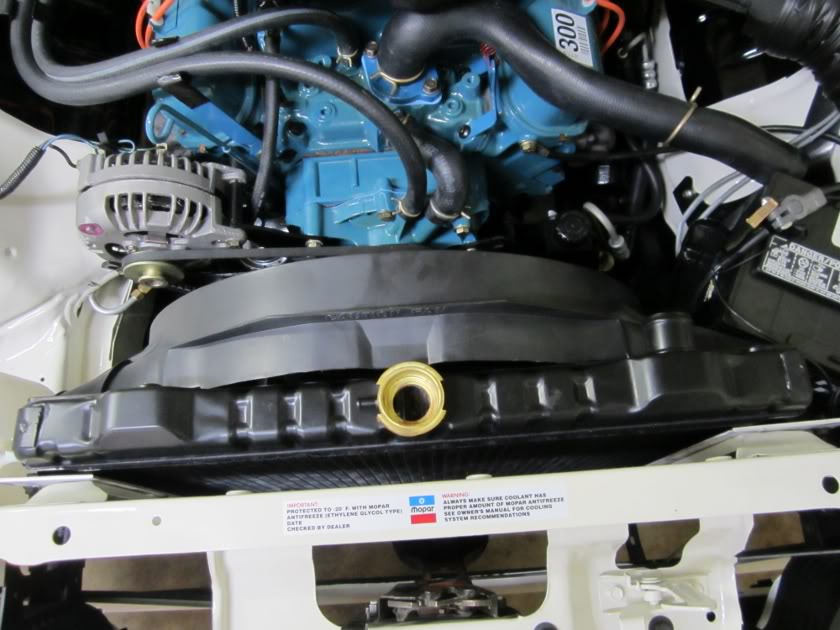
Motor is still new and the rpm's rise when it comes up to running temp so I know that it is still tight, I probably have 50 miles on this motor. I run about 195-200 degrees and before I step up to a larger radiator I want to try some simple things. (I got the factory used one this week in the junkyard travels). I had a spacer already and the fan sits half way out of the shroud so for no money I am going to move it forward some more. Remember I upped the CR and performance a little tad and that small radiator is in question. The one I picked up is a one row with 1 inch tubes out of an A/C car. Better than my smaller one with two rows of 3/8" tubes. I have it getting rodded out and pressure tested.
05-10-2012, 09:44 PM
#628
Super Moderator
Thread Starter
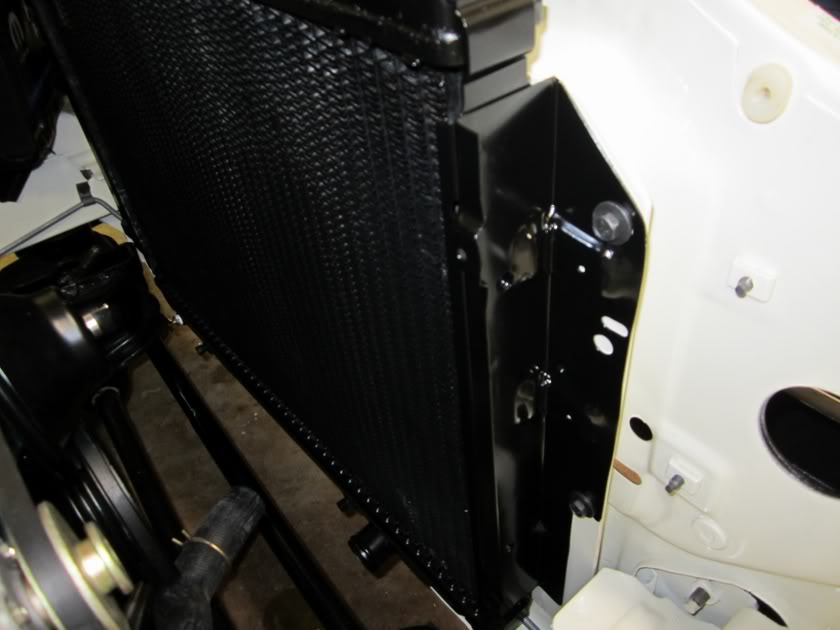
I have been tinkering around behind the sceen.
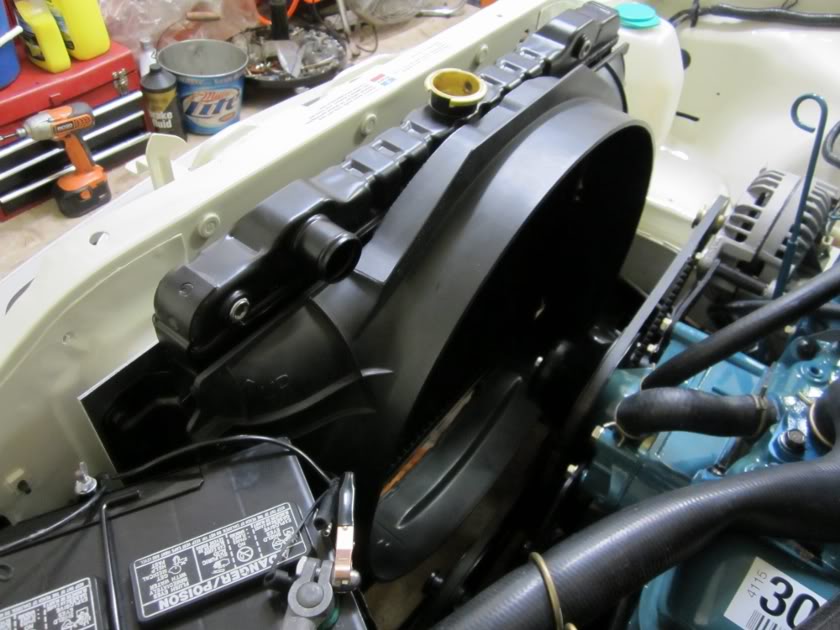
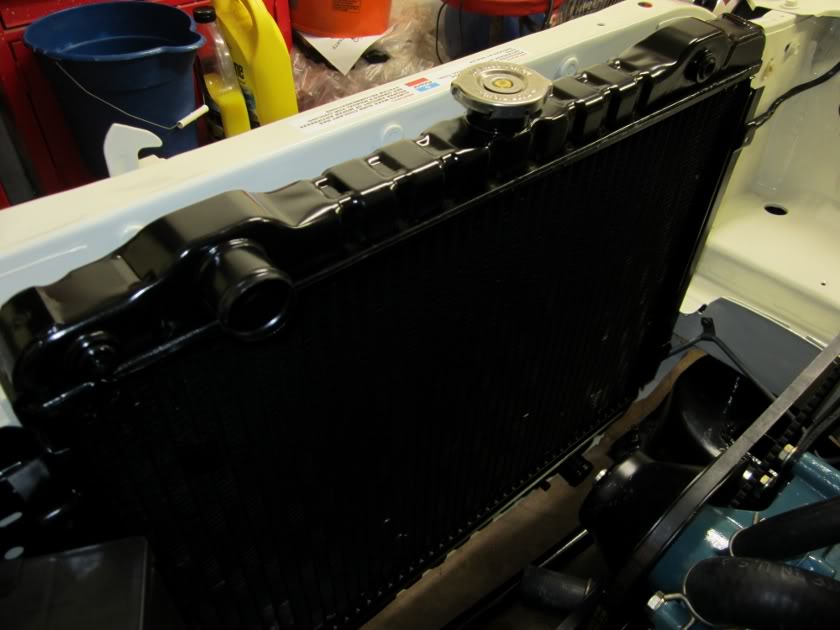
Well moving the fan forward had little to no effect on the cooling so I decided to go farther. I bought a small sheet of 1/8" aluminum plate and took several measurements then went back to the place I bought it for them to cut it. Last night I marked it and drilled the holes. Remember I already had an aftermarket with 26" radiator and a NOS fan shroud. Well I decided it was time to use them. It's still rough looking but it's mounted and I put the fan on and everything clears.
I will tear it apart and do some triming and rounding on the plates. Then paint and re-install. The bottom hose works and the top will have to be replaced with an A/C upper hose.
The cooling core on the old was 18" x 18" which equals 324 square inches of cooling area.
The cooling core on the new is 18" x 25" which equals 450 square inches of cooling area.
05-13-2012, 09:42 PM
#629
Super Moderator
Thread Starter
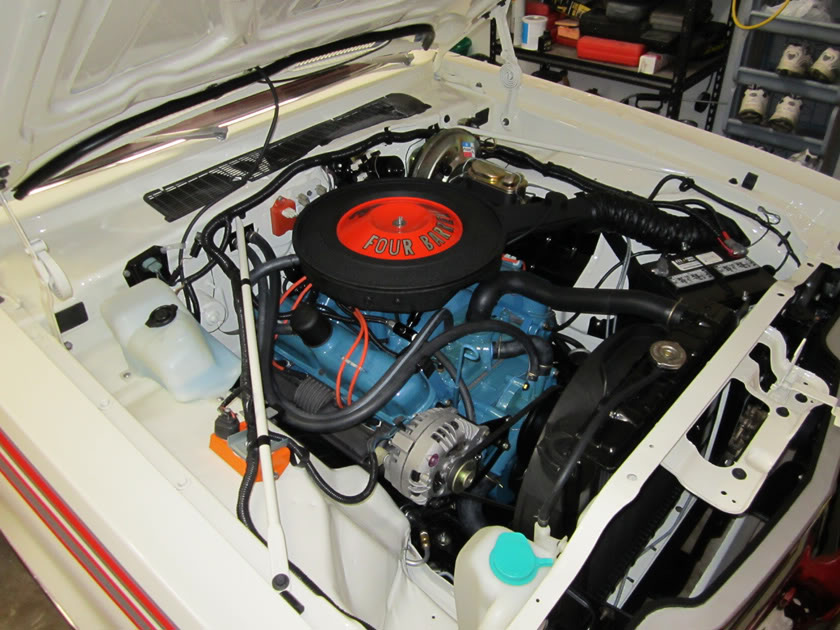
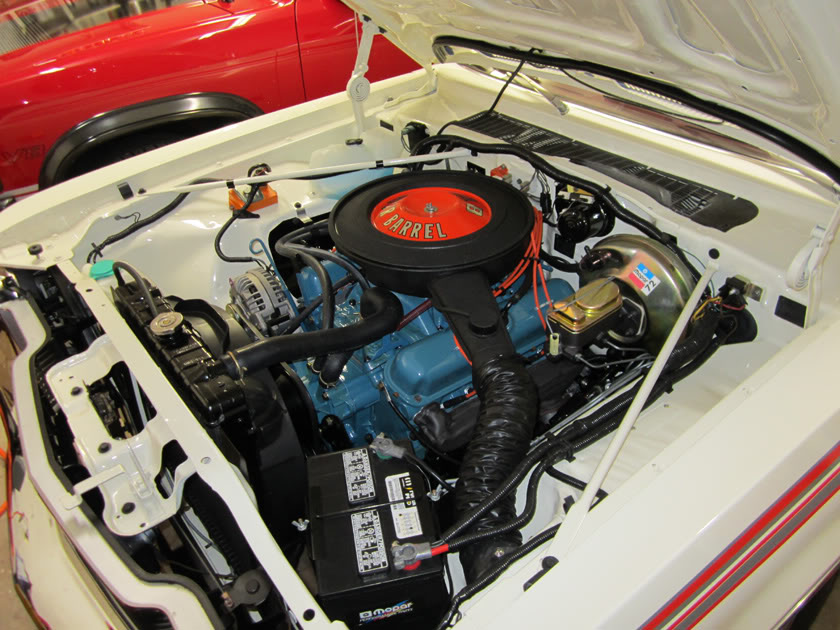
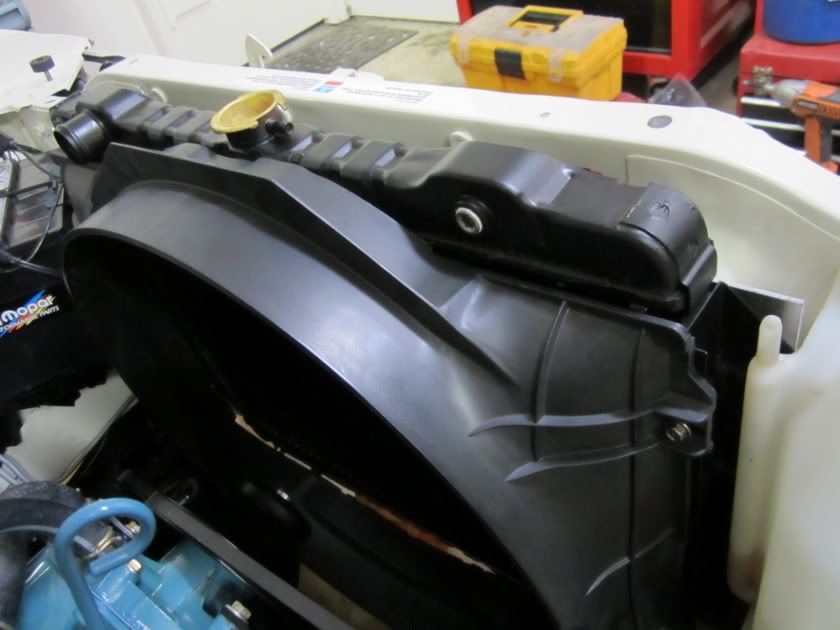
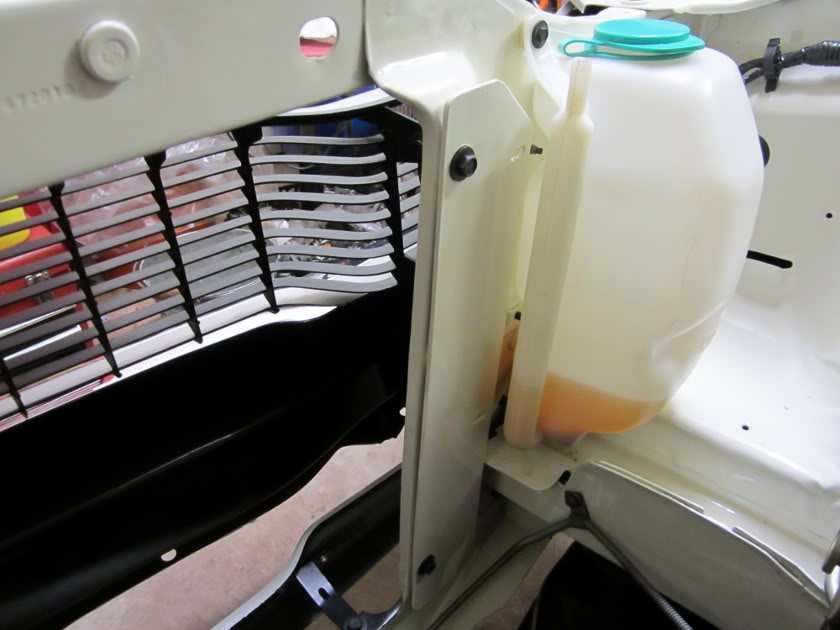
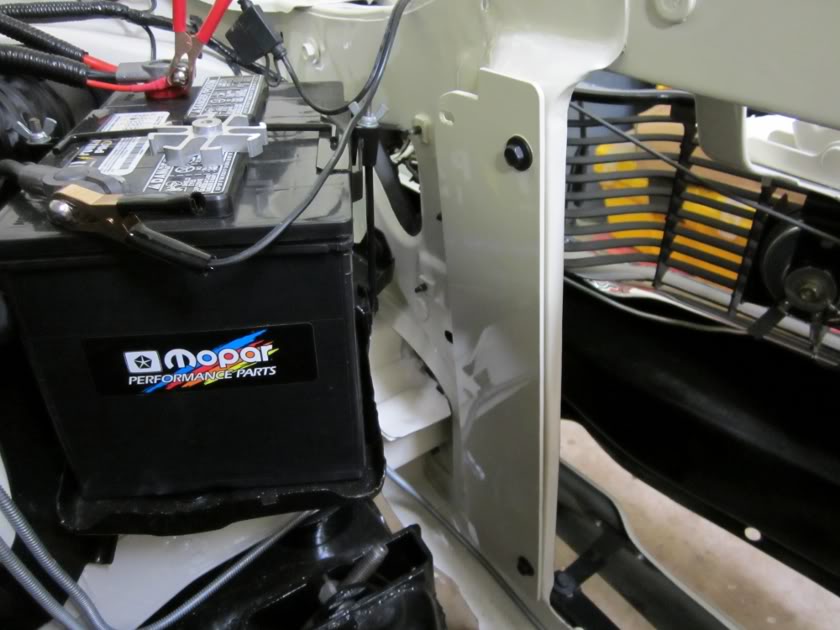
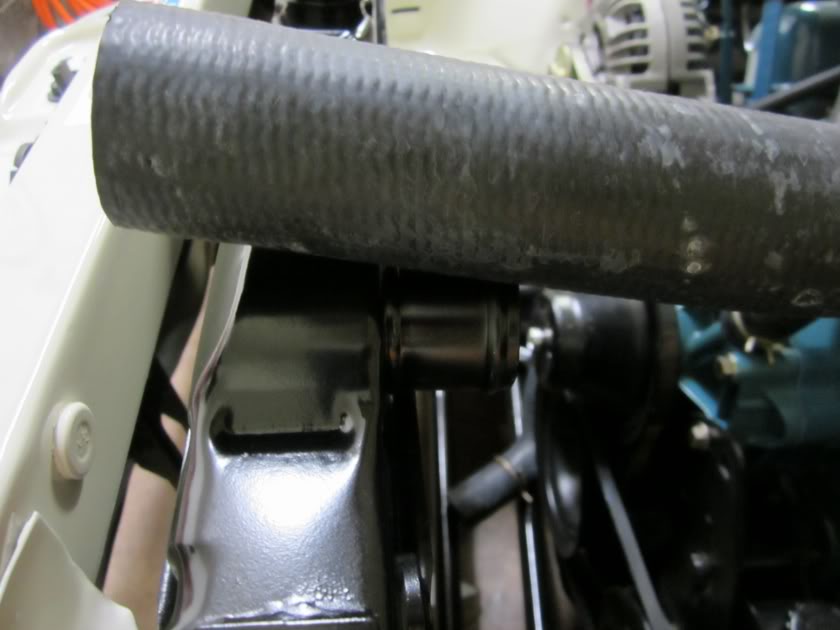
It's in there.
The brackets and radiator that is. Pictures speak for themselves. Note that little flying bugs love white cars at night. I cleaned the ones under the overflow tank after removing it to get to the radiator bolts.
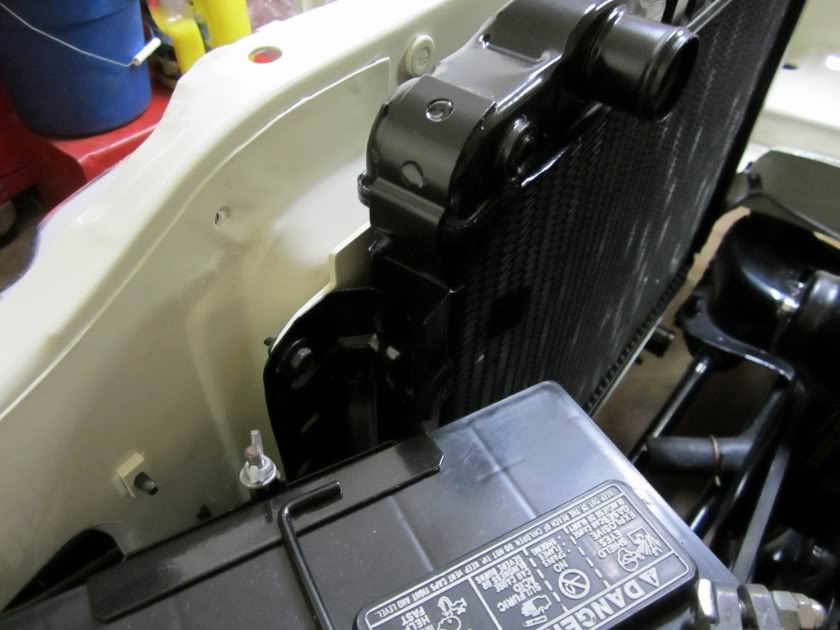
And cut to fit new upper hose.
And cut to fit new upper hose.
05-17-2012, 09:14 PM
#630
Super Moderator
Thread Starter
I am going to give this Milidon pump a try with the new radiator. I like the idea of the anti-cavitation plate and it still is an eight impeller pump.