I never would think I would own one of these
#301
Super Moderator
Thread Starter
My garage is bigger now...sort of..
I have storage units 4 and 5 right next to each other now...both of them are 15 x 30 with electricity I had fun driving the 440 Dart there but will kinda miss it..oh well it's covered up and has the battery tender on it..
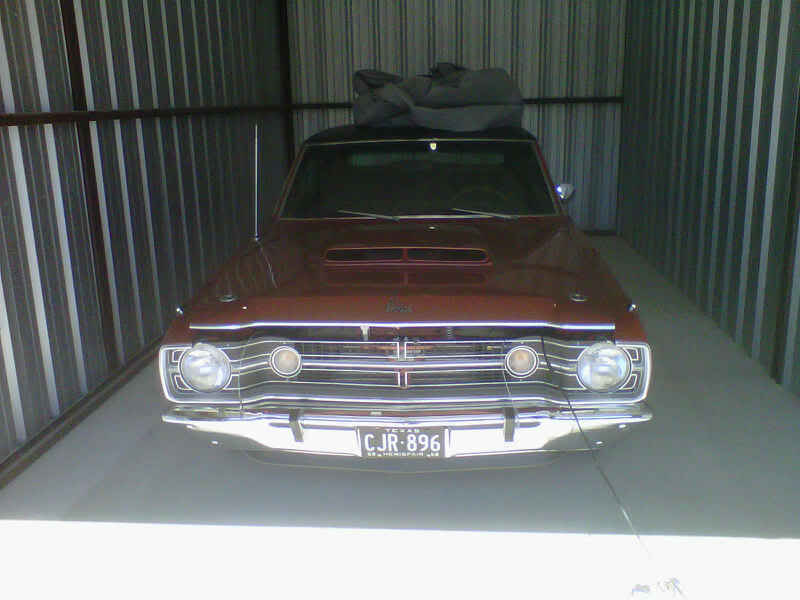
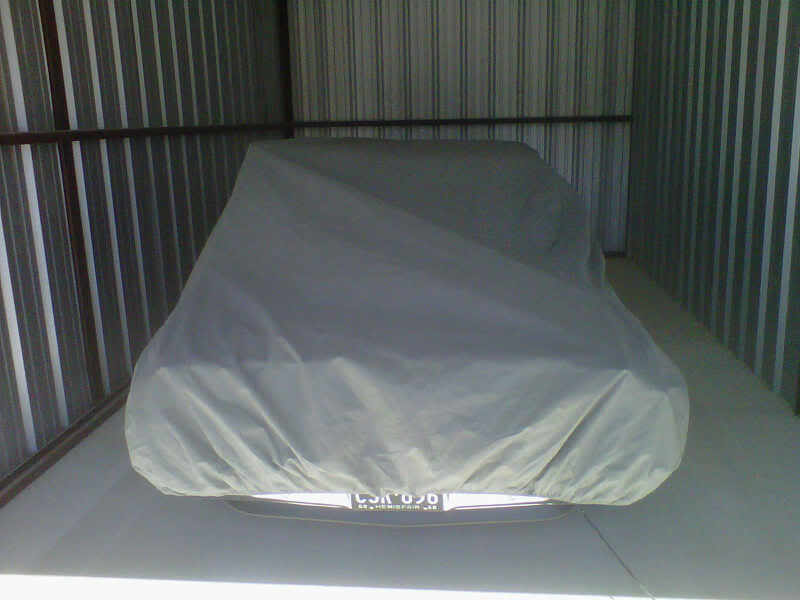
I have storage units 4 and 5 right next to each other now...both of them are 15 x 30 with electricity I had fun driving the 440 Dart there but will kinda miss it..oh well it's covered up and has the battery tender on it..


#302
Super Moderator
Thread Starter
Okay I changed my mind...
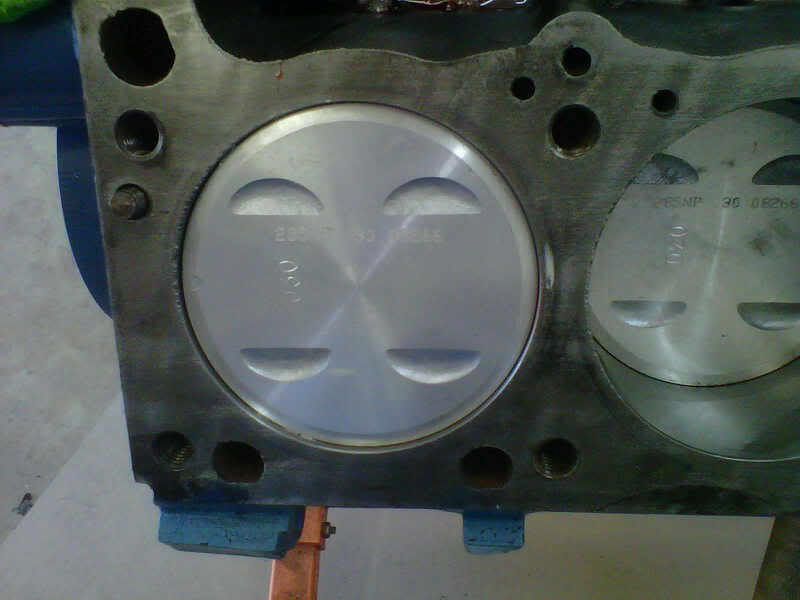
I changed my mind about what I was going to do with that little 318 that has been sitting in my garage for years..I think three now..I took my stock tranny and engine out of my other car and kept it...I will also do that to the Aspen...I will keep the original motor intact and use the 69 block with forged crank and flat top pistons...the pistons are only .0780 down in the hole at top dead center so that will help with the compression ratio..It has those cast 308 heads on it from a 360 block...I busted it down to a bare block...no surface rust in the cylinders..I am taking the crank and pistons to the solvent tank at work tomorrow to clean them..I am going to strip the paint from the block and start all over the paint was peeling in some spots and had some chips...I cleaned all of the gasket surfaces for the block...heads...oil pan...and timing cover...still have some work to do on the intake..then it will go all back together...have lots more room to work now...love it but I will miss my other car..
Intake off....
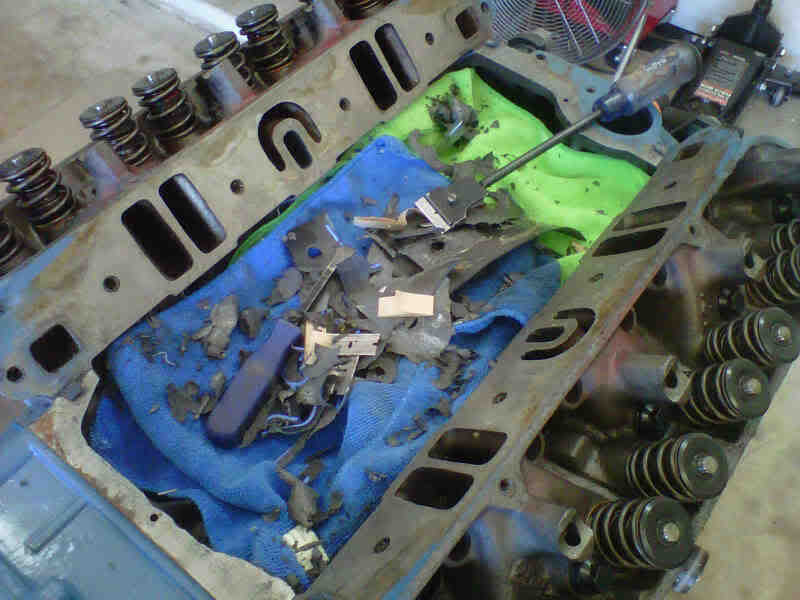
piston .078 in the hole
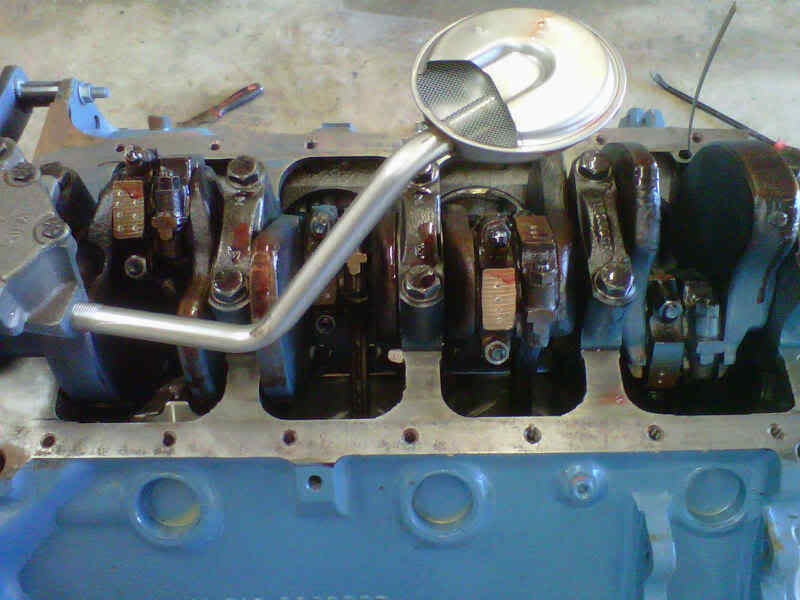
new oil pump and pickup...the oil pan is new to..the one on the Aspen has rust on it...
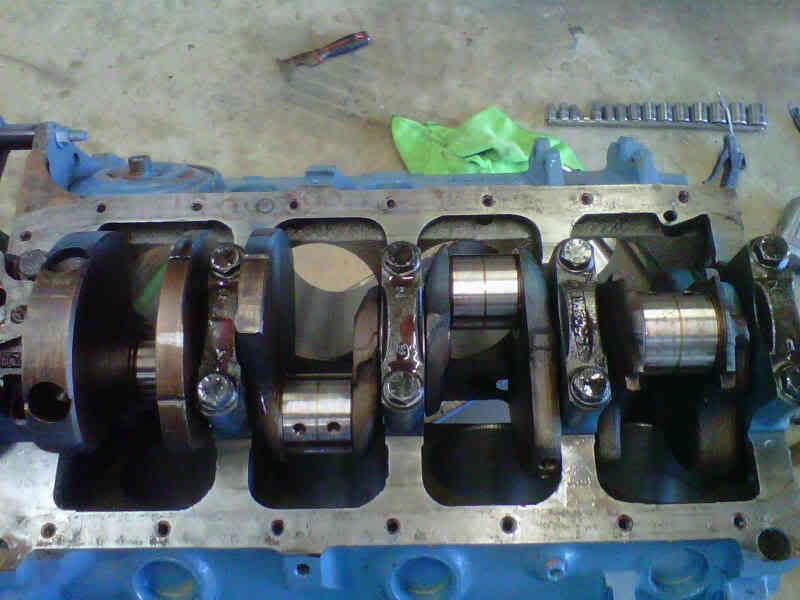
Pistons out..
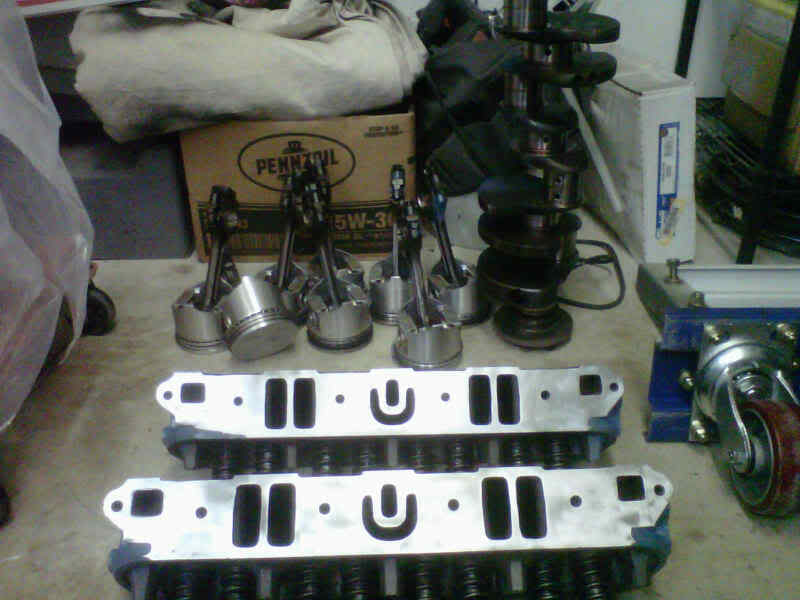
Heads all cleaned up....pistons and crank get a bath tomorrow..
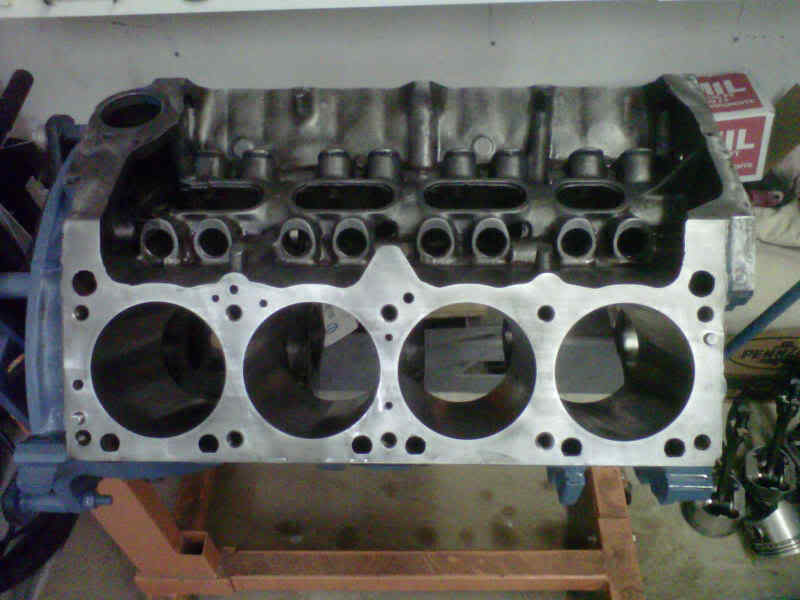
Bare cleaned up block...
More room.....
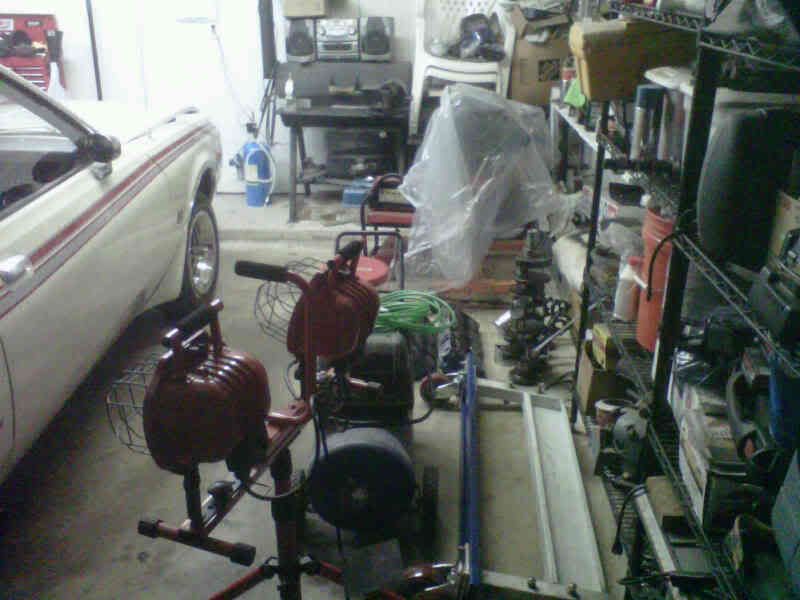
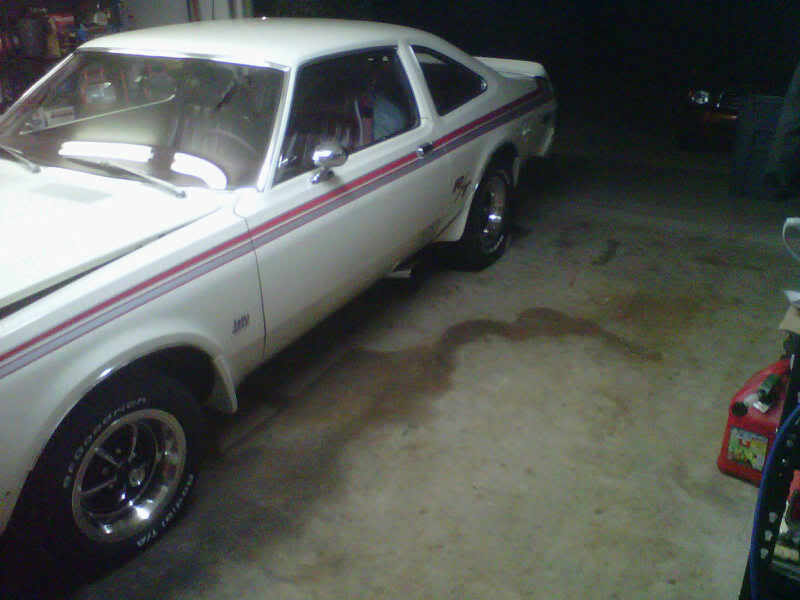
I changed my mind about what I was going to do with that little 318 that has been sitting in my garage for years..I think three now..I took my stock tranny and engine out of my other car and kept it...I will also do that to the Aspen...I will keep the original motor intact and use the 69 block with forged crank and flat top pistons...the pistons are only .0780 down in the hole at top dead center so that will help with the compression ratio..It has those cast 308 heads on it from a 360 block...I busted it down to a bare block...no surface rust in the cylinders..I am taking the crank and pistons to the solvent tank at work tomorrow to clean them..I am going to strip the paint from the block and start all over the paint was peeling in some spots and had some chips...I cleaned all of the gasket surfaces for the block...heads...oil pan...and timing cover...still have some work to do on the intake..then it will go all back together...have lots more room to work now...love it but I will miss my other car..
Intake off....

piston .078 in the hole

new oil pump and pickup...the oil pan is new to..the one on the Aspen has rust on it...

Pistons out..

Heads all cleaned up....pistons and crank get a bath tomorrow..

Bare cleaned up block...

More room.....


#303
Super Moderator
Thread Starter
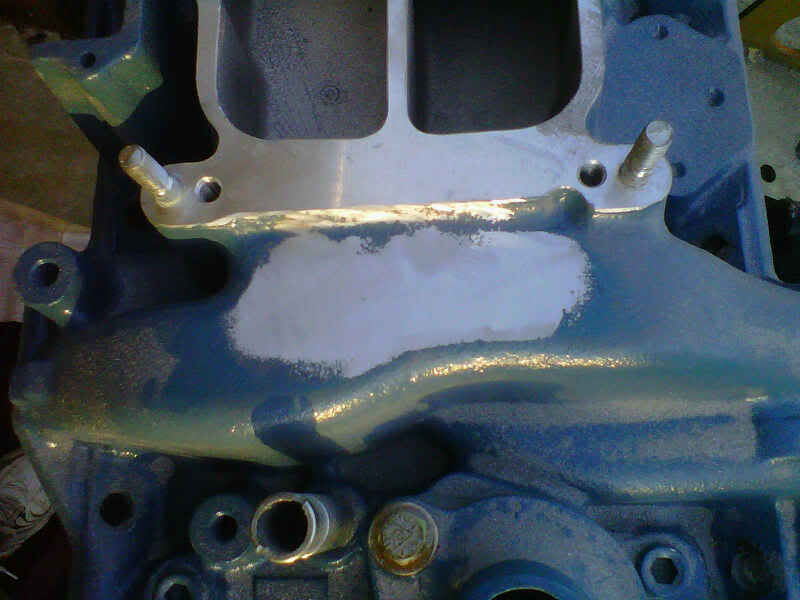
Okay the EdelBrock and performer labels are gone...i have a question now...I would rather run the Performer RPM intake because the intake runners will better match...I ran that same intake with my 340 in another car...I want to run the same stock 4 barrel air cleaner that I have now but I am afraid of the hood clearance...is anyone running a Performer RPM intake with a air cleaner like mine and still fit it underneath a stock F body hodd with the hood insulation on...

#304
Super Moderator
Thread Starter
OMG...here is the resonse back from Pheonix Graphics..
Eric,
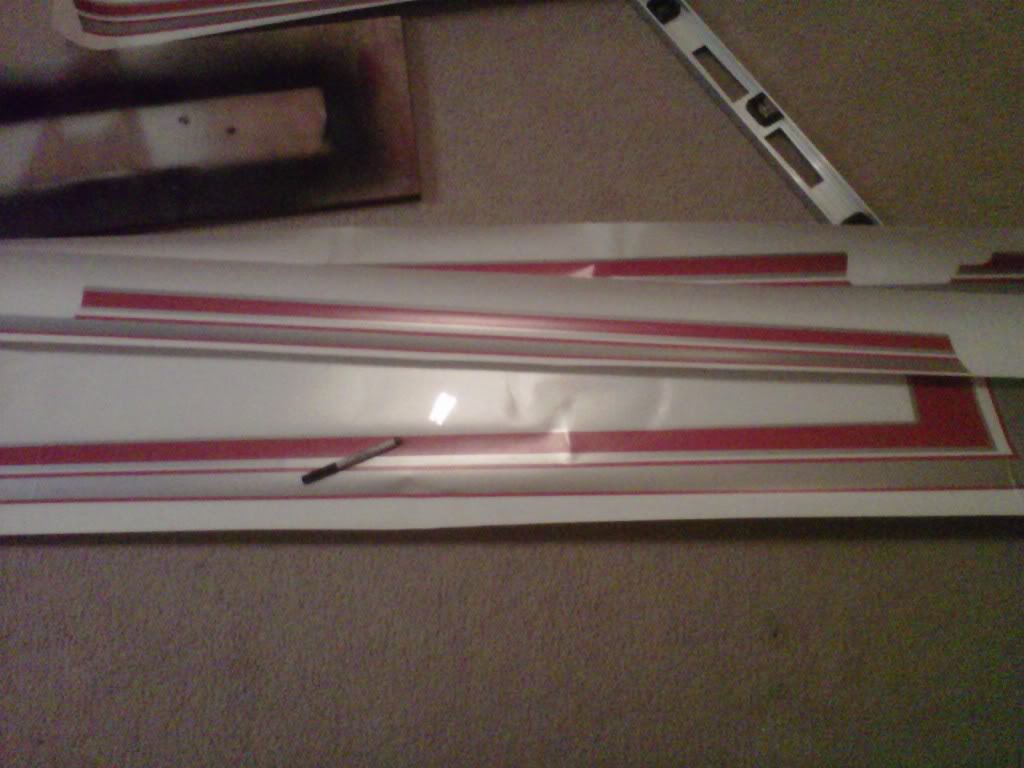
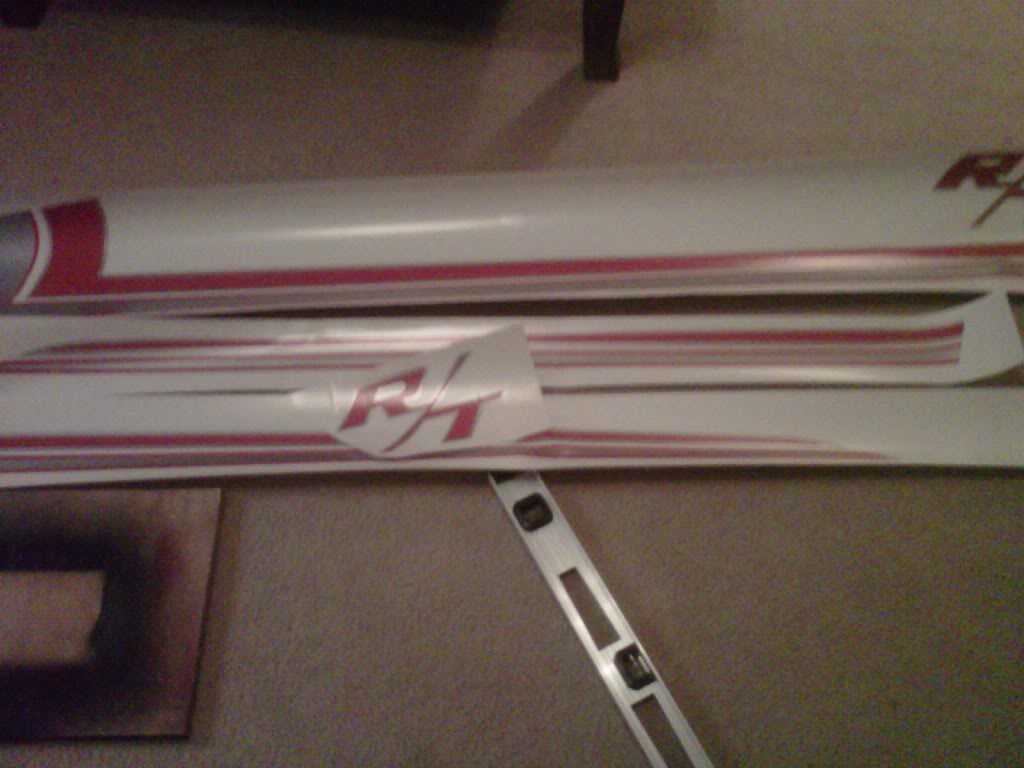
Because the colors you ordered the kit in are custom, we have to produce the kit using a method called Overlaying which is essentially one layer of vinyl over top of another. The misalignment you see is not uncommon when using the overlay method.
There is an easy fix for this. You can simply take a straight edge and a razor and trim the excess off of the decals. This is how people achieve such a fine alignment edge and it looks like thats how your current stripes look so good. The previous owner most likely trimmed them.
As far as the stripe with the wrinkle: This is just a wrinkle in the pre-mask, not the stripe, so it will not cause any problems during installation and will not be noticeable after you remove the premask. If there does, however, happen to be a problem you can always get a replacement stripe from us. Make sure and always take good photos like these, they help immensely.
Please let me know if you have any questions regarding the trimming of the decals. It is very easy and a very common practice.
Thanks!
Justin
#306
Super Moderator
Thread Starter
I am glad it got your goat..it did mine to...300 bucks into the wind is what I think...I am going to peel that pre-mask stuff off and show the real deal..I am not done with them yet..I am not vengefull or anything like that...but money and the principal are two things I believe in..someone else said it was horses$$t..and I agree with them..
#307
Super Moderator
Thread Starter
No wano on the springs...
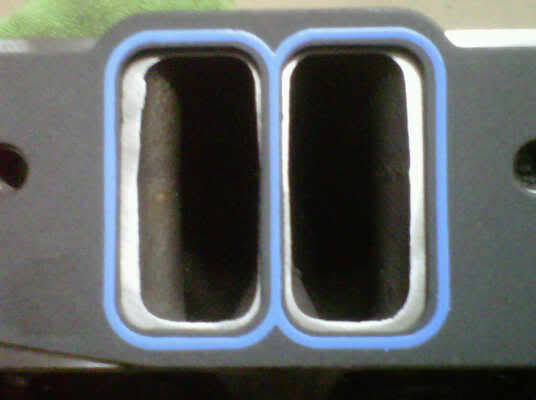
Okay not much achieved tonight...I thought I would show you the intake runner mis-match that I will have...this is not a stroker or 500 hp motor so it's gonna be what it is..
intake runners on manifold..
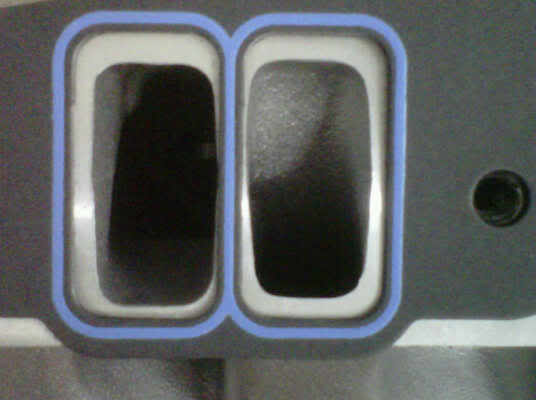
Intake runners on the heads..
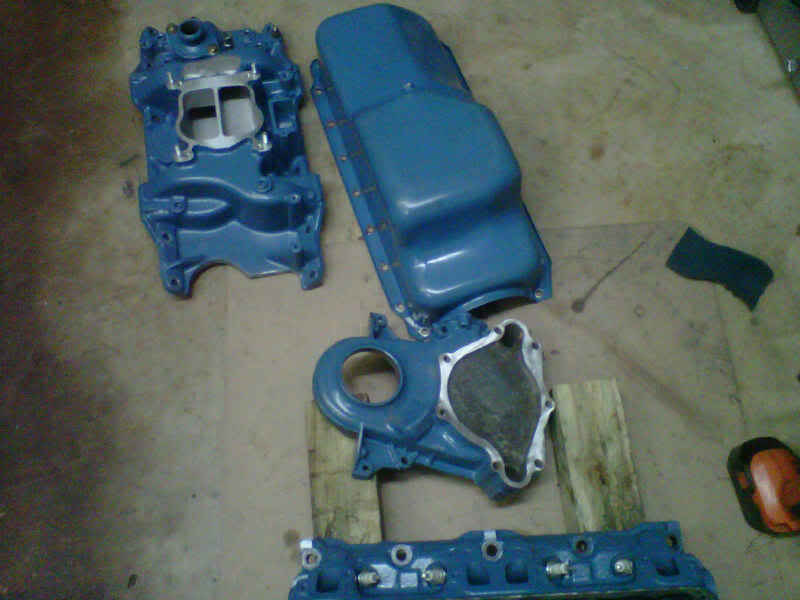
These items will go the blasting tomrrow...I am going to use all of the stock fasteners on the intake and oil pan...so I am going to do the factory paint job on the motor...assemble everything except the valve covers and then paint it...stock is the look..
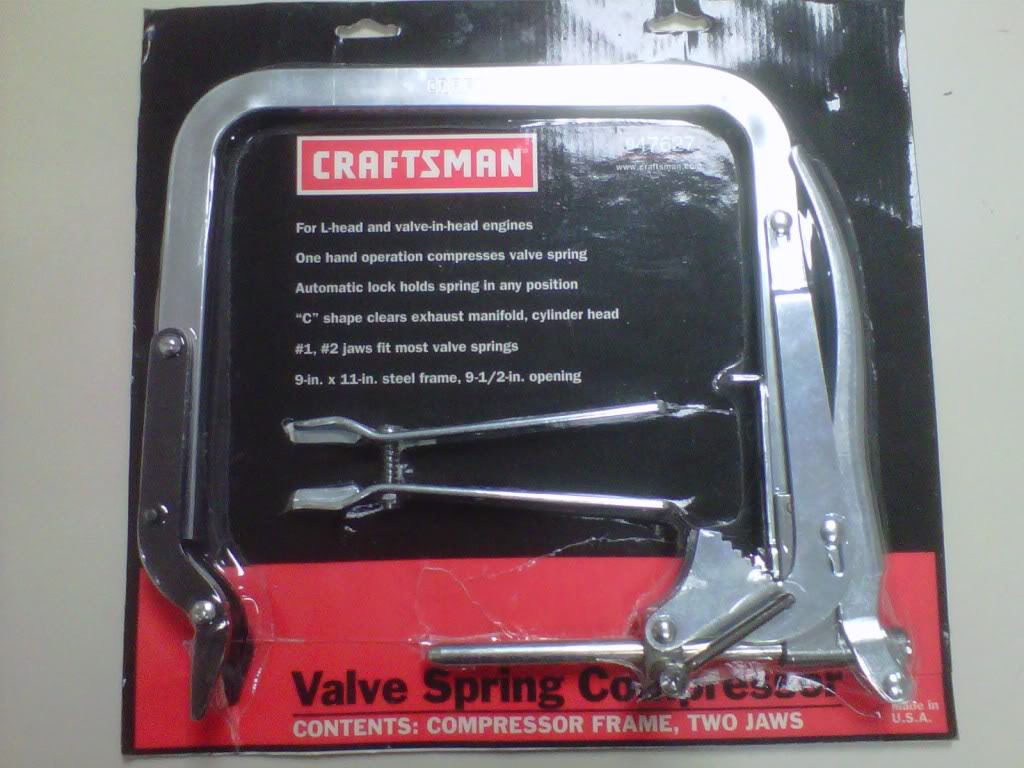
PS the rotary style spring valve spring tool I have is not going to work on the springs...I will go to Sears and get the big clamping one tomorrow..the are double springs with a dampner
Okay not much achieved tonight...I thought I would show you the intake runner mis-match that I will have...this is not a stroker or 500 hp motor so it's gonna be what it is..
intake runners on manifold..

Intake runners on the heads..

These items will go the blasting tomrrow...I am going to use all of the stock fasteners on the intake and oil pan...so I am going to do the factory paint job on the motor...assemble everything except the valve covers and then paint it...stock is the look..

PS the rotary style spring valve spring tool I have is not going to work on the springs...I will go to Sears and get the big clamping one tomorrow..the are double springs with a dampner
#308
Super Moderator
Thread Starter
Oh Oh
This is what I got today..
Eric,
I understand where you are coming from. Go ahead and return the pieces that you do not wish to use and we will exchange them for you. I will have the production team ensure that they are done properly and allign perfectly. We definitely want to make it right.
Thank you,
Justin
and this is what I sent yesterday...
Justin I want to say so far you have been very helpfull. But look at the pictures again. I would have to do more than cut off excess with a razor blade. The first set you sent has the same issues. Even if they were not a custom color you would still use the overlay process. The one stripe is damaged also, the picture doesn't show it very well but the red is pushed back and the silver is scraped up. I really expected a better response than that.
Eric
#309
Super Moderator
Thread Starter
Okay lots of fun tonight...
Okay 20 dollars is 20 dollars....you need a good grip to rachet that spring compressor closed and after 4 spring removels the jaws started to bend..I had to put a set of visegrip needle nose pliers near the end...I finished one head and put the other springs on with my rotary type compressor..
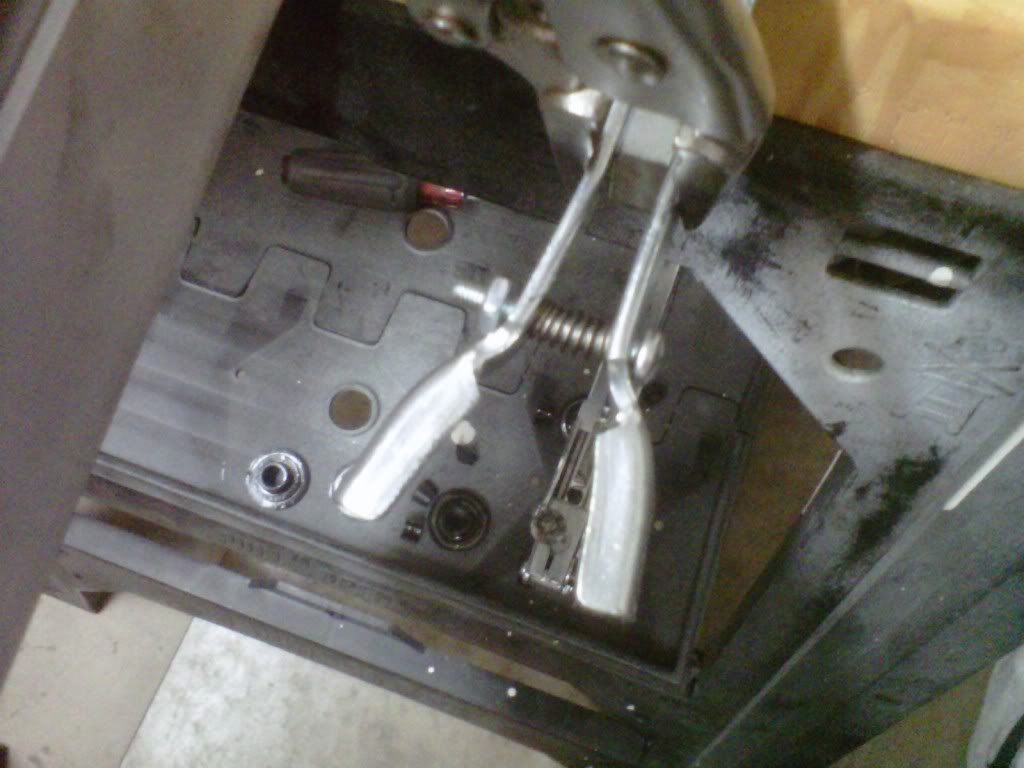
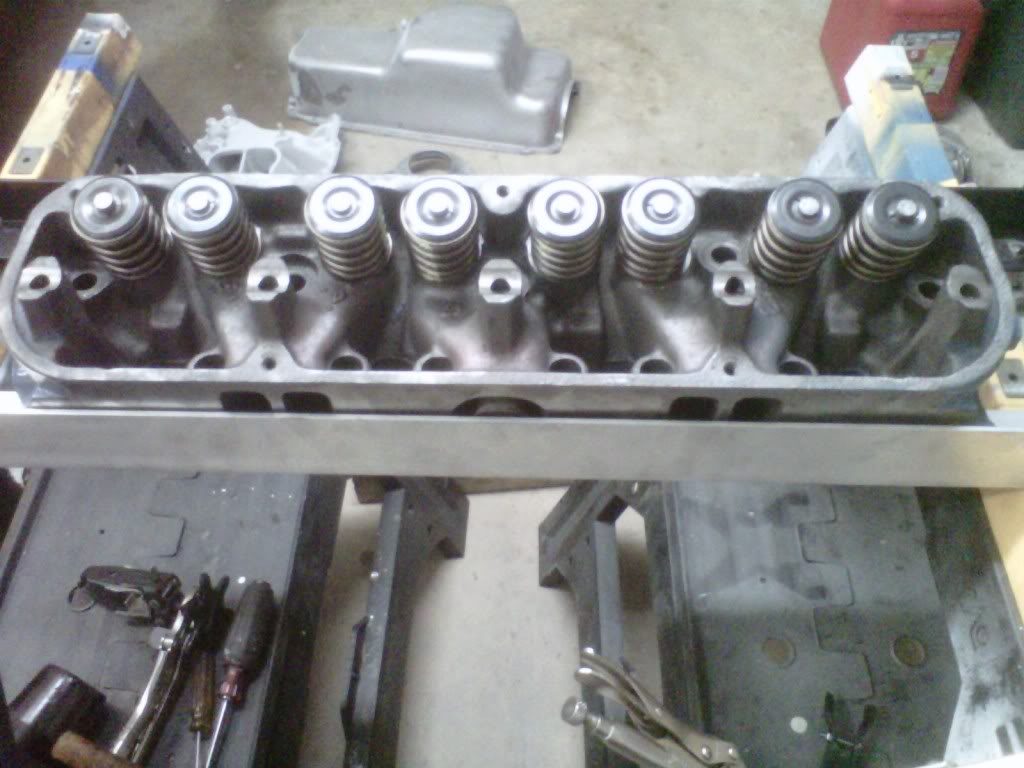
I won't throw the tool away and I will weld some strips to the outside to make it more sturdy..I will however see what my mechanic friends have at work to borrow and finish the other head...
I got my stuff back from blasting and it was alot easier than stripping the paint off..he was doing a trailer and took him 7 minutes to do my stuff..
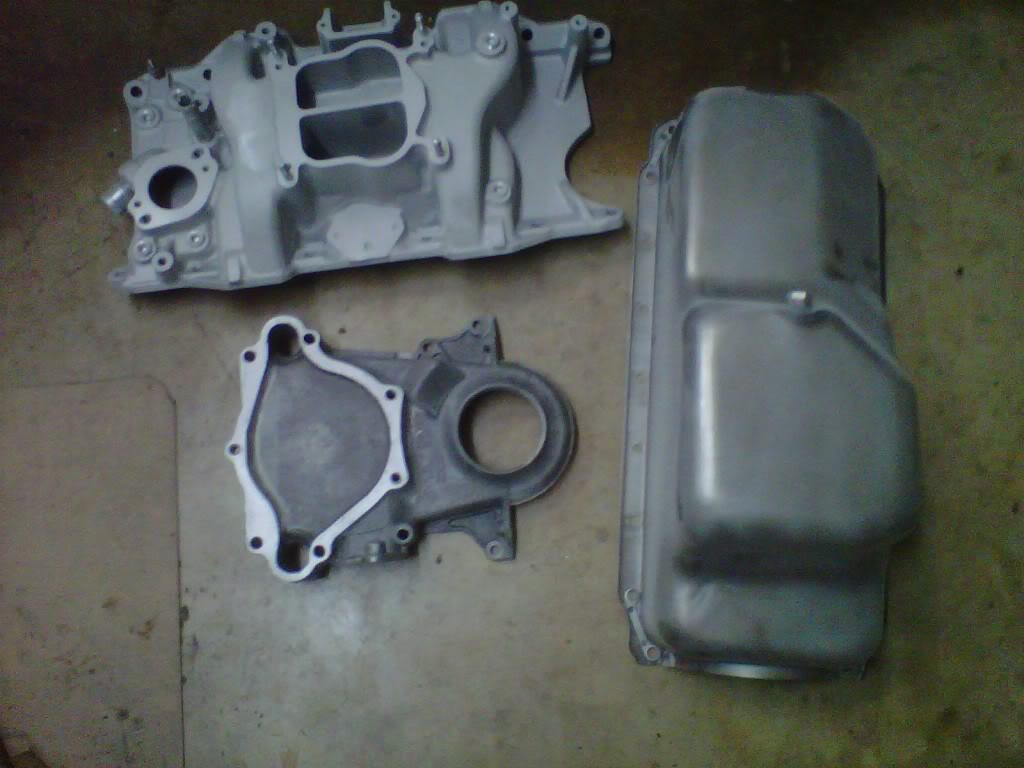
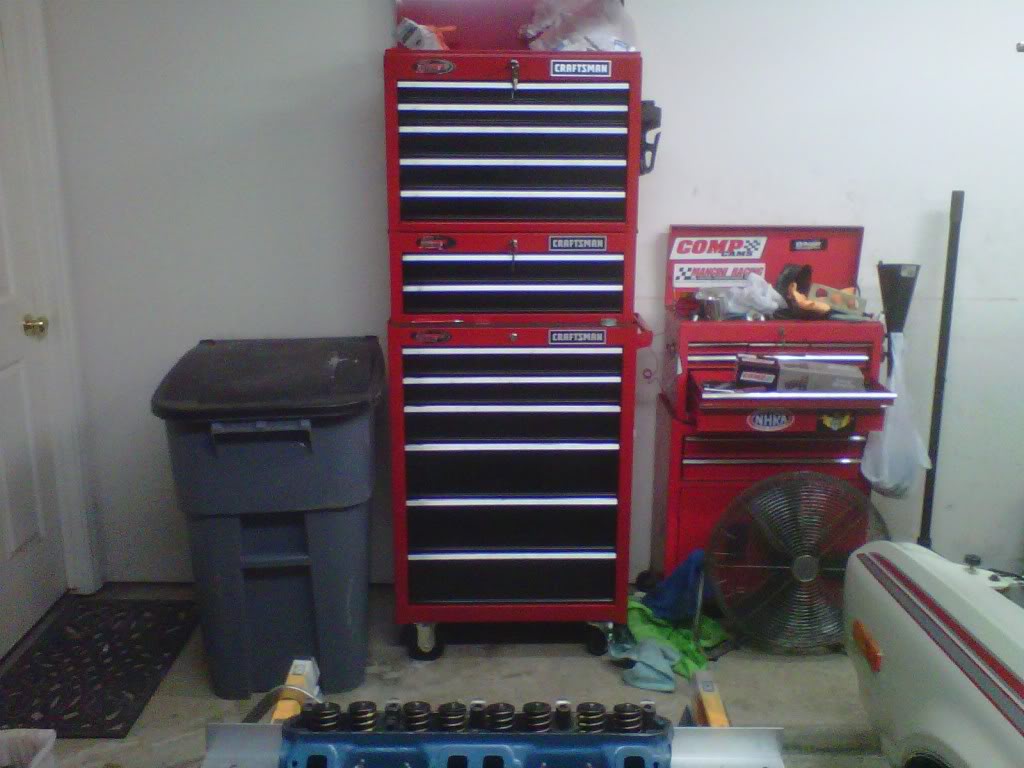
Today a Sears wasn't a total loss..this two drawer peice in the middle was 99 bucks instead of 149 bucks...now I have to stand on my toes to see the top of the box
Okay 20 dollars is 20 dollars....you need a good grip to rachet that spring compressor closed and after 4 spring removels the jaws started to bend..I had to put a set of visegrip needle nose pliers near the end...I finished one head and put the other springs on with my rotary type compressor..


I won't throw the tool away and I will weld some strips to the outside to make it more sturdy..I will however see what my mechanic friends have at work to borrow and finish the other head...
I got my stuff back from blasting and it was alot easier than stripping the paint off..he was doing a trailer and took him 7 minutes to do my stuff..

Today a Sears wasn't a total loss..this two drawer peice in the middle was 99 bucks instead of 149 bucks...now I have to stand on my toes to see the top of the box

Last edited by bremereric; 02-08-2011 at 10:51 PM.
#310
Super Moderator
Thread Starter
Looked at some higher priced spring compressors
I looked at Mancini Racing for one...they had a real heavy duty pro looking one for 100 bucks...Northern tools had one that looked like the Sears one for 69 bucks...for 50 cents and some welding I made my one off tool....remember this..
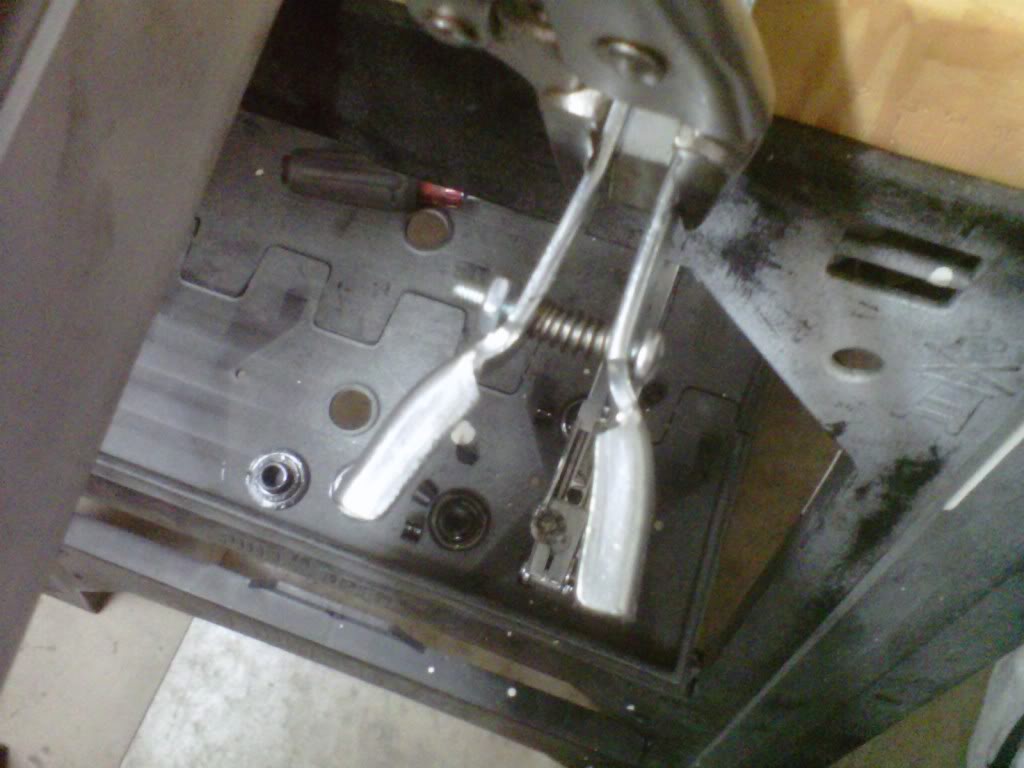
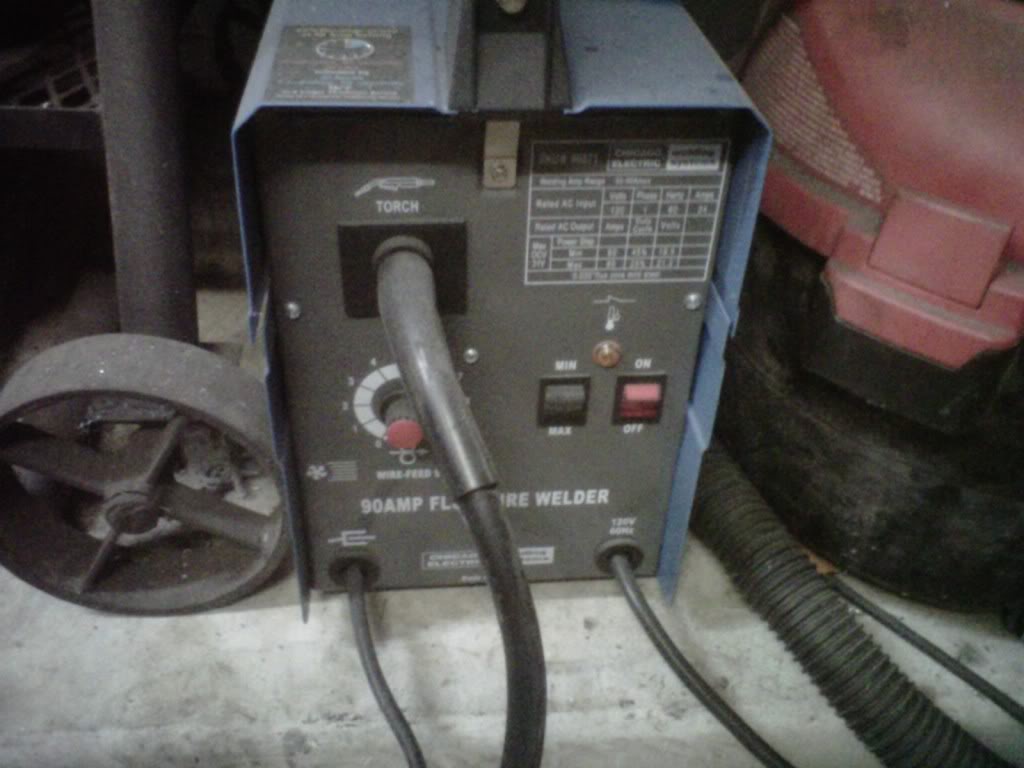
add a 99 buck Freight Harbor mig welder and that washer and you get this...a sturdy one off tool that actually works...didn't scare me at all un-like last night....
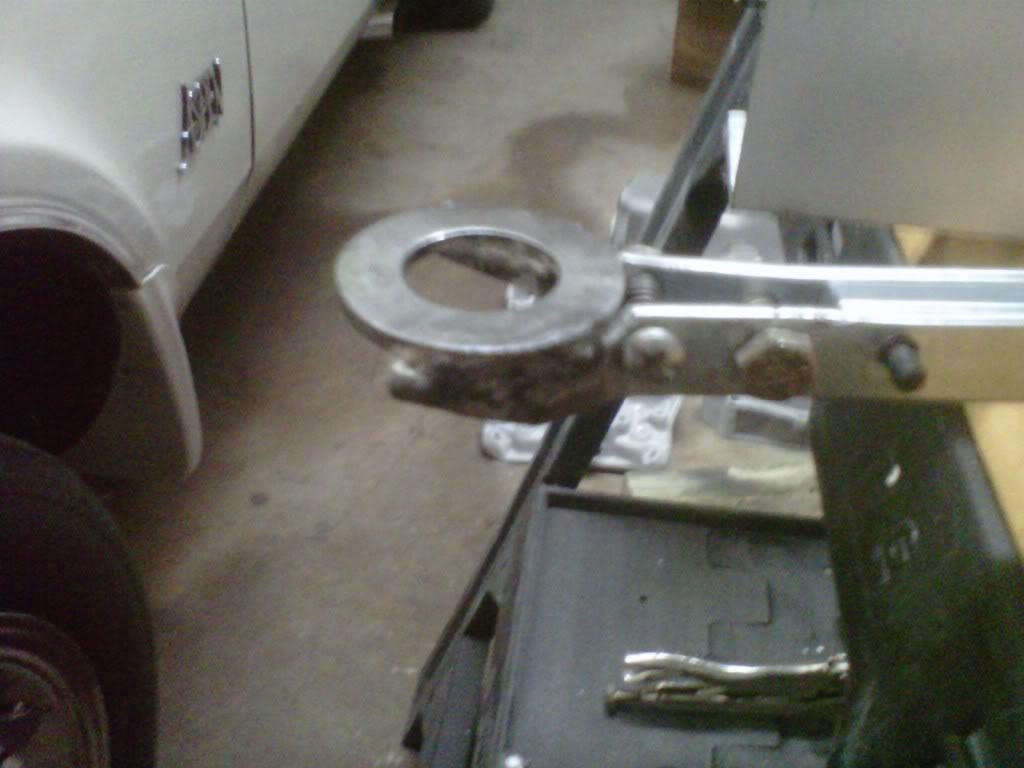
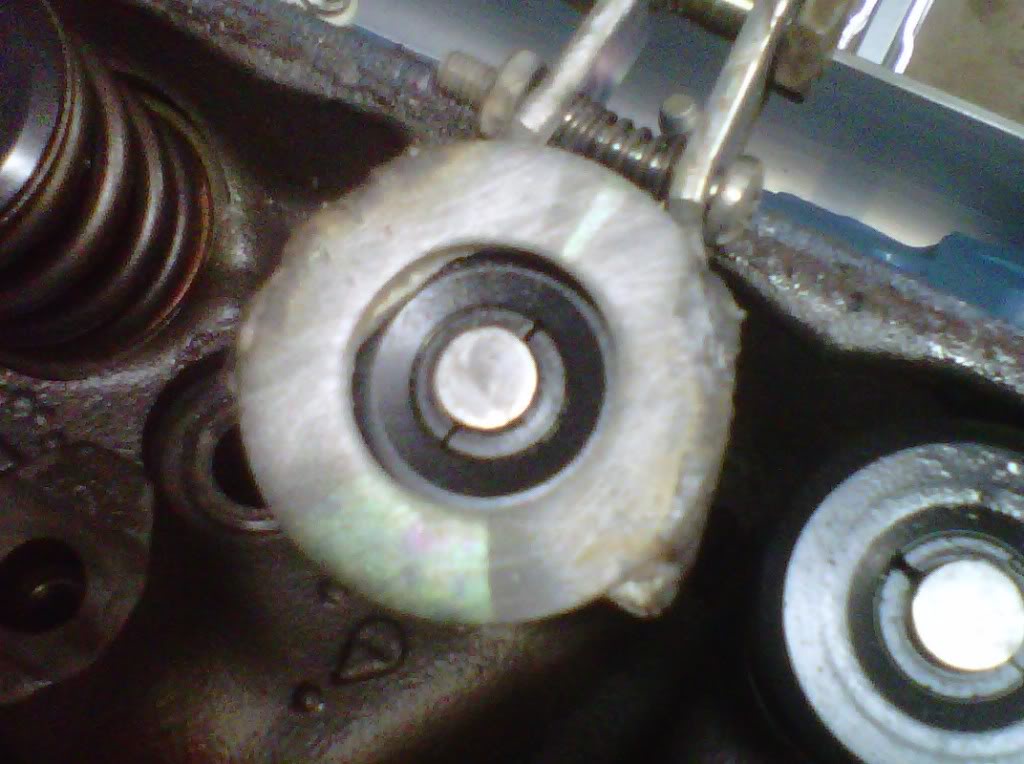
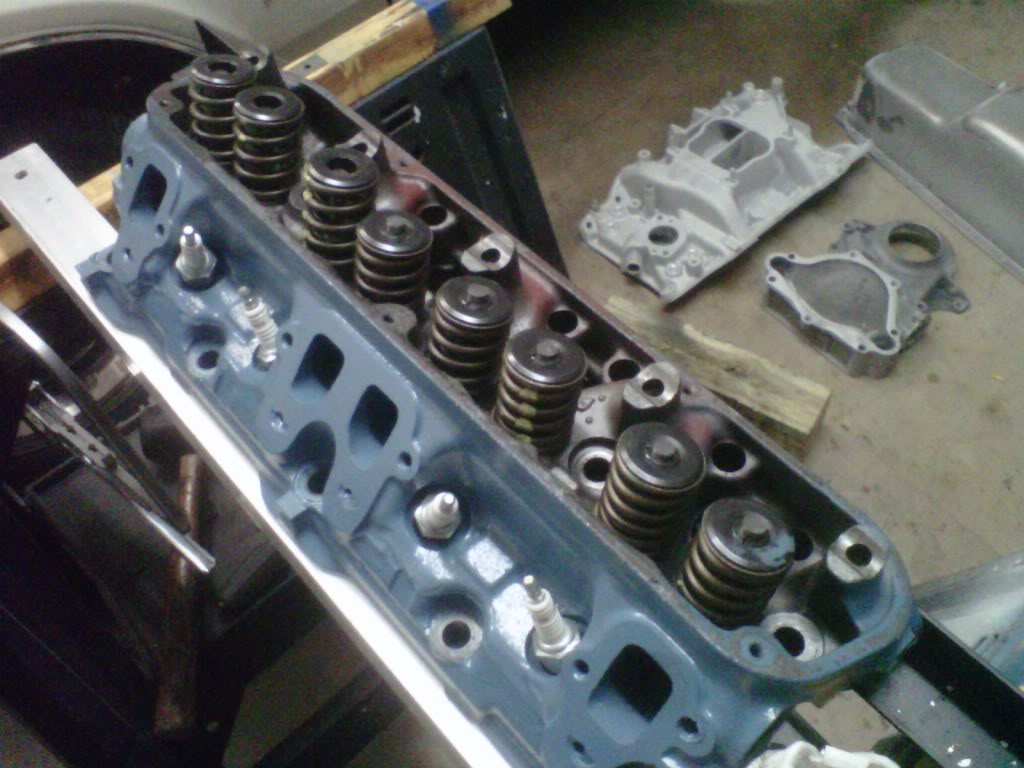
I also drilled another hole and inserted a 1/4 20 bolt in lieu of the visegrips..I got all of them off in 7 minutes and then 5 of them back on before I stopped...I did use it to put the locks back on and did not use the rotory tool at all tonight...what a differance that washer made...it is not adjustable now though..
I looked at Mancini Racing for one...they had a real heavy duty pro looking one for 100 bucks...Northern tools had one that looked like the Sears one for 69 bucks...for 50 cents and some welding I made my one off tool....remember this..

add a 99 buck Freight Harbor mig welder and that washer and you get this...a sturdy one off tool that actually works...didn't scare me at all un-like last night....


I also drilled another hole and inserted a 1/4 20 bolt in lieu of the visegrips..I got all of them off in 7 minutes and then 5 of them back on before I stopped...I did use it to put the locks back on and did not use the rotory tool at all tonight...what a differance that washer made...it is not adjustable now though..


#311
Super Moderator
Thread Starter
Finished a little tonight
I did a little homework tonight and then got to spend a little time prepping the timing cover and oil pan for primer...I am going to try something a little different this time...I am going to use VHT high temp primer and see how it goes underneath the 500 degree paint...the bare block does not allow paint to stick very good so I am going with the primer...it is going to be in the 70's here tomorrow so am trying to get as much painting as I can get done...I intend on stripping the paint off of the block and masking it and painting it with primer..I also installed the new seal in the timing cover that's the reason for the tape covering it..
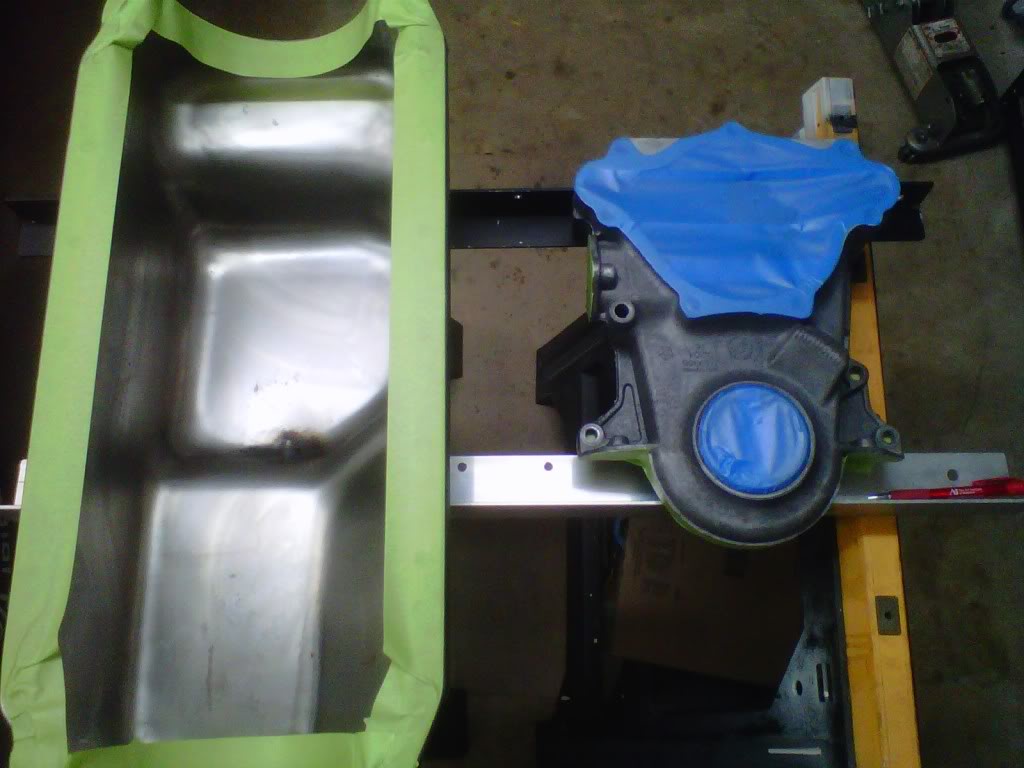
I did a little homework tonight and then got to spend a little time prepping the timing cover and oil pan for primer...I am going to try something a little different this time...I am going to use VHT high temp primer and see how it goes underneath the 500 degree paint...the bare block does not allow paint to stick very good so I am going with the primer...it is going to be in the 70's here tomorrow so am trying to get as much painting as I can get done...I intend on stripping the paint off of the block and masking it and painting it with primer..I also installed the new seal in the timing cover that's the reason for the tape covering it..

#312
Super Moderator
Thread Starter
Okay here goes..got a litte done today
I got he pan, timing cover and motor primed...remember my goal is to paint the motor engine color when it is all assembled...I left the heads and water pump alone because the paint is very good on them...here goes the block after all the paint was stripped and I power washed it..had to spray it down with WD40 right away to prevent flash rusting..
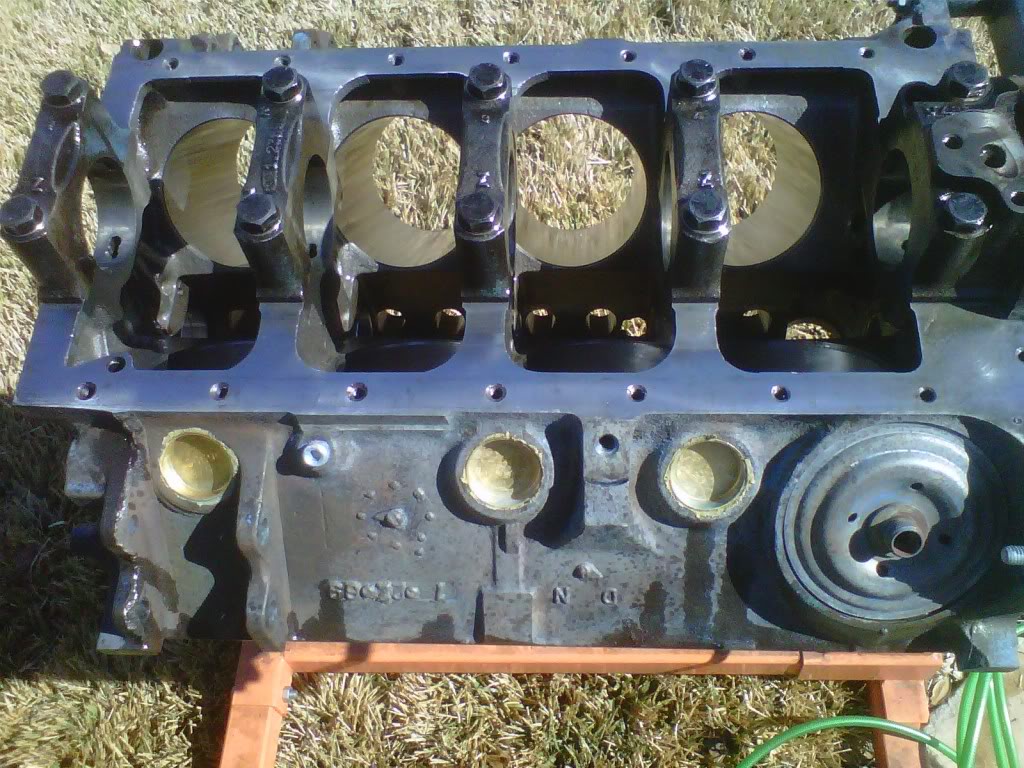
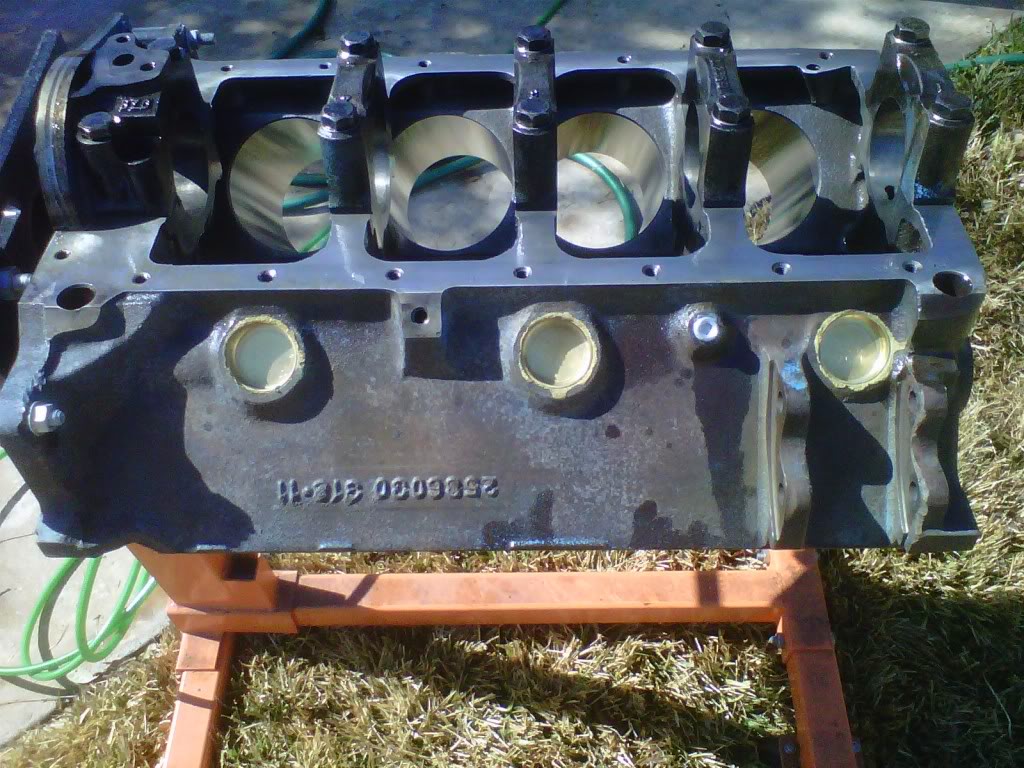
I then taped up the top...the bottom and the front...
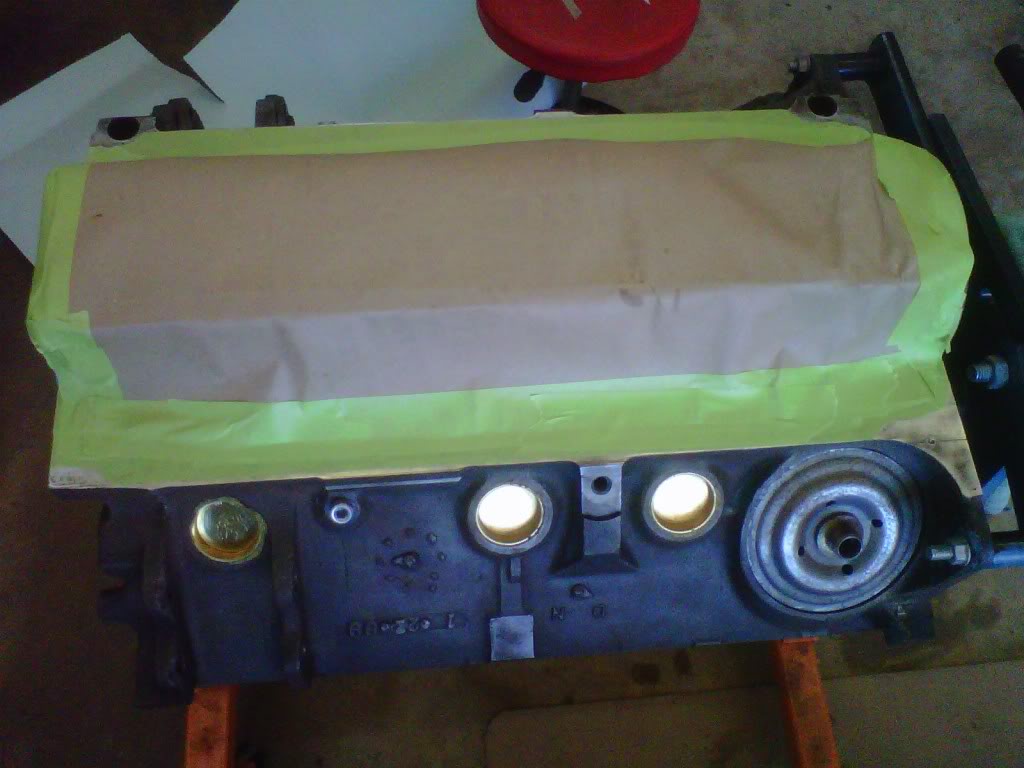
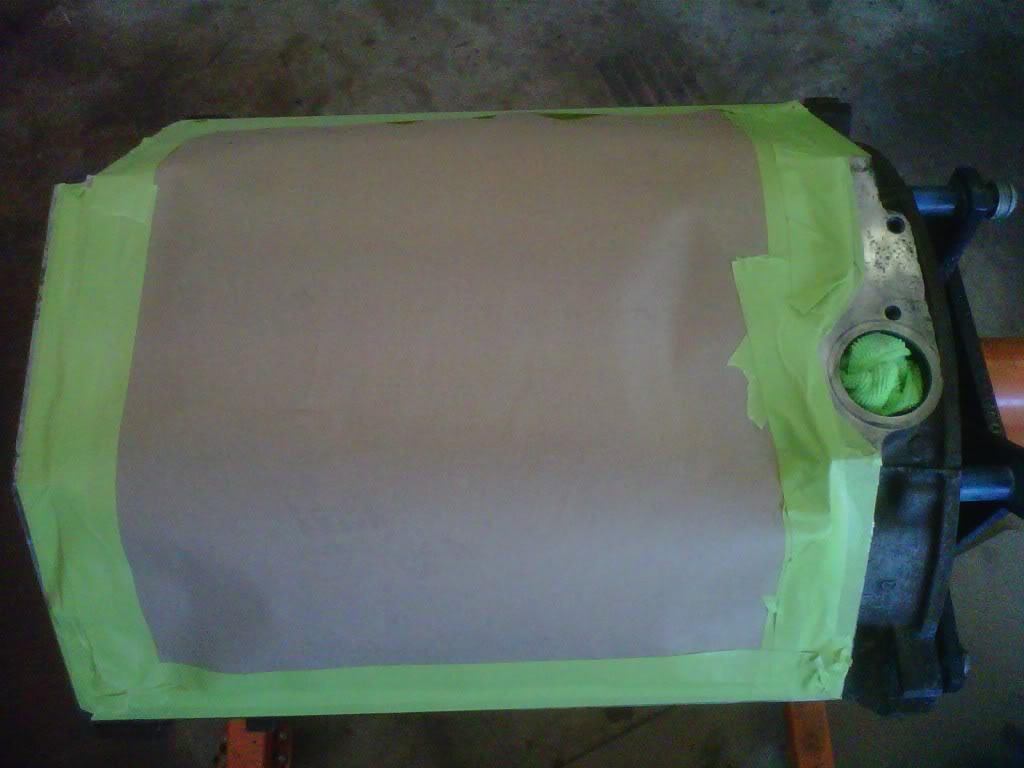
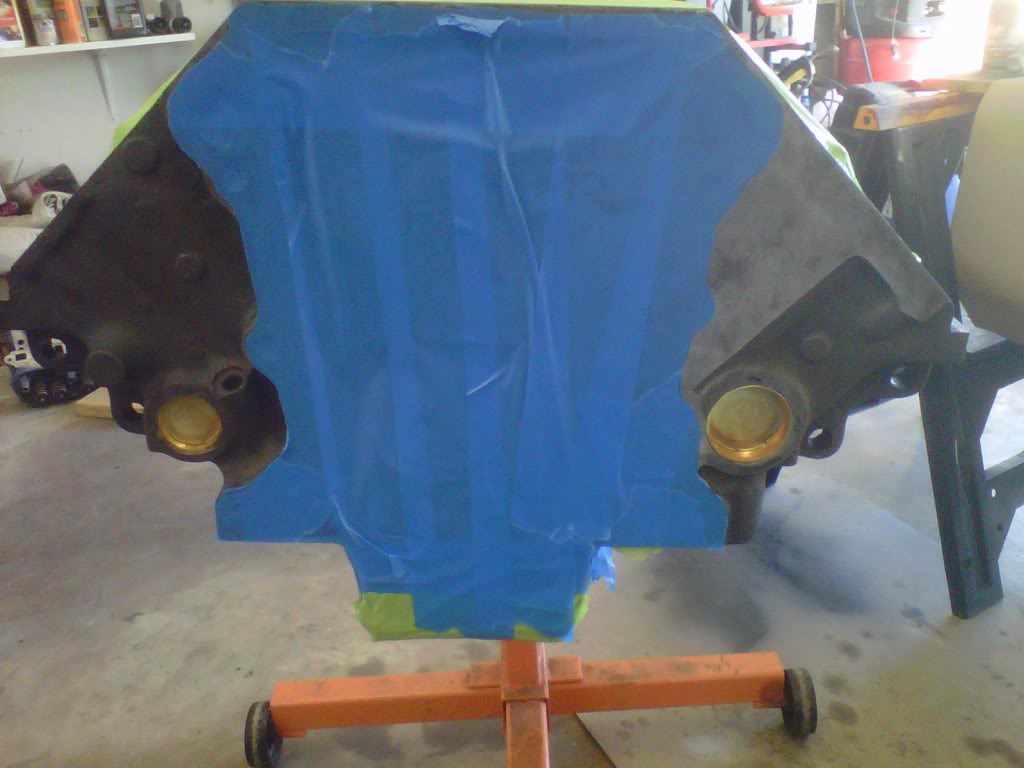
After three very light coats of primer I baked it with those halogen lights...
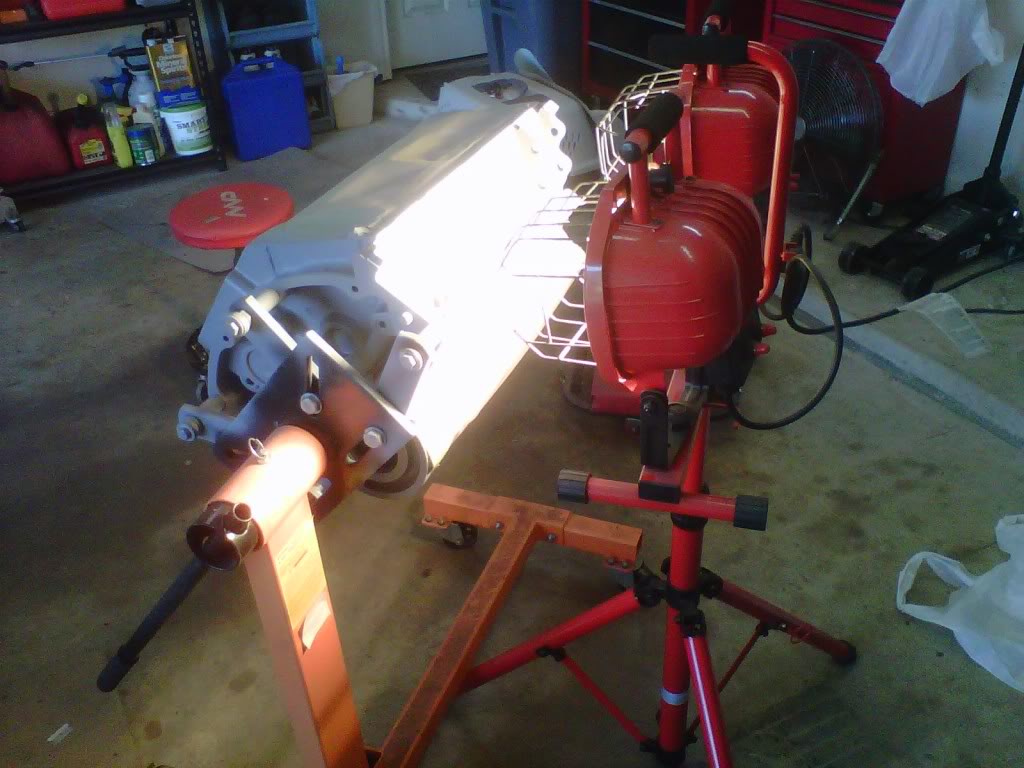
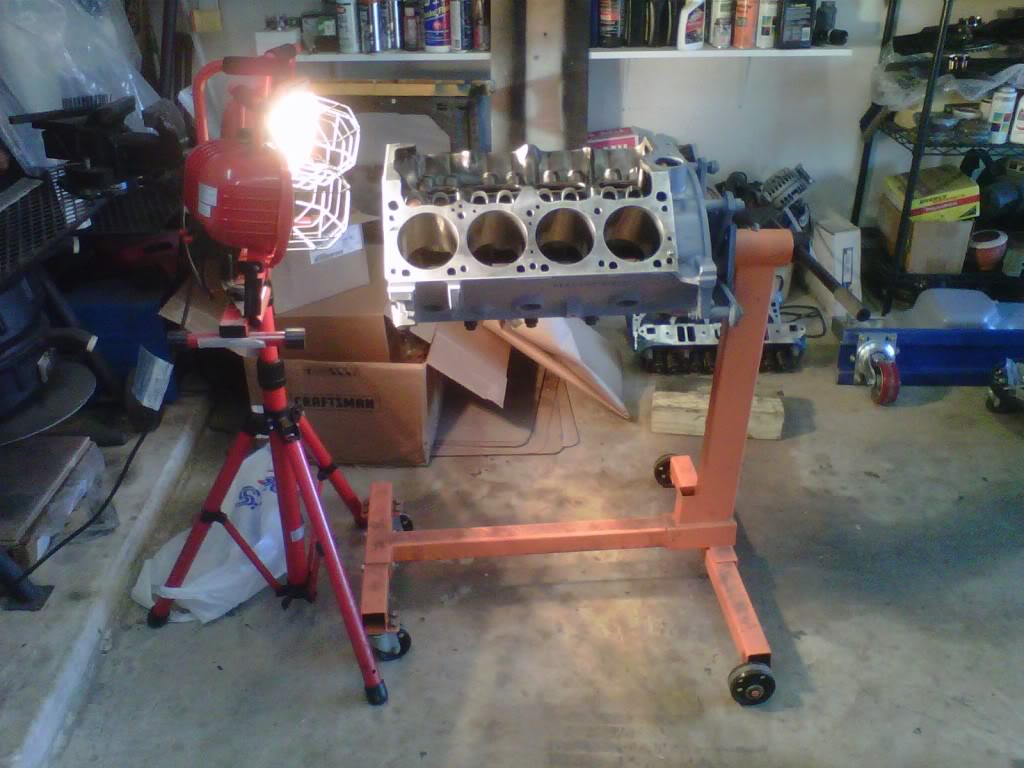
Oil pan and timing cover done....I hit them with the light also...
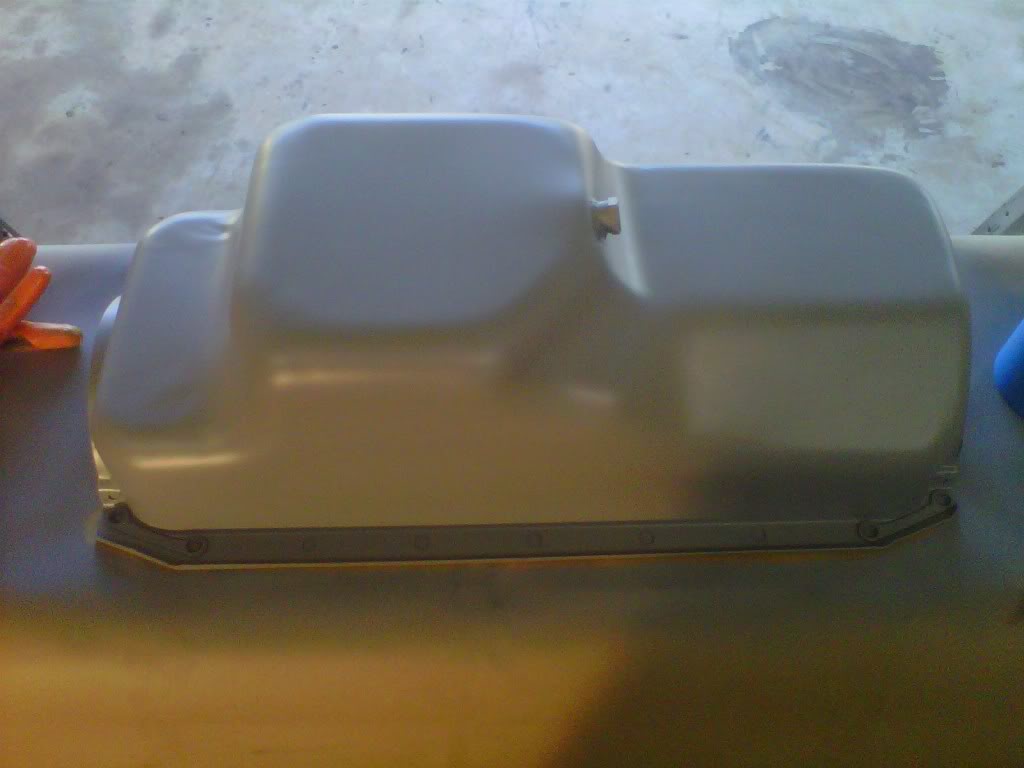
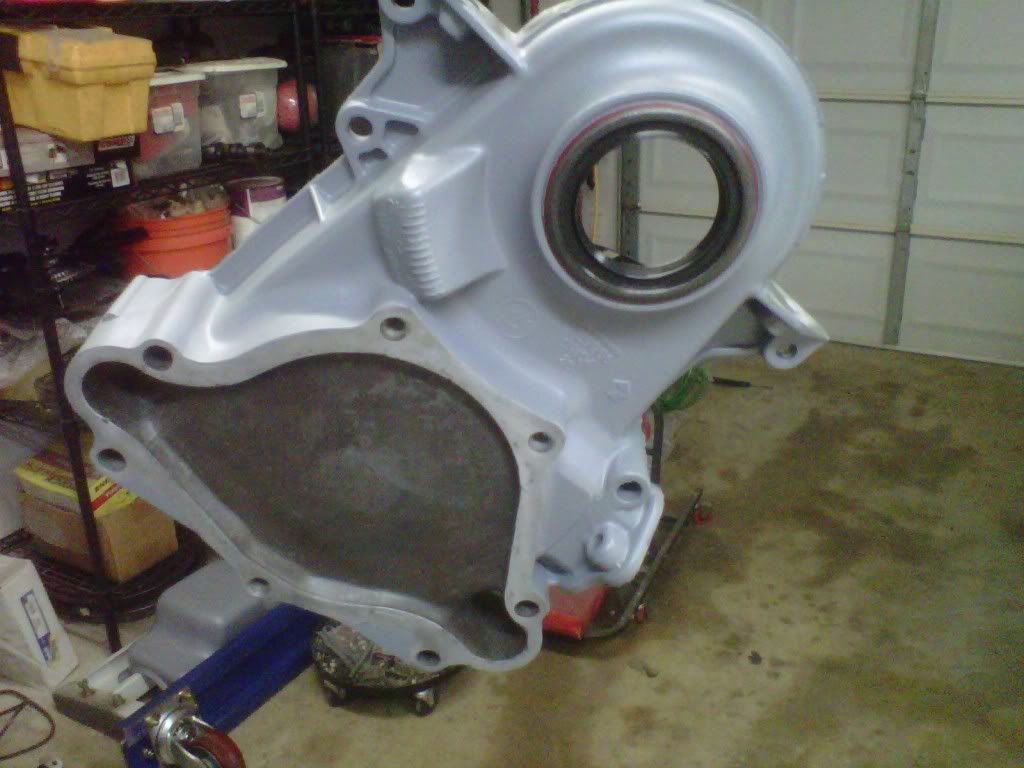
And as far as I can tell the primer sticked really good and will make for a good top coat...
I got he pan, timing cover and motor primed...remember my goal is to paint the motor engine color when it is all assembled...I left the heads and water pump alone because the paint is very good on them...here goes the block after all the paint was stripped and I power washed it..had to spray it down with WD40 right away to prevent flash rusting..


I then taped up the top...the bottom and the front...


After three very light coats of primer I baked it with those halogen lights...


Oil pan and timing cover done....I hit them with the light also...


And as far as I can tell the primer sticked really good and will make for a good top coat...
#314
Super Moderator
Thread Starter
That light gets really hot...you can bake this stuff on the car or off the car...bake at 250 for 30 minutes then 450 then 600...this is the primer that is used on exhaust manifolds and headers...I doubt my egine parts will achieve those heat ratings but I checked it this morning and that stuff stuck like elmers glue and is now chemical resistant..they also give you instructions for on the car baking..
#316
Super Moderator
Thread Starter
VHT stands for Very high temperature...it is their flame proof primer..they really sell it for header paint...but I will say again that it stuck really good and should allow for a real good top coat..
#317
Super Moderator
Thread Starter
Sinus crud again
Here some of the trees are blooming...especially the red maple in my front yard..being outside all day Saturday and Sunday....nose and throat burn started Saturday evening and I felt like hammered dog poop today...I came home and took a nap then a shower and then cut put the decals I am sending back to Pheonix Graphix....3 for them and the rest for me..
Here some of the trees are blooming...especially the red maple in my front yard..being outside all day Saturday and Sunday....nose and throat burn started Saturday evening and I felt like hammered dog poop today...I came home and took a nap then a shower and then cut put the decals I am sending back to Pheonix Graphix....3 for them and the rest for me..


#318
Super Moderator
Thread Starter
I got a B12 and steroid shot in the rear today
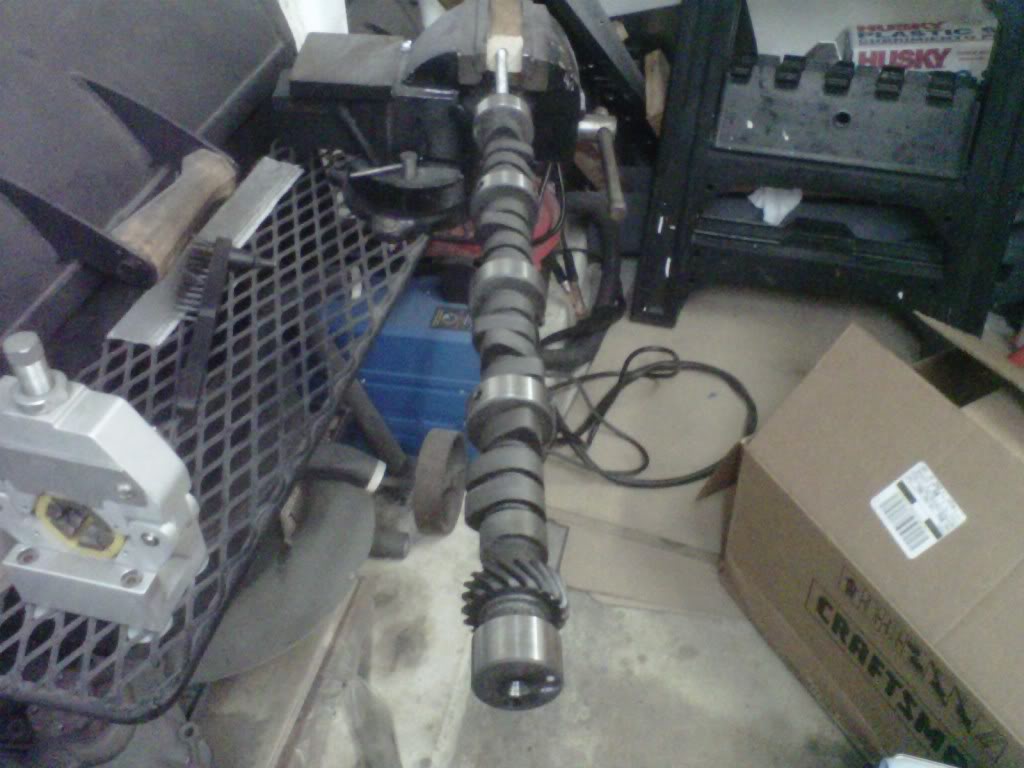
Usually I wait too long with a sinus issue then it leads to ear infections or bronchitis...not this time..I meant what I said yesterday about how I fealt so went to the old Air Force doctor this morning..always a good shot in the rear end...I felt good enough tonight to stab the new 260/260 duration 440/440 lift cam in there...I won't go into great detail about putting the motor back together..I will however share some of tips that I do...first I always put the cam shaft in with the motor flipped upside down and before putting the crankshaft in..this allows you to hold the front of the cam shaft with my left fingers while inserting it from the front with my right hand...I also made my own handle...1/2" all thread and some wood...makes for a good holder in the vise to lube it down...
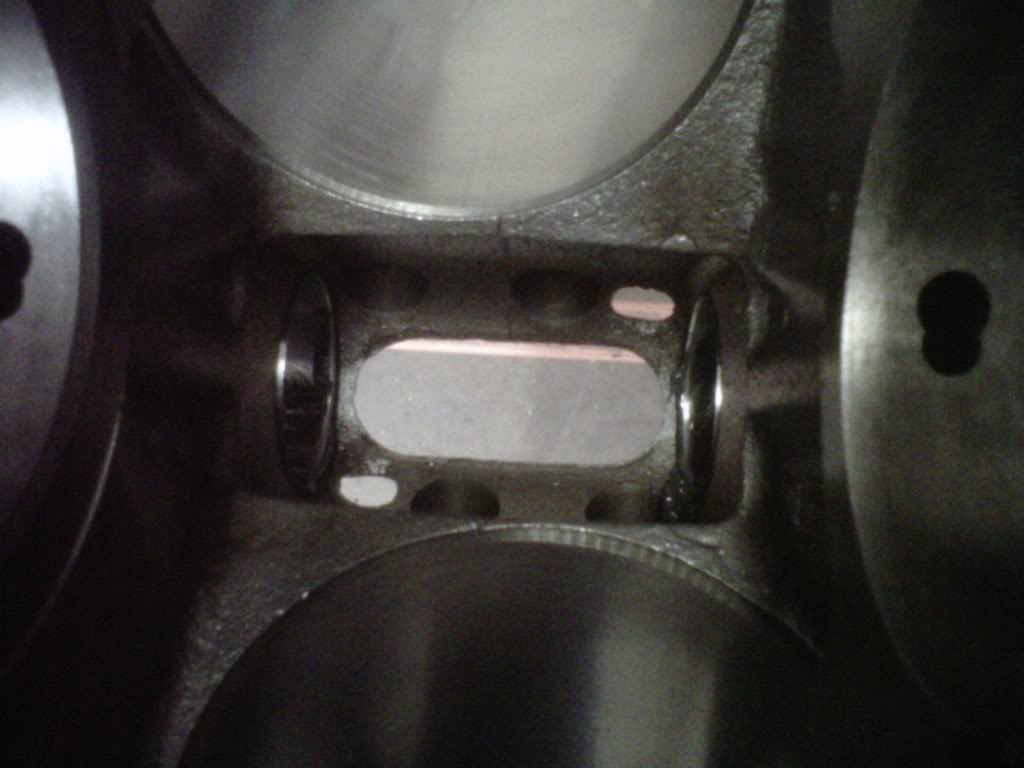
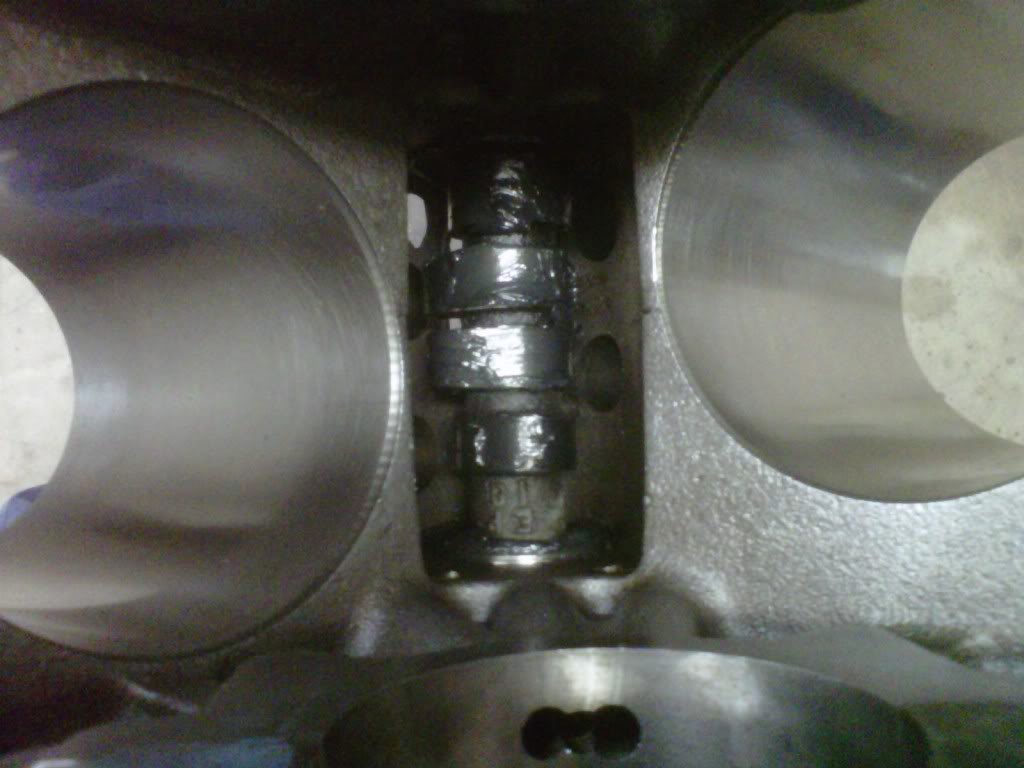
And yes my barbacue pit does serve different purposes...vise attachment base and A/C hose line crimper attachment base...cheap wood handle and all thread...I also cleaned off all the lobes with laquer thinner because the cam shaft is coated with some kind of sticky protective anti rust coating..
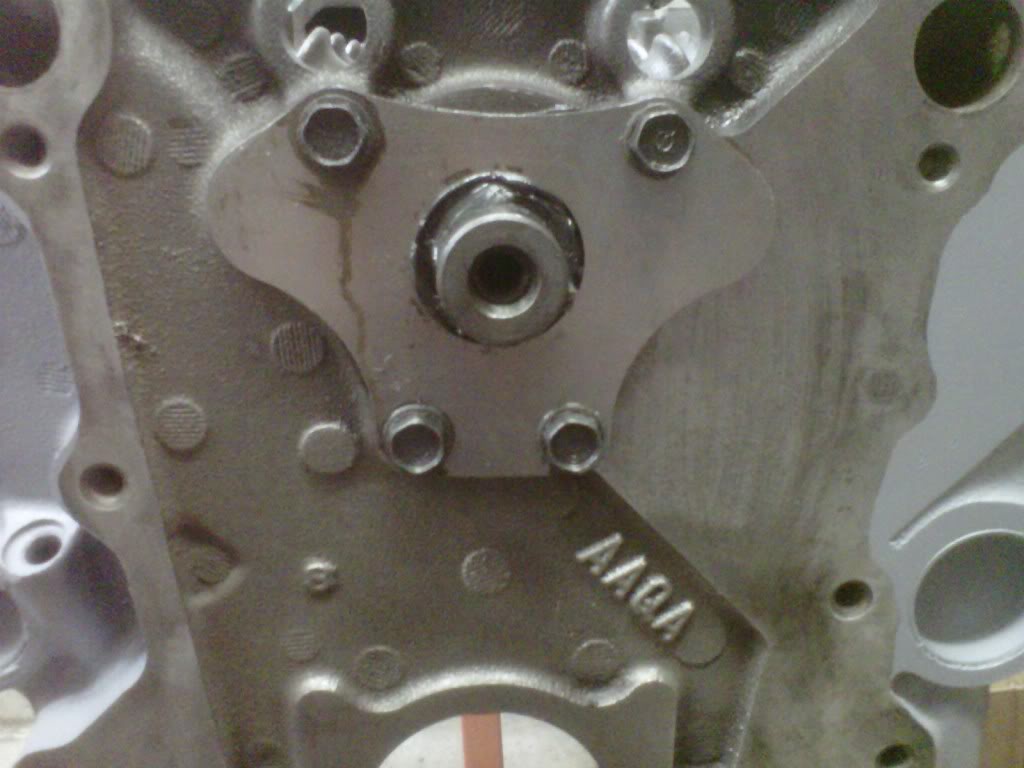
thrust plate on with a couple of drops of blue lock tite on the threads of the bolts..
Usually I wait too long with a sinus issue then it leads to ear infections or bronchitis...not this time..I meant what I said yesterday about how I fealt so went to the old Air Force doctor this morning..always a good shot in the rear end...I felt good enough tonight to stab the new 260/260 duration 440/440 lift cam in there...I won't go into great detail about putting the motor back together..I will however share some of tips that I do...first I always put the cam shaft in with the motor flipped upside down and before putting the crankshaft in..this allows you to hold the front of the cam shaft with my left fingers while inserting it from the front with my right hand...I also made my own handle...1/2" all thread and some wood...makes for a good holder in the vise to lube it down...


And yes my barbacue pit does serve different purposes...vise attachment base and A/C hose line crimper attachment base...cheap wood handle and all thread...I also cleaned off all the lobes with laquer thinner because the cam shaft is coated with some kind of sticky protective anti rust coating..

thrust plate on with a couple of drops of blue lock tite on the threads of the bolts..

#319
Super Moderator
Thread Starter
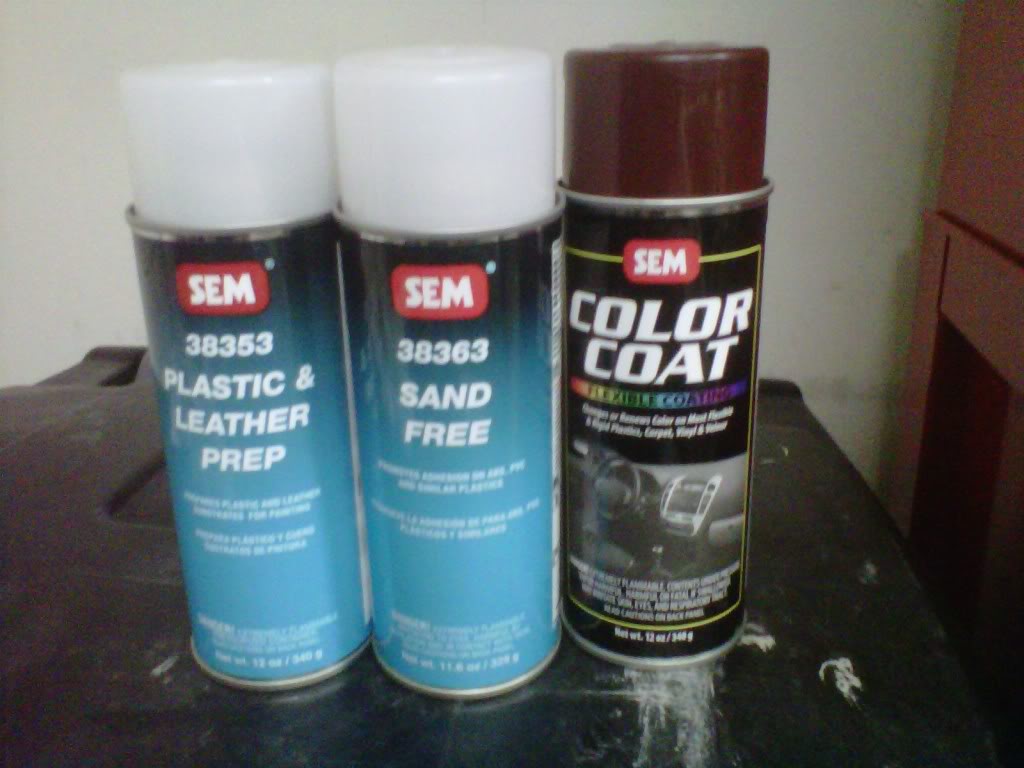
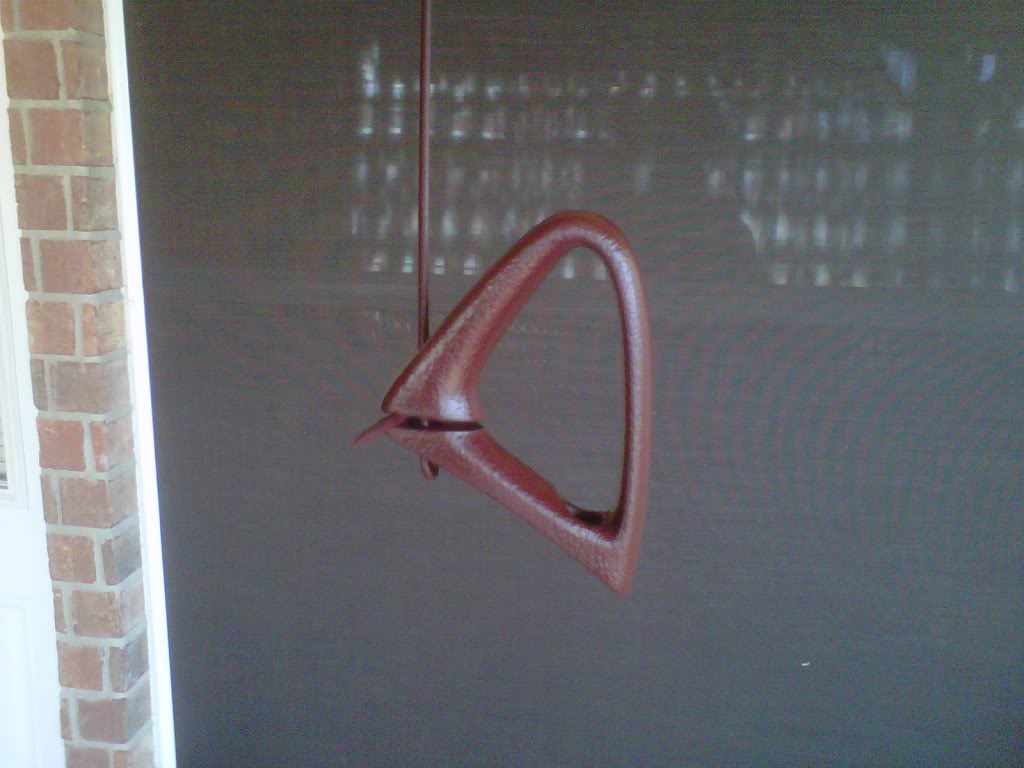
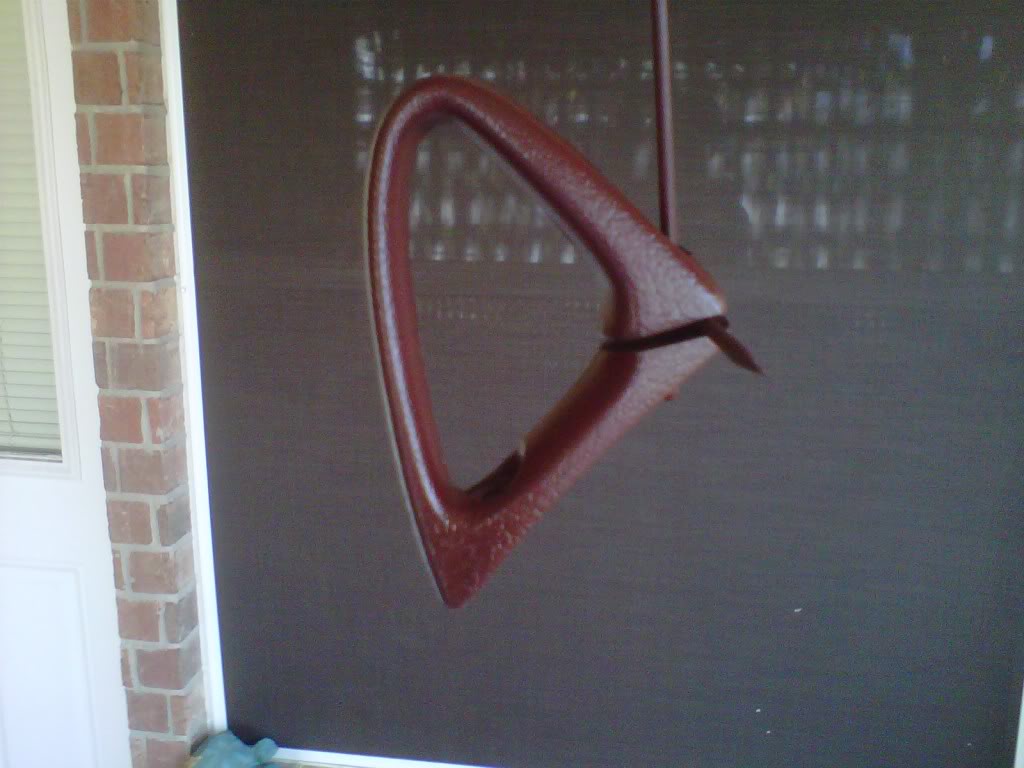
Got my three cans from Eastwood today..
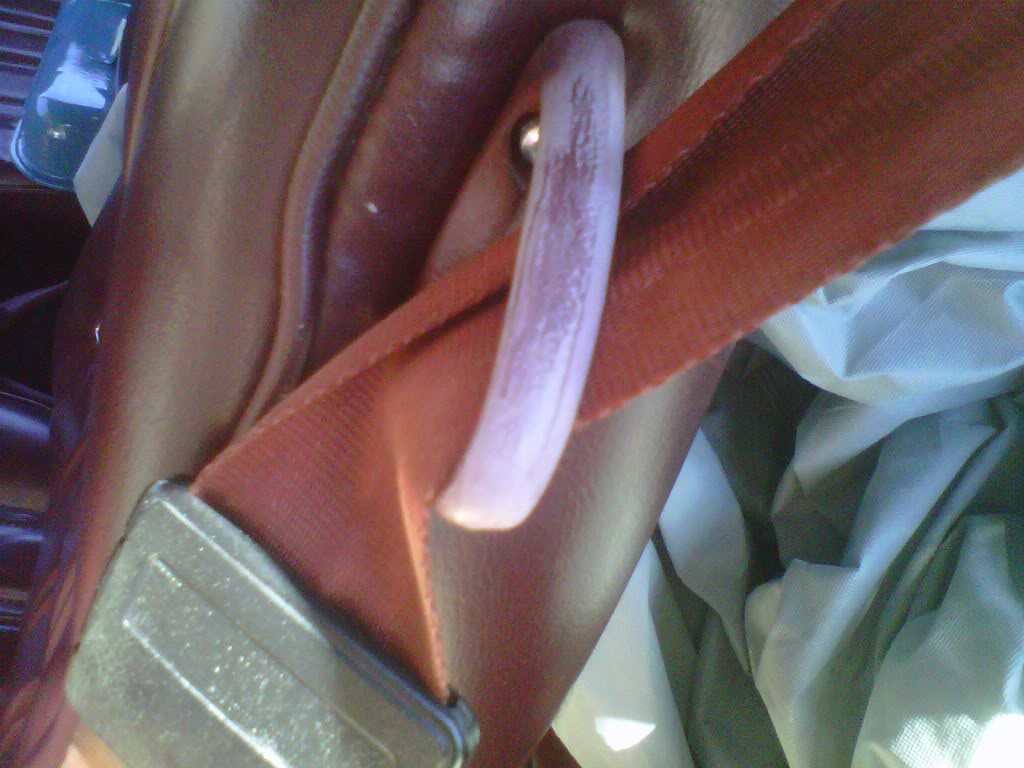
Three days thanks to FED Ex and they were here this morning on the front porch..I couldn't have picked a closer match...
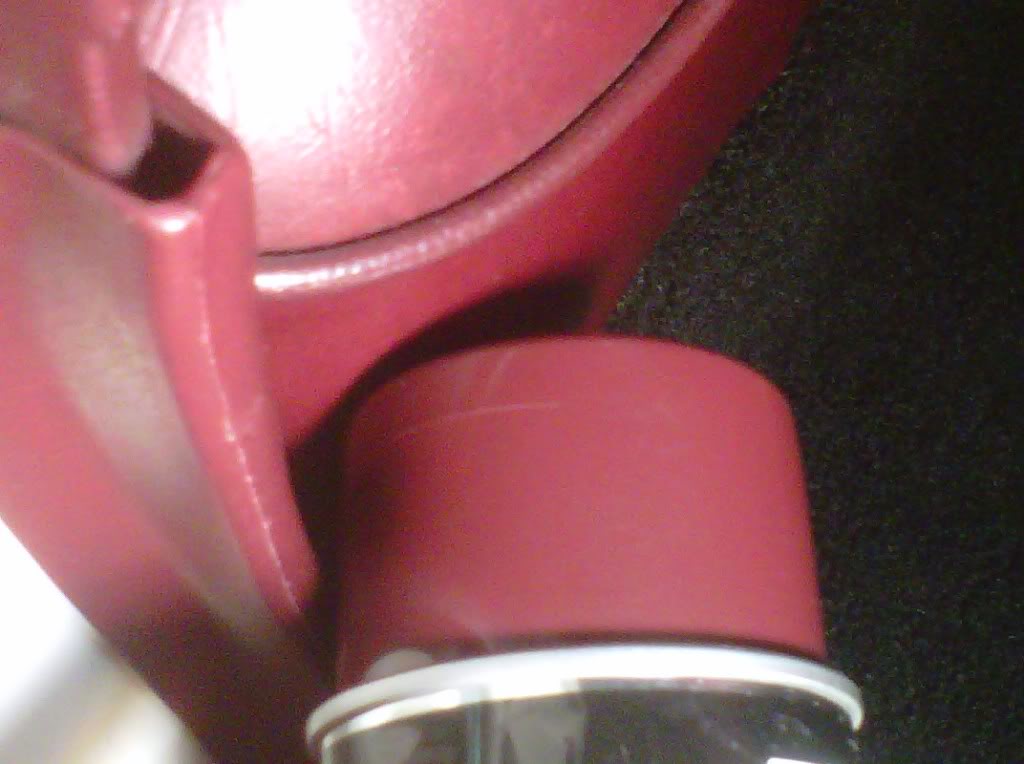
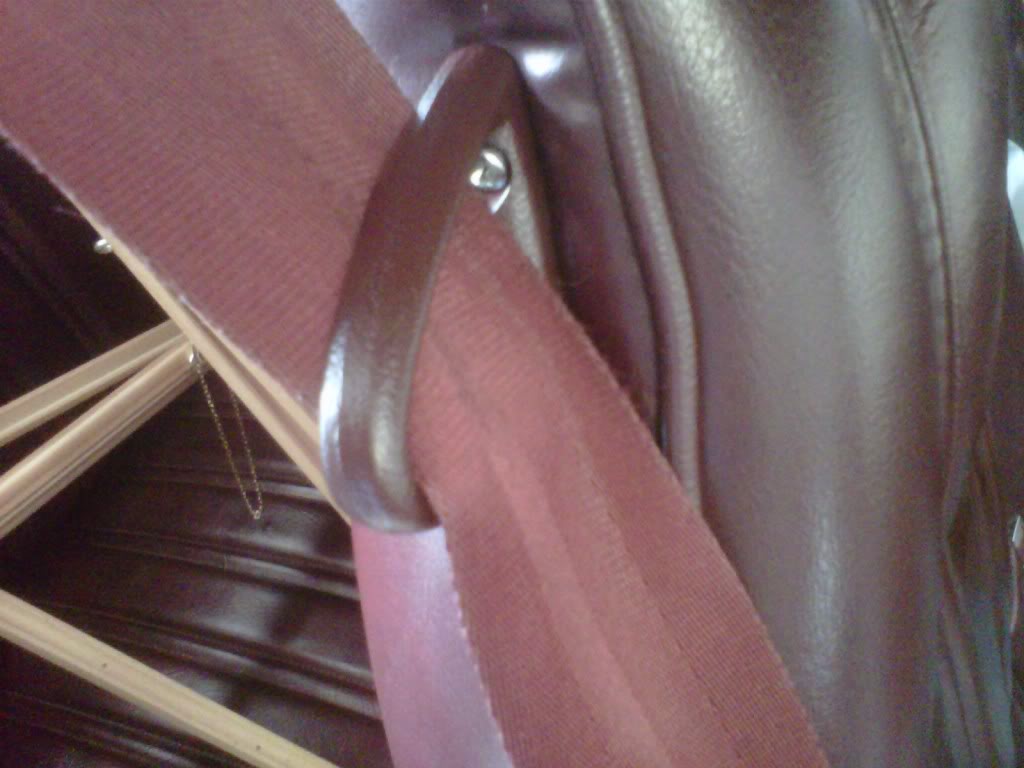
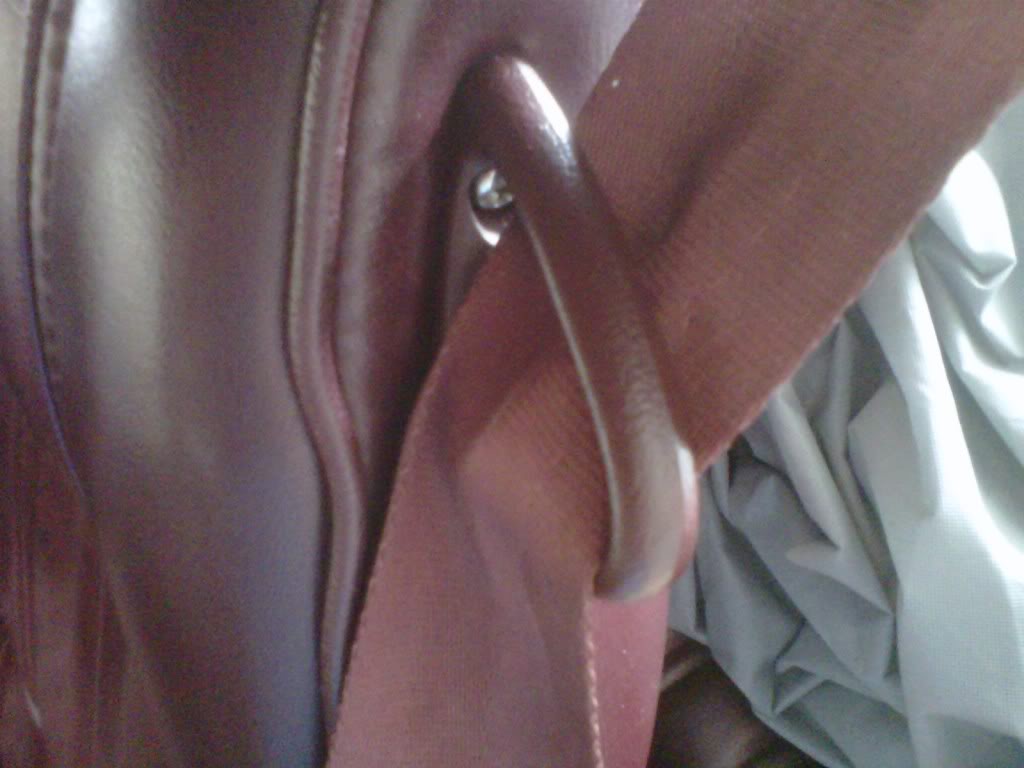
I found out on the first one it very easy to slide the seatbelt out of the loop by leaving the top screw in and carefully prying a gap open at the bottom while sliding the seatbelt out...this is how faded they are..the very worst looking thing inside the car...I will not paint and prep until Saturday..
Three days thanks to FED Ex and they were here this morning on the front porch..I couldn't have picked a closer match...


I found out on the first one it very easy to slide the seatbelt out of the loop by leaving the top screw in and carefully prying a gap open at the bottom while sliding the seatbelt out...this is how faded they are..the very worst looking thing inside the car...I will not paint and prep until Saturday..

#320
Super Moderator
Thread Starter
Okay I got some older pictures and some info
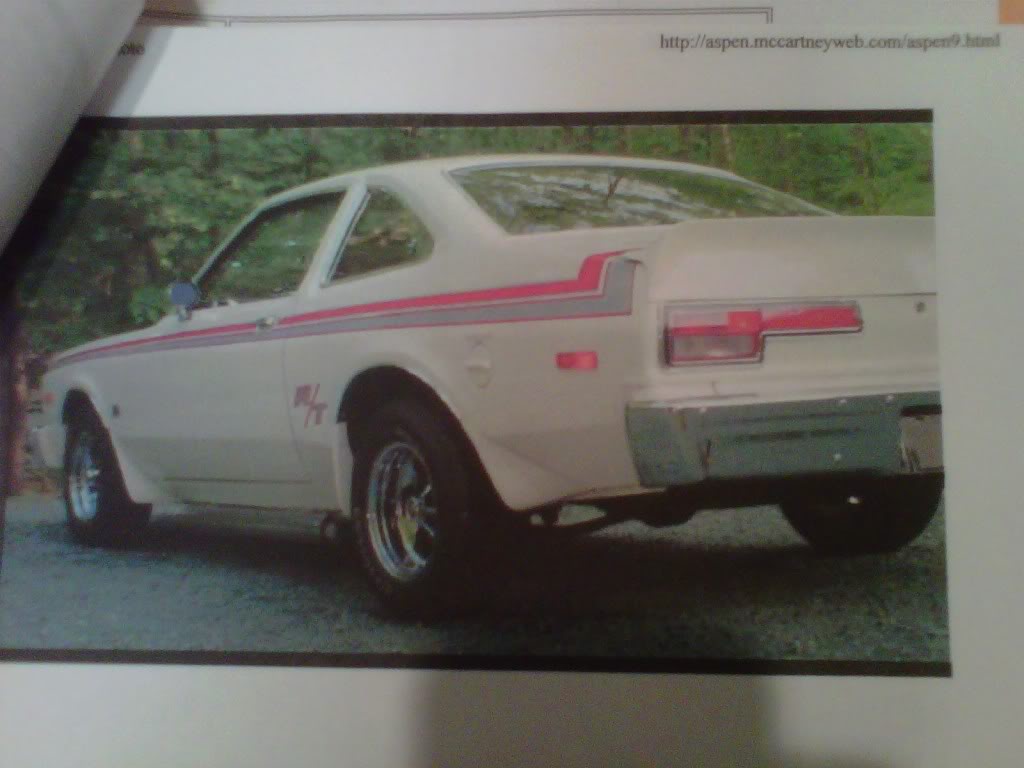
First of all I will type exactly like it is written on the ad for sale to the previous owner by the second owner who was the first's owners son....
Asking Price $11,500
Original Owners This car was pruchased new by my parents in 1977 from a dealership in Warren Ohio. It has never been driven in the winter and has been stored in a climate controlled garage. I have been in possession of it since the early 90's.
Location This Aspen currently resides in Virginia.
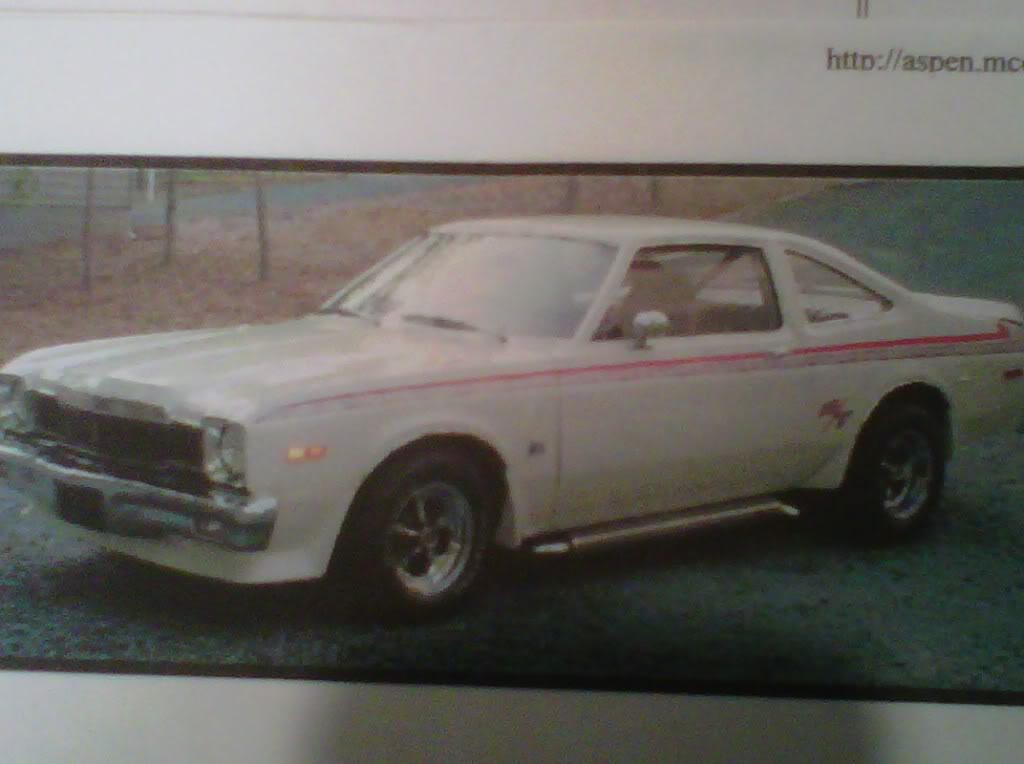
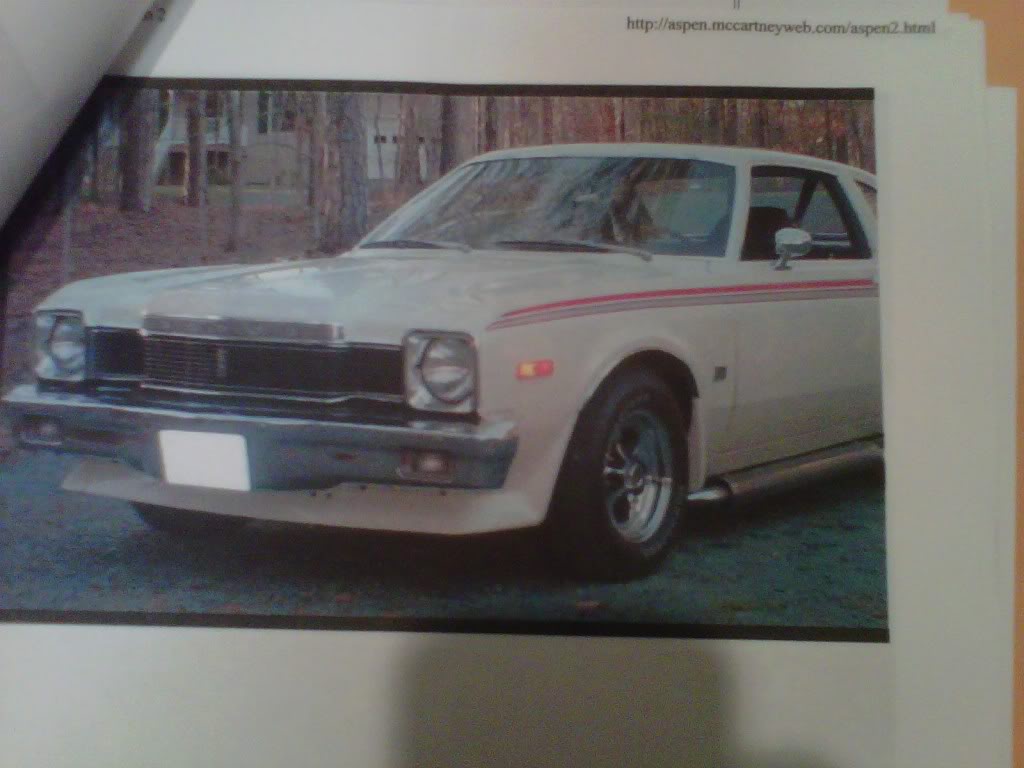
Paint This Aspen has NOT been repainted and has had No body work. The paint and stripes are original. My parents originally ordered a black super coupe, however at the time the dealership was unable to locate a black one with the wheel flares and front and rear spoilers. Therefore, the dealership assembled this white one making it a one of a kind.
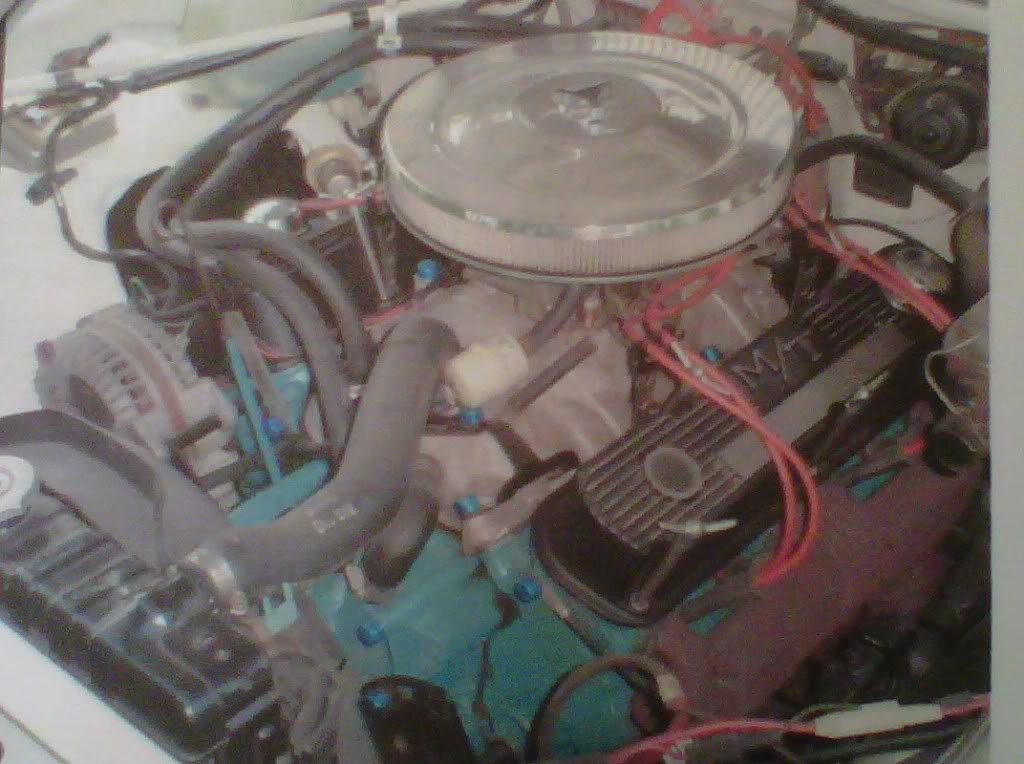
Modifications The only exterior modifications to this car are the keystone classic rims and the side pipes. The interior is completely stock except for the Hurst shifter handle, and still has the new car smell due to being stored in a garage for it's entire life. It even still has the factory AM radio as I never had the heart to cut the dash for new stereo or the doorpads for new speakers. The California emissions package has been removed from the engine, an Offenhauser intake was added as well as a Holley 4 barrel carburetor. I still have the original intake, carburetor, and air cleaner.
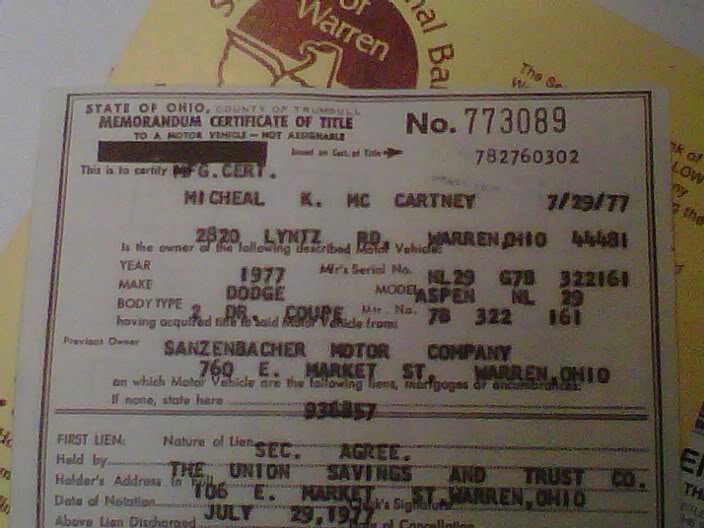
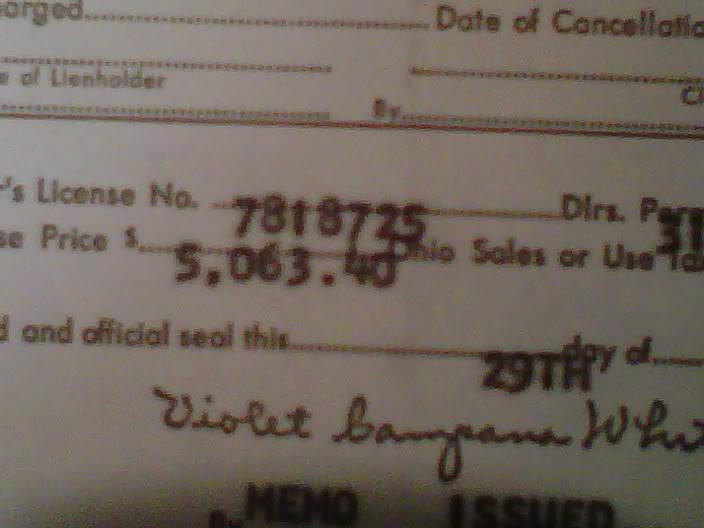
Now for some pictures......original certificate of title with the sales amount...
Some older pics of the car...no decal on the rear spoiler...check out those side pipes
First of all I will type exactly like it is written on the ad for sale to the previous owner by the second owner who was the first's owners son....
Asking Price $11,500
Original Owners This car was pruchased new by my parents in 1977 from a dealership in Warren Ohio. It has never been driven in the winter and has been stored in a climate controlled garage. I have been in possession of it since the early 90's.
Location This Aspen currently resides in Virginia.
Paint This Aspen has NOT been repainted and has had No body work. The paint and stripes are original. My parents originally ordered a black super coupe, however at the time the dealership was unable to locate a black one with the wheel flares and front and rear spoilers. Therefore, the dealership assembled this white one making it a one of a kind.
Modifications The only exterior modifications to this car are the keystone classic rims and the side pipes. The interior is completely stock except for the Hurst shifter handle, and still has the new car smell due to being stored in a garage for it's entire life. It even still has the factory AM radio as I never had the heart to cut the dash for new stereo or the doorpads for new speakers. The California emissions package has been removed from the engine, an Offenhauser intake was added as well as a Holley 4 barrel carburetor. I still have the original intake, carburetor, and air cleaner.
Now for some pictures......original certificate of title with the sales amount...


Some older pics of the car...no decal on the rear spoiler...check out those side pipes


#321
Super Moderator
Thread Starter
Got my shortblock all built back up tonight
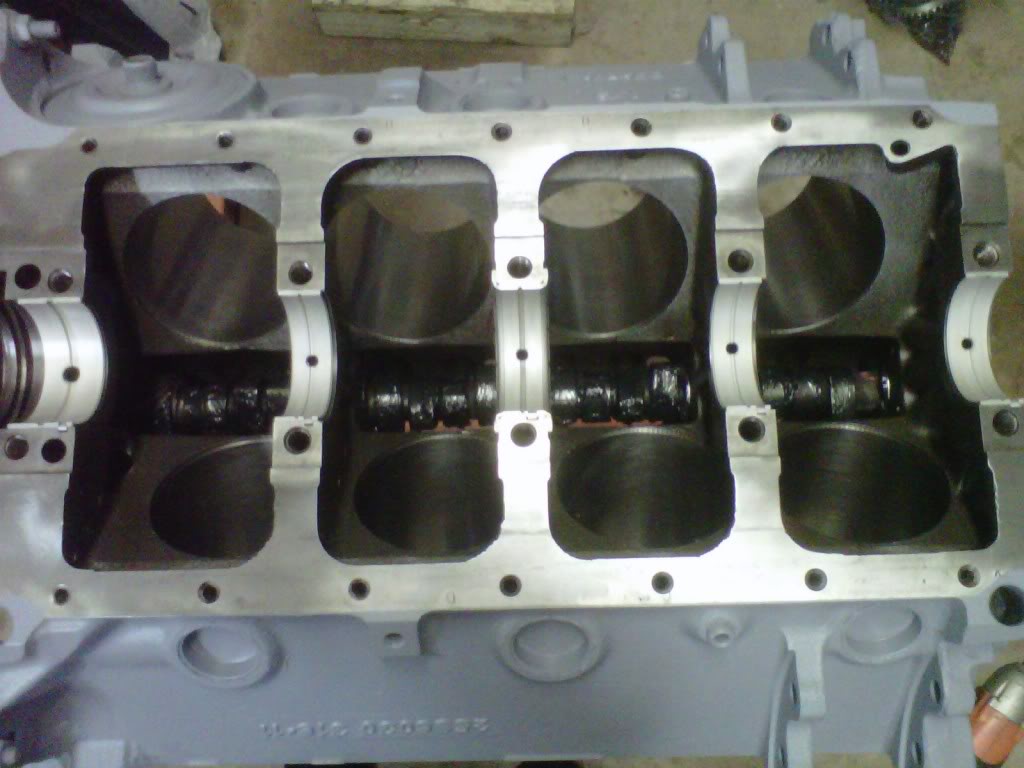
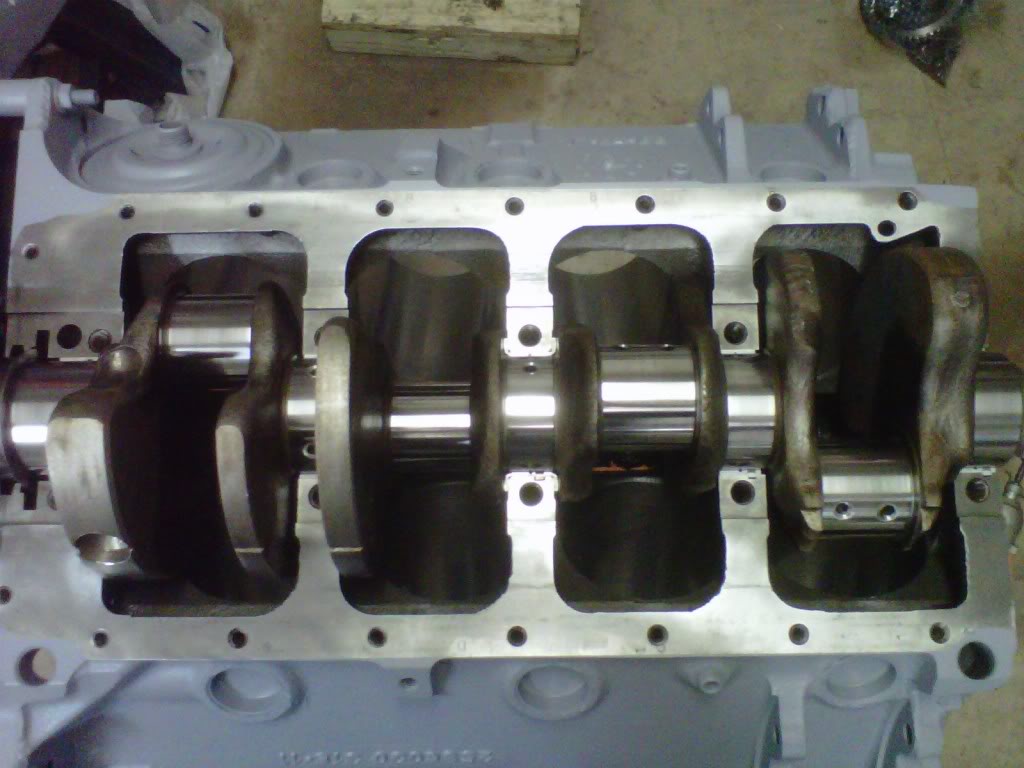
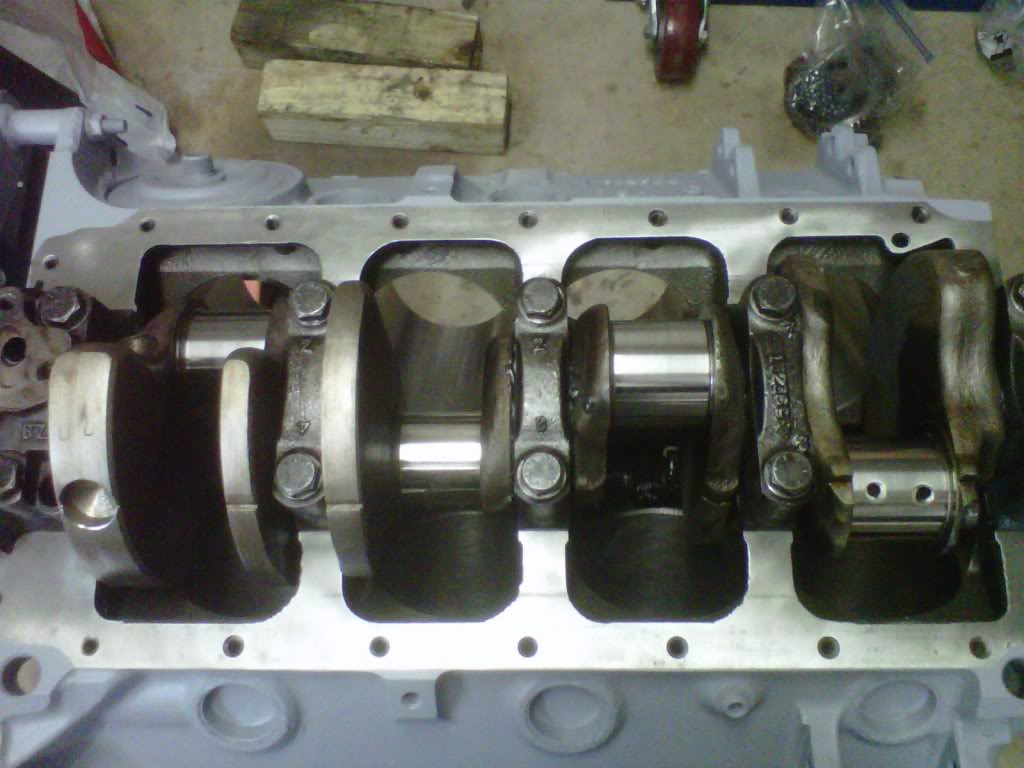
Last time I built this motor I checked the crank and it was just within specs..but since it's going into this car I decided to take it to Pete's custom crank..I had him shave .010 off the mains and the rods...I then took the whole rotating assembly back to G & G Performance and had them re-balance it...50 for turning the crank...220 for welding on the crank and balancing the rotating assembly..money worth spending...everything checked out with bearing tolerances at .0015 on all mains and rod bearing journals...the rest of the story is just pictures..short block completed...hope to be done this weekend with everything bolted back together and maybe even paint..
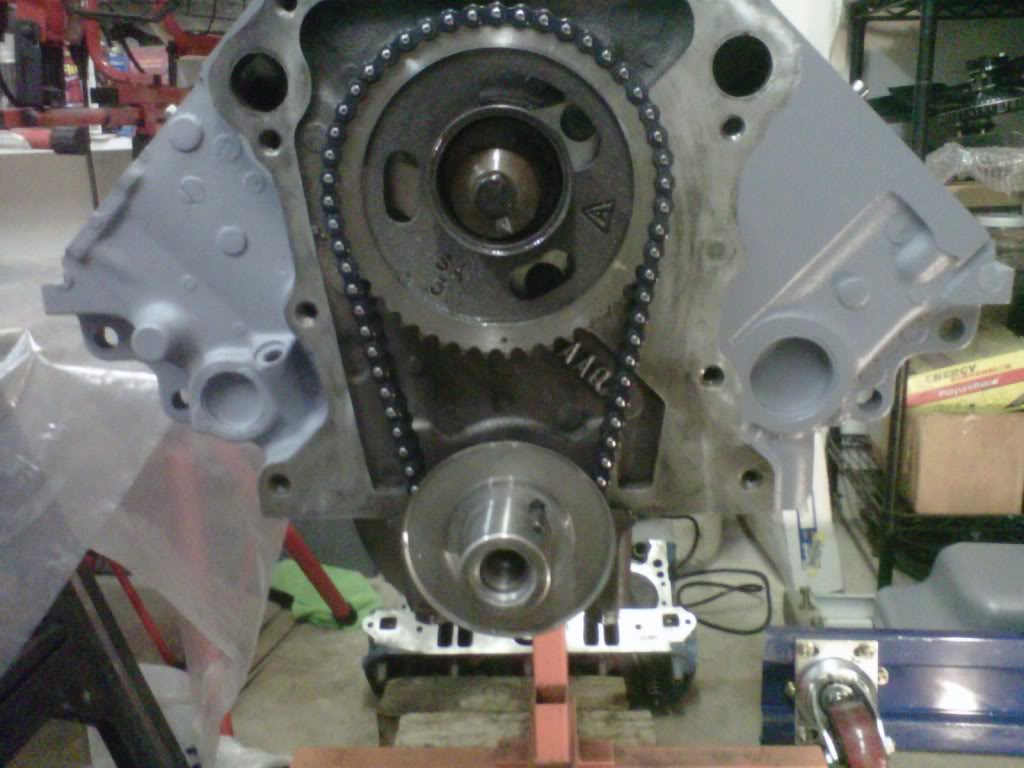
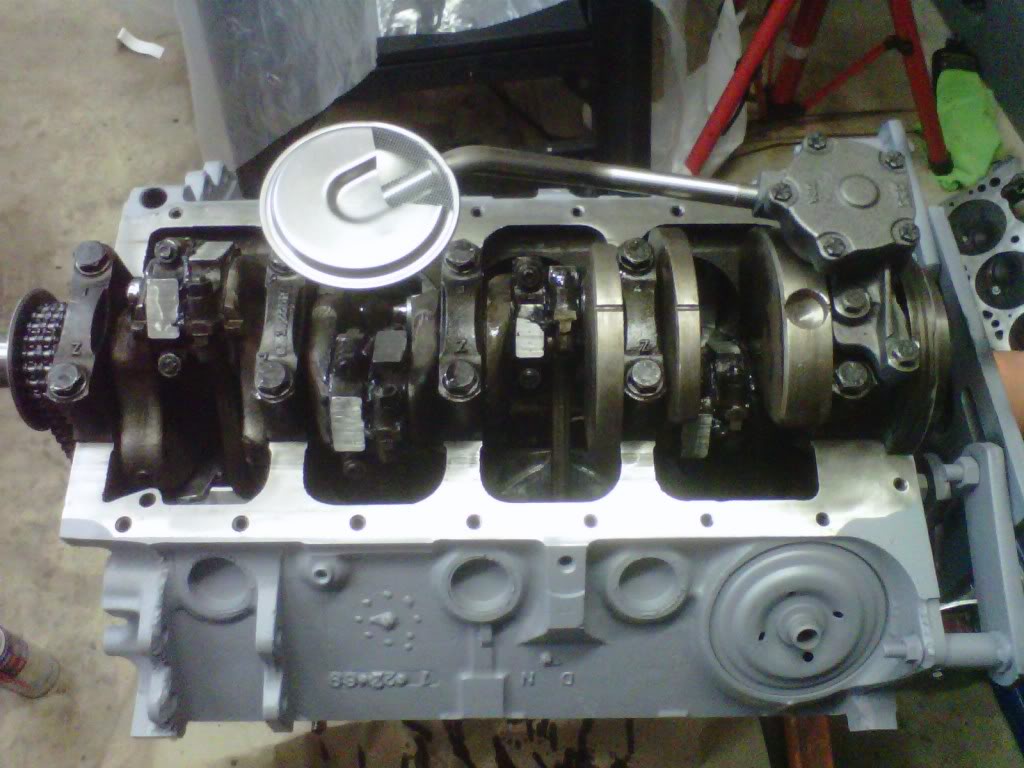
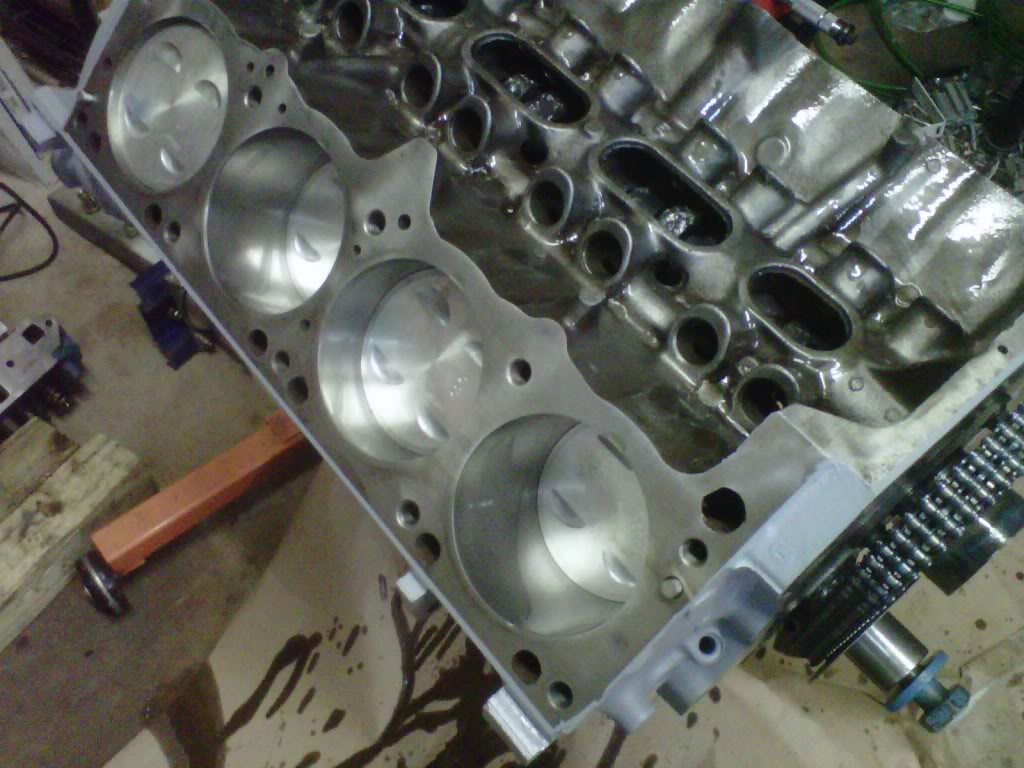
Last time I built this motor I checked the crank and it was just within specs..but since it's going into this car I decided to take it to Pete's custom crank..I had him shave .010 off the mains and the rods...I then took the whole rotating assembly back to G & G Performance and had them re-balance it...50 for turning the crank...220 for welding on the crank and balancing the rotating assembly..money worth spending...everything checked out with bearing tolerances at .0015 on all mains and rod bearing journals...the rest of the story is just pictures..short block completed...hope to be done this weekend with everything bolted back together and maybe even paint..


#322
Super Moderator
Thread Starter
Done
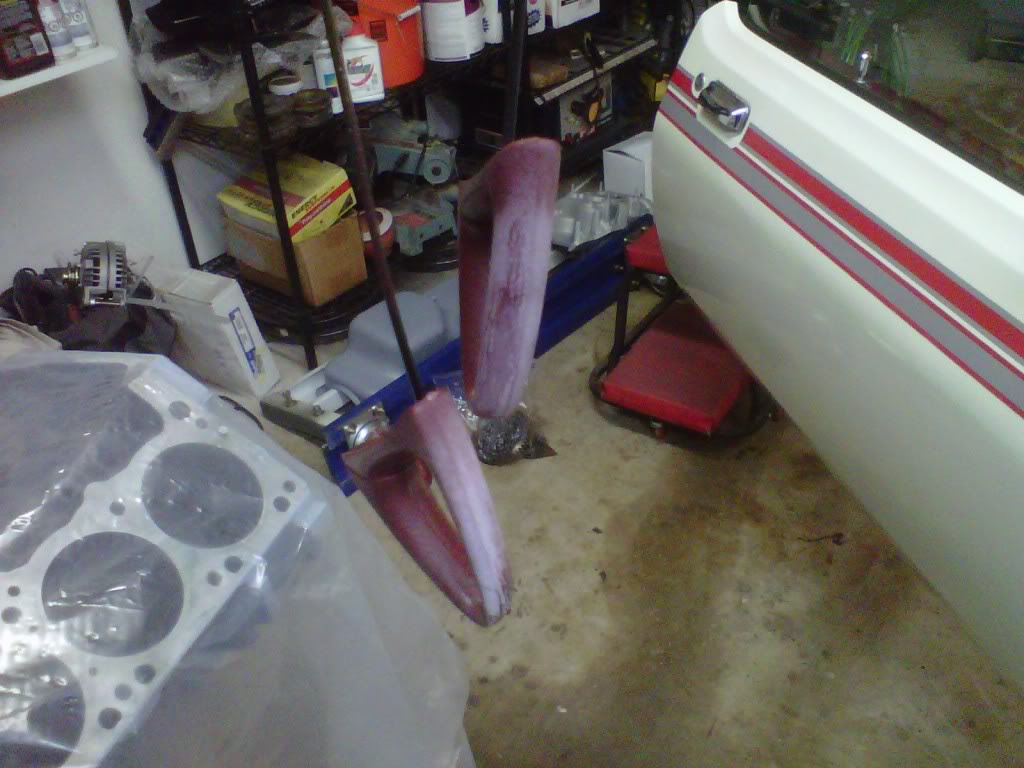
Before: I scrubbed with soapy water...and inserted toothpick to keep the halfs from sticking together...sprayed and wiped off the prep and let them dry...
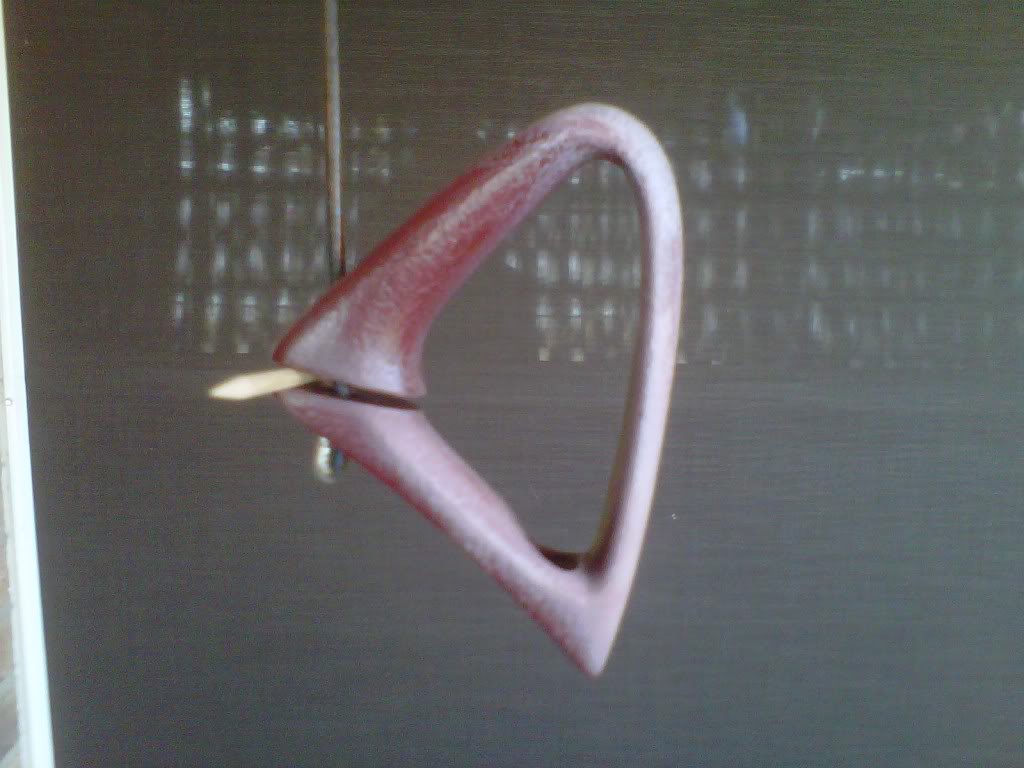
After: I sprayed it with the sand free then three light coats of color 5 minutes apart...the temp was 73 degrees so they dried fast....
Looks new to me..I also like how it leaved the grain detail alone..I will take two more pics later on when I put them back on the seats..
Before: I scrubbed with soapy water...and inserted toothpick to keep the halfs from sticking together...sprayed and wiped off the prep and let them dry...

After: I sprayed it with the sand free then three light coats of color 5 minutes apart...the temp was 73 degrees so they dried fast....


Looks new to me..I also like how it leaved the grain detail alone..I will take two more pics later on when I put them back on the seats..
#324
Super Moderator
Thread Starter
Long block at last
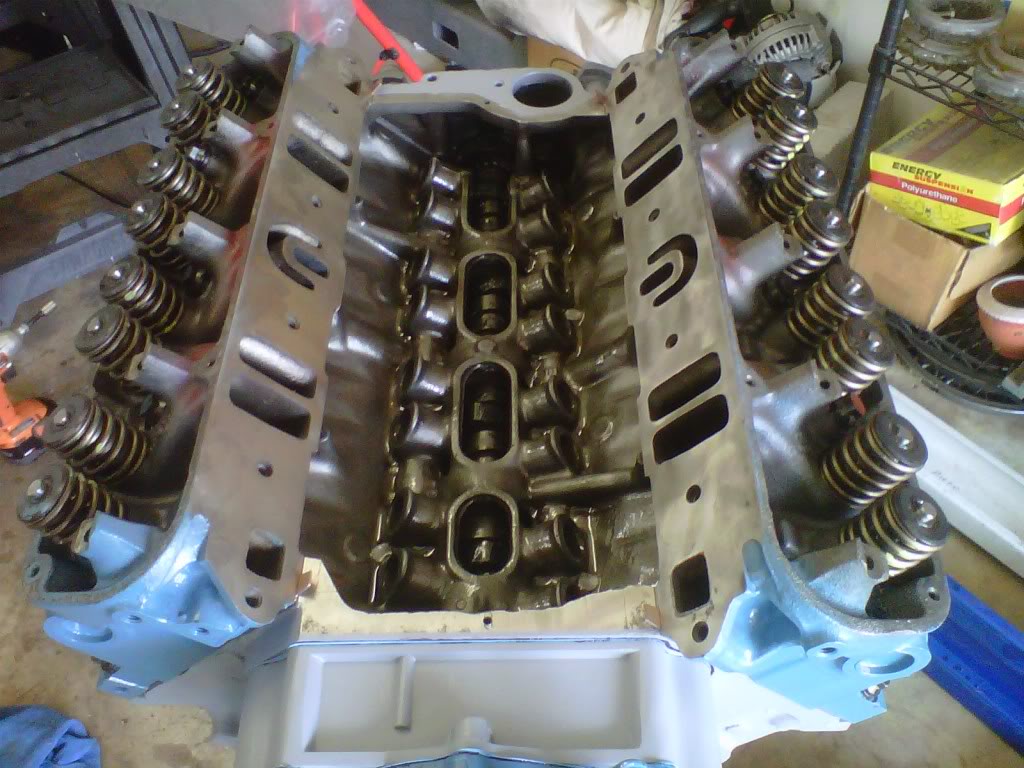
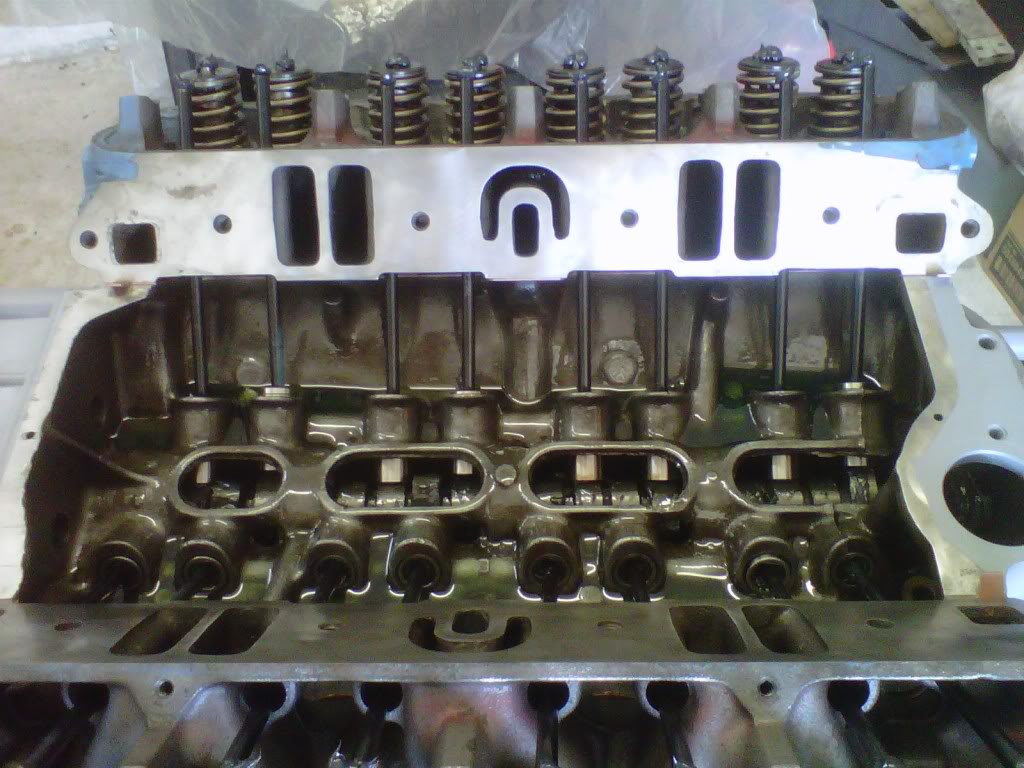
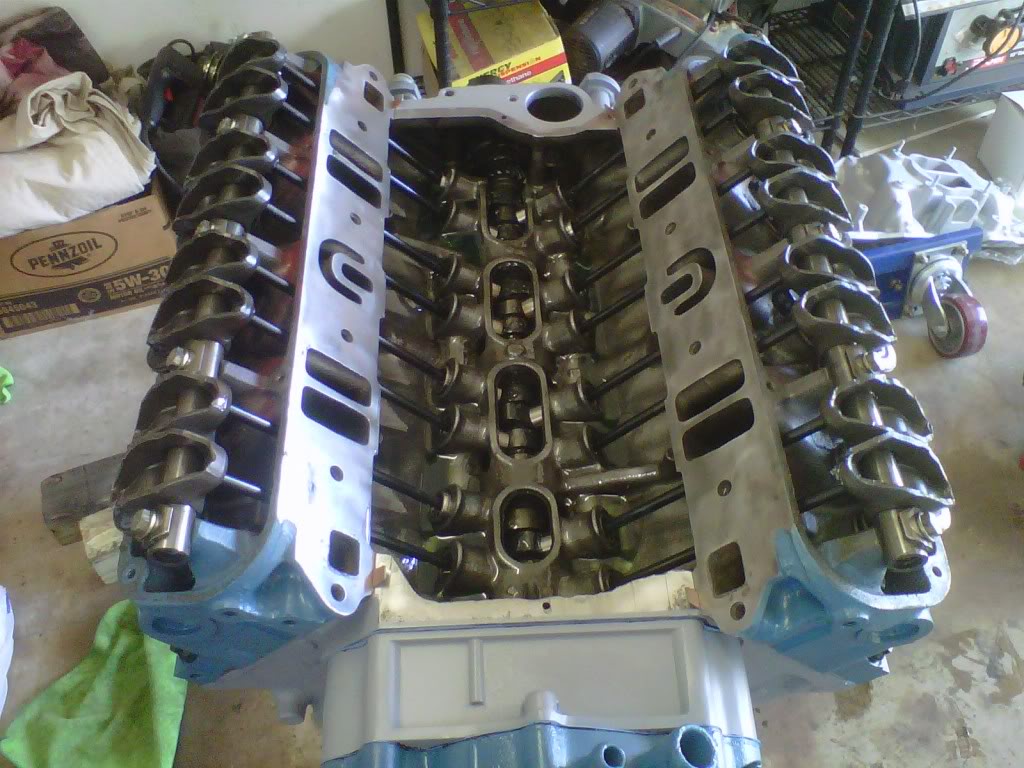
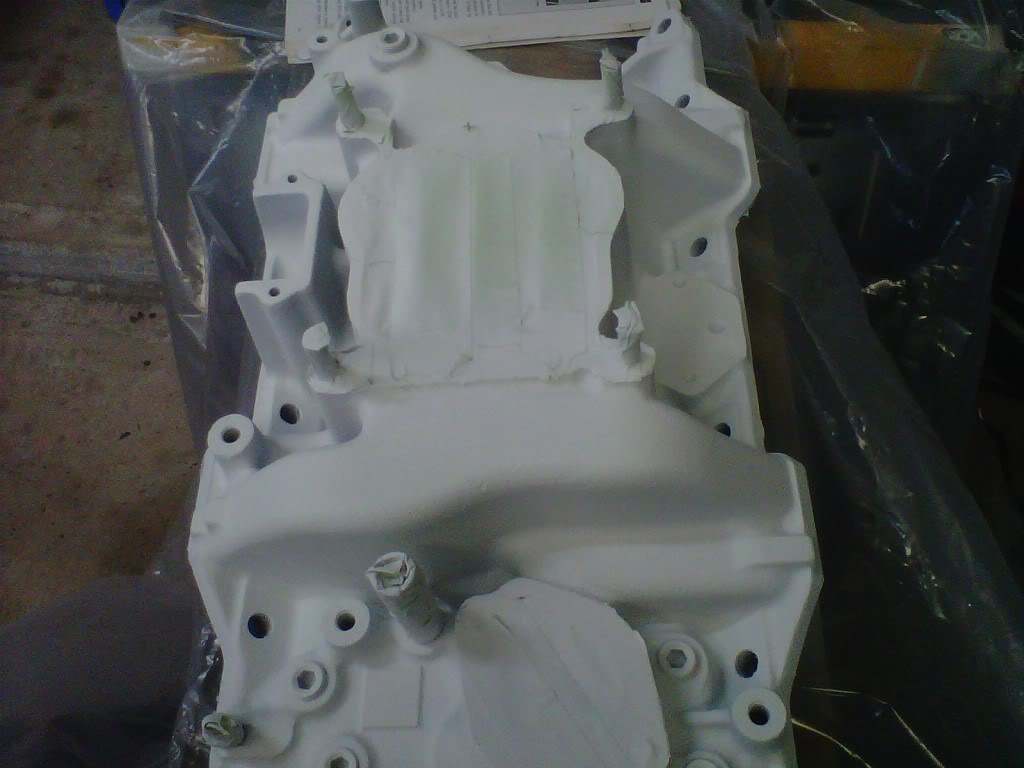
Mainly just pictures of long block build as I went along today...only foul up was with a new can of that high temp primer....it shot all over my hand and wouldn't work right..I went to the auto parts store and all they had was the flat white so now the motor is in three colors..all factory bolts on top and bottom...I have to get a water neck gasket and some valve covers from my storage before I can paint tomorrow..still great 76 degree weather tomorrow..I am going for that factory paiint job painting over all of the gaskets and bolts...I used my needle scaller air tool to give texture to the spot on ground down on the intake..I will take a better picture of that area after paint tomorrow..
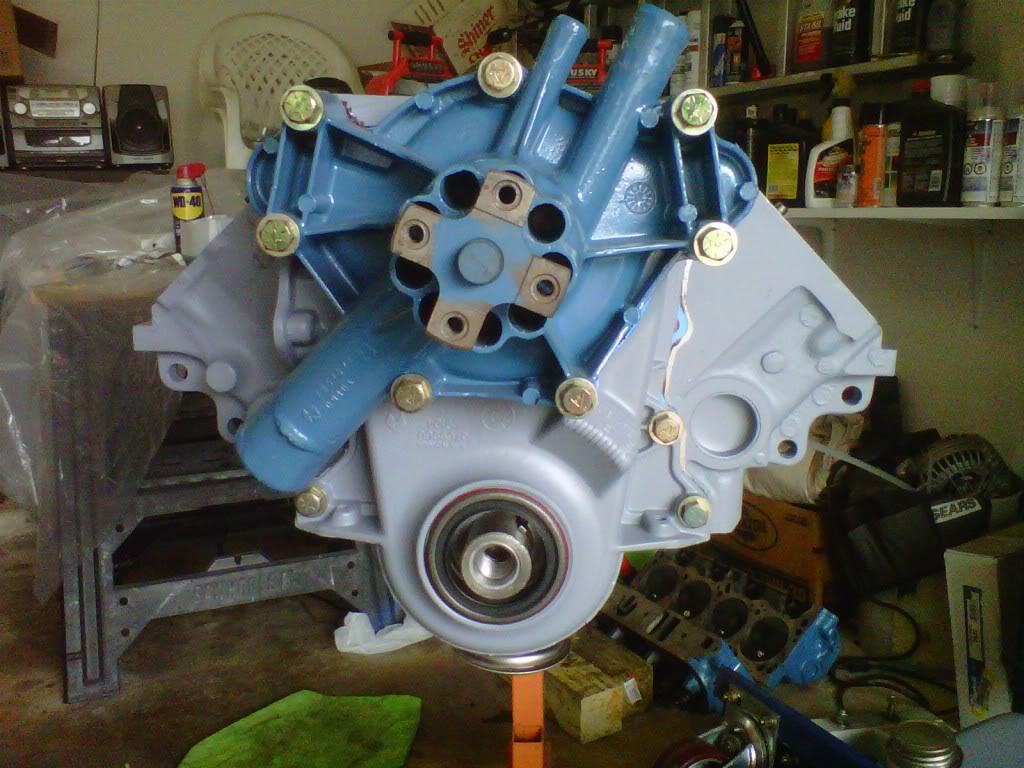
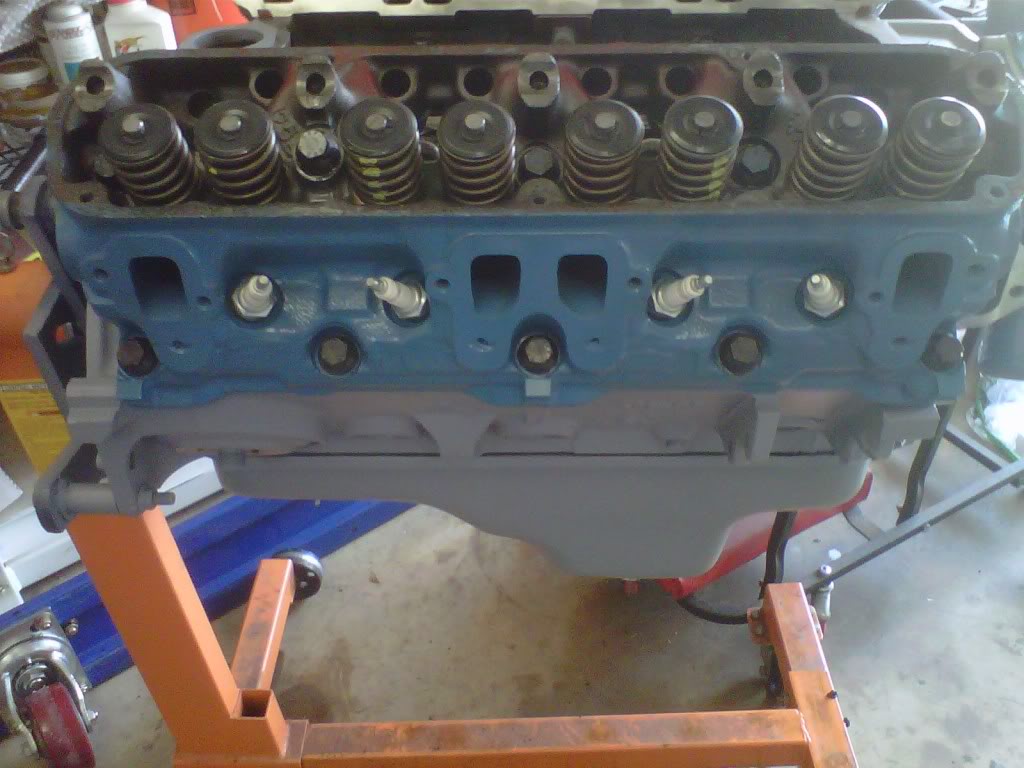
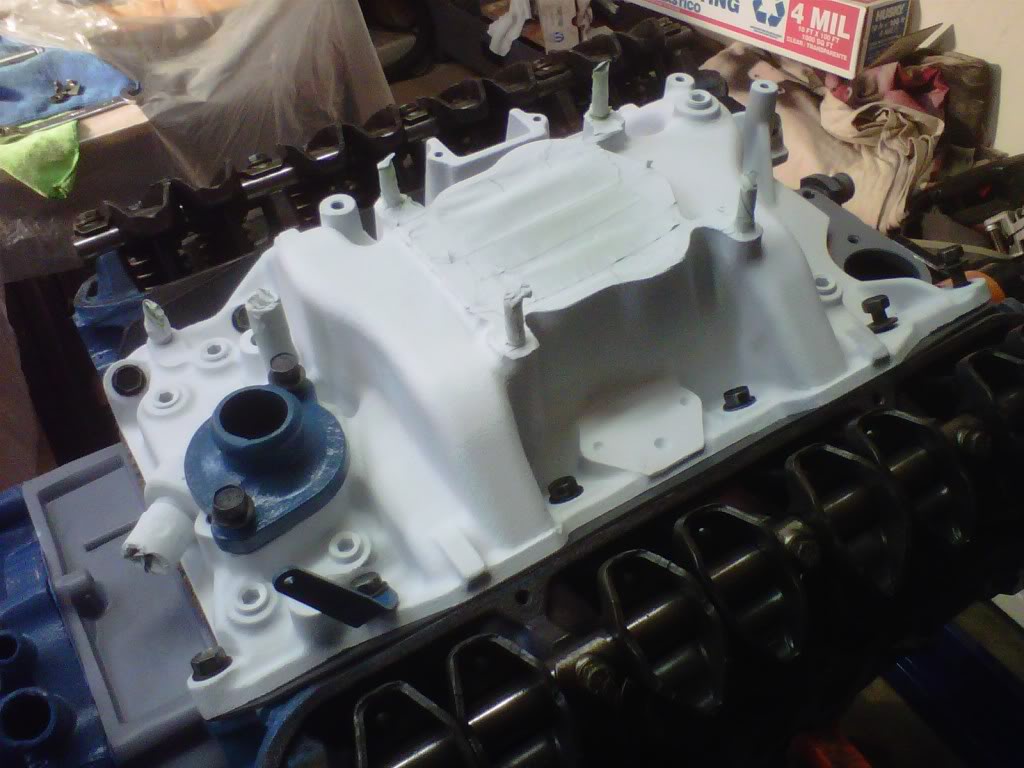
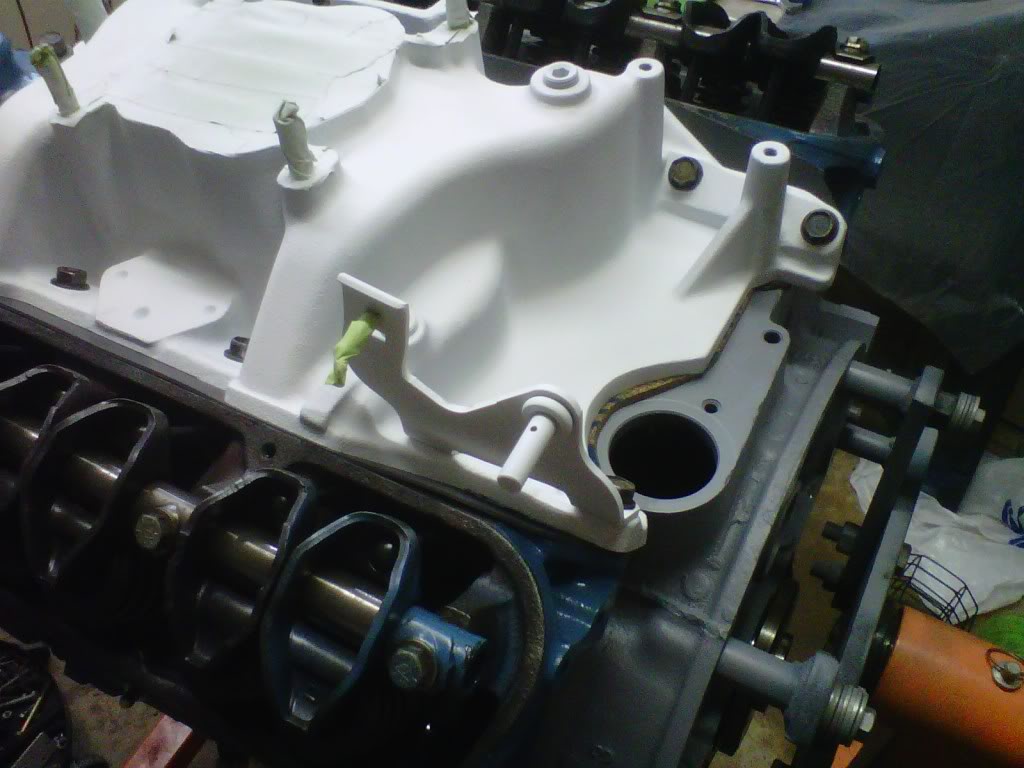
Mainly just pictures of long block build as I went along today...only foul up was with a new can of that high temp primer....it shot all over my hand and wouldn't work right..I went to the auto parts store and all they had was the flat white so now the motor is in three colors..all factory bolts on top and bottom...I have to get a water neck gasket and some valve covers from my storage before I can paint tomorrow..still great 76 degree weather tomorrow..I am going for that factory paiint job painting over all of the gaskets and bolts...I used my needle scaller air tool to give texture to the spot on ground down on the intake..I will take a better picture of that area after paint tomorrow..


#326
Super Moderator
Thread Starter
I have three cars with the original motors...my first was the 1981 Plymouth Gran Fury...pulled the motor and all of the exterior was painted over..all the bolts were blue.....pulled my 1968 318 out of my dart and the same except the color was orange....same with this car....all the pan and intake bolts were blue...even the back bracket of the power steering pump was blue...because it was attached with two timing cover bolts at the bottom right...and I assumed they took the easy way out and just sprayed the whole motor after it was assembled...
#328
Super Moderator
Thread Starter
Pictures tell the story
Lots of painting today...moved the car outside and shut the garage door some....three coats of color and one coat of 500 degree clear...I am going to sand down those chrome ones on the car now and use them...the other switch the breather to the other side and that won't work for me...oh well you learn by your mistakes..
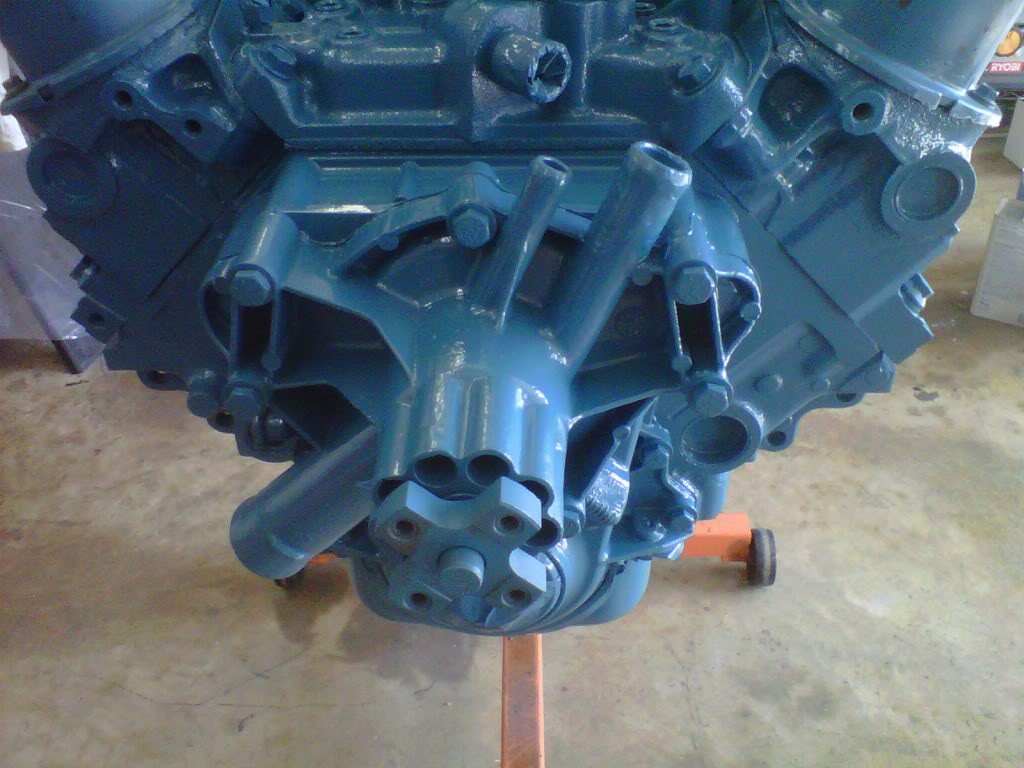
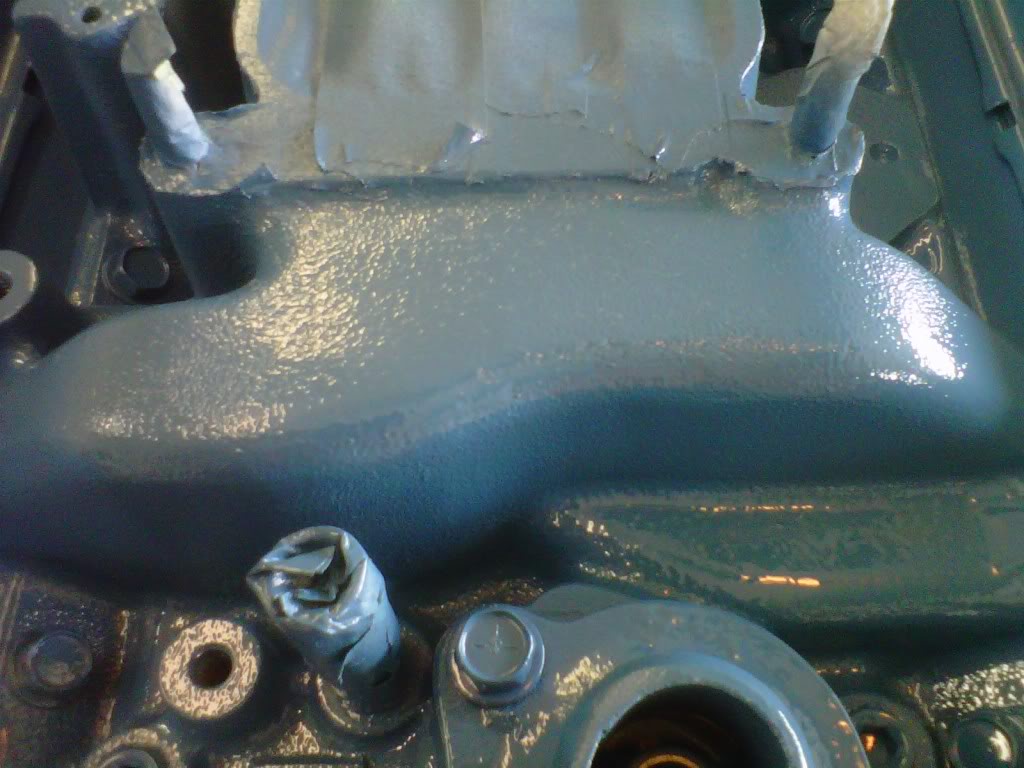
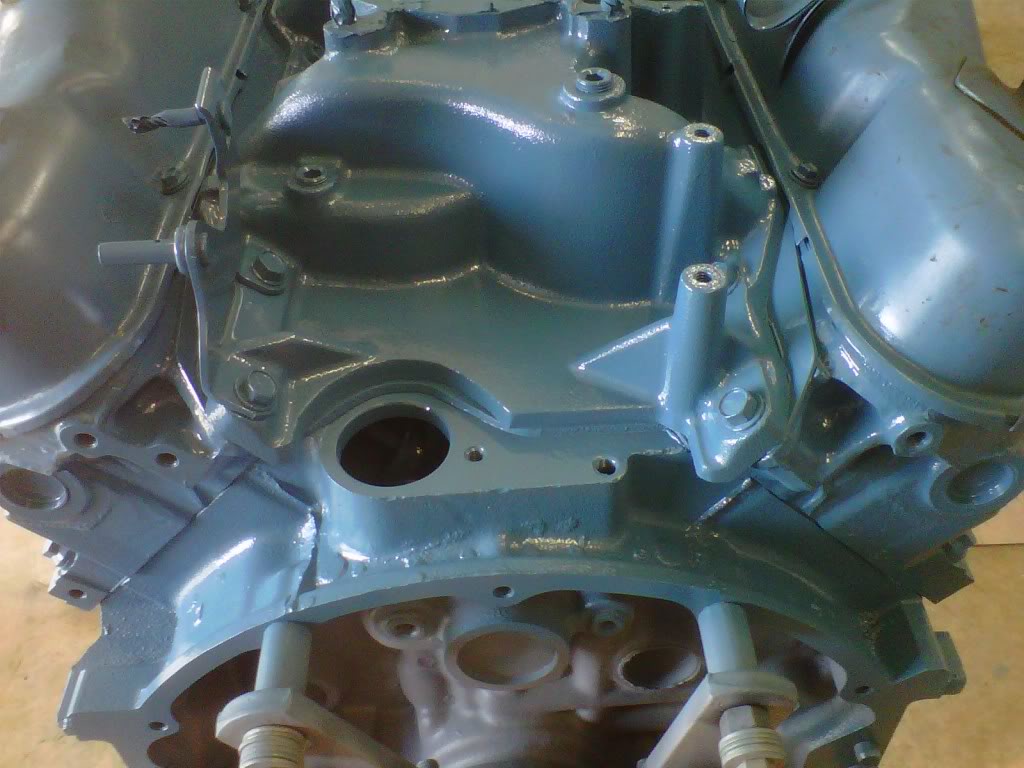
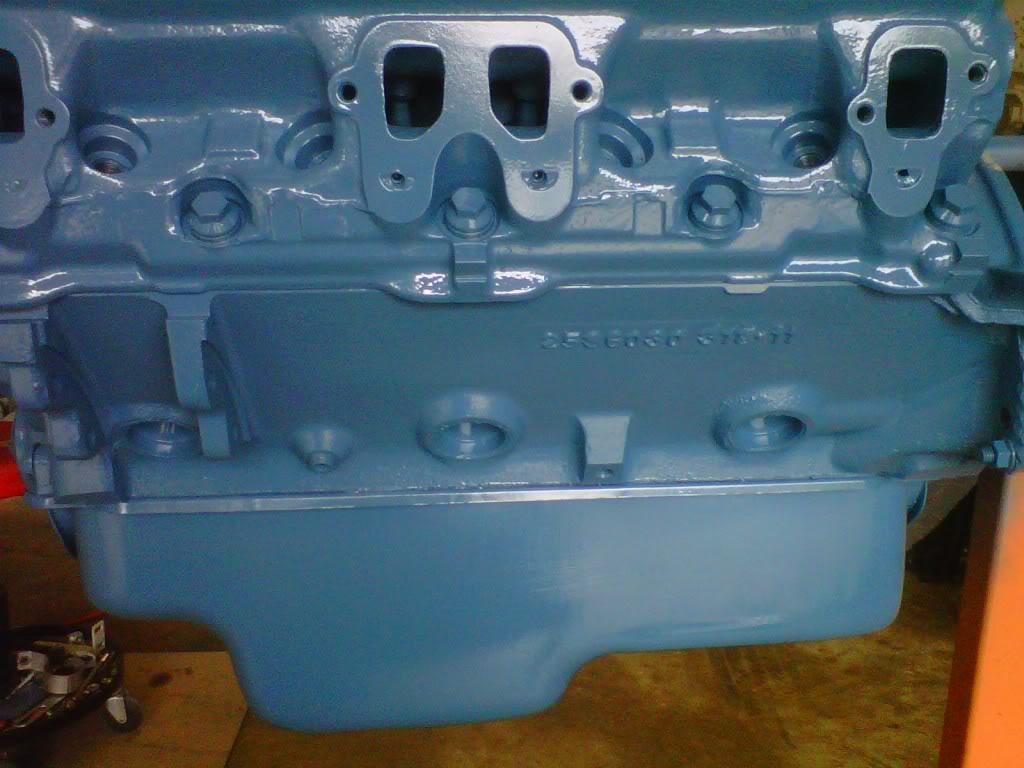
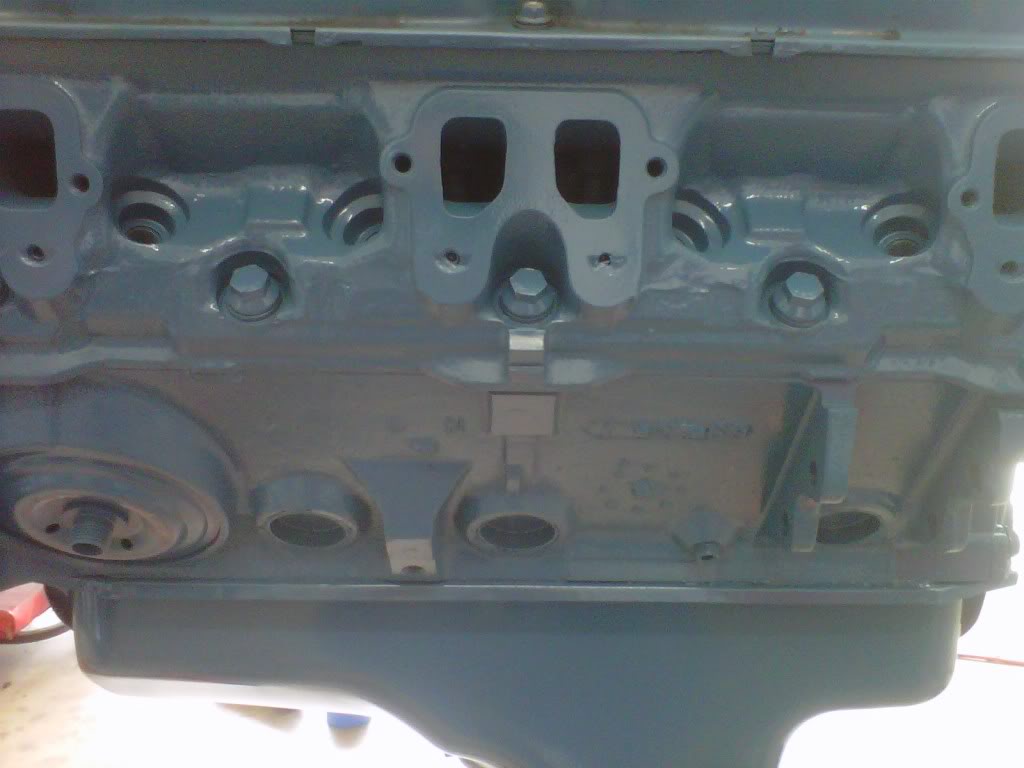
Clear coat done...
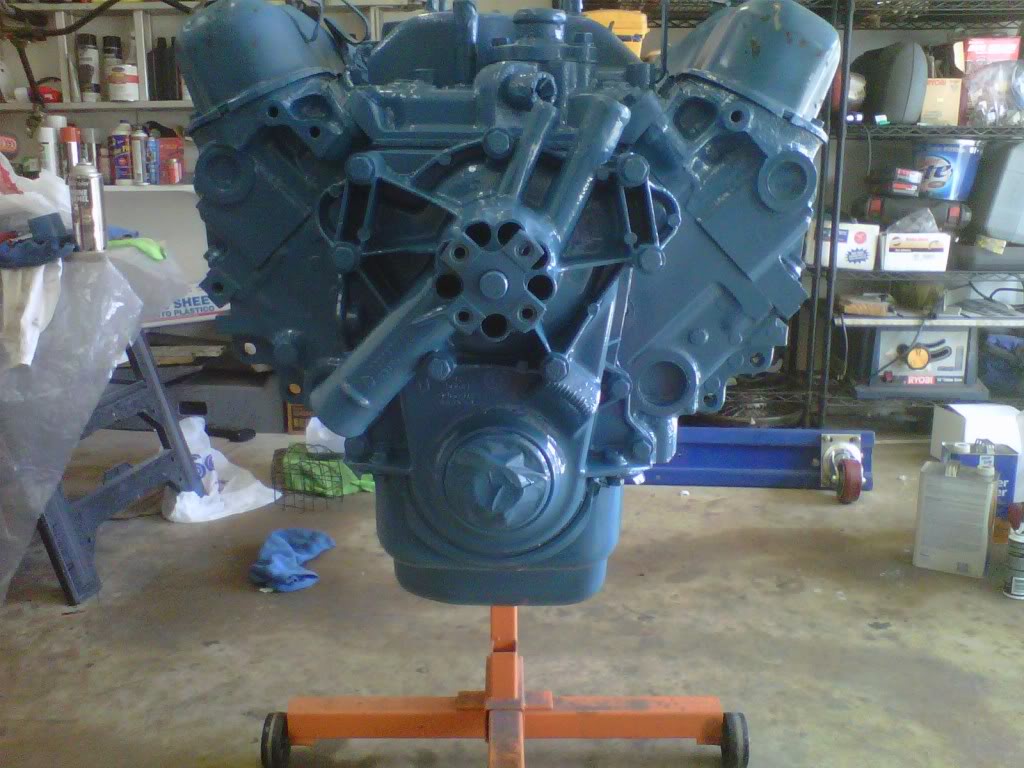
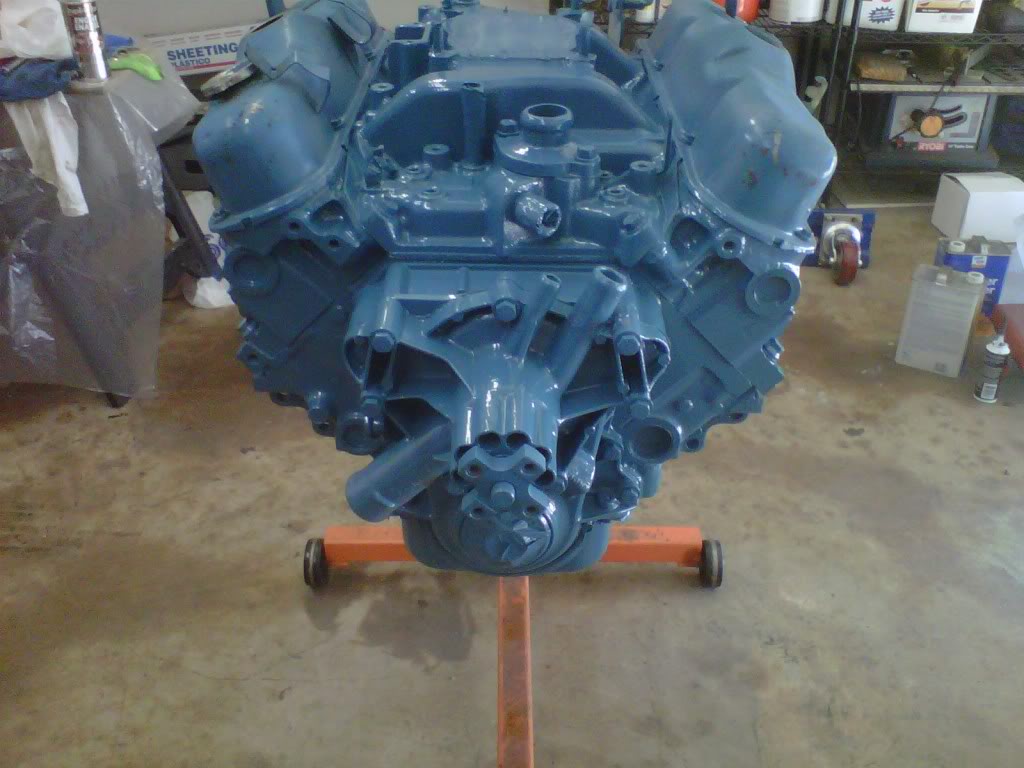
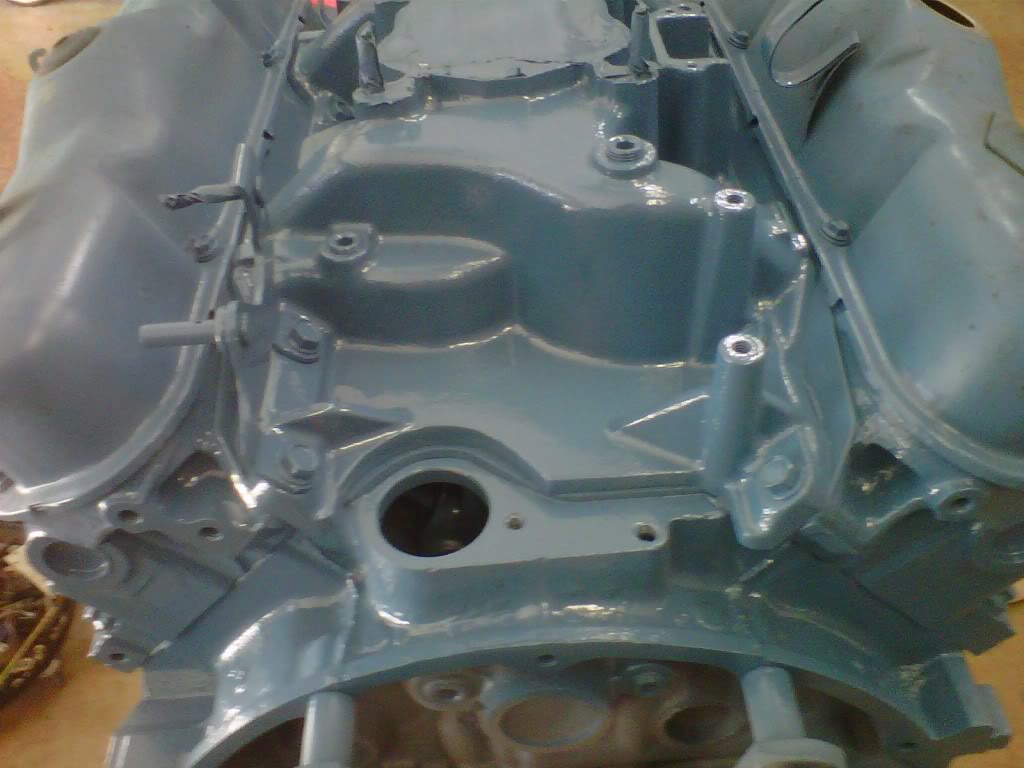
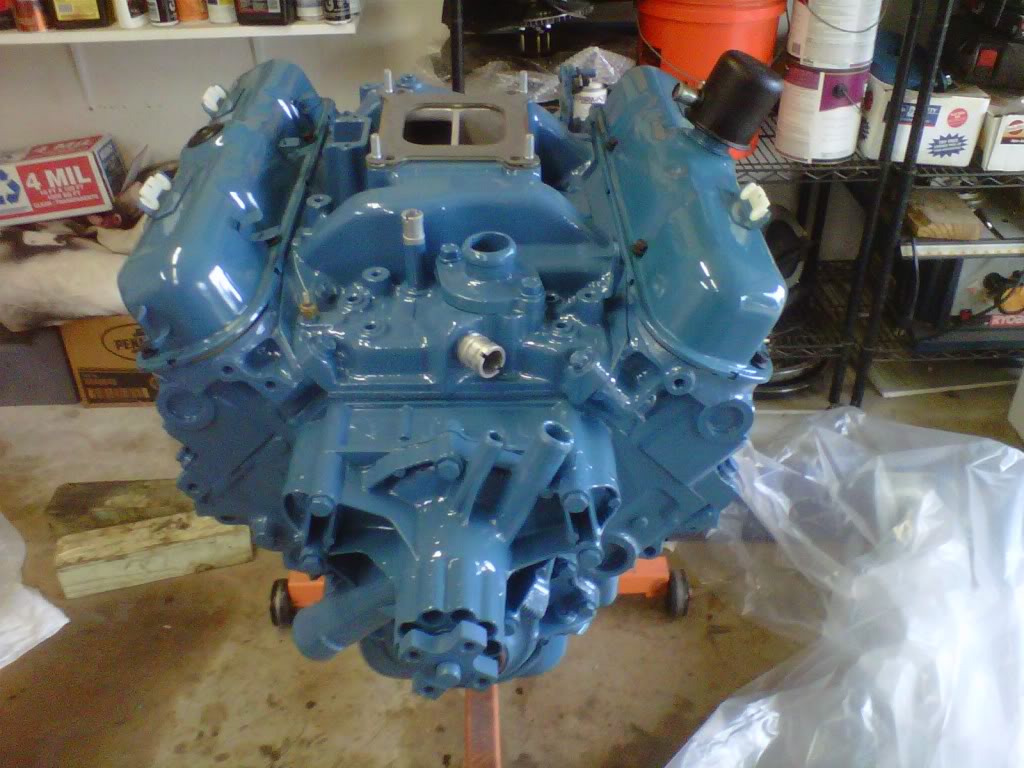
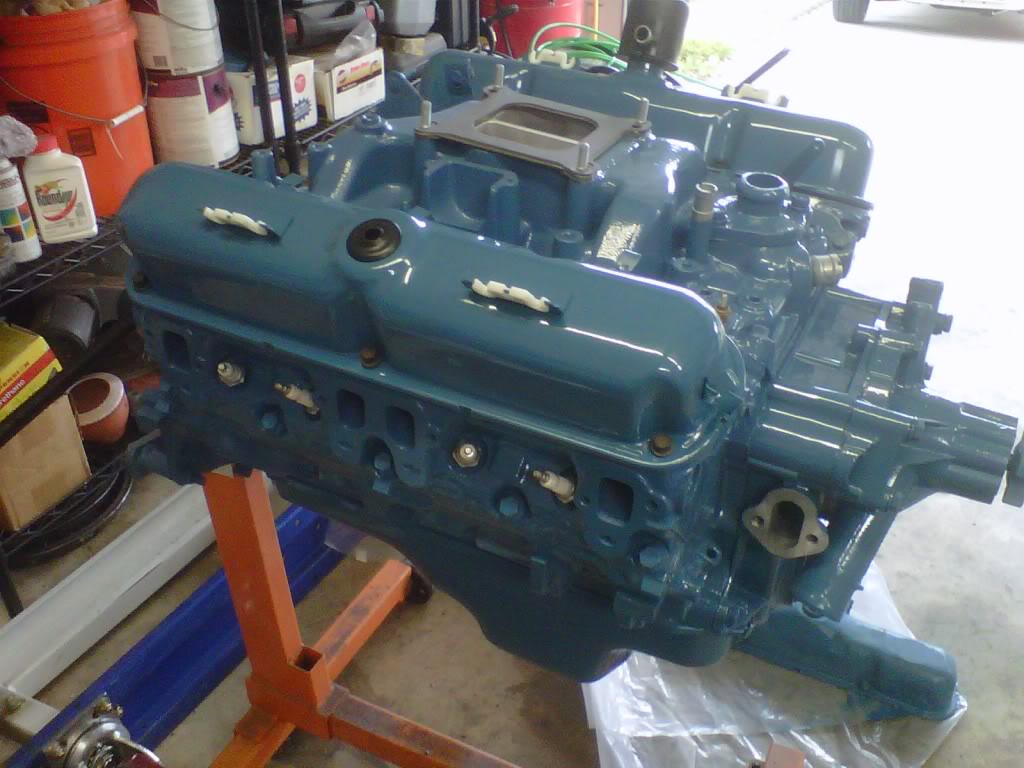
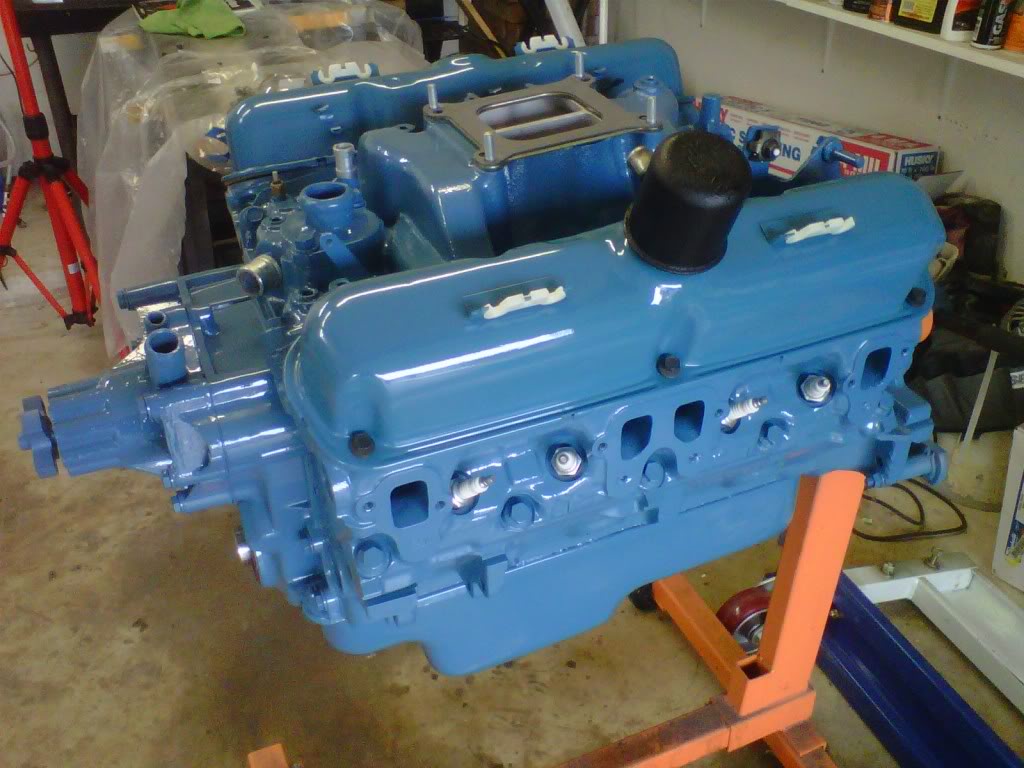
Lots of painting today...moved the car outside and shut the garage door some....three coats of color and one coat of 500 degree clear...I am going to sand down those chrome ones on the car now and use them...the other switch the breather to the other side and that won't work for me...oh well you learn by your mistakes..


Clear coat done...


#329
Super Moderator
Thread Starter
Here's what happens when I slow down and think about it
I love these valve covers because I can loom the wires straight to the plugs with stock exhaust manifolds...I will think about it overnight but I may break these wire retaining clamps off at the spot weld and do what body work is neccesary to use these valve covers...JAT...that way I can swap them to the other side
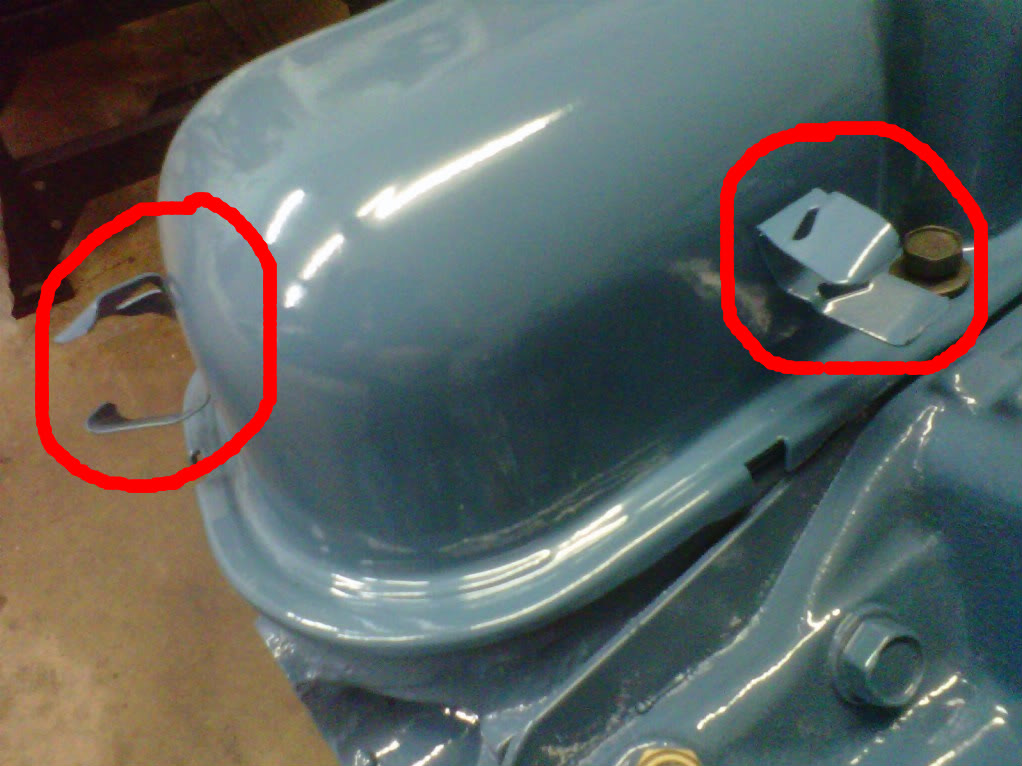
I love these valve covers because I can loom the wires straight to the plugs with stock exhaust manifolds...I will think about it overnight but I may break these wire retaining clamps off at the spot weld and do what body work is neccesary to use these valve covers...JAT...that way I can swap them to the other side

#330
Super Moderator
Thread Starter
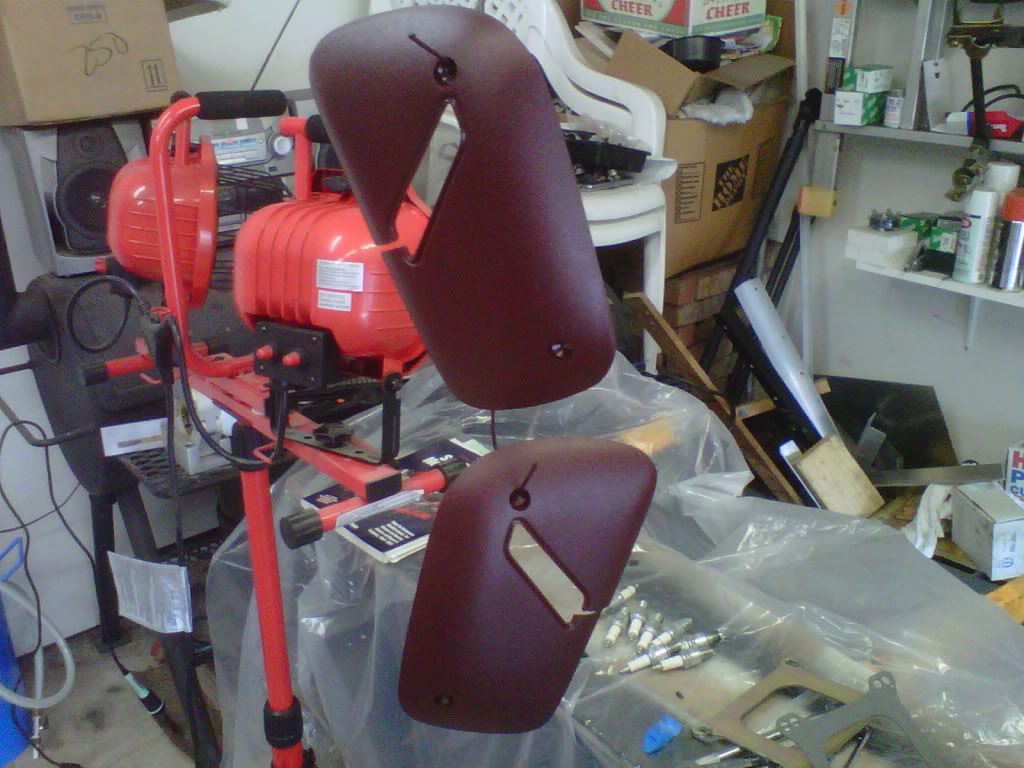
I also found time to do these parts today..
I did these seat belt cover plates today..they really weren't that bad they just had a couple of scratches...but once again they turned out wonderfull...these are the plates that block off the seat belts in the roof...
