
'72 Duster - Making the Dual Hood Scoops Functional


Thread Starter
Mopar Fan
Joined: Jan 2013
Posts: 69
Likes: 3
From: Tennessee
'72 Duster - Making the Dual Hood Scoops Functional
I did a lot of reading on this before I attacked this project. I even printed out instructions that were located at other forums. I have a 72 Duster that has cosmetic only dual hood scoops. Of course, that is redundant, because no duster models came with the Fresh Air package option, the only dusters that had the dual hood scoops was the twister package, and purely cosmetic. Enough history, I tossed the instructions. Whoever put the scoops on, did not go by instructions and didn't match the instruction. I like where they put them, so I'm not moving them. If you're tackling this issue, hopefully this will help. You'll need a 4" Hole saw (some say 4 1/8", but as long as you're between 4 and 4 1/2" the rubber inserts will fit.) A hole saw drill arbor, a drill motor, a marker, tape measure, and a straight edge.
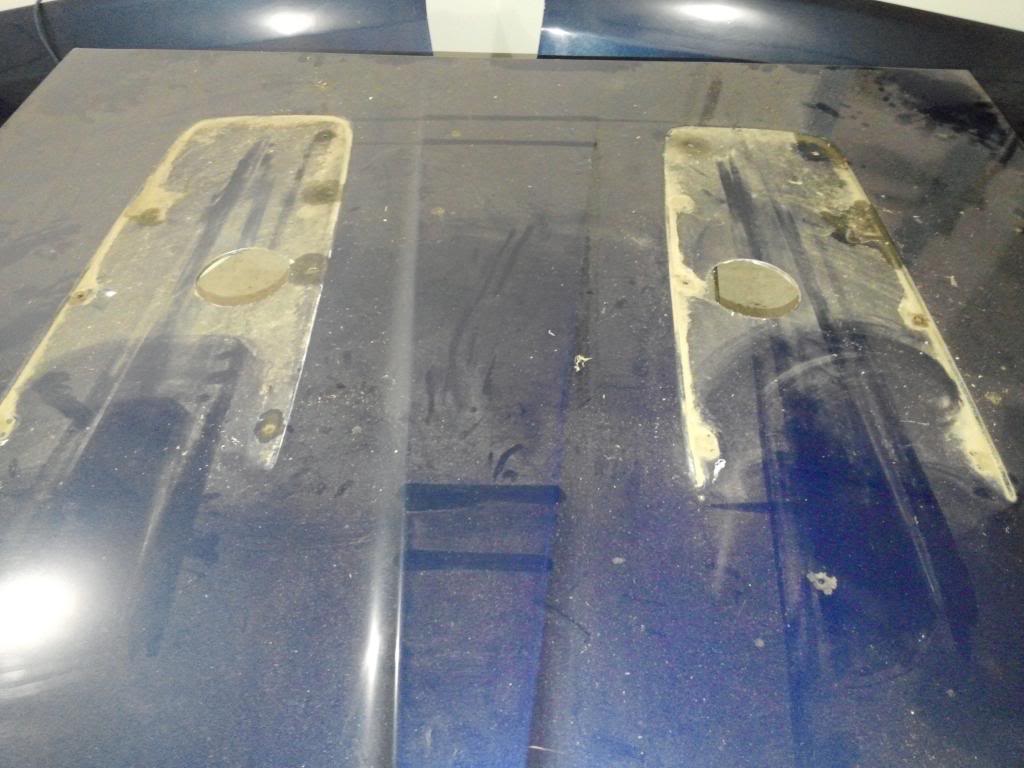
First I placed bolts through the mounting holes, and free handed the outline of the scoop. I'm repainting, so I just used a marker. If you're drilling holes in your hood, I'm assuming you'll be repainting too... I did this just to be positive the hole I'd drill would be UNDER the scoop. Smart, right?
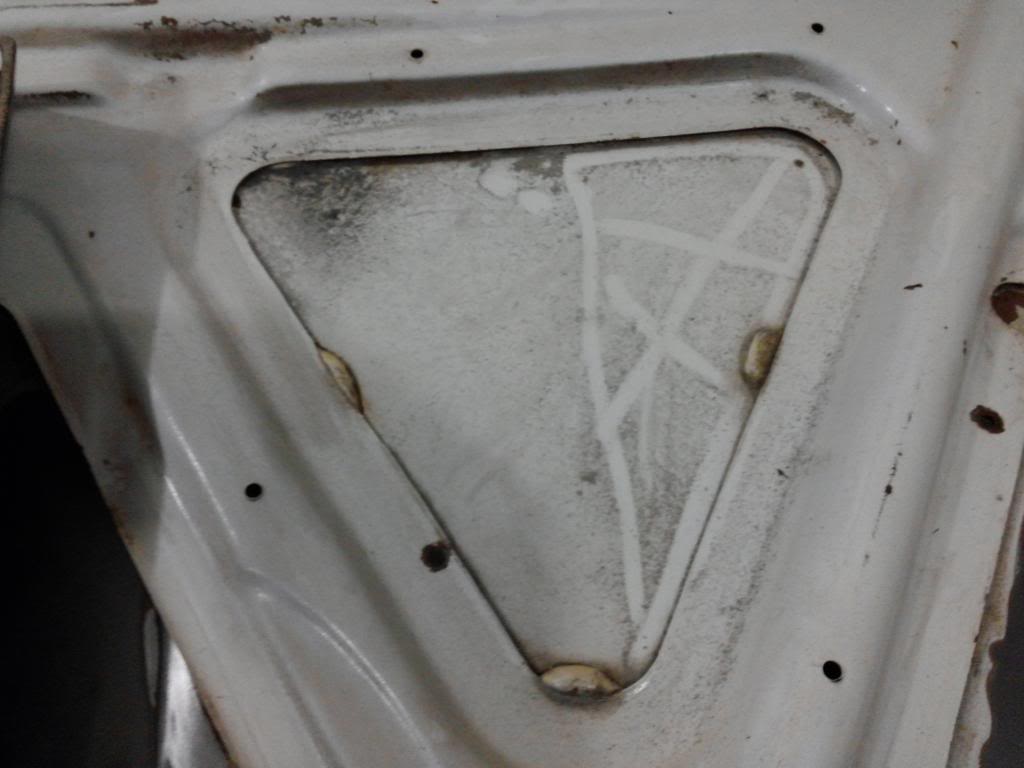

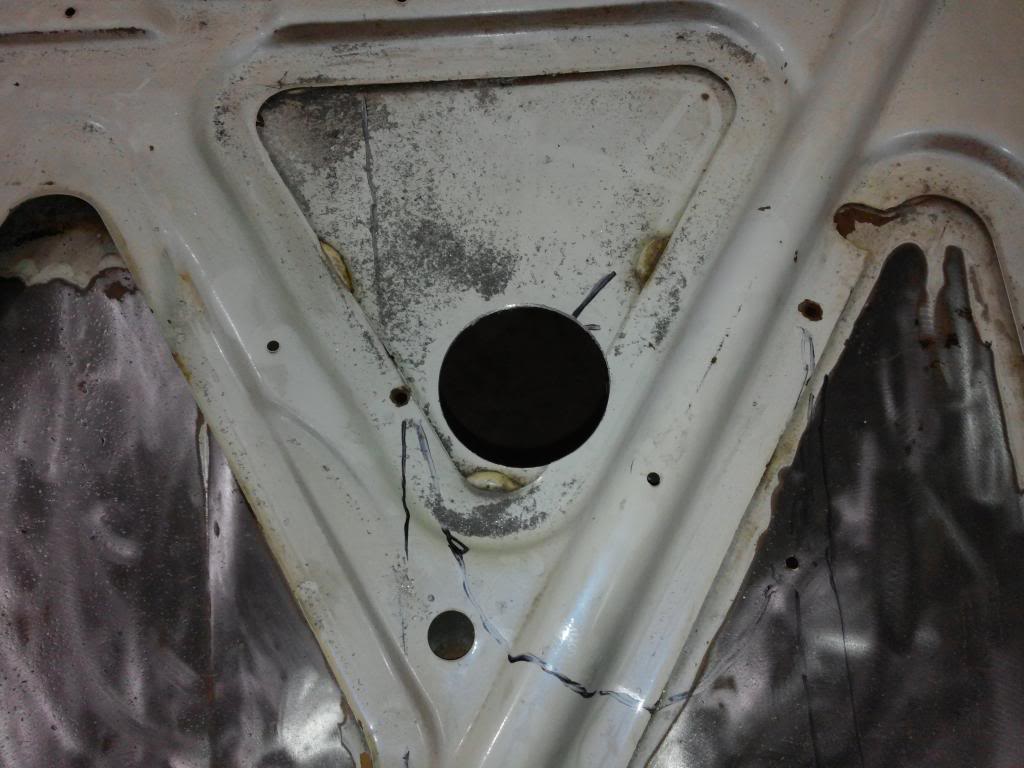
Of course, My hood does not have the pre-cut semi-circle in the hood rails, so, on my first attempt, you can see that I ground a semi-circle out with an angle grinder. This is not necessary, on the second hole the hole saw cut it out just fine. I measured close to what I could see from the instructions and marked an intersection for the pilot hole.
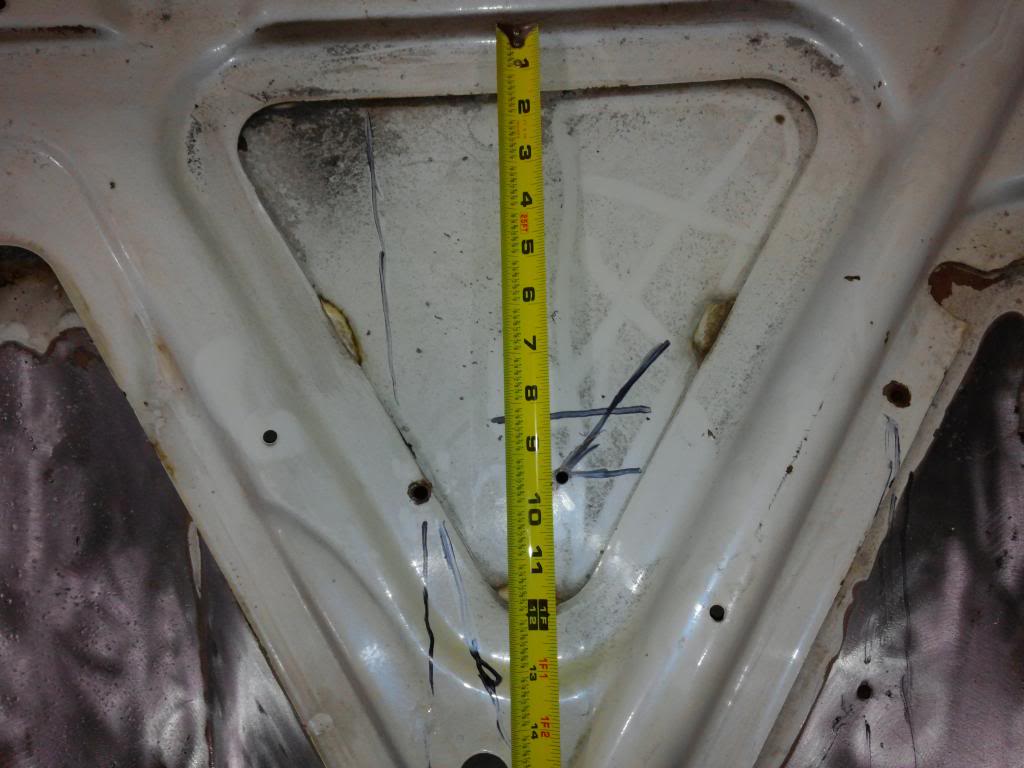
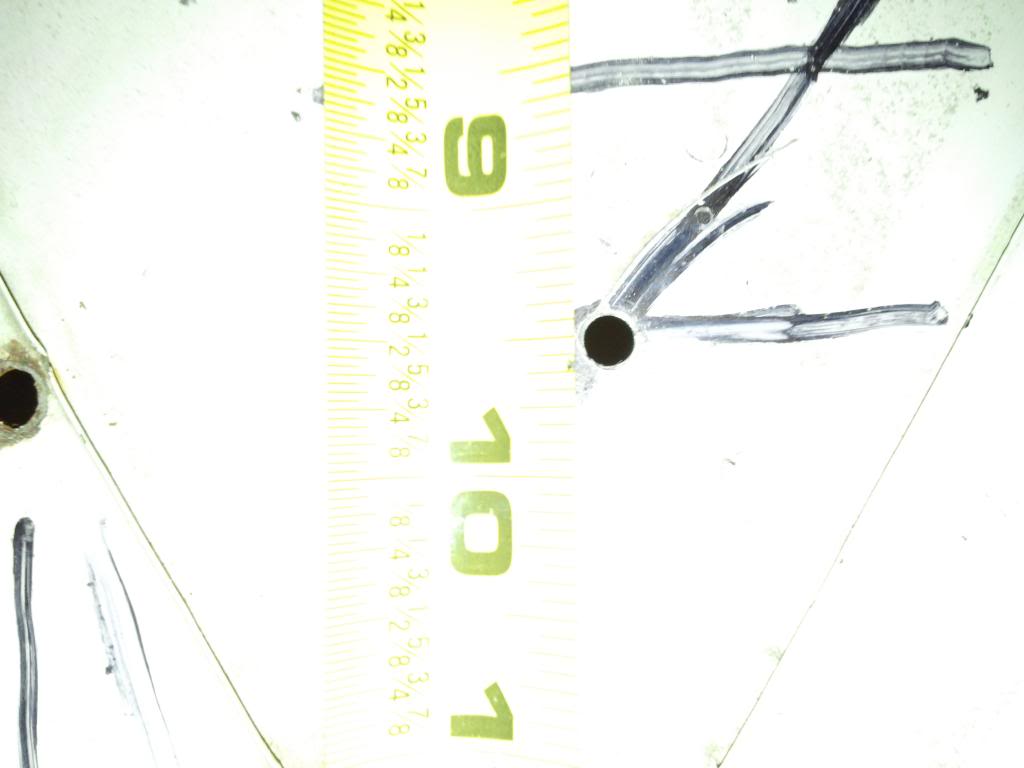
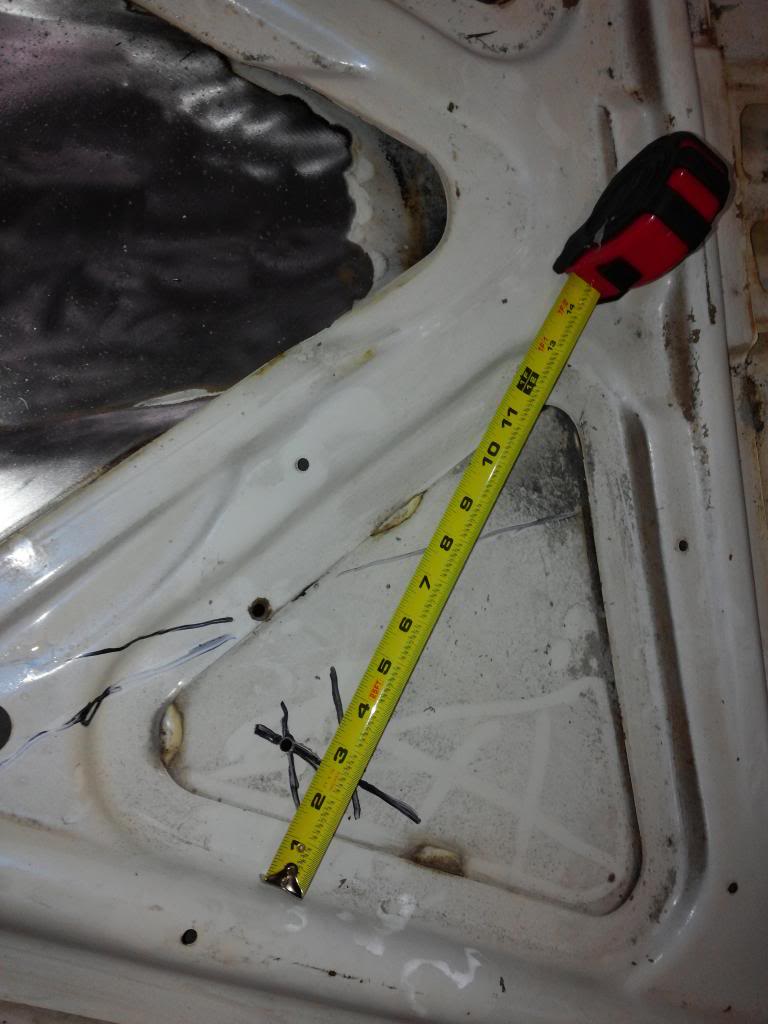
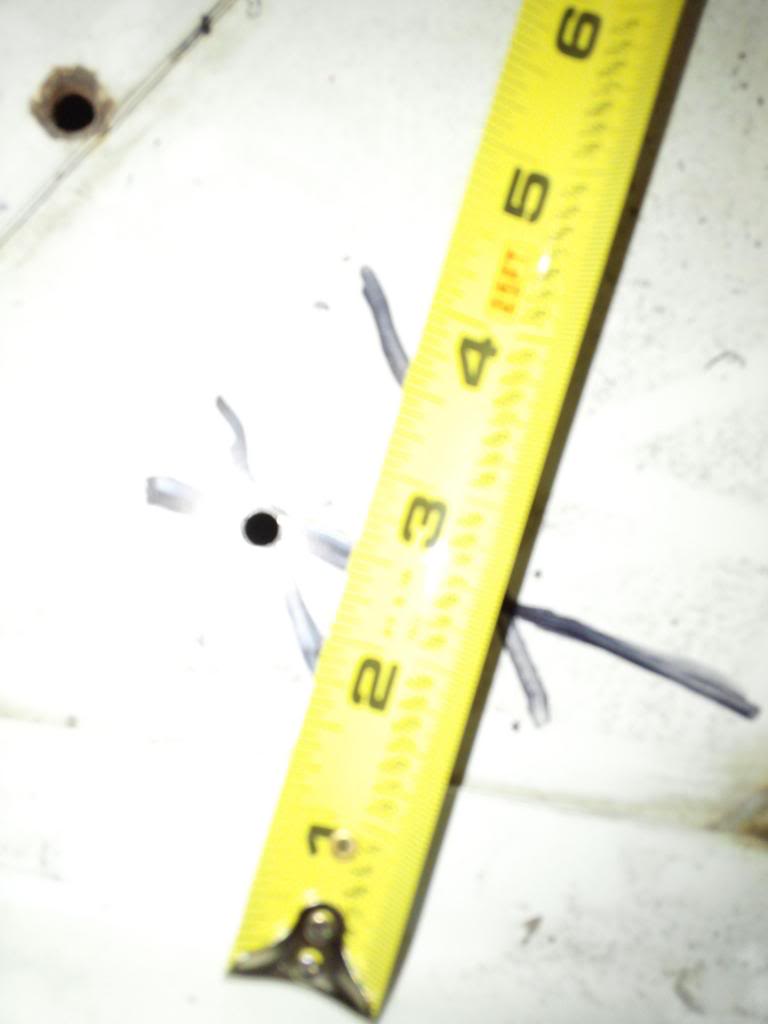
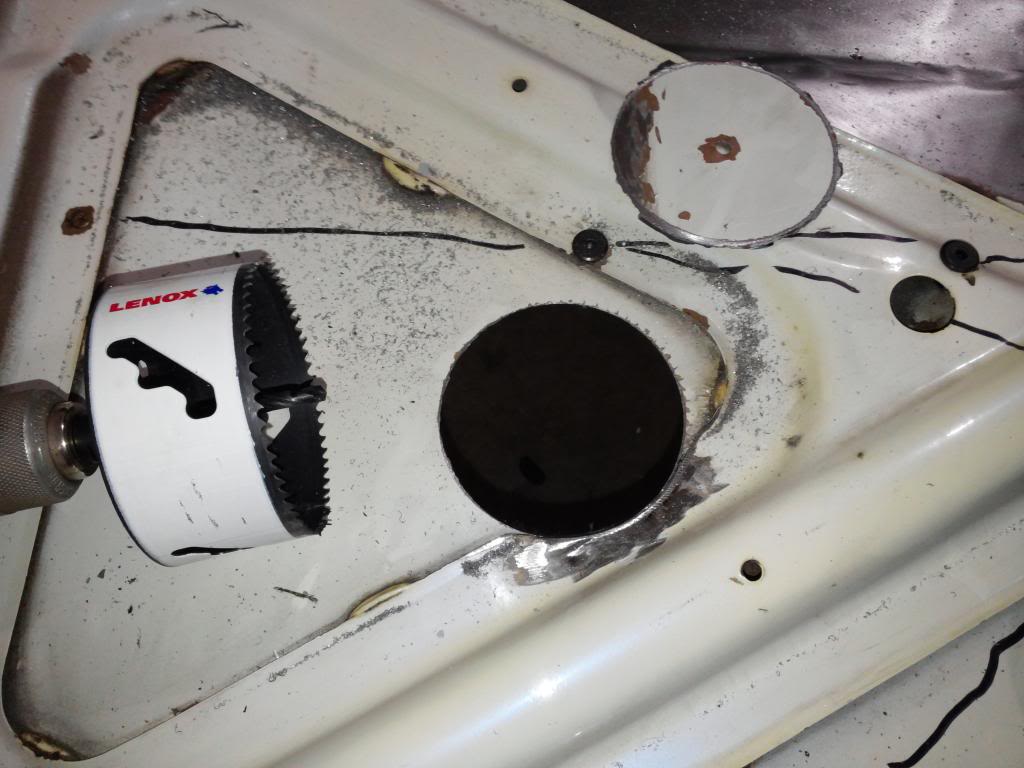
I measured 9 1/2" from the top, and 2 1/2" from the side, and drilled the pilot hole at the intersection. Once the Pilot hole was drilled I drilled through the metal with a 4" Bi-Metal Hole Saw.
I did the same thing to the other side.
So, not too difficult. It was actually easier than I thought it would be. Next, I'll clean up the edge with a dremel, sand and paint. Then the holes need to be fit with a rubber seal. There's a guy on ebay that sells them, about 35 bucks for a set.
Good luck!
First I placed bolts through the mounting holes, and free handed the outline of the scoop. I'm repainting, so I just used a marker. If you're drilling holes in your hood, I'm assuming you'll be repainting too... I did this just to be positive the hole I'd drill would be UNDER the scoop. Smart, right?


Of course, My hood does not have the pre-cut semi-circle in the hood rails, so, on my first attempt, you can see that I ground a semi-circle out with an angle grinder. This is not necessary, on the second hole the hole saw cut it out just fine. I measured close to what I could see from the instructions and marked an intersection for the pilot hole.


I measured 9 1/2" from the top, and 2 1/2" from the side, and drilled the pilot hole at the intersection. Once the Pilot hole was drilled I drilled through the metal with a 4" Bi-Metal Hole Saw.

I did the same thing to the other side.

So, not too difficult. It was actually easier than I thought it would be. Next, I'll clean up the edge with a dremel, sand and paint. Then the holes need to be fit with a rubber seal. There's a guy on ebay that sells them, about 35 bucks for a set.

Good luck!

Thread
Thread Starter
Forum
Replies
Last Post
DanK
Do-It-yourself Section
4
Dec 29, 2013 12:17 PM
bremereric
Transmissions, Transfer Cases and Rear Ends
1
Mar 15, 2012 10:06 PM


