SRT8 Road Runner Build
#1
SRT8 Road Runner Build
Thought I would post a few pics of a customer project I am working on.
It starts with a wrecked 2006 Charger SRT8.
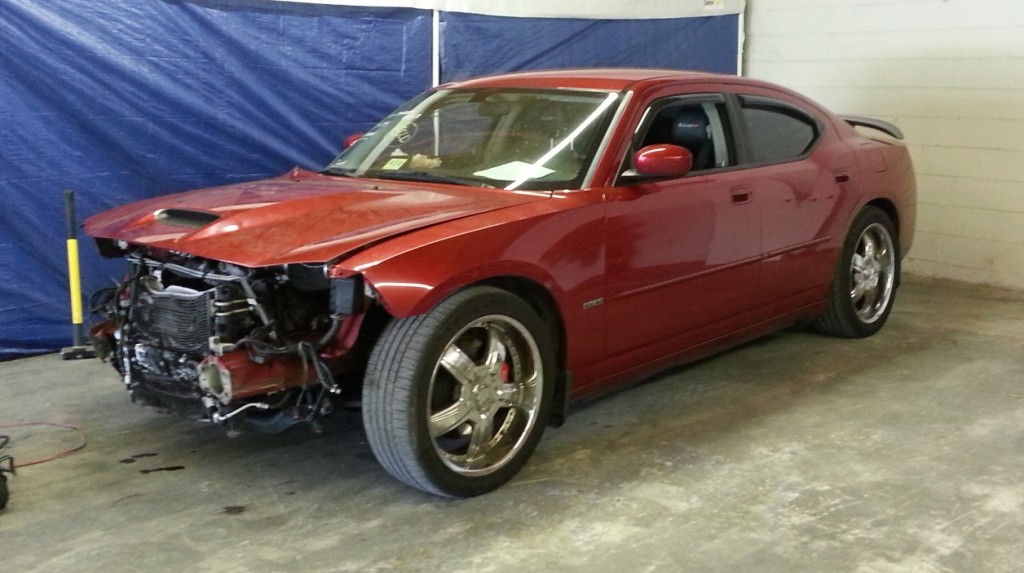
It was supposed to be a light front hit, but a quick measurement showed different. Out with the cradle/engine and off to the frame shop. I need accurate jigs to be built from this car.
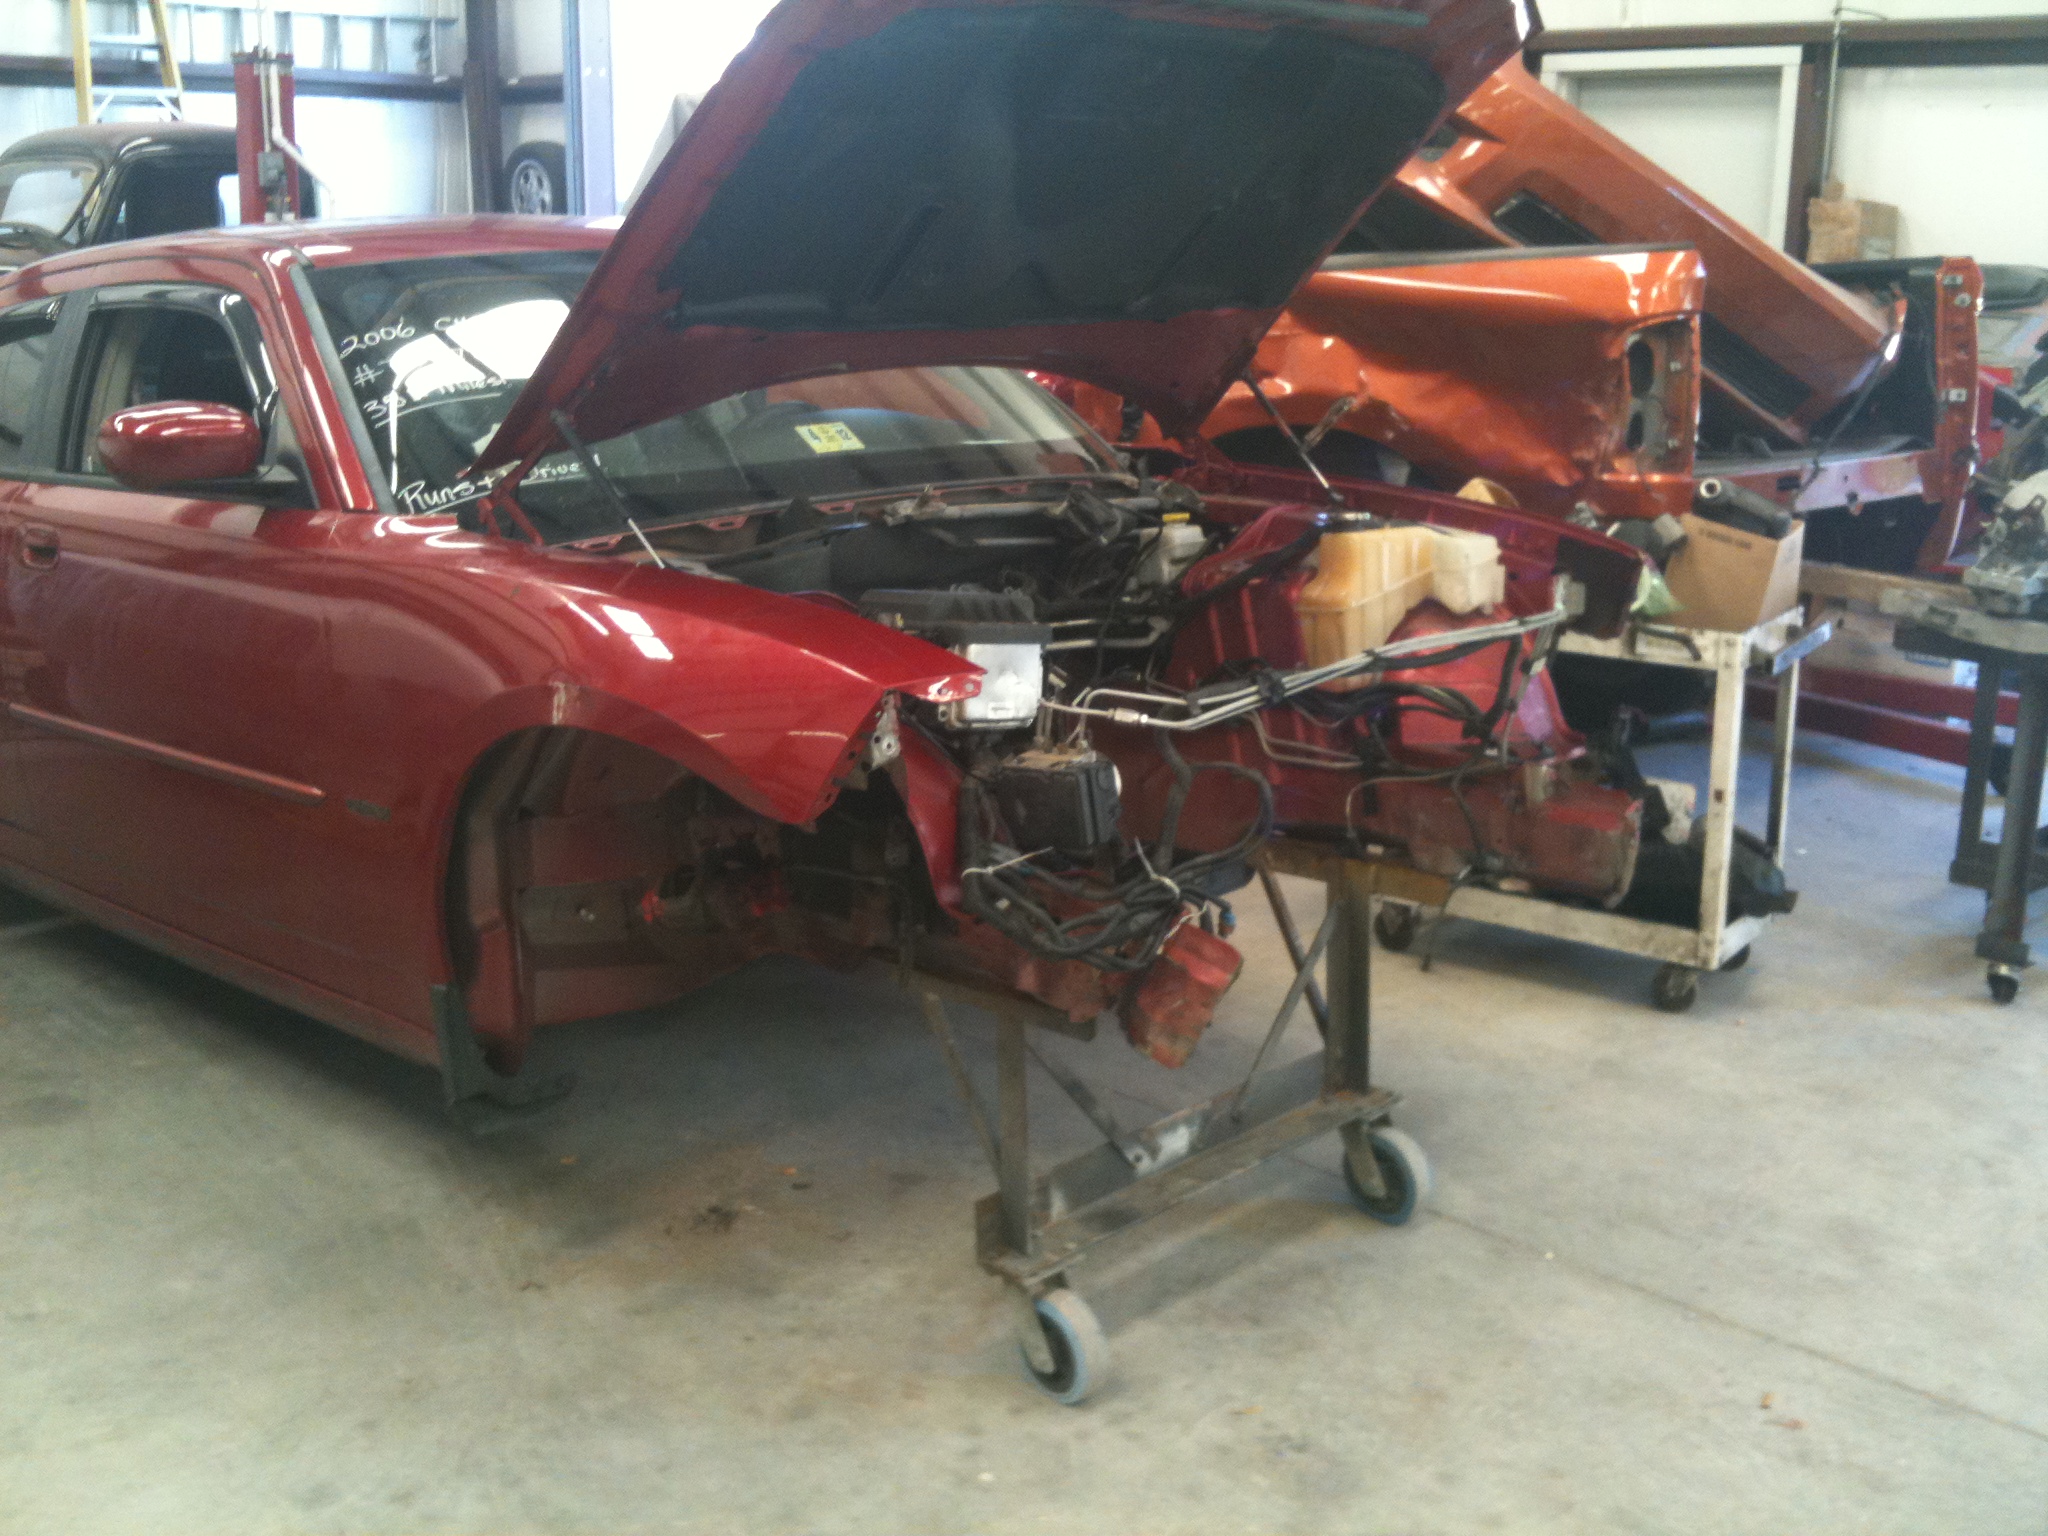
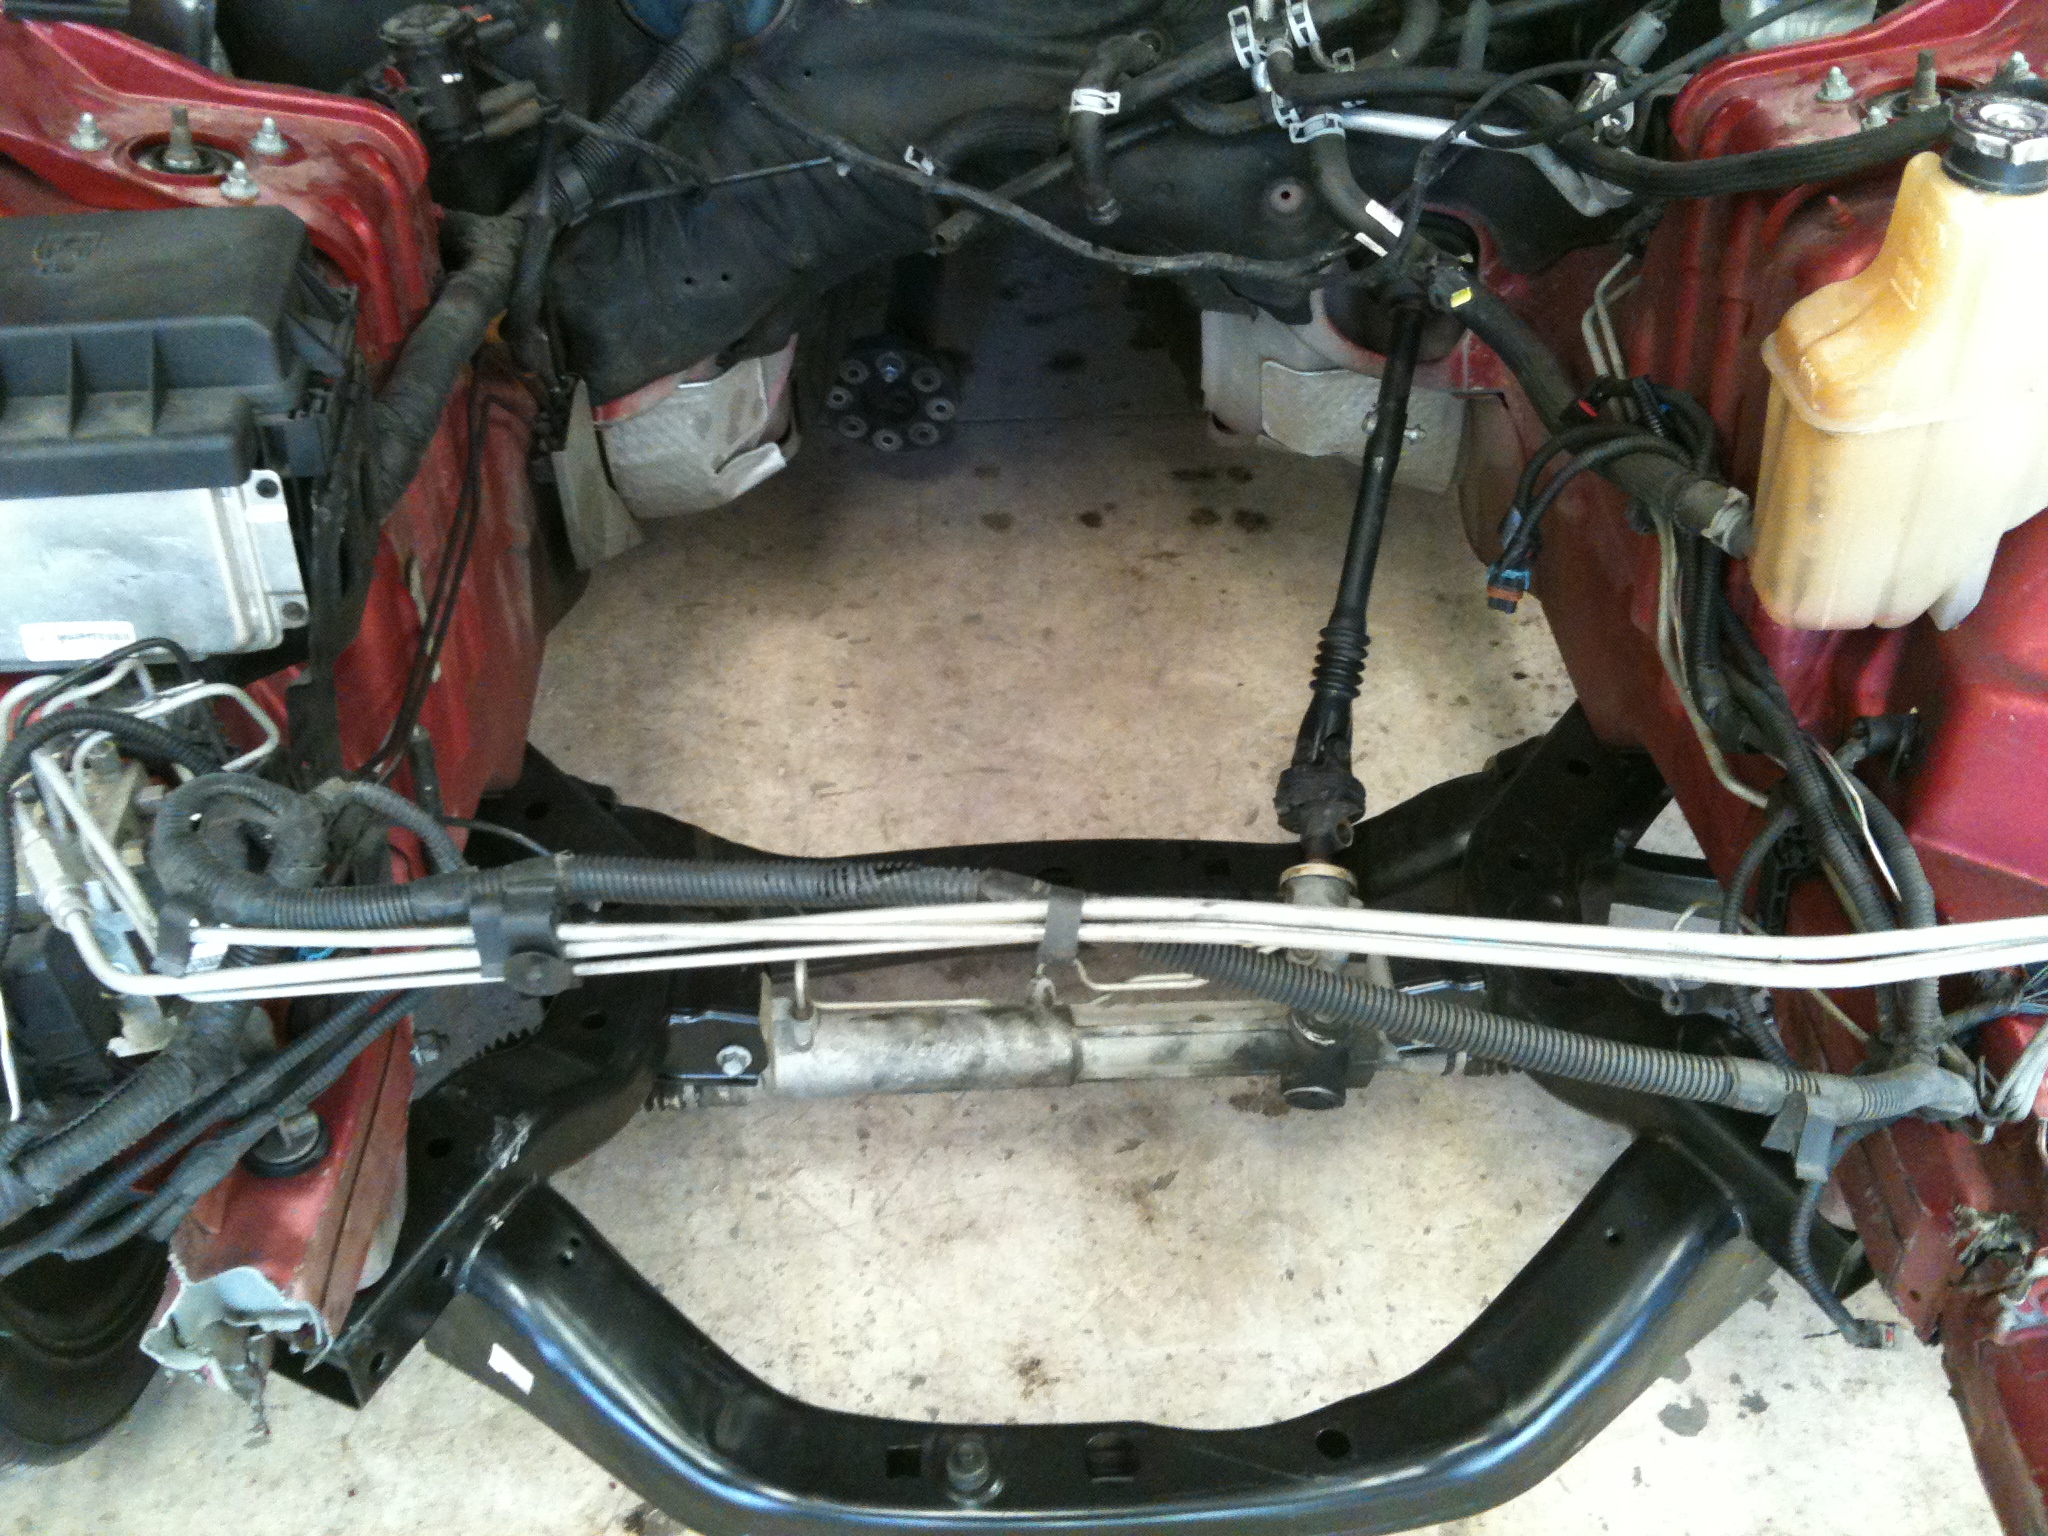
Back from the frame shop. New cradle installed and engine/trans back in and everything at ride height.
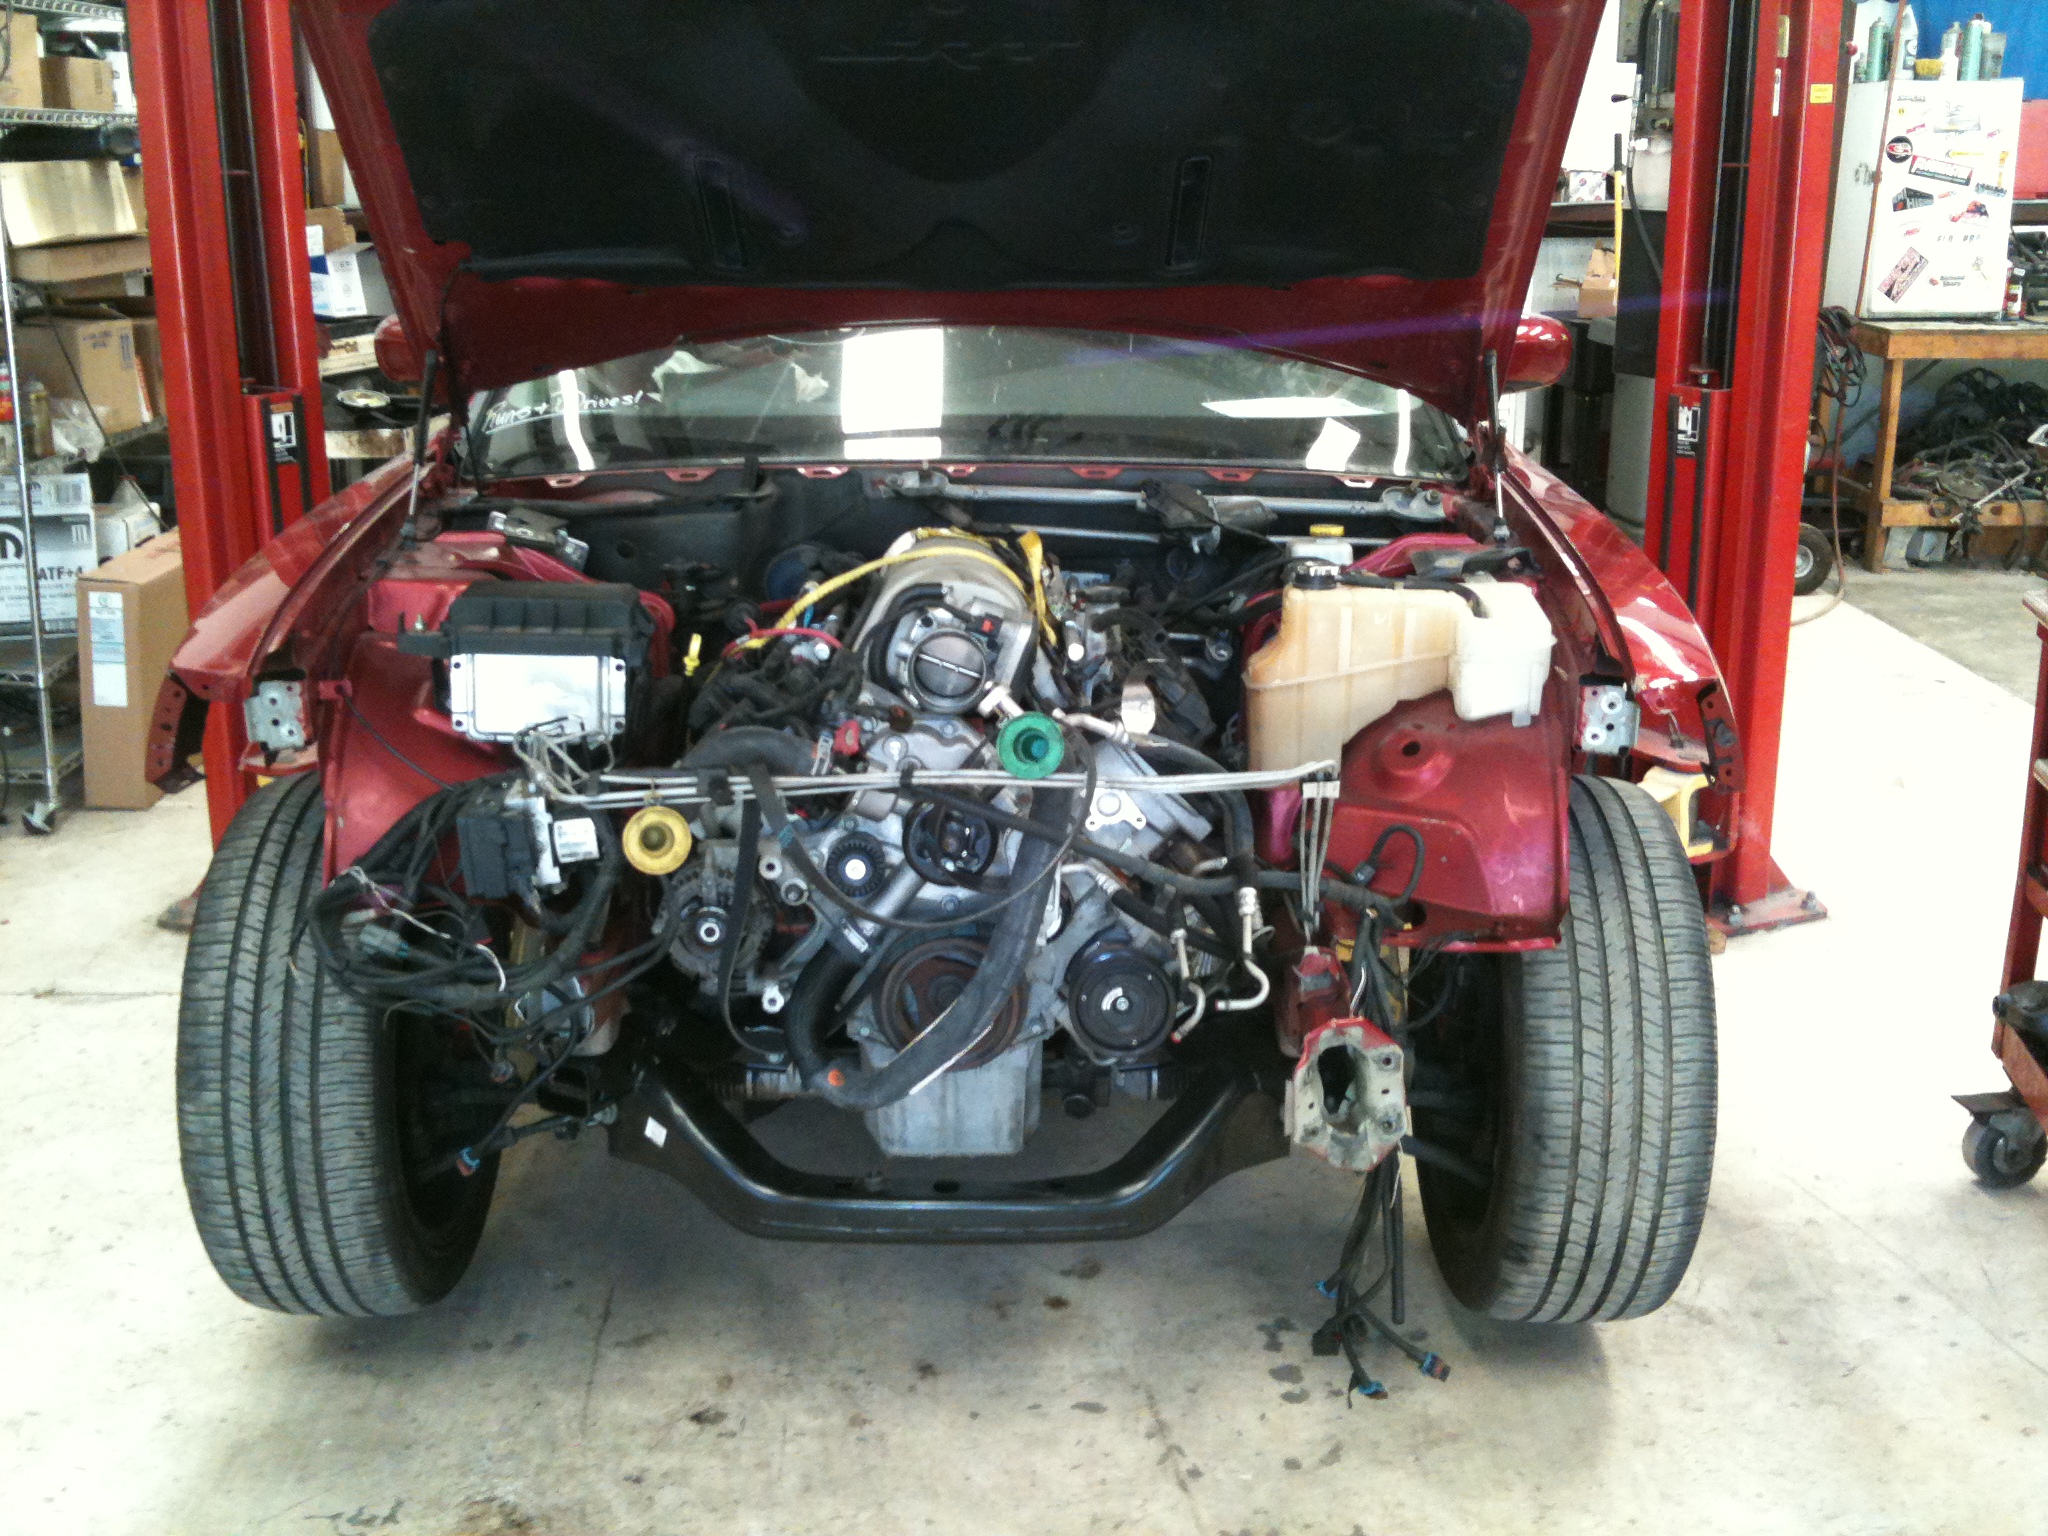
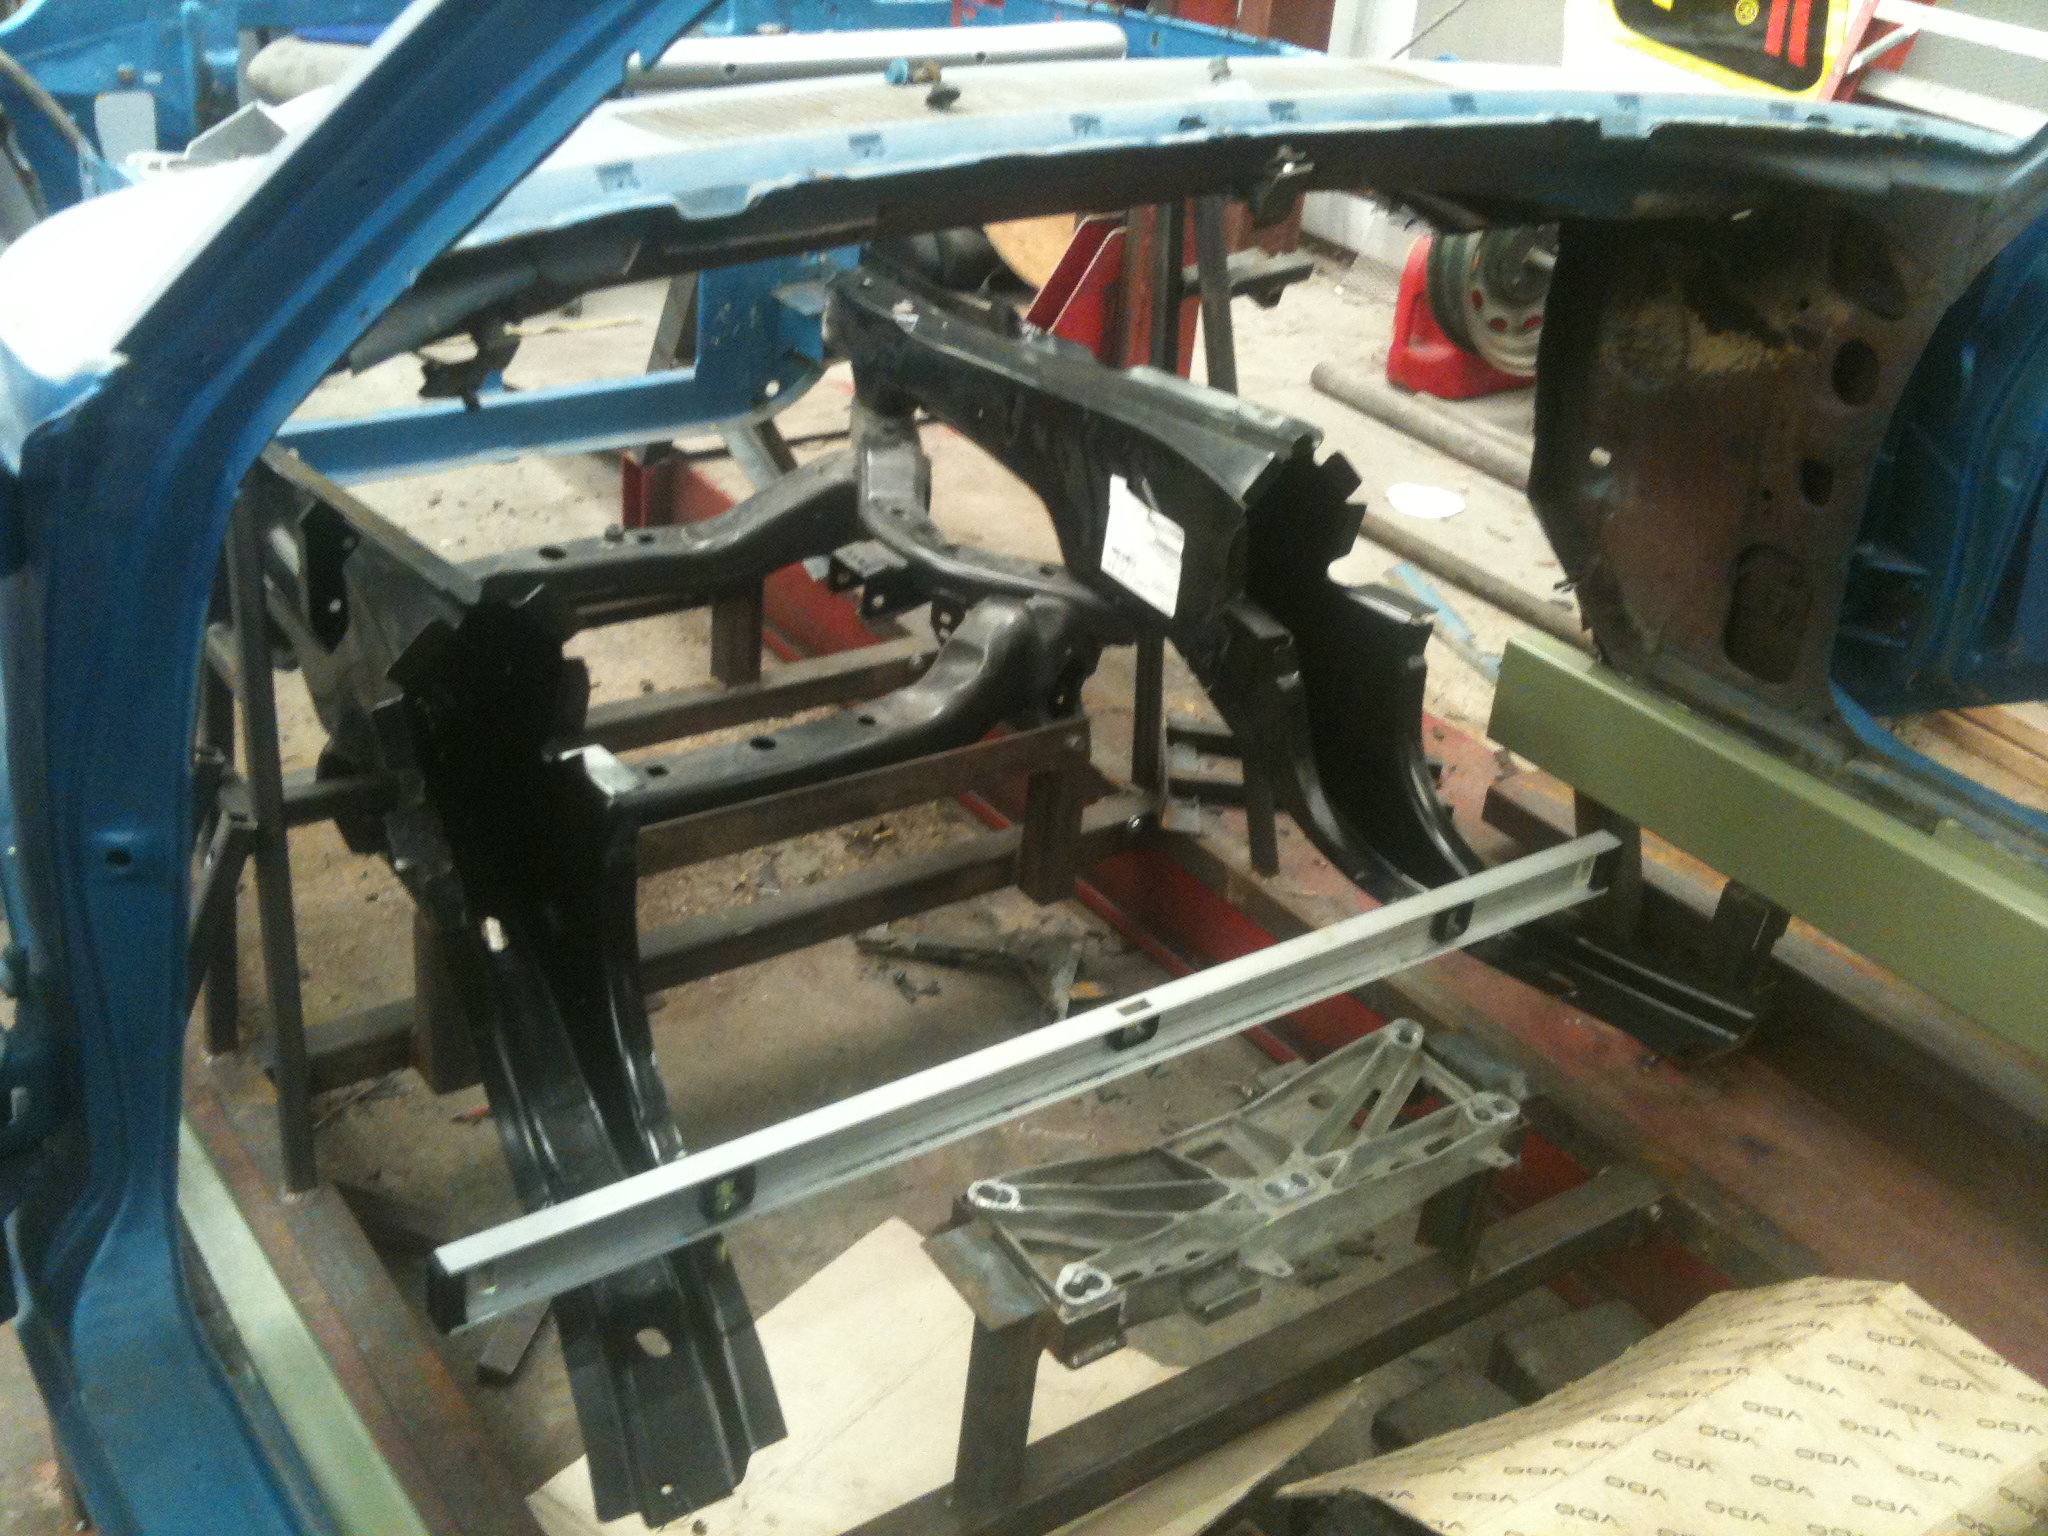
Up on the rack, squared and level, and at static ride height. I built the jigs to bolt to the rack.
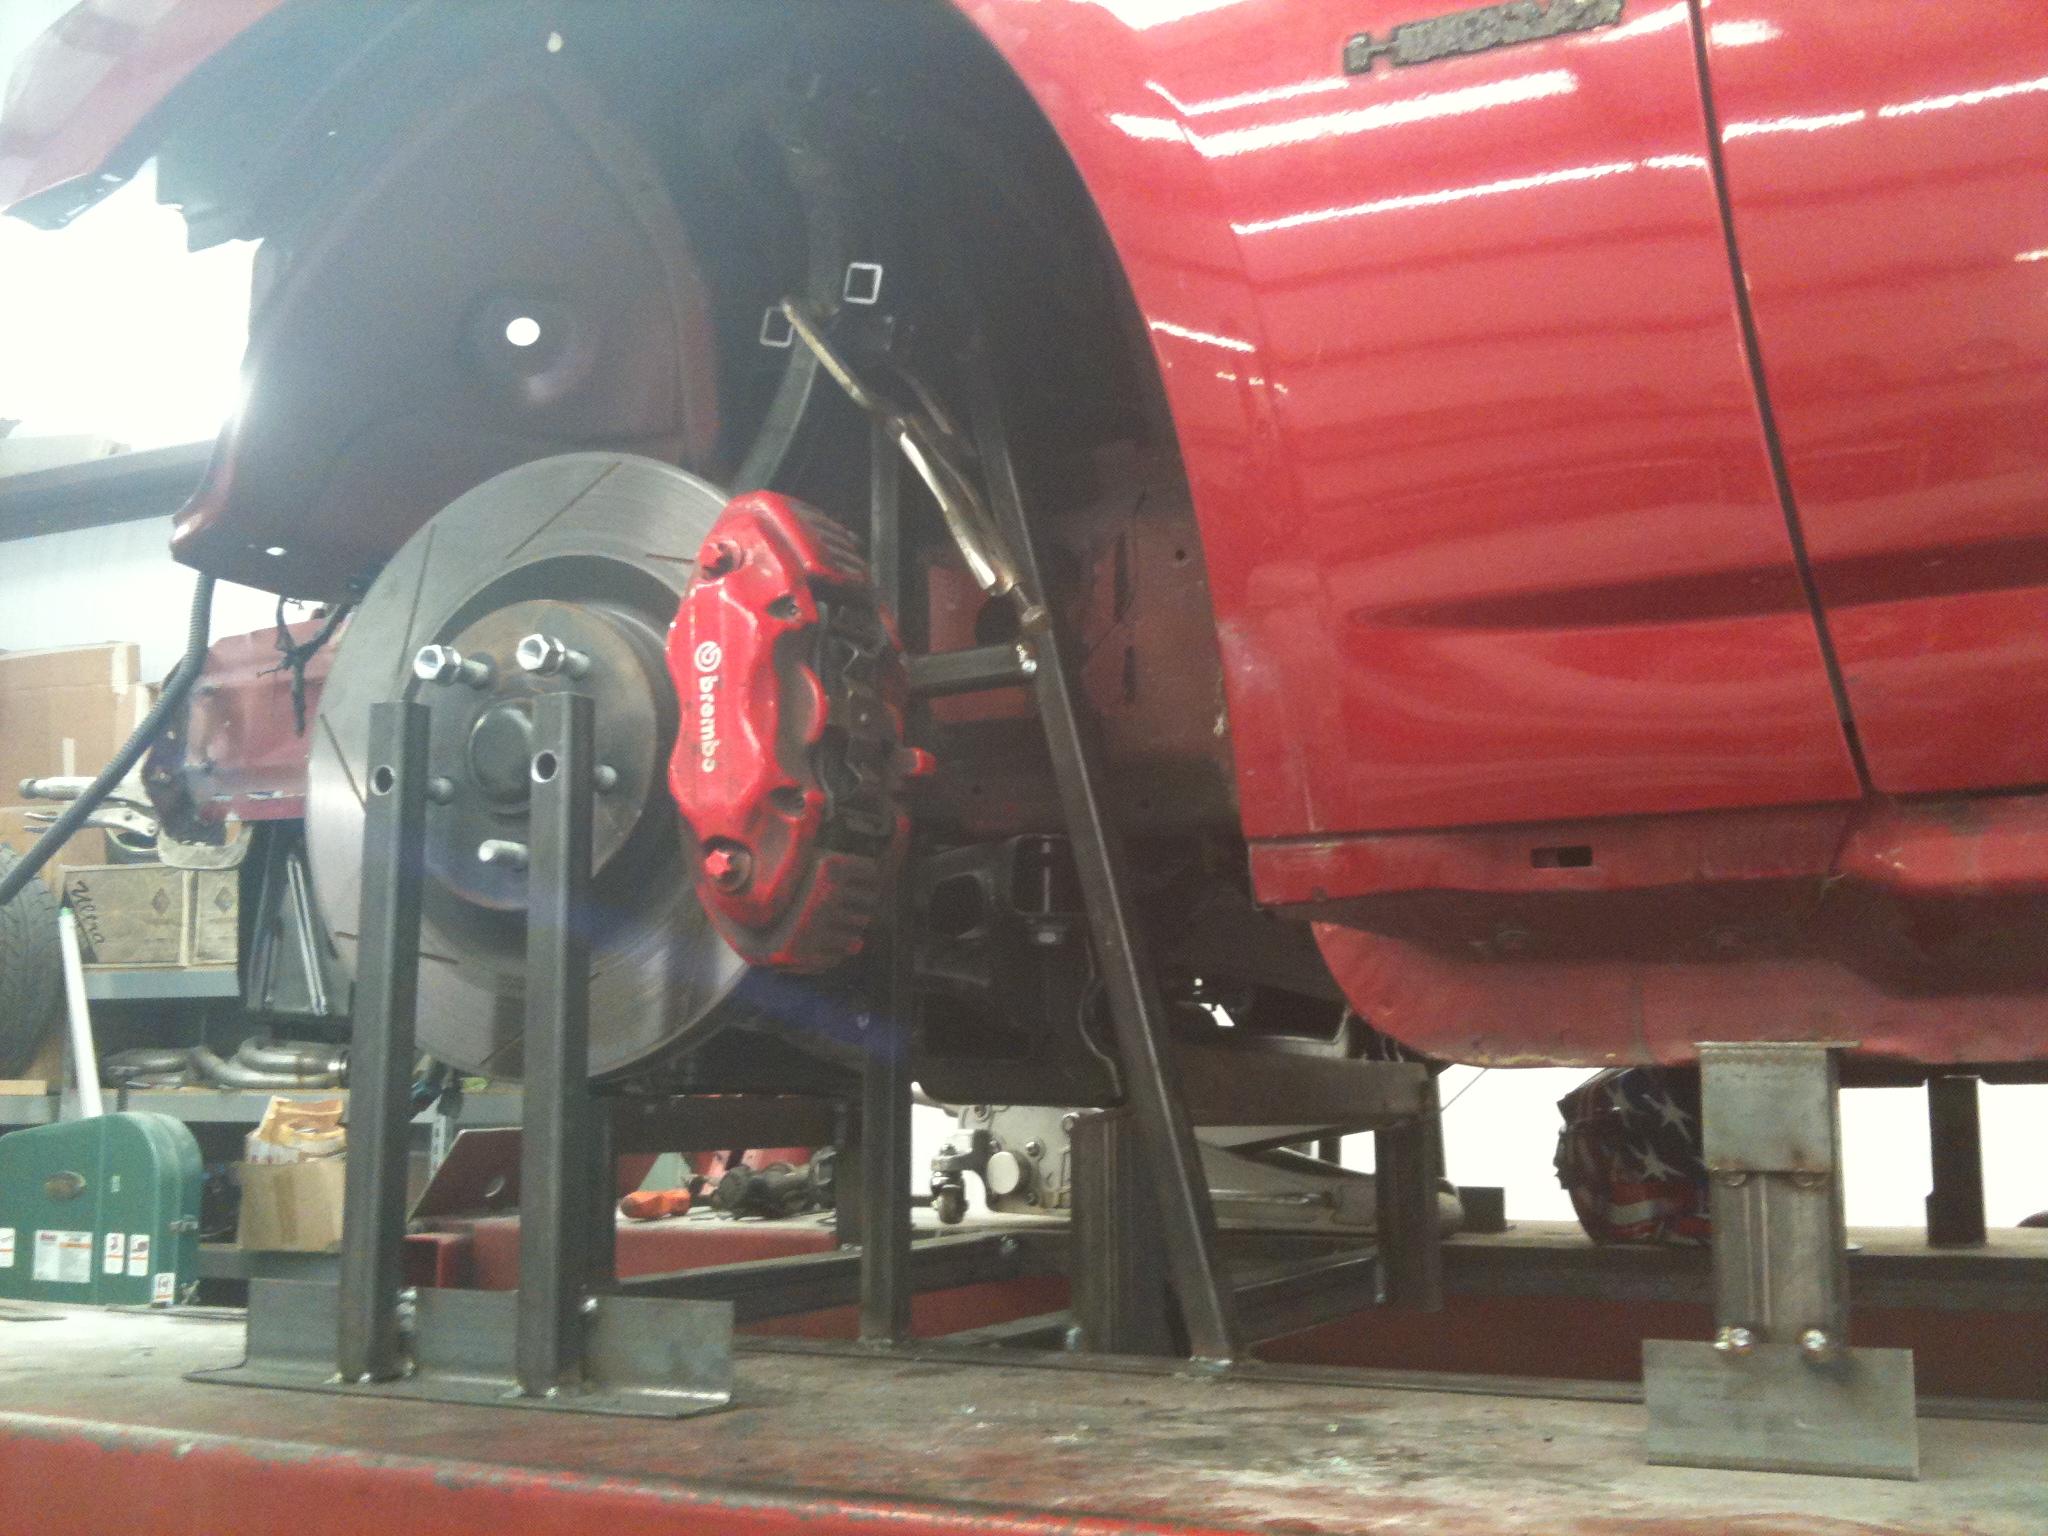
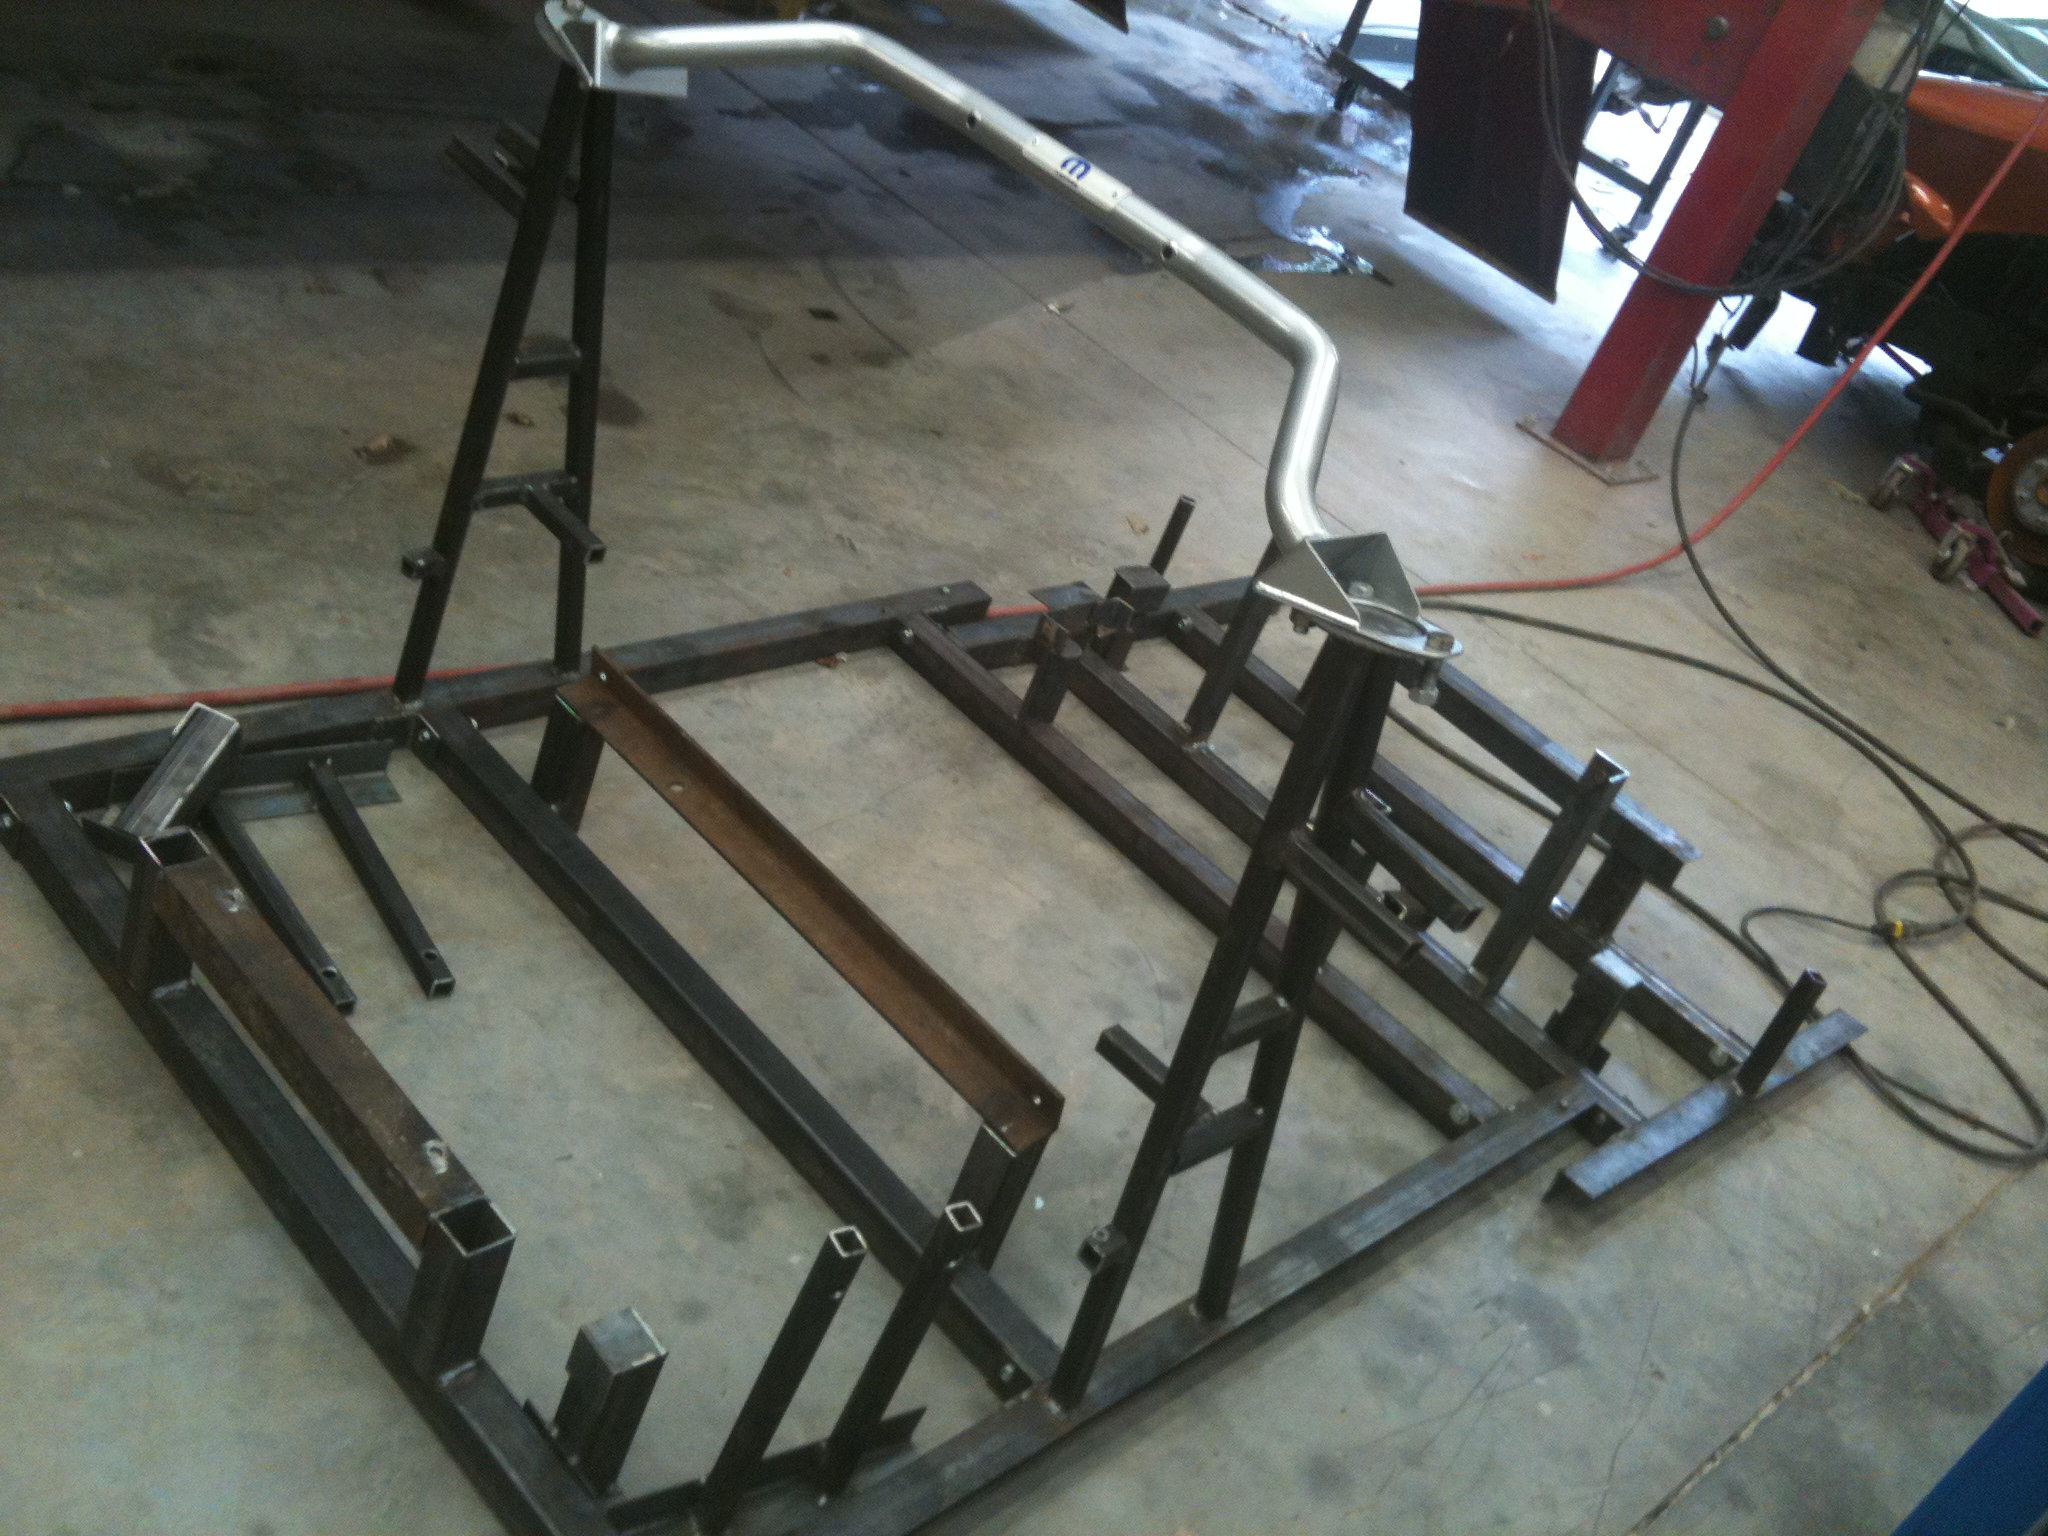
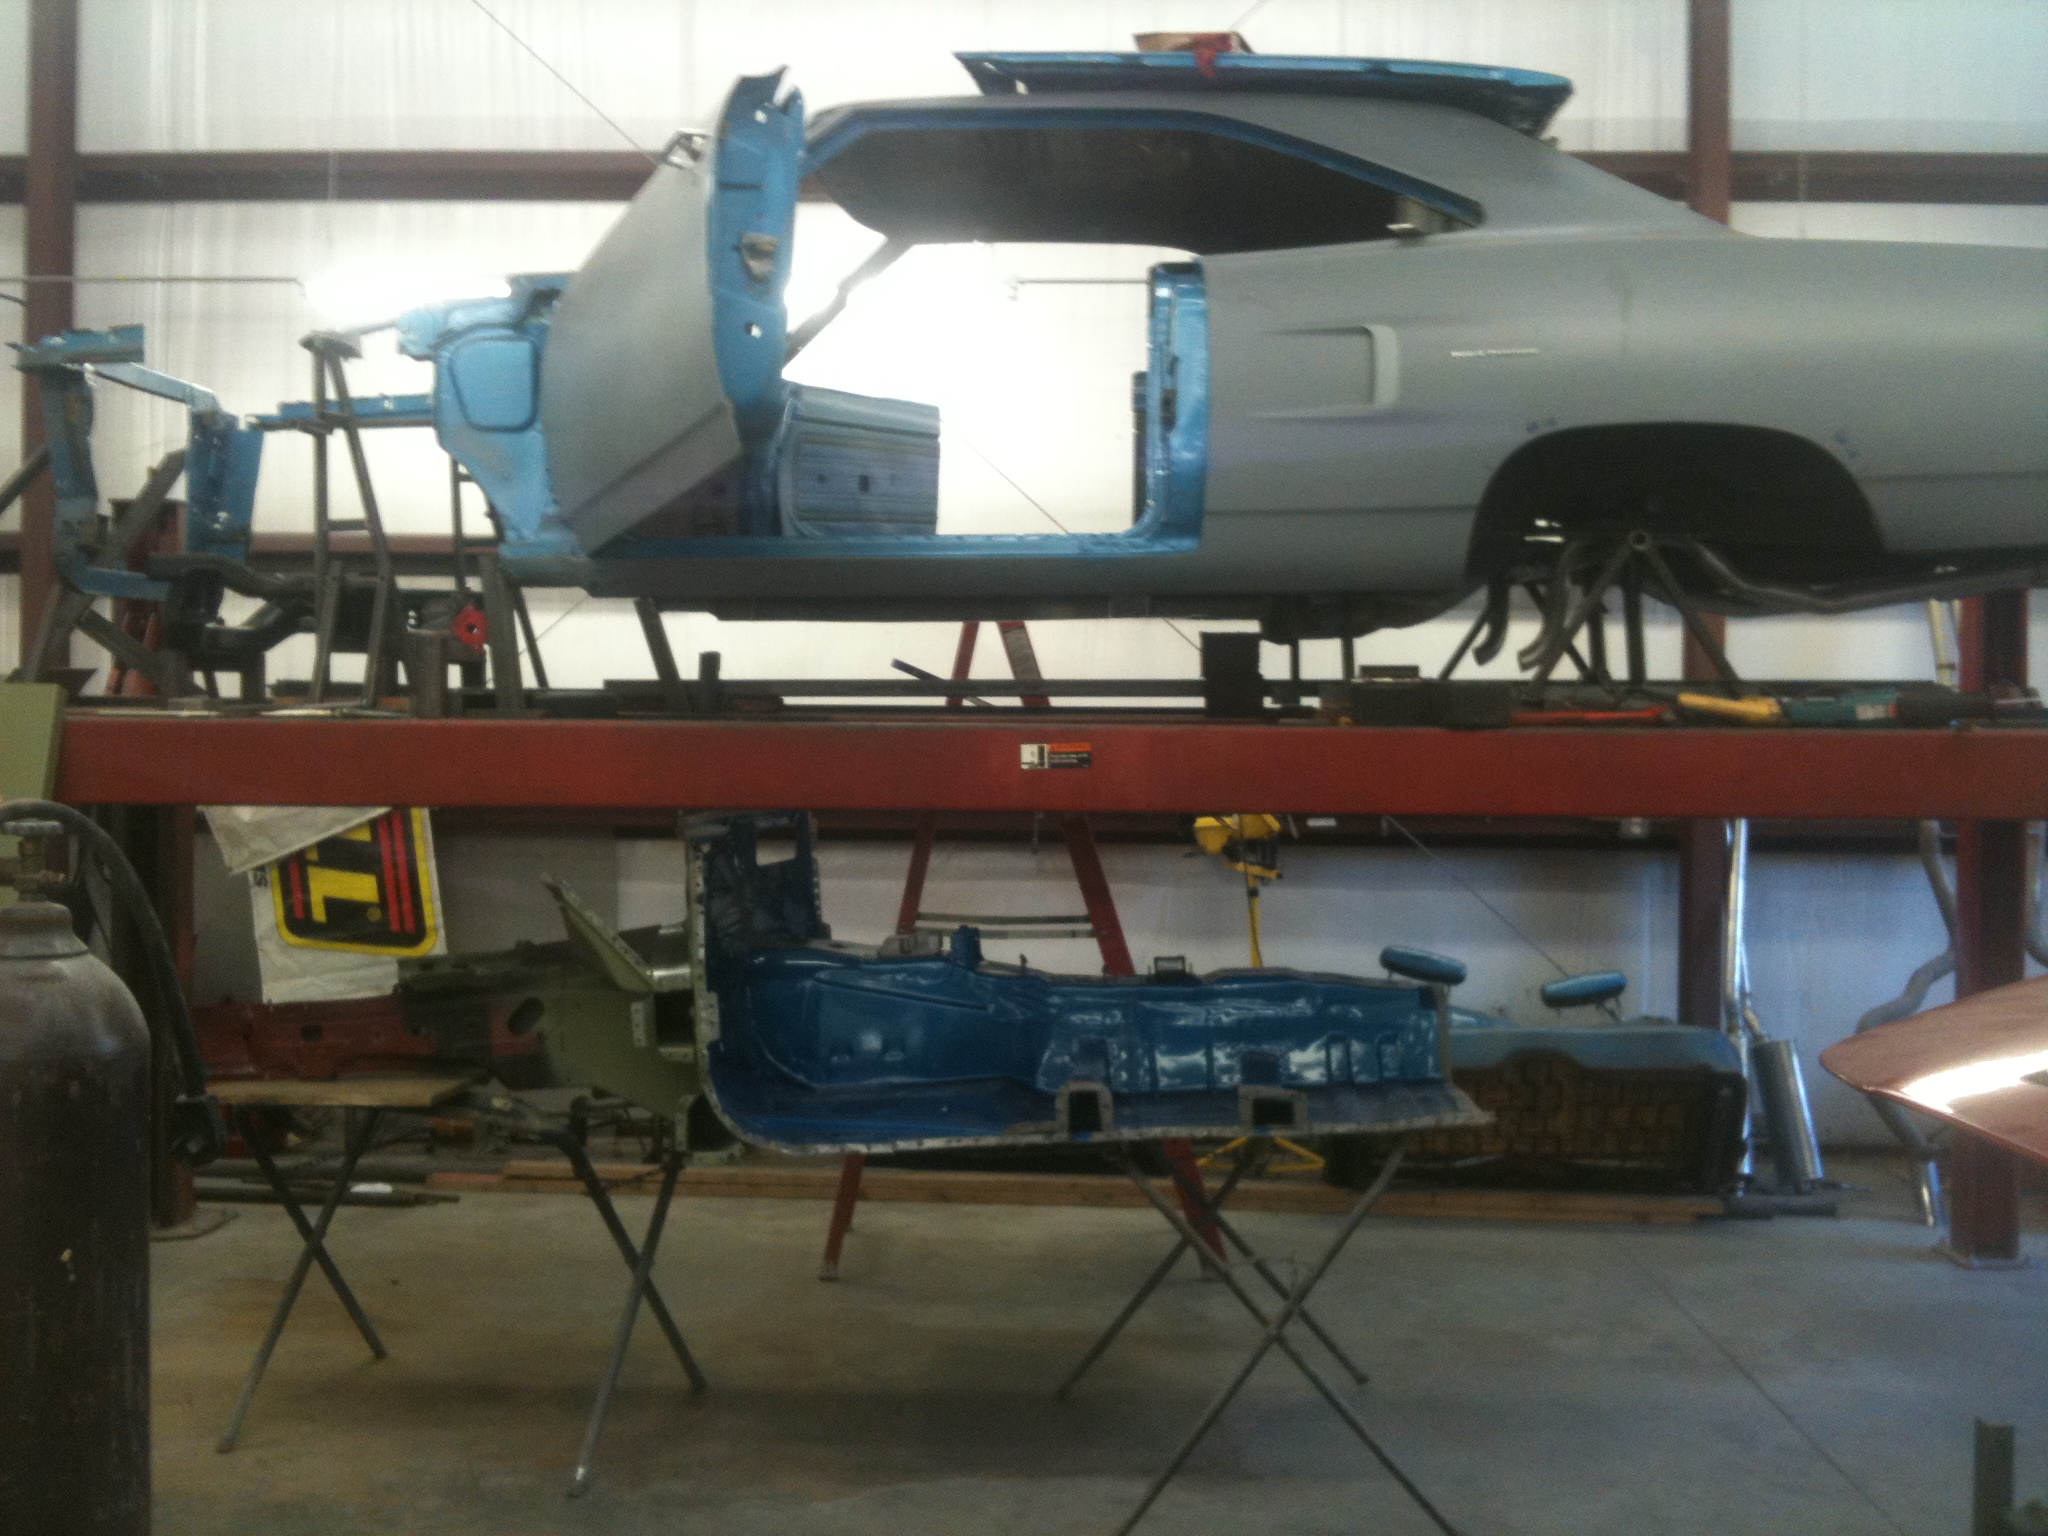
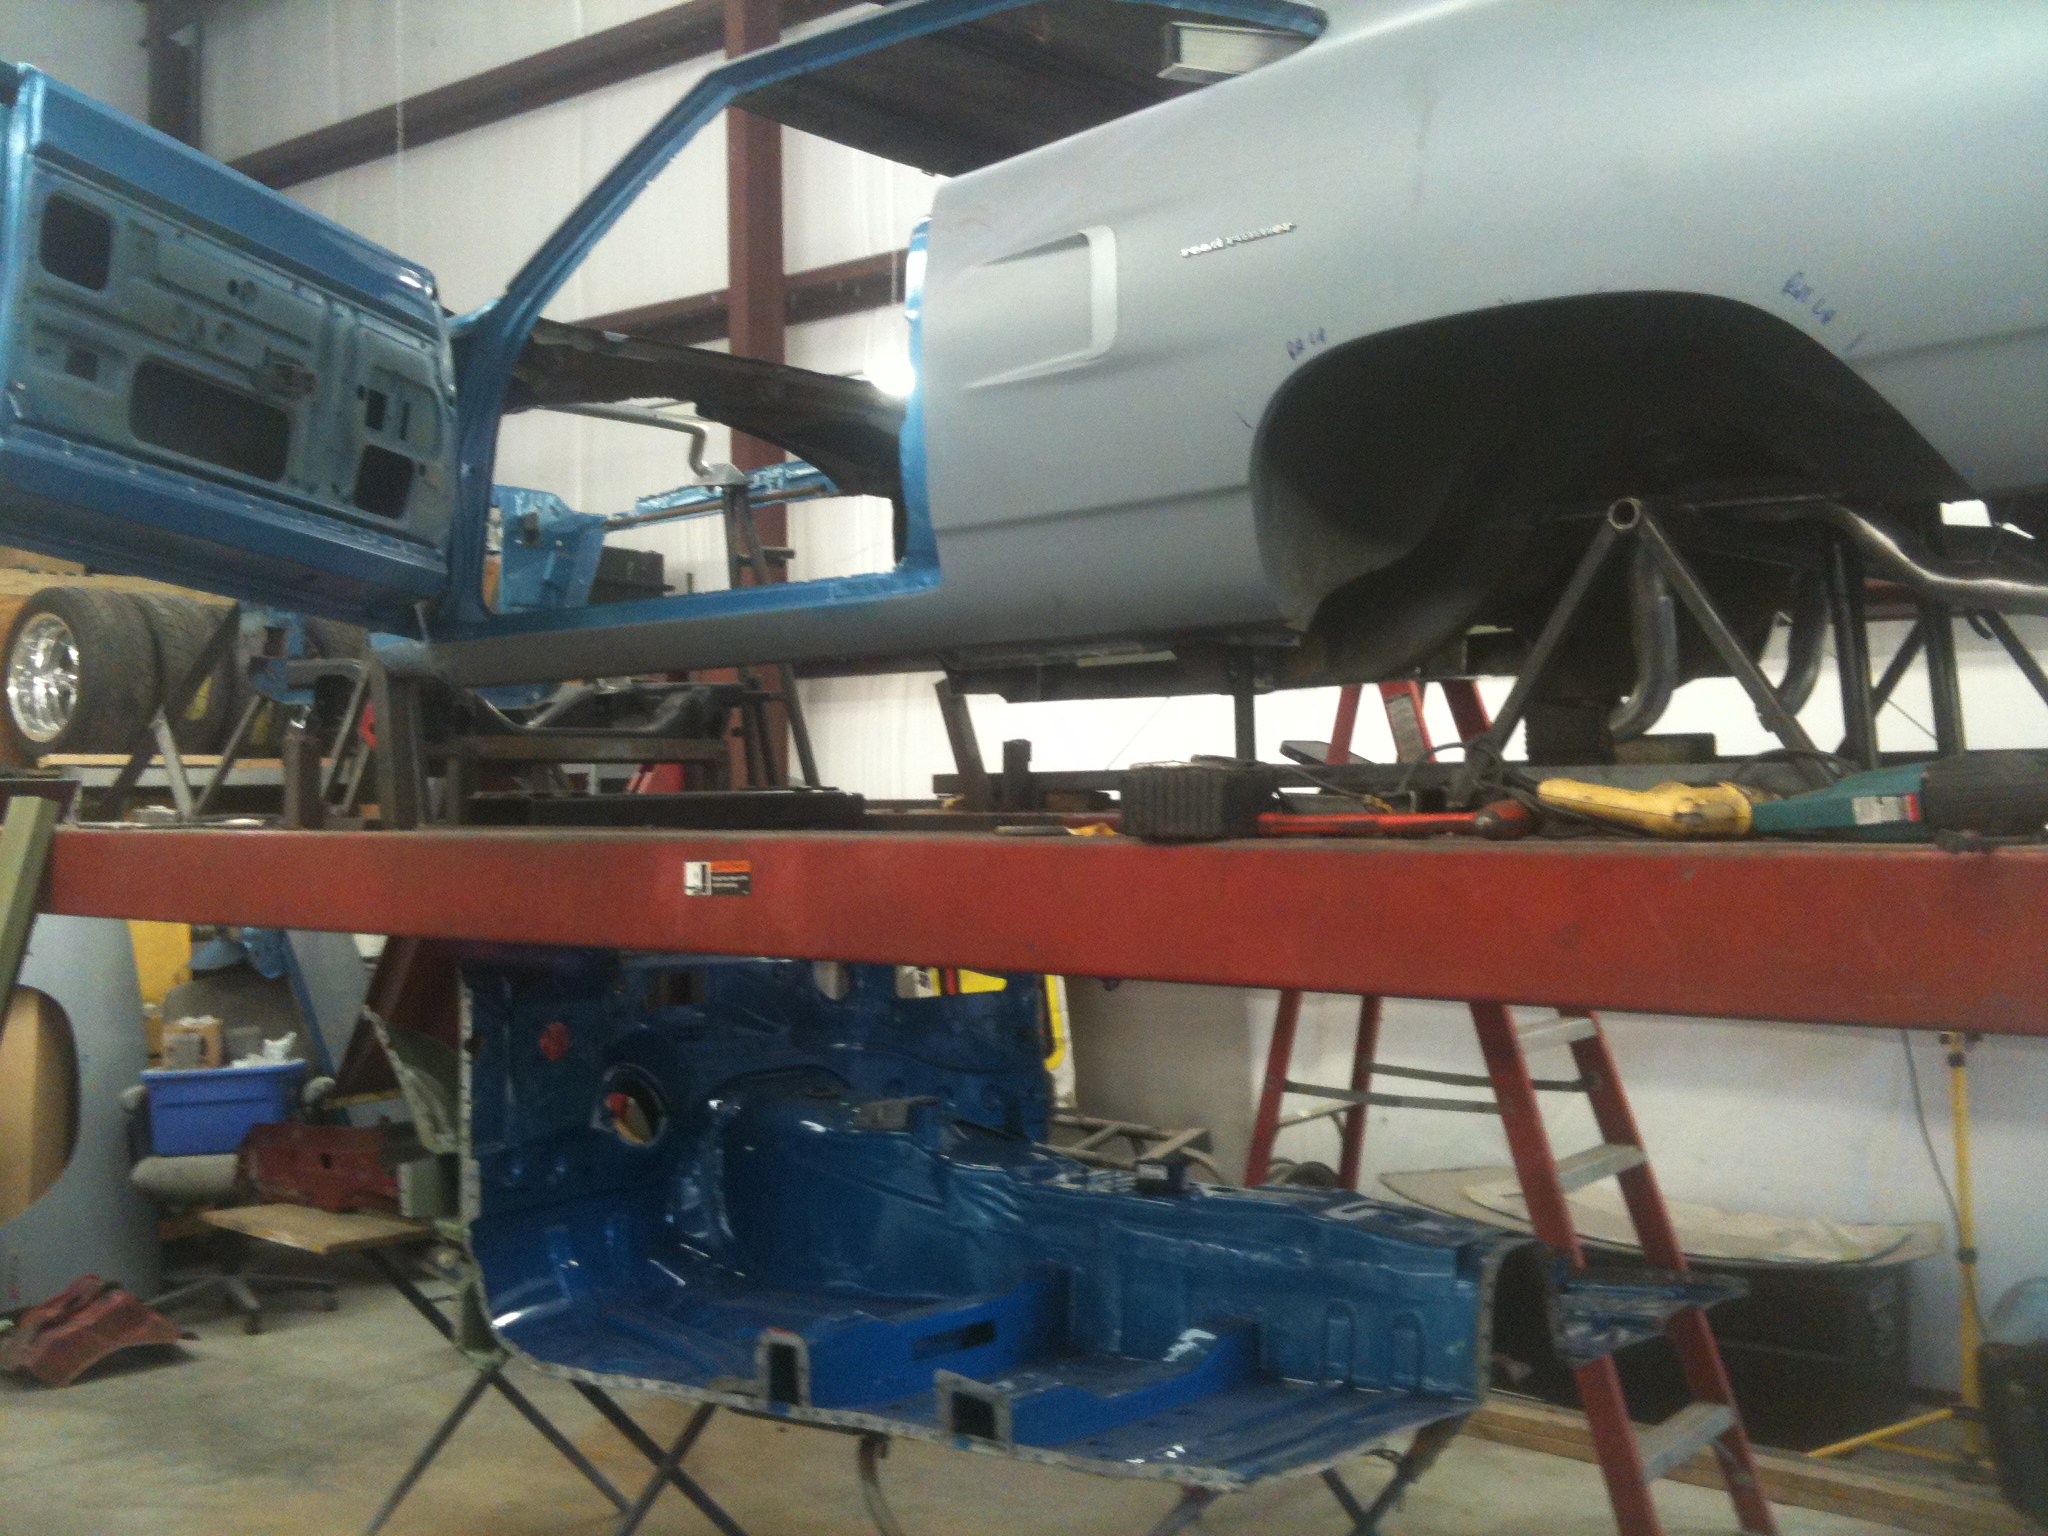
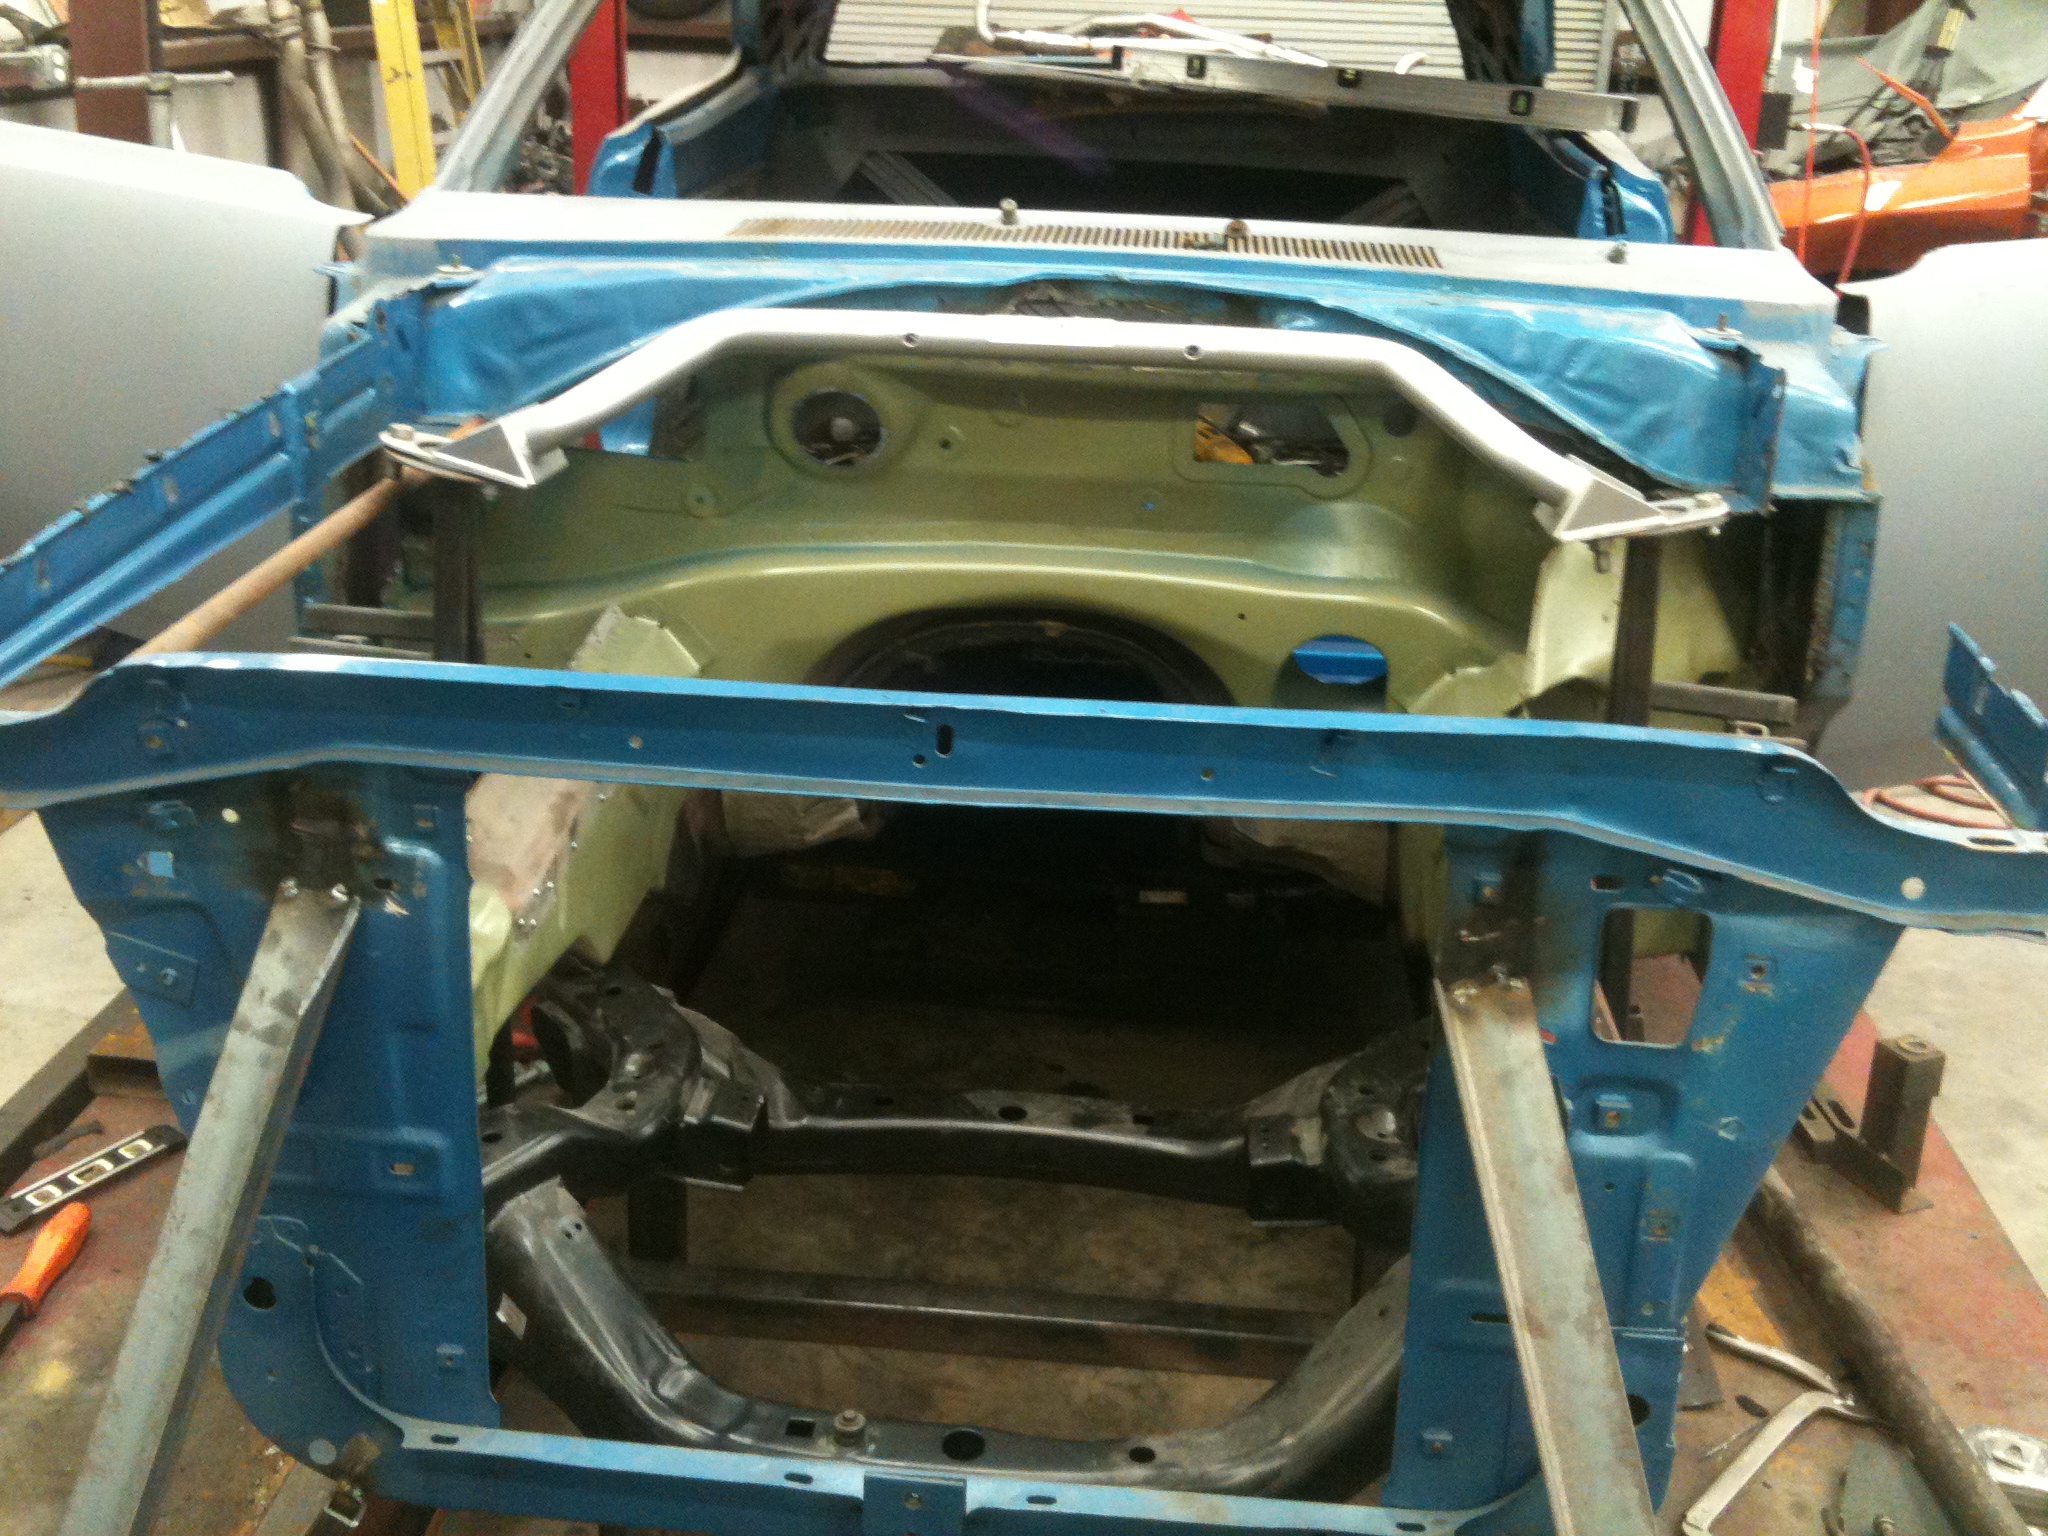
Off with the Charger, and on the rack with the Road Runner. Engine, cradle, and front/rear suspension out. Body set on air jacks, and the tires the RR will wear are set under. I manipulate the body to get the stance the customer wants and then lock it down.
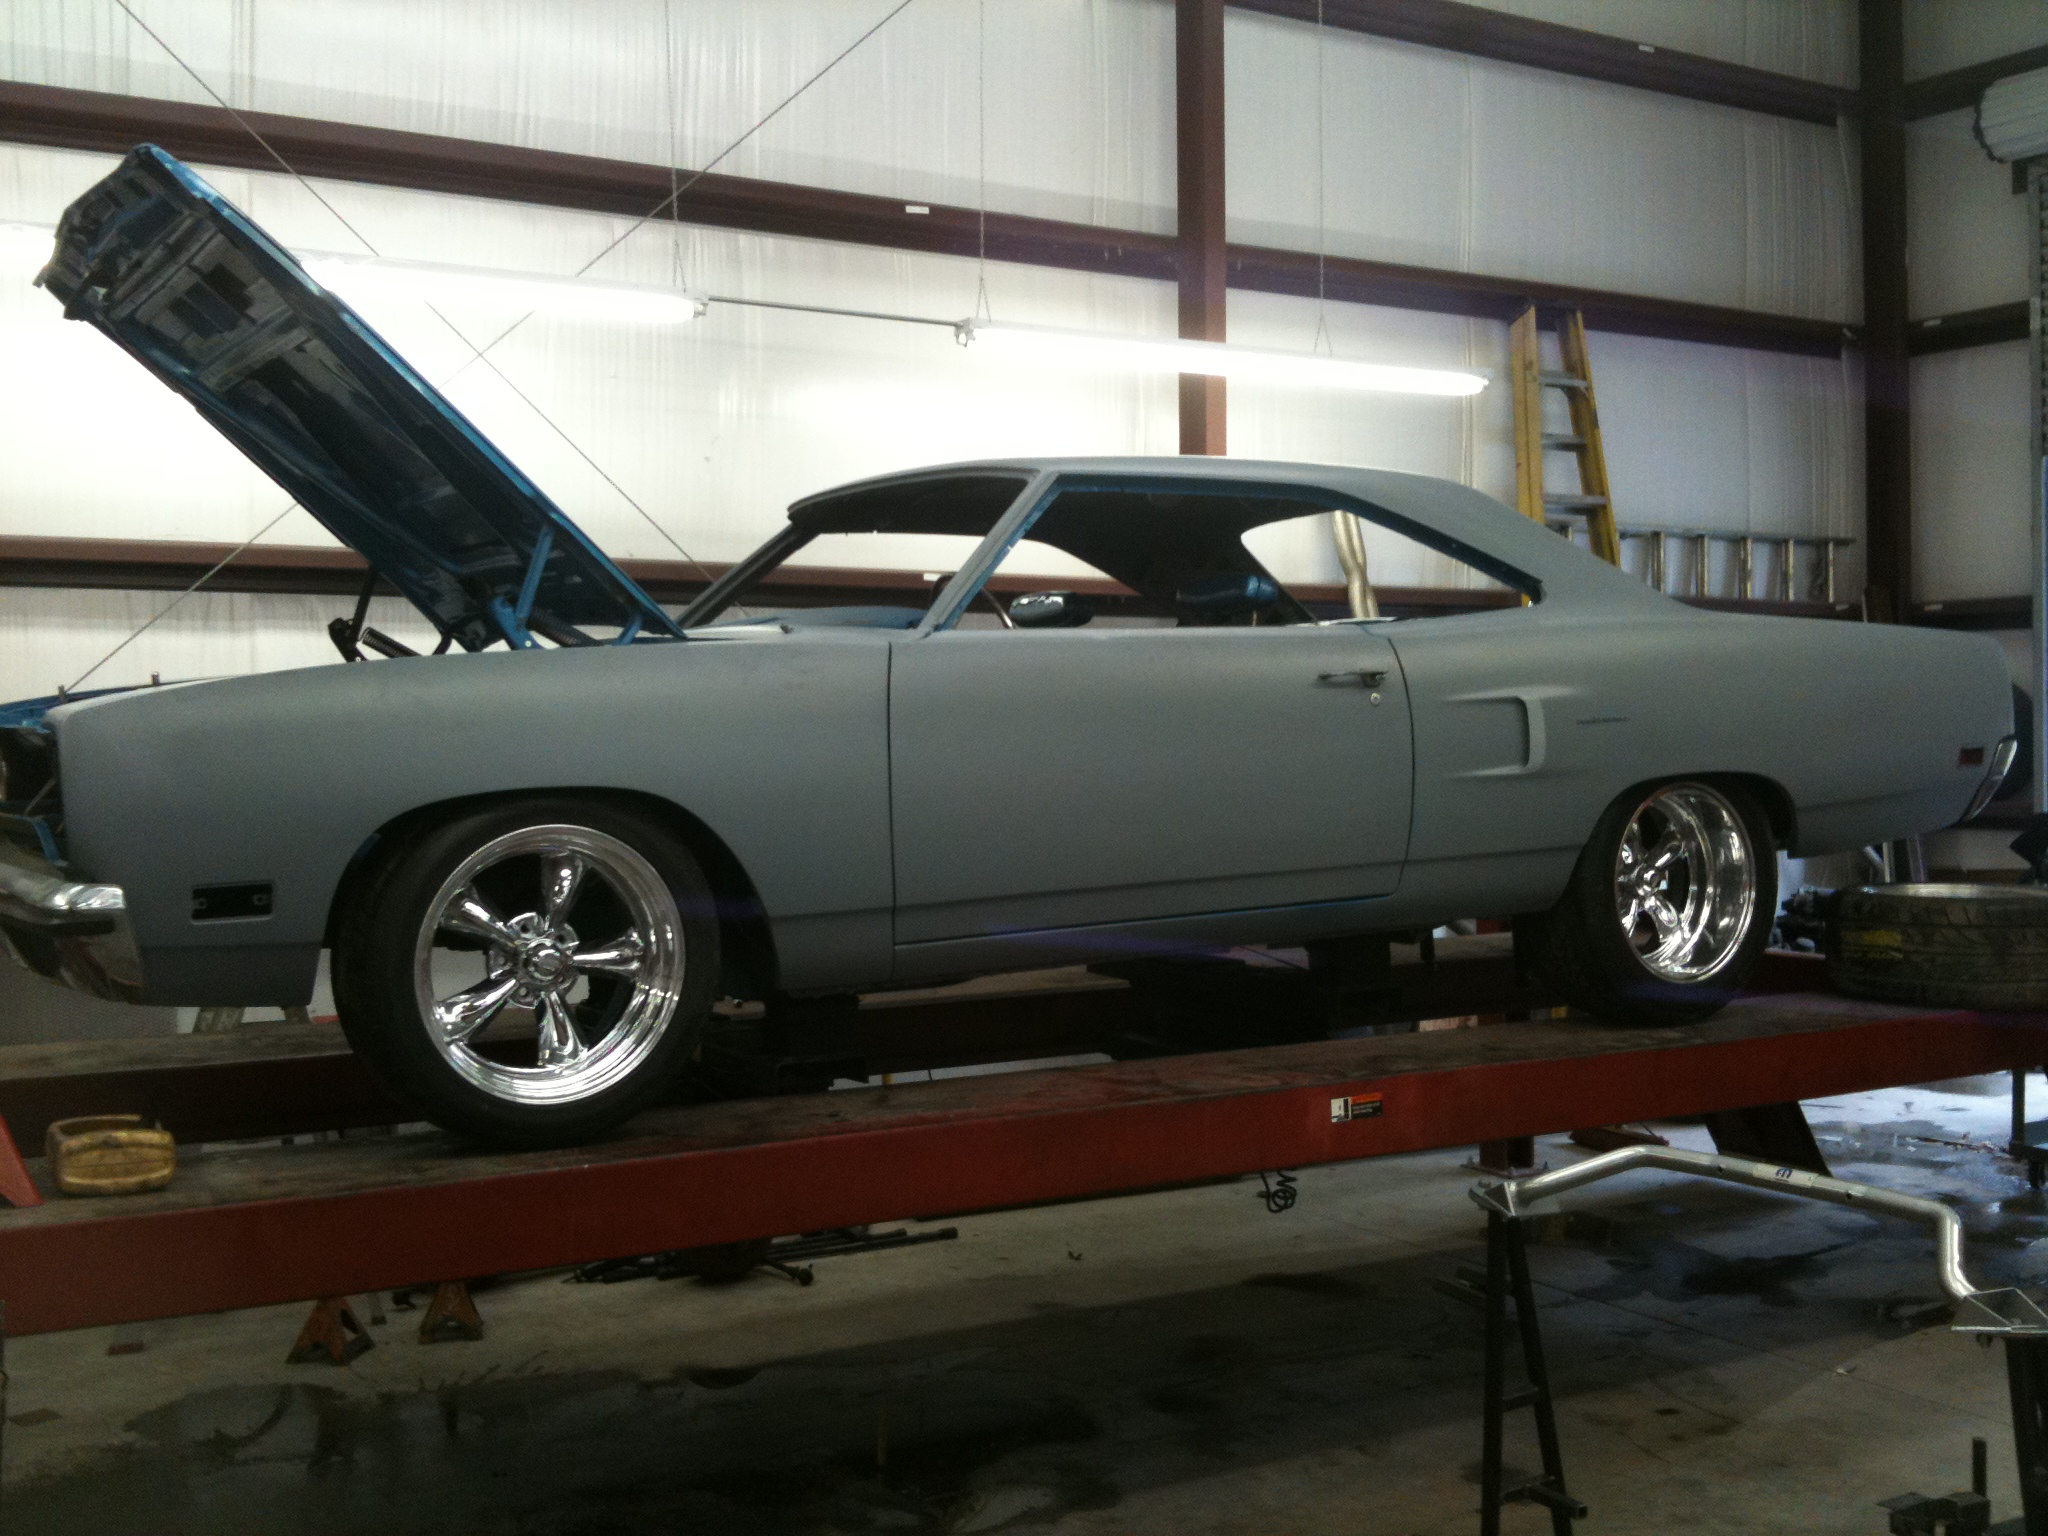
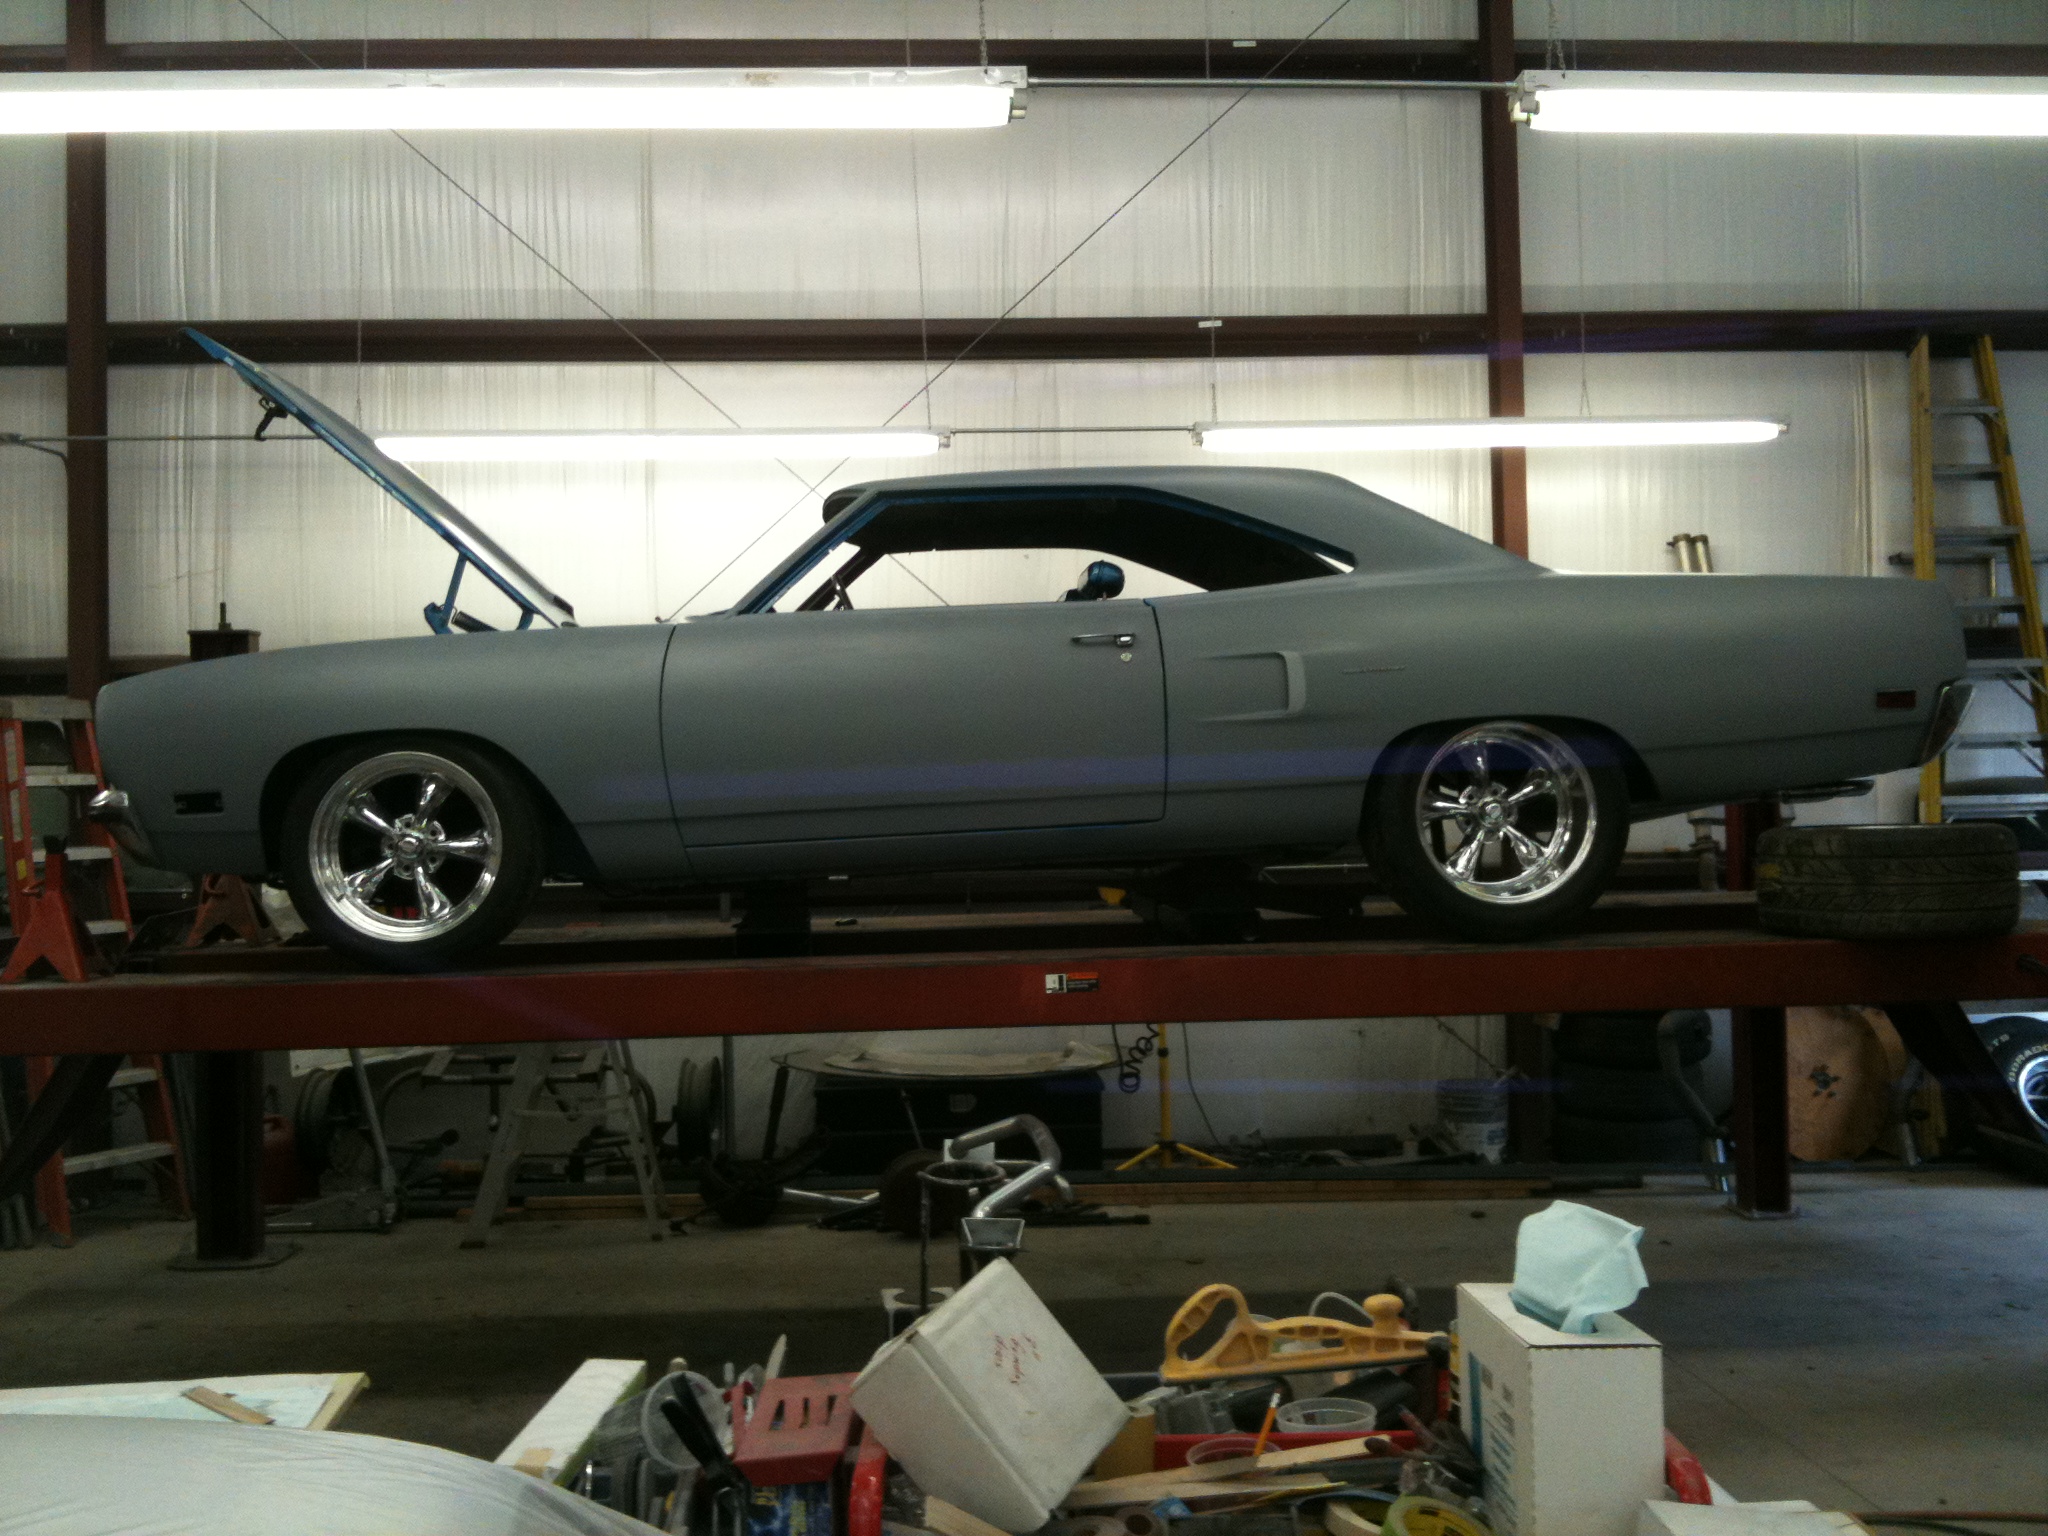
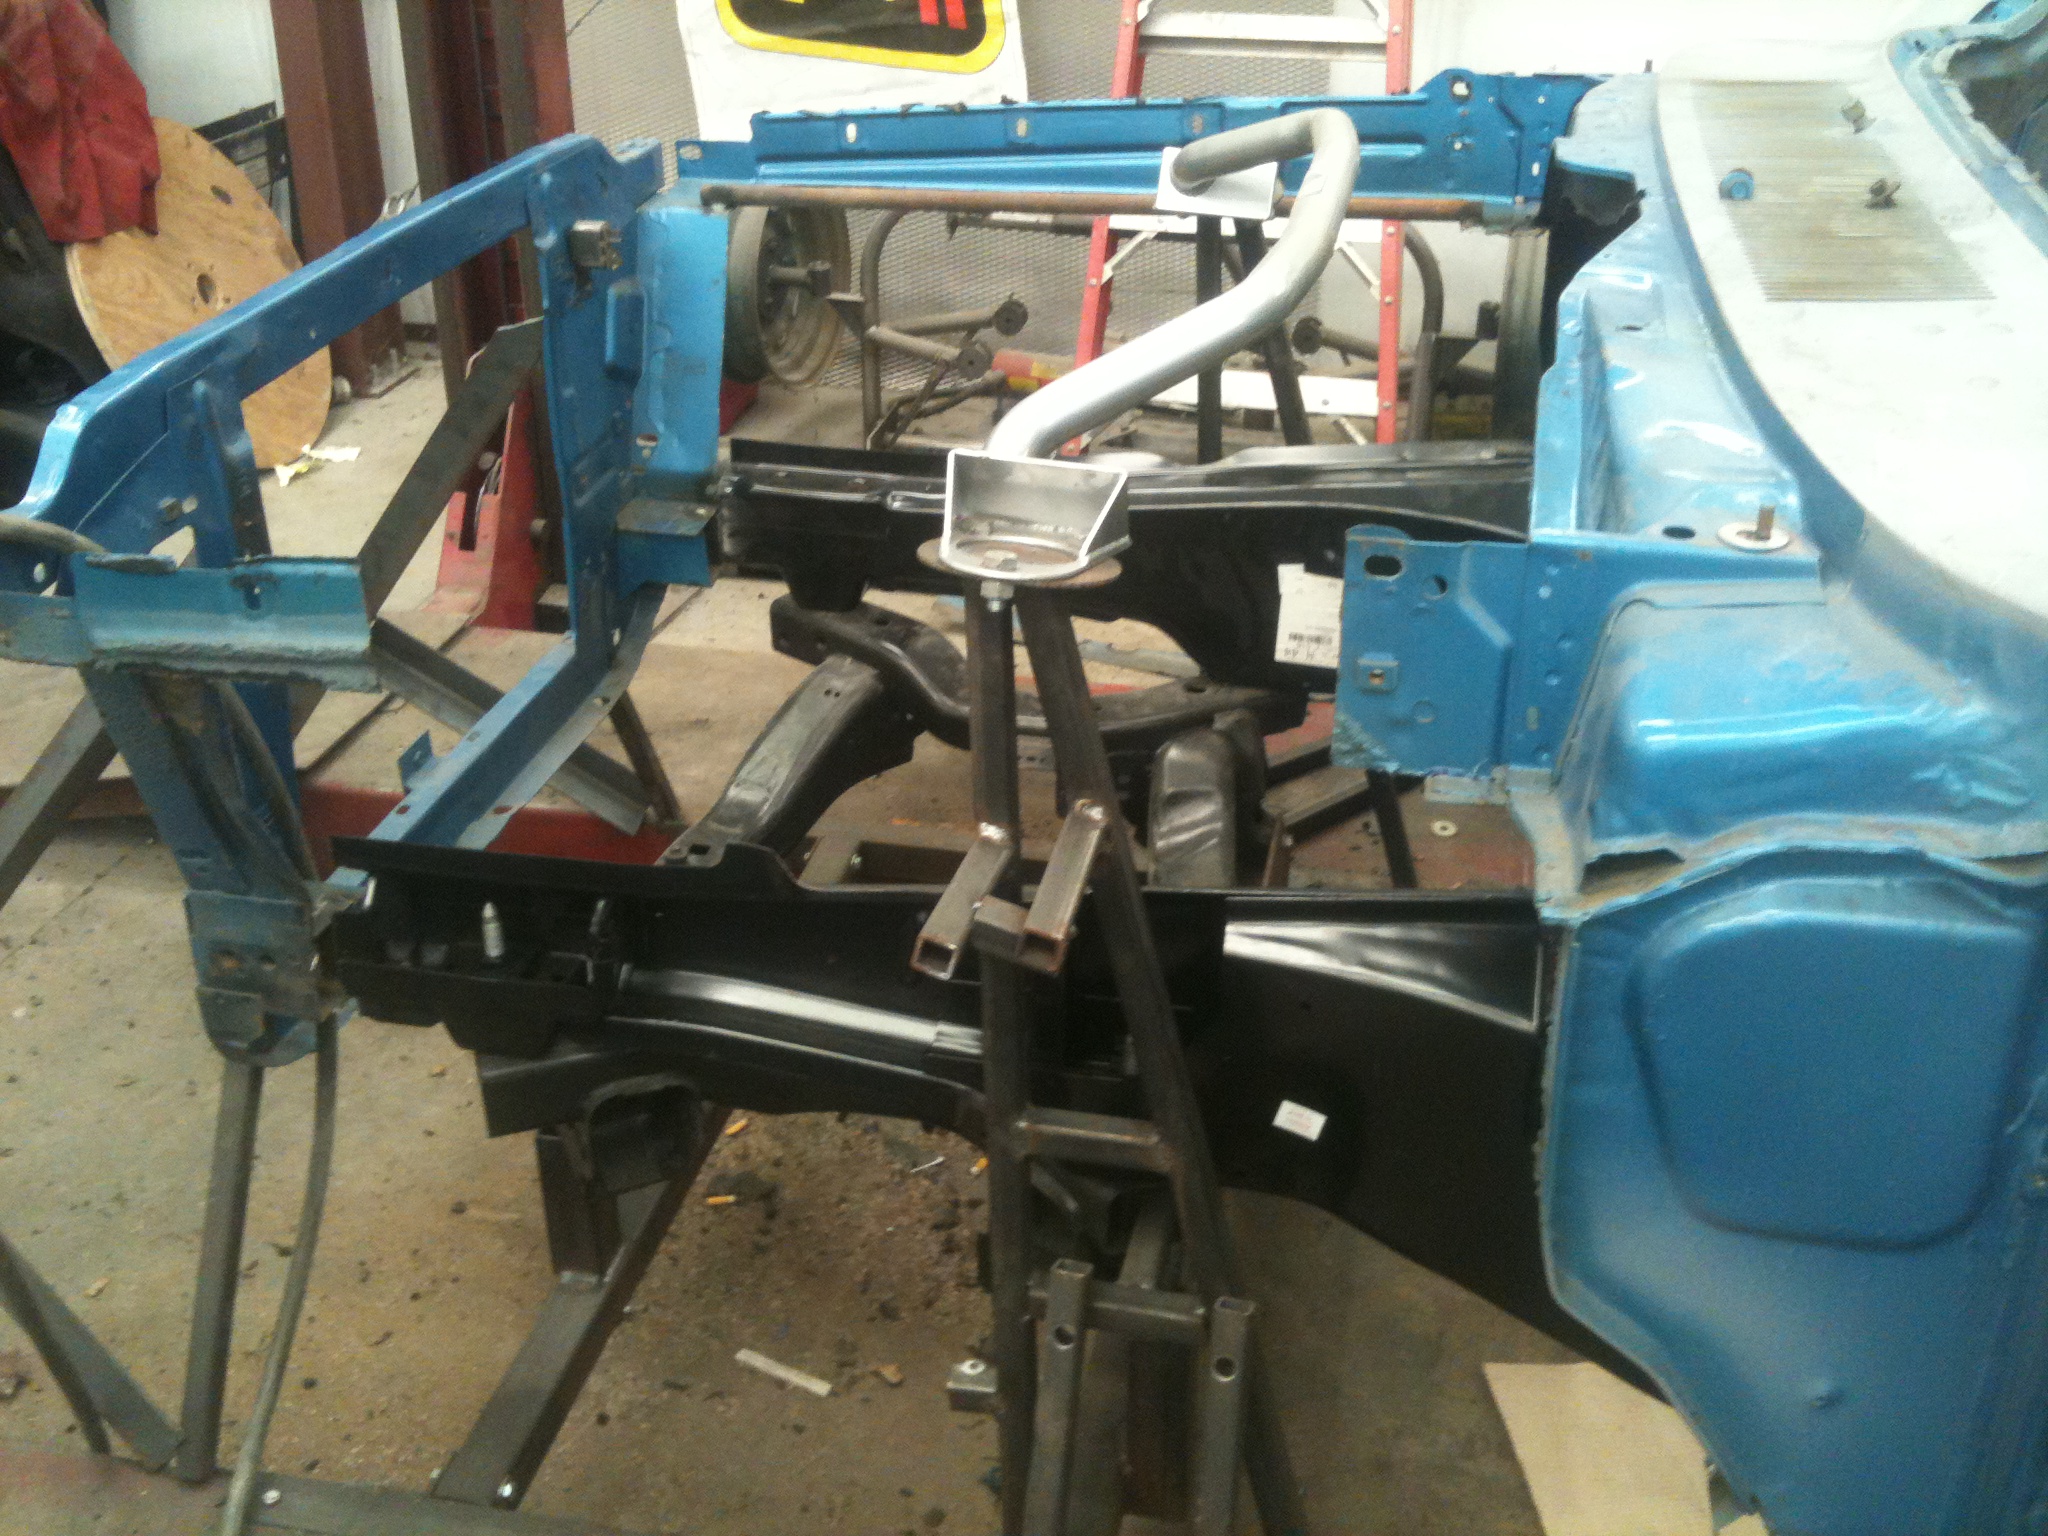
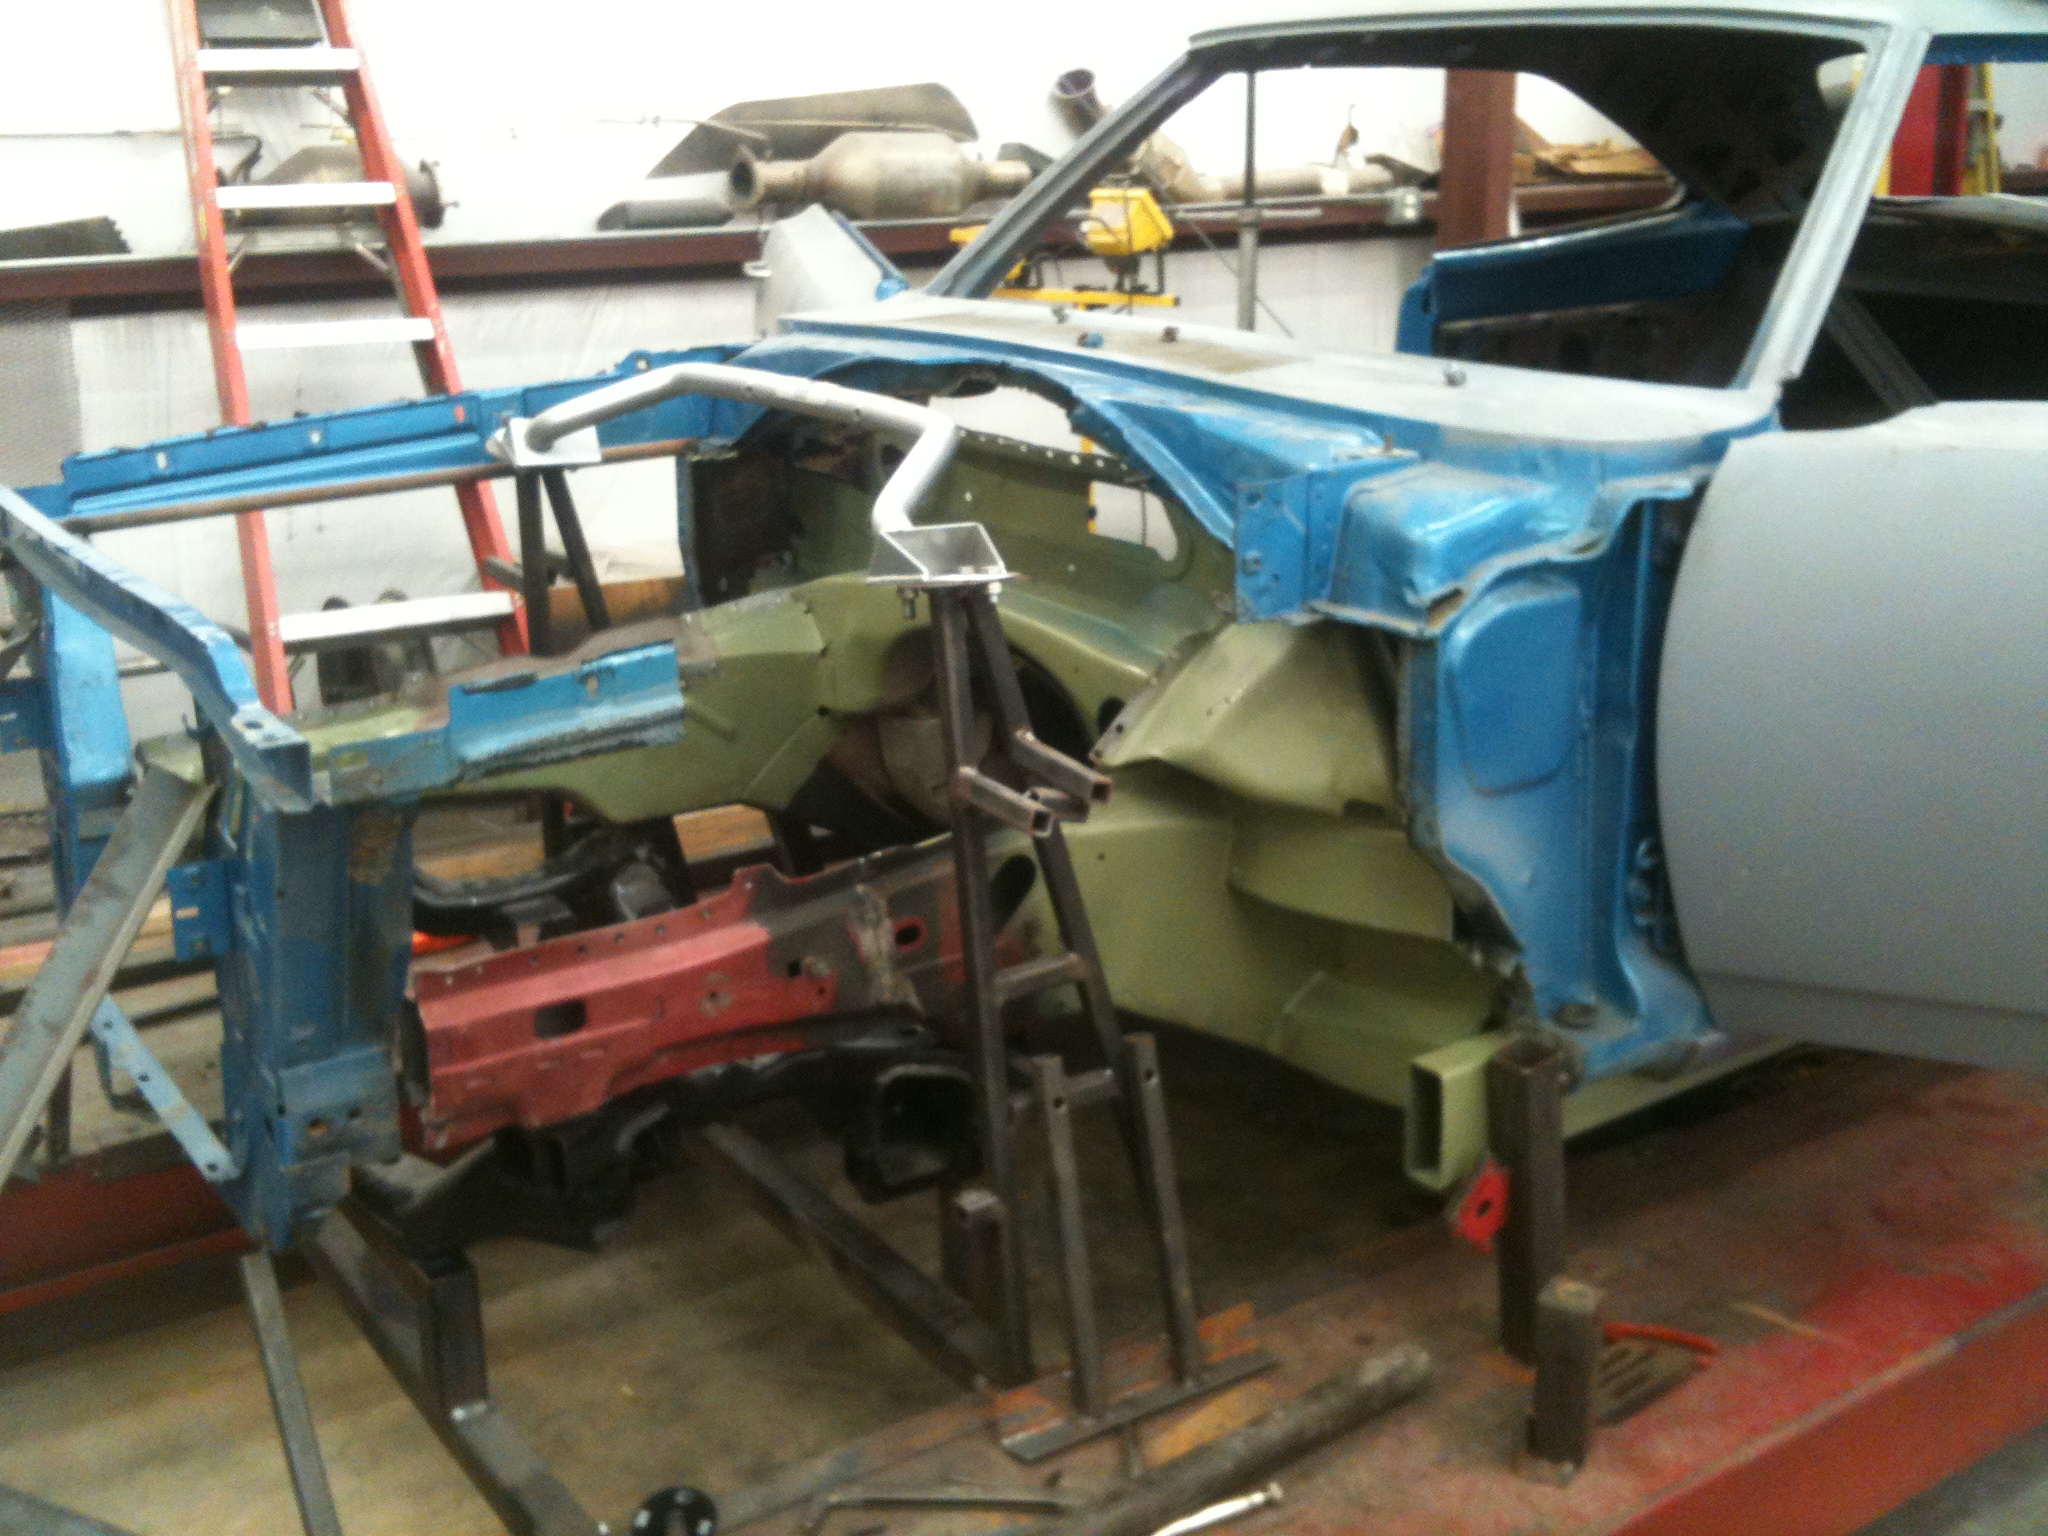
Now I can start fabbing the complete front and rear cradles of the SRT8 into the RR. Let me know if you guys want to see more.
It starts with a wrecked 2006 Charger SRT8.

It was supposed to be a light front hit, but a quick measurement showed different. Out with the cradle/engine and off to the frame shop. I need accurate jigs to be built from this car.

Back from the frame shop. New cradle installed and engine/trans back in and everything at ride height.


Up on the rack, squared and level, and at static ride height. I built the jigs to bolt to the rack.


Off with the Charger, and on the rack with the Road Runner. Engine, cradle, and front/rear suspension out. Body set on air jacks, and the tires the RR will wear are set under. I manipulate the body to get the stance the customer wants and then lock it down.


Now I can start fabbing the complete front and rear cradles of the SRT8 into the RR. Let me know if you guys want to see more.
#3
Nice. I want to see more. Just curious, having not worked on a 2006, in the third photo, what is the shaft with the eight bolt holes in the center of the picture? Is that the drive shaft? Want to see this to the end.
#4
Yes, it's the drive shaft. That piece with the 8 holes is the isolator. Basically a rubber biscuit. It has 3 bolts that attach it the the yoke, and then 3 to attach the driveshaft.
#6
nice project
have you ever built or modified transmission support to retrofit a 518 OD trany in place of a 727
specifically 1986 chrysler 5th ave
my brother and i are taking some initial measurements the 518 mount location is a few inches rear of the 727 im not sure yet what type of insulator mount im going to use if i can use the original cross support or of im going to have too manufacture one from scratch the big deal is the angle of the engine tranny to the rear end we wont really know until we open up the trany tunnel
the 518 is approximately 3 inches longer than the 727 but its 4 to five inches wider at the tail shaft housing where it attaches to the main housing pretty much maintaining this clearance issue to the end of the over drive unit
its going to be a nice project
any input would be greatly appreciated
#10
nice project
have you ever built or modified transmission support to retrofit a 518 OD trany in place of a 727
specifically 1986 chrysler 5th ave
my brother and i are taking some initial measurements the 518 mount location is a few inches rear of the 727 im not sure yet what type of insulator mount im going to use if i can use the original cross support or of im going to have too manufacture one from scratch the big deal is the angle of the engine tranny to the rear end we wont really know until we open up the trany tunnel
the 518 is approximately 3 inches longer than the 727 but its 4 to five inches wider at the tail shaft housing where it attaches to the main housing pretty much maintaining this clearance issue to the end of the over drive unit
its going to be a nice project
any input would be greatly appreciated
have you ever built or modified transmission support to retrofit a 518 OD trany in place of a 727
specifically 1986 chrysler 5th ave
my brother and i are taking some initial measurements the 518 mount location is a few inches rear of the 727 im not sure yet what type of insulator mount im going to use if i can use the original cross support or of im going to have too manufacture one from scratch the big deal is the angle of the engine tranny to the rear end we wont really know until we open up the trany tunnel
the 518 is approximately 3 inches longer than the 727 but its 4 to five inches wider at the tail shaft housing where it attaches to the main housing pretty much maintaining this clearance issue to the end of the over drive unit
its going to be a nice project
any input would be greatly appreciated
#11
It's worse than it looks. Both front rails would need to be replaced. I had those straightened because I just needed a jig, but replaced the cradle. All the coolers were junk and they hit the accessories which I replaced just to get it running. I have 2k in parts at cost. X2 for insurance and add labor. 3k in sheetmetal. The hood alone is $1500. Well over 40 hrs mechanical labor and 30 plus body labor. Over 10k worth of damage on an '06 worth mid-twenties.
#12
86 5th ? Why not ! Check some of the old magazines. a modified trans mount was made.
I see wrecked cars all the time on Ebay ! Listing light damage, repairable ! right. cost more to fix them than they are worth
I see wrecked cars all the time on Ebay ! Listing light damage, repairable ! right. cost more to fix them than they are worth
Last edited by TVLynn; 08-31-2012 at 07:38 PM.
#13
Most definitely want to see more! I was wanting to do an srt8 swap in my coronet 440 i just sold! So very interested in seeing how the build goes! Was thinkin about it for the 68 r/t i just bought! So plz post as many pics and details as possible lol!
#14
i was thinking an modifying the original mount at least its a start i want to use the same mount holes in the chassis i know that i have to remove a good deal of it but i got a stick welder a mig welder and of course the good ol oxy e-cdy torch
#24
Sorry for the delay. Nope, still going.
Had the opportunity to buy another building for a shop extension. That has taken precedent the last few months.
This car is scheduled to have work started again on Monday. So I should have a few more pics at the end of next week.
Thanks, Craig
Had the opportunity to buy another building for a shop extension. That has taken precedent the last few months.
This car is scheduled to have work started again on Monday. So I should have a few more pics at the end of next week.
Thanks, Craig
#26
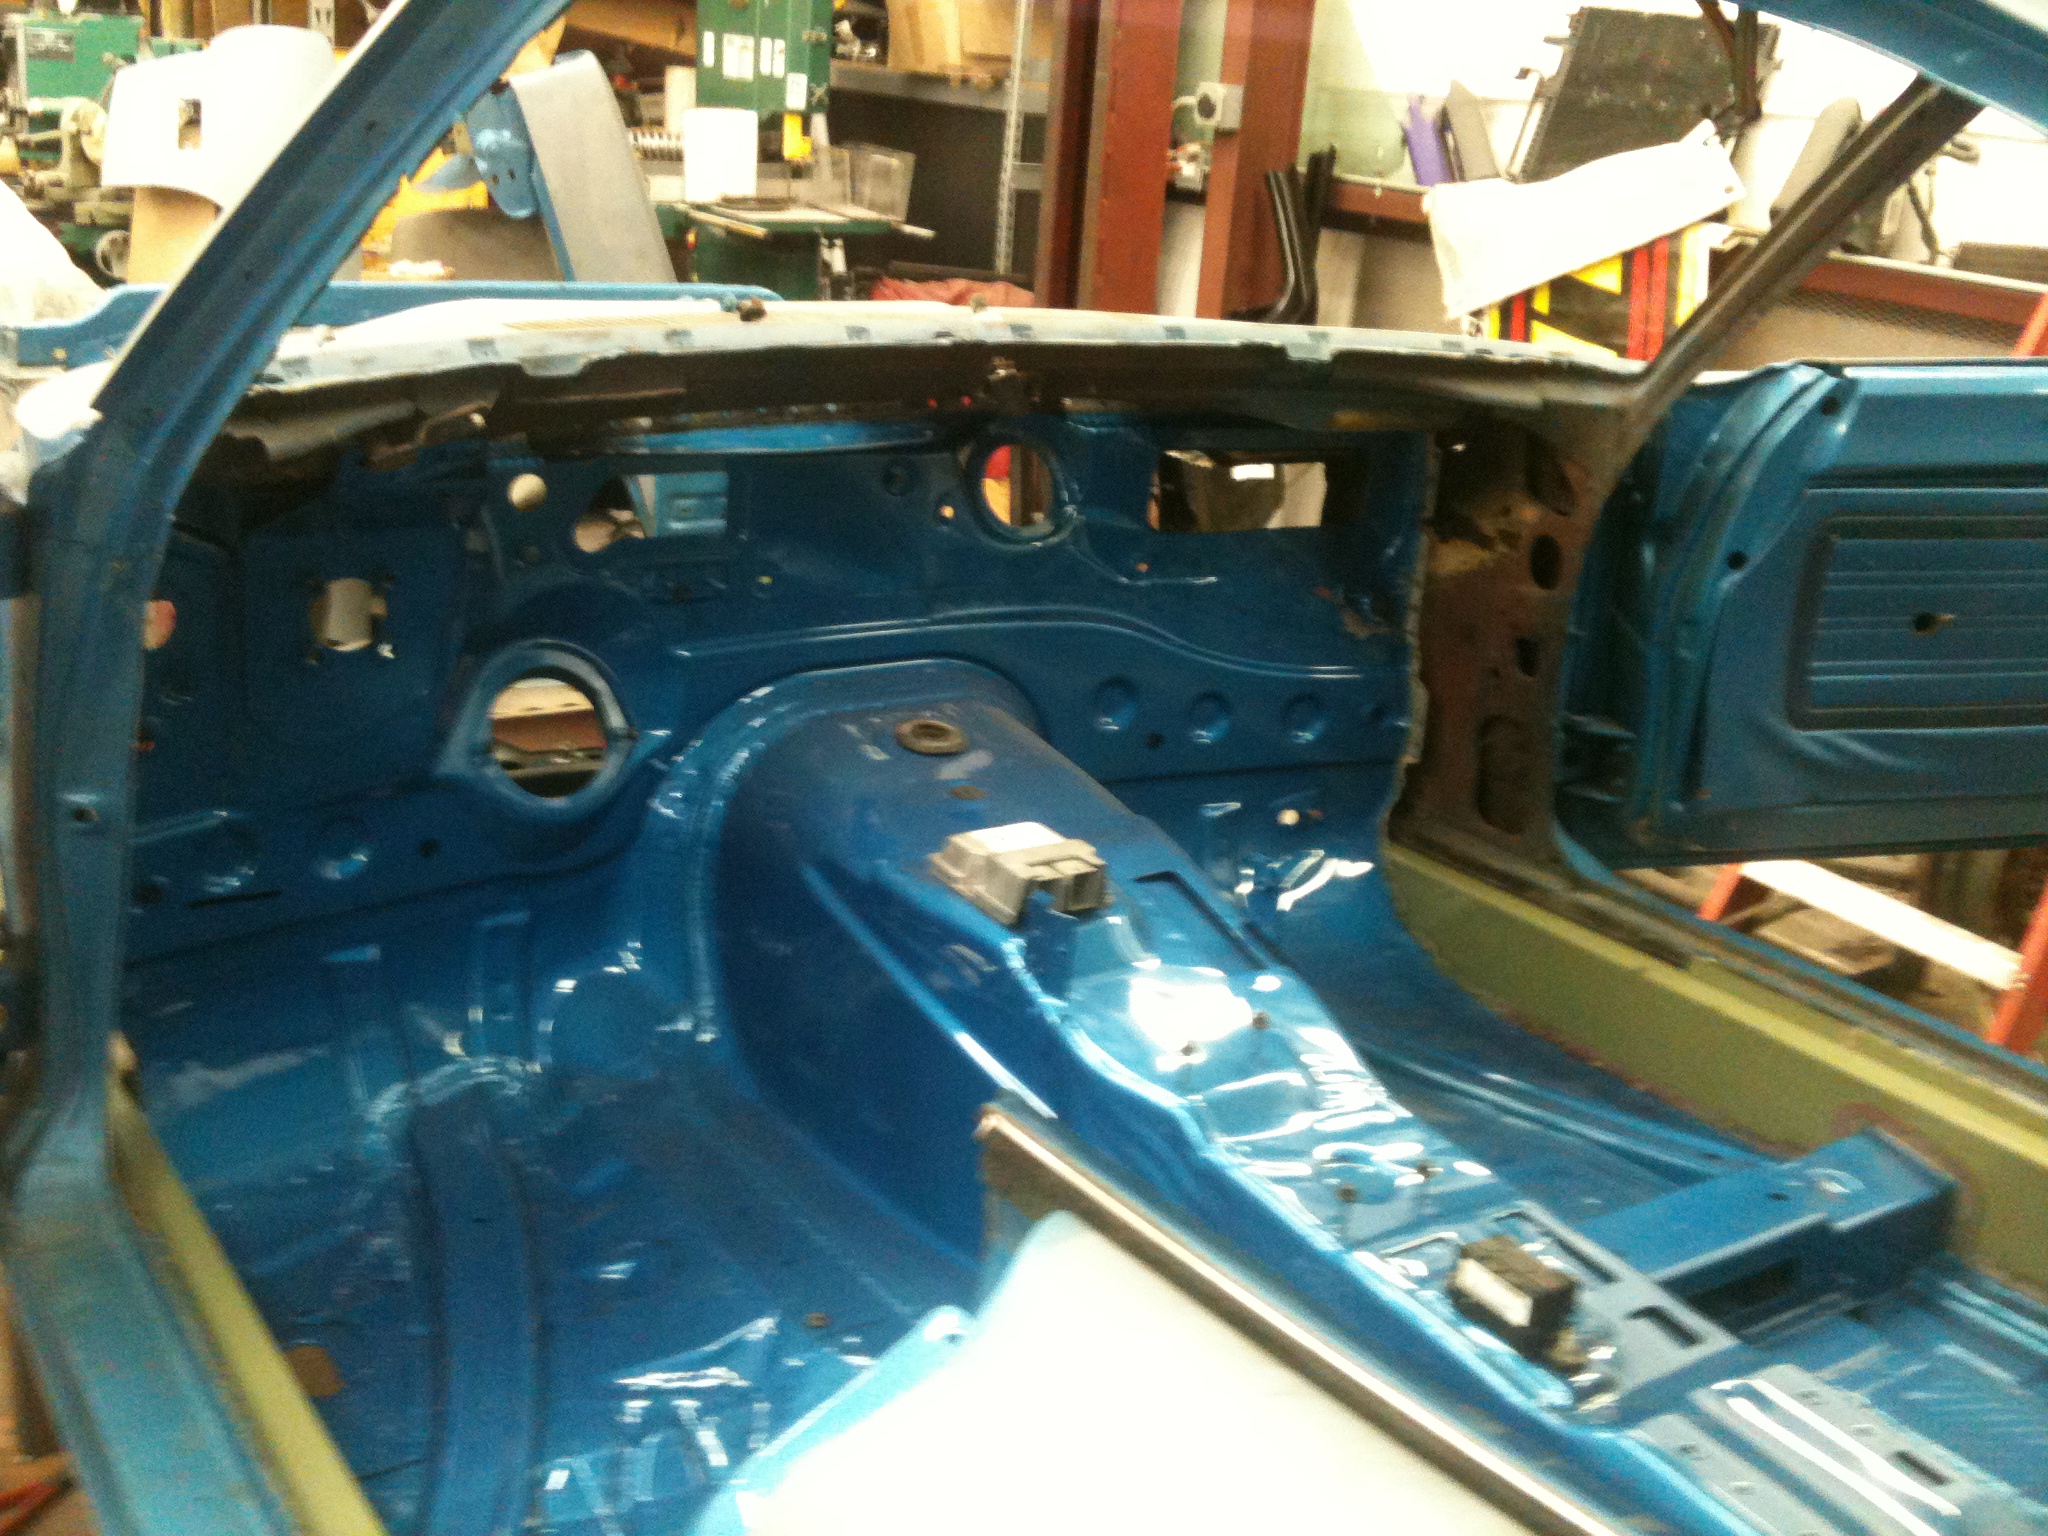
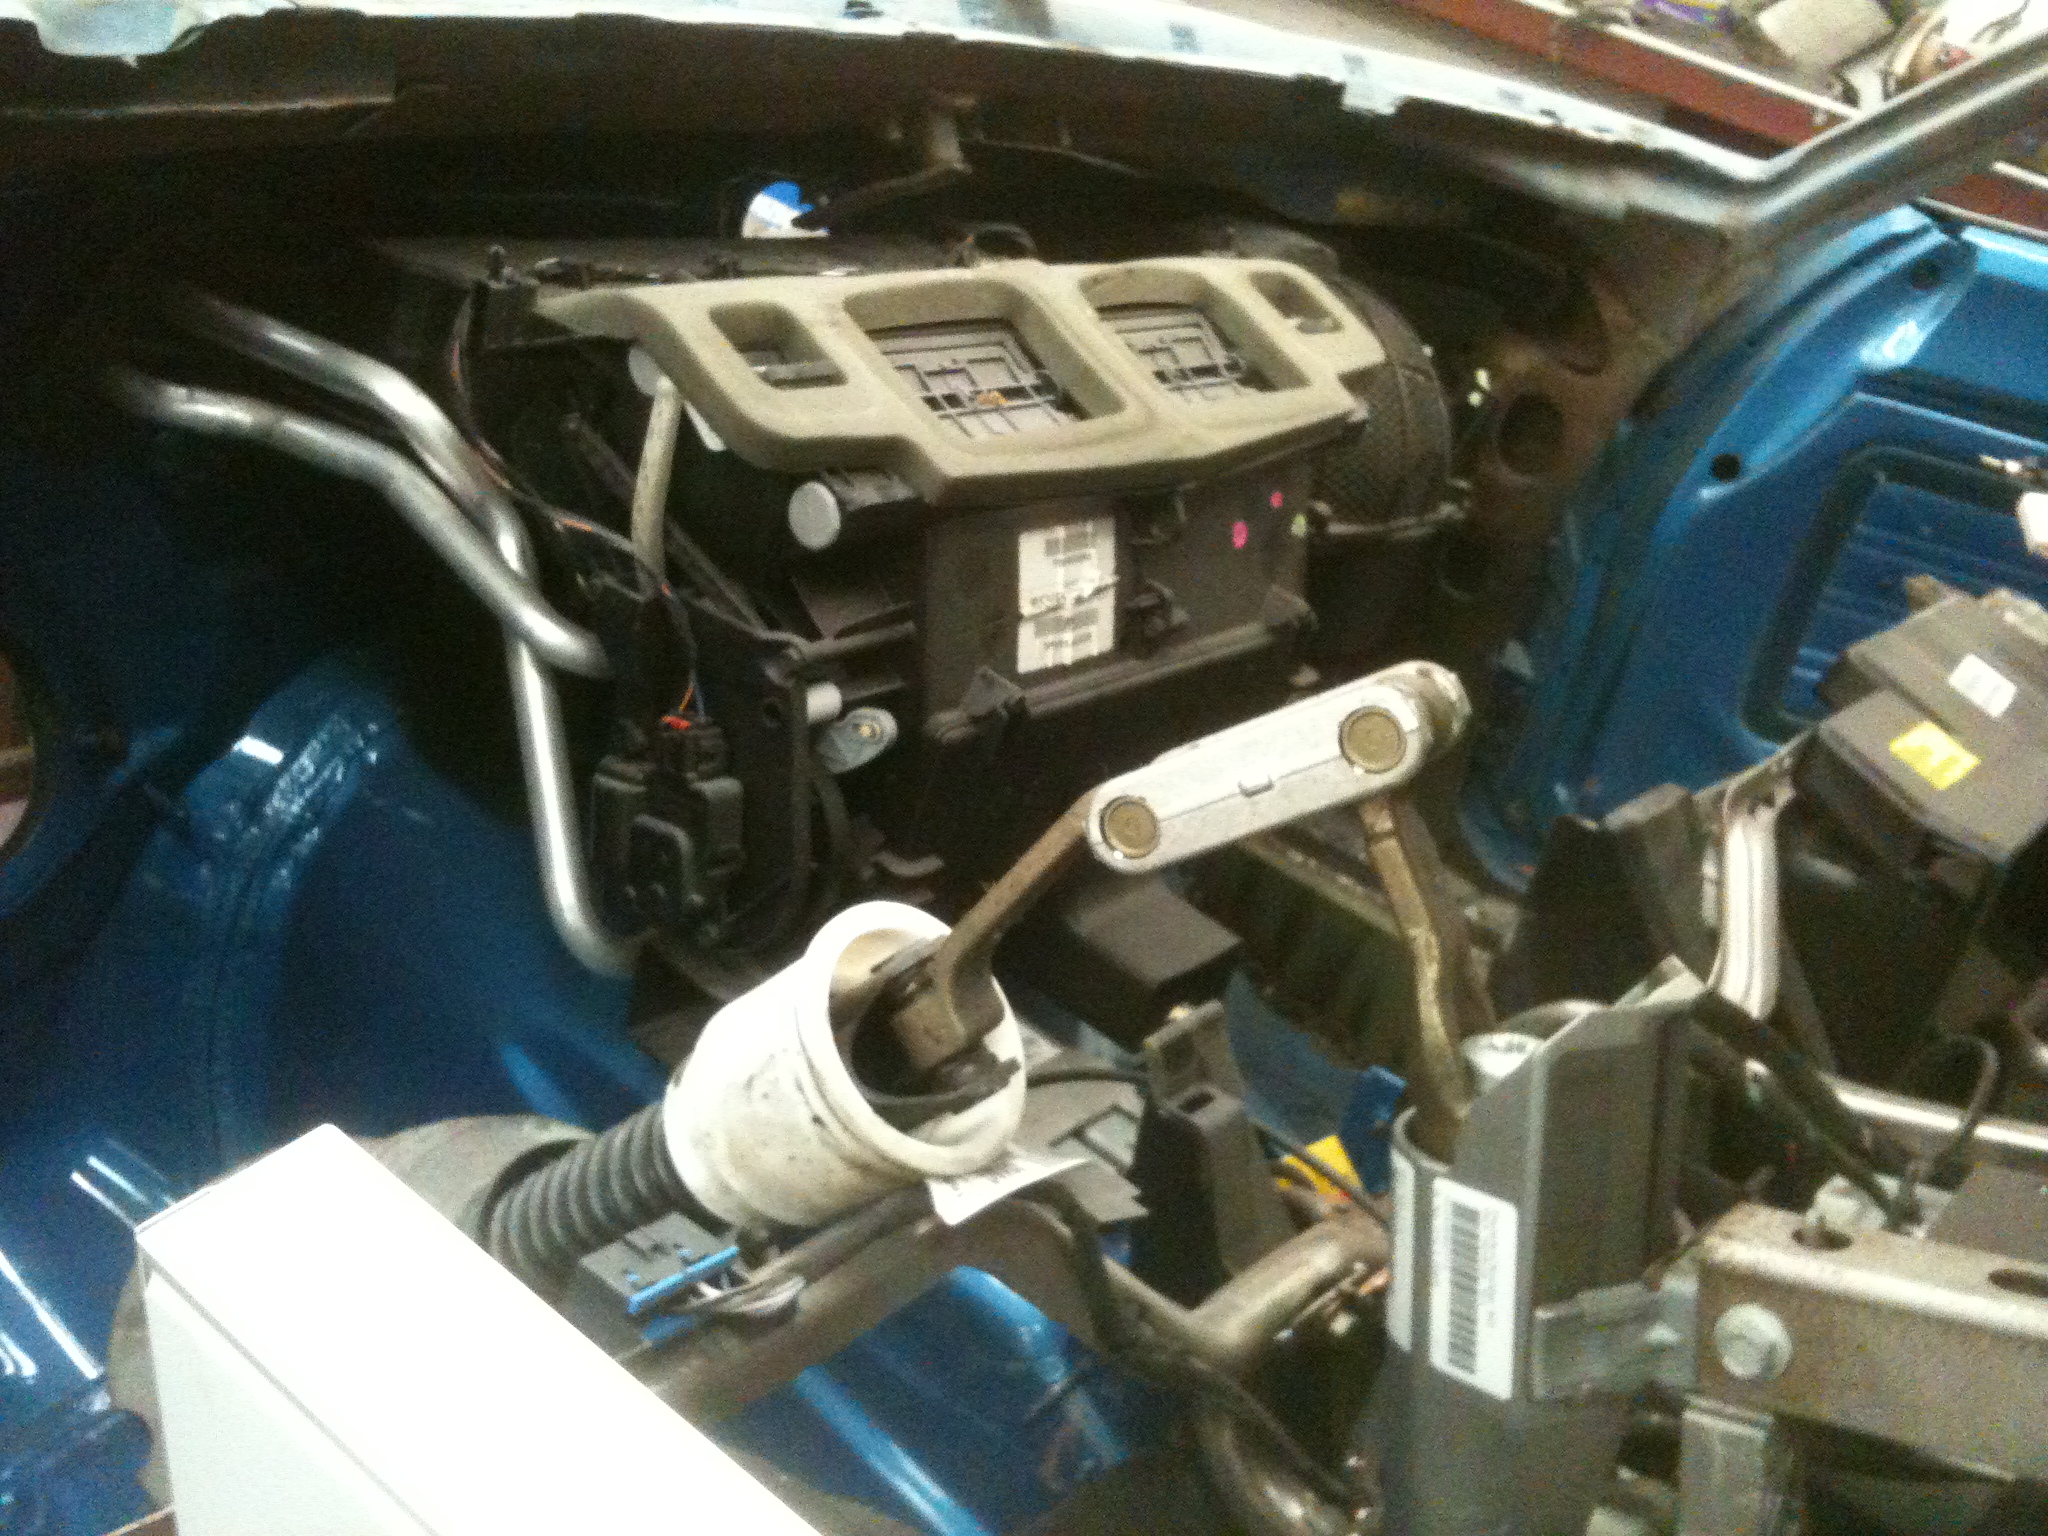
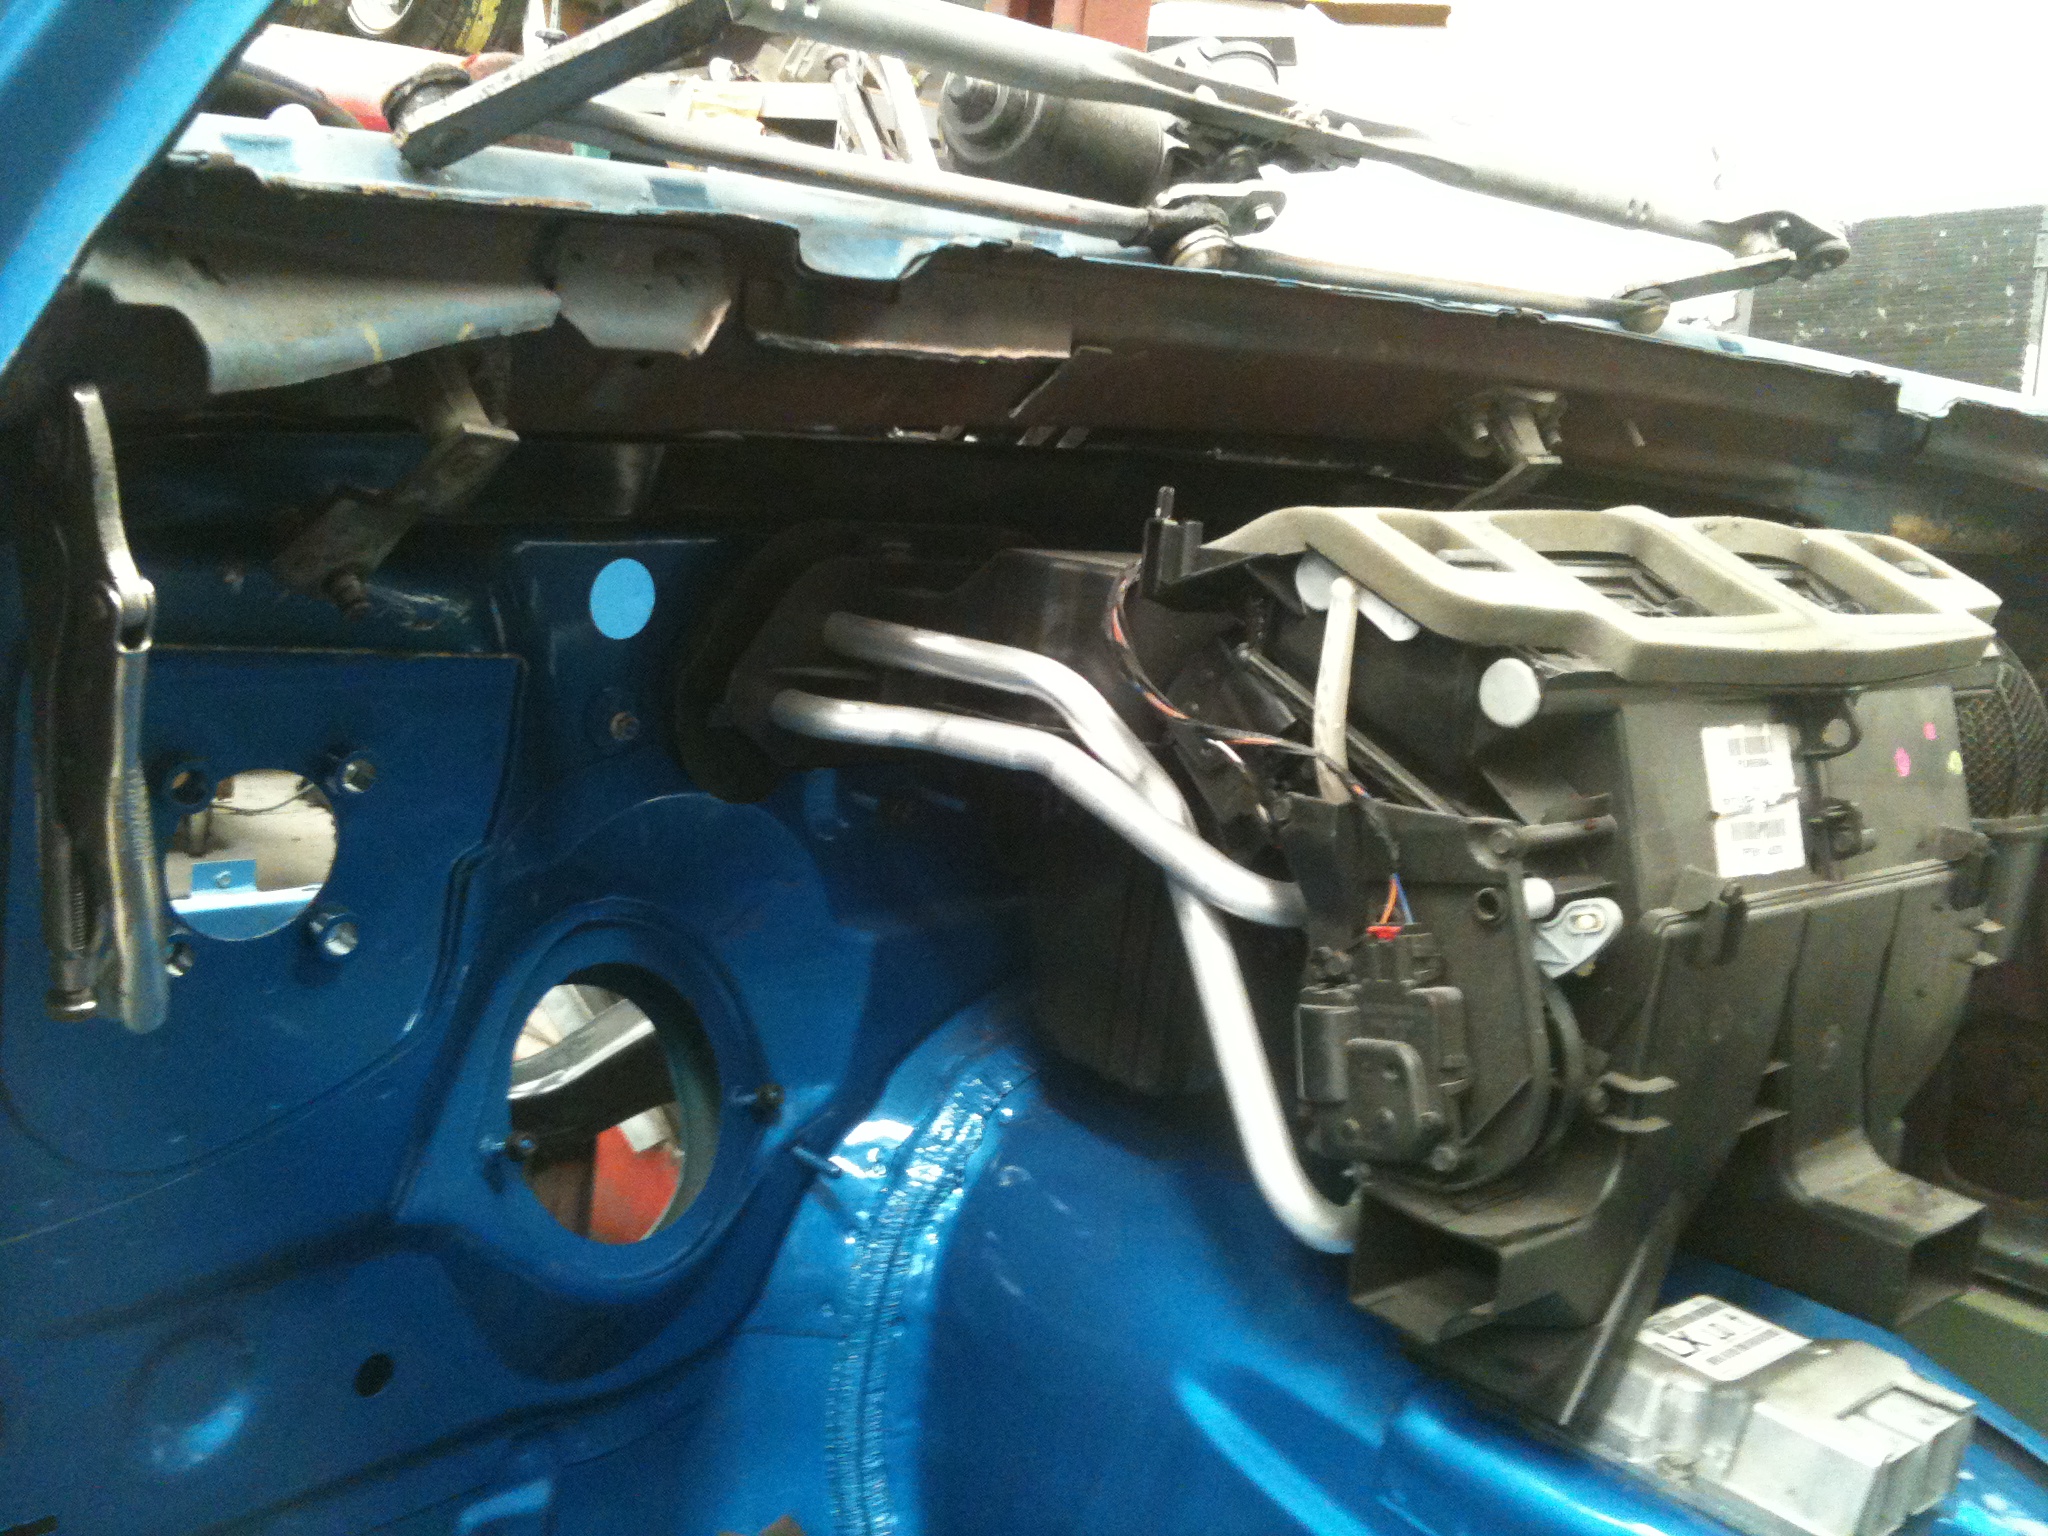
Been doing a little work this week. Roughed in the dash.
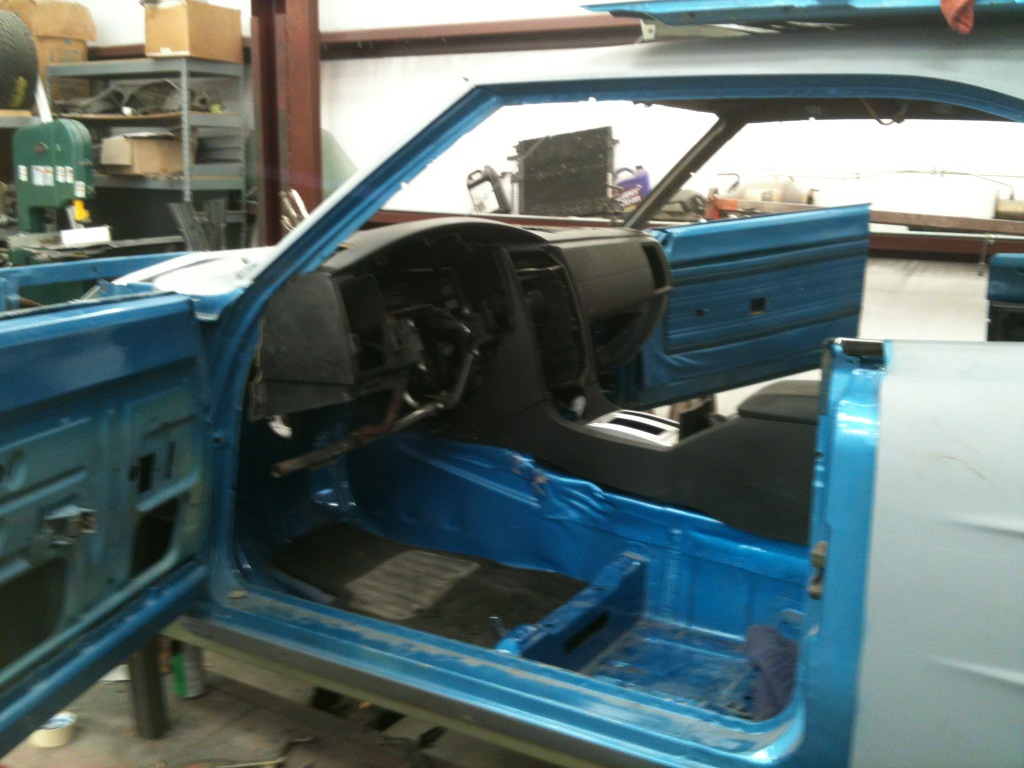
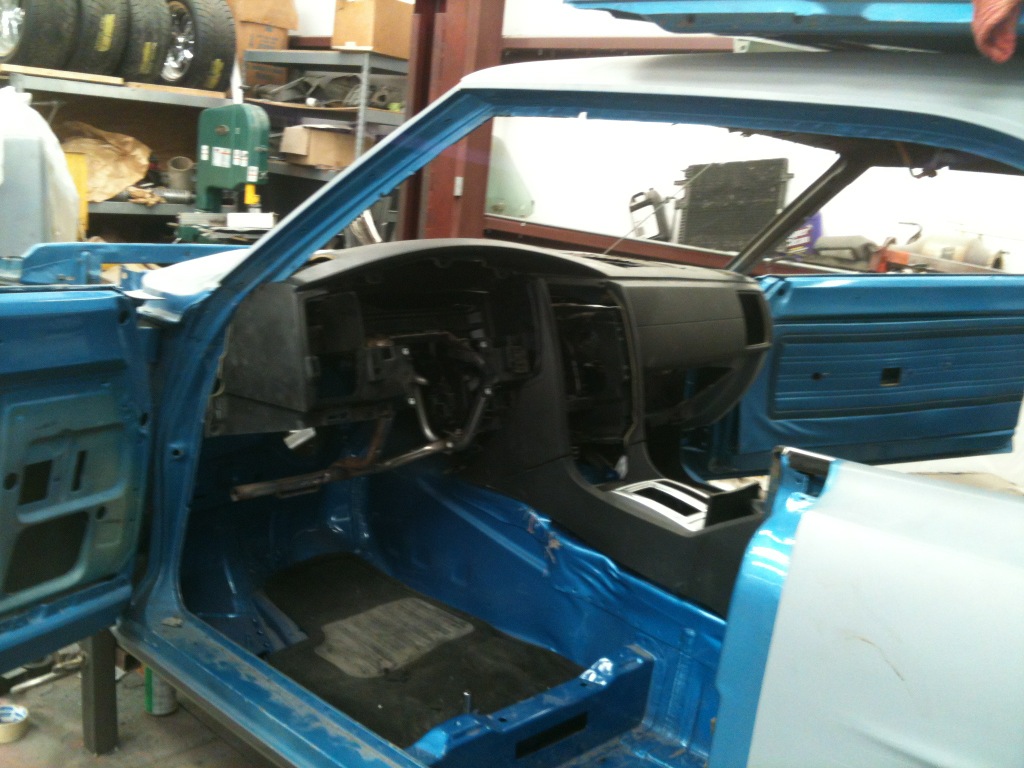
This is just to build the mounts for the dash frame. The pad will still need to be tweaked and upholstered. More on that later. Still just fitting!!
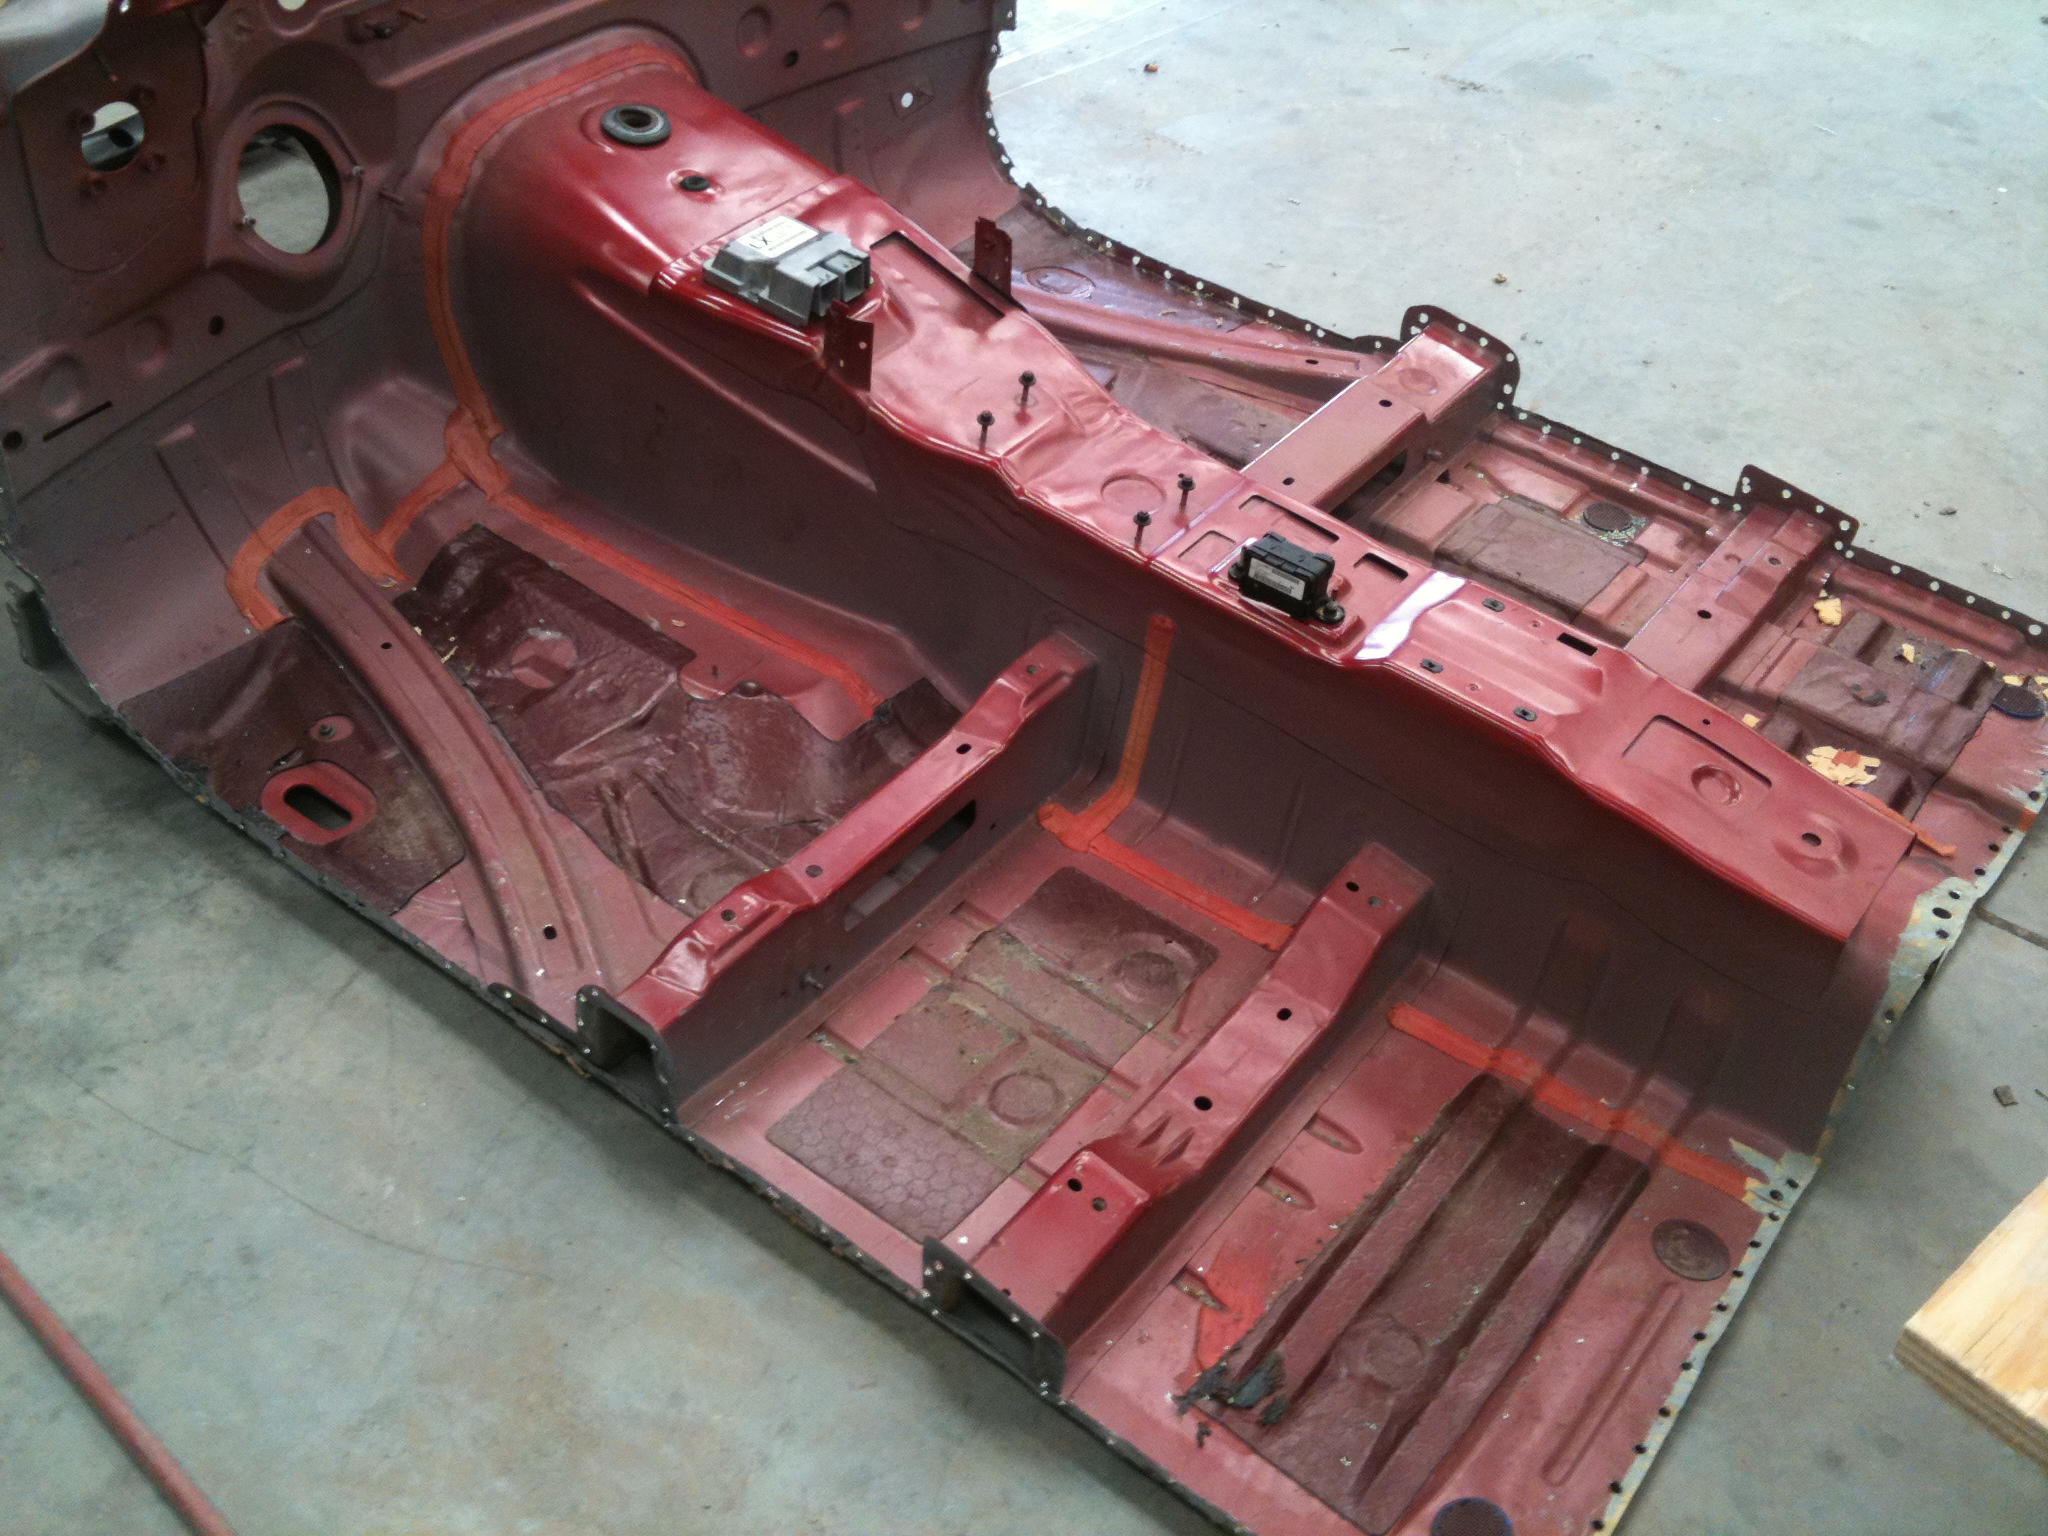
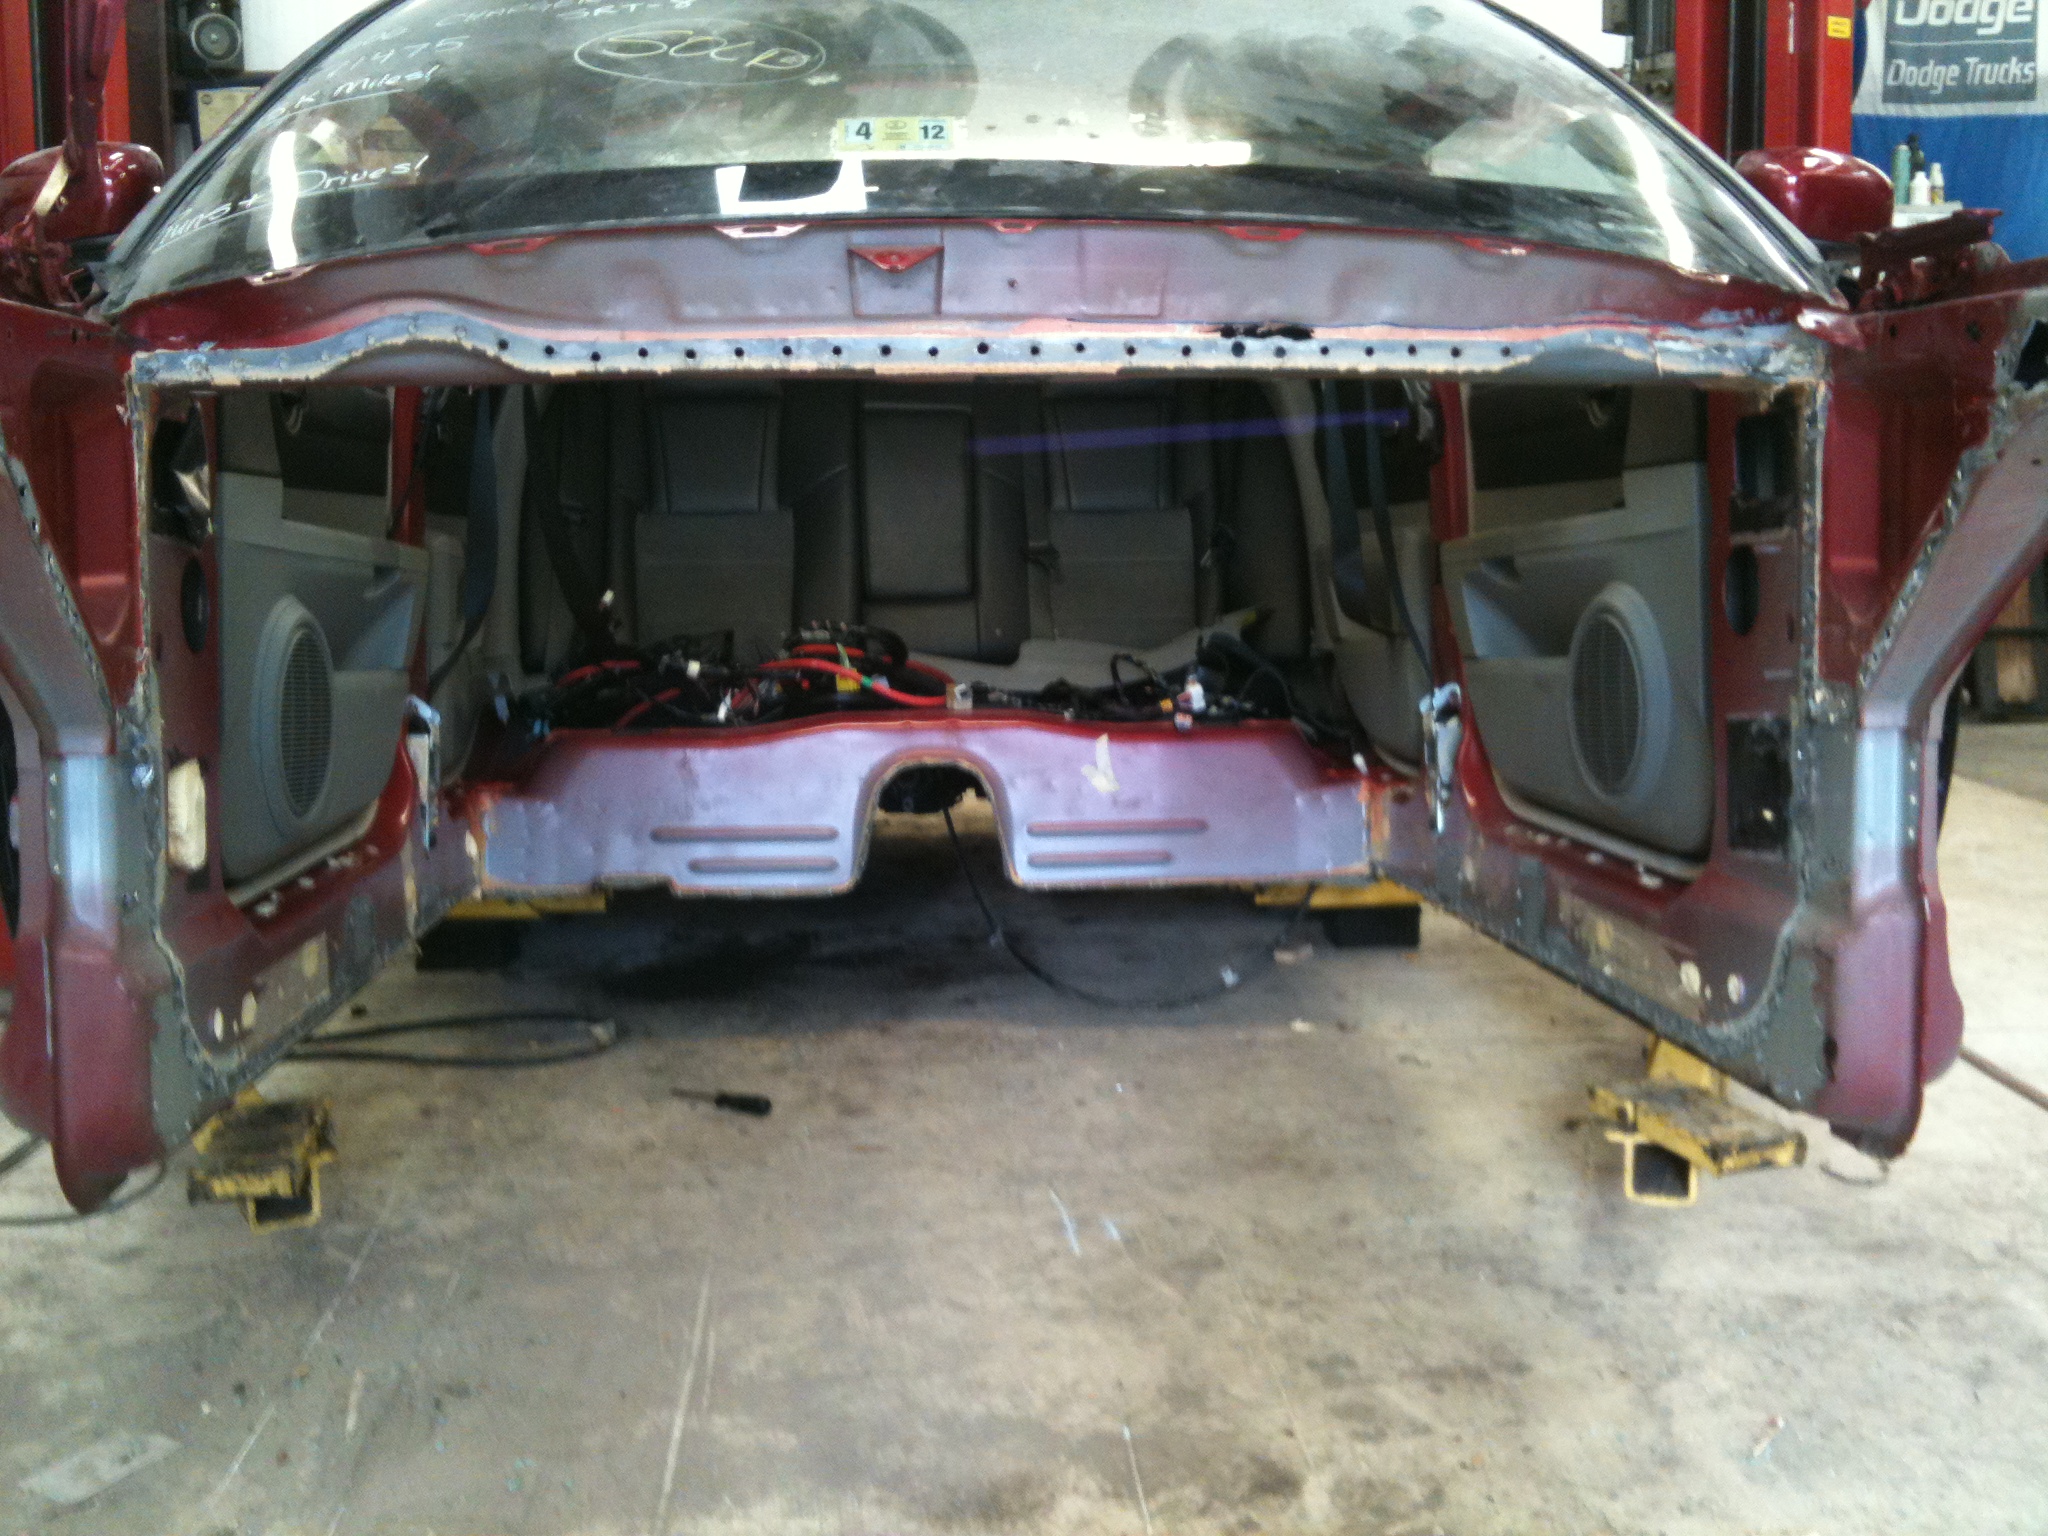
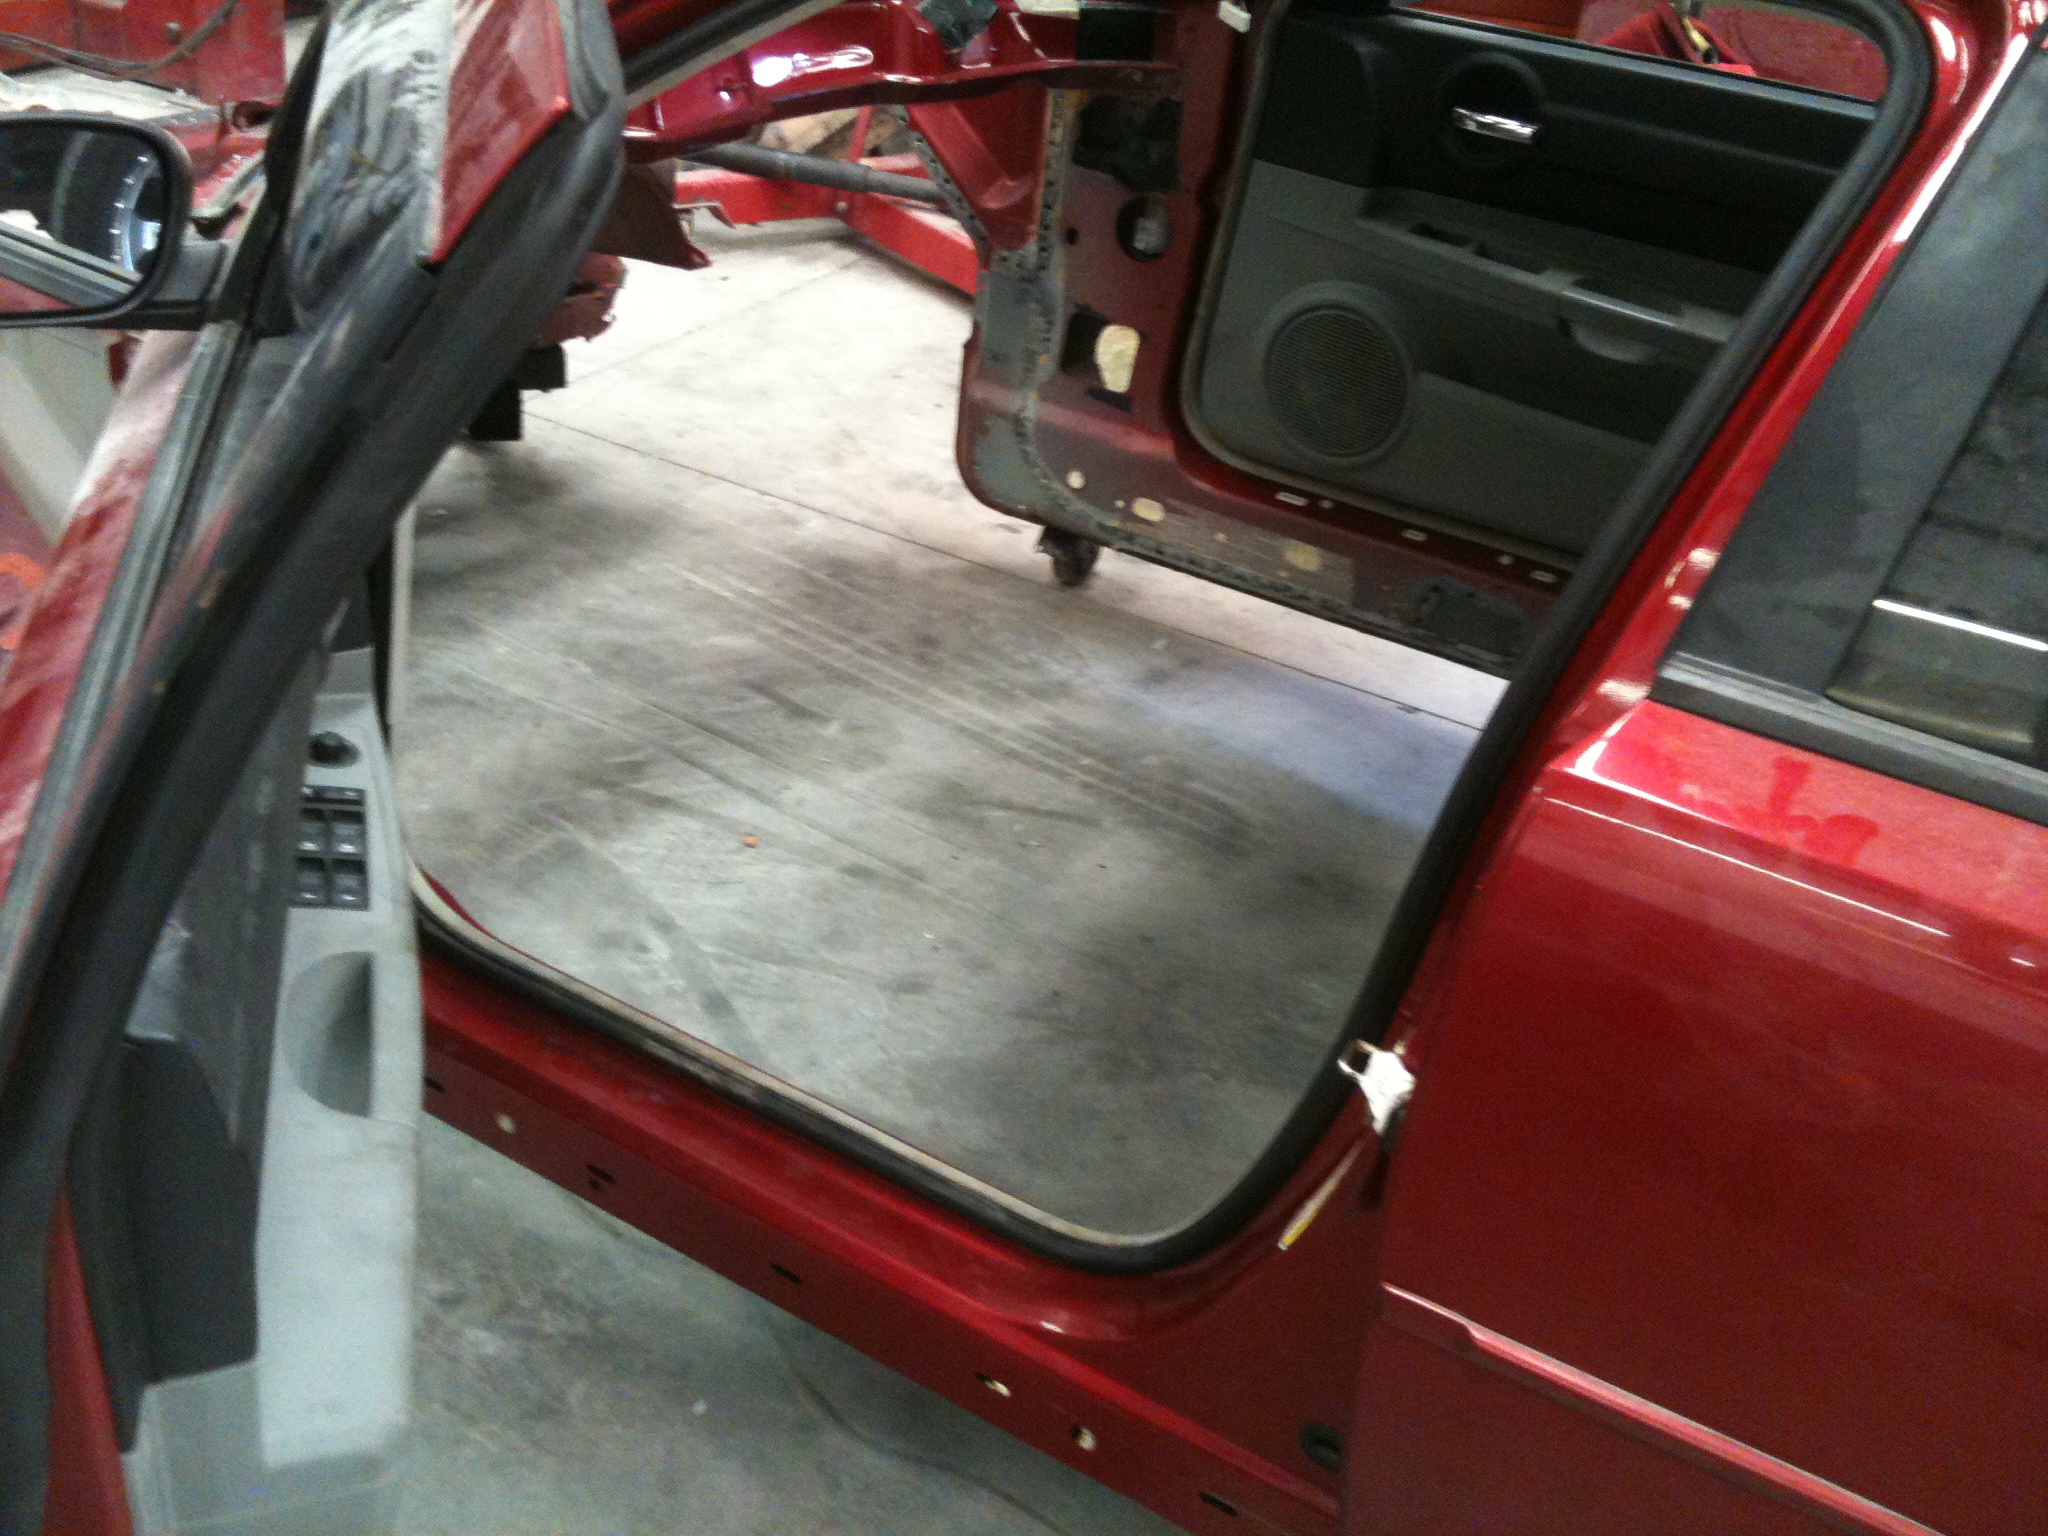
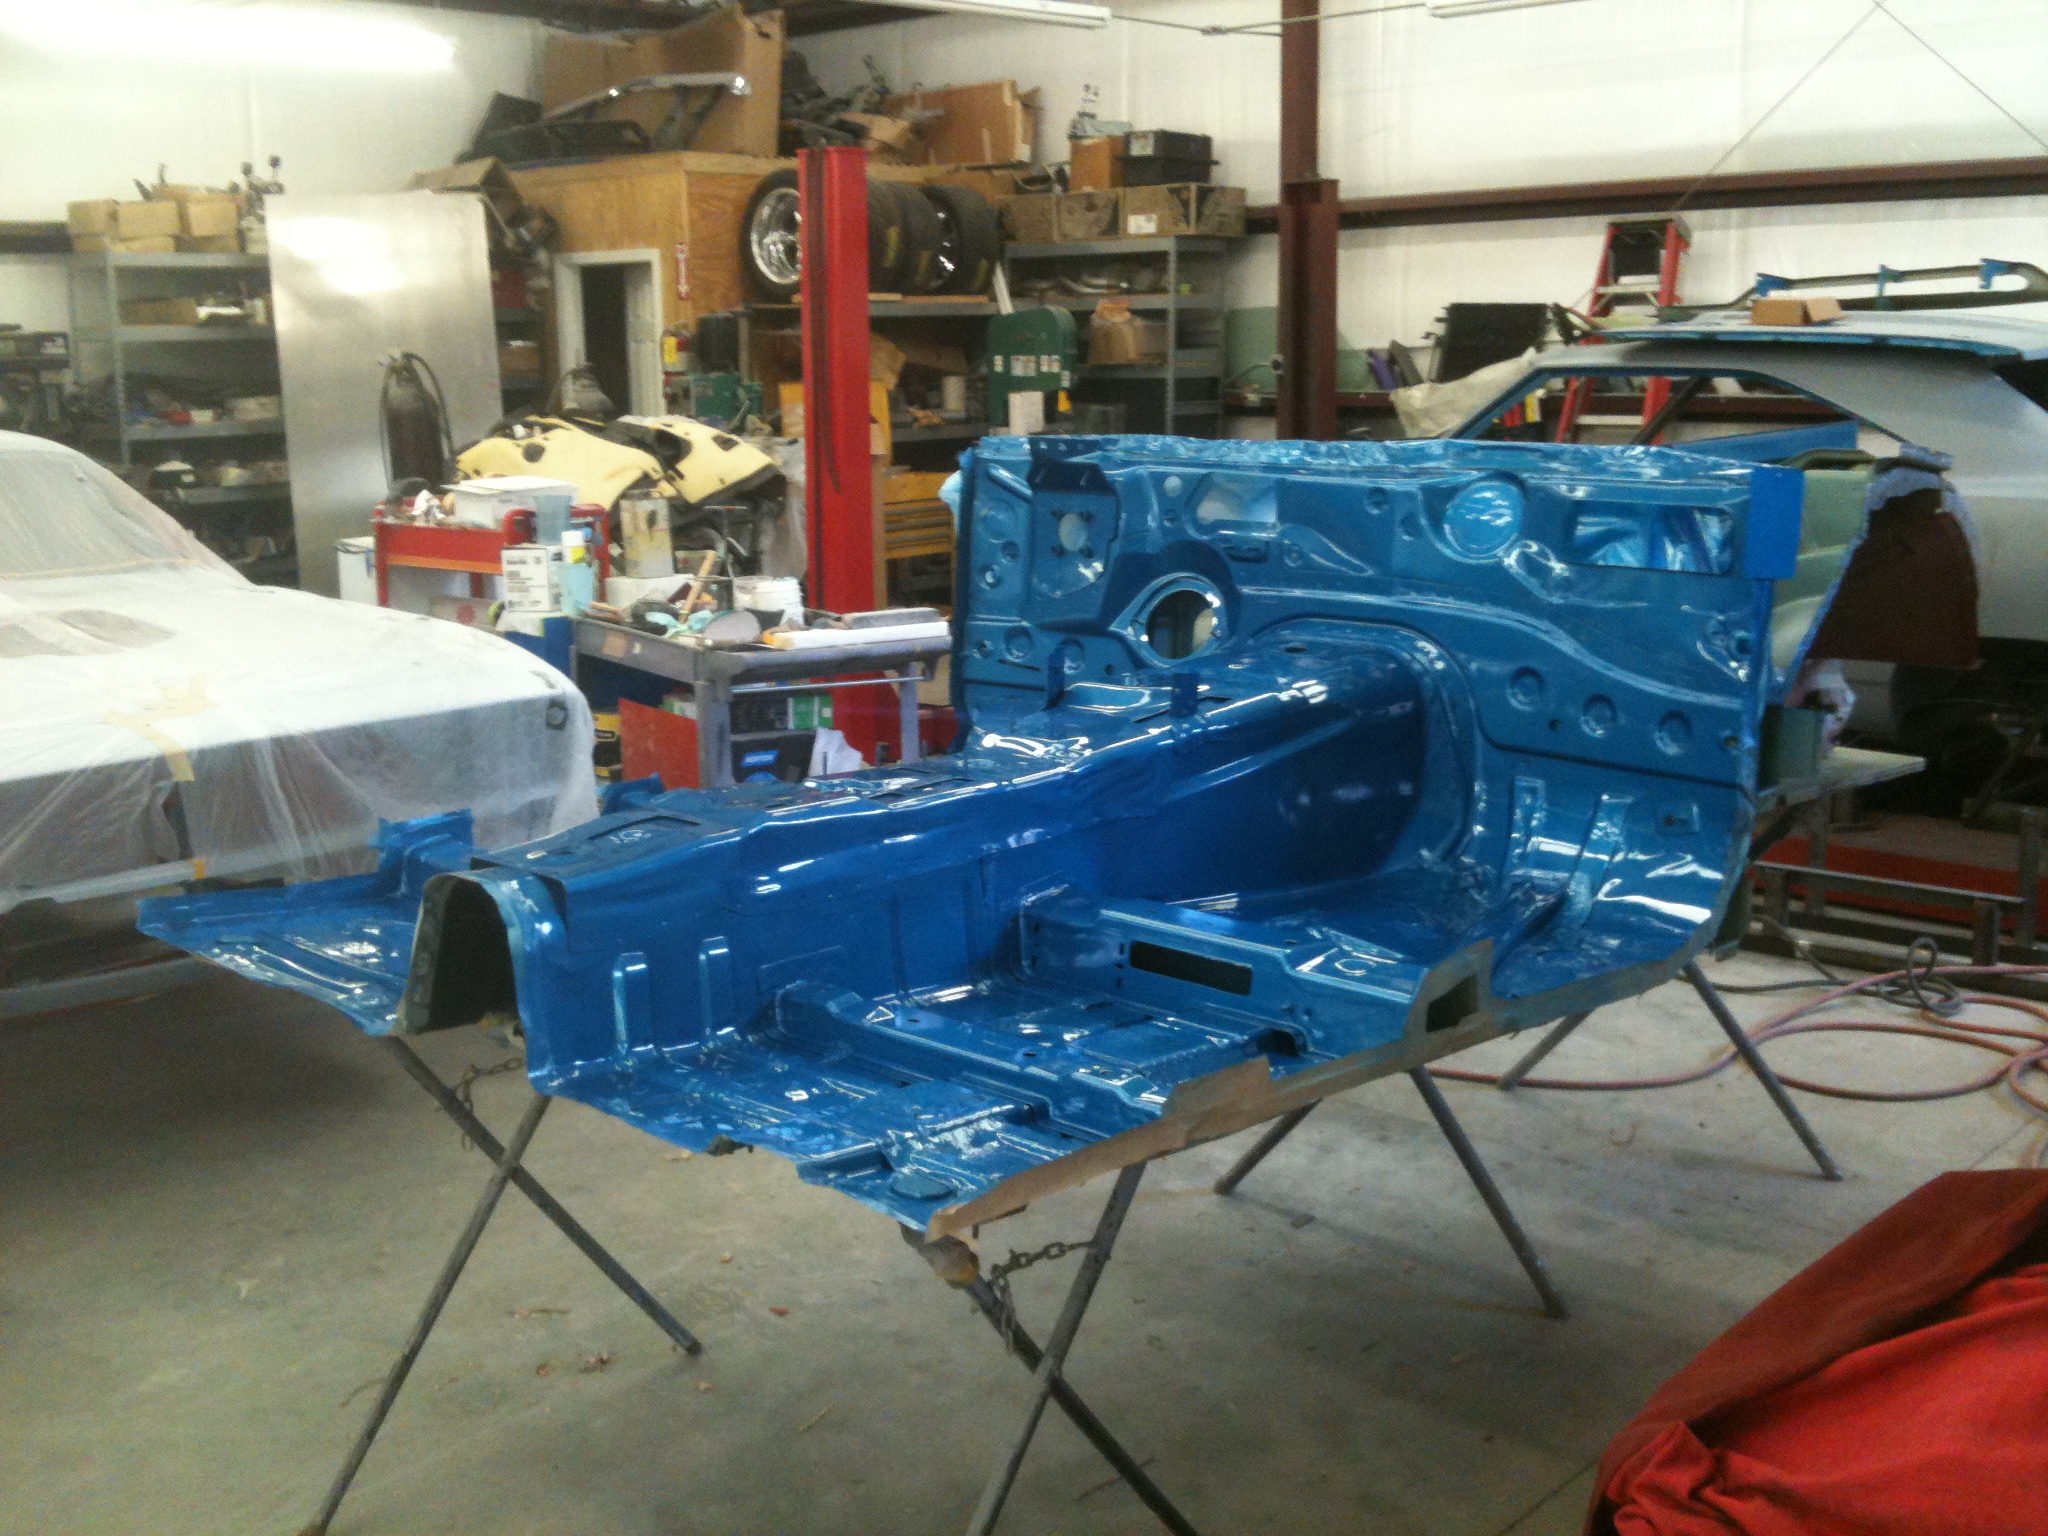
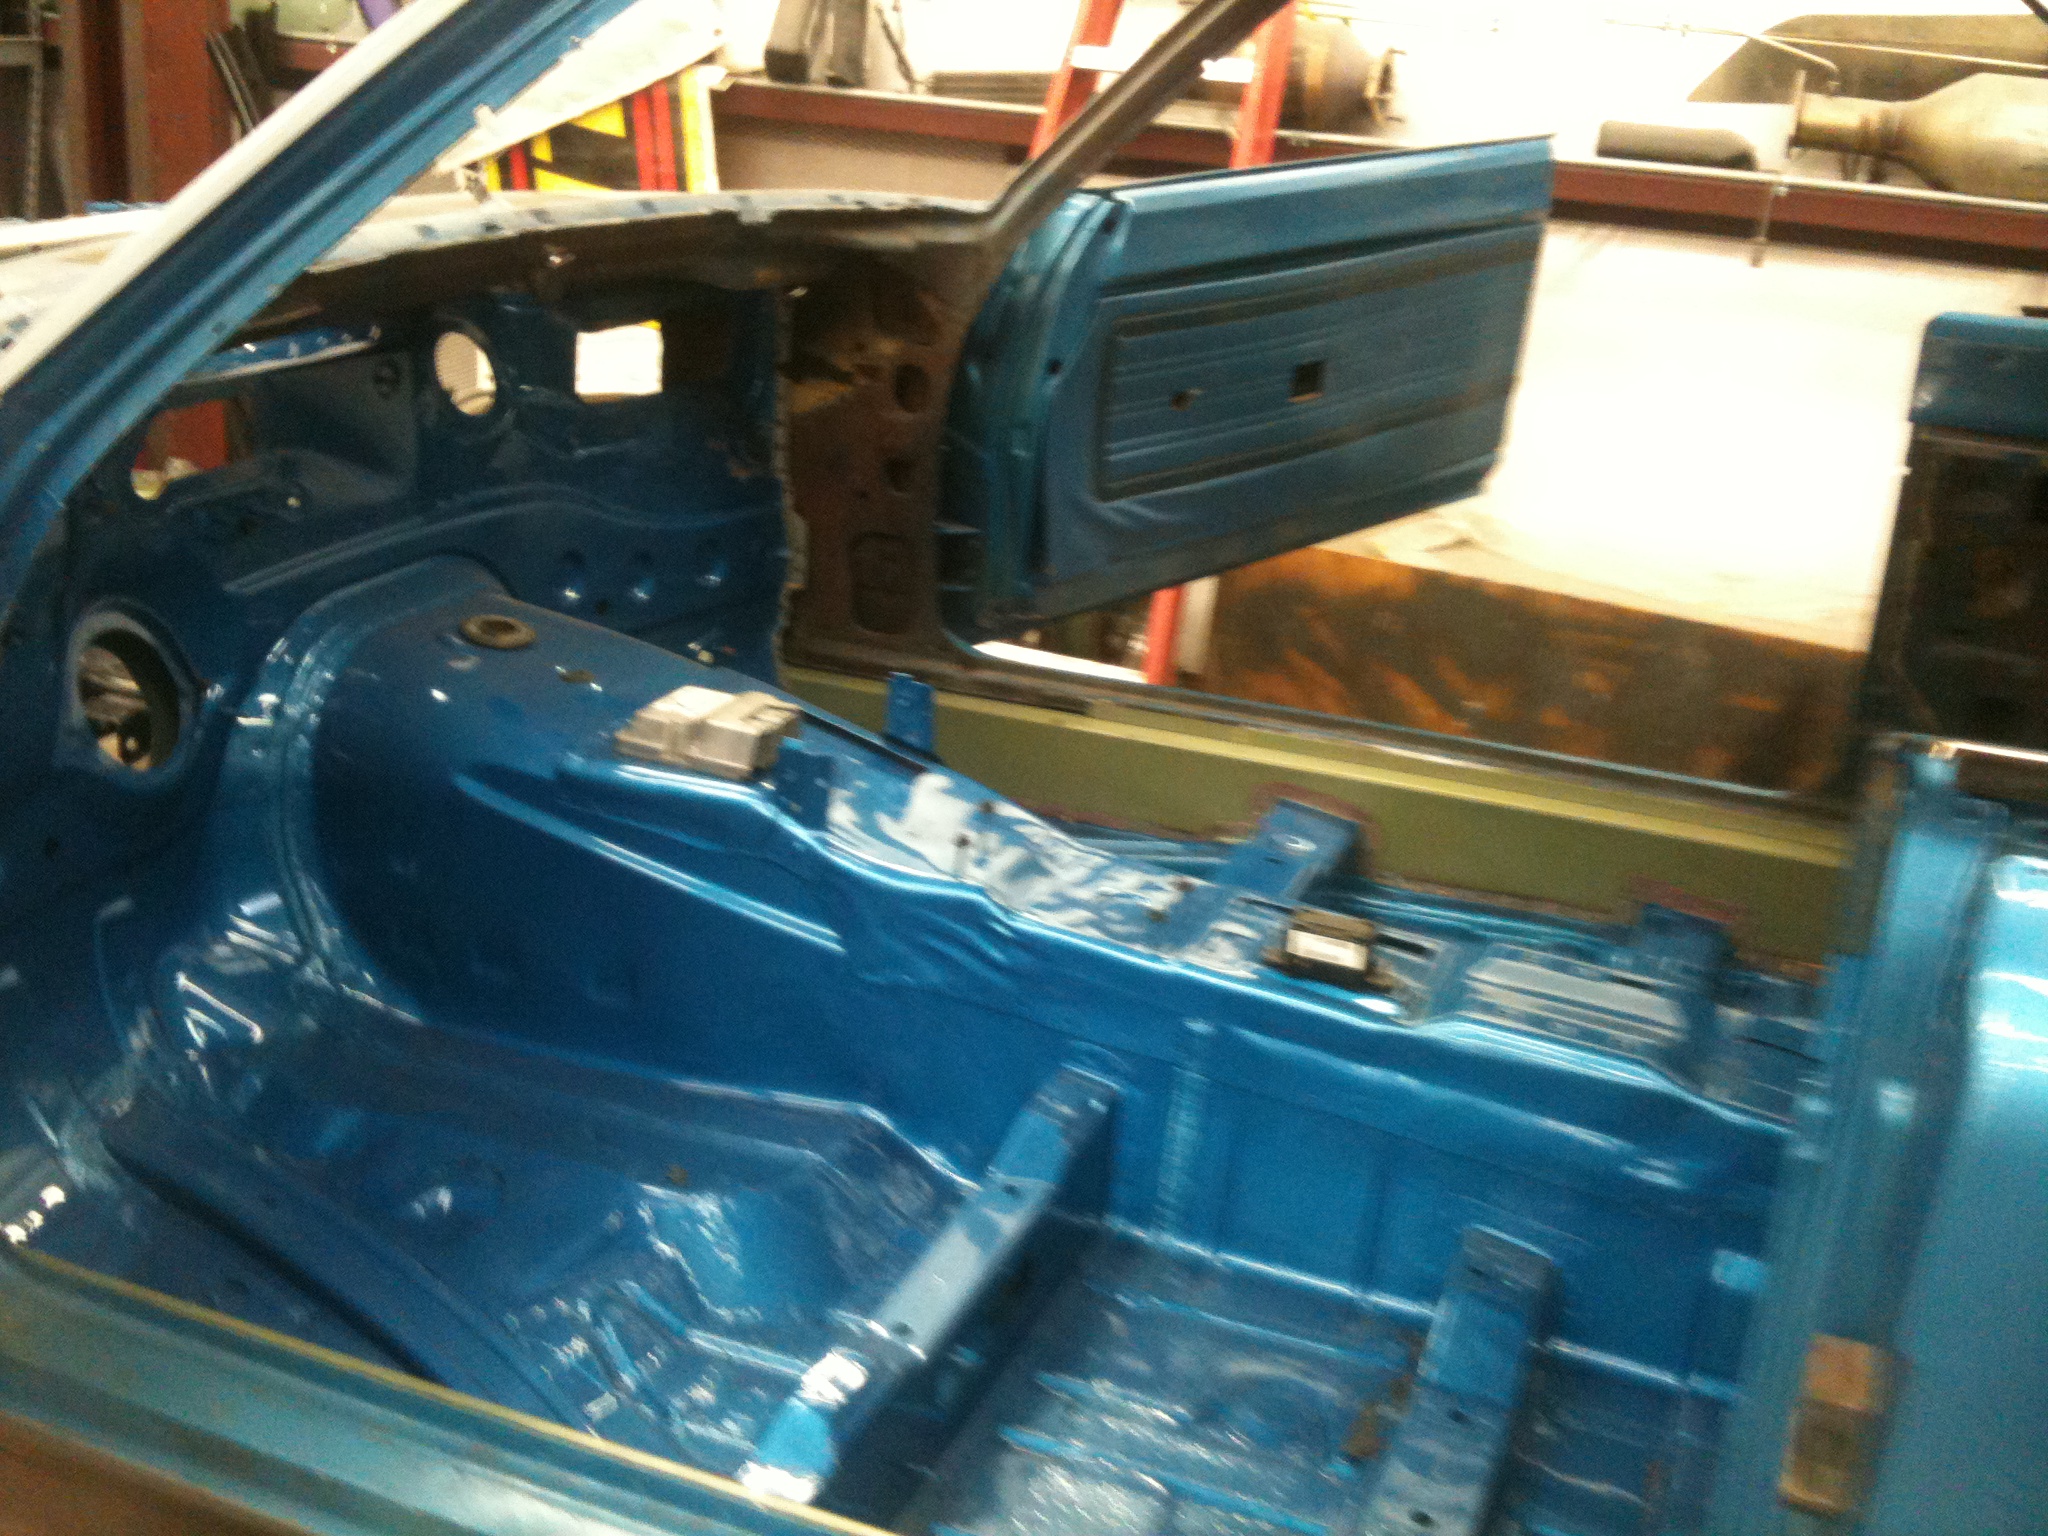
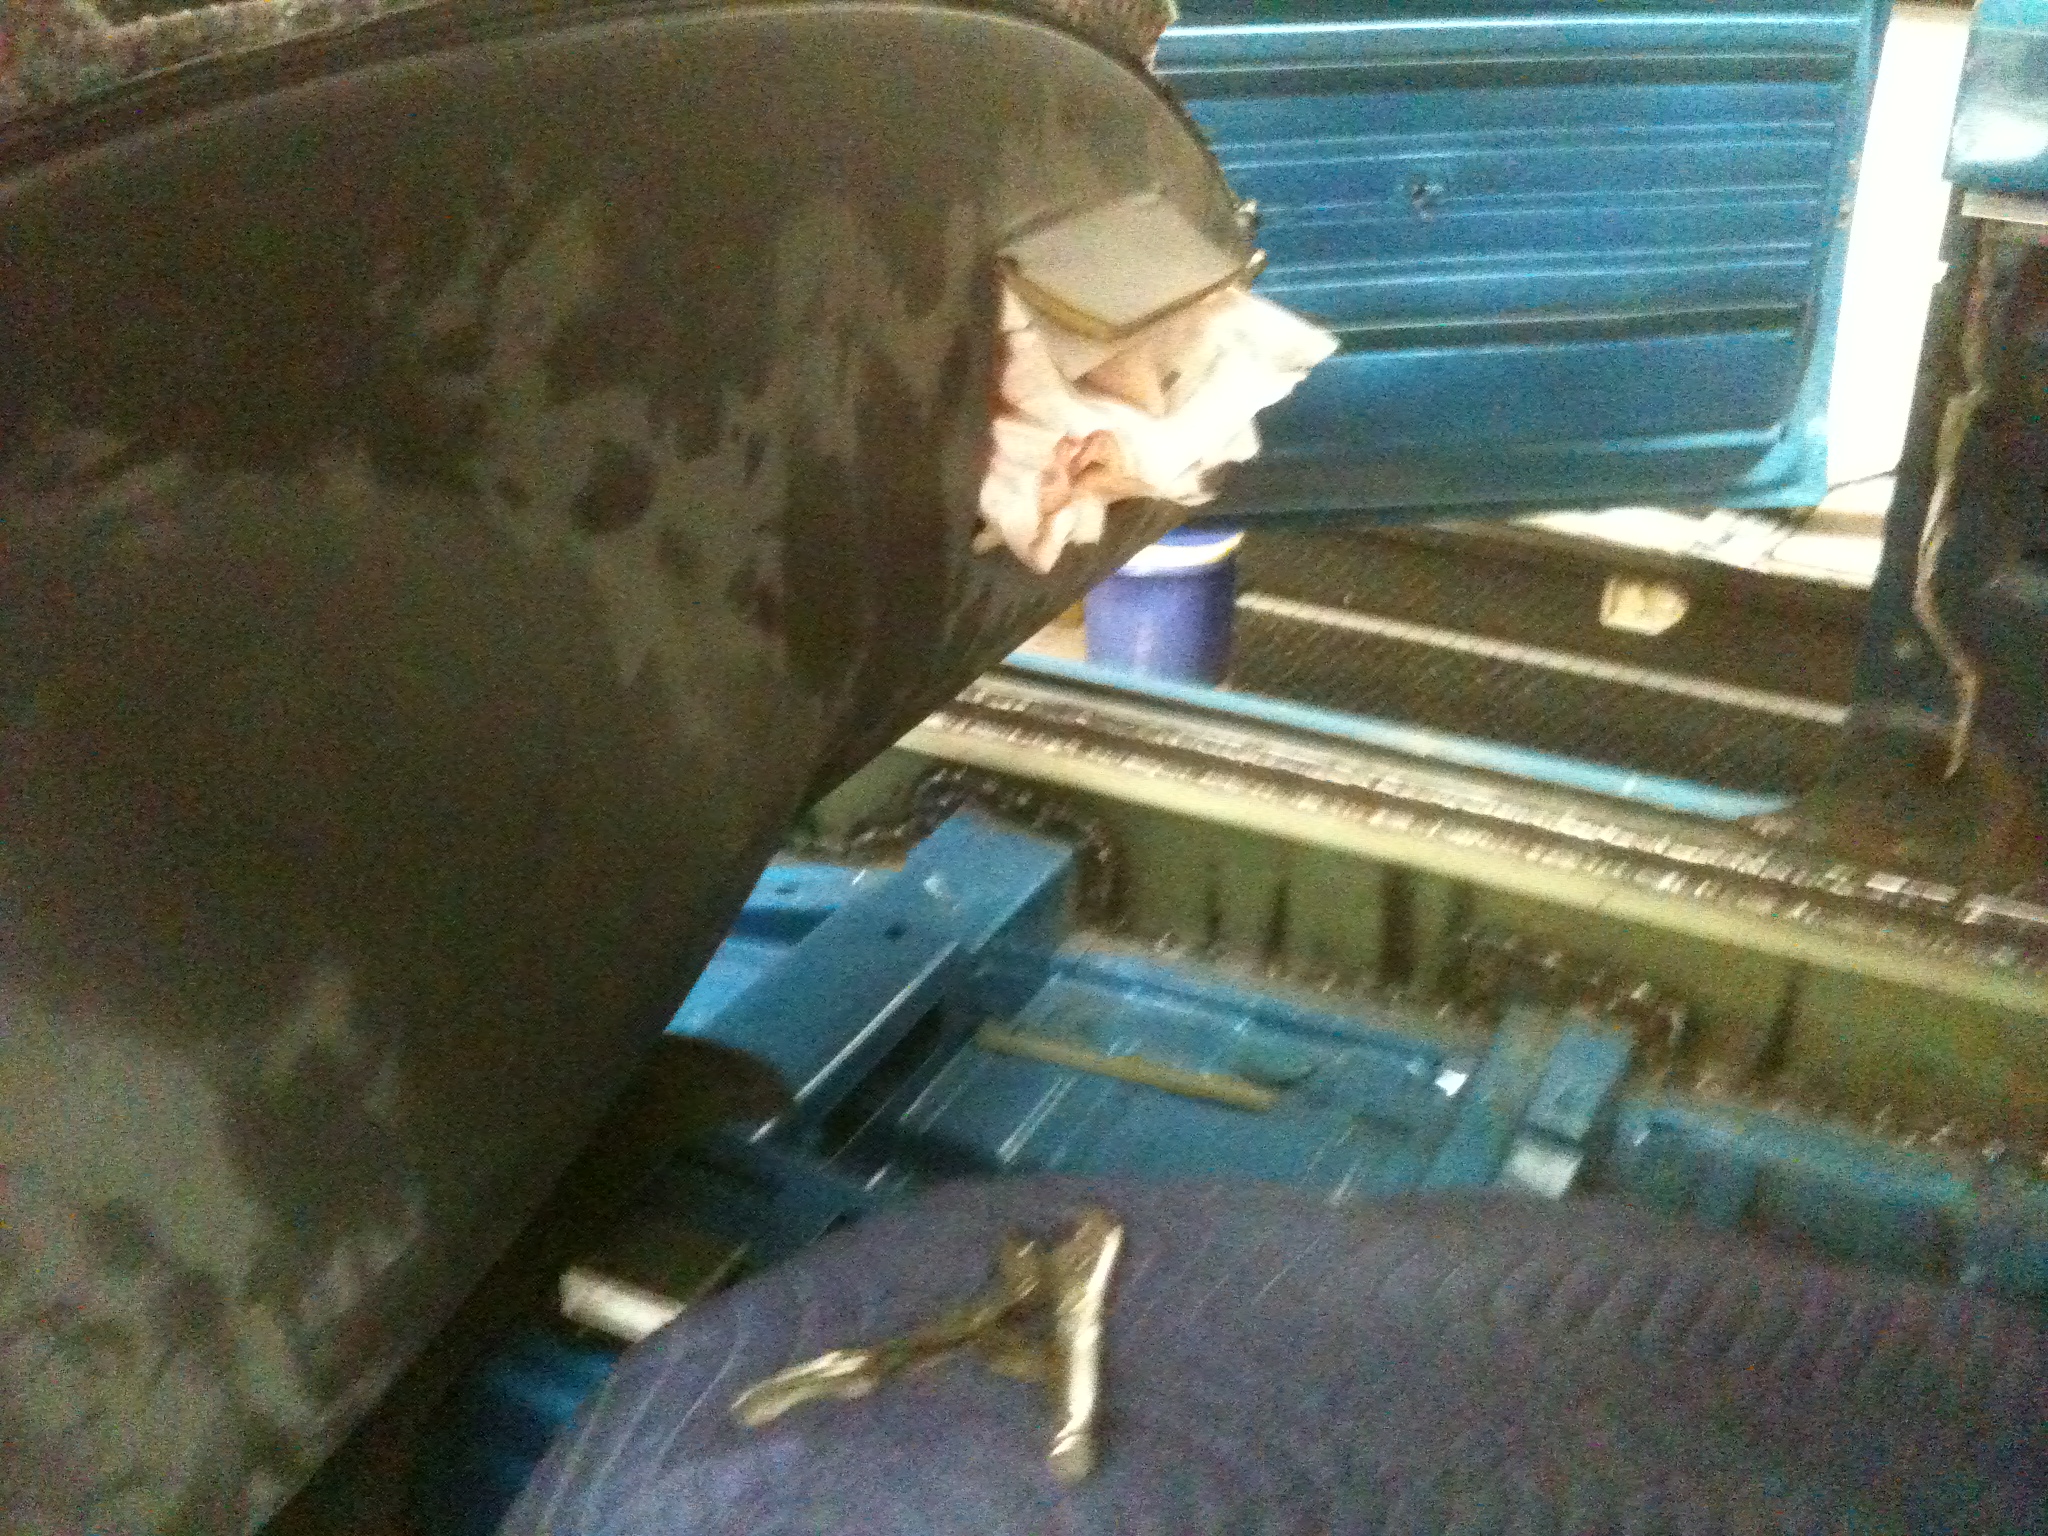
Removed the rear floor section.
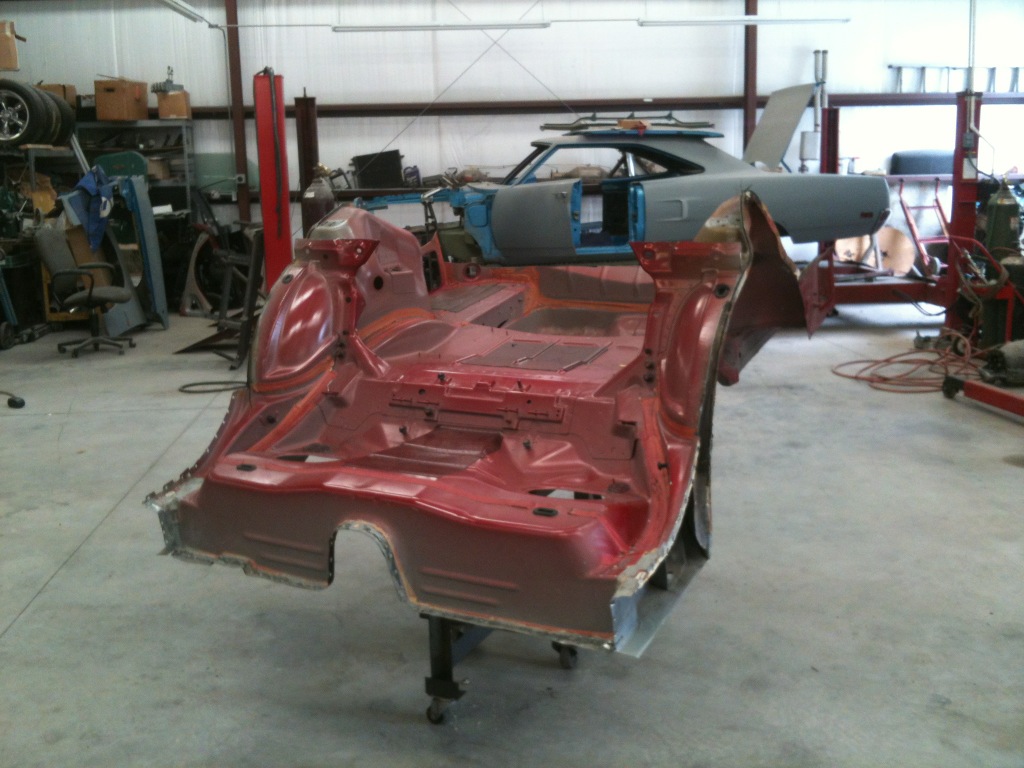
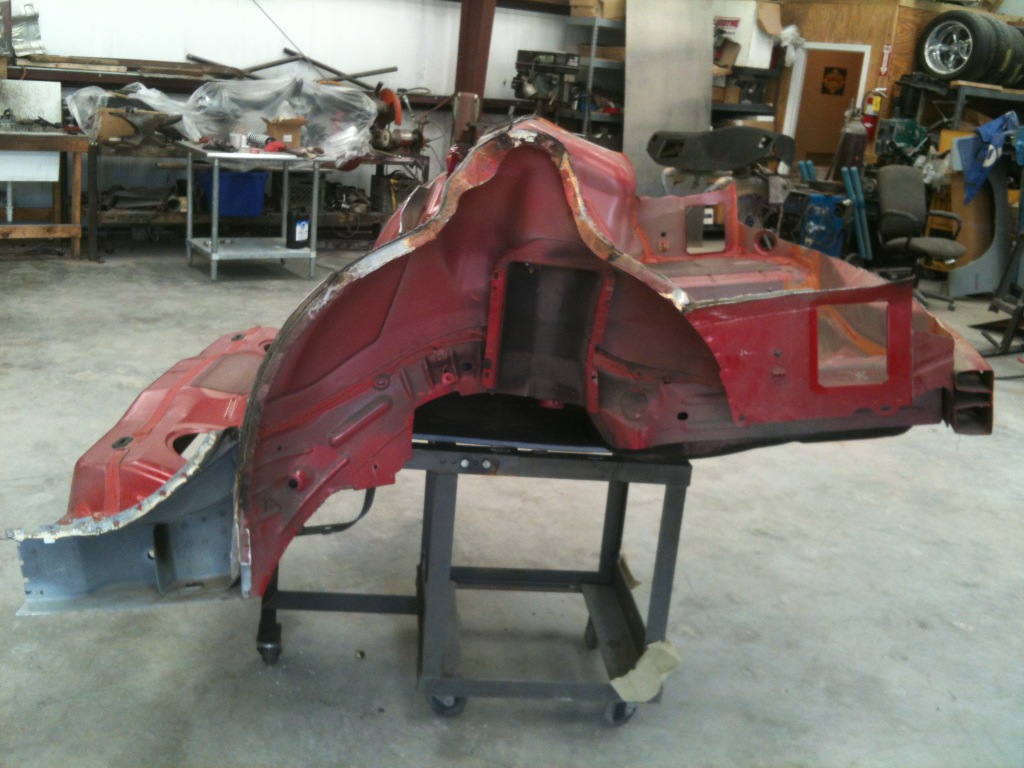
Leaving only this...
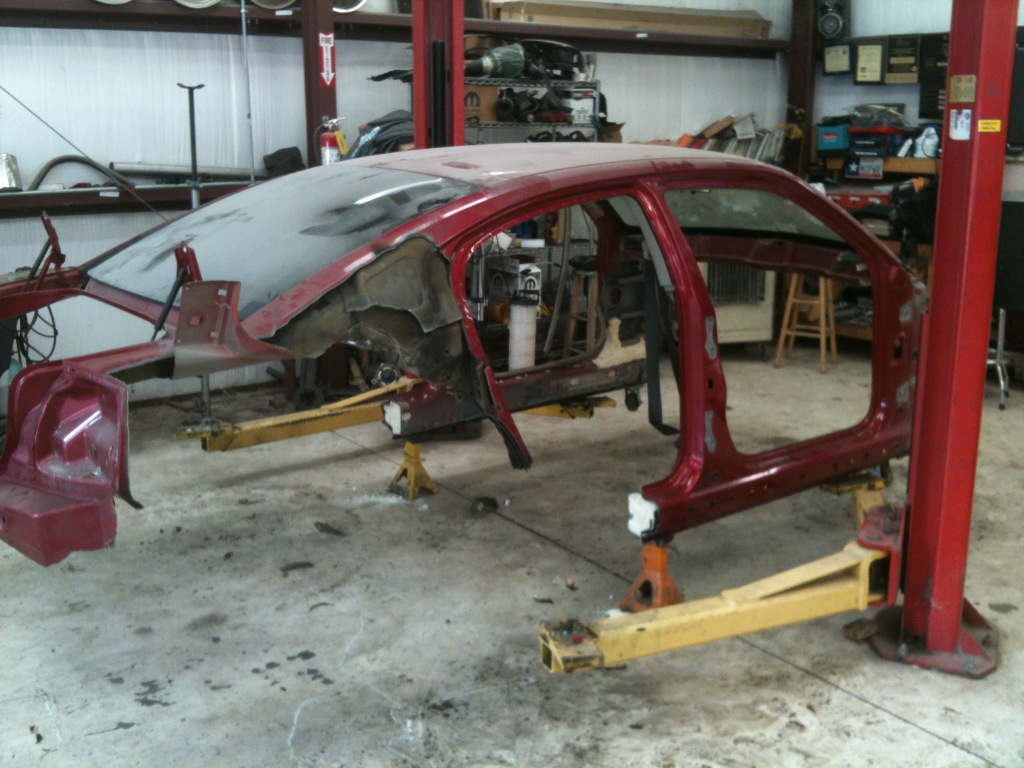
Cut it in half and called the junk man...
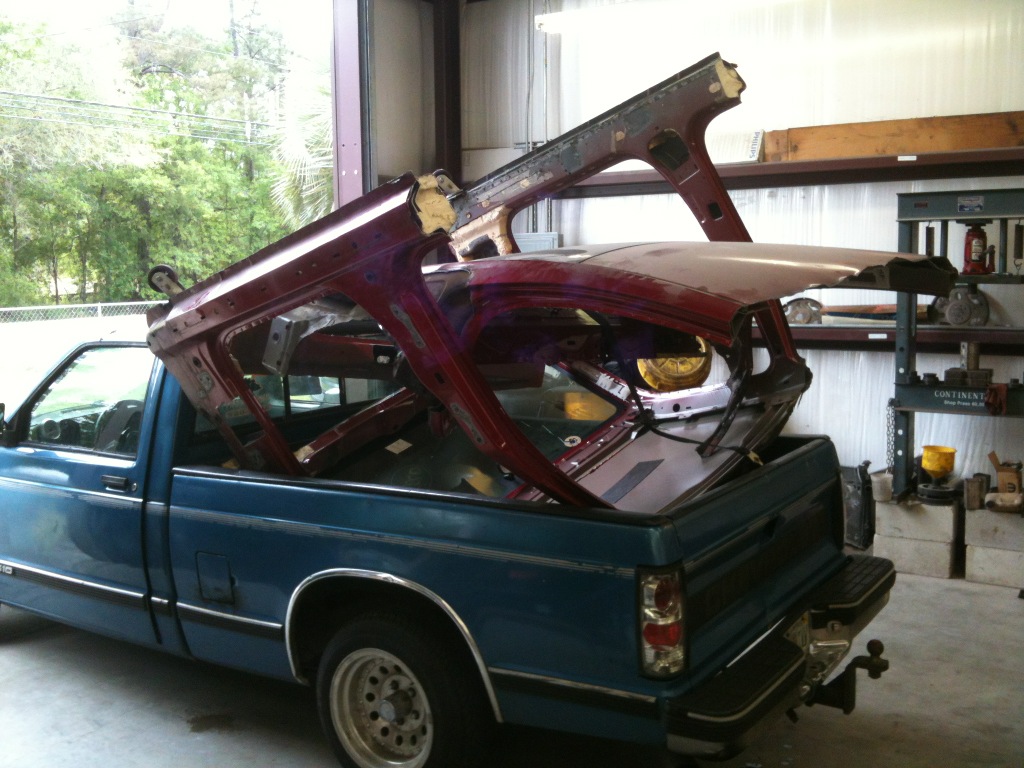
Pretty sure were at the point of no return now!
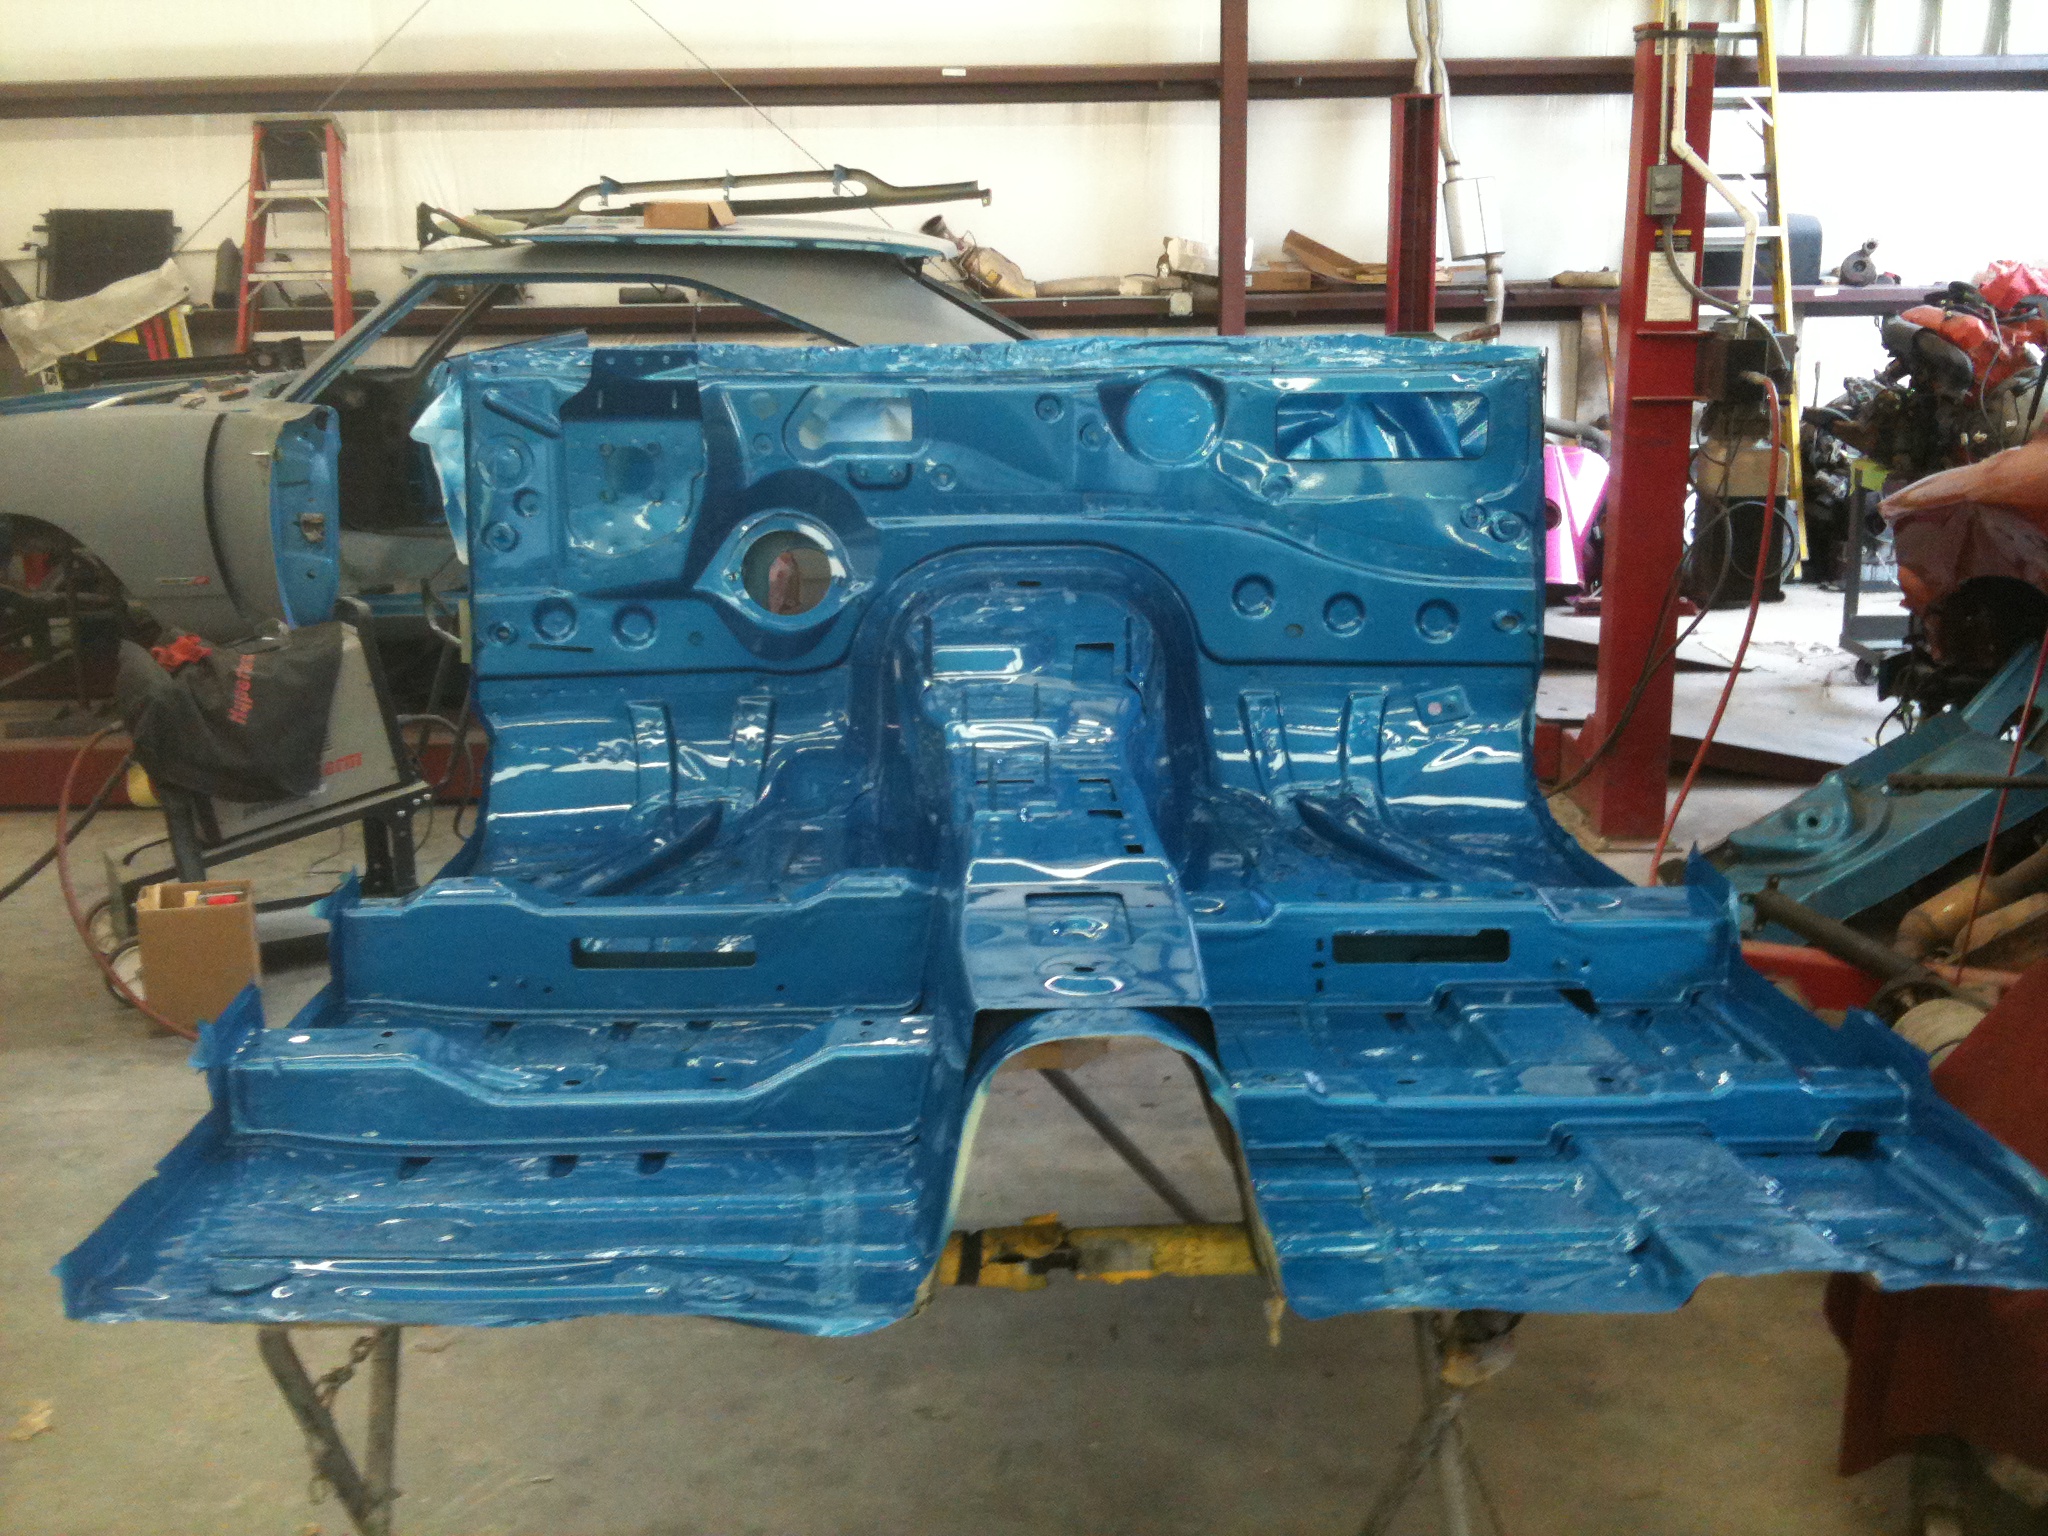
Fit the kick panel plates. This attaches the firewall to the existing inner structure. This allows me to mount the E-brake pedal and locate the wire pass through for the doors. Still working here.
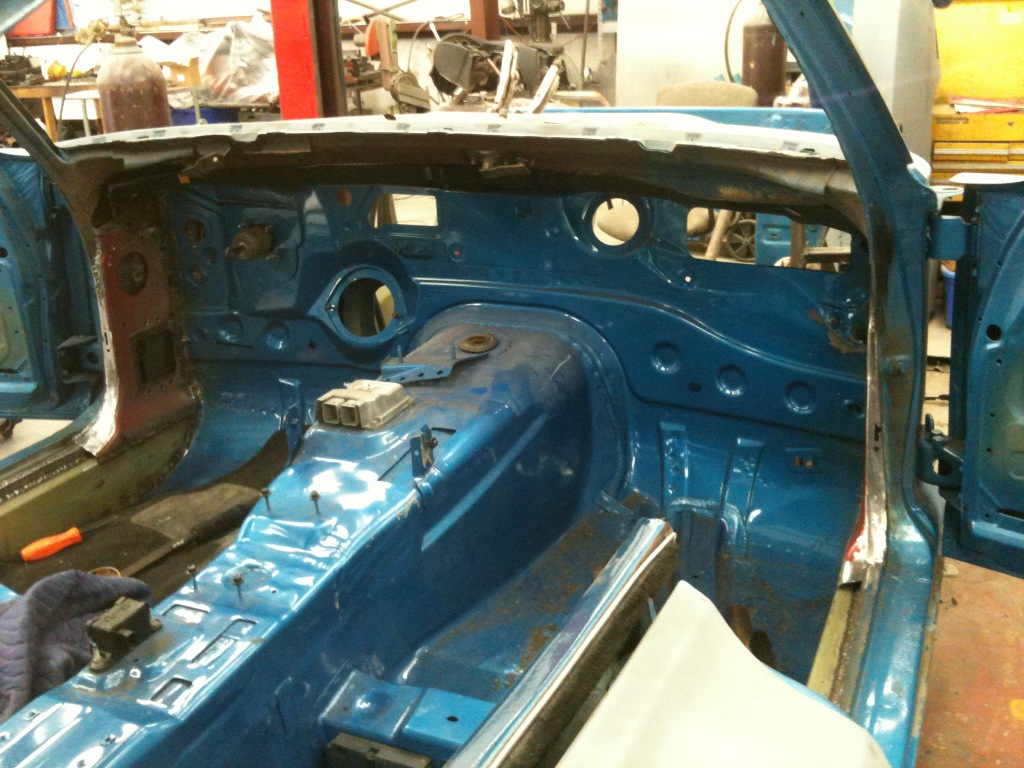


This is just to build the mounts for the dash frame. The pad will still need to be tweaked and upholstered. More on that later. Still just fitting!!
Removed the rear floor section.


Leaving only this...

Cut it in half and called the junk man...

Pretty sure were at the point of no return now!
Fit the kick panel plates. This attaches the firewall to the existing inner structure. This allows me to mount the E-brake pedal and locate the wire pass through for the doors. Still working here.

#28
Looking good was toying with the idea of sticking one of those in my 37 buis coupe as it was tough to find a good 392 rebuilder but just scored a 392 w/heads for 1400 so looks like ill stay old school for this build looks great please keep posts coming !details details ?? And as many pics as pos.
Last edited by 67hemidart; 04-04-2013 at 06:34 PM.


