When you click on links to various merchants on this site and make a purchase, this can result in this site earning a commission. Affiliate programs and affiliations include, but are not limited to, the eBay Partner Network.
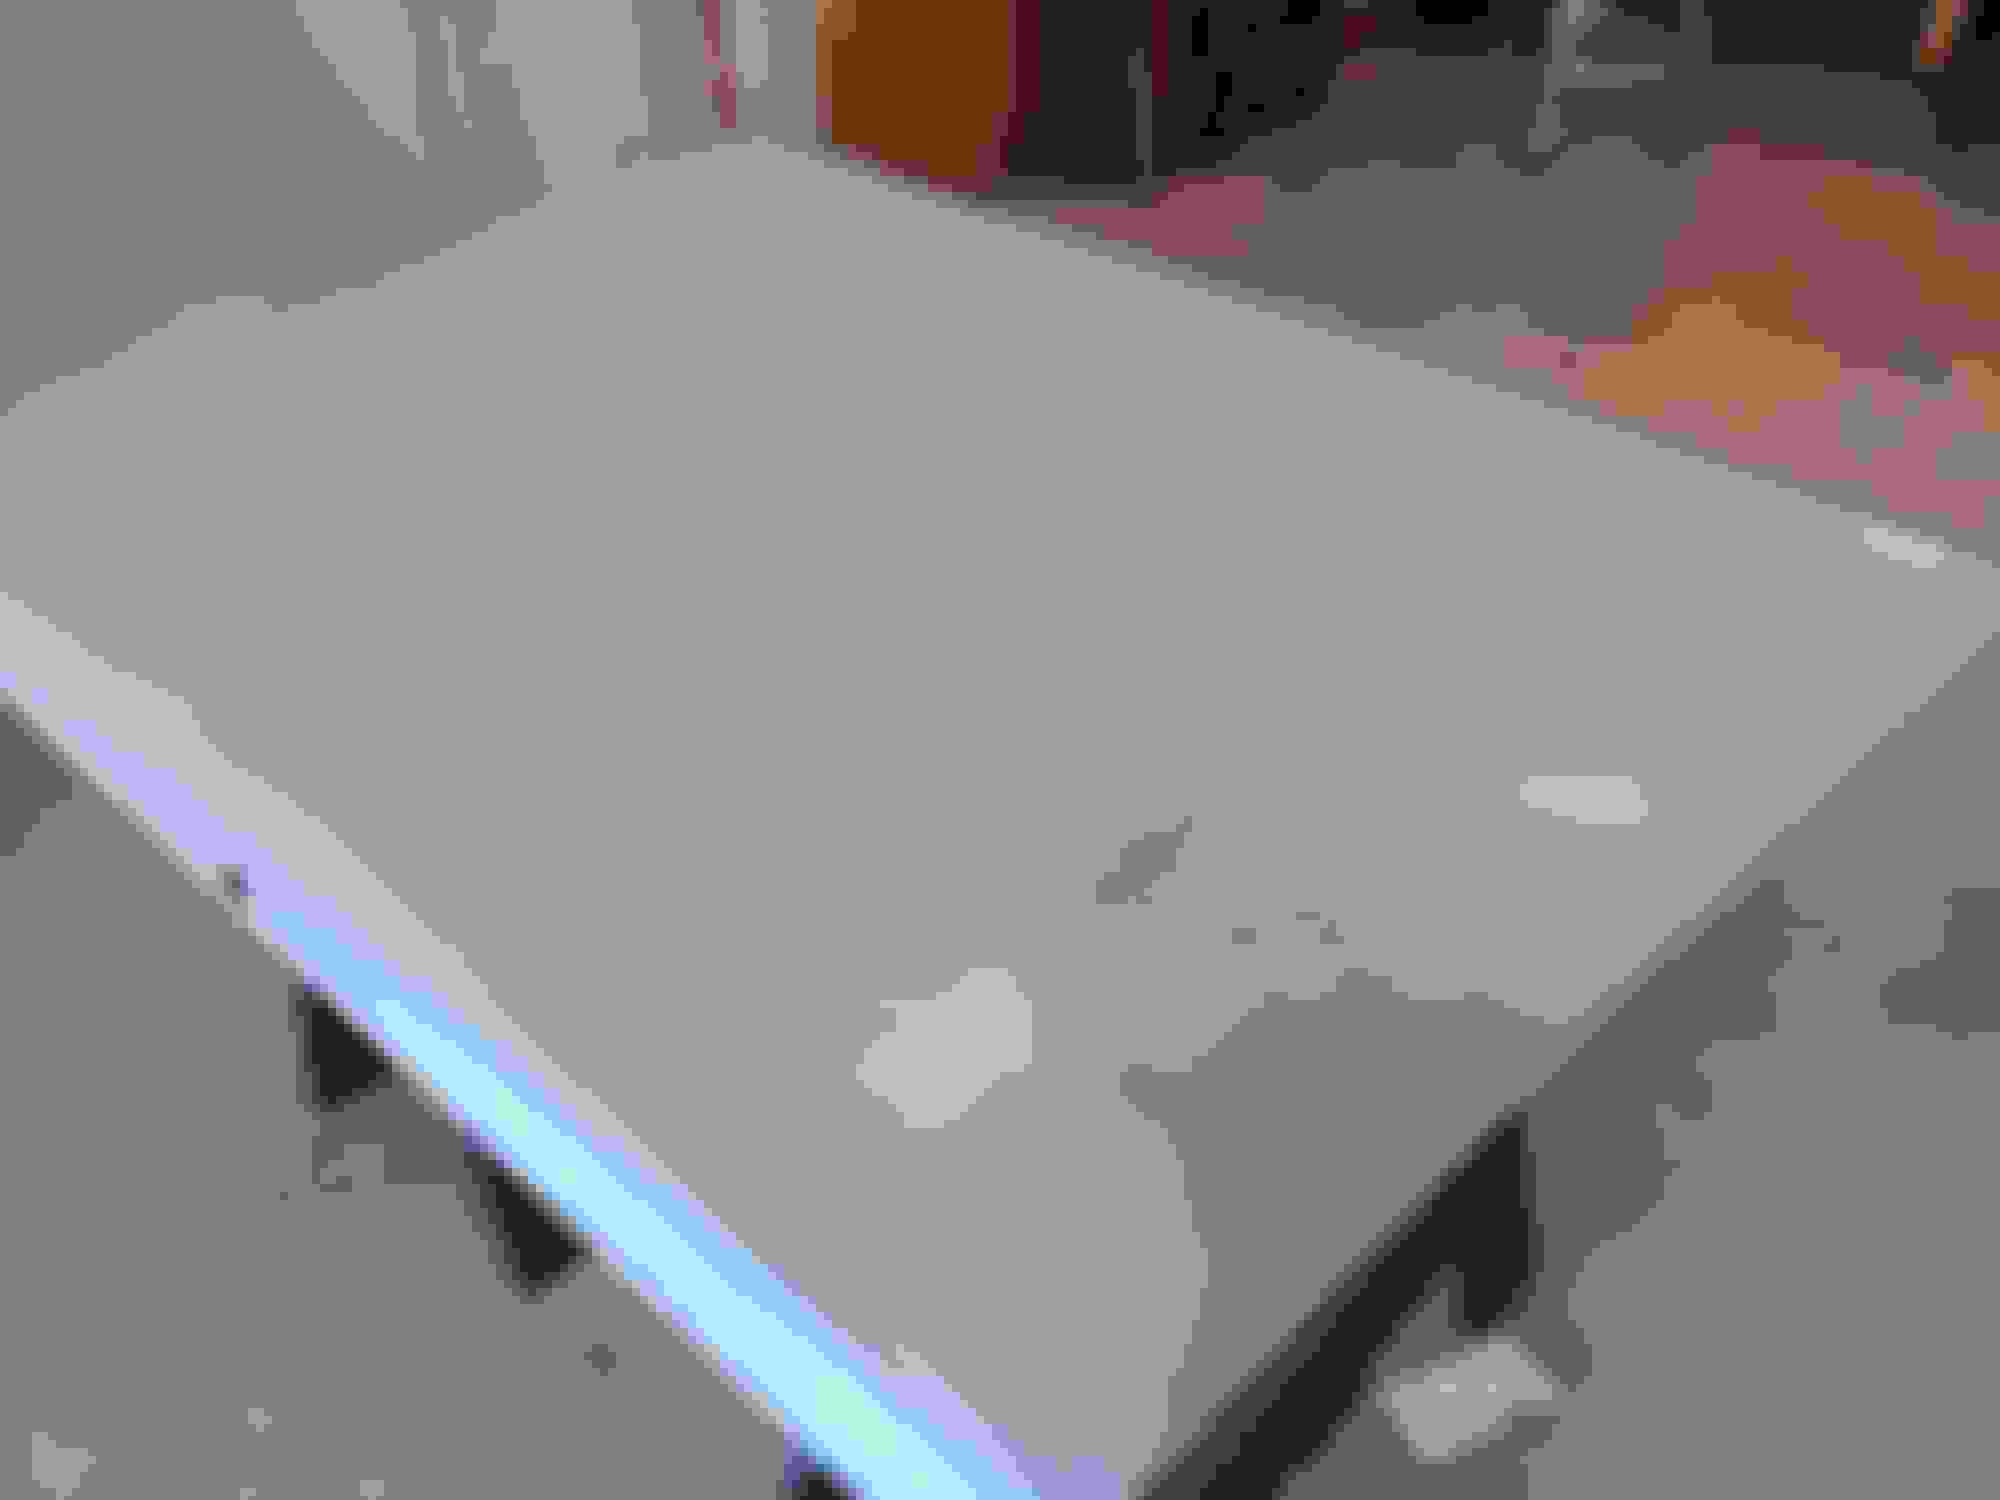
Got a few runs and a splatter plus some blotchiness but it isn't done yet. I need it to lay down and get it outside in the sunlight to assess the problems. Went better than I expected it to though. I'm sure the roof needs another even coat and I can't tell on the rest in the dark garage. I think it will be stunning in the full sunlight...
Last edited by Ghostrider 67; Jul 16, 2022 at 11:00 AM.
That is a "Paint for Cars" color called Dark Chestnut Metallic Brown. It's a single stage Urethane. 4 to 1 plus hardener wet look added. It has a lot of "flop" and is spectacular in the full sun.
i aaaaaaaaaaabsolutely LOVE that color. nice work, brotha!
Thanks! It's very changeable with the light. With blacked out chrome, black and polished aluminum wheels, black wall out and dark glass it should be somewhat sinister looking....lol.
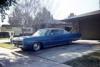
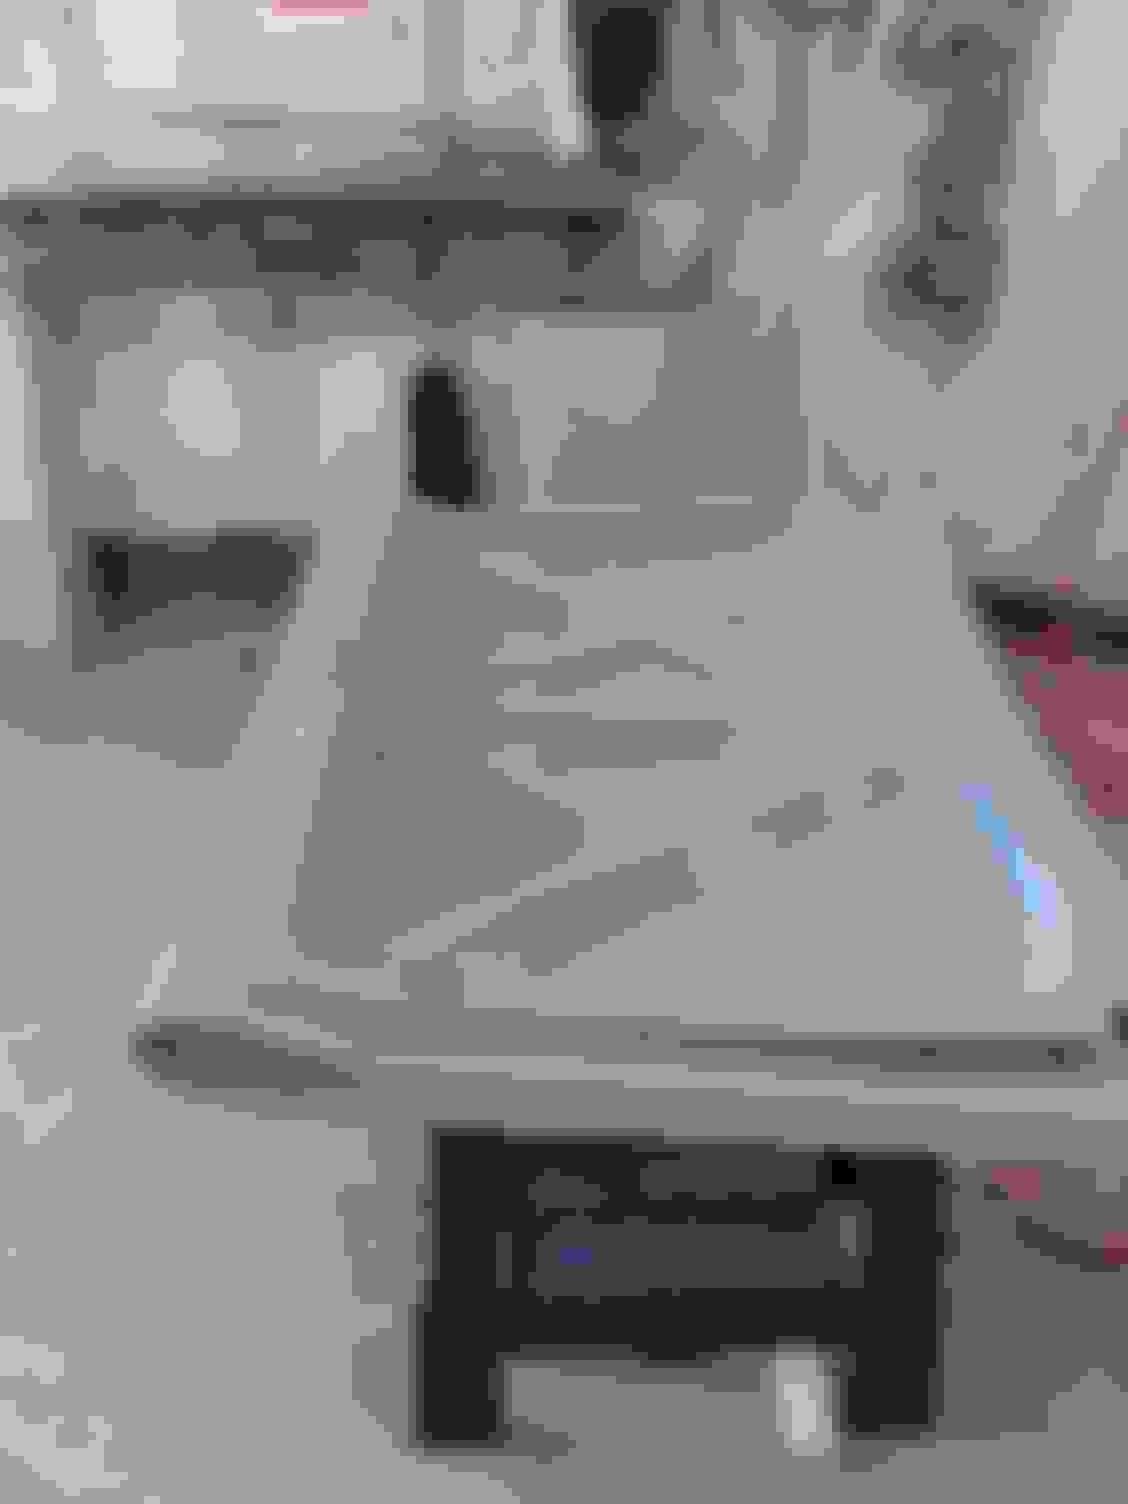
Got the tires and wheels sorted today and rolled her out into the sun to get a better look at the paint so far. What a blotchy mess. I have a long ways to go with this. sigh.
Well, Thats how we learn !!!!! Looks like it needed a little more coverage and some Flow Stuff... What ever that stuff is called... Hope you dont have to sand it all off to recover it?
Iowan may be able to give you some tips for correctness?
Oh no, no sanding off needed. I'm going to wet sand it the quarters and the roof and around the area between the back glass and the front of the trunk and then spray it again with a better adjusted gun and being more careful.
Working today on some small jobs that would be harder to do after the engine is installed. Routing the #8 plug wire around behind the cylinder head and along the valley/ manifold area and the coil wire and coil. I made a custom bracket to mount the coil along the rear of the passenger side valve cover. I placed a spacer behind the mounting tab between it and the plug wire loom clamp to leave room for the coil mount bolt nuts. The coil mount still needs a little fine tuning and paint.
I also cleaned up the plug wire routing for the ones that pass behind the alternator. I took the power steering pump loose and narrowed the various spacers to better align the pulley with the crank pulley. Custom coil bracket mock up. White nylon spacer as stand off. I like a neat and tidy engine bay. Corralled and out of the way.
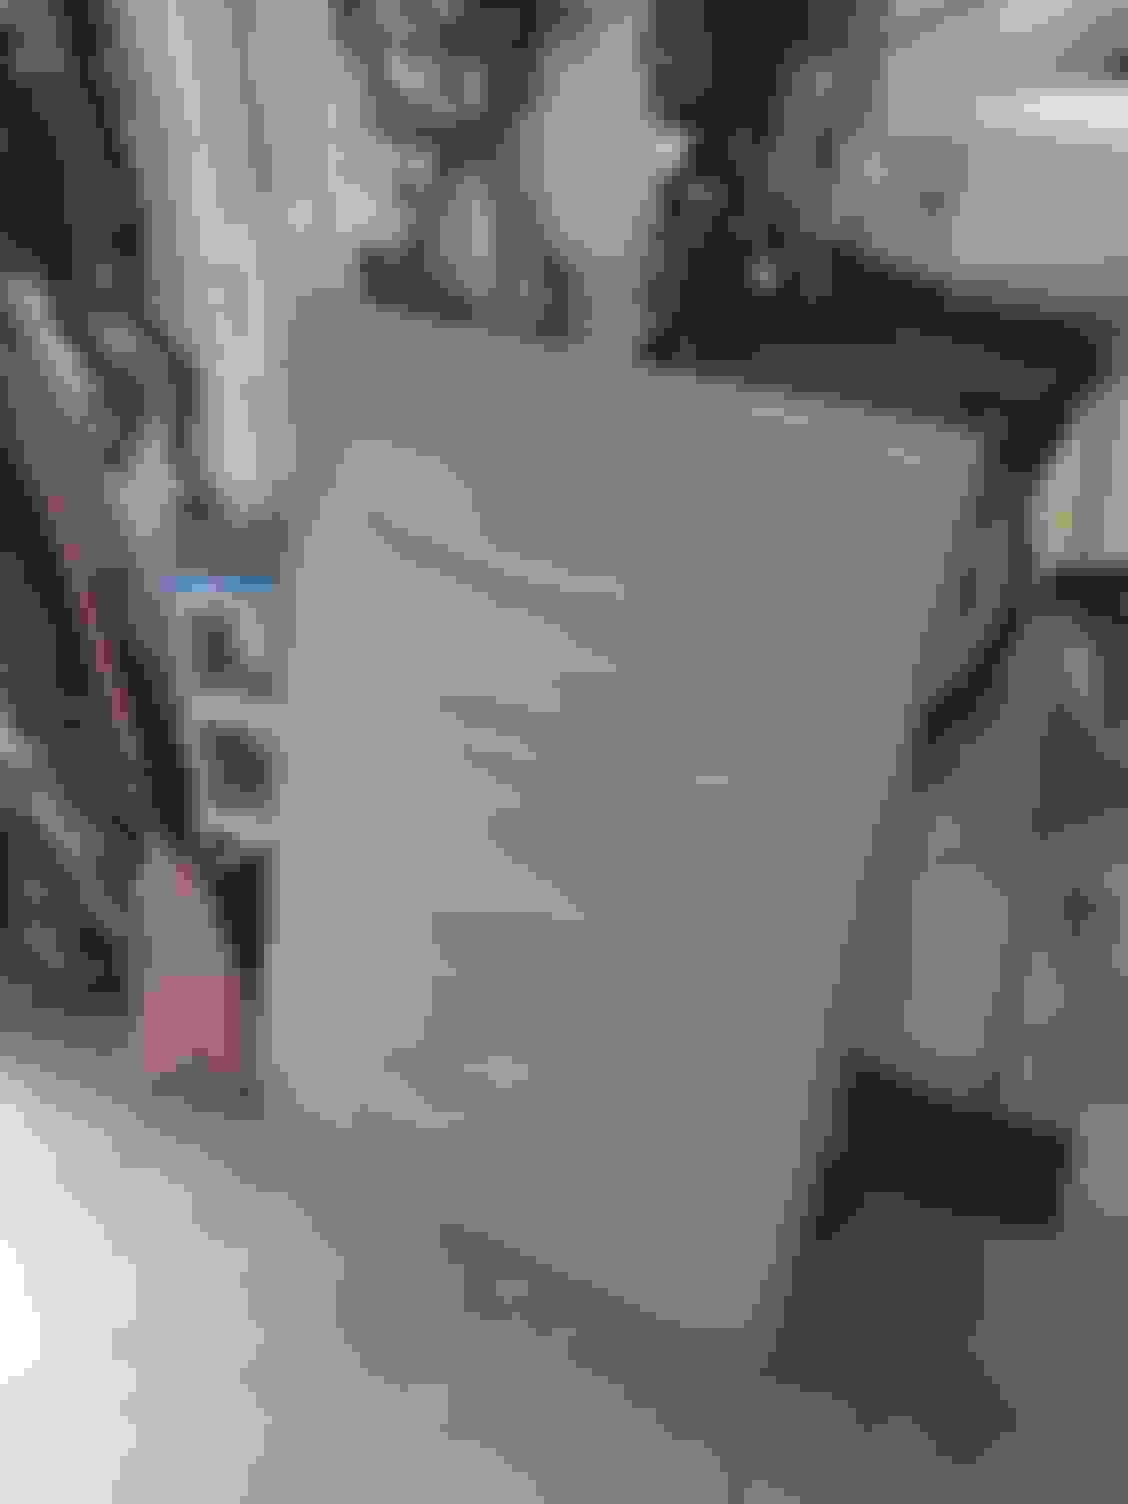
Attacked the trunk lid this morning and also painted the insides of the front fenders black. Ran out of grey primer...still have the hood and one fender to prime.
Last edited by Ghostrider 67; Jul 28, 2022 at 11:11 AM.
Reason: remove several words...
I found enough grey primer to do the fender about 80% coverage. I'll buy a spray can of high build sandable grey and finish that and the bumper. The hood is going in black so I sealed it up with black Urethane epoxy primer and it will be finished in Eastwood under hood black single stage Urethane. Once it's all good and dry i'll tape it off and spray the brown metallic. It will look like this blue Dart hood only black and brown. Also without the hood scoops but with an RO-23 Hemi hood scoop.
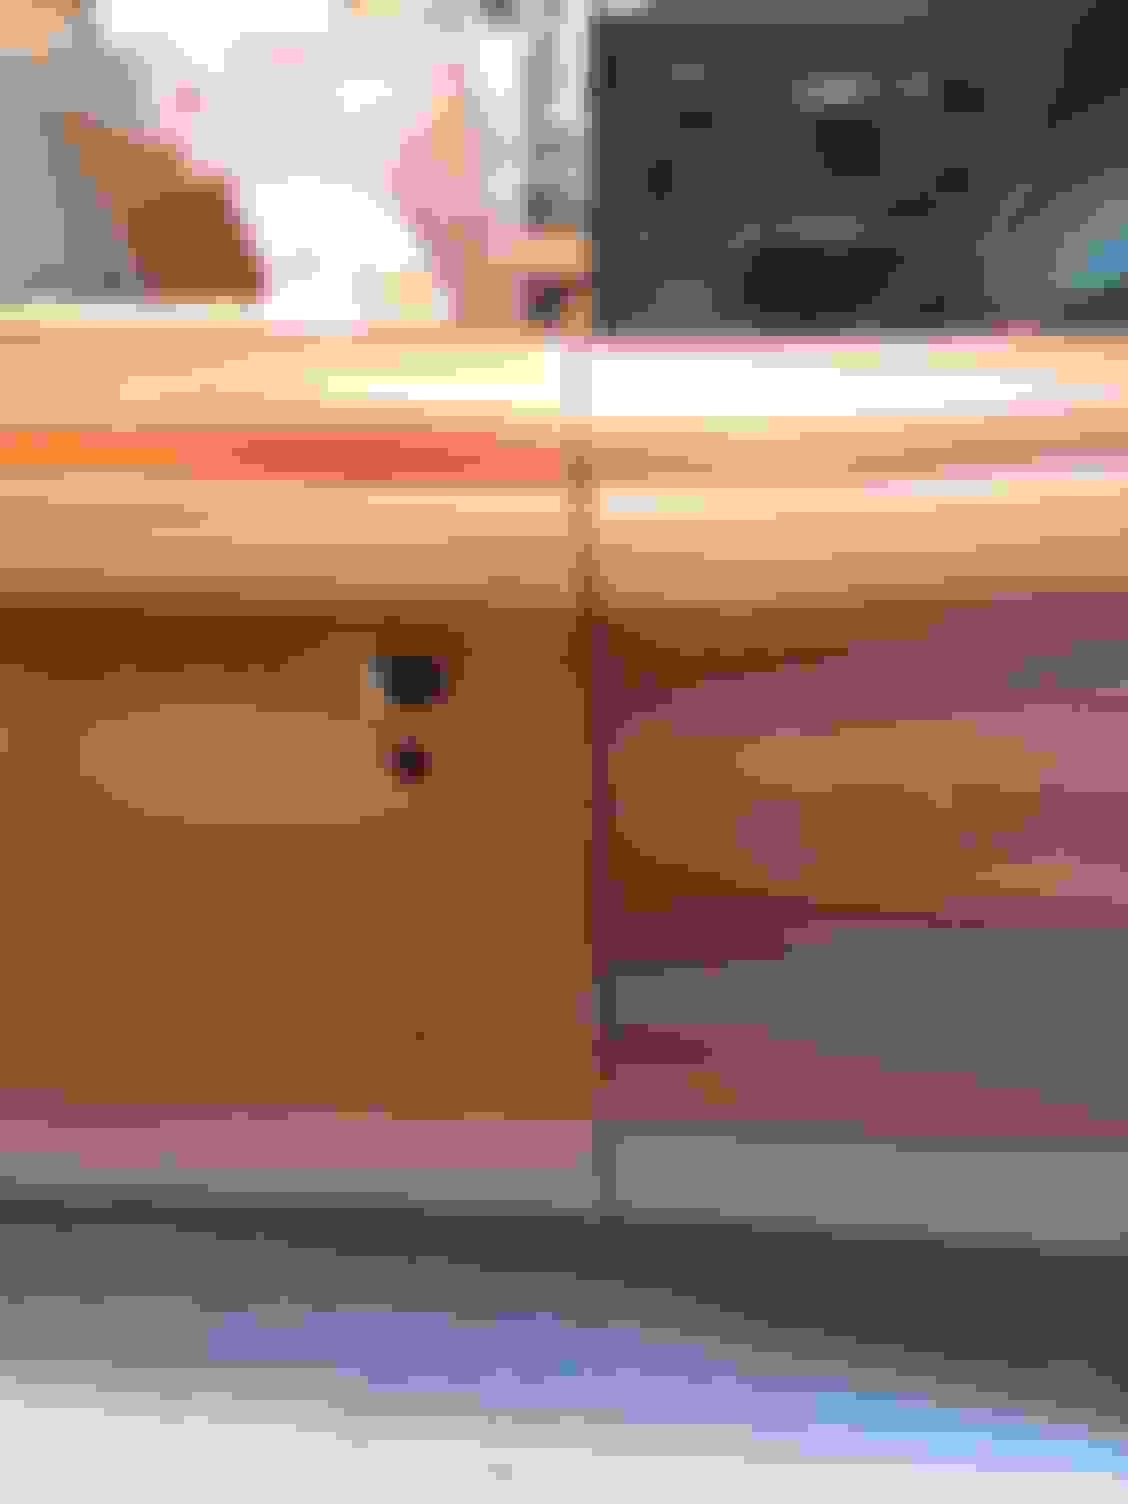
Shot the trunk lid and hinges today and the inner fender panels. Hung the left door and fender. Spent a lot of time getting those 54 year old panels to line up right and have good gaps.