
I never would think I would own one of these


Thread Starter
Super Moderator
Joined: Sep 2010
Posts: 3,609
Likes: 181
From: Houston, Texas
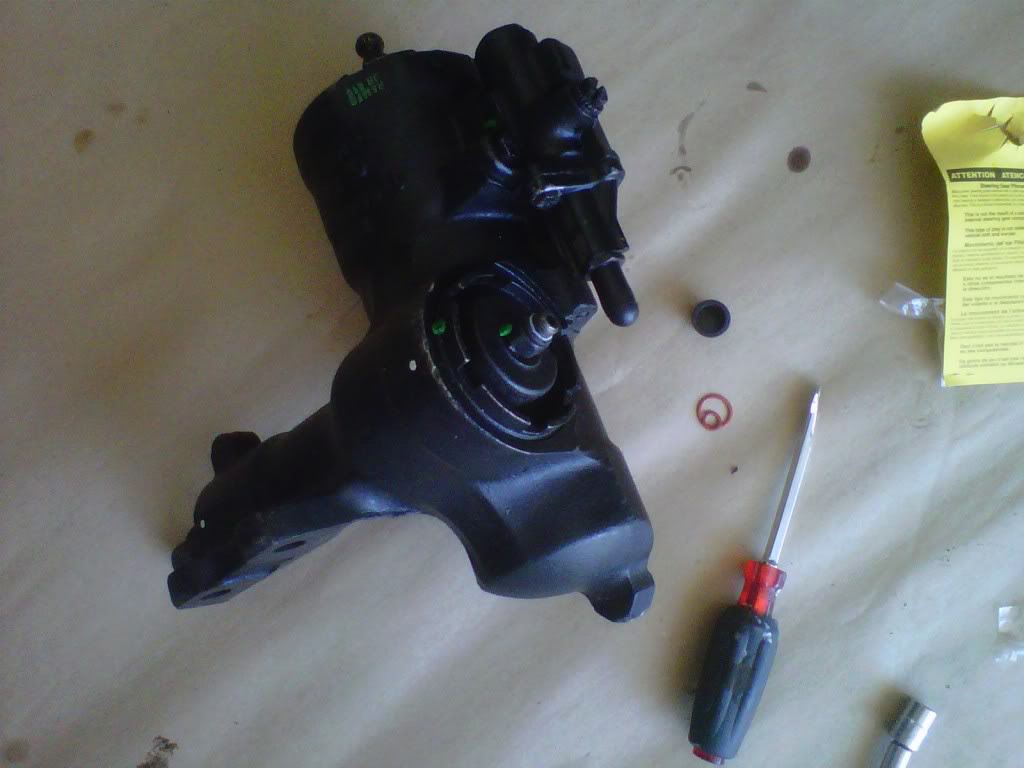
Got my call from Napa today...my cop box showed up I had to remove the return fitting assembly and I did check the high pressure side and such...all is well..it came with two new "O" rings to install with the return fitting assembly

Thread Starter
Super Moderator
Joined: Sep 2010
Posts: 3,609
Likes: 181
From: Houston, Texas
PS...look around there are alot of them for sale right now...and it is a good time for a buyer...
http://elpaso.en.craigslist.org/cto/2282617132.html
http://austin.craigslist.org/cto/2296823177.html
Thread Starter
Super Moderator
Joined: Sep 2010
Posts: 3,609
Likes: 181
From: Houston, Texas
Not as much as I wanted to get done
Well the first thing I did today was struggle underneath the dash to get the brake booster in there...the top left nut is a B....you better press the clutch pedal all the way to the floor and tape it to the end of the socket..otherwise forget it...but it's in there..
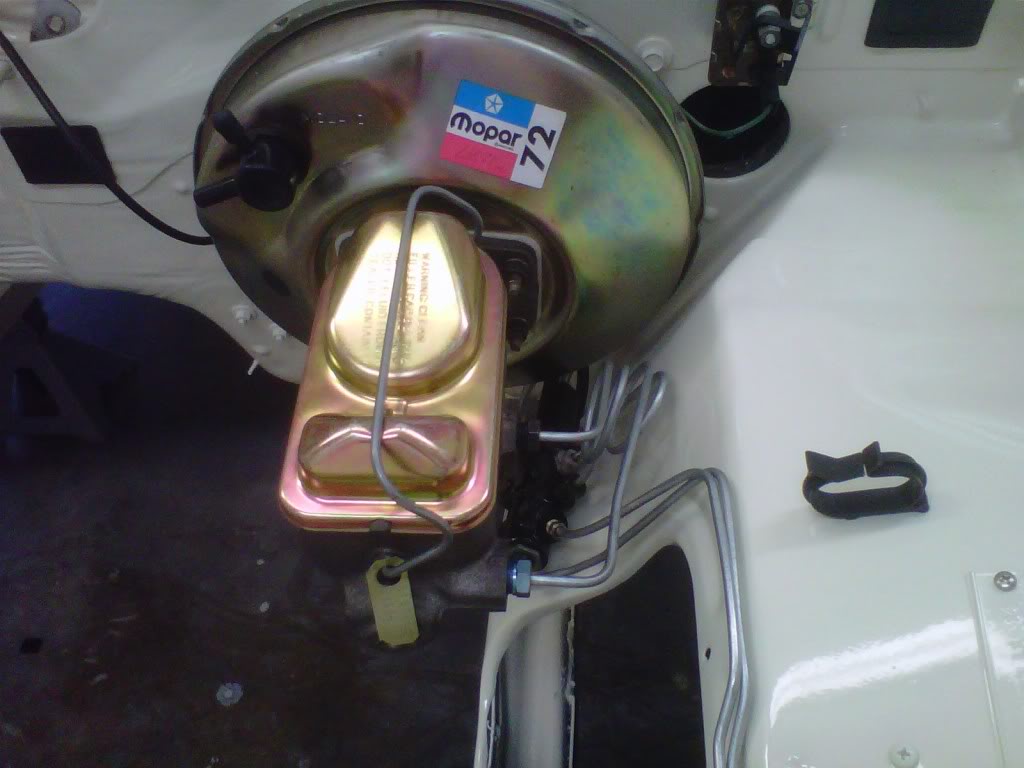
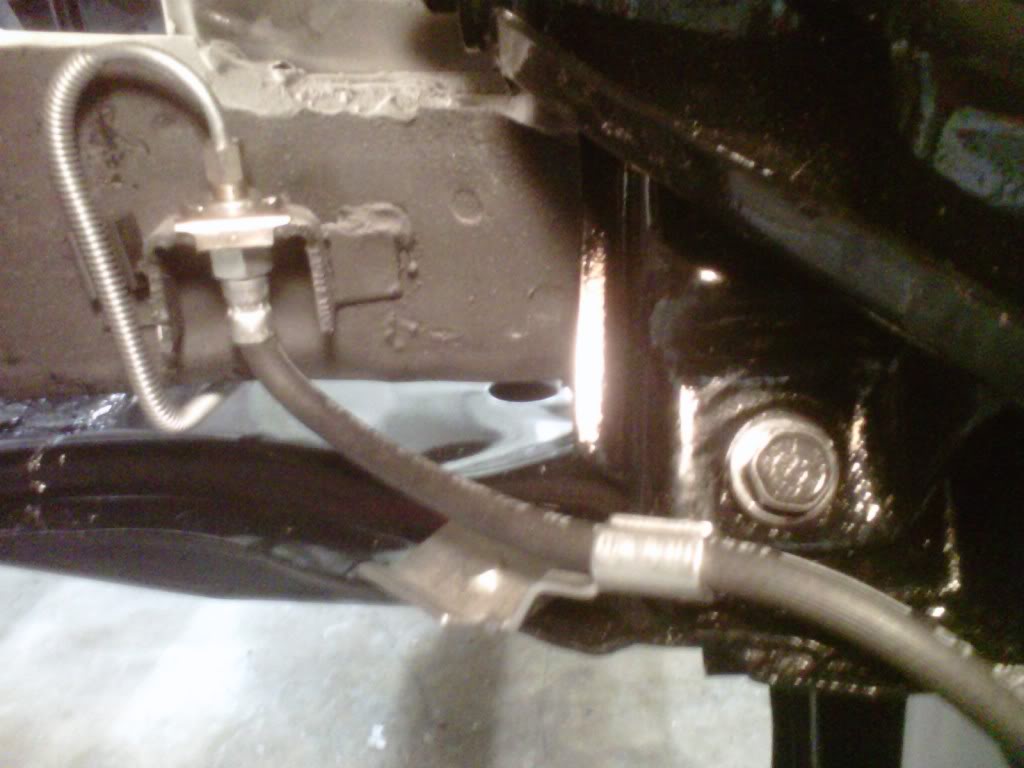
A little bending on the lines to the master cylinder was needed...I then had my fun with the rear brake line but it is in there to...it turned out perfect..I hope Inline tube kept the bends and measurements off my lines..I am going to call them soon..I checked their website and there are no changes yet...
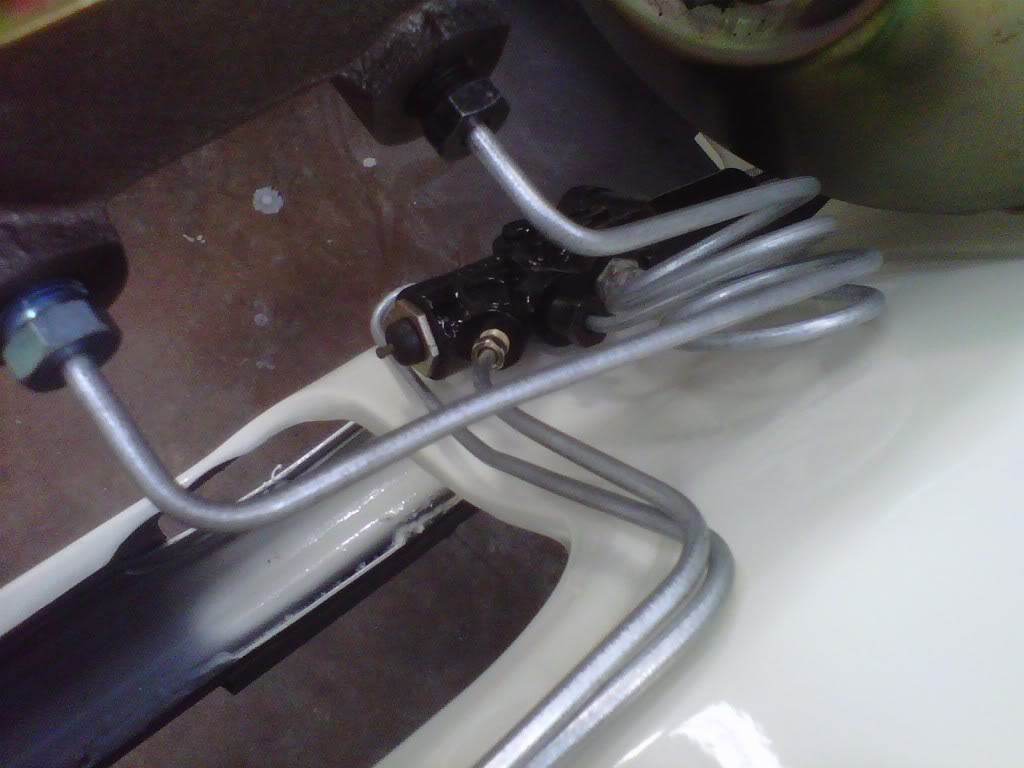
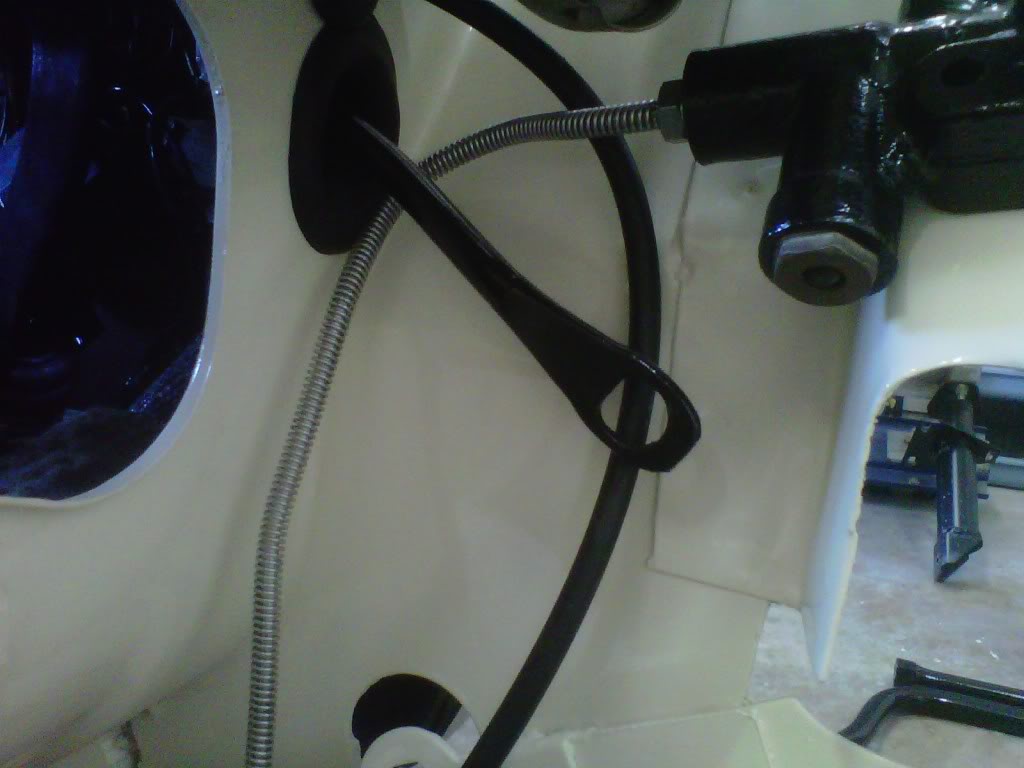
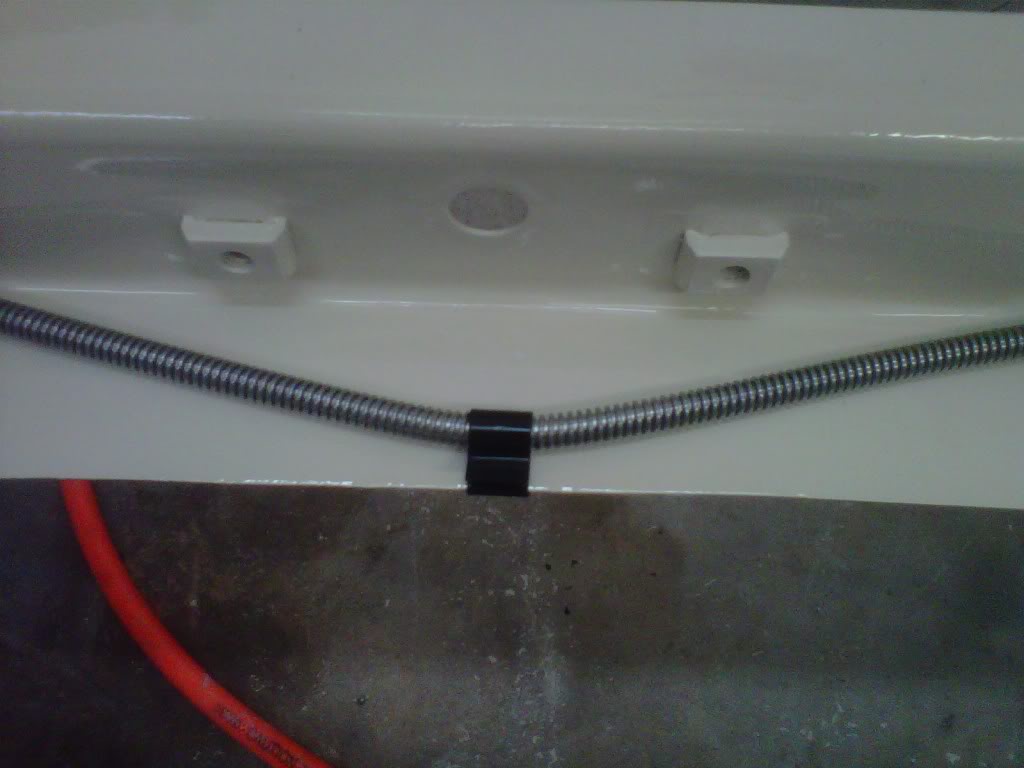
That little rust free and painted clip finishes off the front passenger brake line..
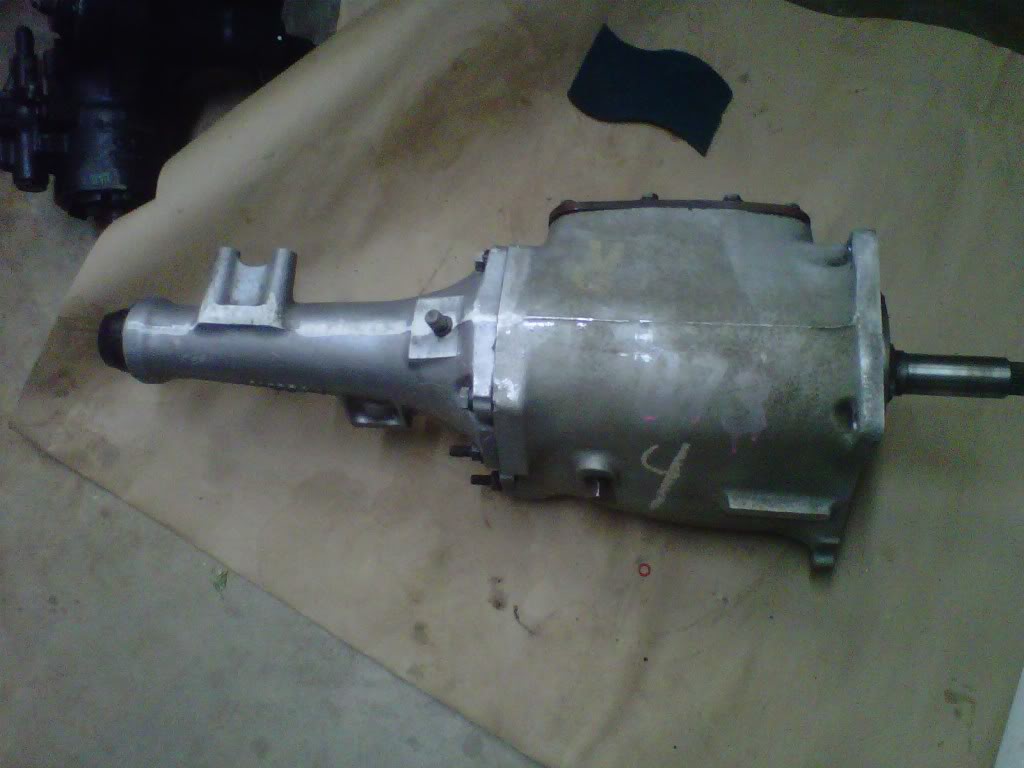
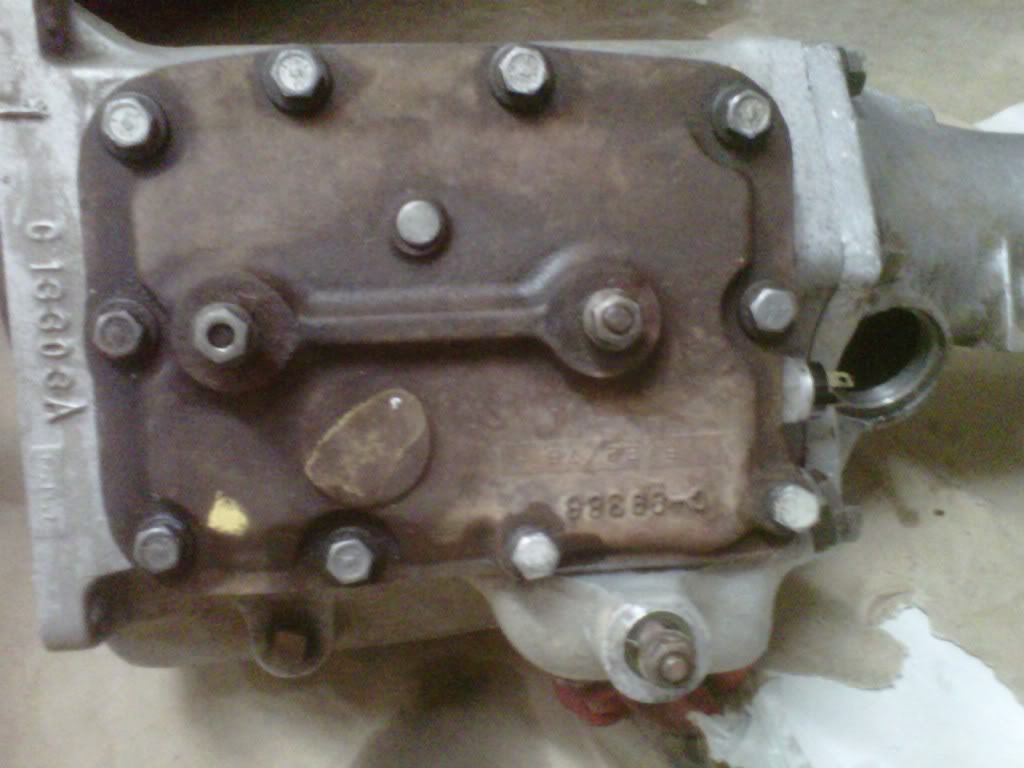
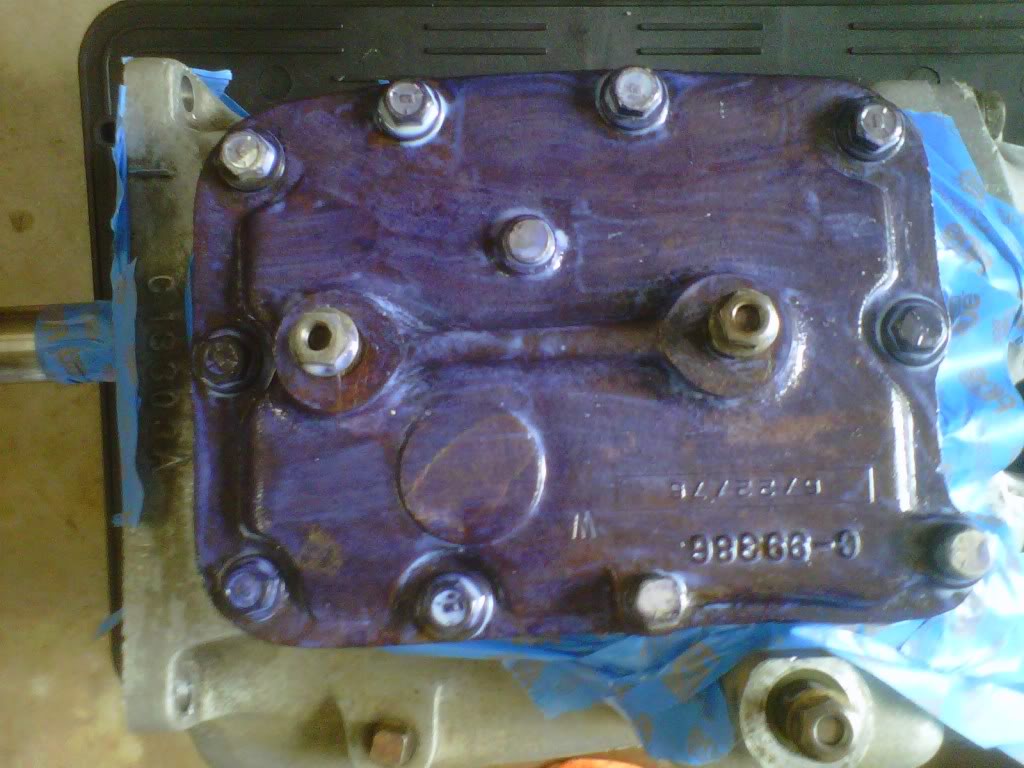
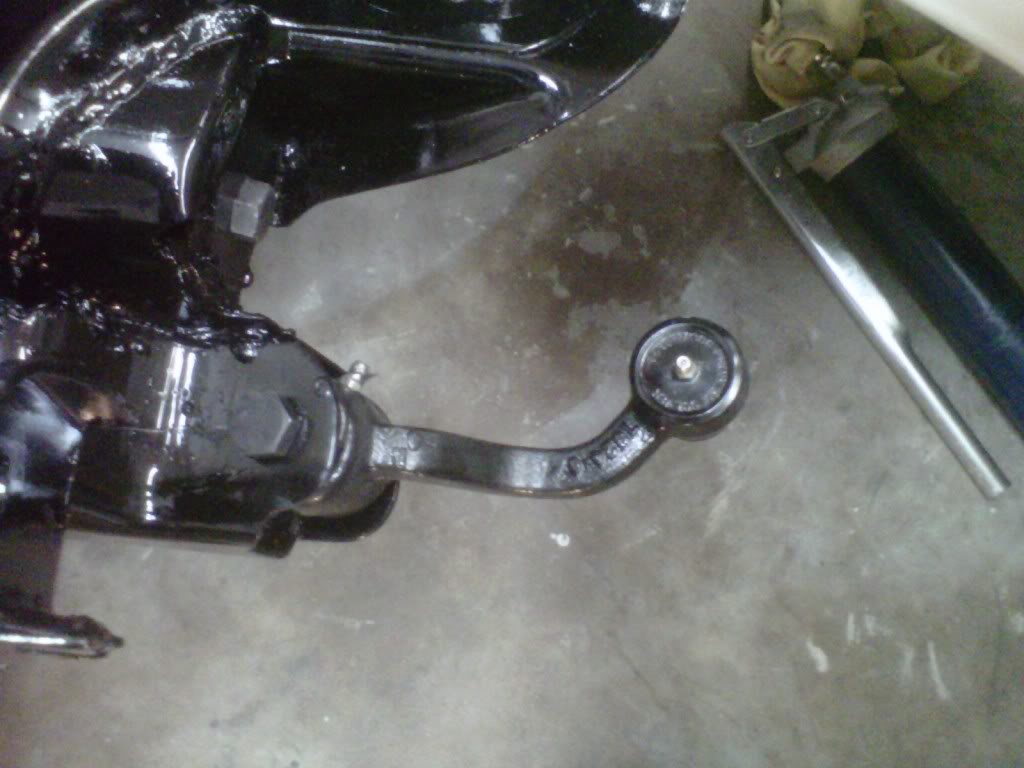
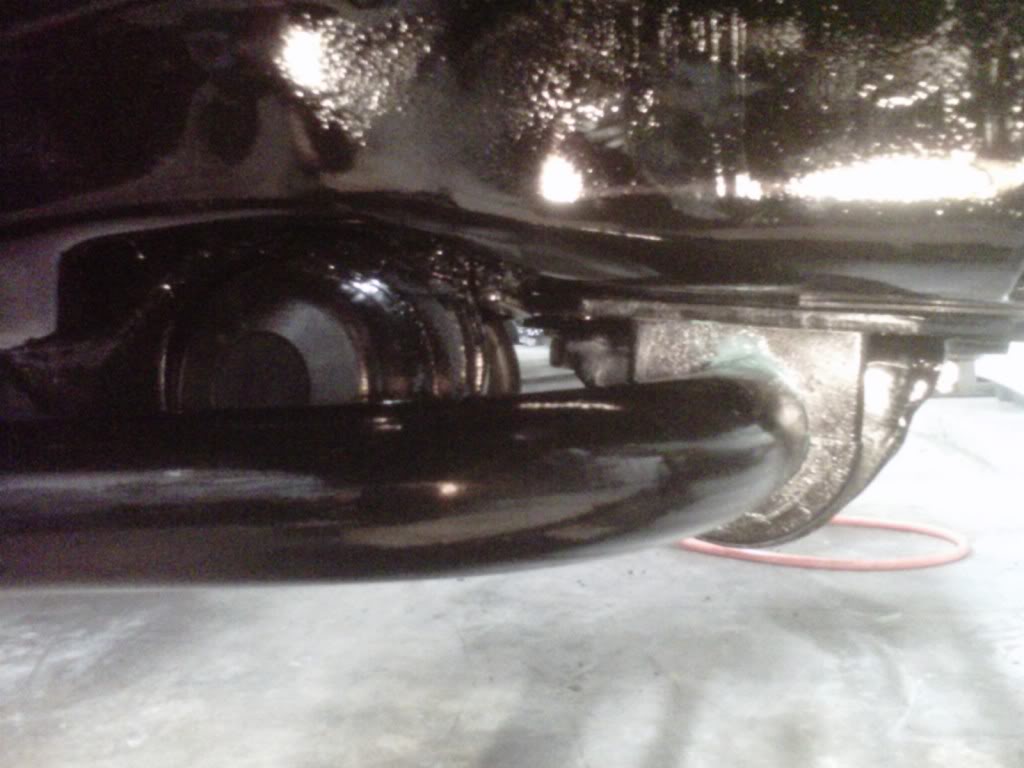
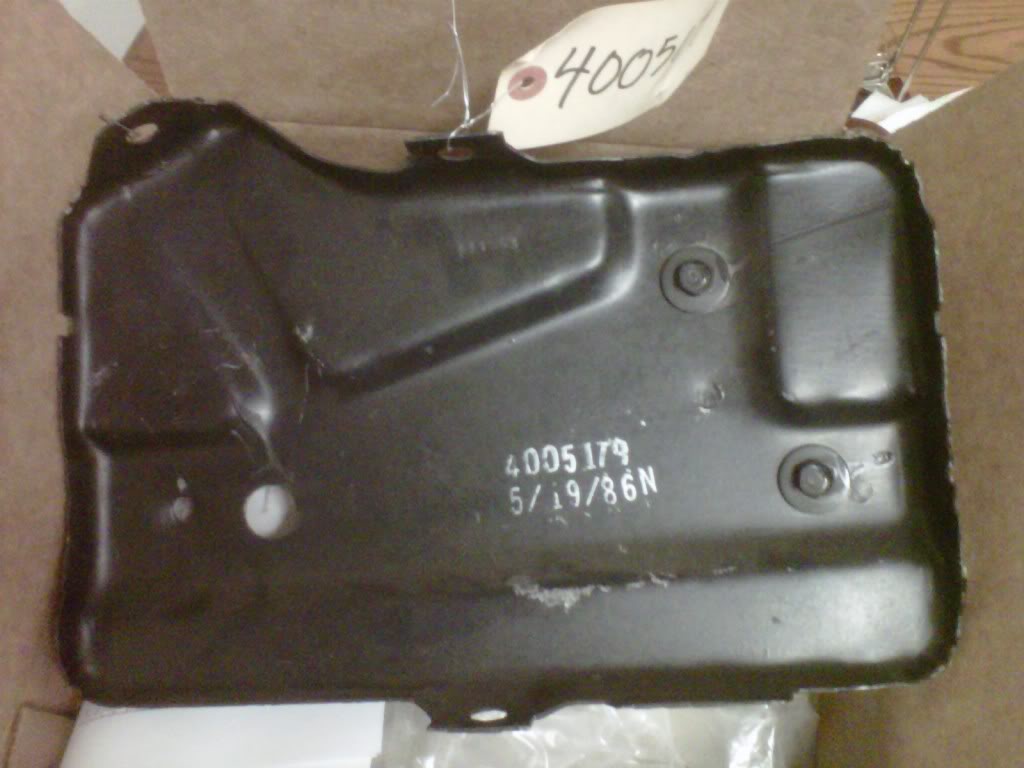
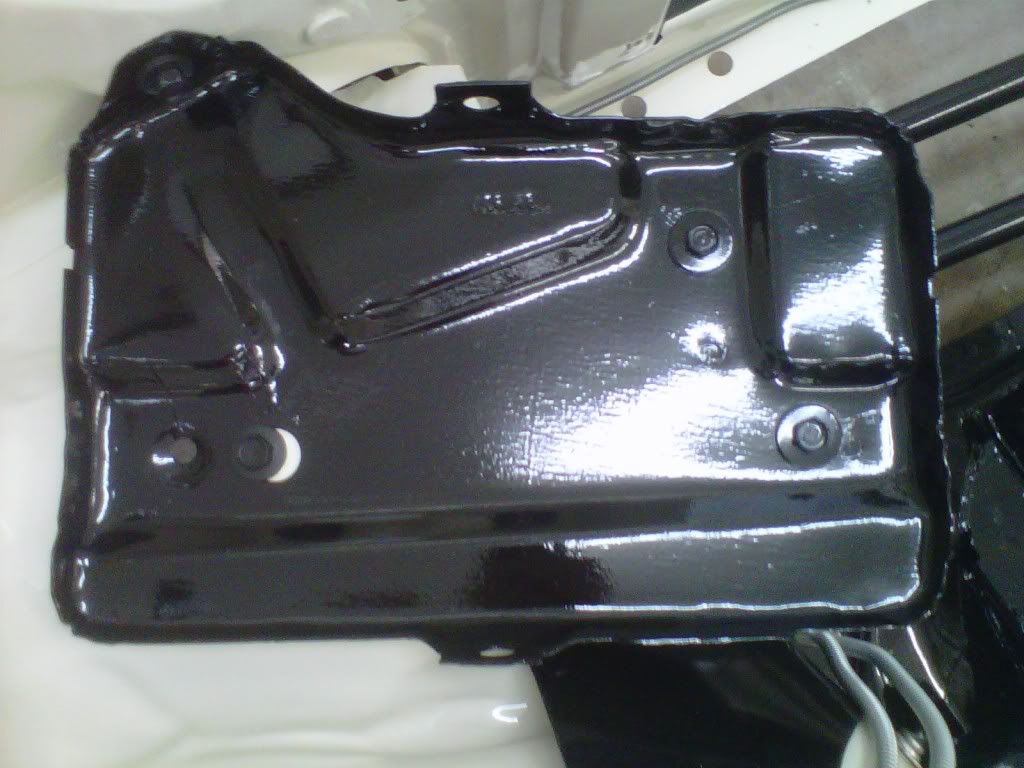
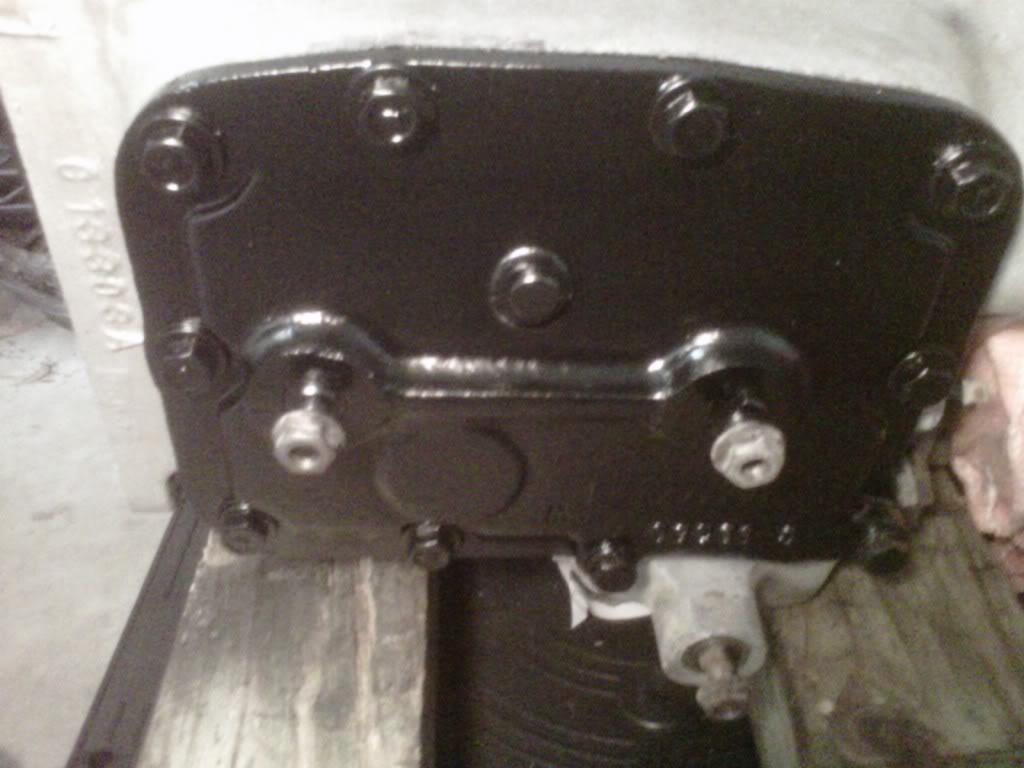
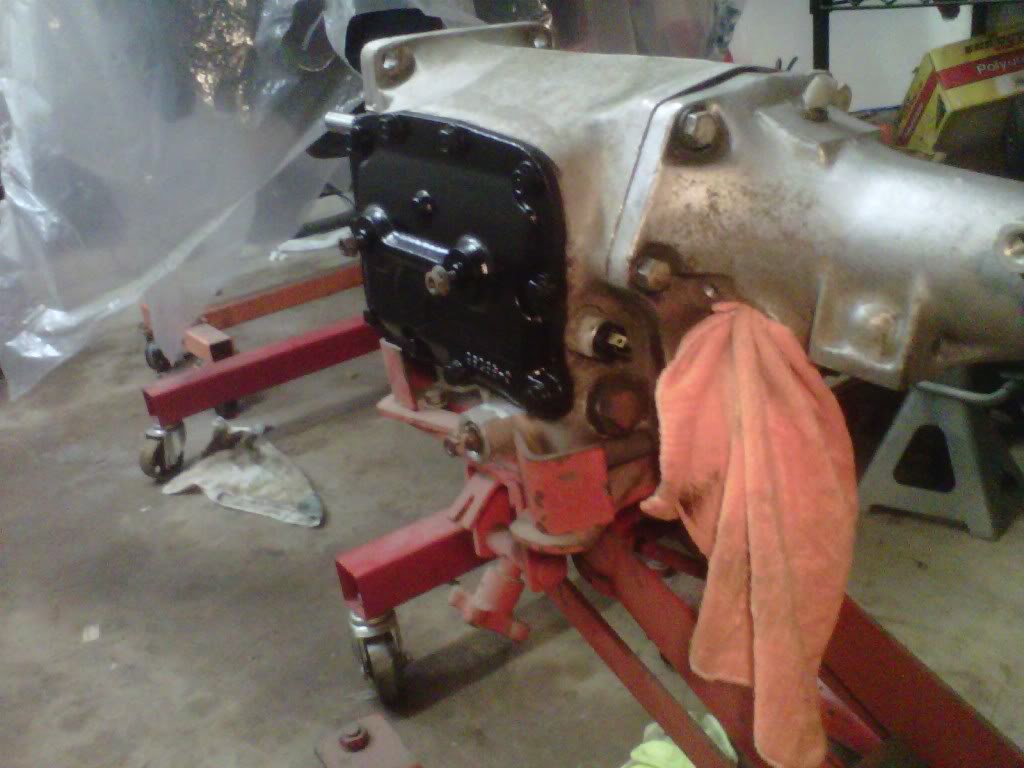
Cleaned the tranny first with Big Orange and then lacquer thinner...I can see some numbers now..the steel plate will get rust convertor and some paint....
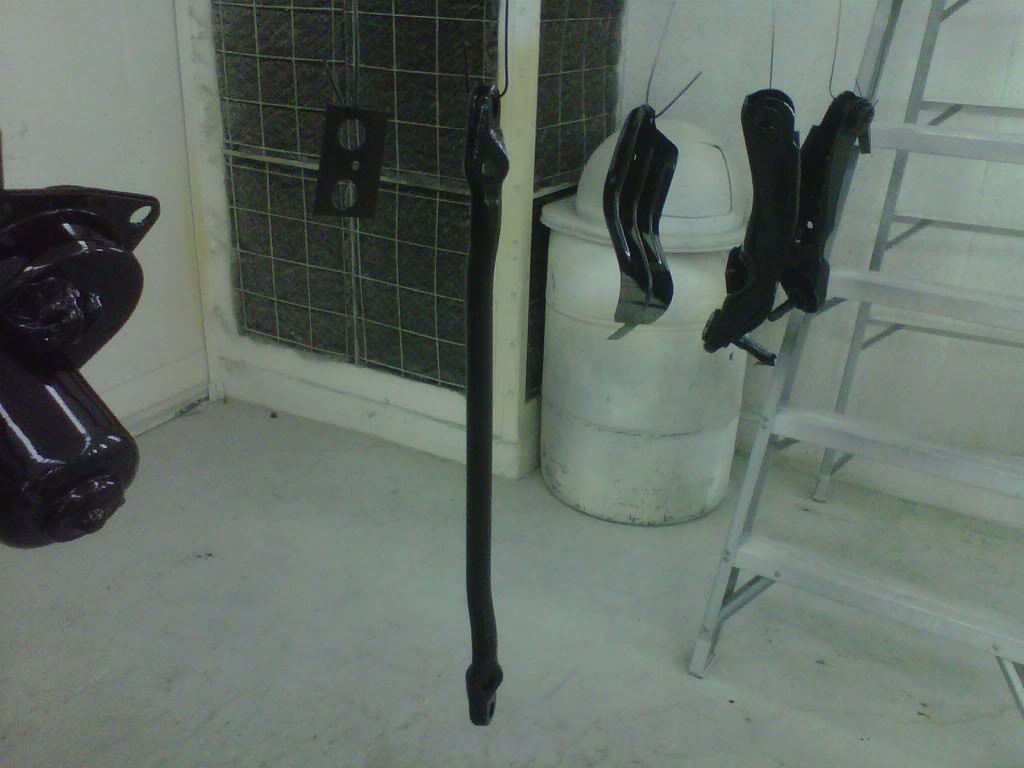
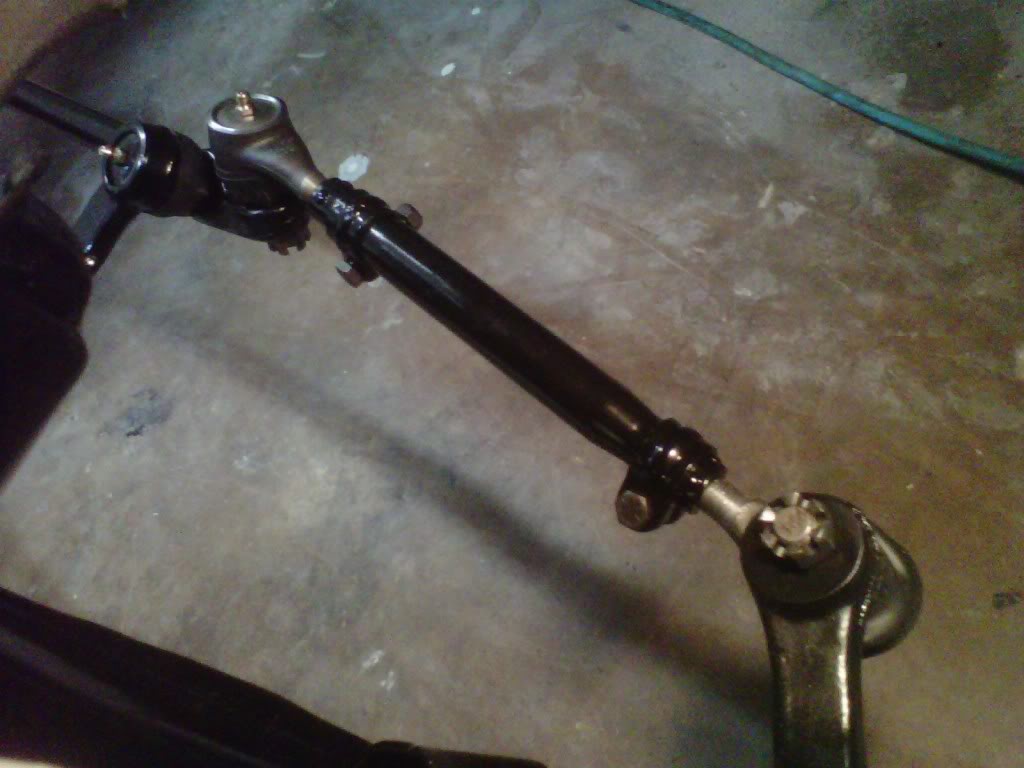
Last for tonight was the center link cleaned up and epoxy primer....
A little bending on the lines to the master cylinder was needed...I then had my fun with the rear brake line but it is in there to...it turned out perfect..I hope Inline tube kept the bends and measurements off my lines..I am going to call them soon..I checked their website and there are no changes yet...
That little rust free and painted clip finishes off the front passenger brake line..
Cleaned the tranny first with Big Orange and then lacquer thinner...I can see some numbers now..the steel plate will get rust convertor and some paint....
Last for tonight was the center link cleaned up and epoxy primer....
Thread Starter
Super Moderator
Joined: Sep 2010
Posts: 3,609
Likes: 181
From: Houston, Texas
Okay the pictures suck today but here goes
I painted the tranny with that Eastwood rust convertor...
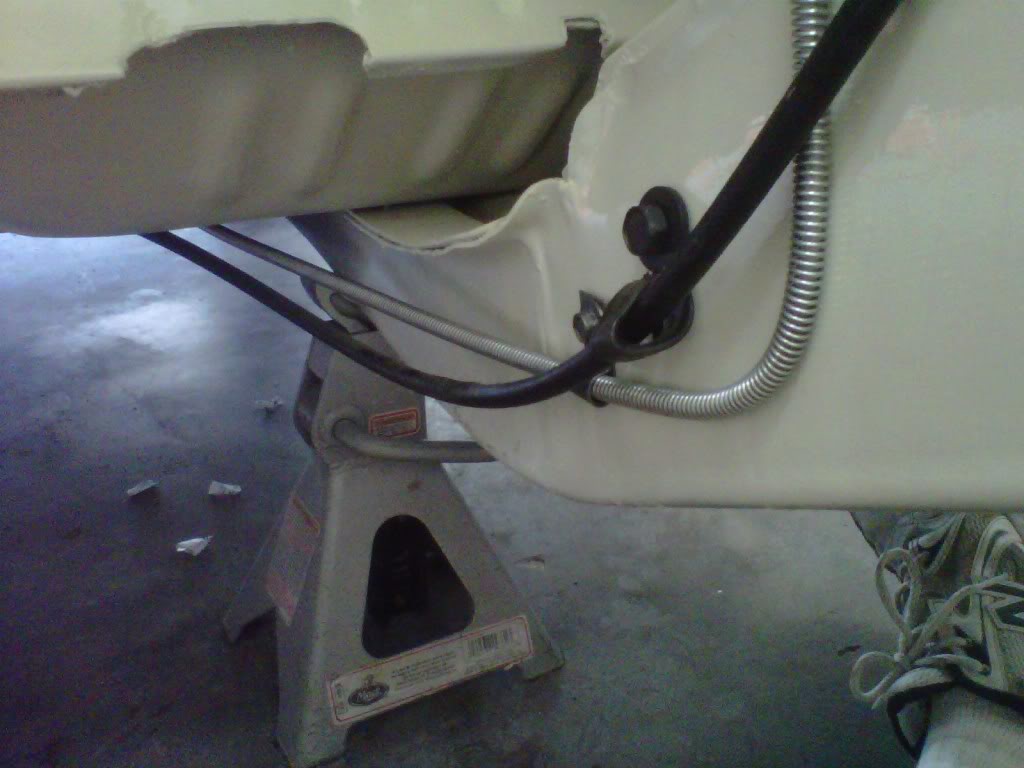
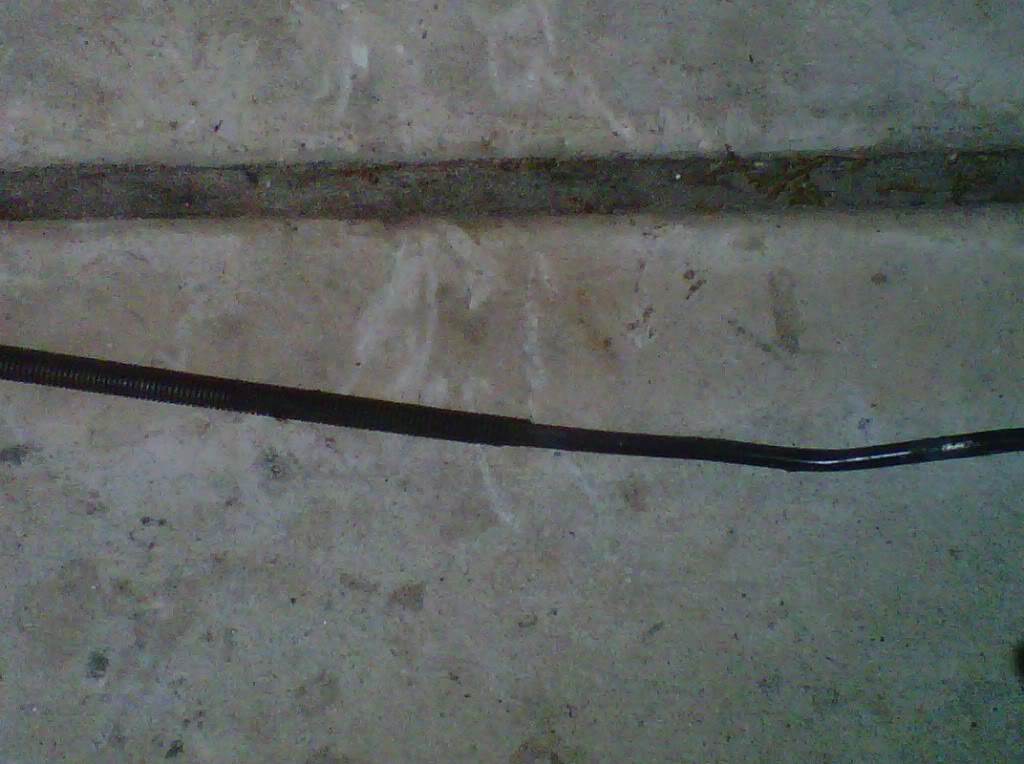
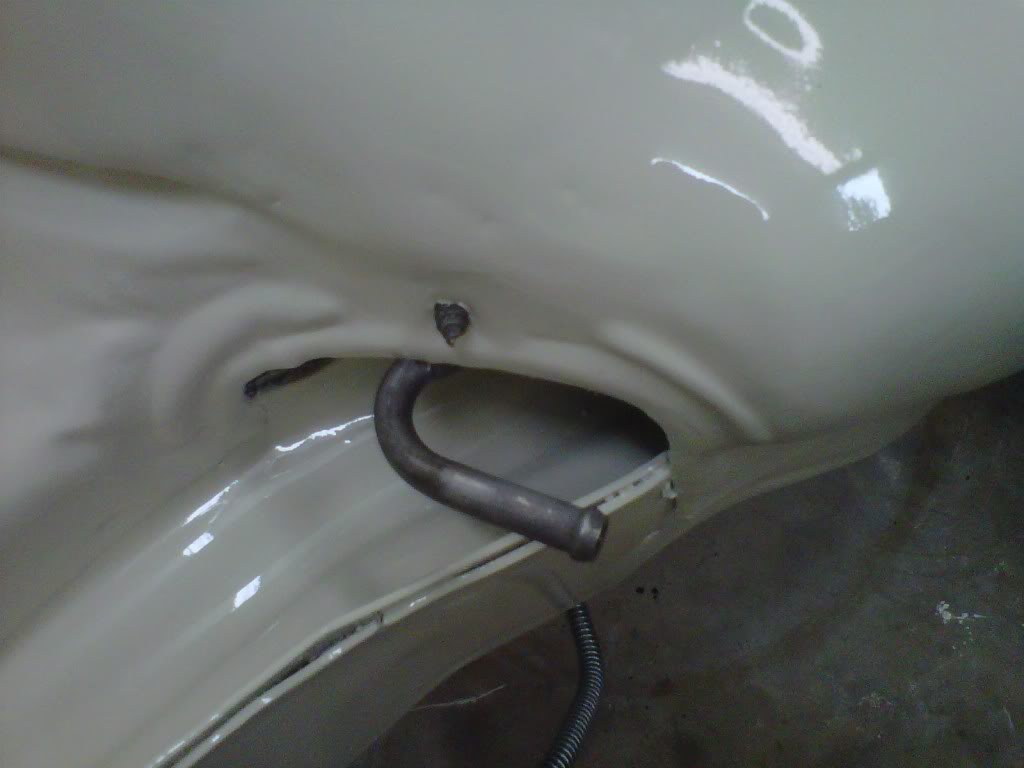
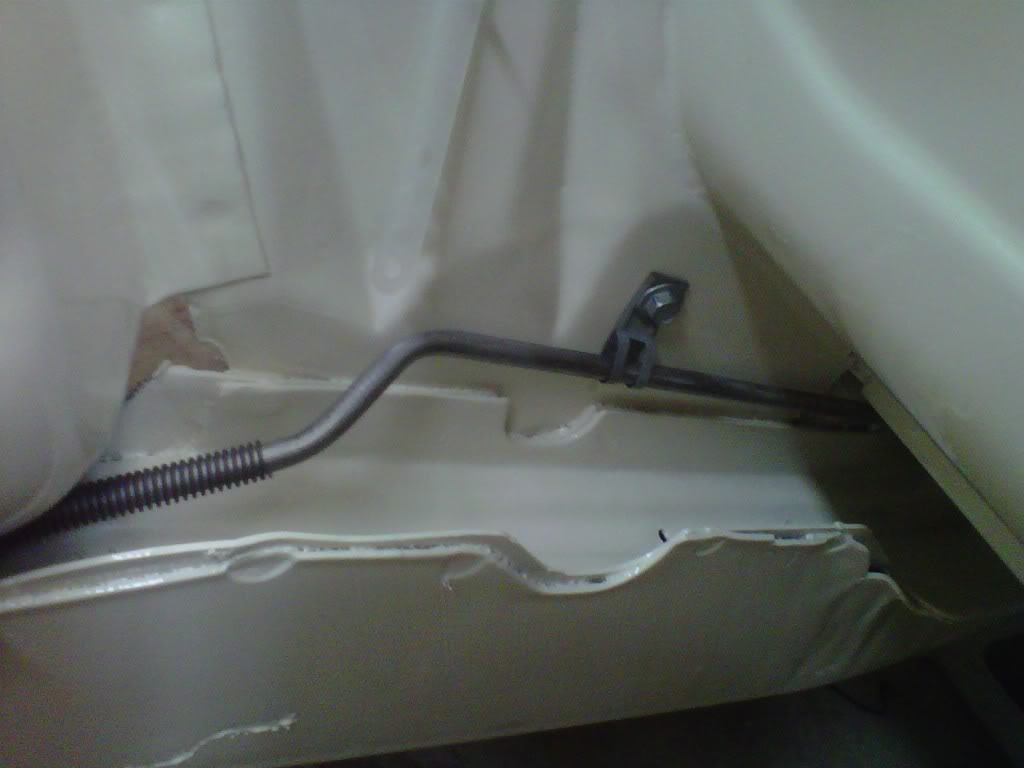
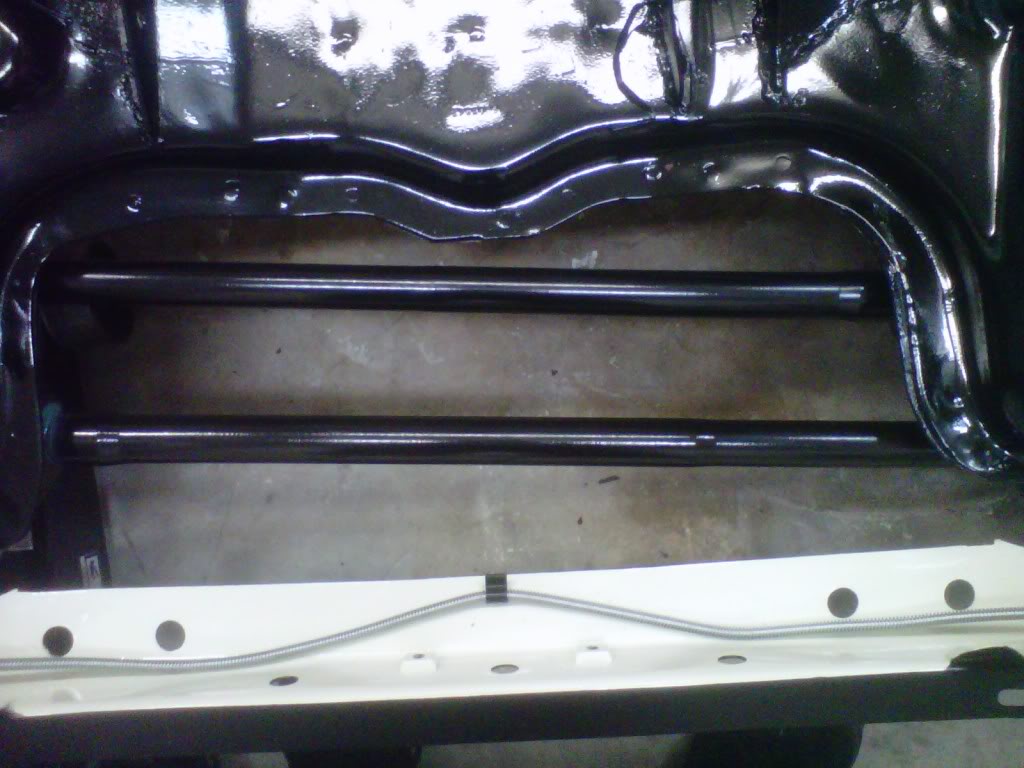
I broke out the soda blaster and went after the front part of the fuel line...got it nice and clean and then installed it back into the engine compartment...
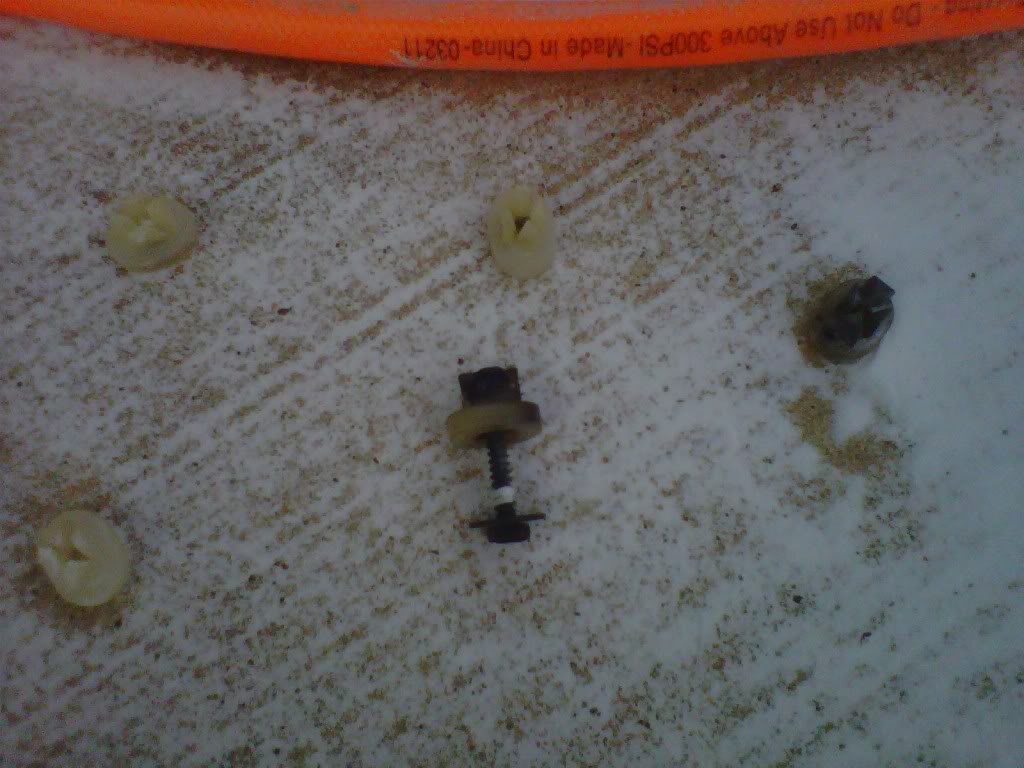
I also did the plastic threaded plug nuts for the grill and overflow bottle...they had that nasty black undercoating spray on them..
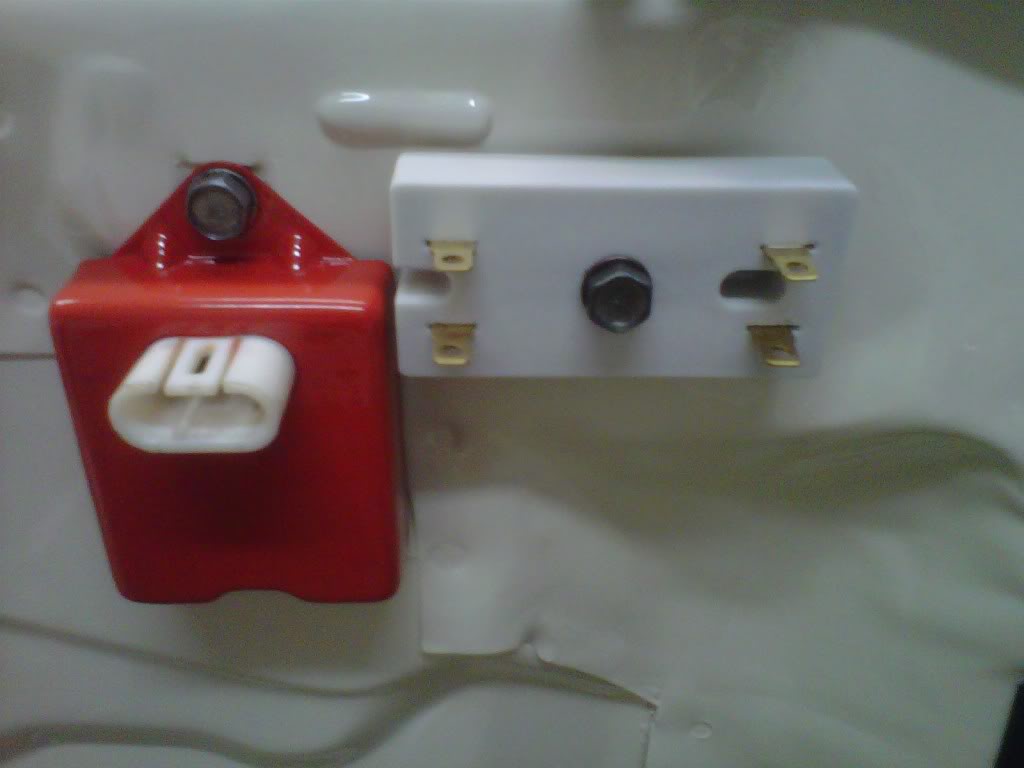
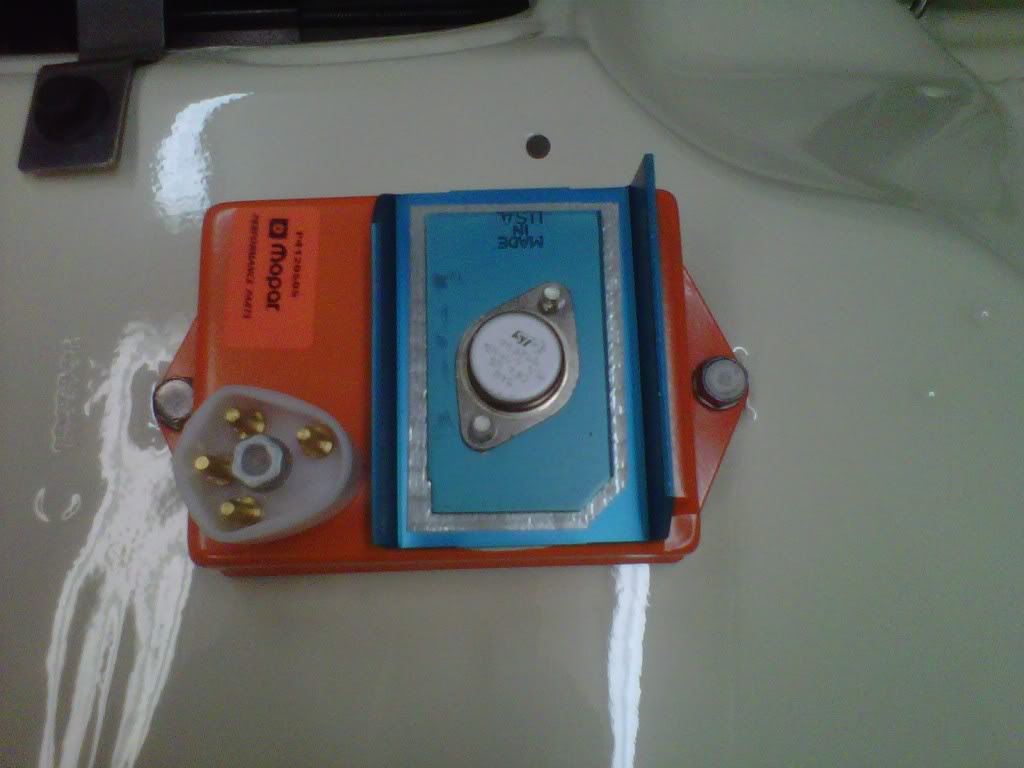
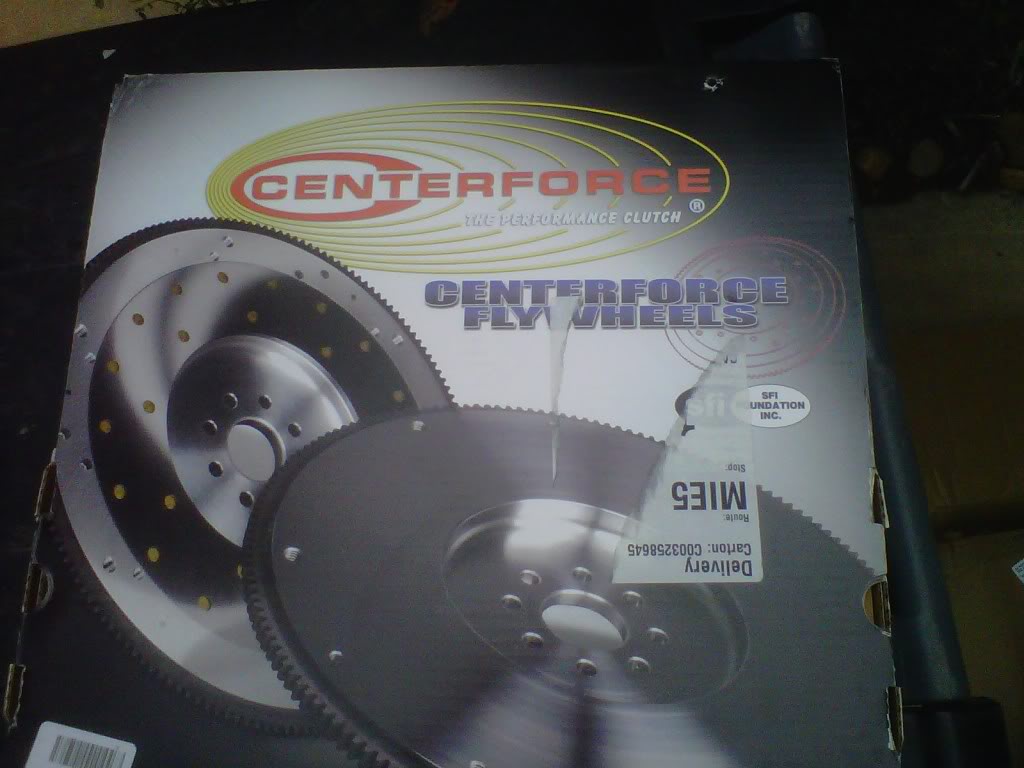
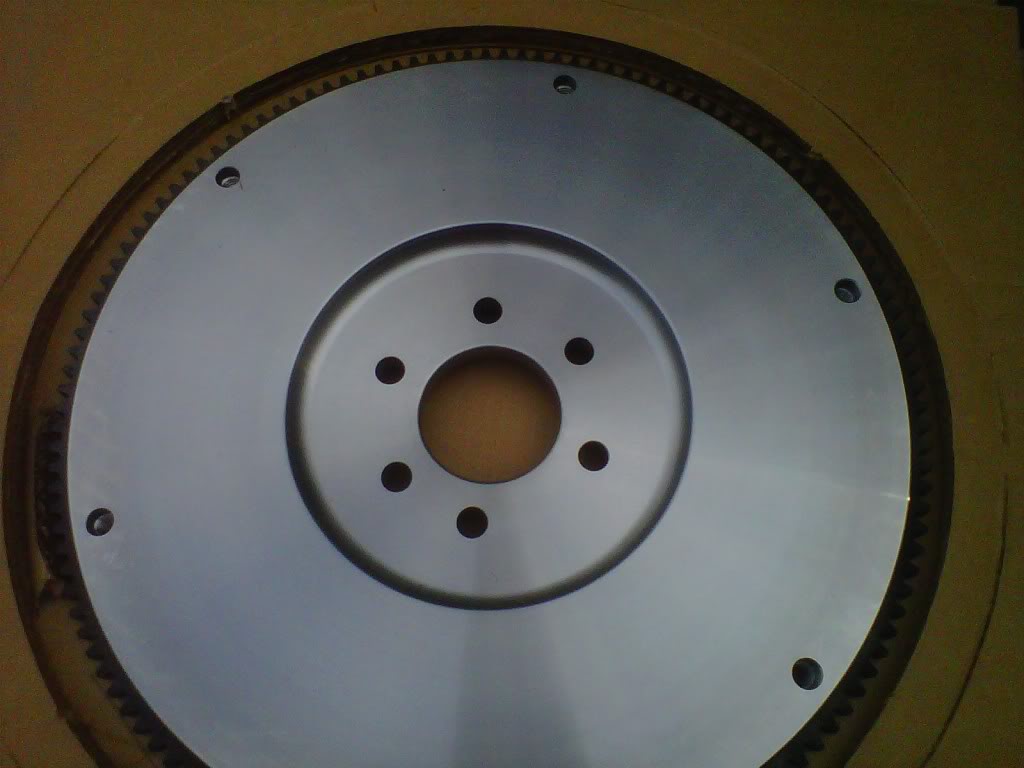
I got some packages today...that flywheel I ordered and the new orange ECU box and ballast resistors...the resistors checked out with the ohmeter...and one of the new ones are mounted for good now..
the flywheel...
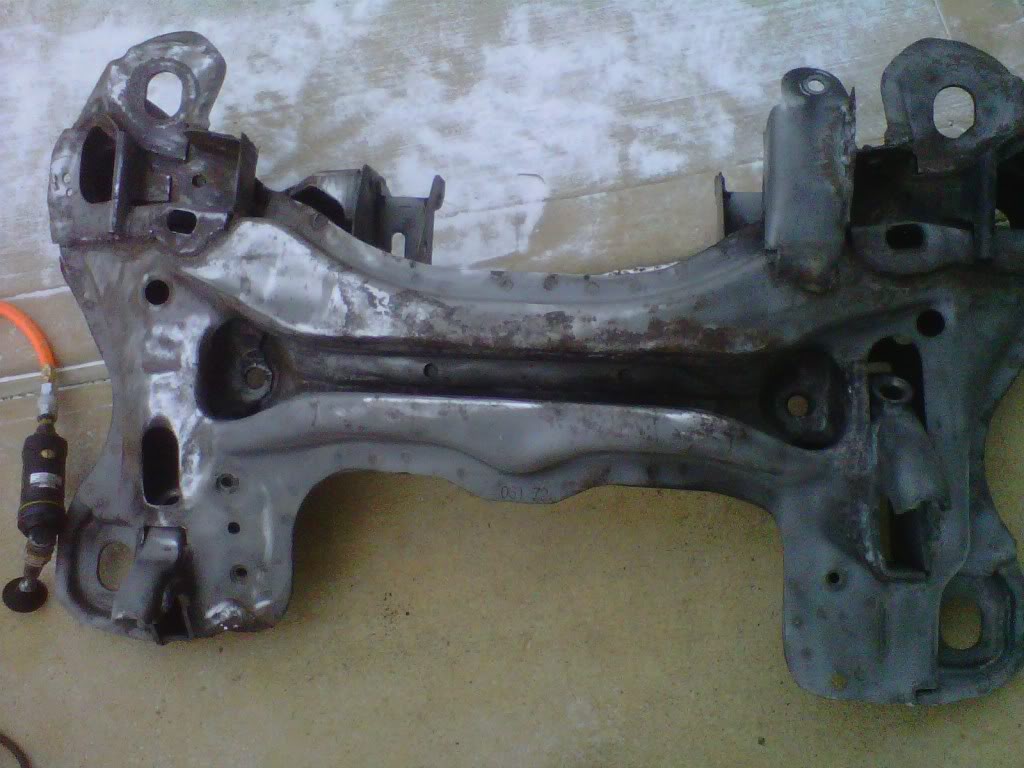
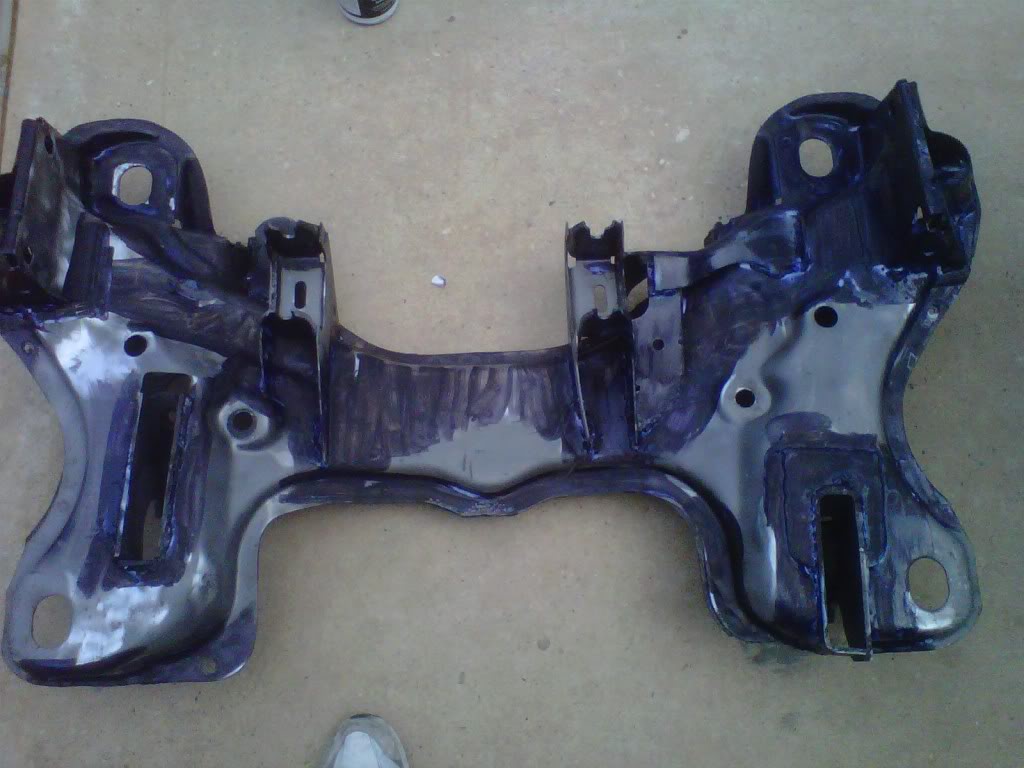
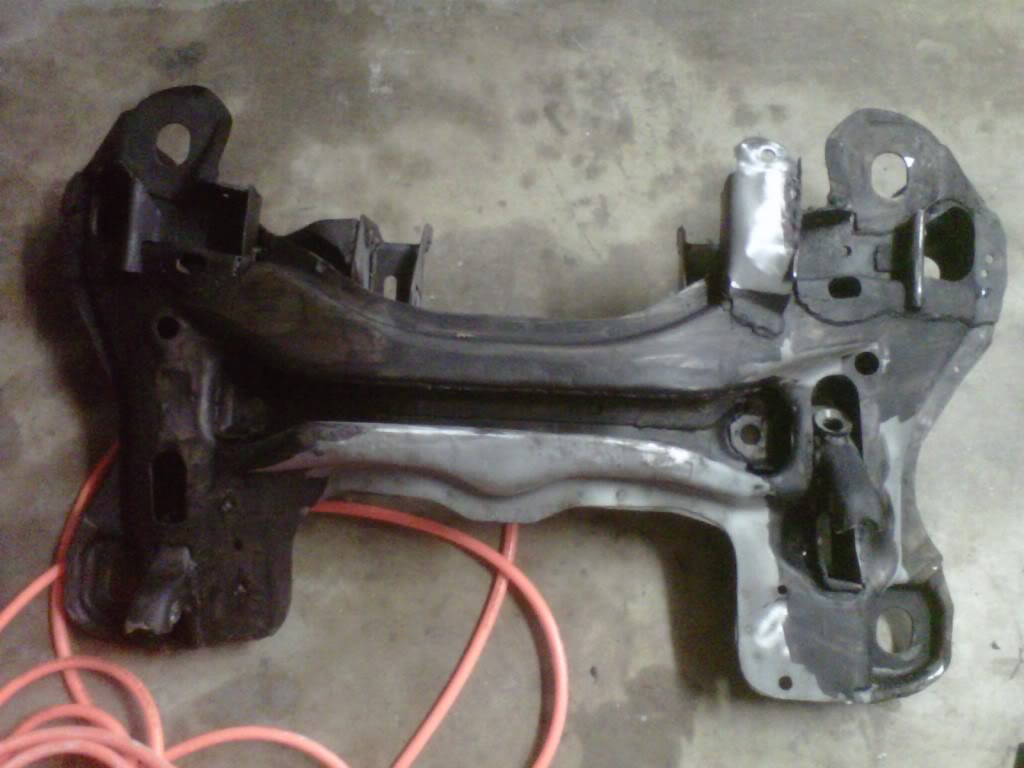
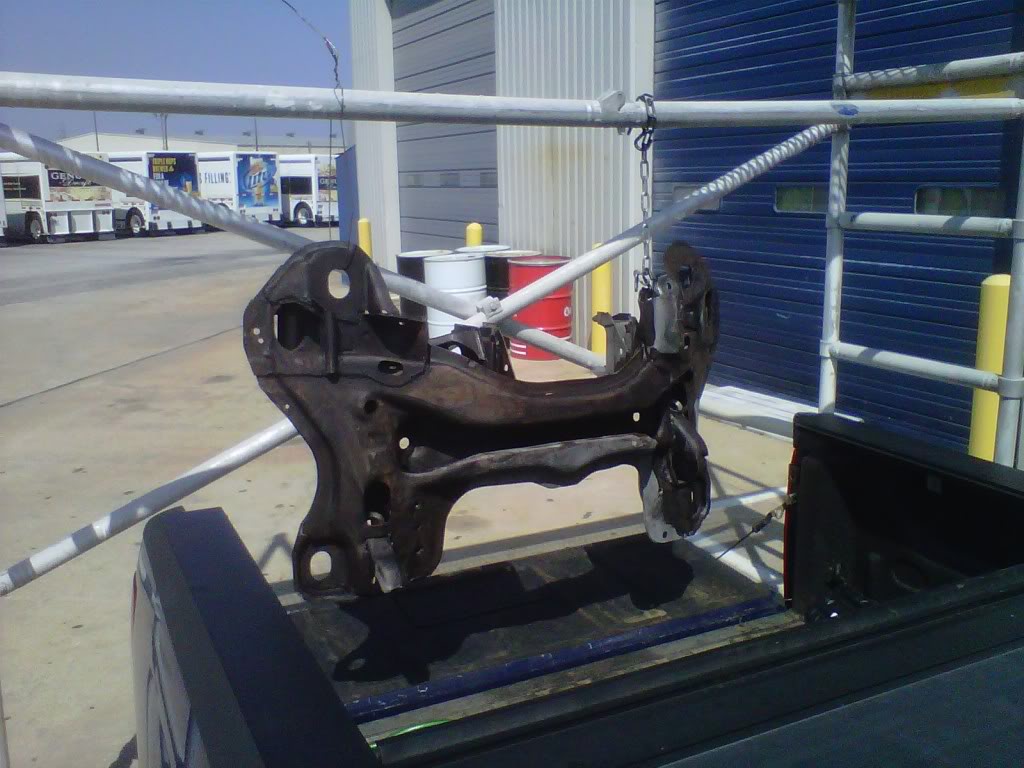
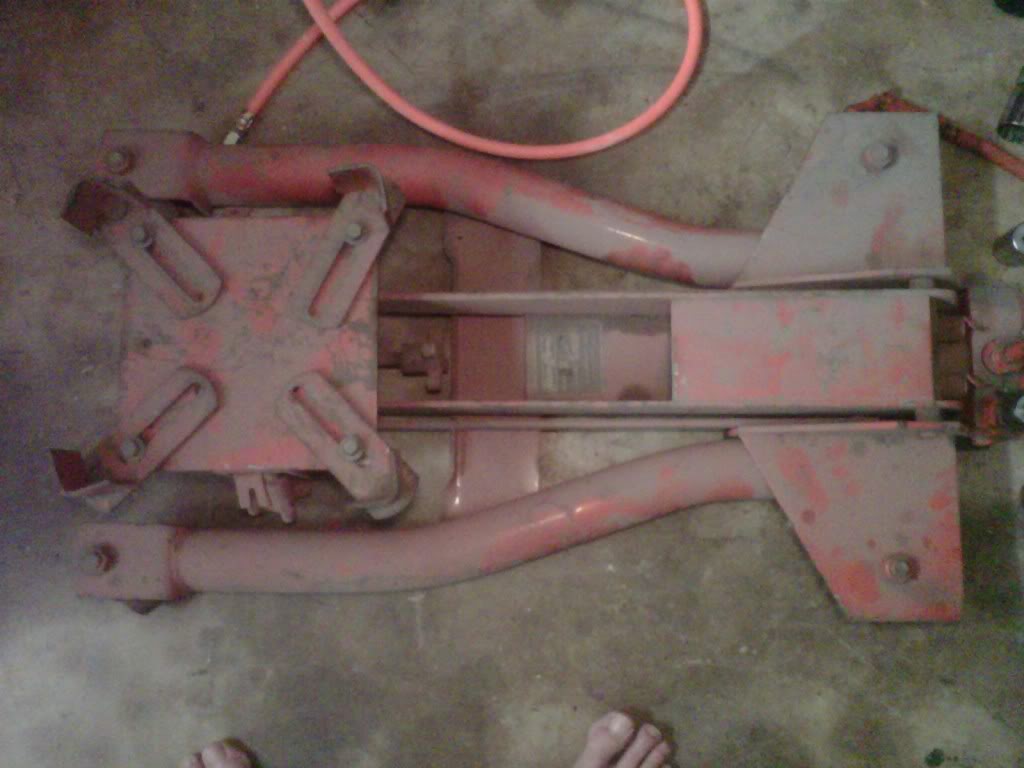
And I mechanically cleaned the k-frame as much as I could then hit it with the rust convertor....I have lots ready for paint and need to hit it this weekend...
I broke out the soda blaster and went after the front part of the fuel line...got it nice and clean and then installed it back into the engine compartment...
I also did the plastic threaded plug nuts for the grill and overflow bottle...they had that nasty black undercoating spray on them..
I got some packages today...that flywheel I ordered and the new orange ECU box and ballast resistors...the resistors checked out with the ohmeter...and one of the new ones are mounted for good now..
the flywheel...
And I mechanically cleaned the k-frame as much as I could then hit it with the rust convertor....I have lots ready for paint and need to hit it this weekend...
Thread Starter
Super Moderator
Joined: Sep 2010
Posts: 3,609
Likes: 181
From: Houston, Texas
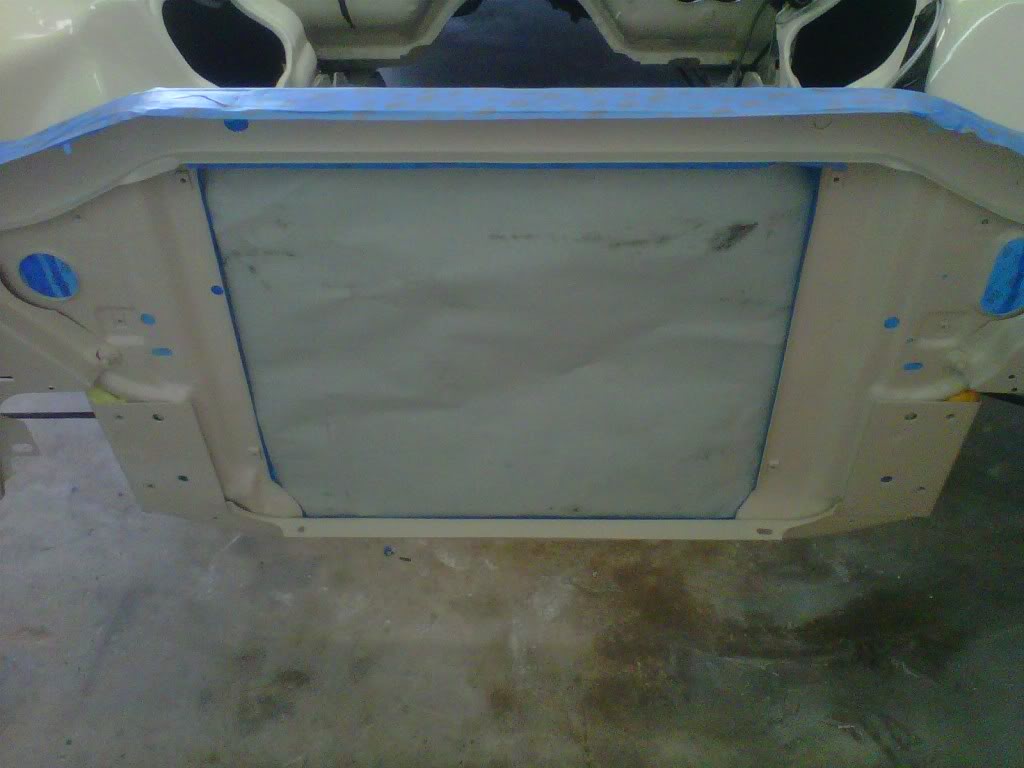
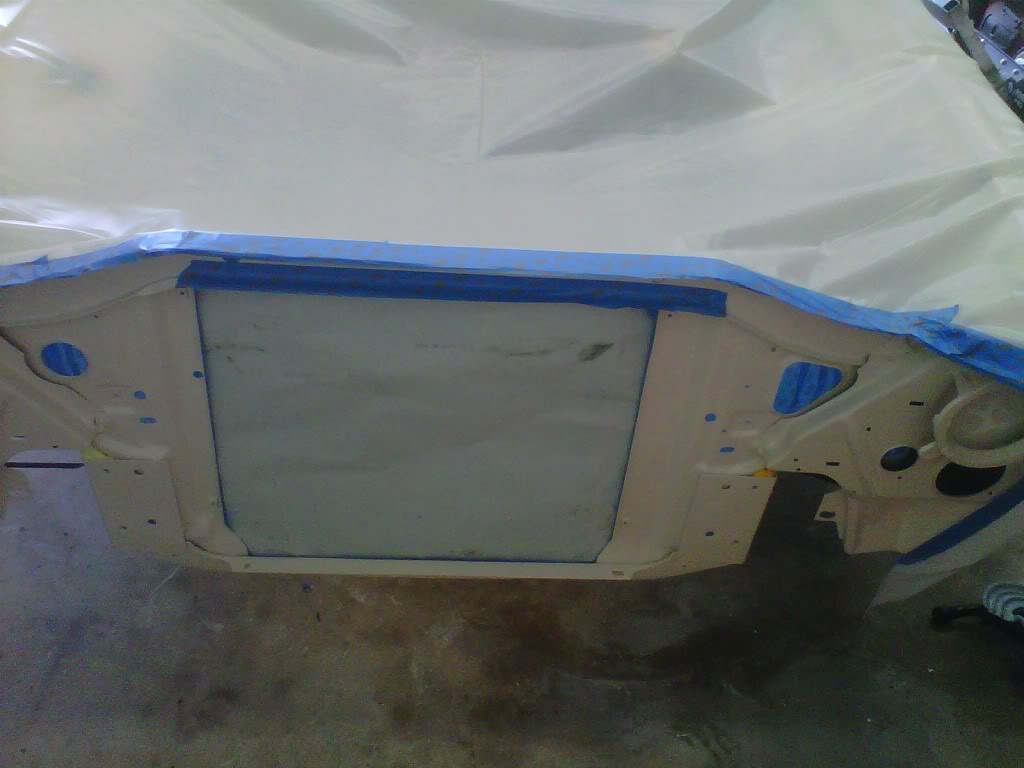
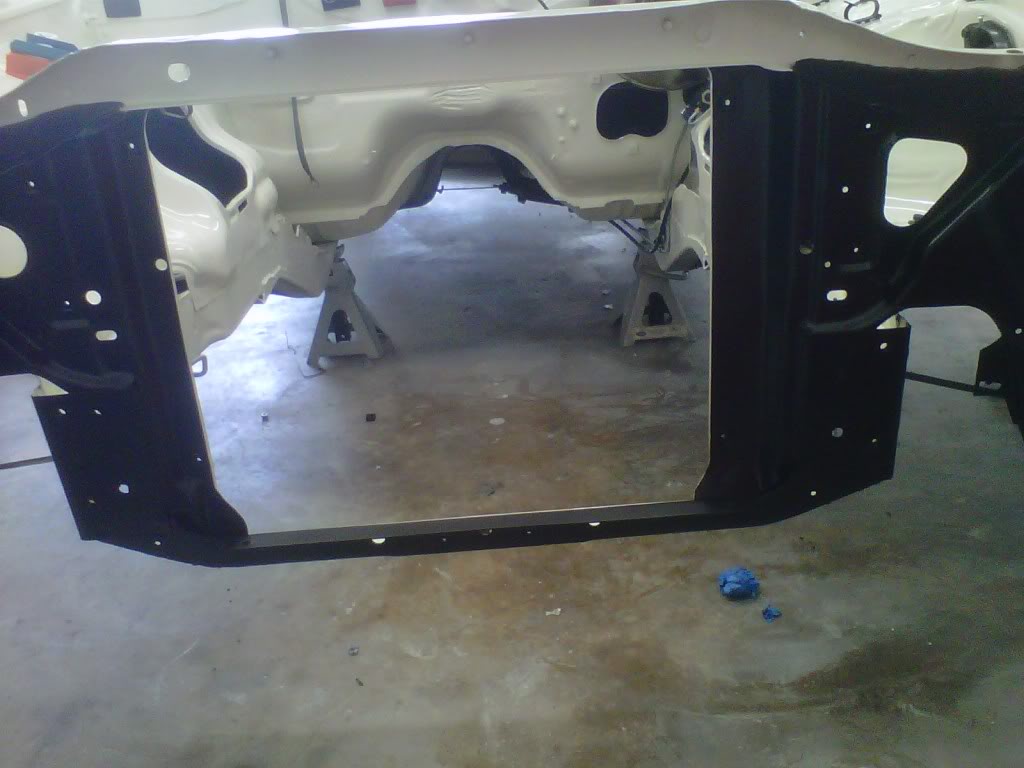
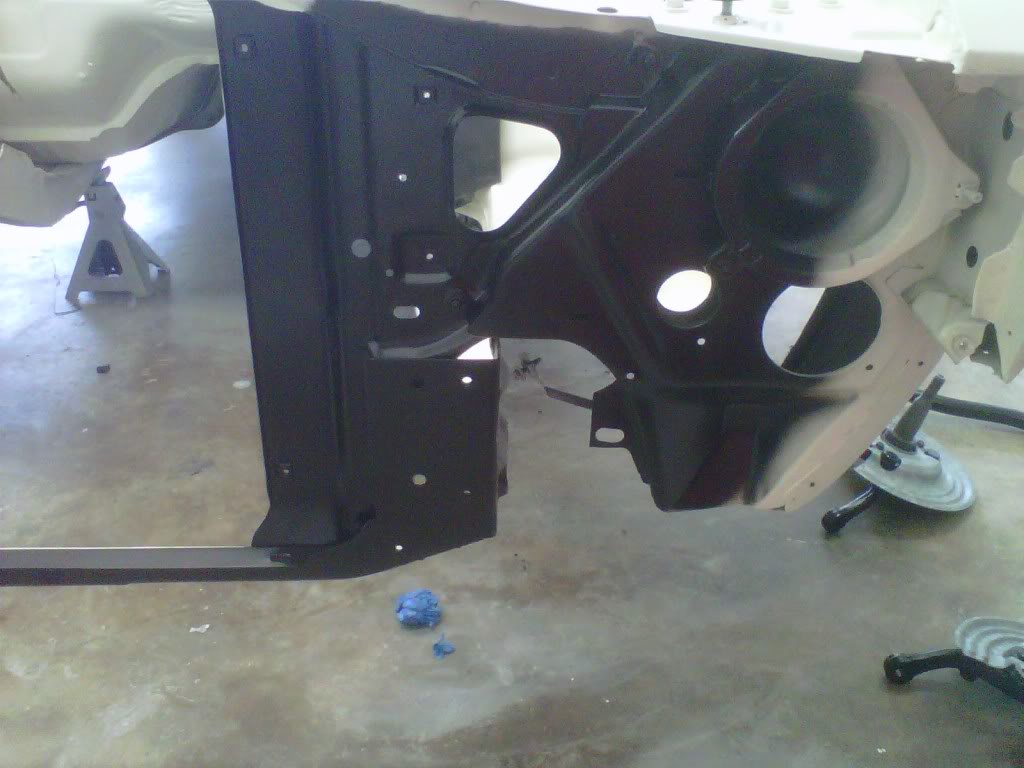
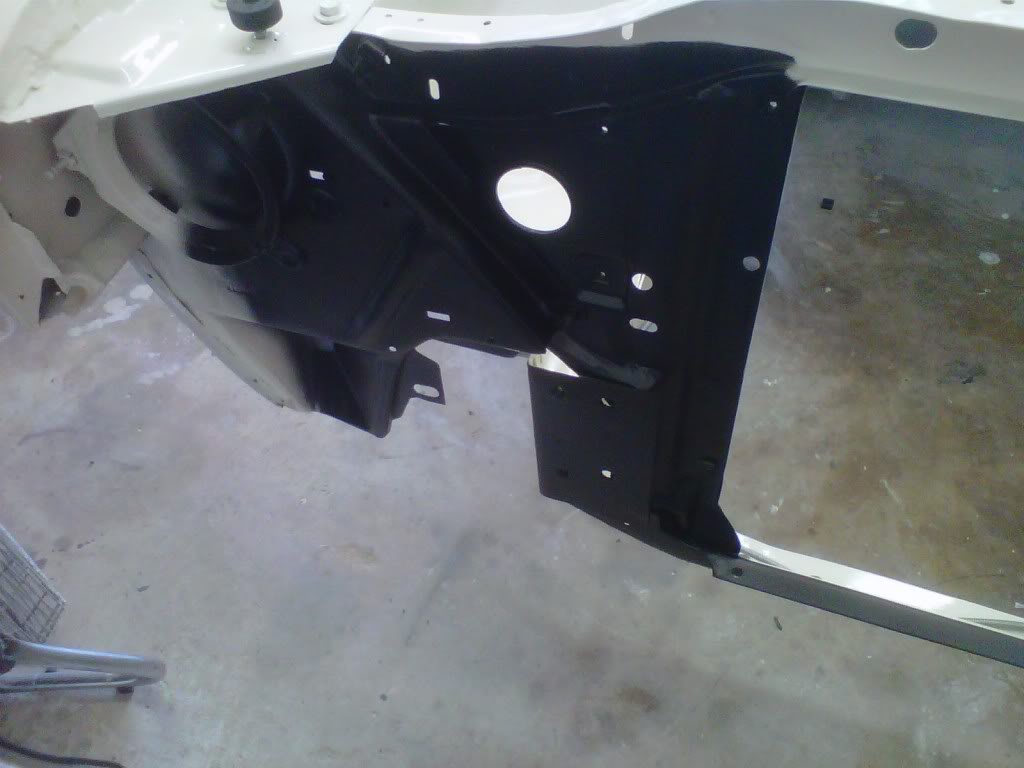
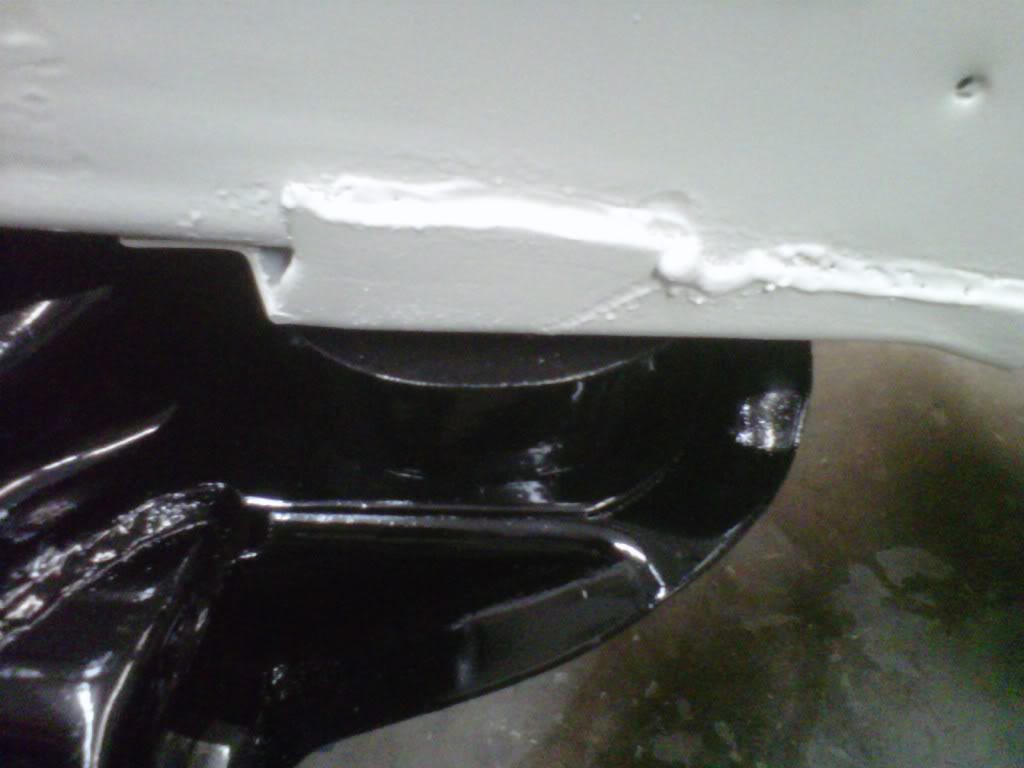
Wow what a day....taped up the front of the car...looked at some of my old pics to see how the factory did the blackout effect and then hit it with some VHT Satin epoxy...
I got some parts from Metrol supersoft...some like em and some don't like them...I took off one of my Dart's hood side bumpers and compared it to the Aspen's last weekend...looked real close so I ordered them...I also got some license plate bumpers and some door bumpers...

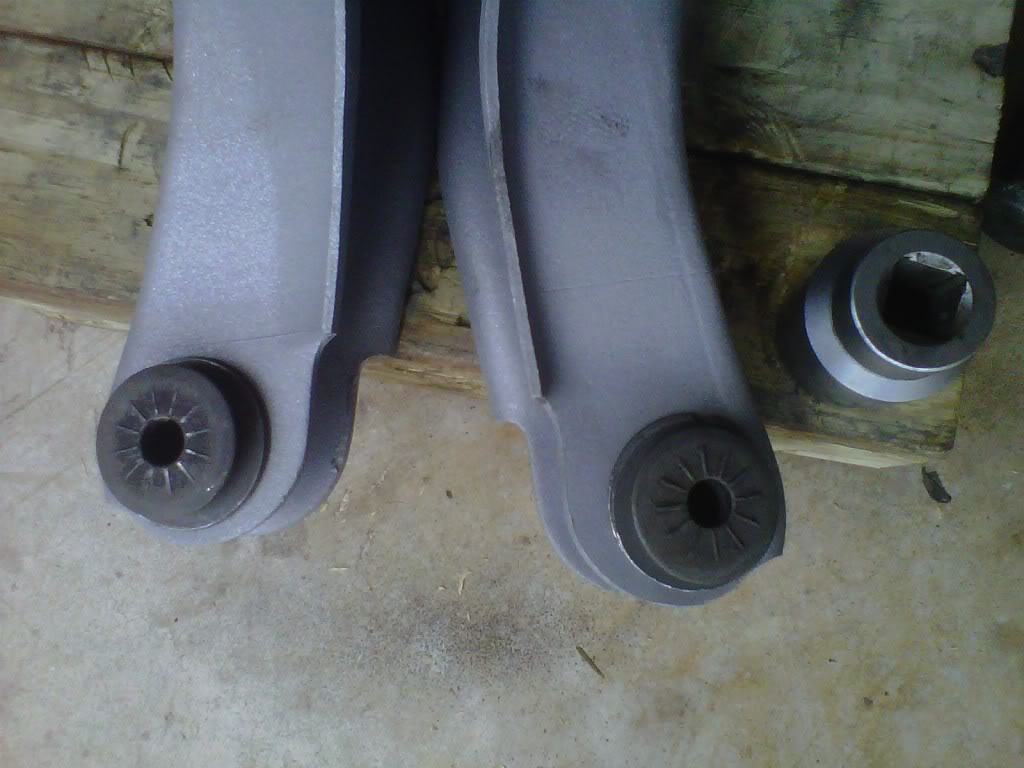
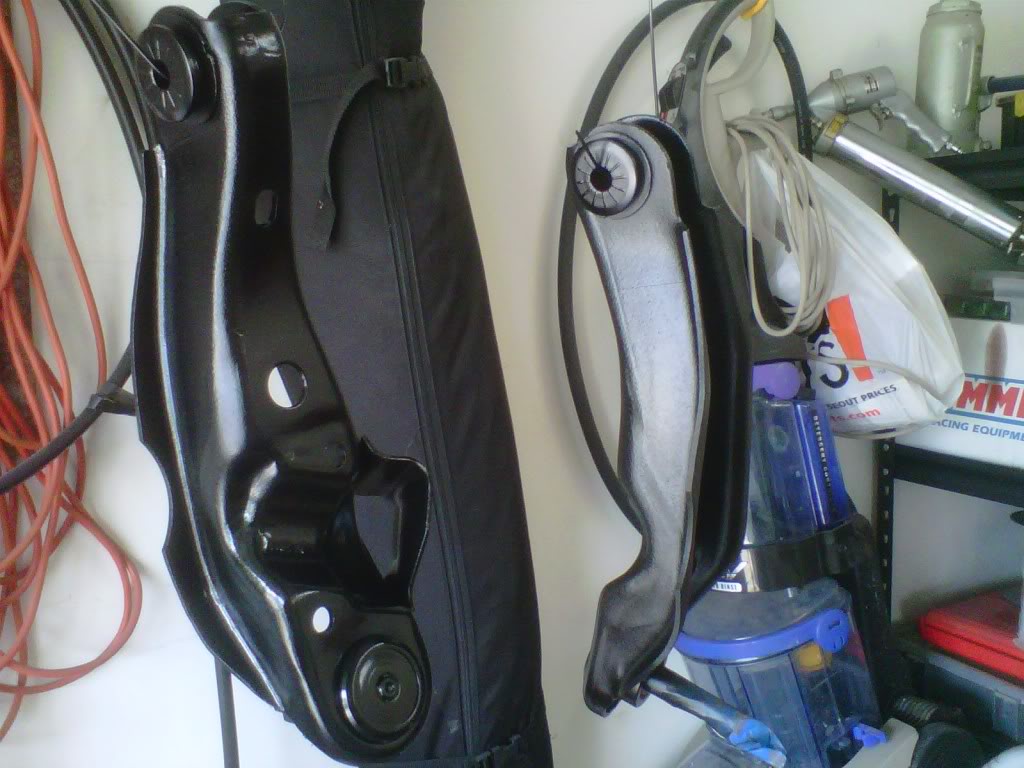
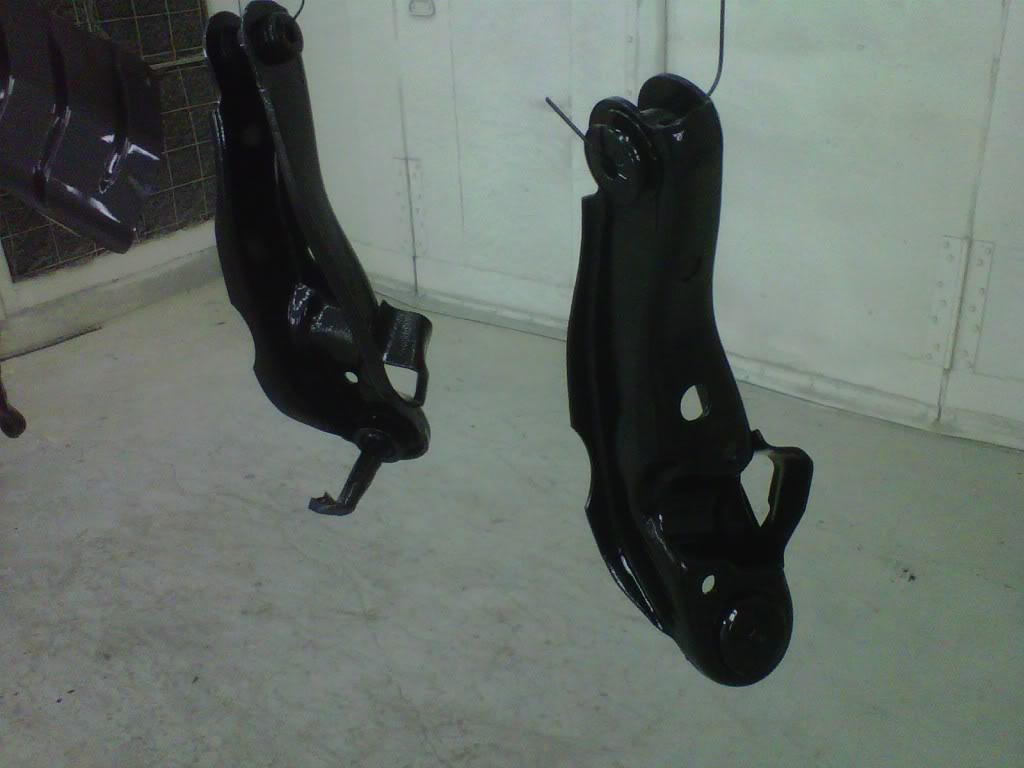
My lower control arms came next...I was able to drive in the bushings with hammer and socket...I drove to work and used the press to drive in the ball joints then hit them with some epoxy primer...
Continued....
I got some parts from Metrol supersoft...some like em and some don't like them...I took off one of my Dart's hood side bumpers and compared it to the Aspen's last weekend...looked real close so I ordered them...I also got some license plate bumpers and some door bumpers...
My lower control arms came next...I was able to drive in the bushings with hammer and socket...I drove to work and used the press to drive in the ball joints then hit them with some epoxy primer...
Continued....
Last edited by bremereric; Apr 8, 2011 at 10:03 PM.
Thread Starter
Super Moderator
Joined: Sep 2010
Posts: 3,609
Likes: 181
From: Houston, Texas
Today continued...
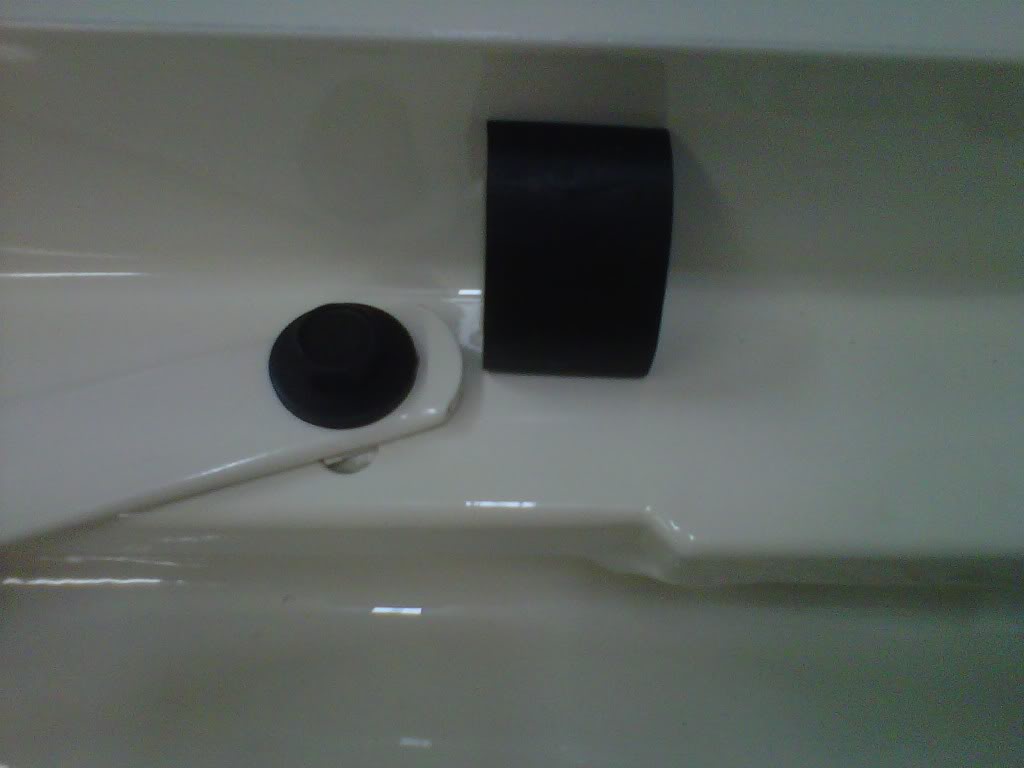
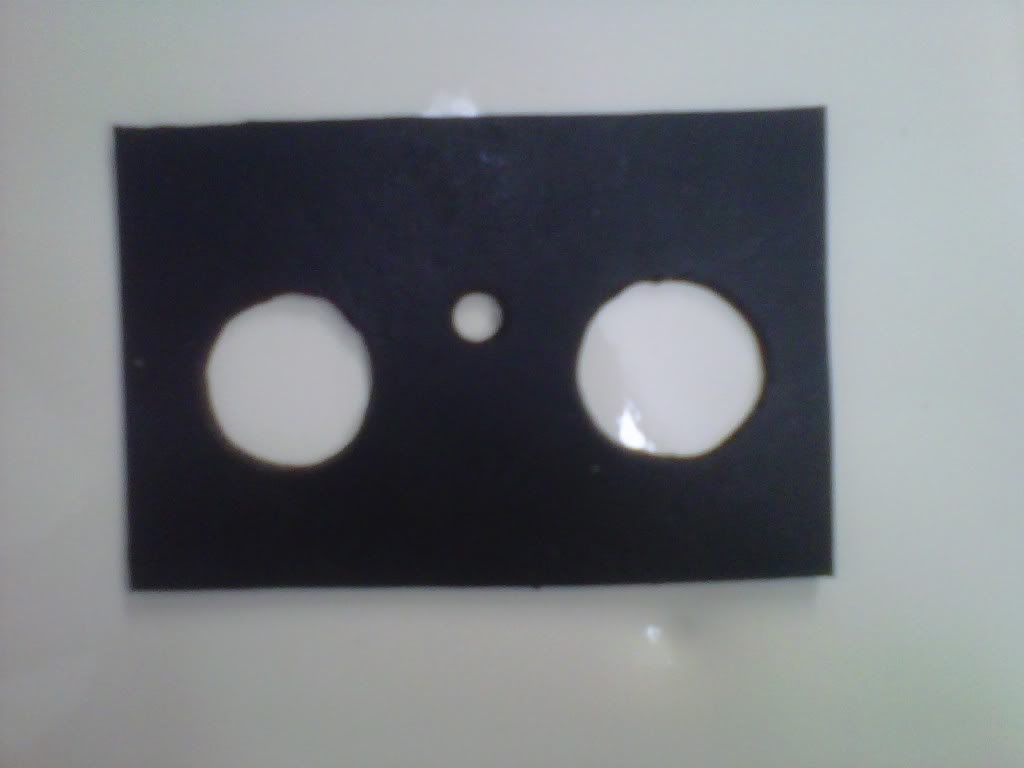
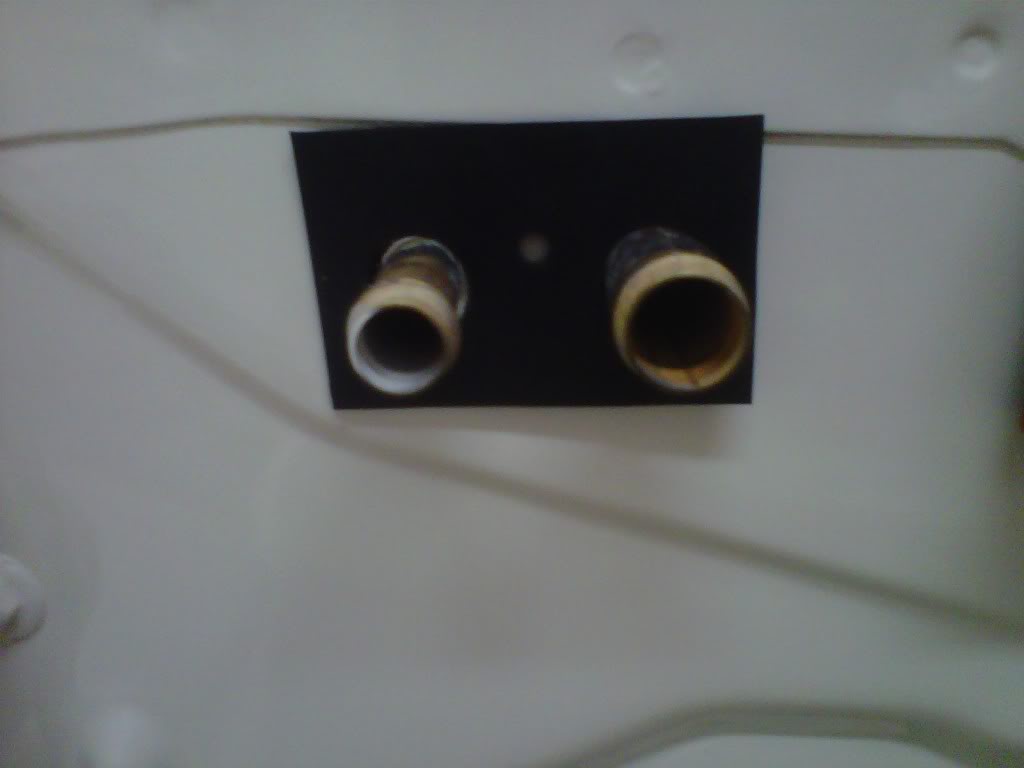
I made my own new heater line gasket out of some of the neoprene rubber I had laying around...
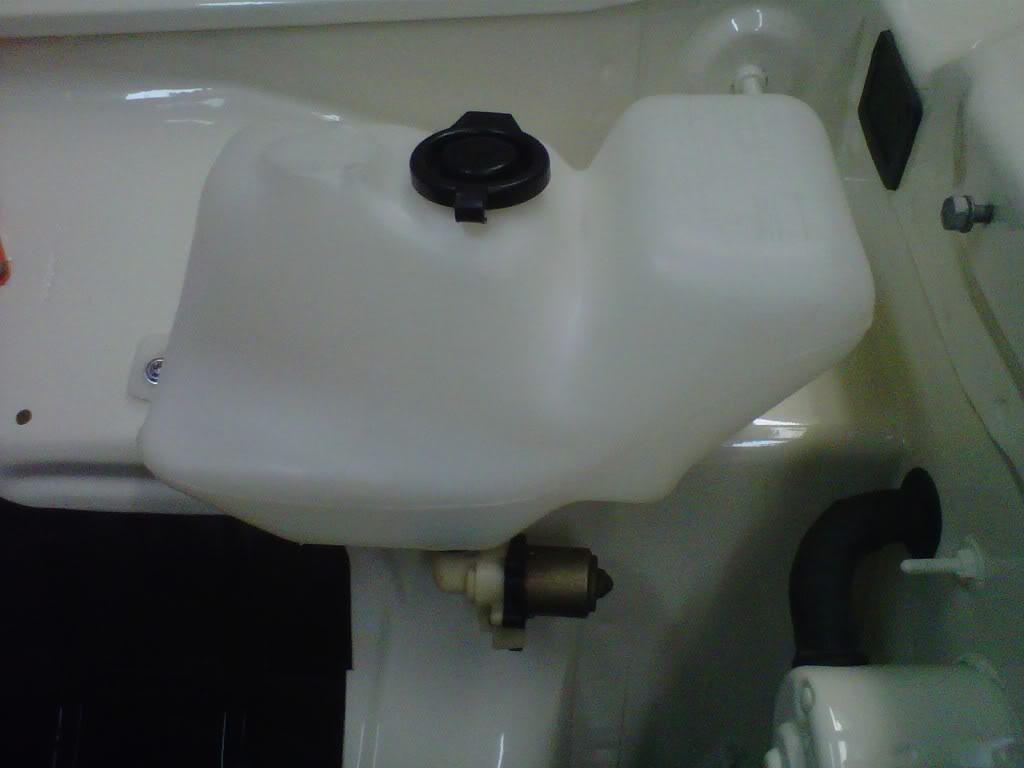
I got my NOS radiator overflow tank today....I washed it with warm soapy water and then mounted it...
After supper I went to paint in the industrial paint booth at work...tomorrow I will blow something out lifting that K-frame up for primer and paint...
I got my NOS radiator overflow tank today....I washed it with warm soapy water and then mounted it...
After supper I went to paint in the industrial paint booth at work...tomorrow I will blow something out lifting that K-frame up for primer and paint...
Thread Starter
Super Moderator
Joined: Sep 2010
Posts: 3,609
Likes: 181
From: Houston, Texas
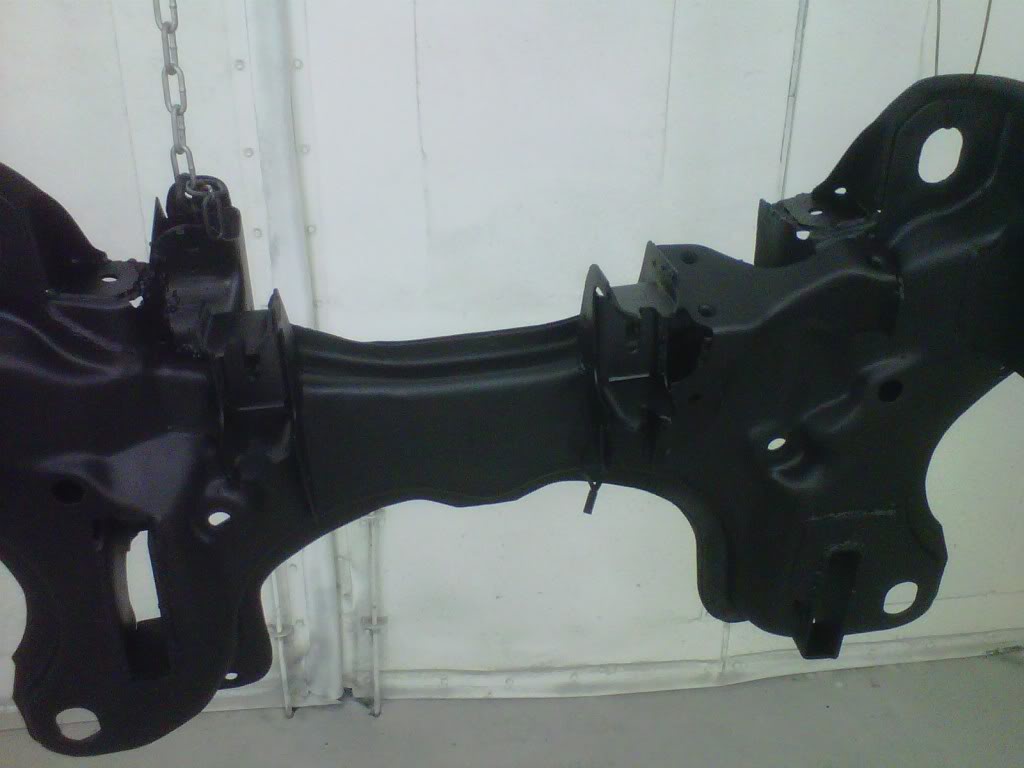
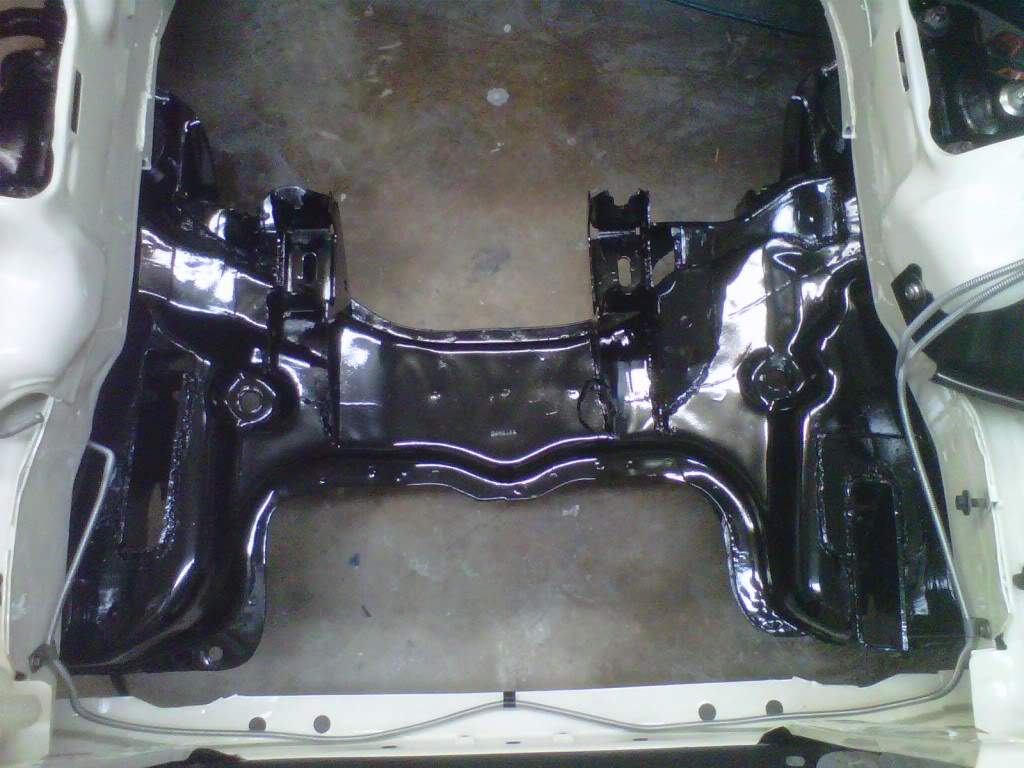
Got it hung
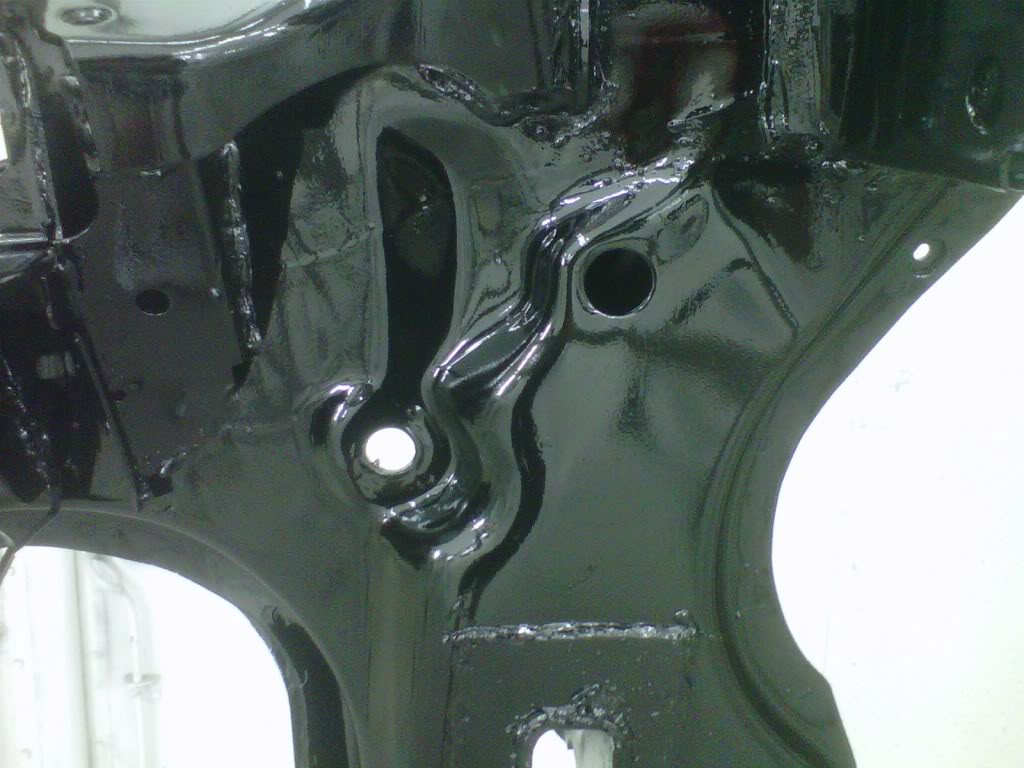
Got that K-member hung in the air....pushed it into the paint booth and then shot two light coats of primer...baked it for 15 minutes at 140 then shot the first coat of color...
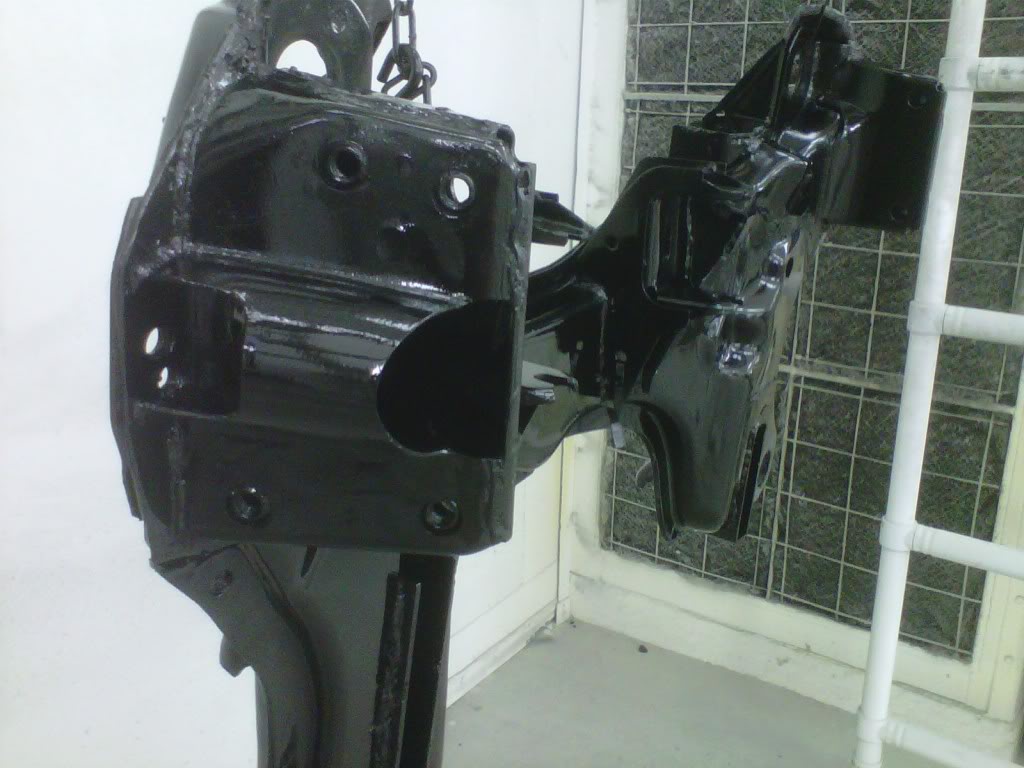
Got the second coat of color on the other items...they really shine now...
One more trip back late tonight to shoot the second coat on the K-member
Got the second coat of color on the other items...they really shine now...
One more trip back late tonight to shoot the second coat on the K-member
Mopar Fanatic
Joined: Apr 2011
Posts: 121
Likes: 0
From: Harrow, ON Canada
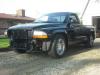
well thank you but thats not actually my mirada just i think the nicest one i could find on google lol
i have the opportunity of purchasing a 1982 dodge mirada for $1000, i just need the $1000, but VERY tempting
i have the opportunity of purchasing a 1982 dodge mirada for $1000, i just need the $1000, but VERY tempting
Thread Starter
Super Moderator
Joined: Sep 2010
Posts: 3,609
Likes: 181
From: Houston, Texas
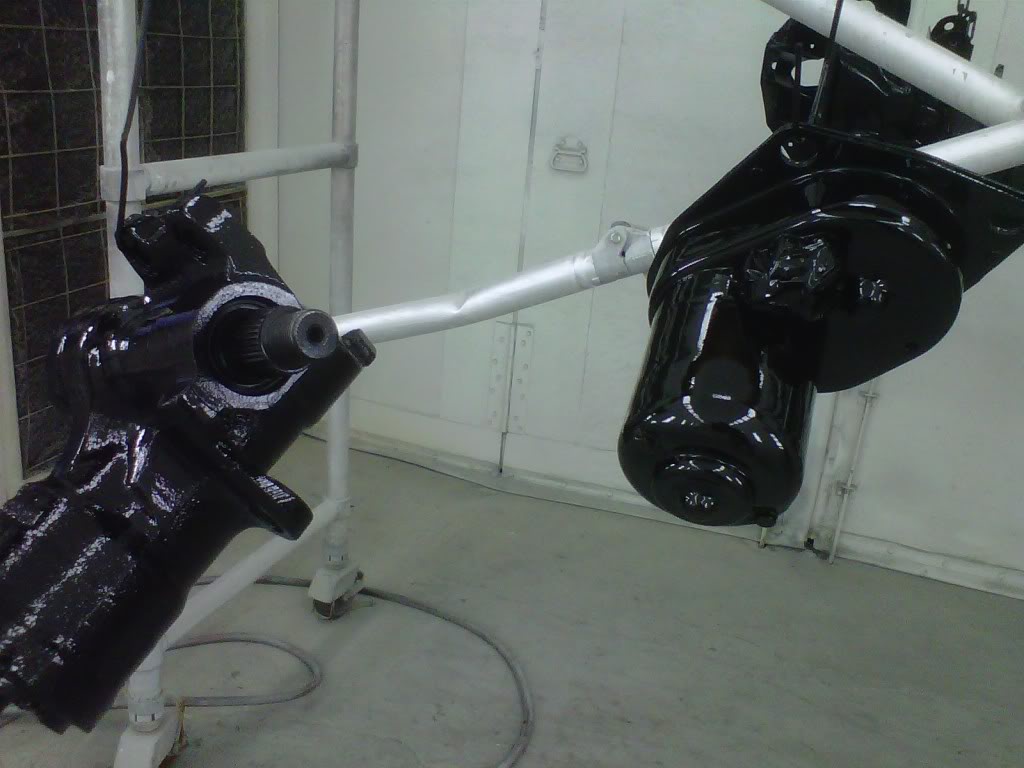
Before going to the paint booth
I took a moment to soda blast the end of the steering column...it looked crappy..I will get it cleaned up real soon...that is rust that is left over..

Thread Starter
Super Moderator
Joined: Sep 2010
Posts: 3,609
Likes: 181
From: Houston, Texas
I spent a couple of hours on it last night but photobucket was doing site maintenance
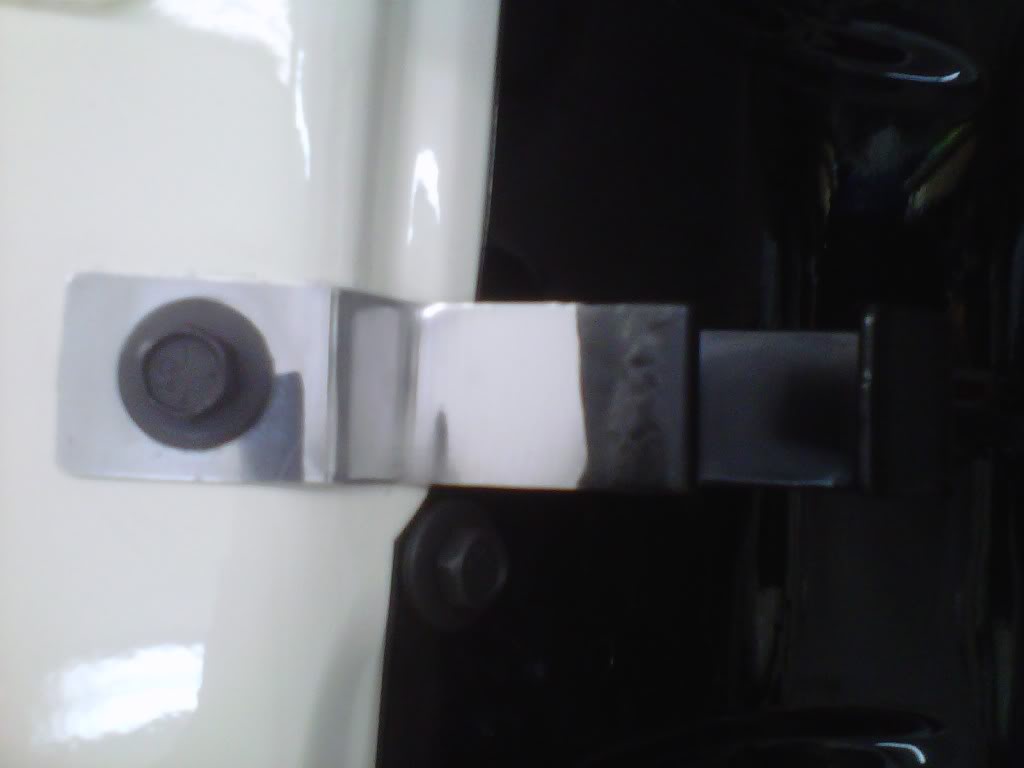
Got the k-member in....tightened those aluminum biscuits down to 85 ft lbs and with some lock tite on them...got the upper and lower control arms on with the new shocks...I aligned the upper control arms with the lines I scored before I took them off...tonight will be the spindles and torsion bars...
Thread Starter
Super Moderator
Joined: Sep 2010
Posts: 3,609
Likes: 181
From: Houston, Texas
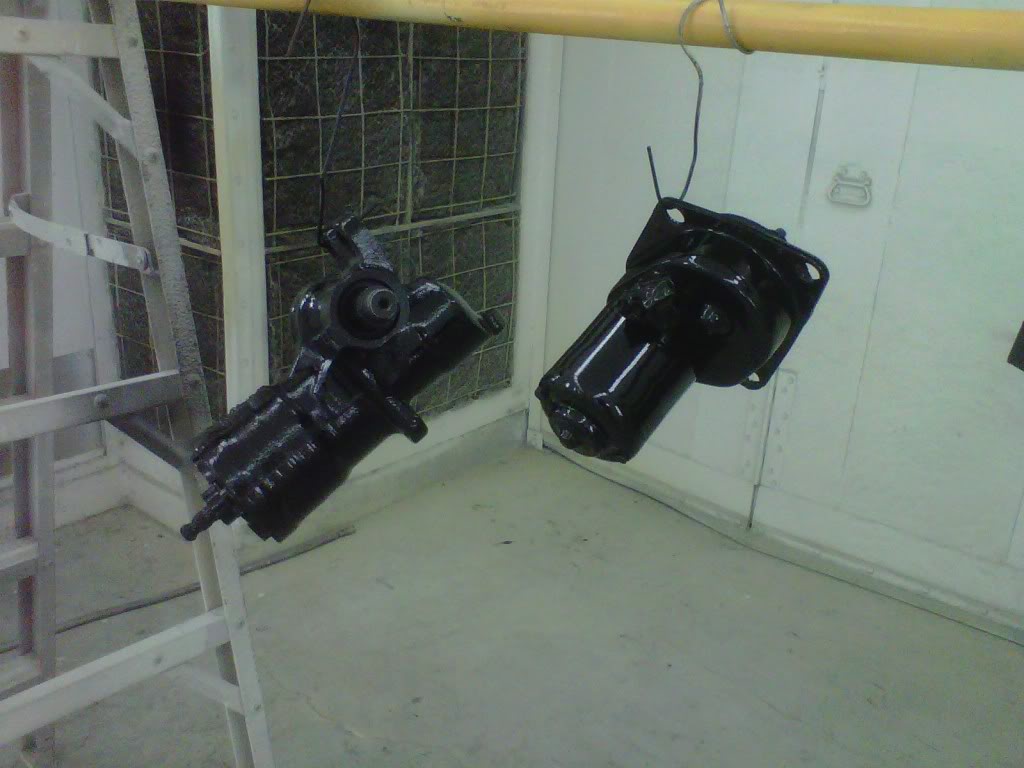
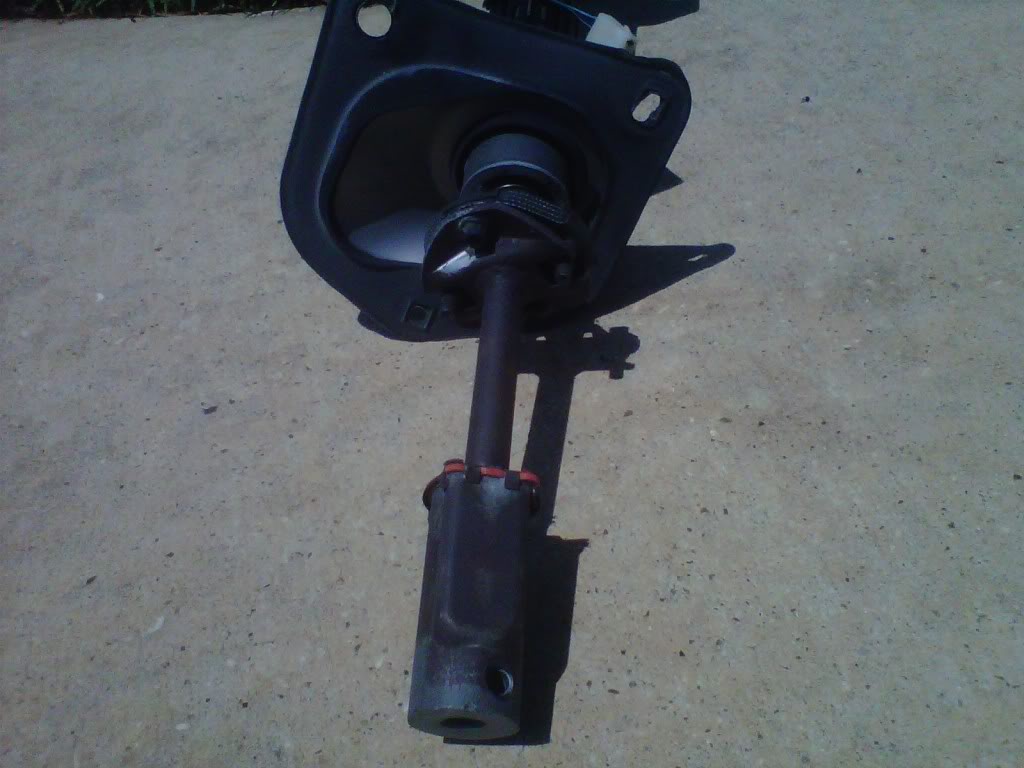
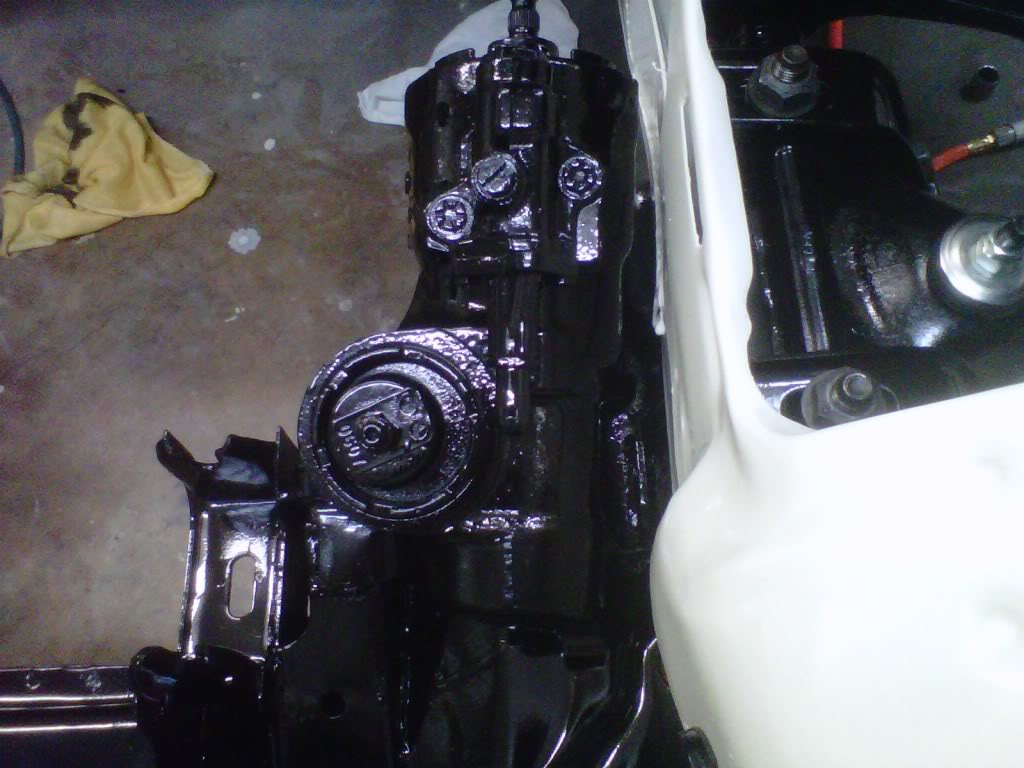
Got home late so I chunked the heavy gear box in there
Sorry to say that I did not have much time tonight to work on the car...had some welding and repairs to make at work tonight...decided to get that cop car gearbox in there tonight...that's all I accomplished..

New Member
Joined: Apr 2011
Posts: 1
Likes: 0
From: MEXICO CITY
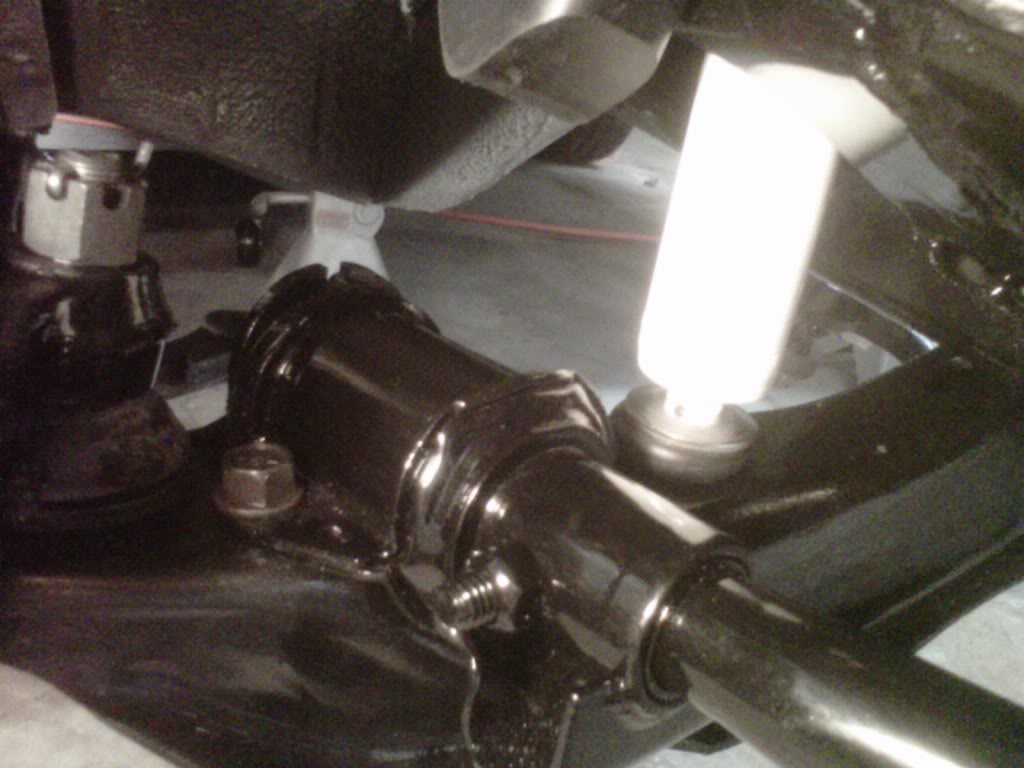
HI, THE SOLID BUSHINGS DID YOU INSTALL, ORIGINALLY CAME WITH 8 RUBBER BUSHINGS, WITH THE SOLID YOU NEED ONLY ONE SET (4); PLEASE YOE HAVE A PICS DOWN THE CHASSIS SEEN THE BUSHINGS PLEASE AND DOWN FRAME, THANKS JERRY, BEAUTIFUL CAR.
Thread Starter
Super Moderator
Joined: Sep 2010
Posts: 3,609
Likes: 181
From: Houston, Texas
Firm Feel but you can save about 100 bucks and get these from Solid Bushings...

Thread Starter
Super Moderator
Joined: Sep 2010
Posts: 3,609
Likes: 181
From: Houston, Texas
More done tonight
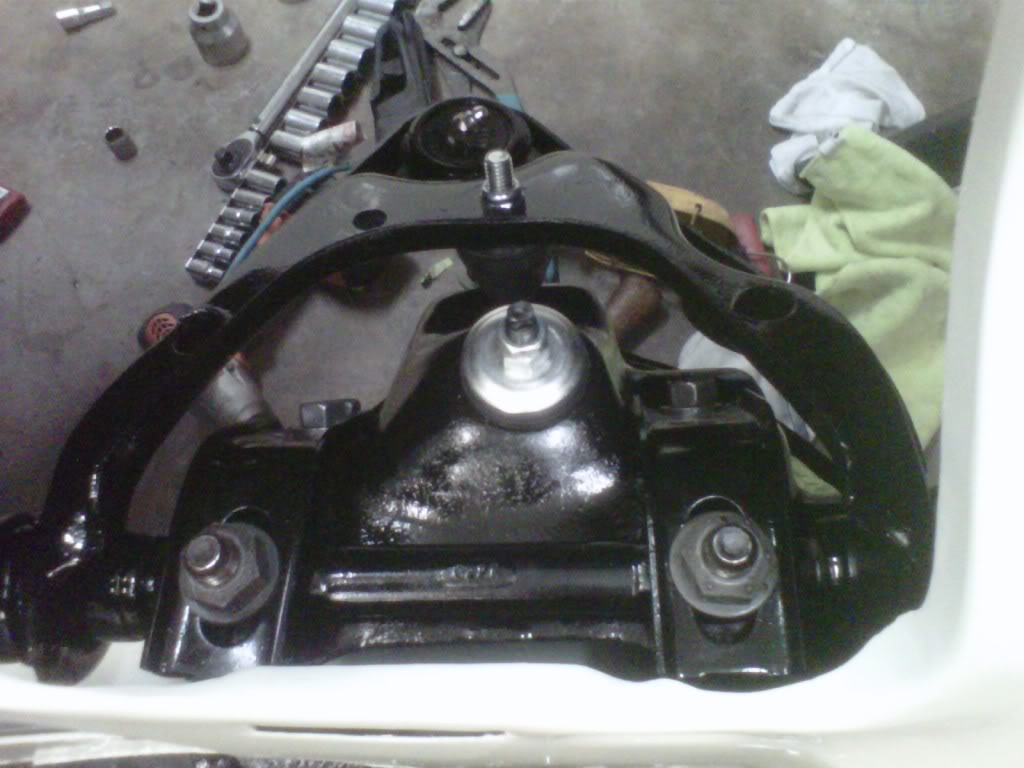
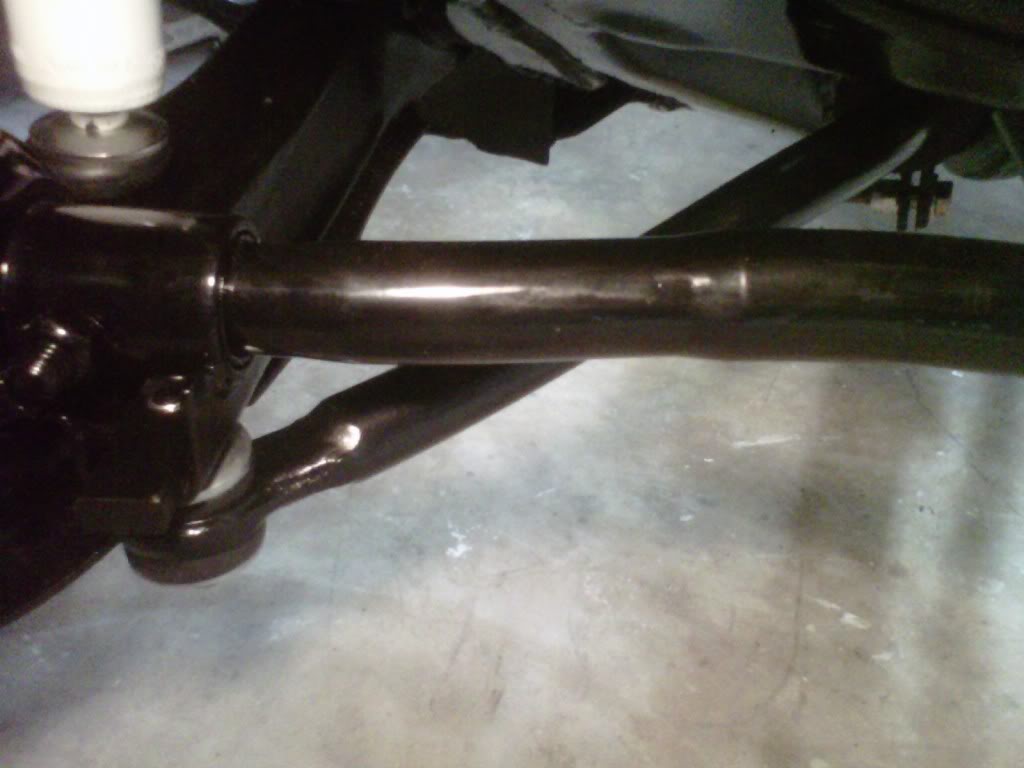
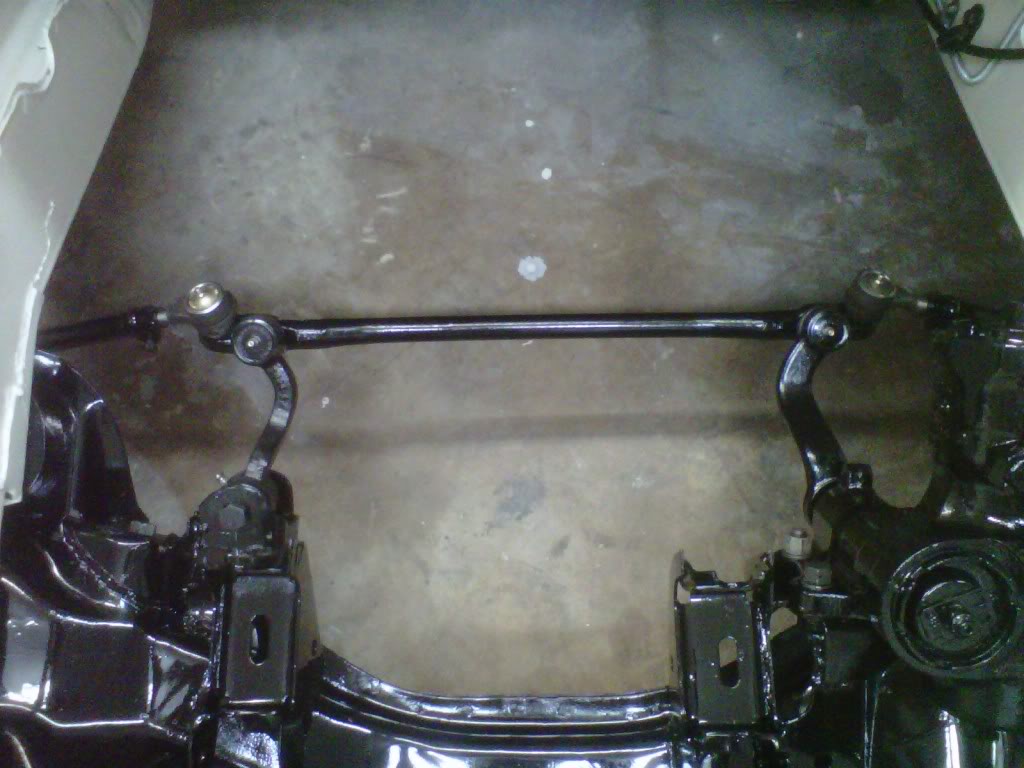
Didn't get to the torsion bars but I did get other stuff completed..got the spindles on...I greased the upper and lower ball joints..a then torqued everything to specs...
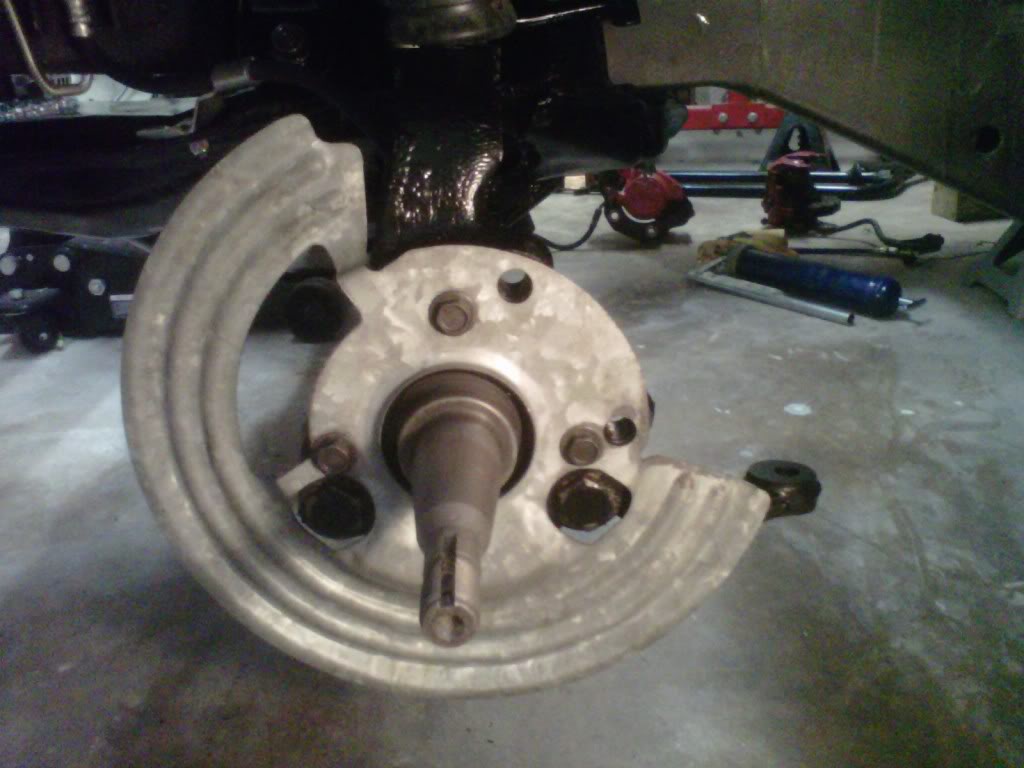
That allowed me to put the access plates back on....
I then got he Idler arm installed and the front flexable brake lines installed...
Tomorrow night will be the torsion bars.....
That allowed me to put the access plates back on....
I then got he Idler arm installed and the front flexable brake lines installed...
Tomorrow night will be the torsion bars.....
Thread Starter
Super Moderator
Joined: Sep 2010
Posts: 3,609
Likes: 181
From: Houston, Texas
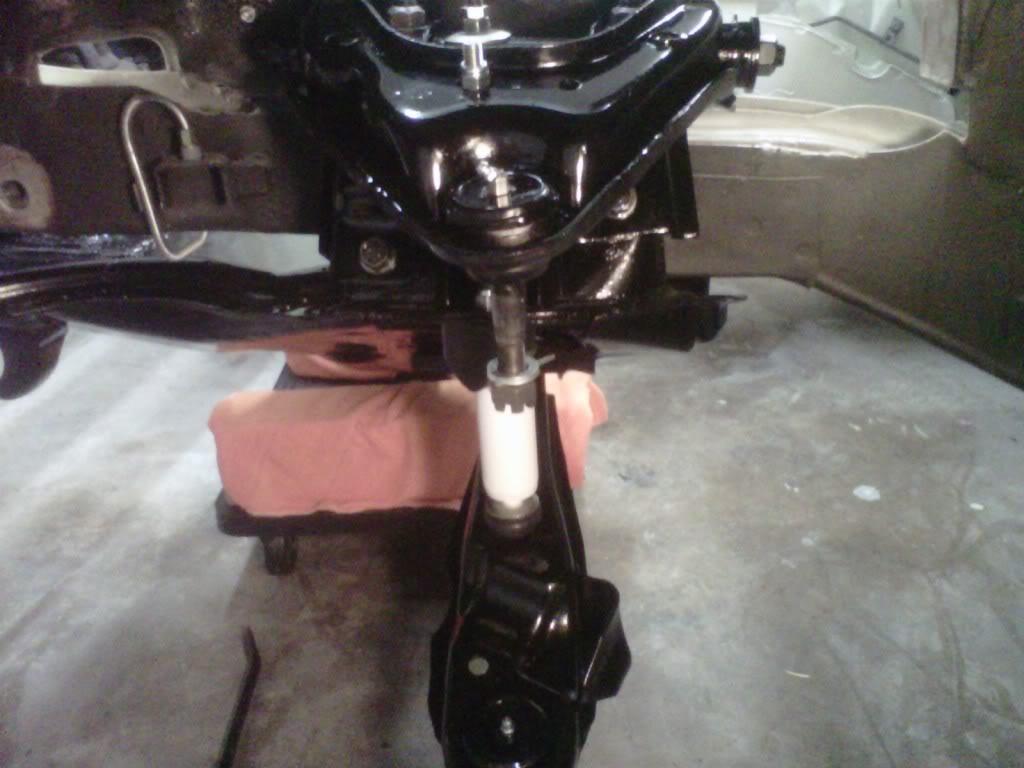
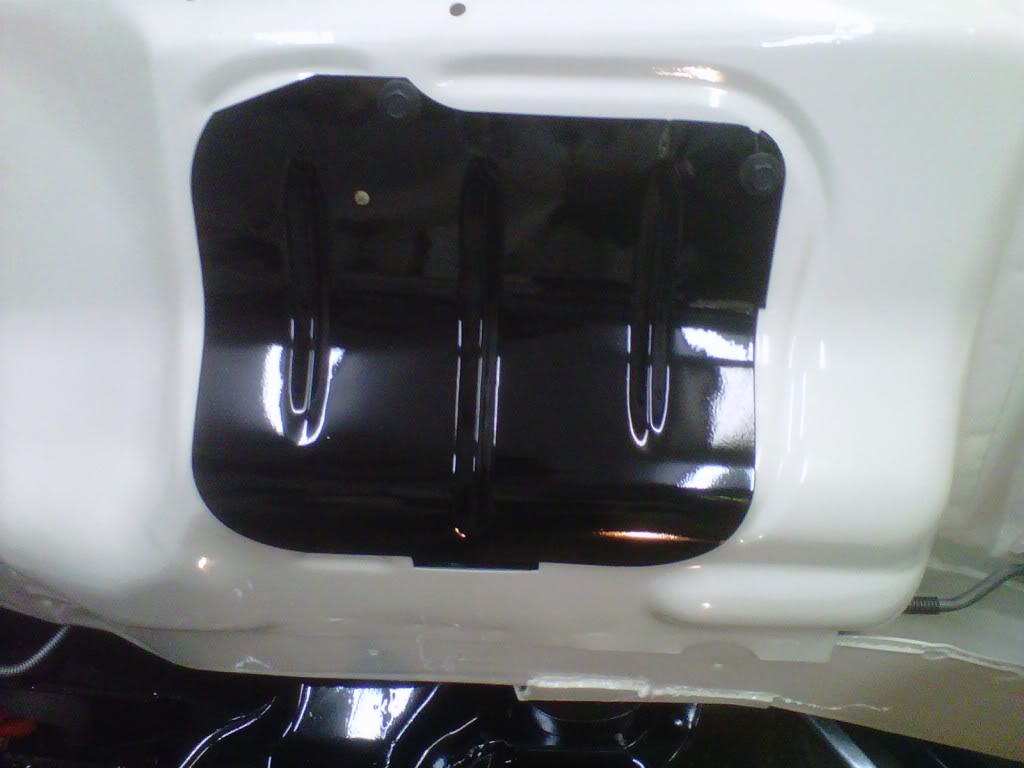
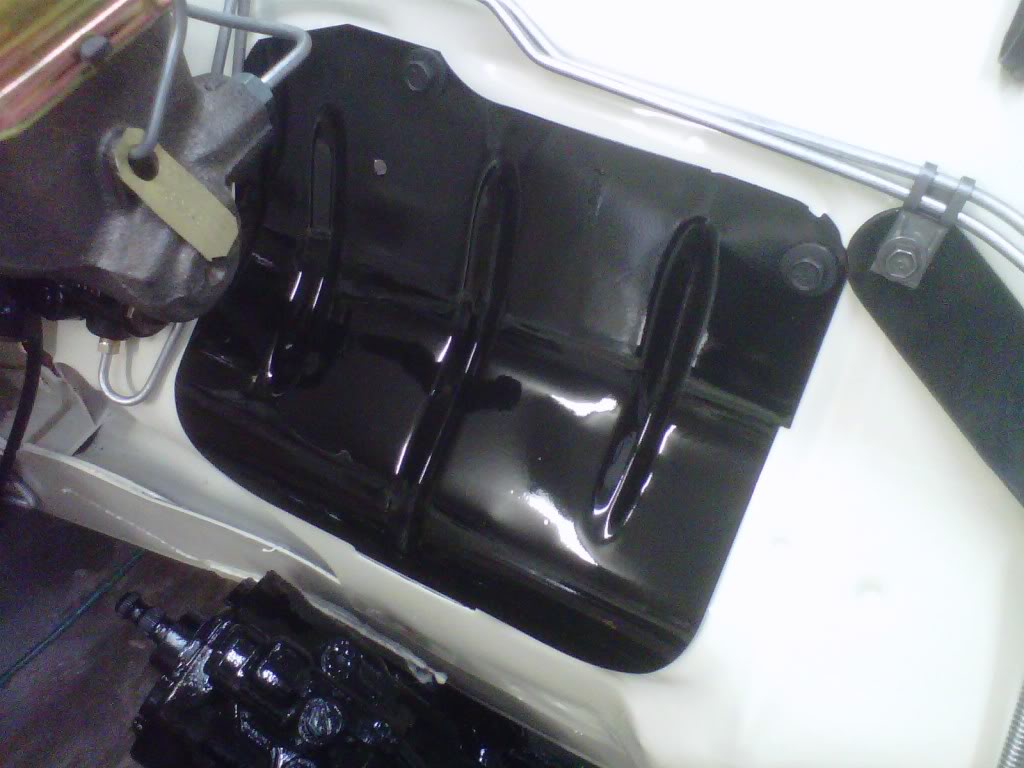
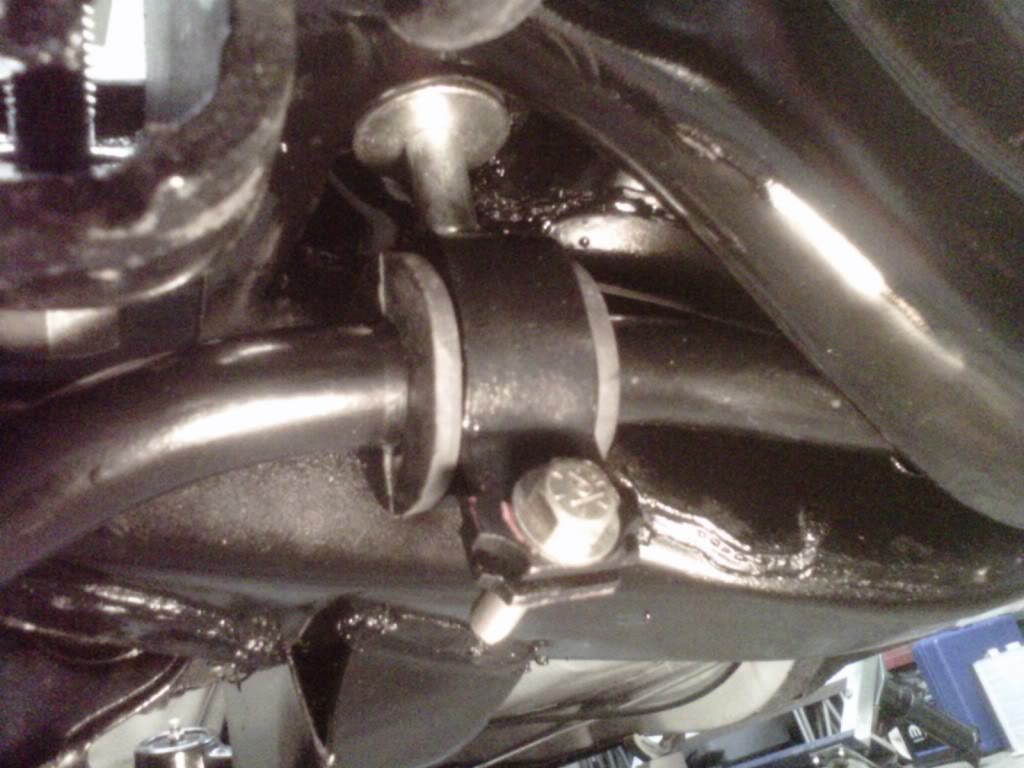
Tonight was the torsion bars
I read my book again in the torsion bar section about 3 times tonight...it helps to jack up the lower control arm to ride height so that the bolts are easy to install..just like the book says...it was fun with one person...could have been easier with two people..oh well they are in there all greased up and torqued to spec...tomorrow night will be the sway bar...I got my NOS battery tray from Brad's NOS parts today...it arrived in four days and was what is said it was..no bad experience for me...
Thread Starter
Super Moderator
Joined: Sep 2010
Posts: 3,609
Likes: 181
From: Houston, Texas
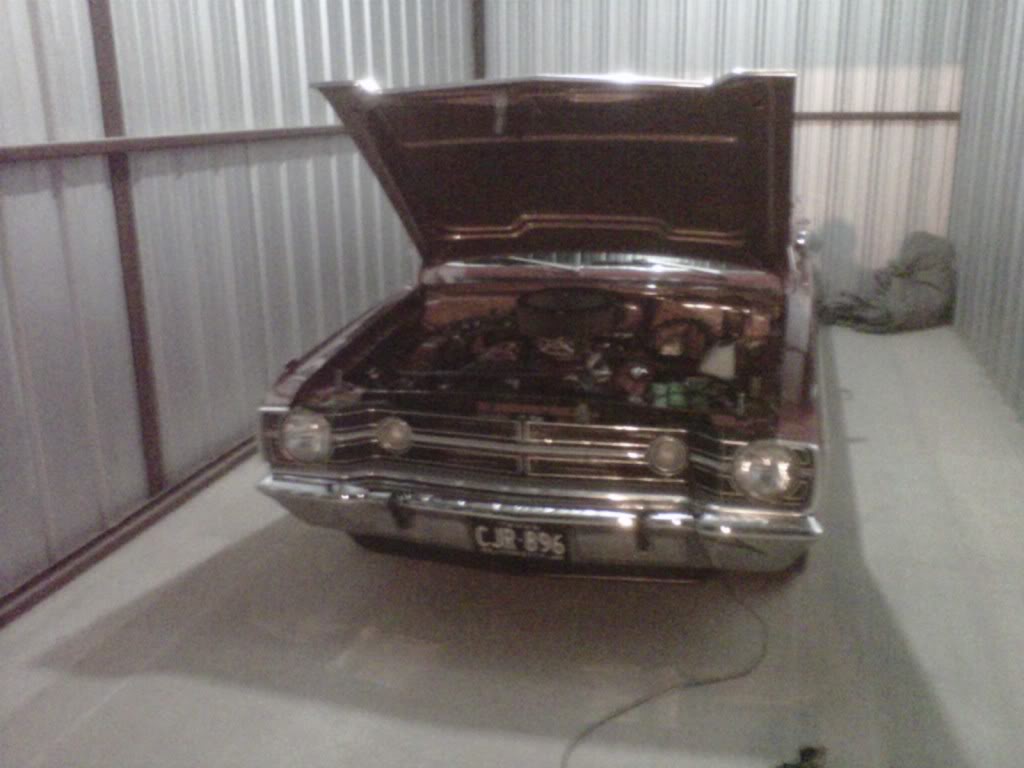
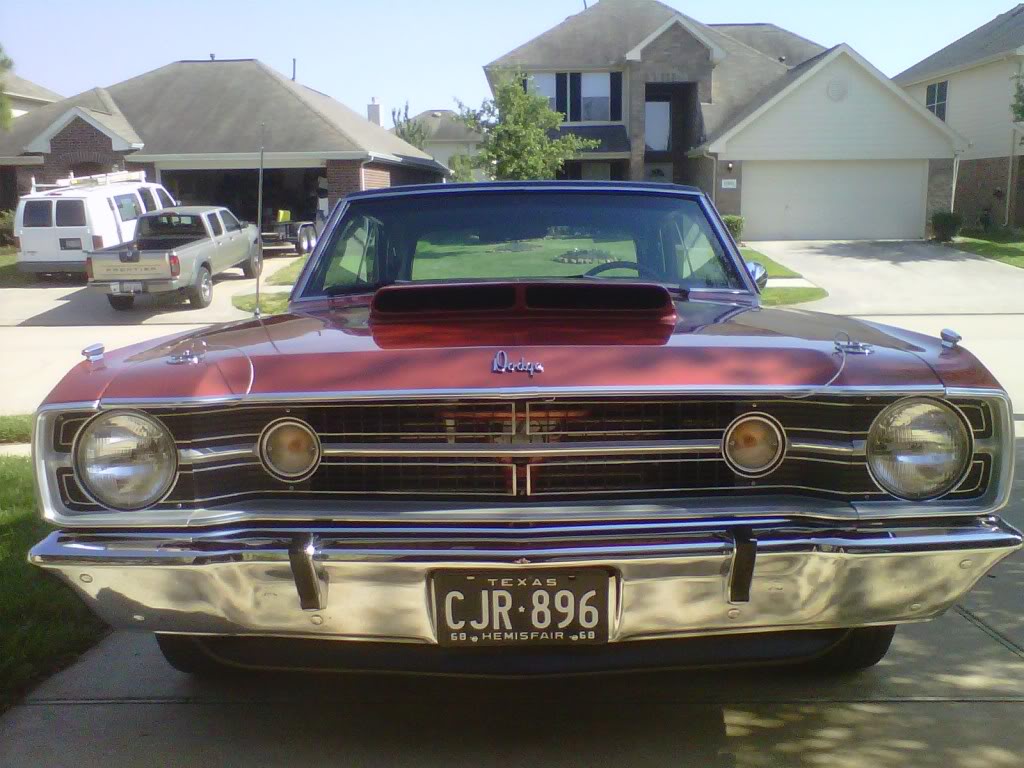
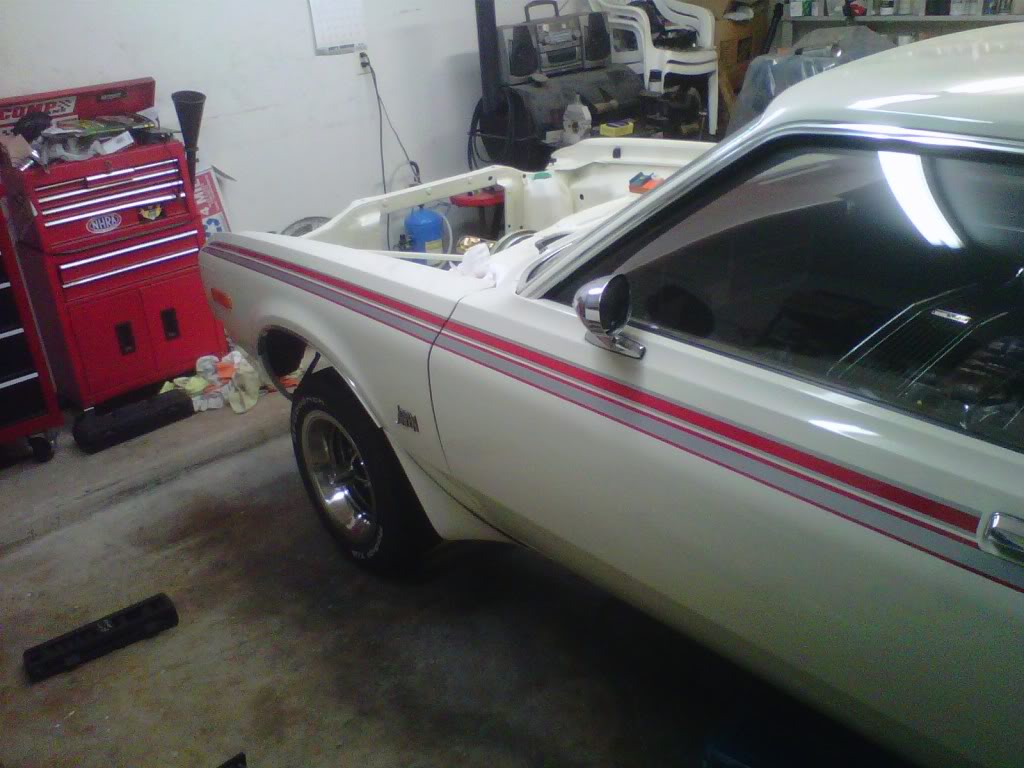
Thanks as a reminder to everyone that follows this...when I saw this car it was the only one I had ever seen...that's one of he main reasons I bought it...
Thread Starter
Super Moderator
Joined: Sep 2010
Posts: 3,609
Likes: 181
From: Houston, Texas
Thanks
Thanks to all that follow this thread and wish me good luck...I really appreciate the comments...I had a very long day and wish you the best on this close to the last tax days...
Thread Starter
Super Moderator
Joined: Sep 2010
Posts: 3,609
Likes: 181
From: Houston, Texas
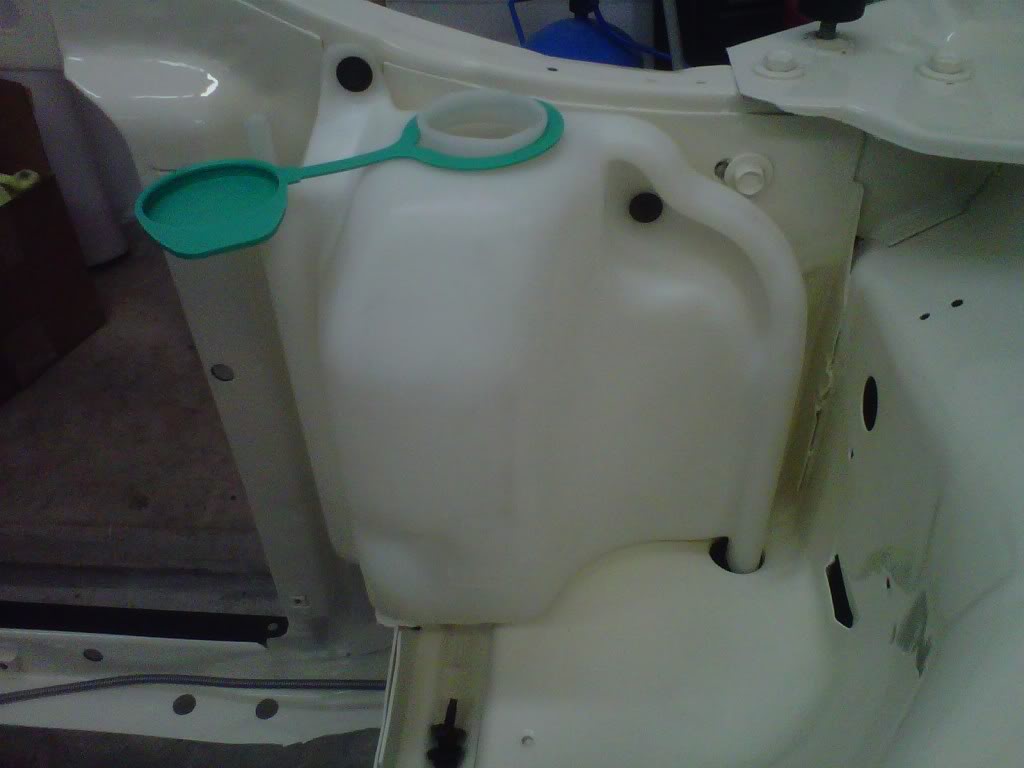
Here goes for tonight...
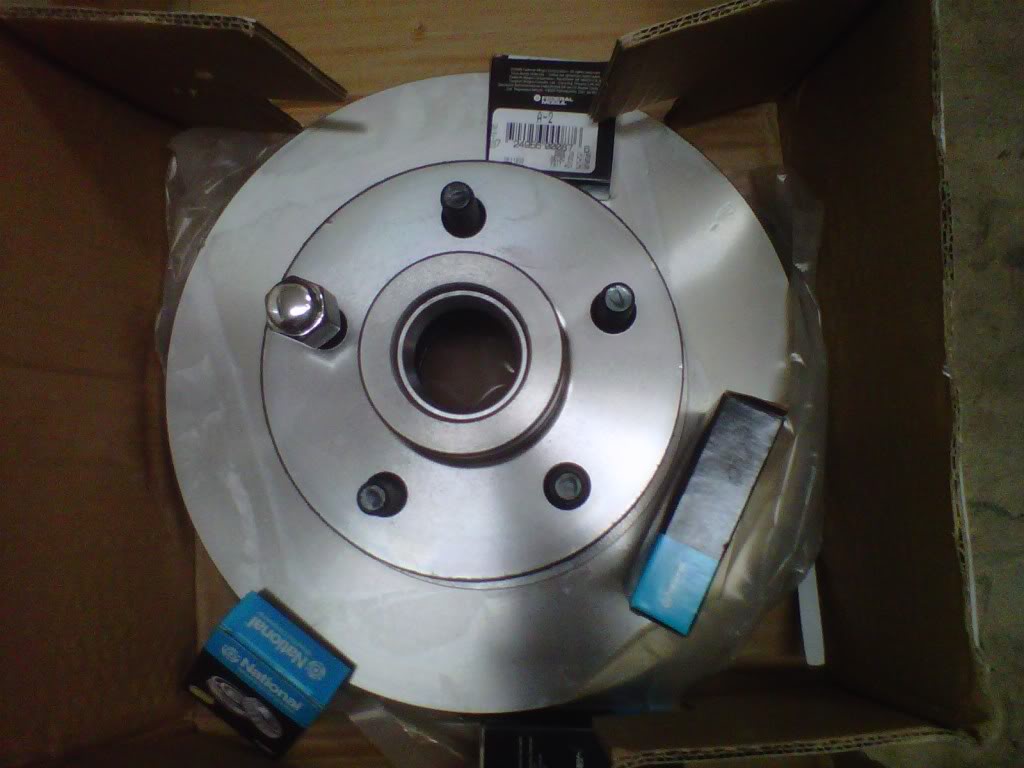
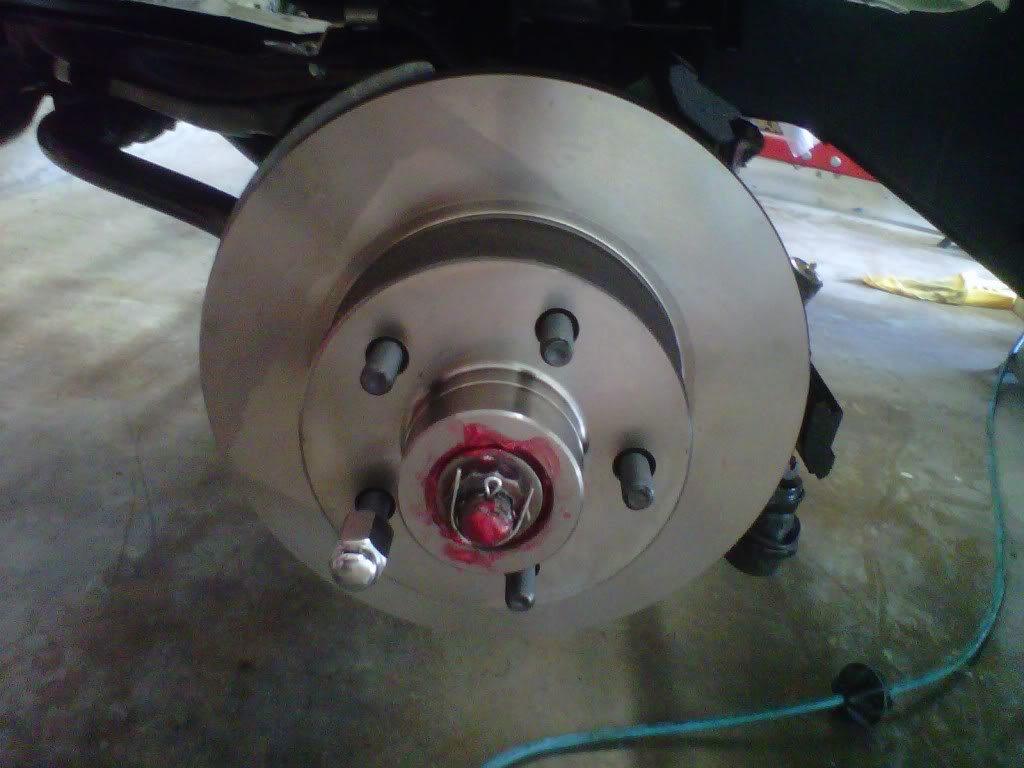
I spent some money at O'Reillys today...I got brakes...rotors and calipers with the bearings and grease seals...I got the front sway bar installed and boy was it fun...one of the sides was real fun to get started...I got my NOS wiper tank in and scrubbed and installed...I got one of the calipers painted in duplicolor's caliper paint...pictures tell the story...

Last edited by bremereric; Apr 15, 2011 at 11:32 PM.
Thread Starter
Super Moderator
Joined: Sep 2010
Posts: 3,609
Likes: 181
From: Houston, Texas
Moved forward very slow today...
Today was a short working day due to my Saturday night cruise-in that has started back up..I did get the battery tray painted and later on mounted in place...I left the factory coating on it and painted over it....
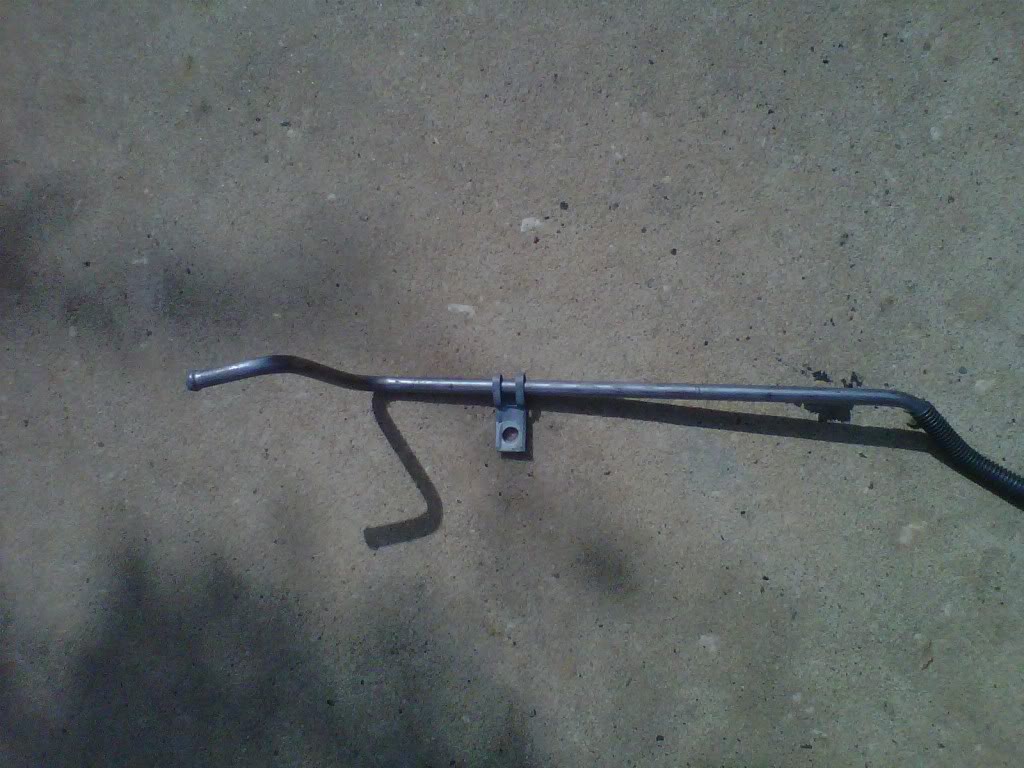
I polished up my heater hose bracket and last night I dipped it in the plastic-dip stuff to recoat the end of it...
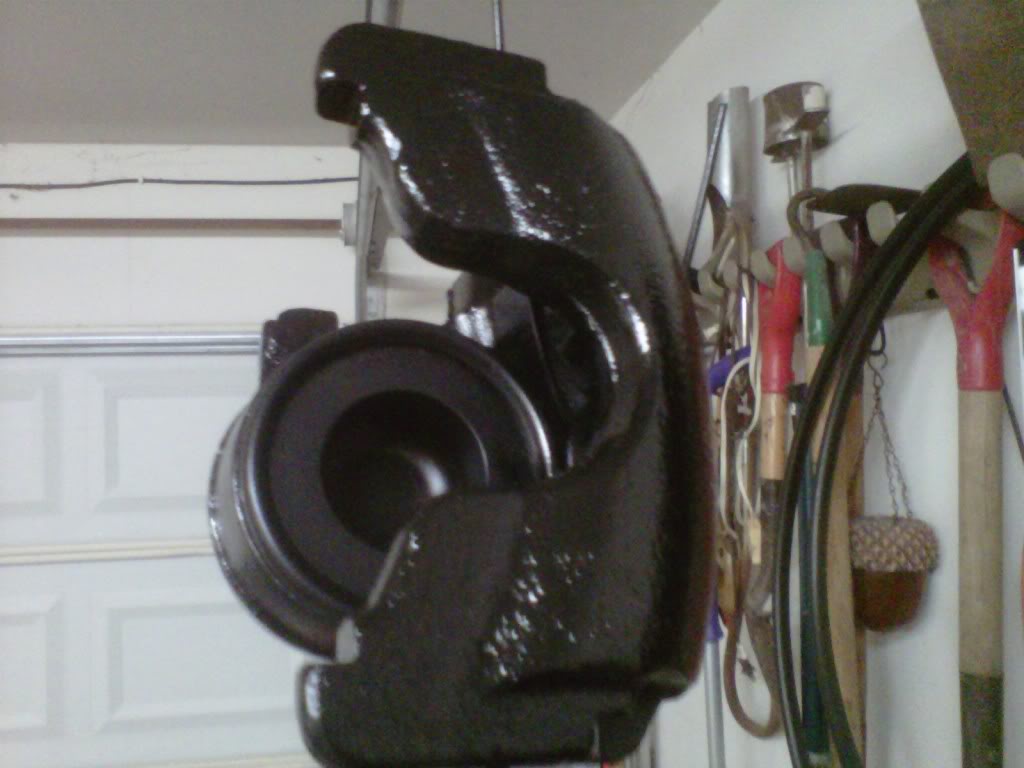
On my road trip to pick up the other caliper I stopped off at storage and got this....
I then painted the other caliper with the same caliper paint and cleaned up the caliper brackets and put them in the rust bucket for an overnight soak..last for tonight was gently bolting up the steering components in preparation for car to be back on the ground...rotors and calipers on tomorrow..
I polished up my heater hose bracket and last night I dipped it in the plastic-dip stuff to recoat the end of it...
On my road trip to pick up the other caliper I stopped off at storage and got this....
I then painted the other caliper with the same caliper paint and cleaned up the caliper brackets and put them in the rust bucket for an overnight soak..last for tonight was gently bolting up the steering components in preparation for car to be back on the ground...rotors and calipers on tomorrow..
Thread Starter
Super Moderator
Joined: Sep 2010
Posts: 3,609
Likes: 181
From: Houston, Texas
Shiza Koff
You need to know another language to understand what the title means but I did not get where I wanted to be today...I got the caliper brackets out of the rust bucket and painted..I then installed one caliper on the drivers side only to find out I had two for the same side..get that straightened out in the morning..and hopefully back on the ground tomorrow night...

Thread Starter
Super Moderator
Joined: Sep 2010
Posts: 3,609
Likes: 181
From: Houston, Texas
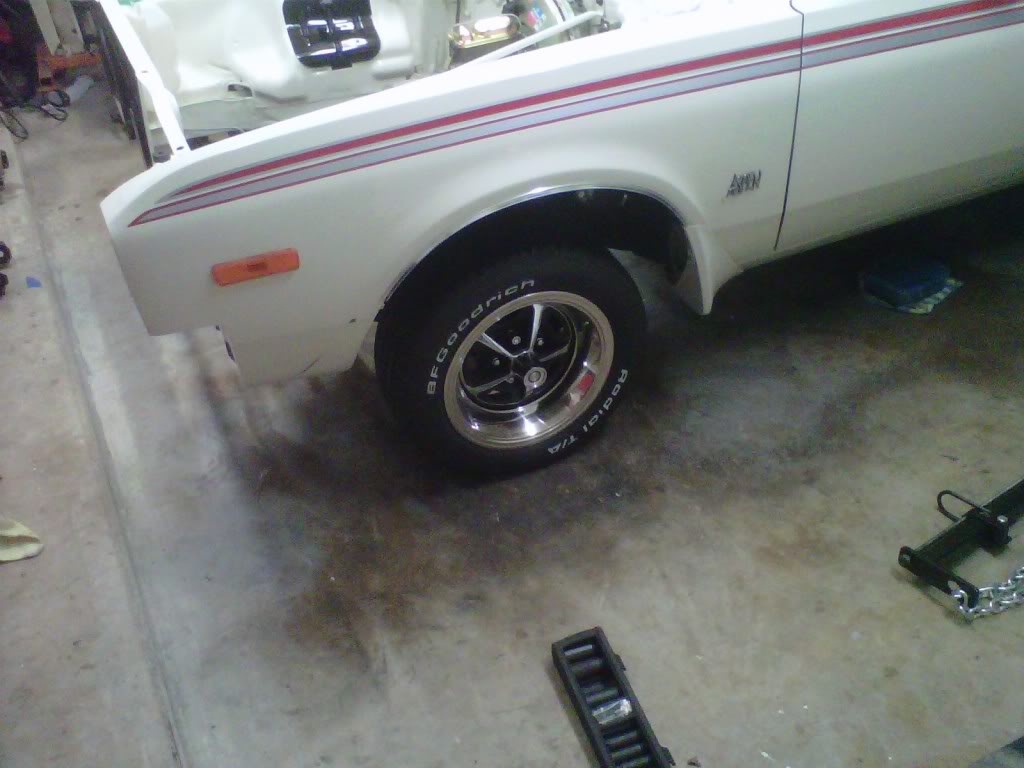
Back on the ground...so much for the tiny tires I picked...oh well that will be anoth
I got the correct caliper today...painted it and got it back on the car...I got the wheels on the the torsion bars tightened up somewhat....it's back on the ground and it will have the motor and tranny back in it this Saturday...I have reasons why this is the deadline...Sunday is Easter of course...
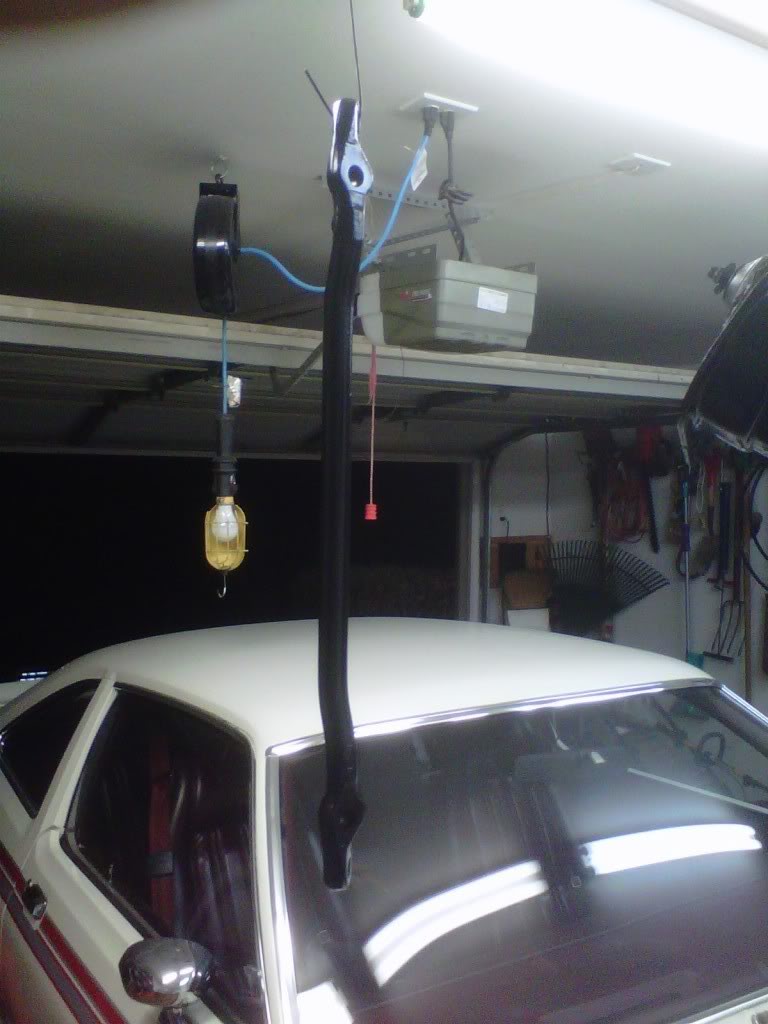
I made my engine leveler automatic...I cut the handle off and welded a nut on the end that I can hit with my air driven impact to drive it left and right.....
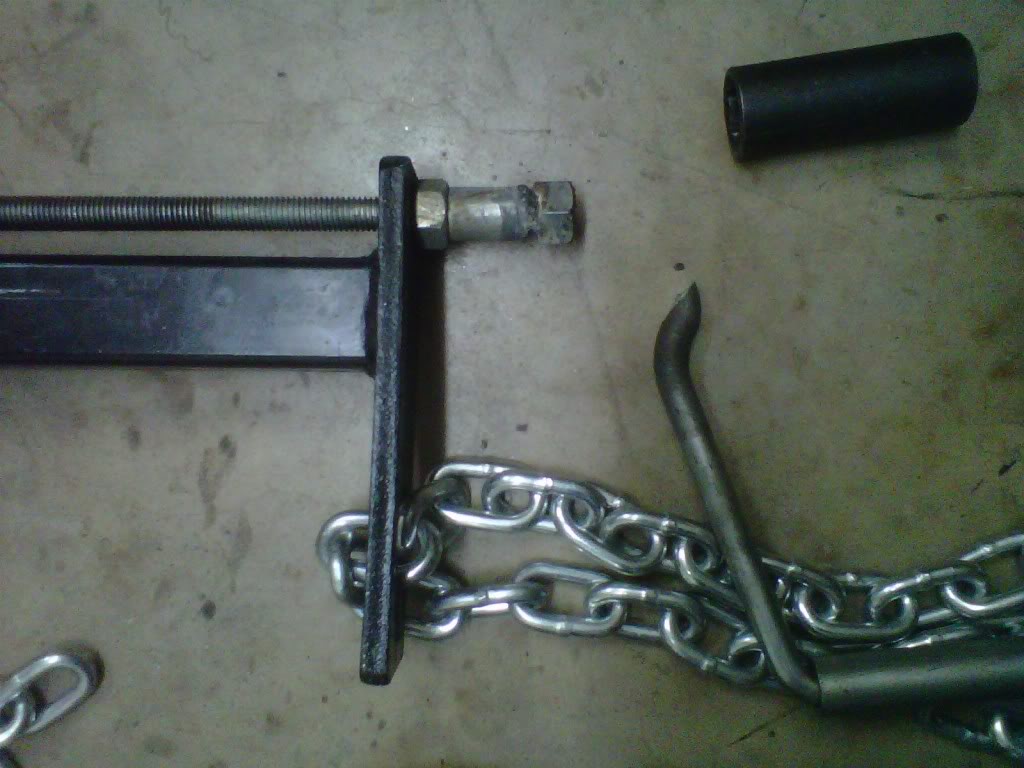
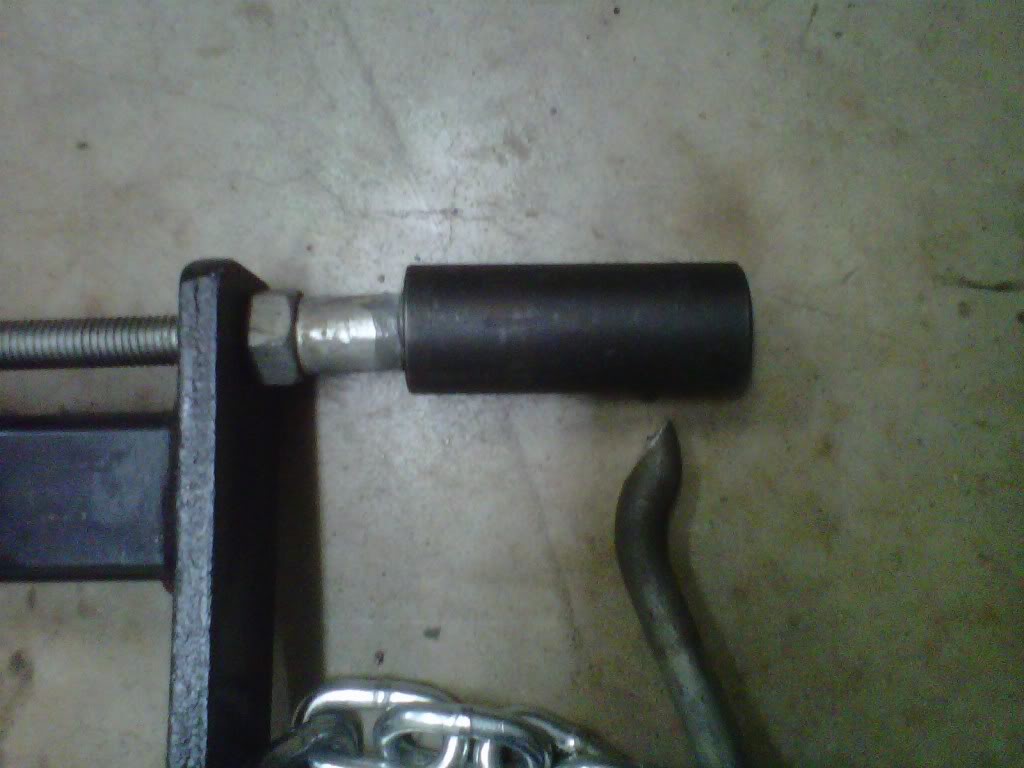
I made my engine leveler automatic...I cut the handle off and welded a nut on the end that I can hit with my air driven impact to drive it left and right.....
Thread Starter
Super Moderator
Joined: Sep 2010
Posts: 3,609
Likes: 181
From: Houston, Texas
Getting a little closer
I have to concentrate on what I need to do before I drop the motor and tranny in this Saturday...I have to get certain things done that I do not want to do leaning over the engine compartment to do..I did some test fitting on the new oil dipstick and got it ready for paint...I painted the tranny cast iron front and side plates and got it ready to install...I also brought home a none working tranny jack from work that I have already worked out a deal to fix it...I will use it for 5 minutes but it will be ready for the next person....
Thread Starter
Super Moderator
Joined: Sep 2010
Posts: 3,609
Likes: 181
From: Houston, Texas
Still nibbling away at it...this is a busy week at work
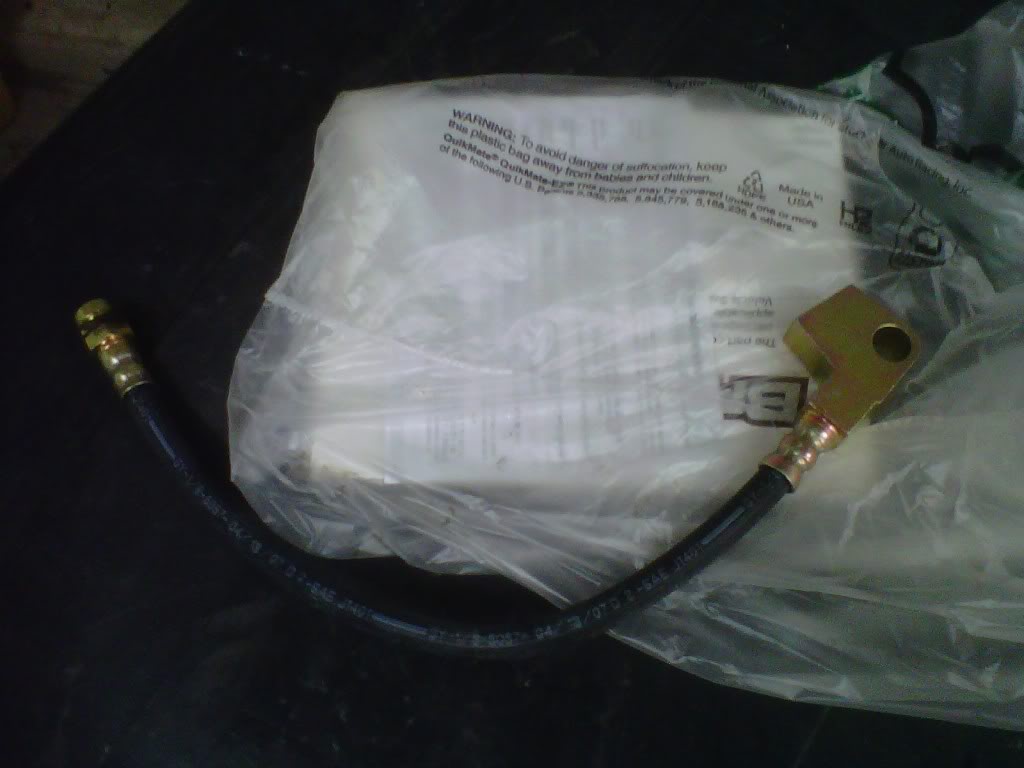
This is a very busy week for the beer business so I get home later than usual...this morning I painted the dip stick...at lunch I picked up the oil filter adapter gasket and rear brake hose...I got home and stabbed the dip stick and had to bend it some...it always wants to hit the fuel pump on a small block..
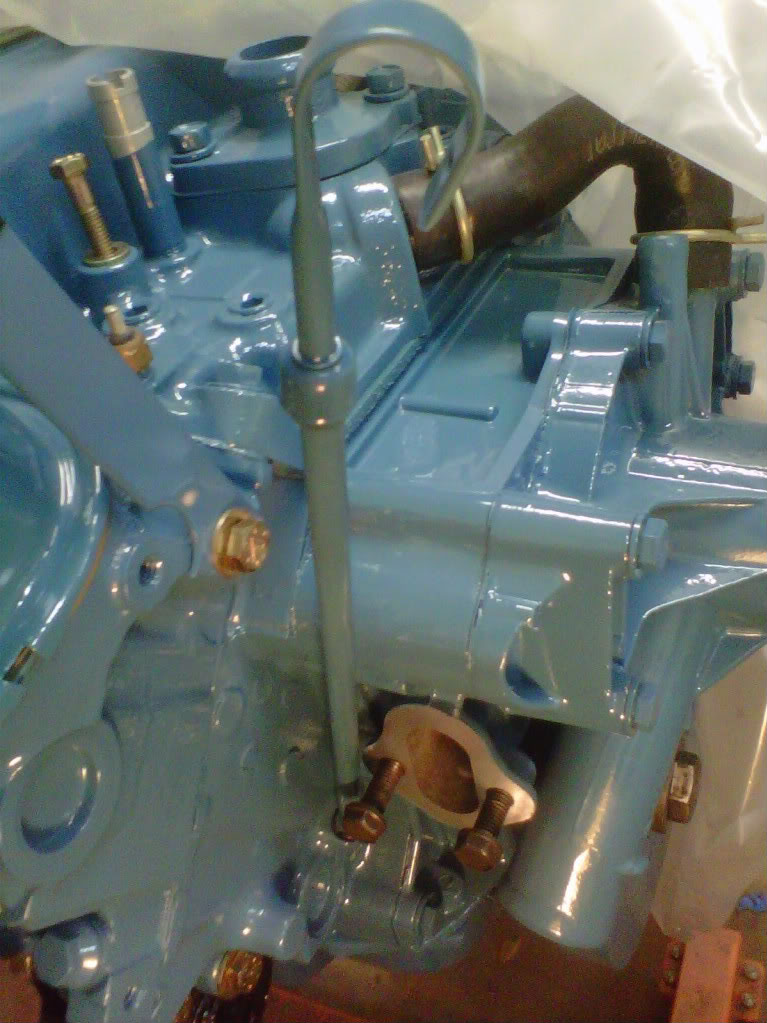
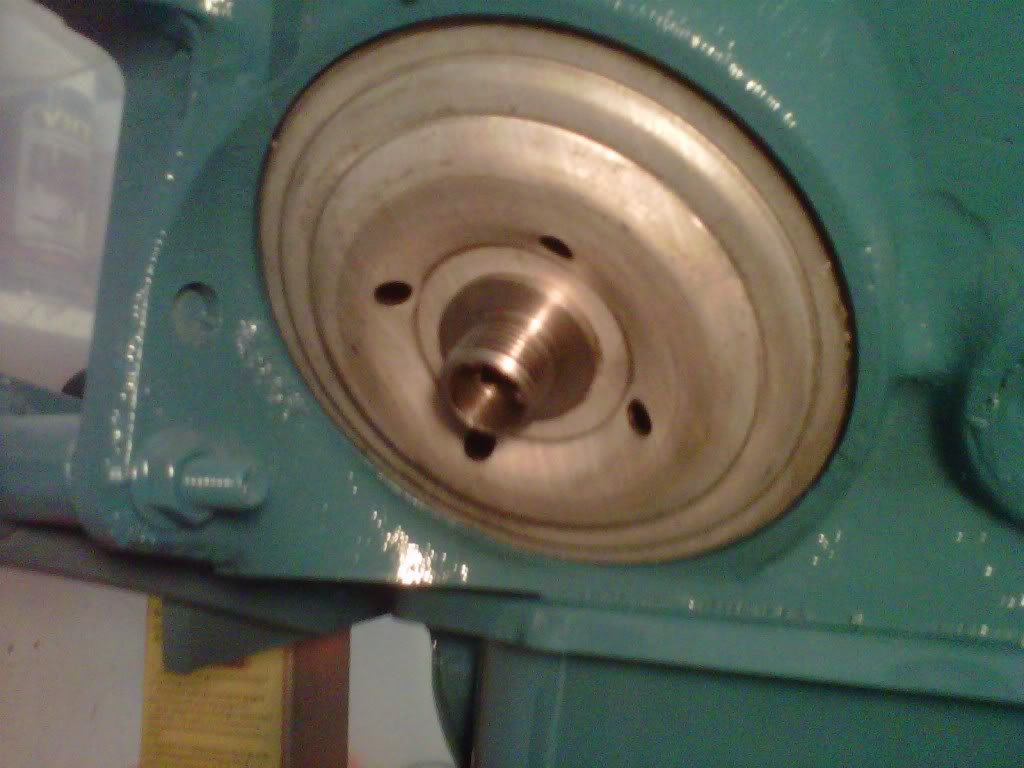
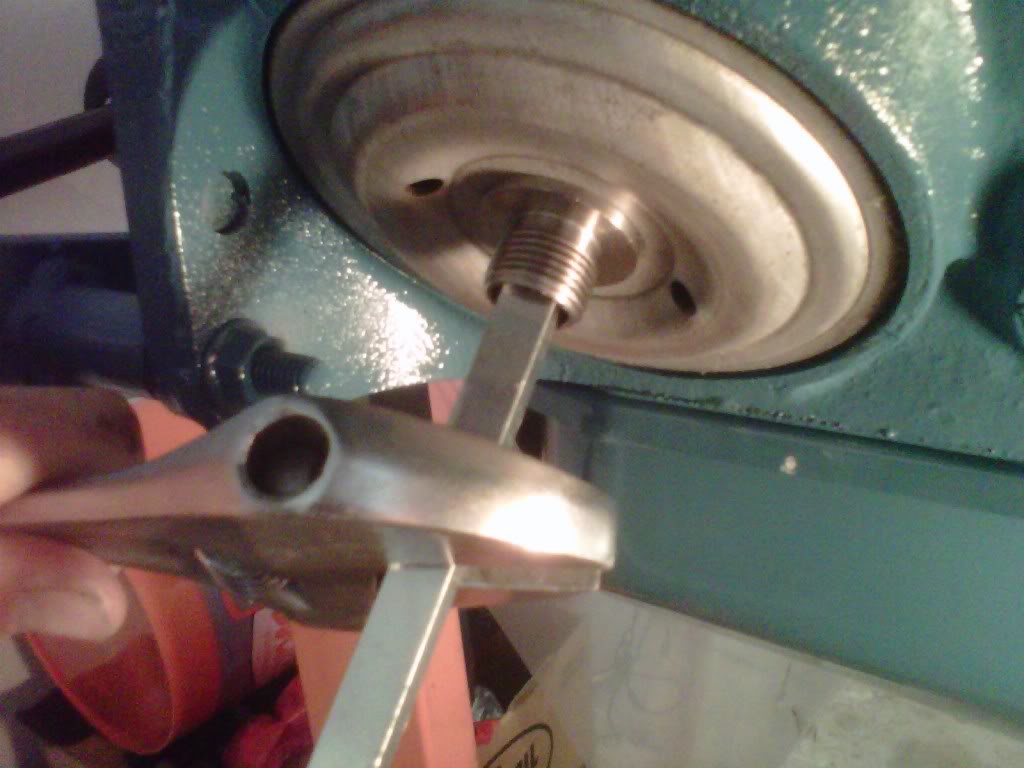
I got some 3/8" key stock at work and used it to remove the oil filter adapter from the original motor...I cleaned it up and then installed it with the new gasket on the new motor...
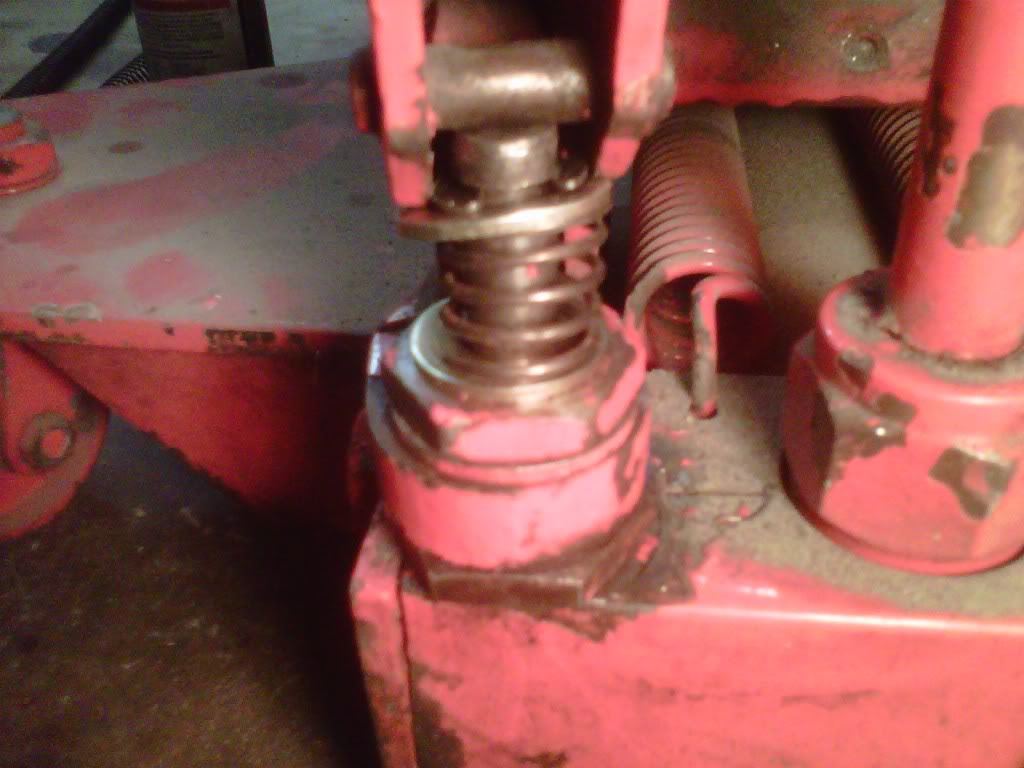
Last for tonight was the fixing of the tranny jack...a piece of spring from work an e-clip and two washers...looks crude but it works....
I got some 3/8" key stock at work and used it to remove the oil filter adapter from the original motor...I cleaned it up and then installed it with the new gasket on the new motor...
Last for tonight was the fixing of the tranny jack...a piece of spring from work an e-clip and two washers...looks crude but it works....
Thread Starter
Super Moderator
Joined: Sep 2010
Posts: 3,609
Likes: 181
From: Houston, Texas
Two other people pointed out that a 3/8" extension on a 3/8" rachet would have worked just as well on the oil filter adapter...I am in full agreement and am Happy to have shared and learned..something


