
I never would think I would own one of these


Thread Starter
Super Moderator
Joined: Sep 2010
Posts: 3,609
Likes: 181
From: Houston, Texas
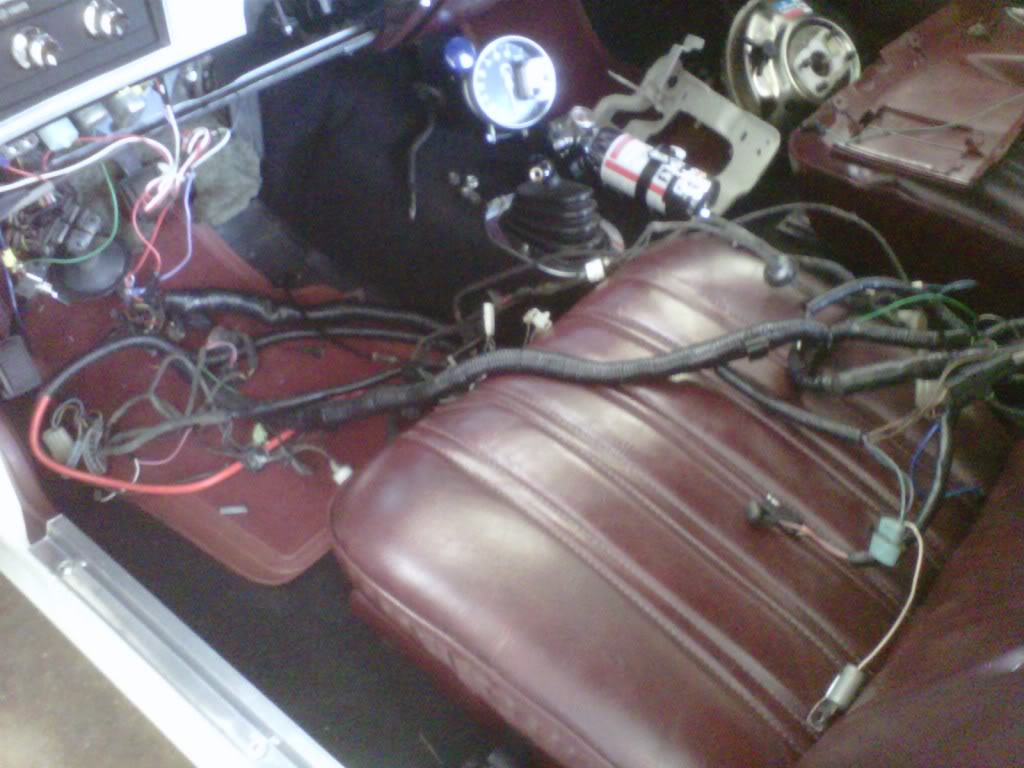
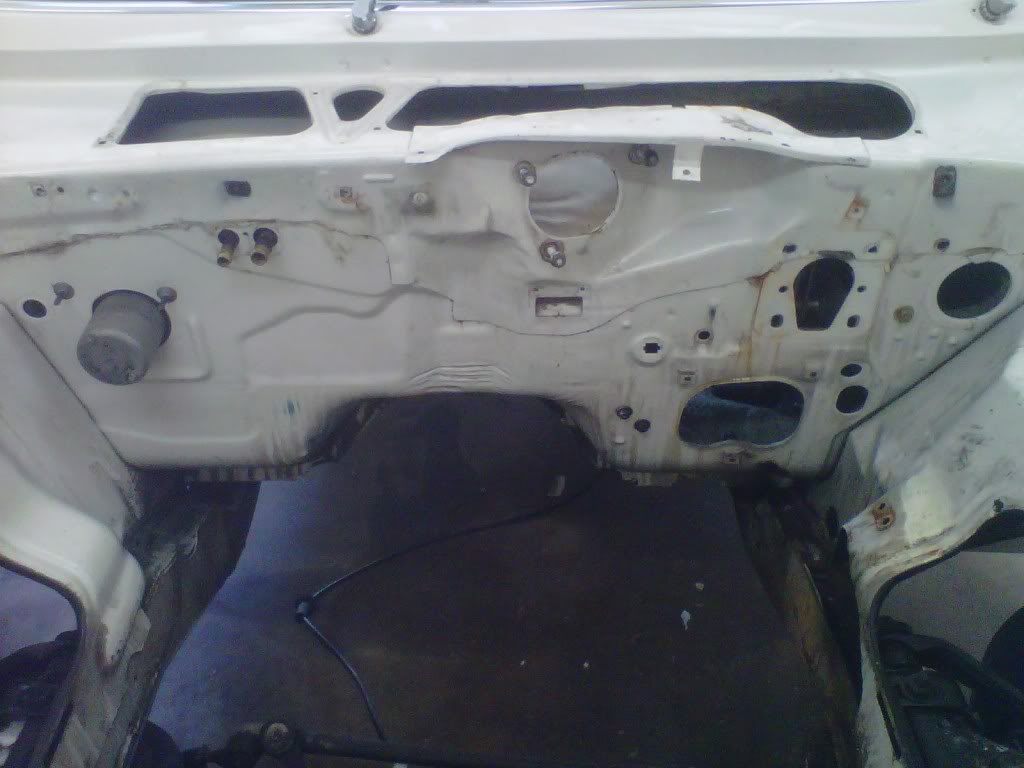
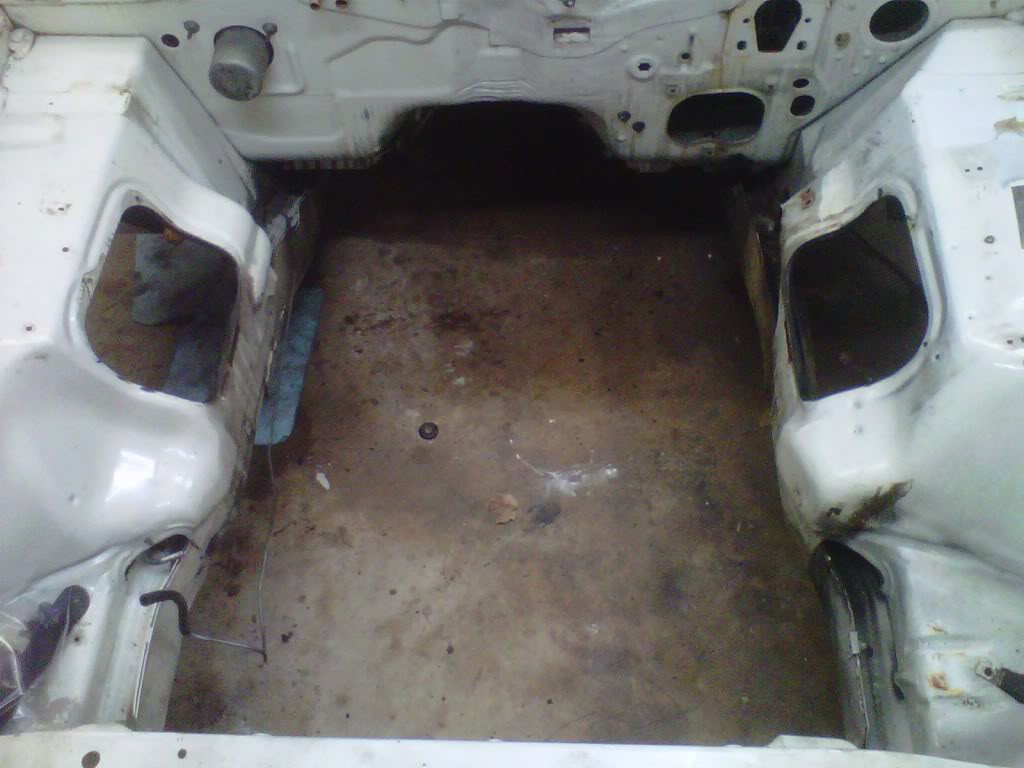
Everythings outta there....the engine compartment that is
Did some double tasking today...smoked a pork butt and got the rest of the stuff out of the engine compartment...2 1/2 hours later it was all out..I had to get the wifey to help pull the wiring back inside the car and pull on the accelerator cable while I pinched the clips inside..the easiest thing was the steering column removal...I have a hole inside now and lots of wires..the steering wheel is another piece that now resides inside the house..
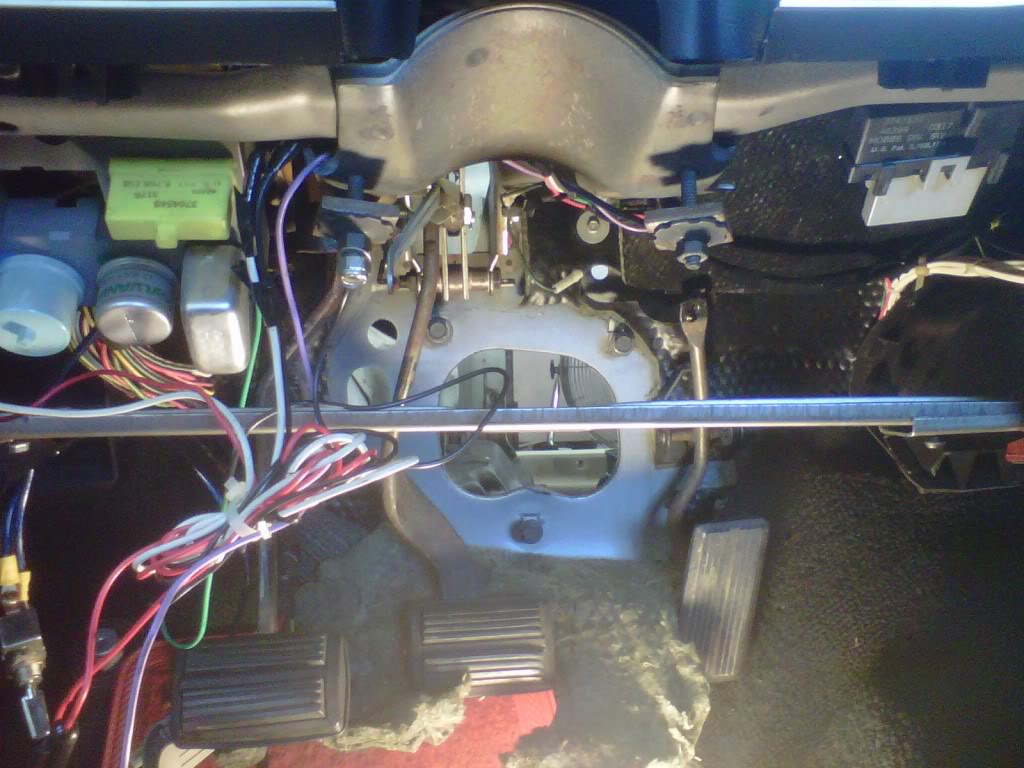
The firewall and engine compartment is now free of everything...bolt on my roller around thing then k-frame removal is next...
The firewall and engine compartment is now free of everything...bolt on my roller around thing then k-frame removal is next...
Thread Starter
Super Moderator
Joined: Sep 2010
Posts: 3,609
Likes: 181
From: Houston, Texas
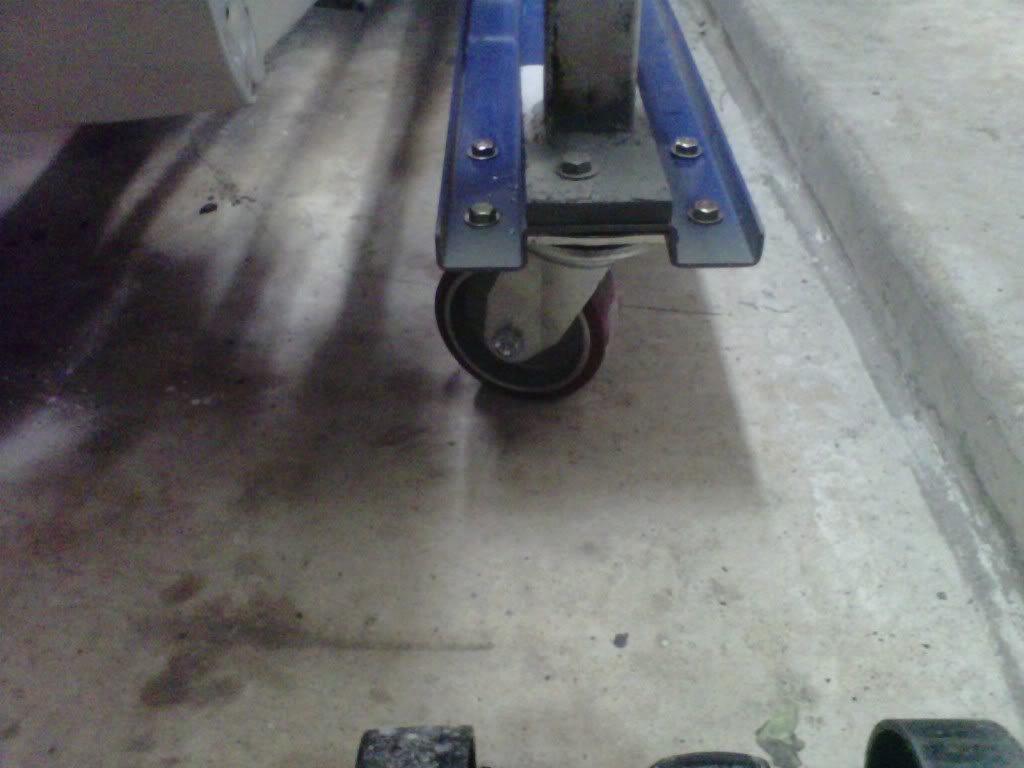
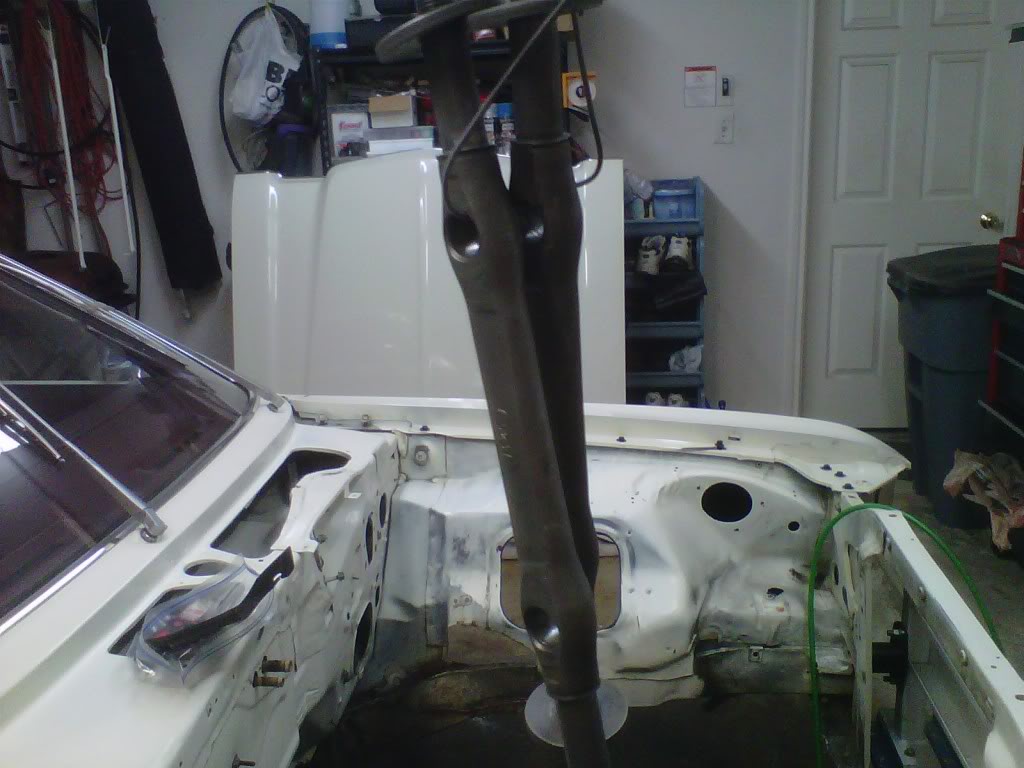
Roller Derby...it's got it's swivel casters on now
Decided to get one more thing done today so I can start busting the k frame tomorrow..I know that a least one person said those bumper shocks were not very strong...I replied back that my bumper jack goes in a slot in the bumper to jack it up...it is lower to the ground but that means the k frame can only fall so far to the ground..
Here it is...

To the left with one hand and back straight.....

Here it is...
To the left with one hand and back straight.....
Thread Starter
Super Moderator
Joined: Sep 2010
Posts: 3,609
Likes: 181
From: Houston, Texas
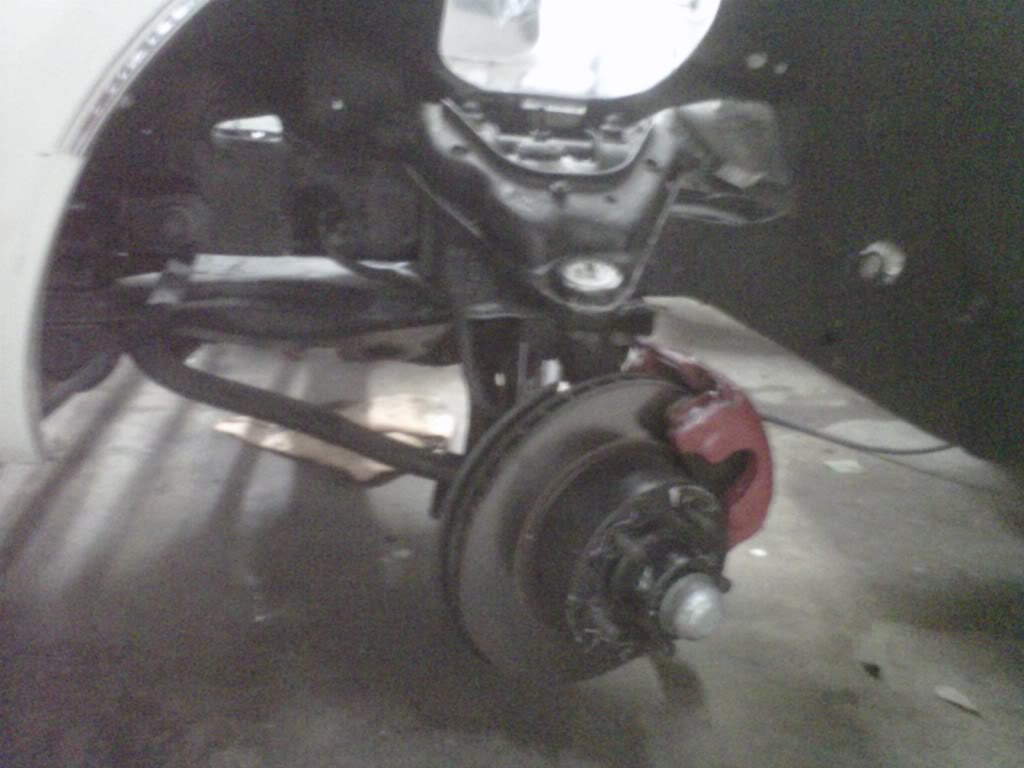
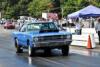
Stayed busy today..
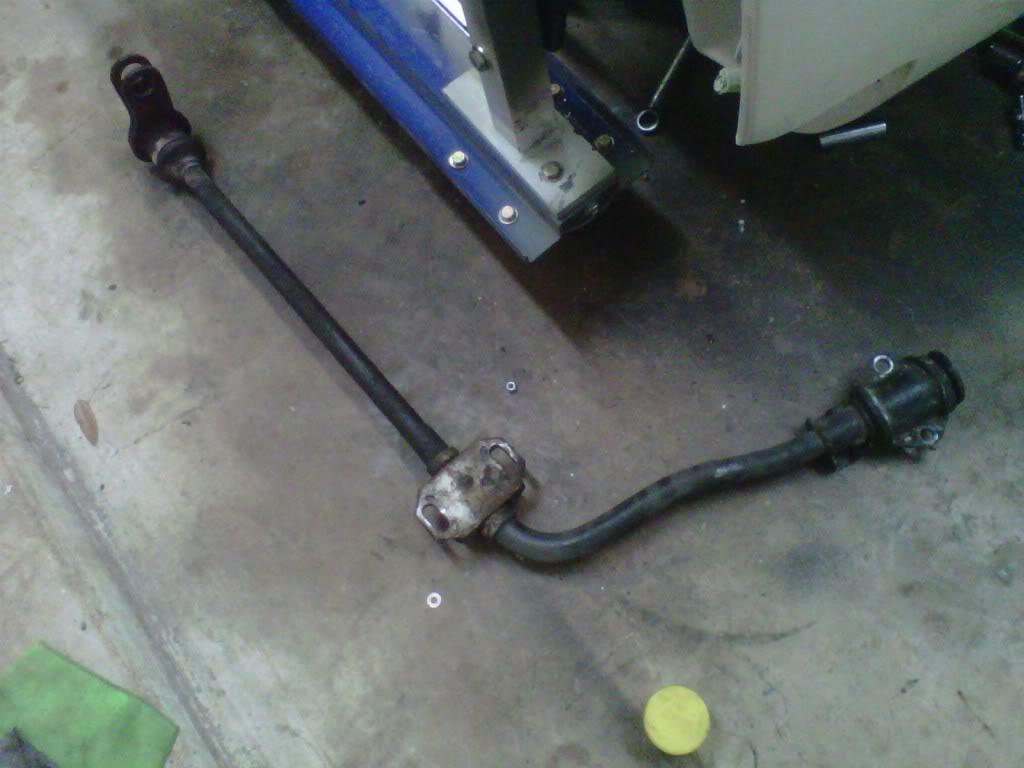
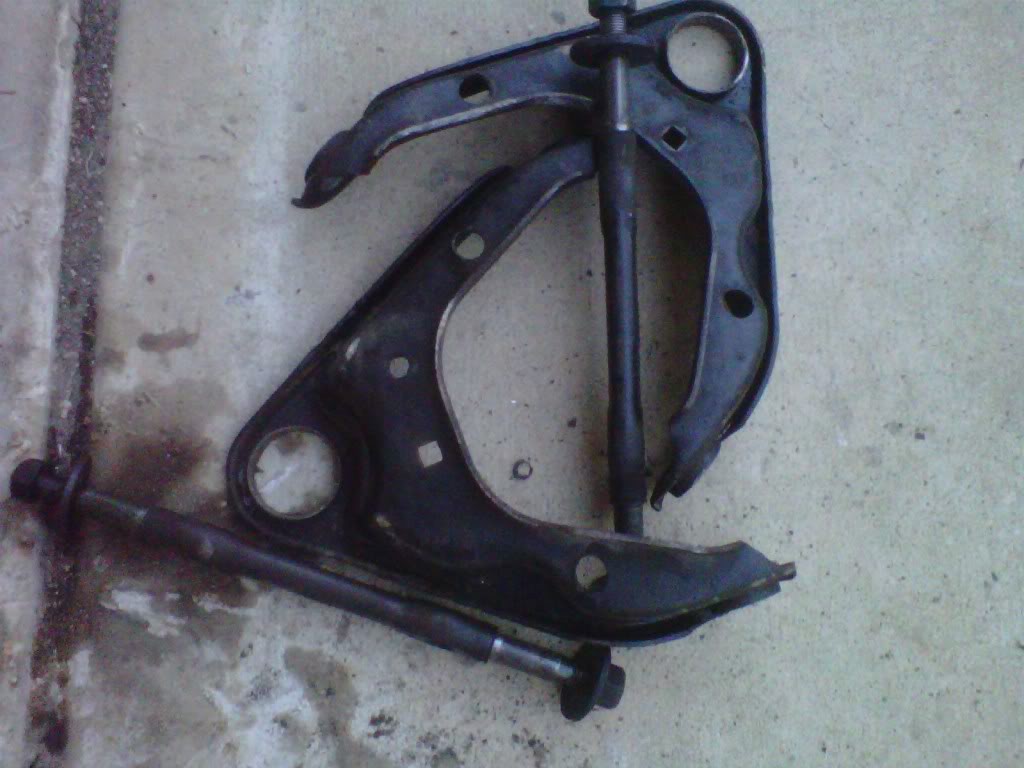
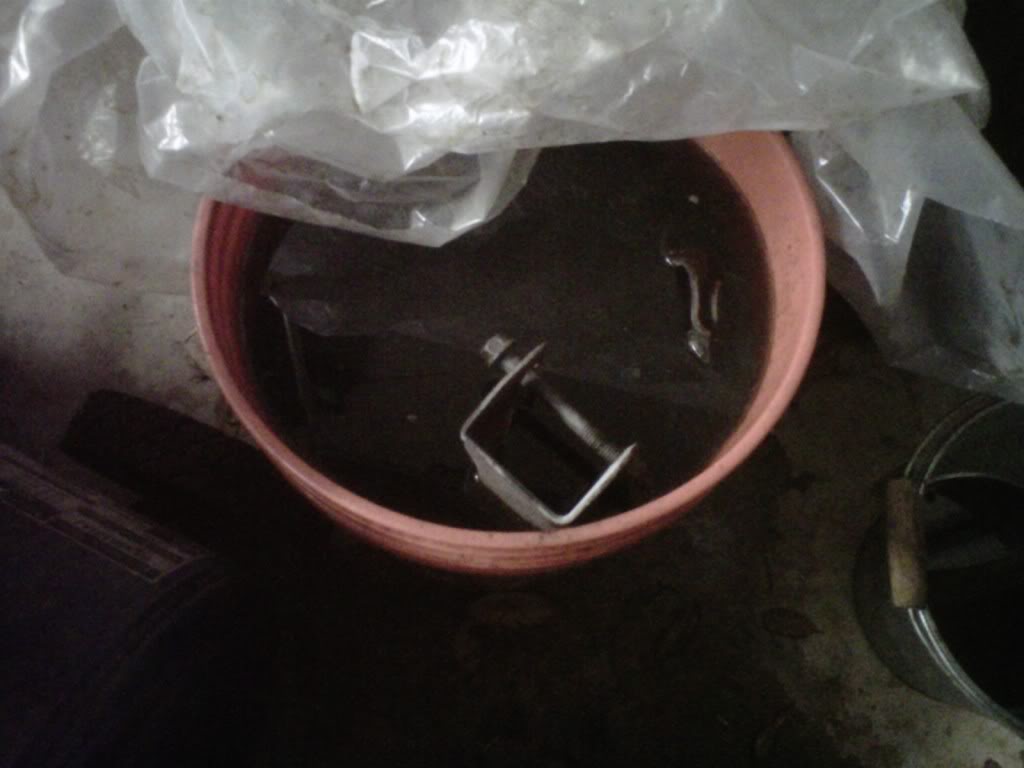
This morning there was a huge car show that I attended with my other car...I got home and prepared supper and then got the driver's side torsion bar and suspension removed from the k-frame...put some of the bolts and such in the rust bucket...
Thread Starter
Super Moderator
Joined: Sep 2010
Posts: 3,609
Likes: 181
From: Houston, Texas
ah ha
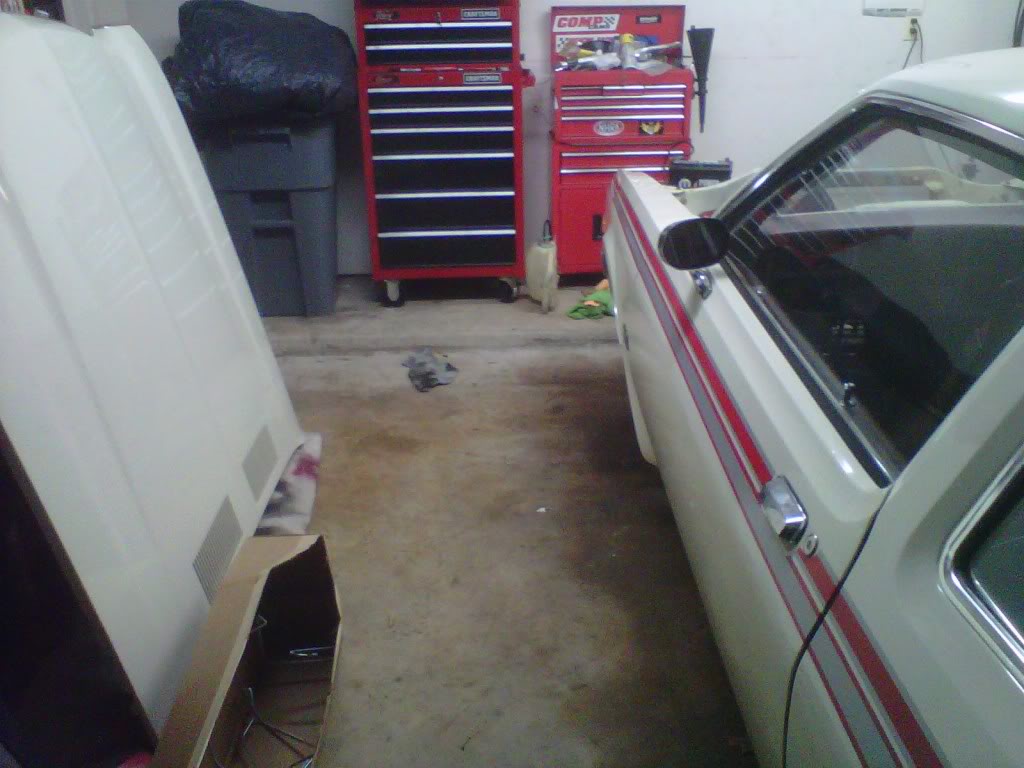
Several people told me that the decals on my car were wrong and that the colors should be swapped...I found another car with low mileage with the same decals as mine...
Thread Starter
Super Moderator
Joined: Sep 2010
Posts: 3,609
Likes: 181
From: Houston, Texas
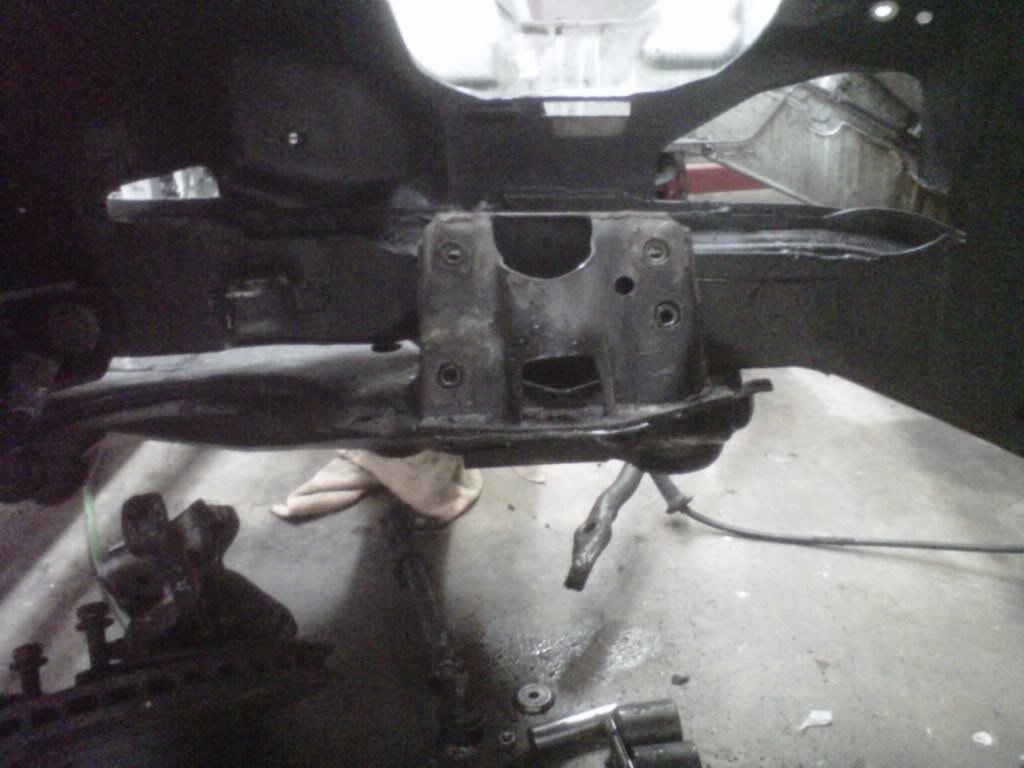
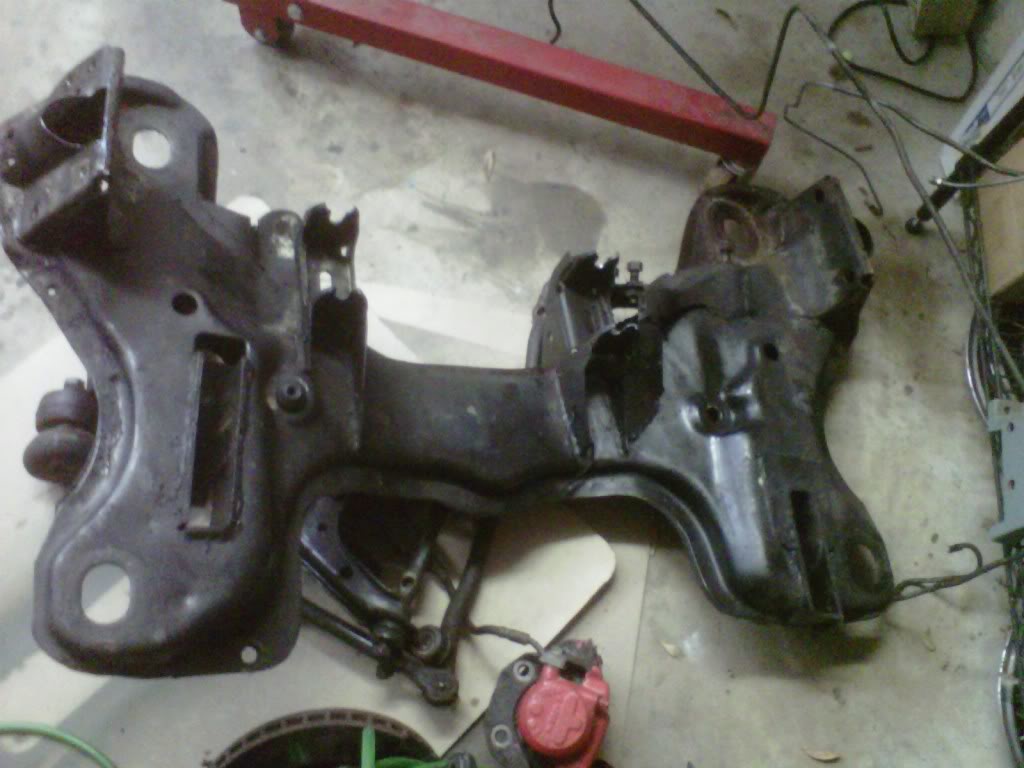
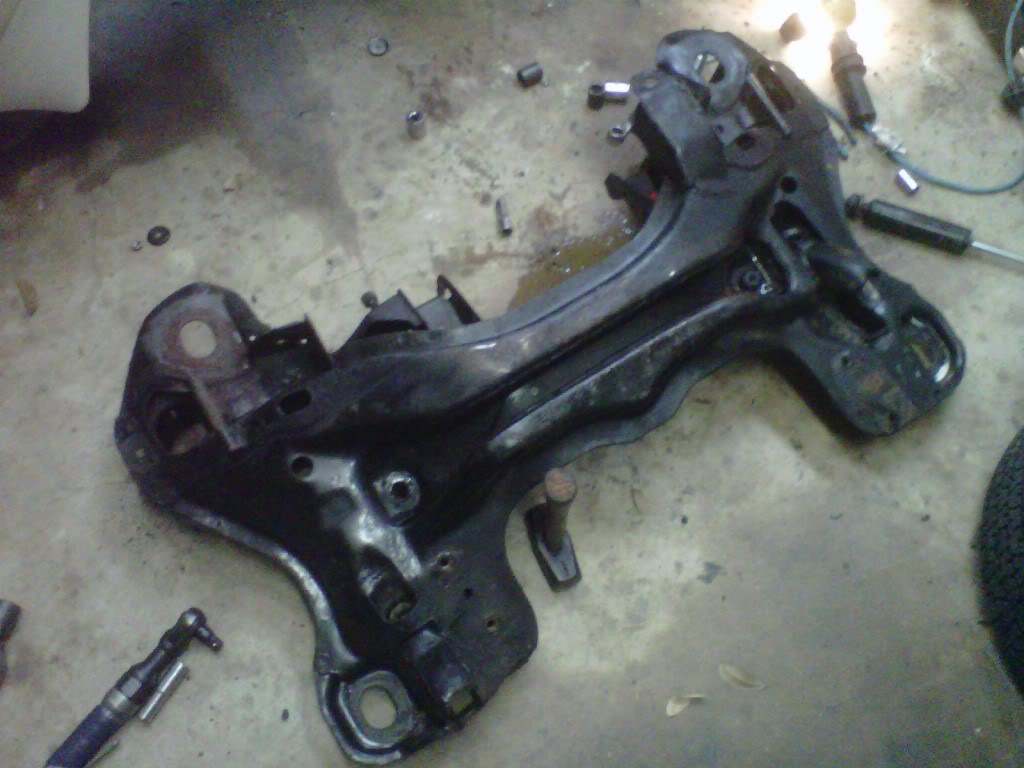
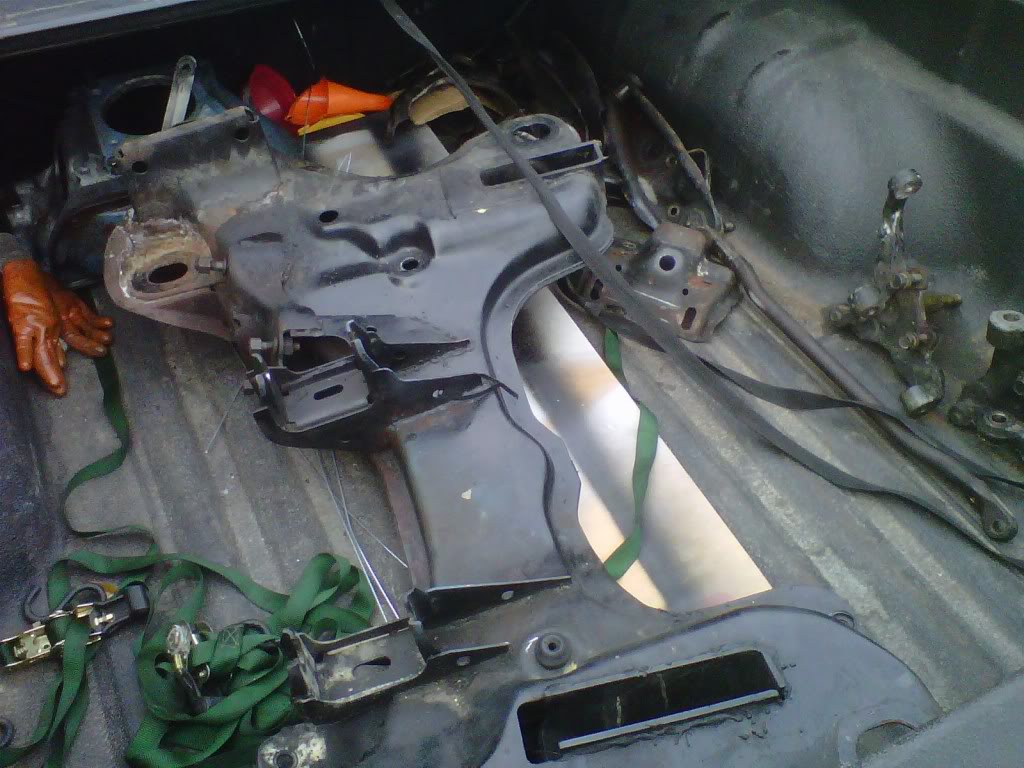
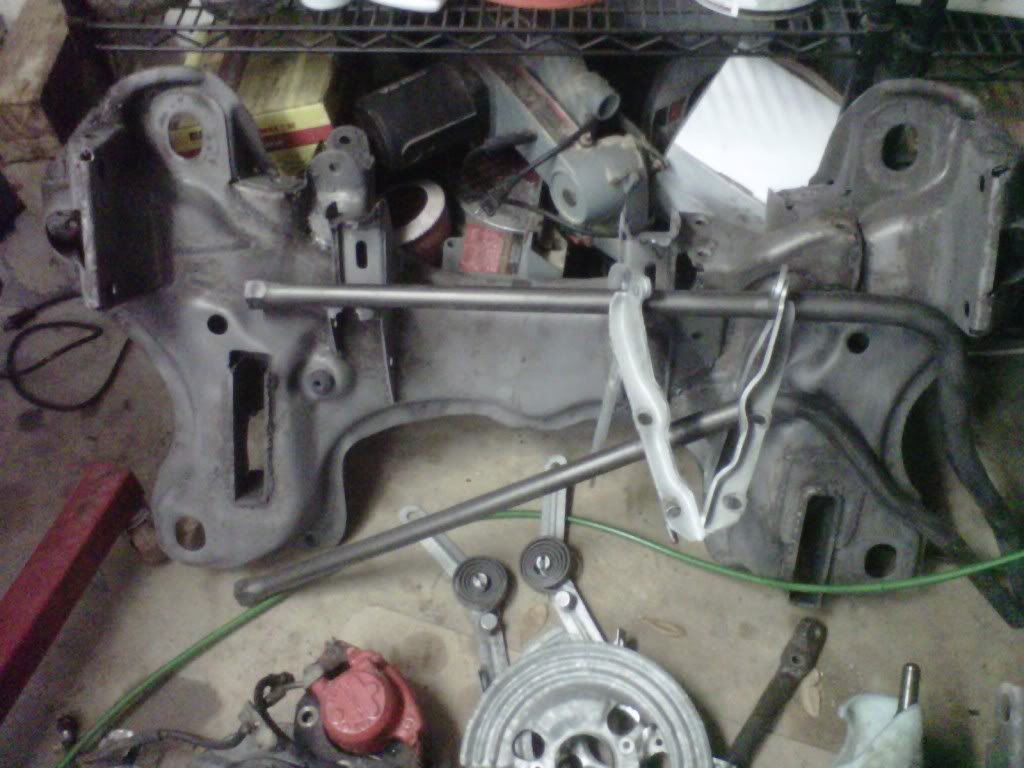
It is finally outta there...that 50 pound k-member
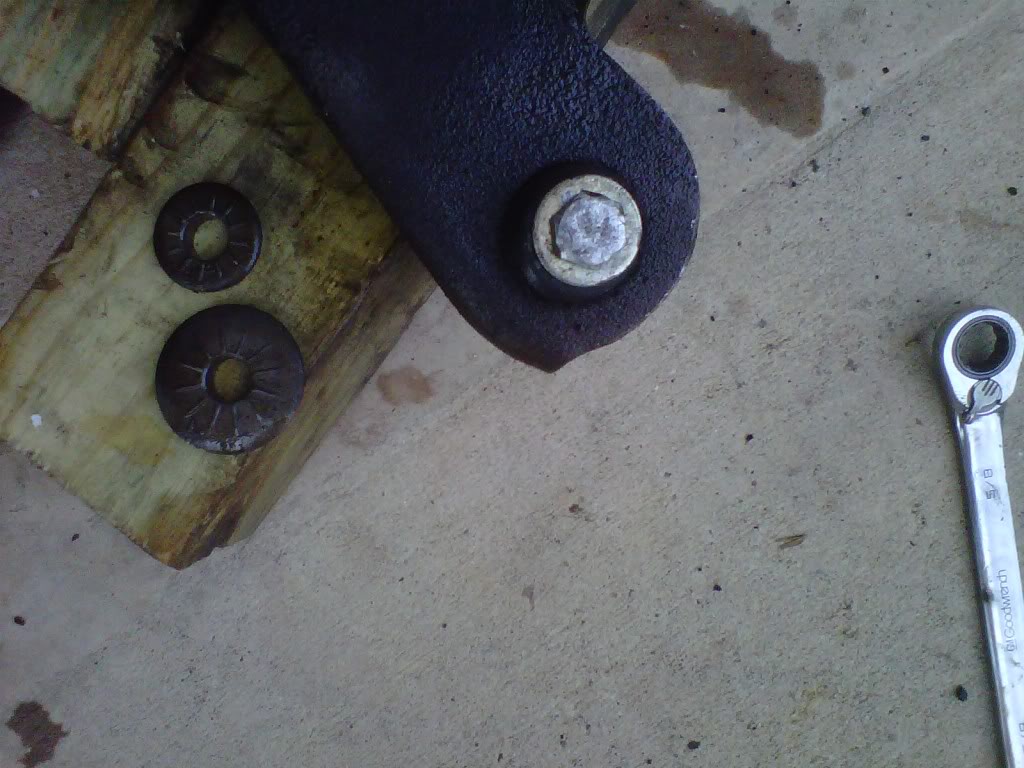
About two more hours of work tonight and I got that k-member out of there...took out three bolts and held it up with my left arm and hit the last bolt with my impact...it's outta there...now I have a big open hole..pictures tell the story..my roller set up really helps in this garage...moved it back and to the other side to give me room to work on the passenger side..
You want some rubber pucks?
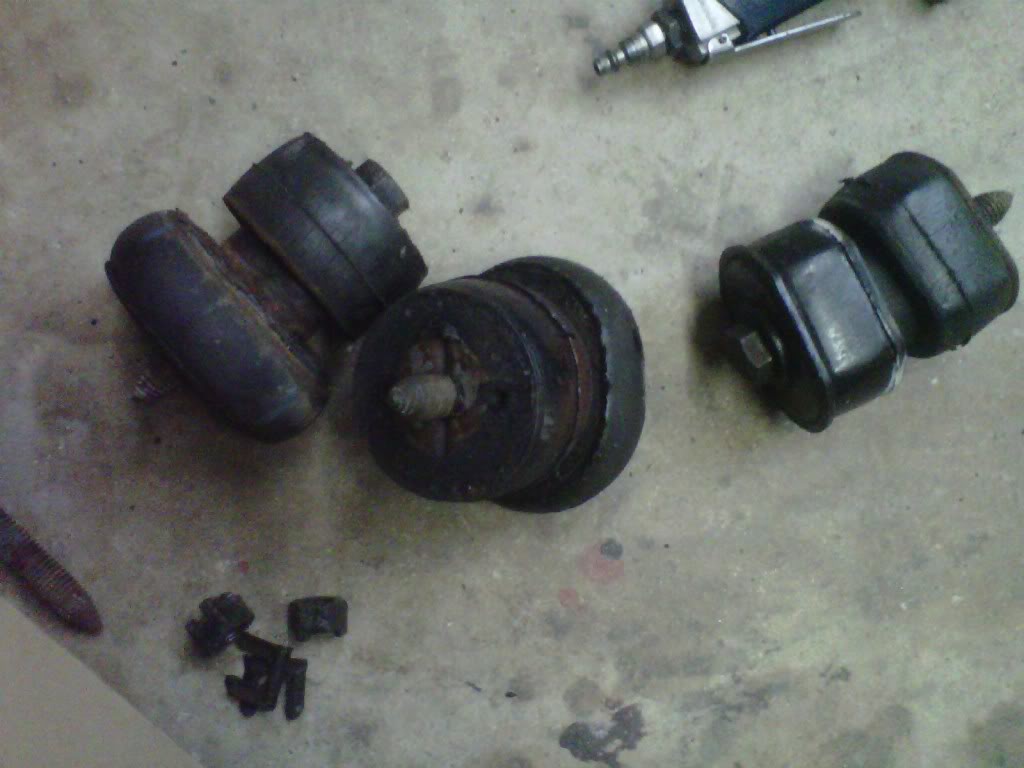
You want some rubber pucks?
Last edited by bremereric; Mar 12, 2011 at 04:53 PM.
Thread Starter
Super Moderator
Joined: Sep 2010
Posts: 3,609
Likes: 181
From: Houston, Texas
Today....hardly any work done on the car
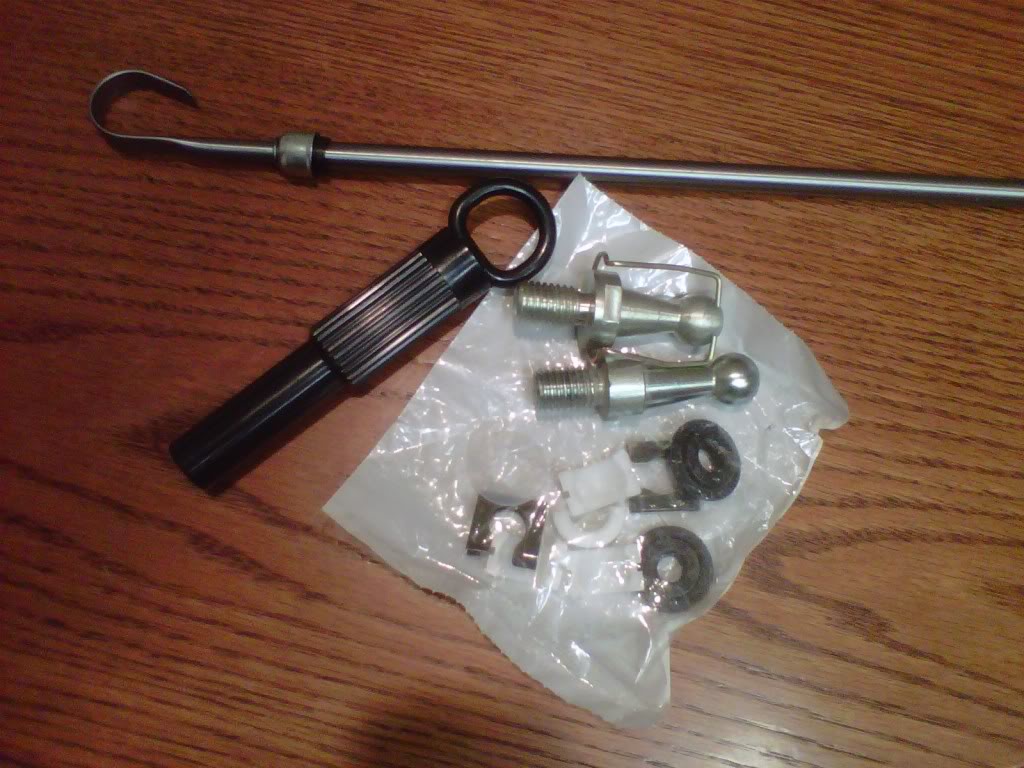
Do to things beyond my control at work it was a long day there..I didn't get home till 11:30 pm and hardly any work completed on the car today..I did however get to use my 35 dollar ball joint socket at work to get the top two ball joints out...when I arrived home there was a small present from Mancini...clutch align tool...a new dipstick for the motor and my z-bar service kit..will see if the pivot ball joints are correct tomorrow..also going to remove the upper and lower control arm bushings
Thread Starter
Super Moderator
Joined: Sep 2010
Posts: 3,609
Likes: 181
From: Houston, Texas
A little progress today..
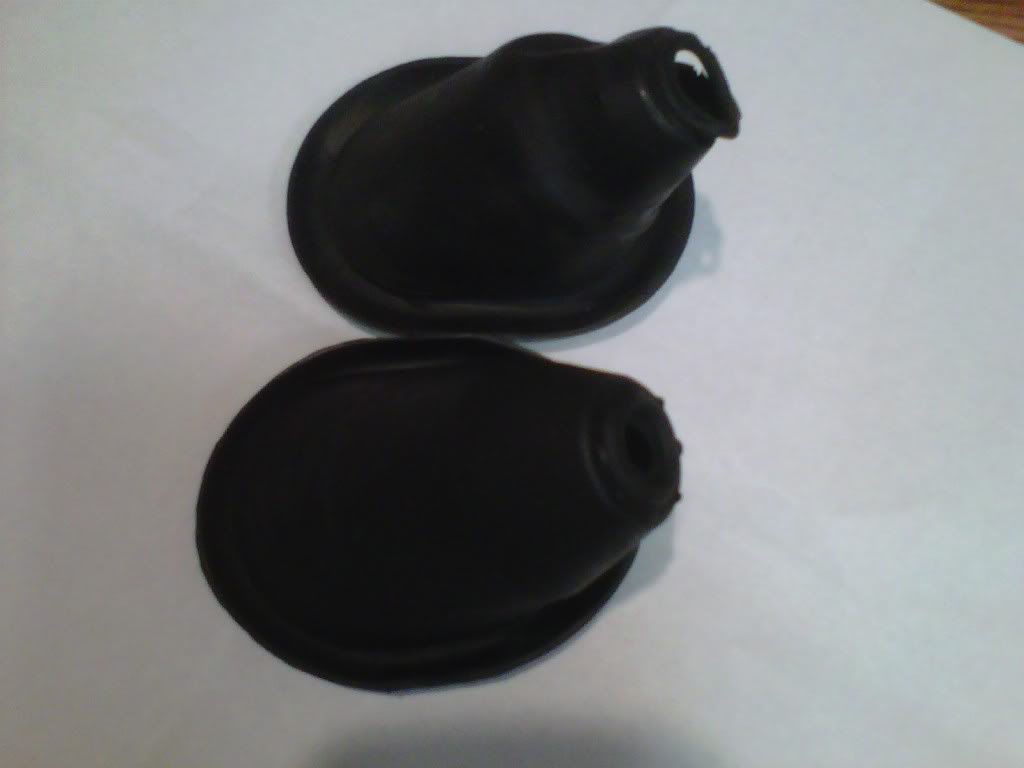
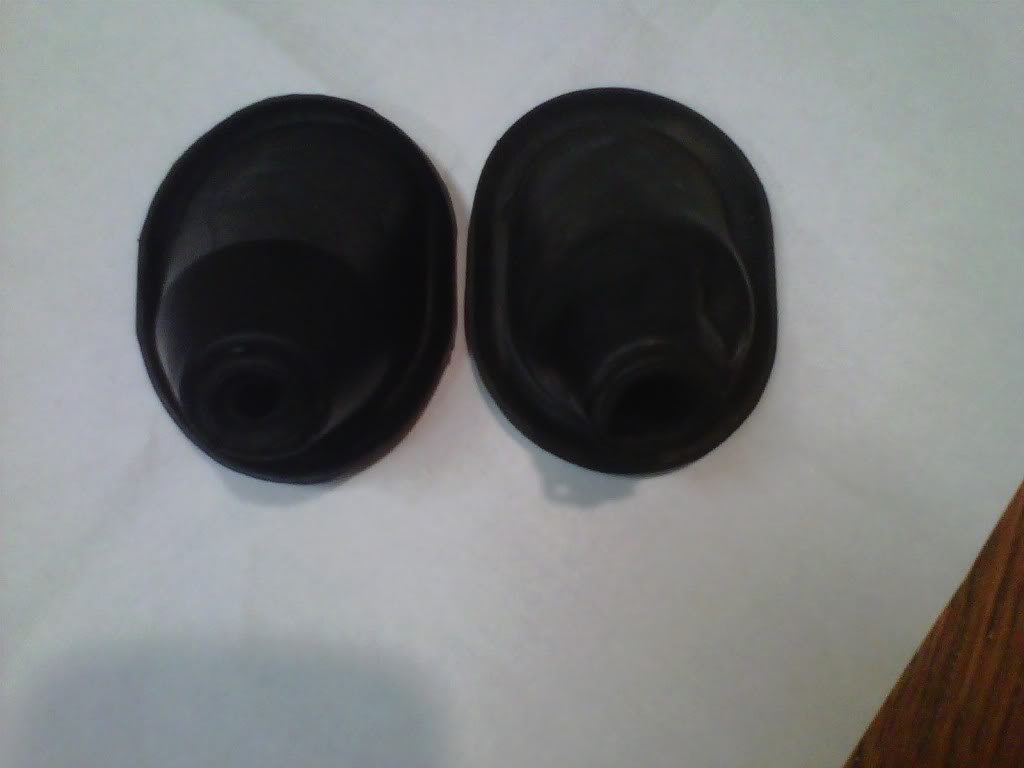
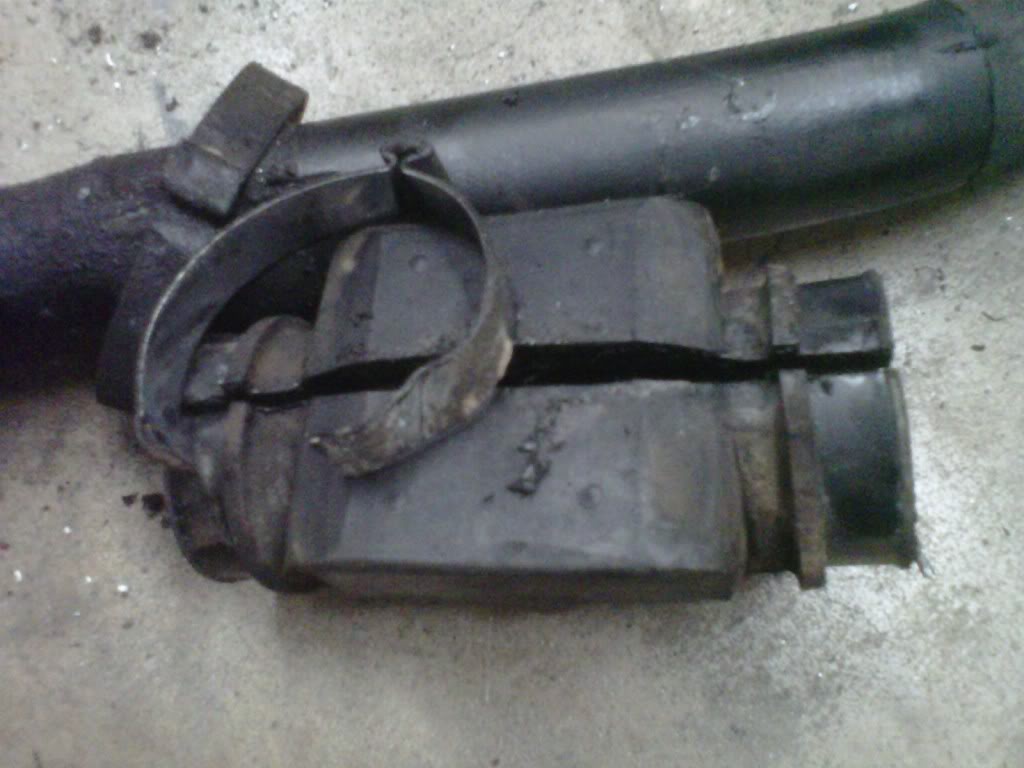
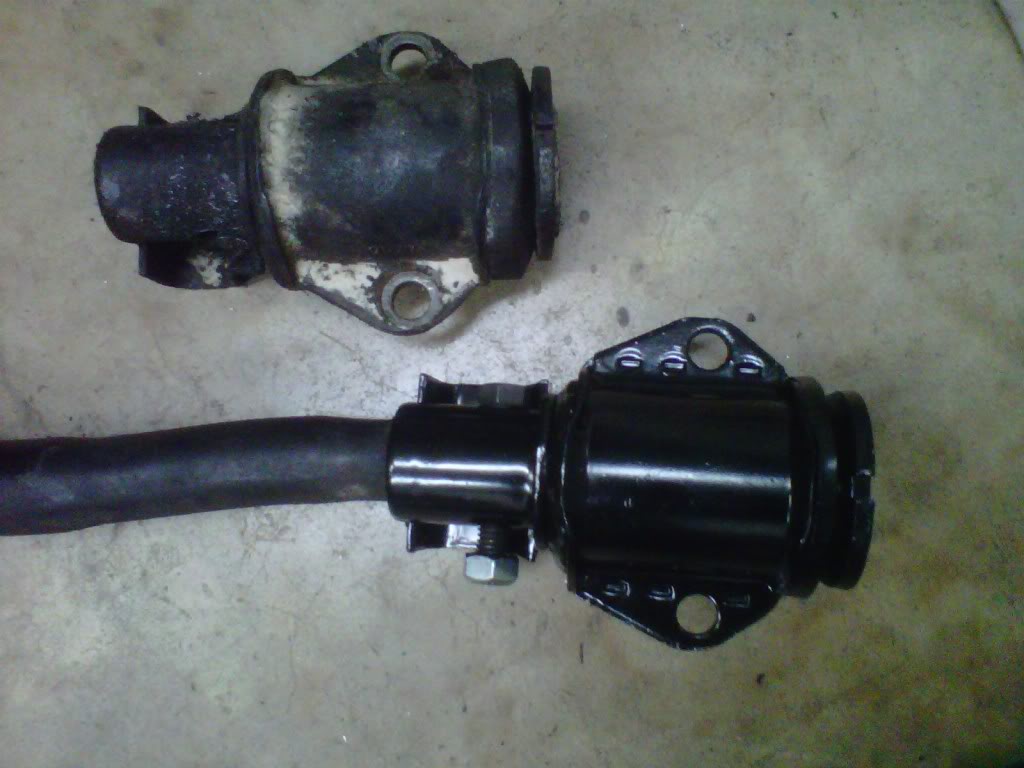
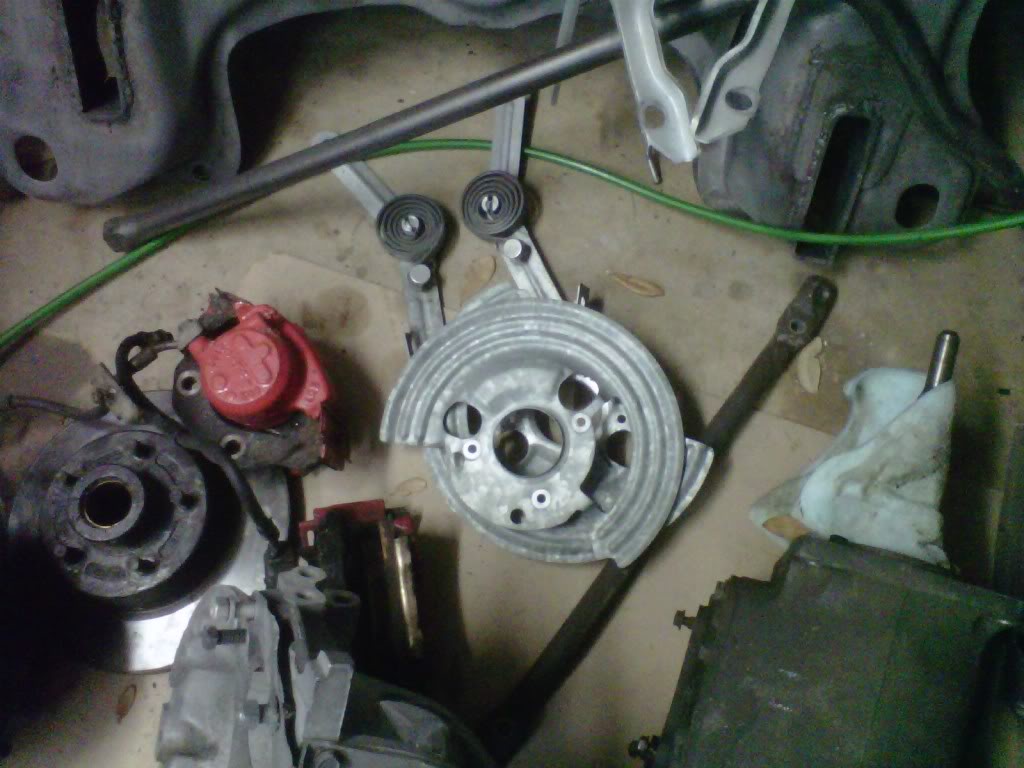
Got one thing here off of e-bay today...that re-popped clutch rod boot....my old one was torn
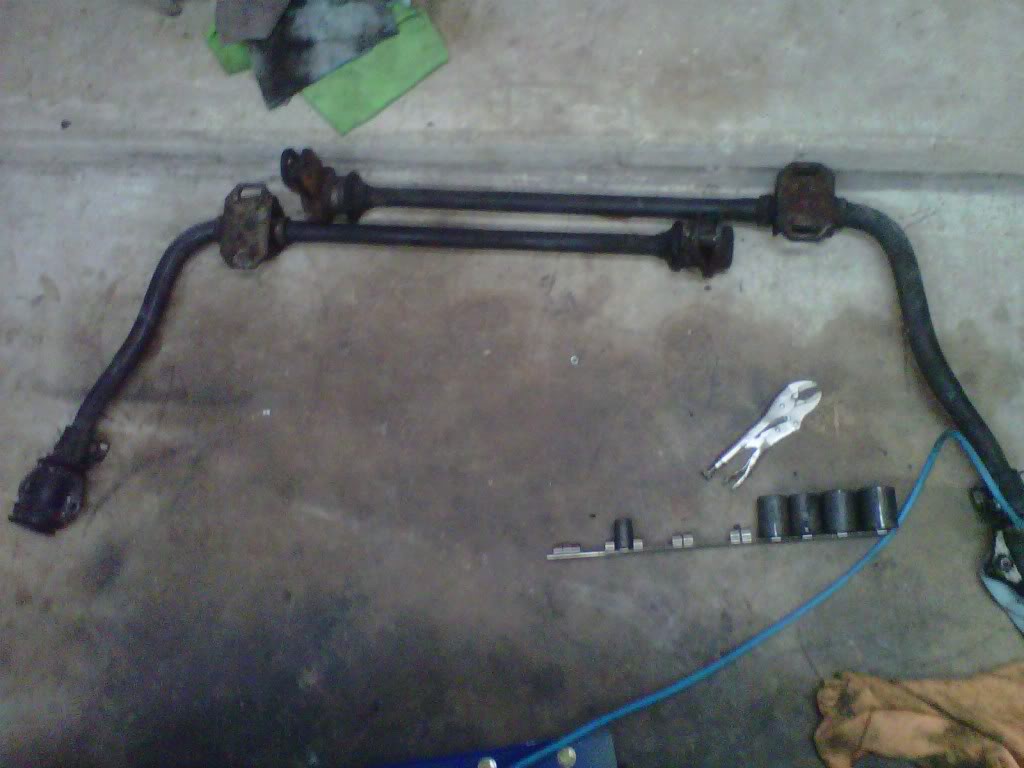
Then I got the middle bushings off both torsion bars...drilled out spot welds and then a little air chisel action to seperate them..going to do some spot welds when I put them back together...
Then I got the middle bushings off both torsion bars...drilled out spot welds and then a little air chisel action to seperate them..going to do some spot welds when I put them back together...
Thread Starter
Super Moderator
Joined: Sep 2010
Posts: 3,609
Likes: 181
From: Houston, Texas
I did some late night checking..
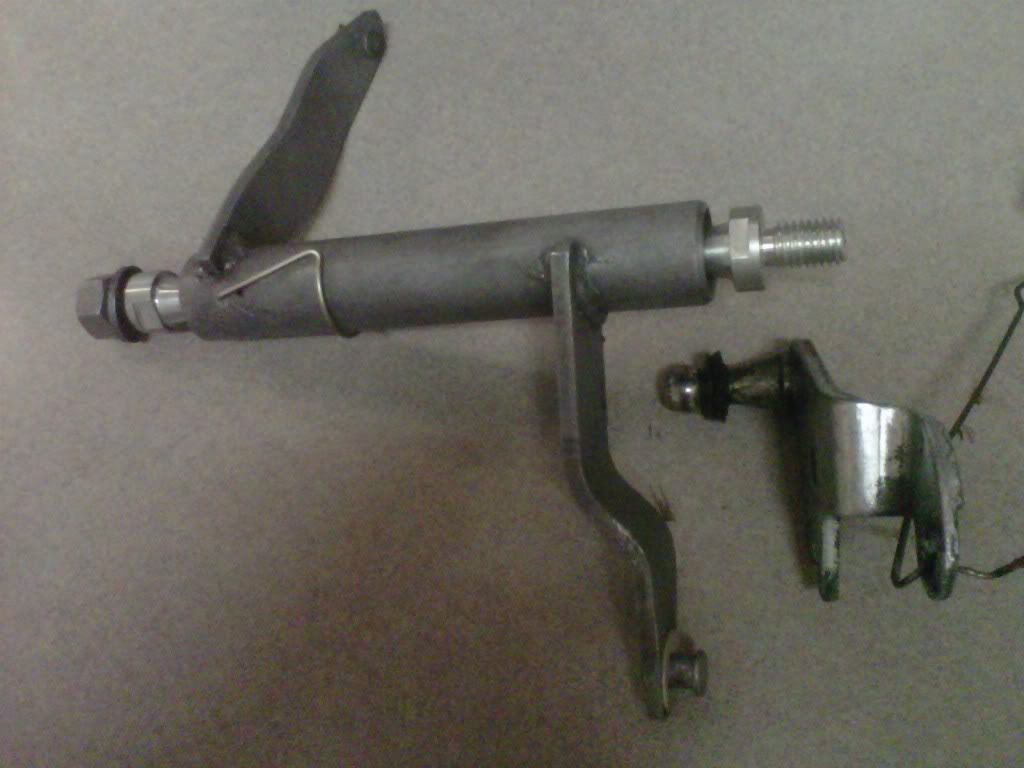
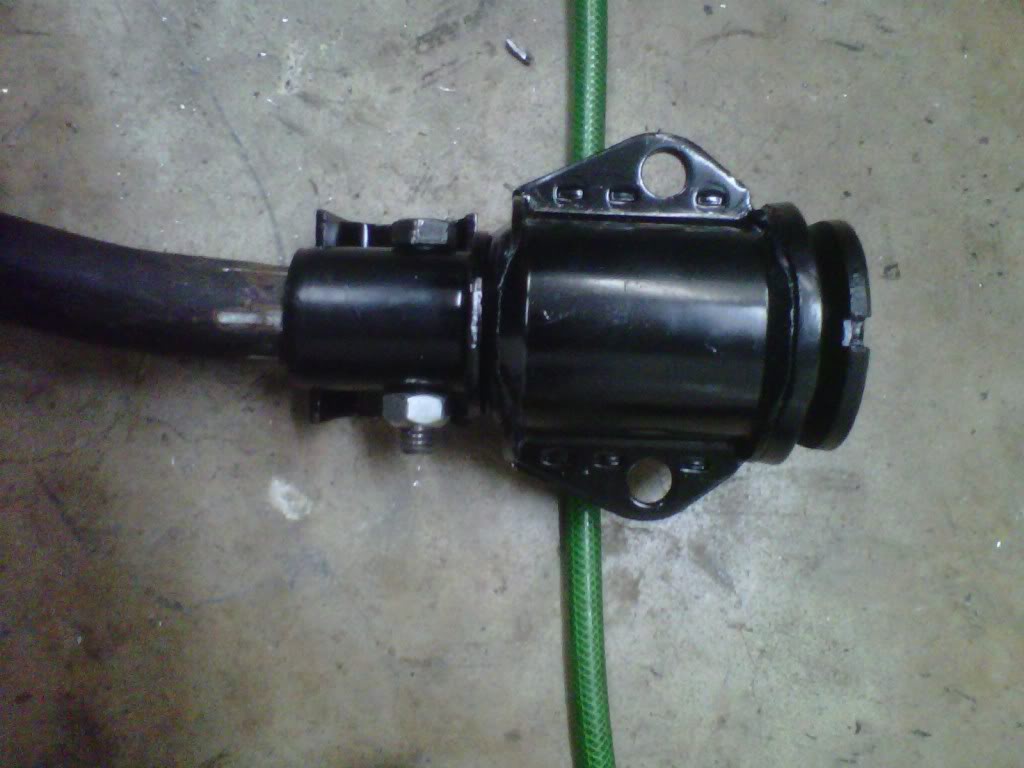
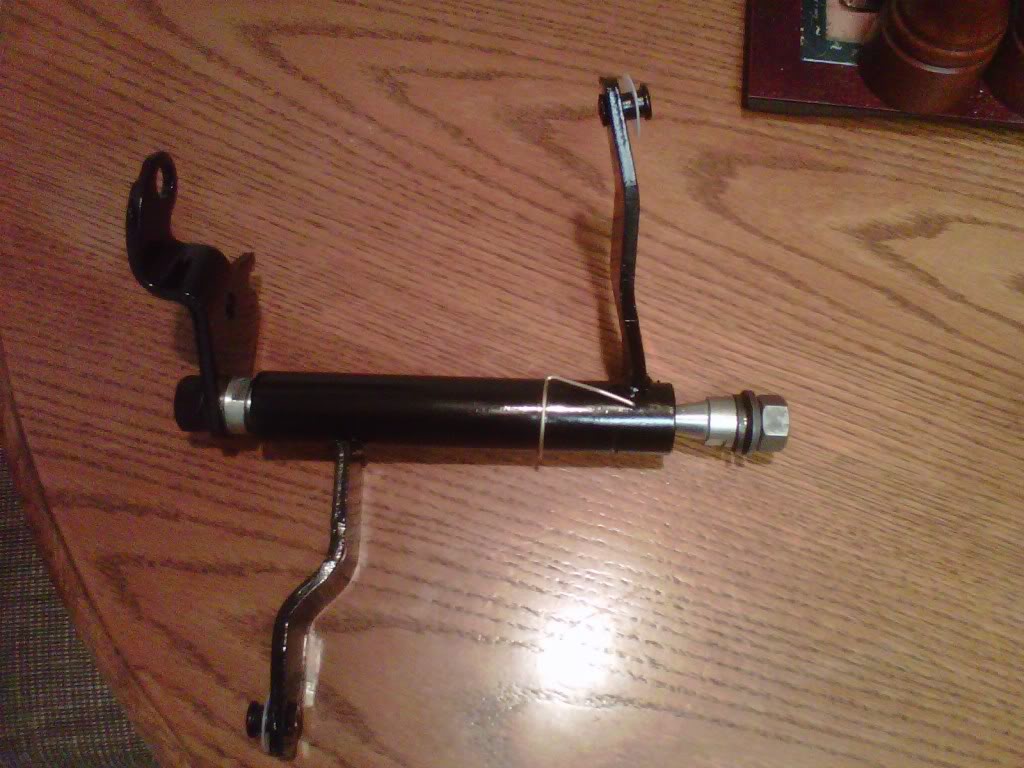
The B-body z-bar service kit I bought for the car will work...I may have to drill a round hole in the bracket that is on the frame rail but oh well that will be another day..I dry fitted everything and then took some pics..the bracket that attaches to the tranny had the pivot ball joint rivot to the bracket..I will have to drill out the rivet and use a nut...
Last edited by bremereric; Mar 12, 2011 at 04:53 PM.
Thread Starter
Super Moderator
Joined: Sep 2010
Posts: 3,609
Likes: 181
From: Houston, Texas
Not a lot of progress today...
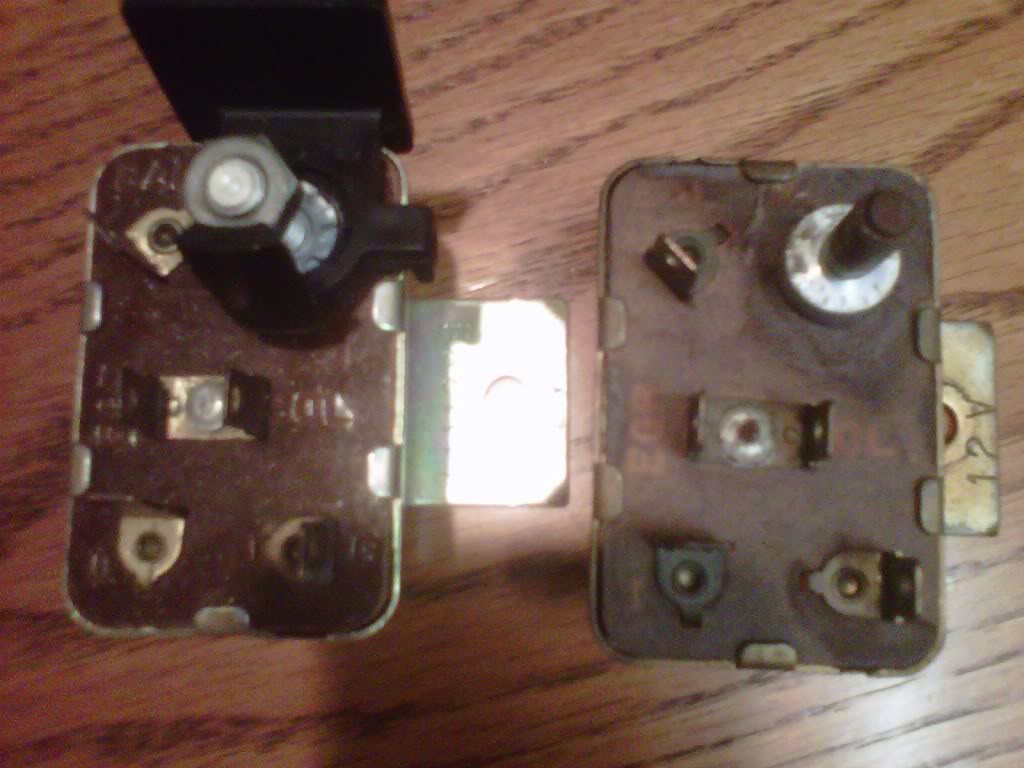
One more item showed up tonight...my NOS not made in China starter relay...it was cheap to 21 bucks included shipping..not rusty and such as the old one...
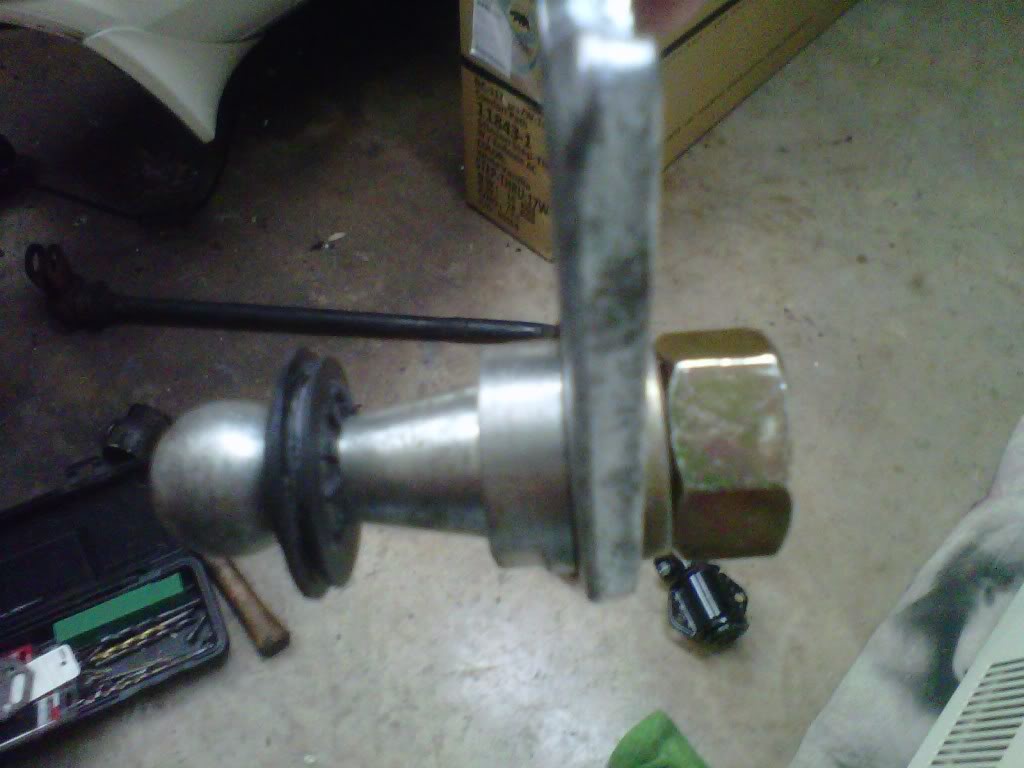
Then I had my fun with the end bushing on one of the torsion bars...first one was hard and time comsuming but I got it done and test bolted the new one in place..Drilling out the rivet was the trick...drill the head off each end and use a punch to knock it out
Then I had my fun with the end bushing on one of the torsion bars...first one was hard and time comsuming but I got it done and test bolted the new one in place..Drilling out the rivet was the trick...drill the head off each end and use a punch to knock it out
Last edited by bremereric; Mar 12, 2011 at 04:52 PM.
Thread Starter
Super Moderator
Joined: Sep 2010
Posts: 3,609
Likes: 181
From: Houston, Texas
okay here is what is done tonight
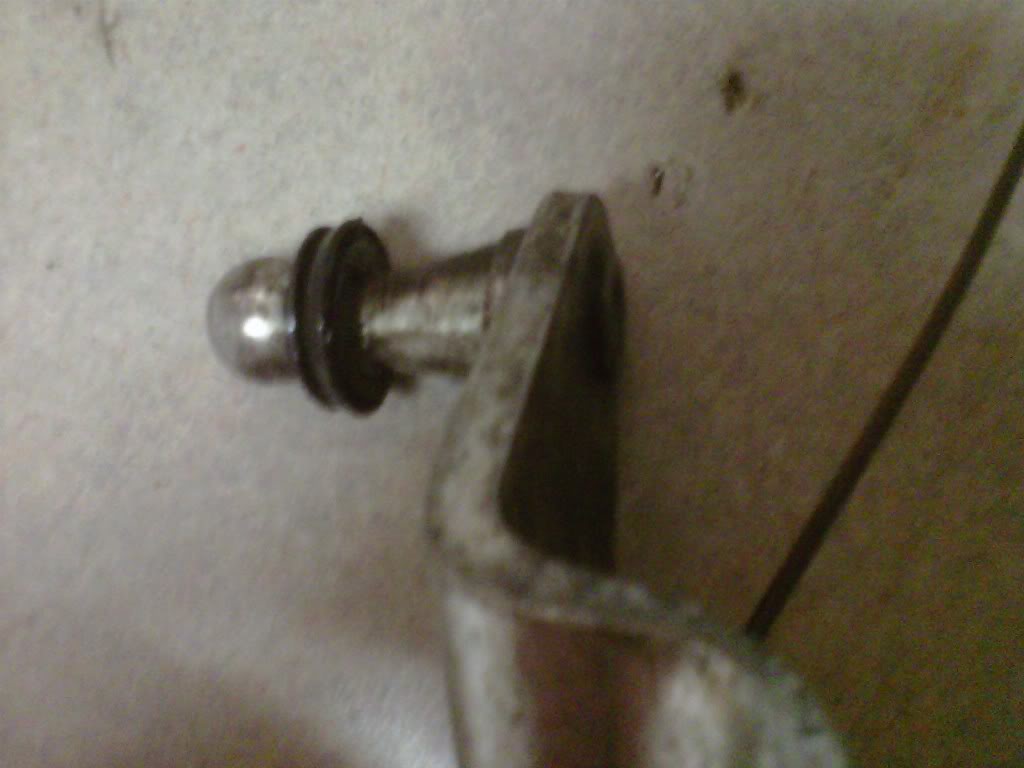
I got home and ate supper..then I got the other end bushing off of the torsion bar..then I stripped paint off off or several pieces for a trip in the rust bucket..I also drilled out the pivot ball joint on the tranny bracket and installed the new one with lock tight and a lock washer and nut..
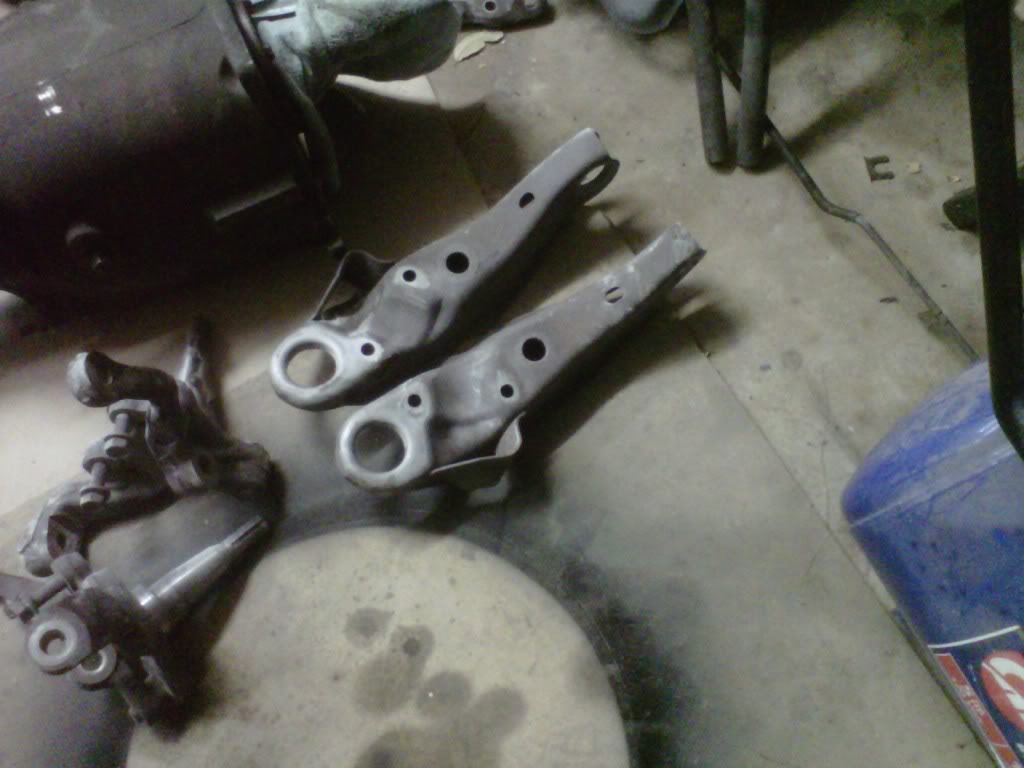
Got all of these parts stripped of paint and placed in the rust bucket
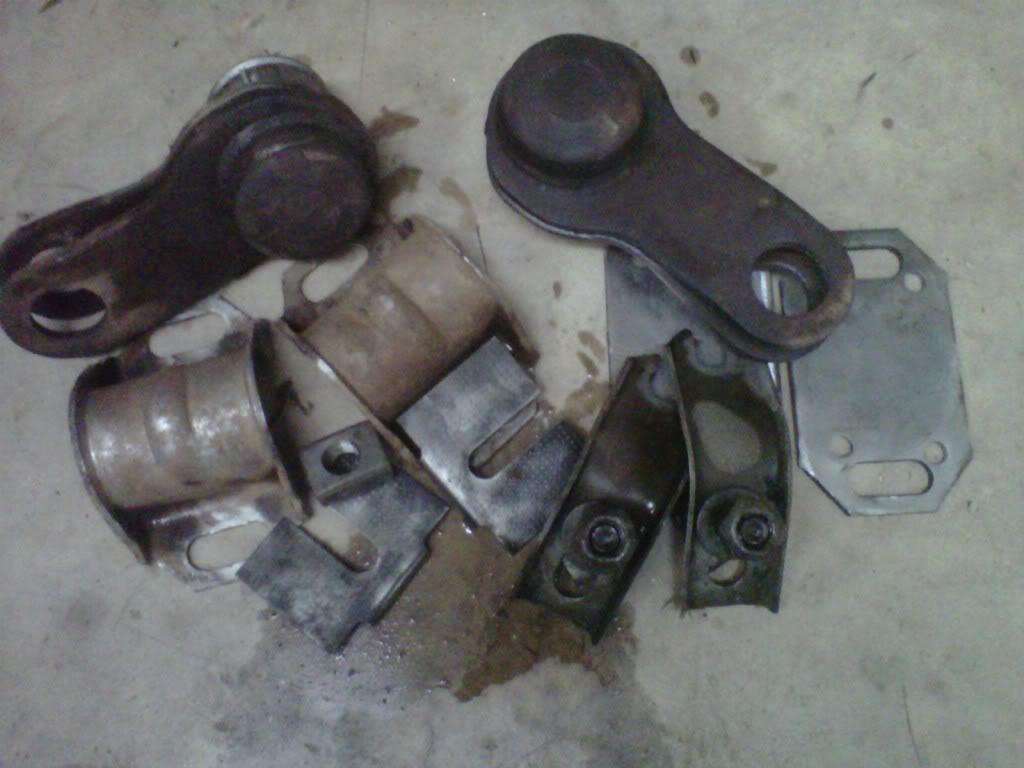
Got all of these parts stripped of paint and placed in the rust bucket
Thread Starter
Super Moderator
Joined: Sep 2010
Posts: 3,609
Likes: 181
From: Houston, Texas
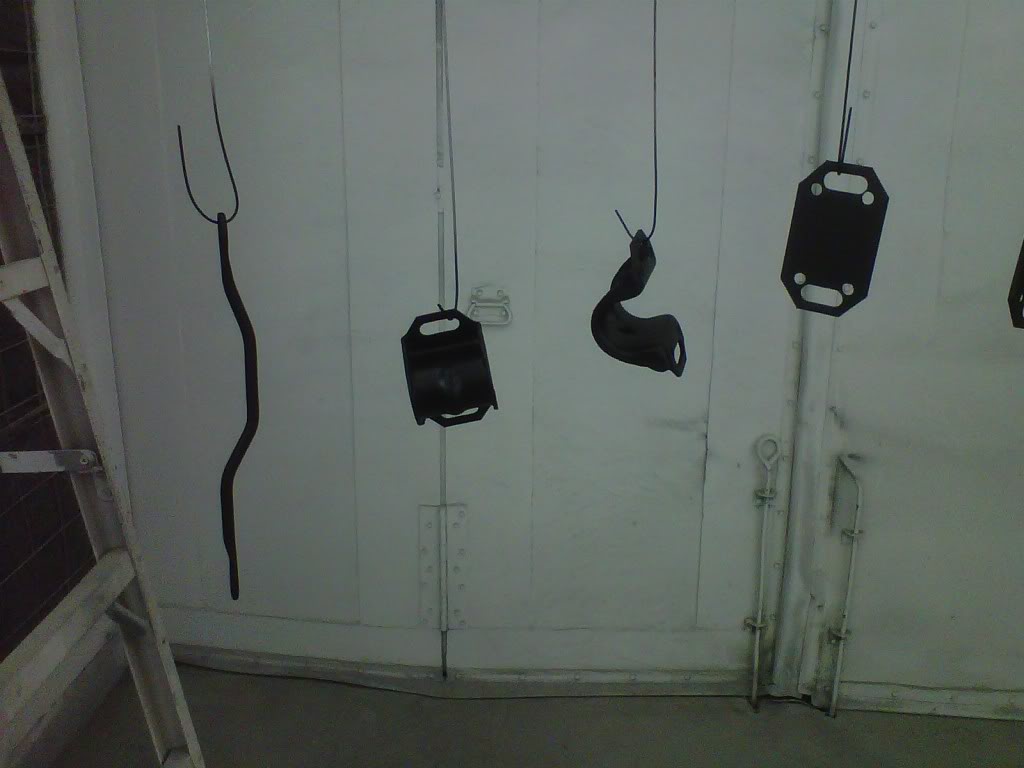
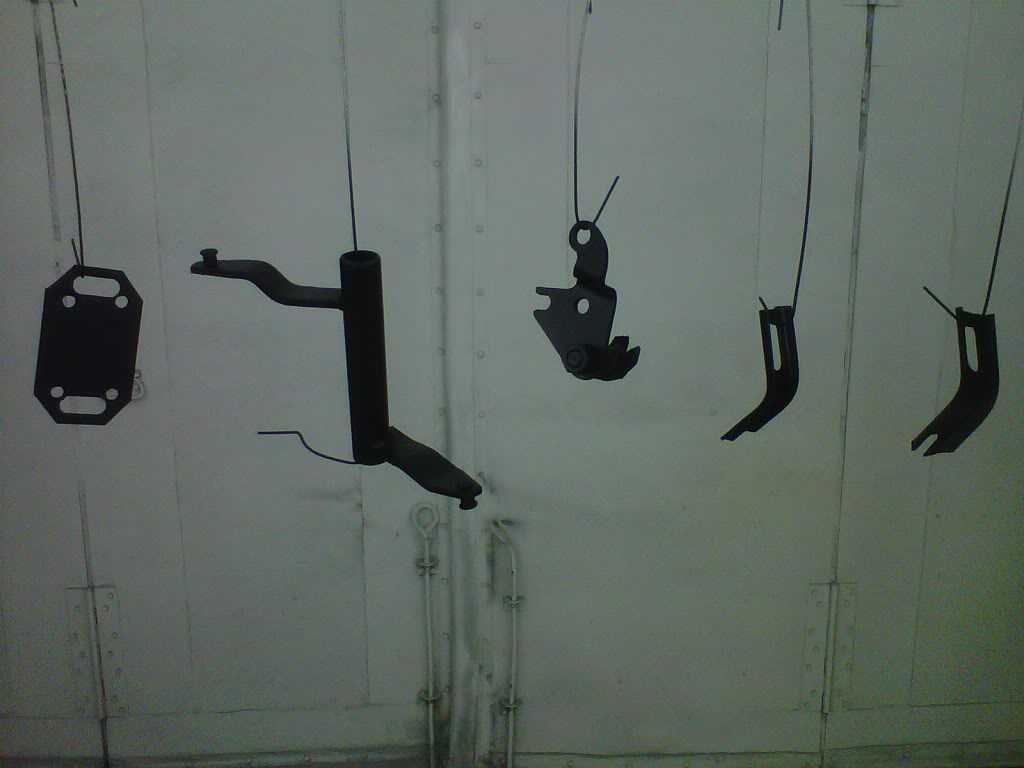
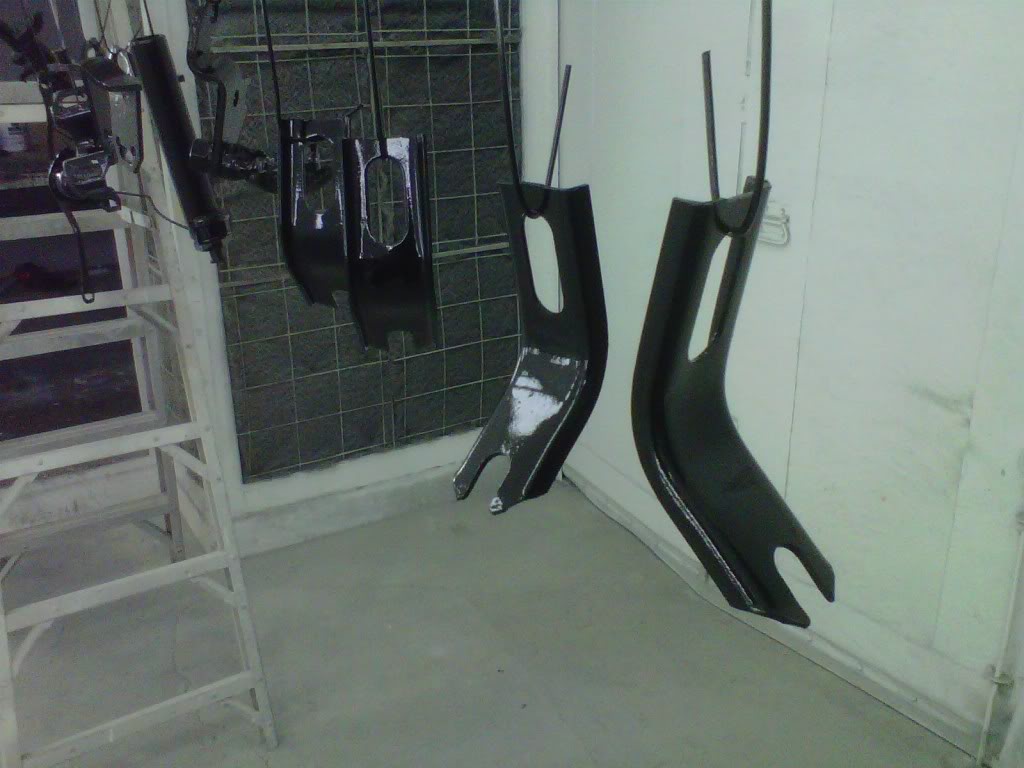
The paint booth is open to me this weekend
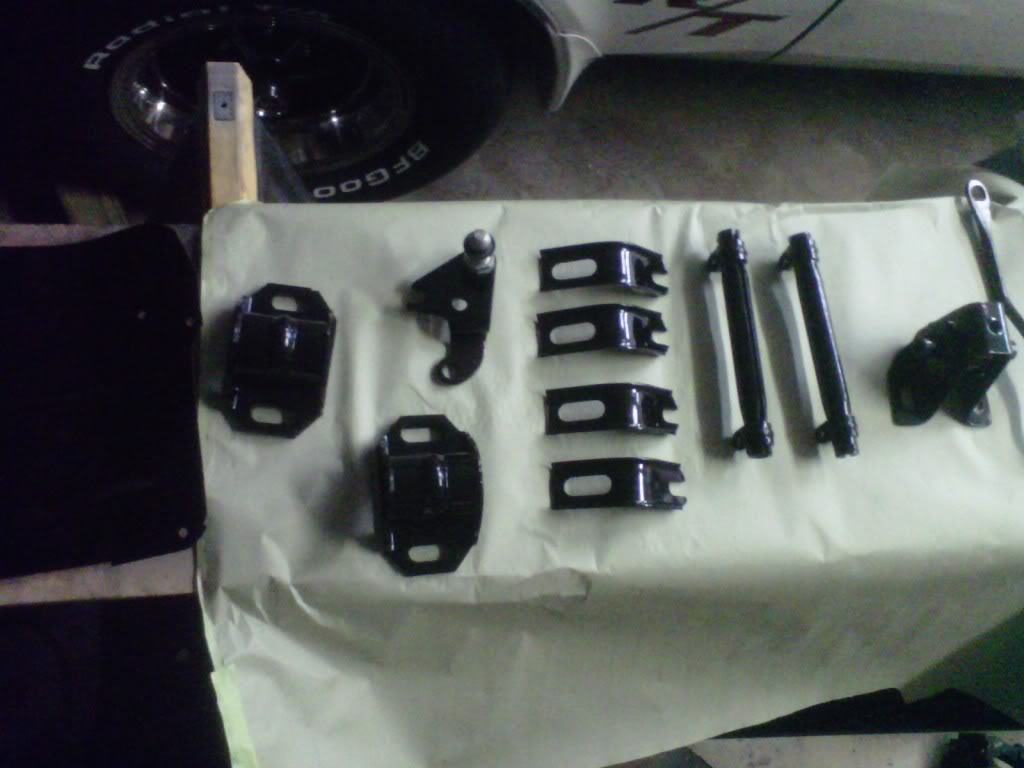
The paint booth was empty this weekend so I took everything I had ready to paint there and shot two thin coats of the Eastwood's extreme chassis black on them and then baked them with the heat on..I will go back tonight and shoot one thin coat of the gloss chassis black on them and another tomorrow..
Thread Starter
Super Moderator
Joined: Sep 2010
Posts: 3,609
Likes: 181
From: Houston, Texas
Okay upper control arm bushings are out
I had to buy a new clothes dryer on the way home and install it and kick the old one to the curb...after that I fired up the air compressor and broke out the air chisel...see I have a garage with no five hundred pound bench and good heavy duty vise...I tried pounding them out no wana...I used the air chisel to drive them 3/4 of way out then could drive them out with the control arm shaft with a nut on the end of it..two more things ready for blasting..
Thread Starter
Super Moderator
Joined: Sep 2010
Posts: 3,609
Likes: 181
From: Houston, Texas
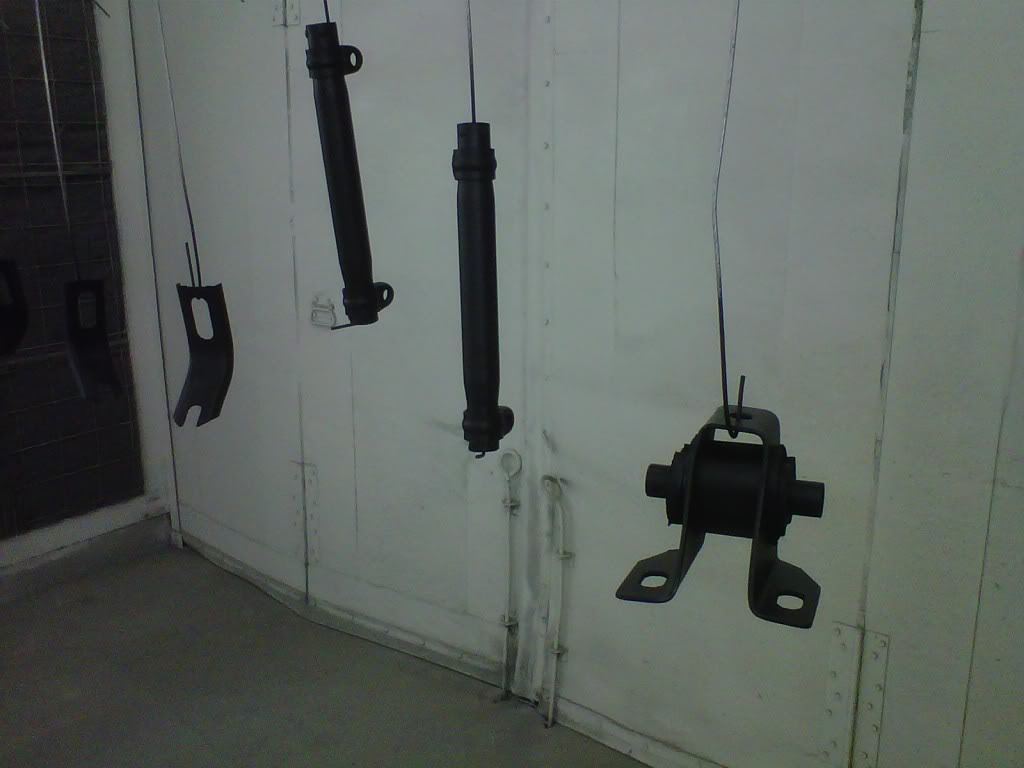
Last but not least for today
They have some shine to them now...back a 9:30 PM to shoot the gloss paint on...one thin coat...then baked them for 10 minutes...back home at 10:20...one more coat tomorrow...all the rest of the parts to be blasted on Monday...another big paint weekend next weekend...
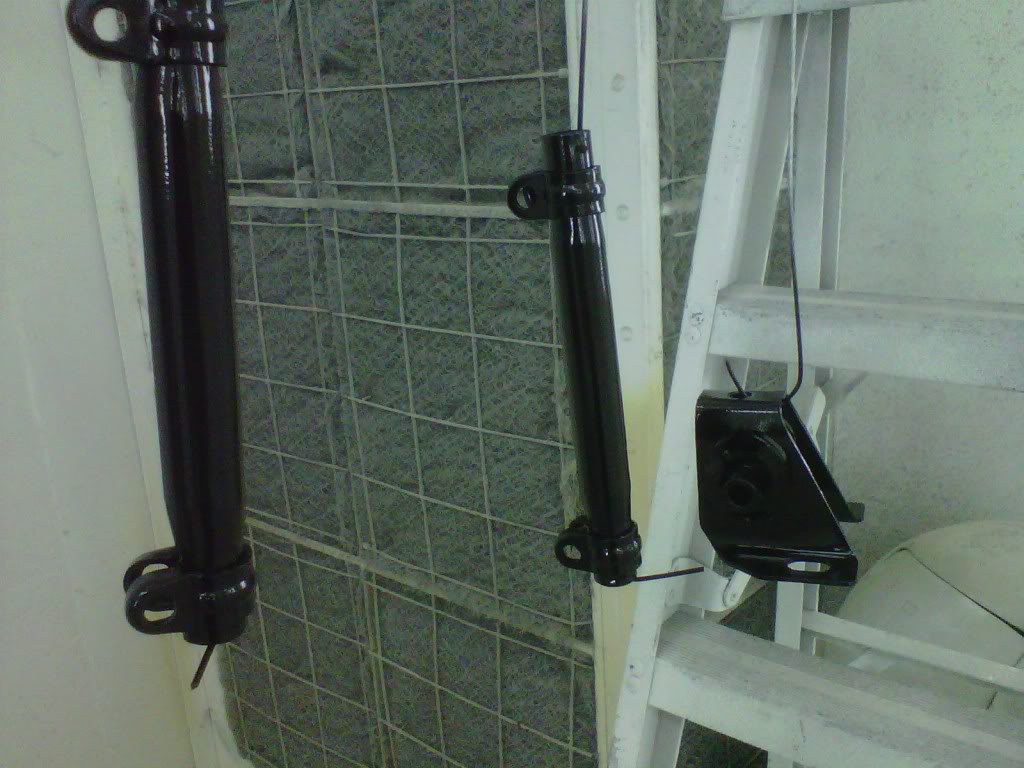

I also got my clutch fork boot from e-bay today...looks perfect..nice and new...I tried to clean the old one but I would have to use something that would eat the rubber to clean it..
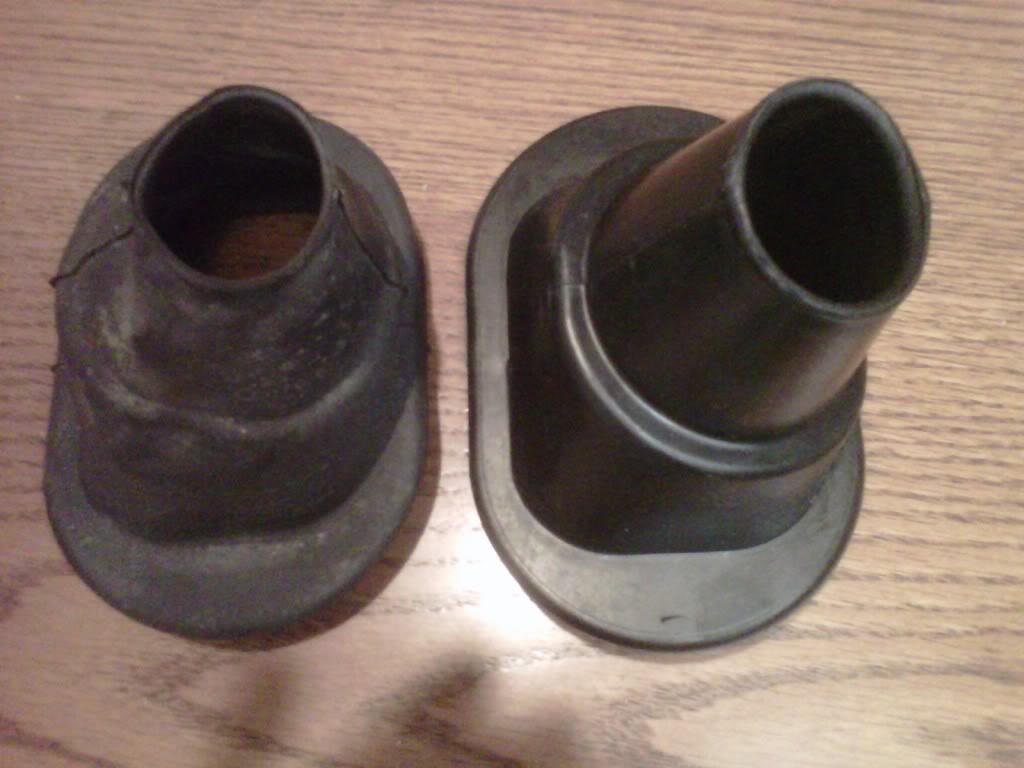
I also got my clutch fork boot from e-bay today...looks perfect..nice and new...I tried to clean the old one but I would have to use something that would eat the rubber to clean it..
Thread Starter
Super Moderator
Joined: Sep 2010
Posts: 3,609
Likes: 181
From: Houston, Texas
2nd coat of paint and more
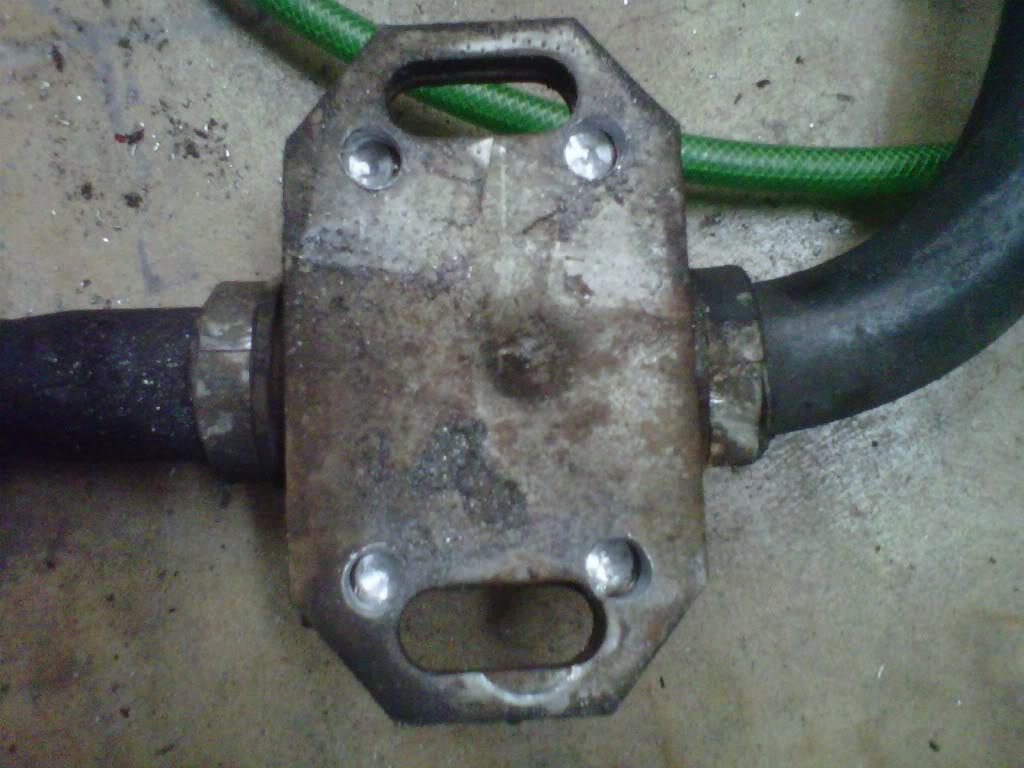
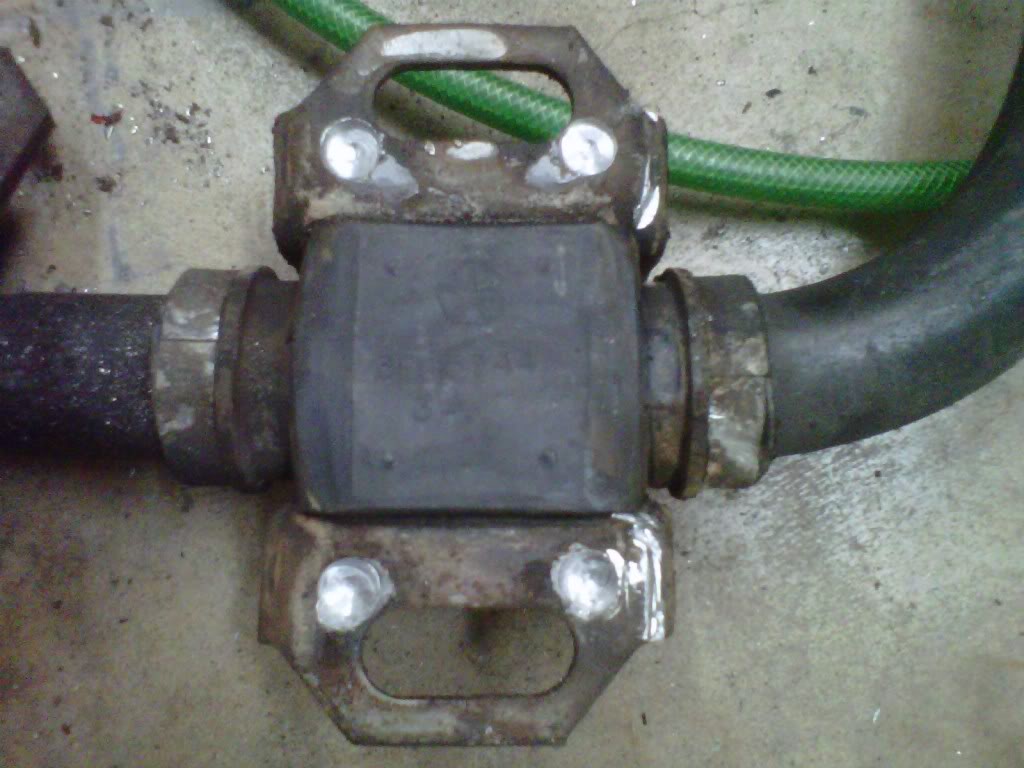
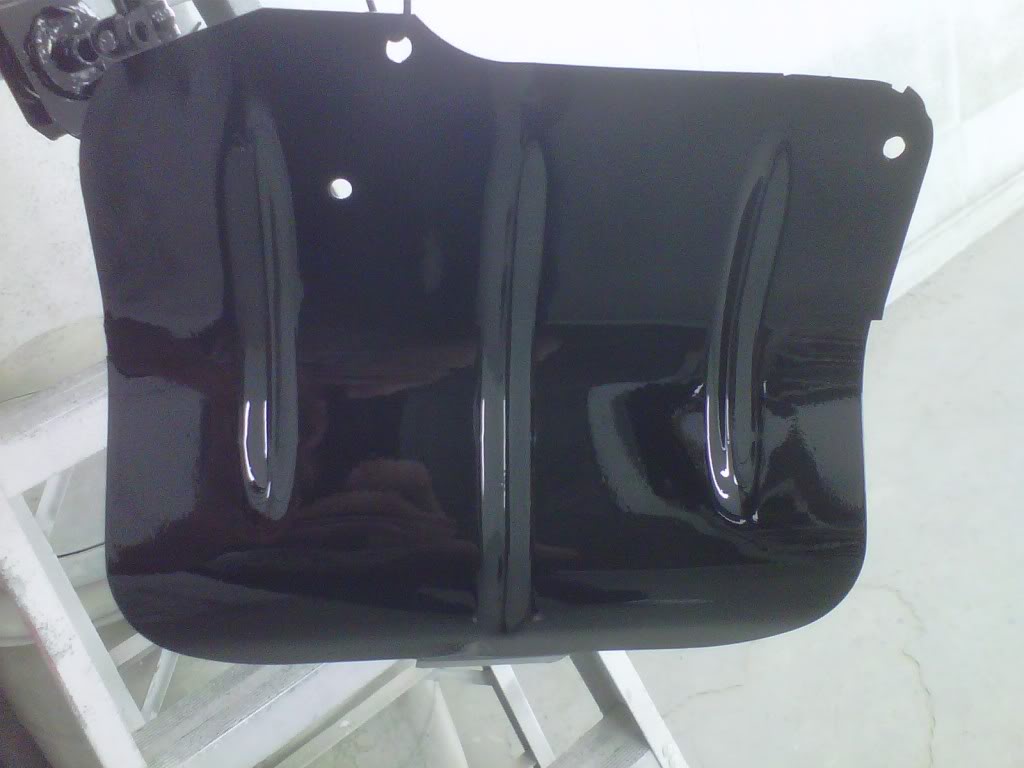
I went back to paint today..I took two more items...one of the access plates that I had already sprayed with epoxy paint and the proportional valve....paint really glossy on the second heavier coat..
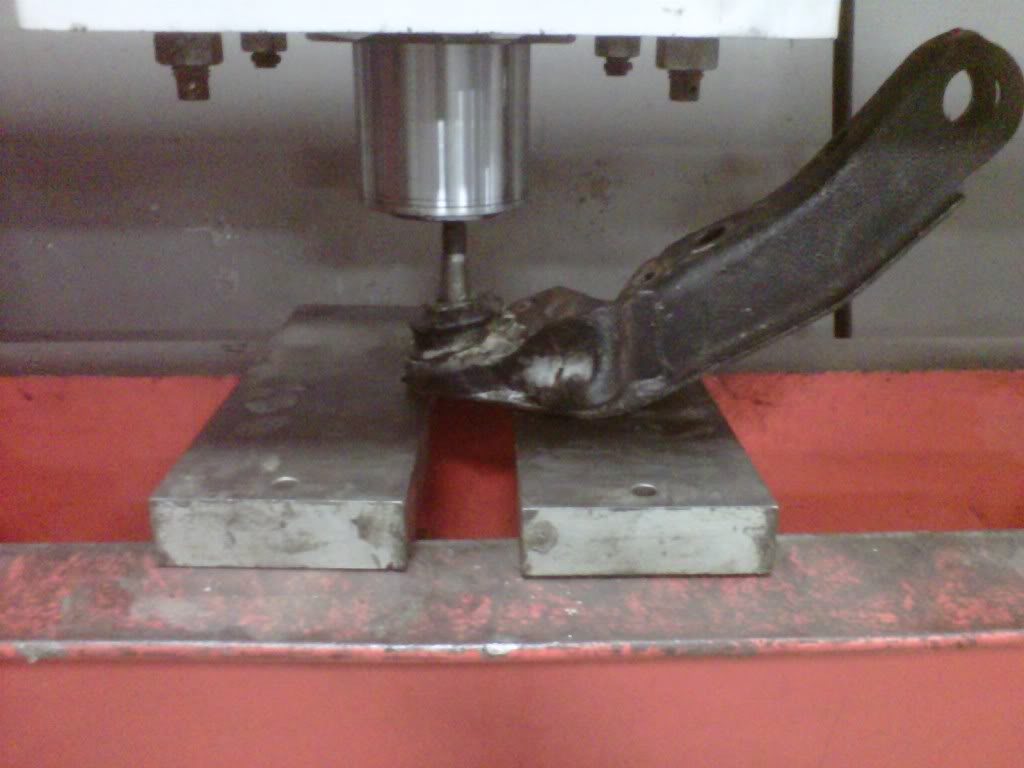
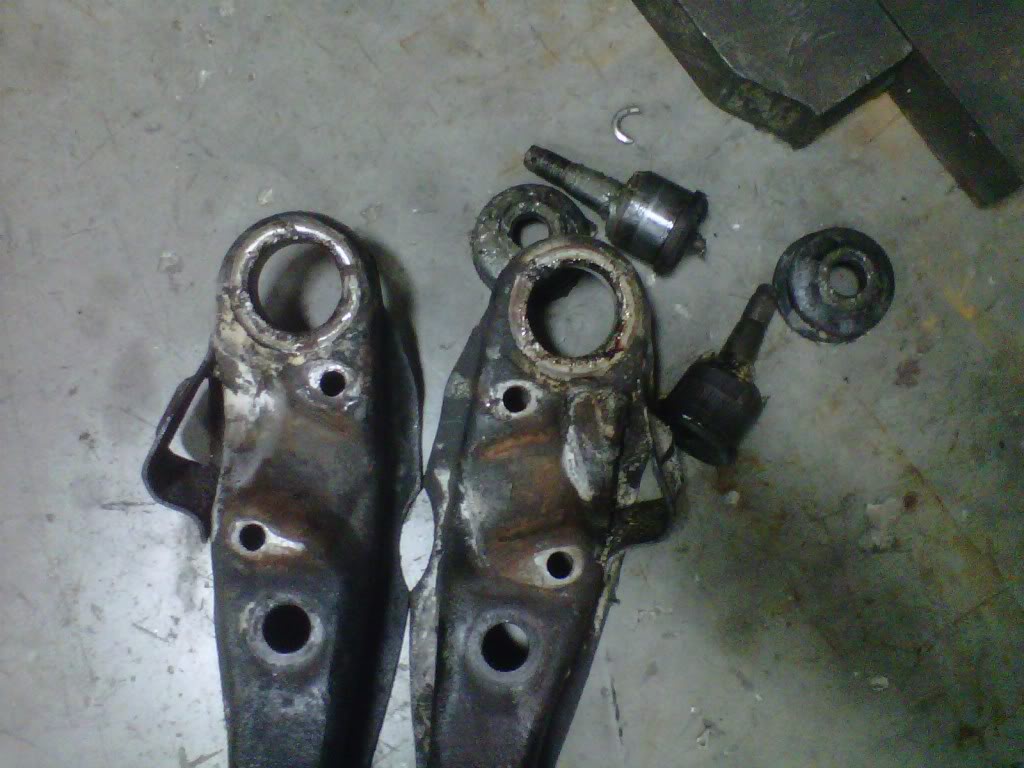
Then got most of my stuff loaded up for blasting tomorrow...I was able to pound out one of the lower control arm bushings but the other wouldn't cooperate...it going to the press tonight and I am also going to press out the lower ball joints..
Then got most of my stuff loaded up for blasting tomorrow...I was able to pound out one of the lower control arm bushings but the other wouldn't cooperate...it going to the press tonight and I am also going to press out the lower ball joints..
Thread Starter
Super Moderator
Joined: Sep 2010
Posts: 3,609
Likes: 181
From: Houston, Texas
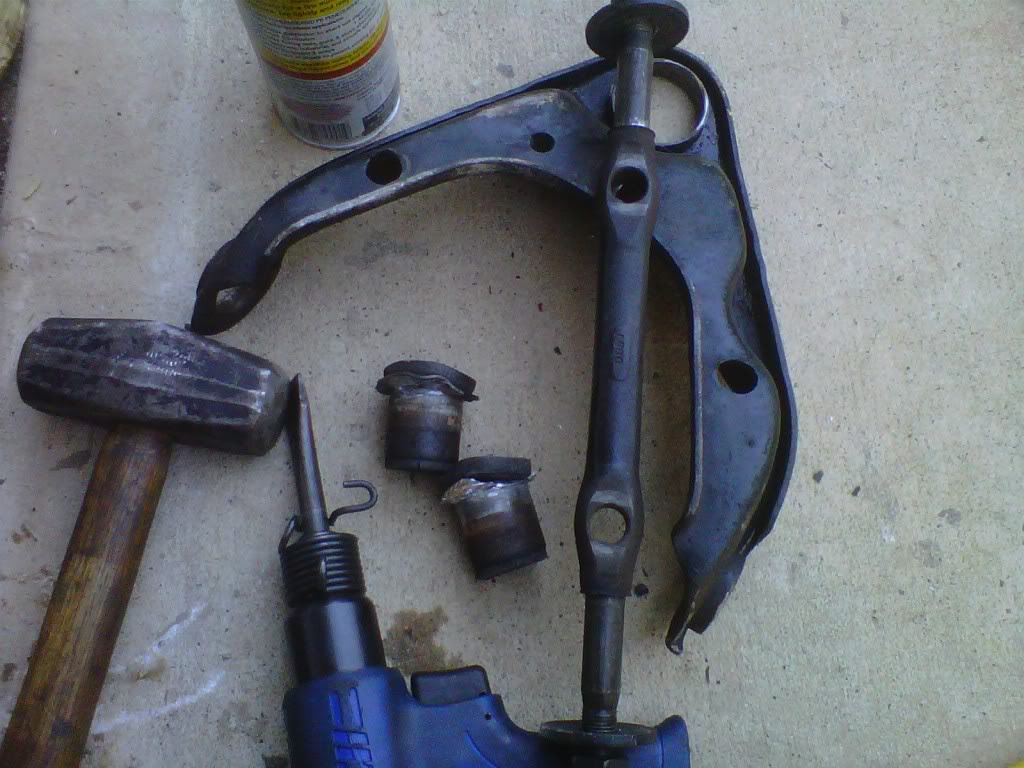
It helps to have the right tools..
Long time change day for me...did another rack of the those babyback ribs tonight then went back to work and pressed out that last lower control arm bushing and the two lower control arm ball joints..
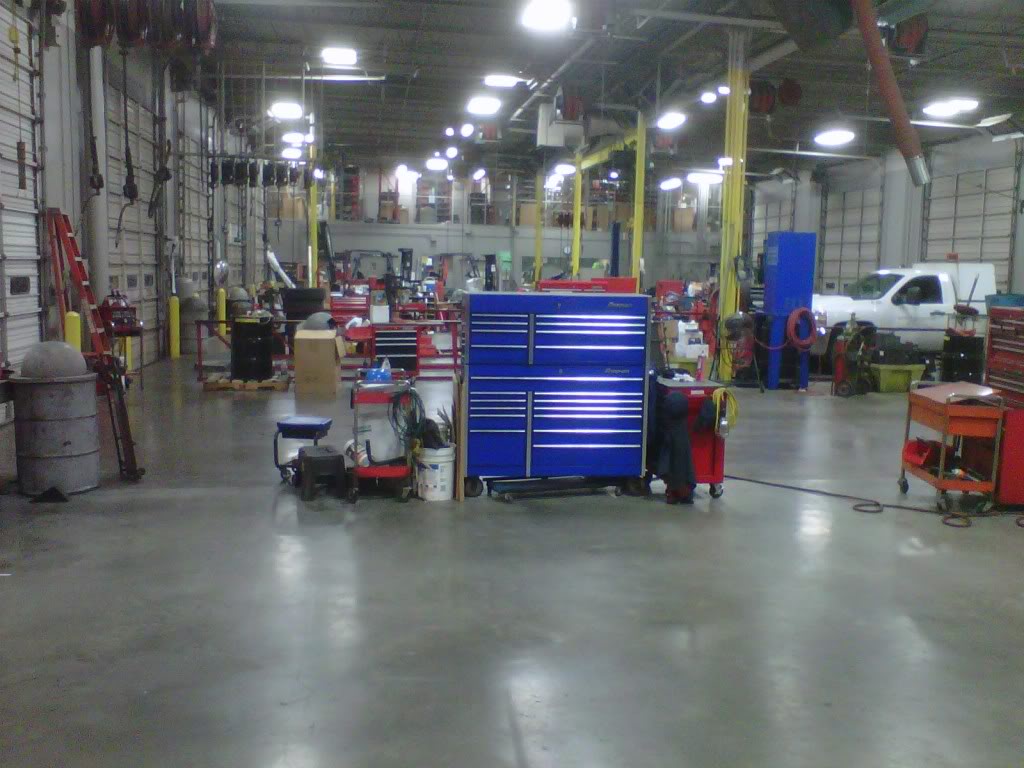
Here an inside pic of our maintenance shop....
Then I picked up may painted stuff and headed back home....
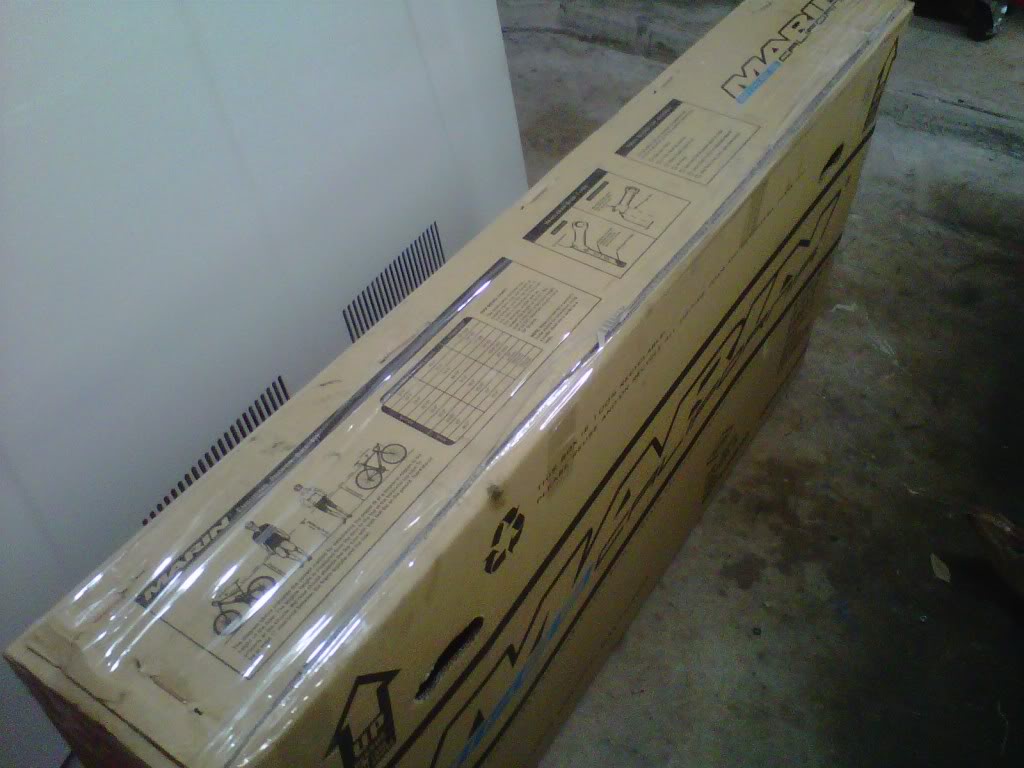
I then bent two of the brake lines and got them in the free bike box...I will ship them on Tuesday..
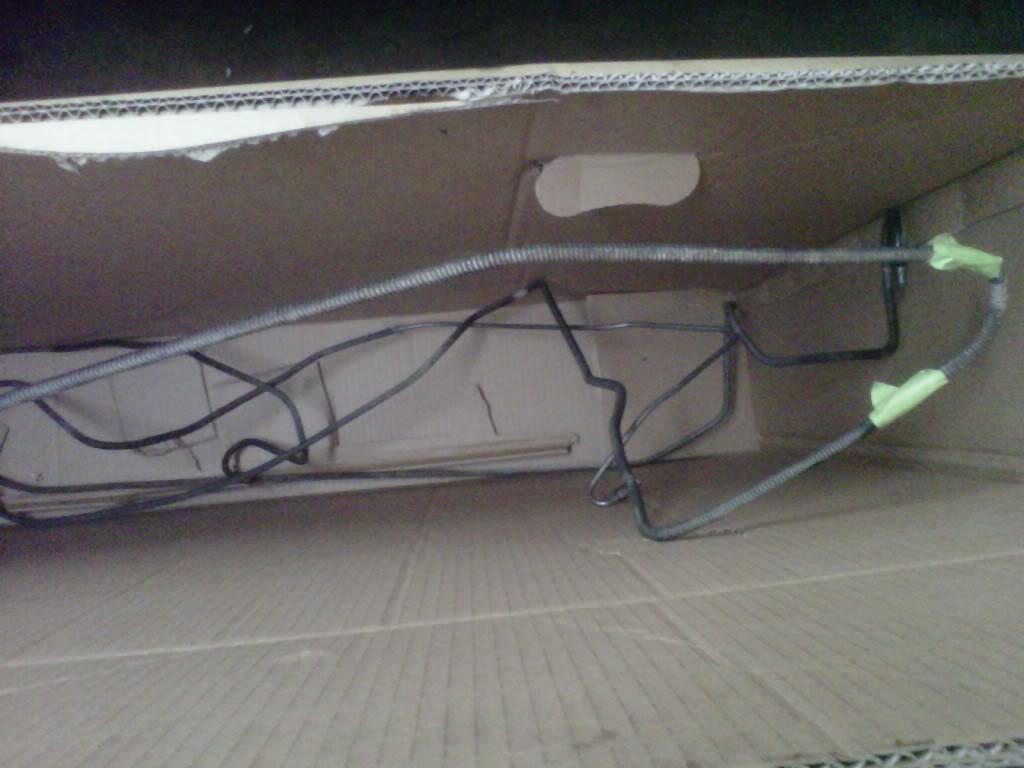
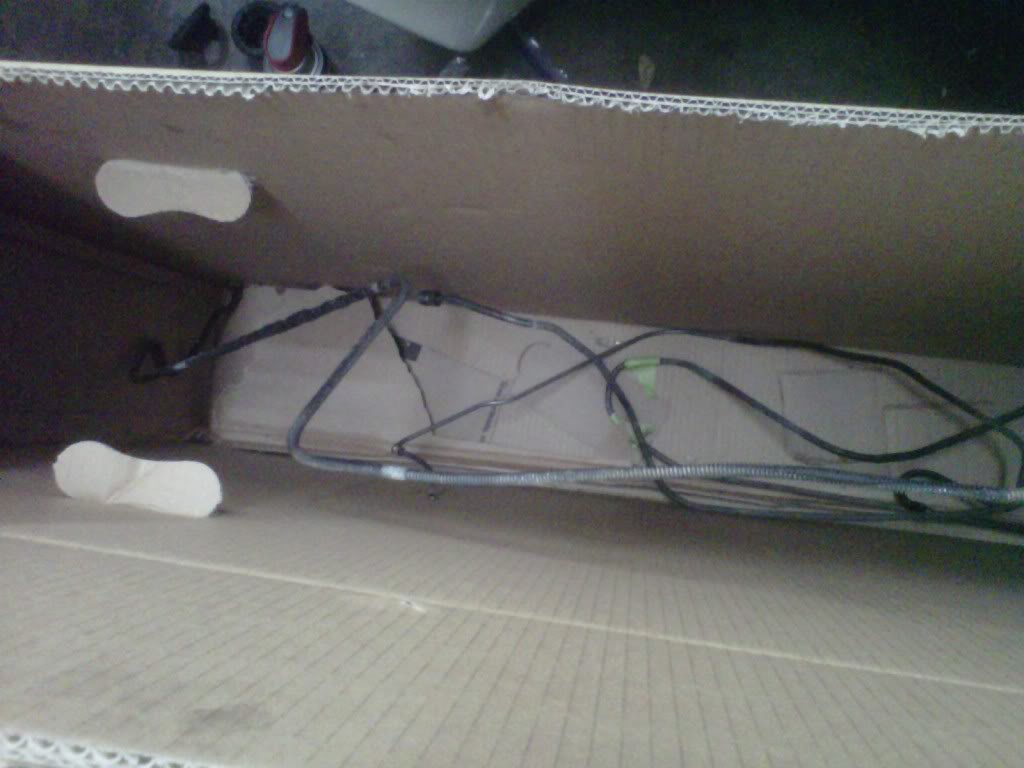
I taped them at the point at which I bent them...
Here an inside pic of our maintenance shop....
Then I picked up may painted stuff and headed back home....
I then bent two of the brake lines and got them in the free bike box...I will ship them on Tuesday..
I taped them at the point at which I bent them...
Thread Starter
Super Moderator
Joined: Sep 2010
Posts: 3,609
Likes: 181
From: Houston, Texas

Thread Starter
Super Moderator
Joined: Sep 2010
Posts: 3,609
Likes: 181
From: Houston, Texas
I didn't do a whole lot tonight...
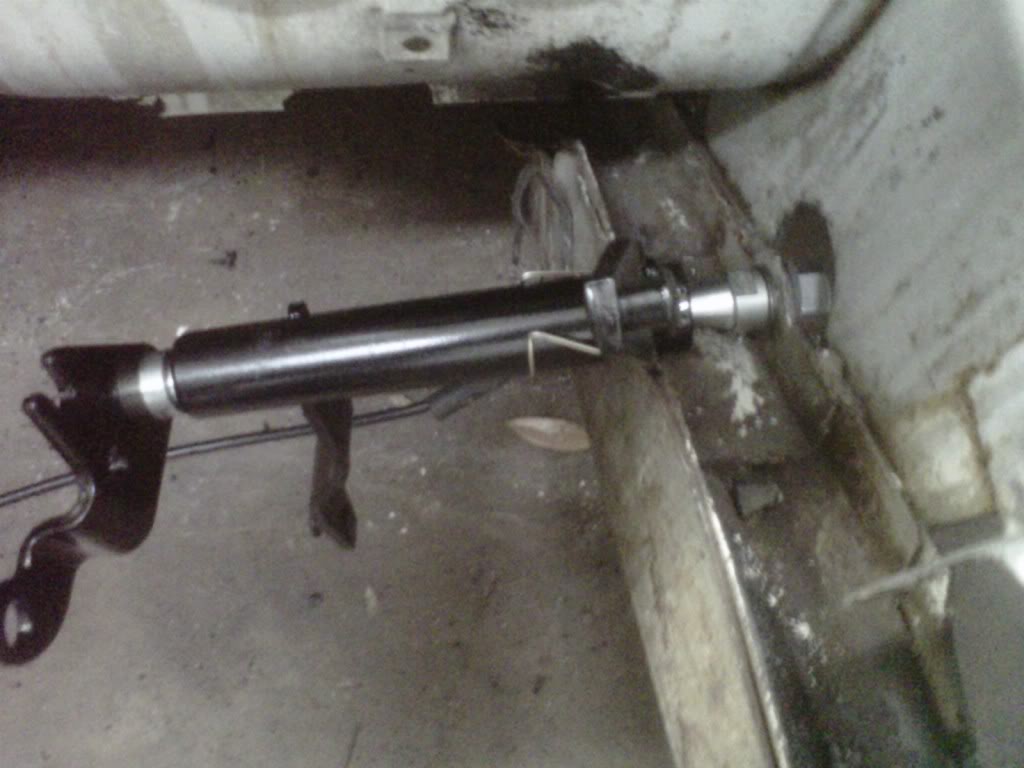
I got the z-bar all put together and greased up...I drilled the hole in the bracket and mounted it..I then boxed up and got ready to ship those brake lines...tomorrow night is the MEK wipe down of the engine compartment then the sanding will begiin..

Mopar Fanatic
Joined: Apr 2010
Posts: 451
Likes: 0
From: Northern Lower Michigan
"did another rack of the those babyback ribs tonight"
I'm glad to hear you are taking time out to eat
This surely must be what they mean by "from the ground up" or "bumper to bumper" restoration.
You must really love what you are doing, and so fortunate to have the resources you have.
Kudos on this project buddy! Very nice!
I'm glad to hear you are taking time out to eat
This surely must be what they mean by "from the ground up" or "bumper to bumper" restoration.
You must really love what you are doing, and so fortunate to have the resources you have.
Kudos on this project buddy! Very nice!
Thread Starter
Super Moderator
Joined: Sep 2010
Posts: 3,609
Likes: 181
From: Houston, Texas
I did some work tonight...
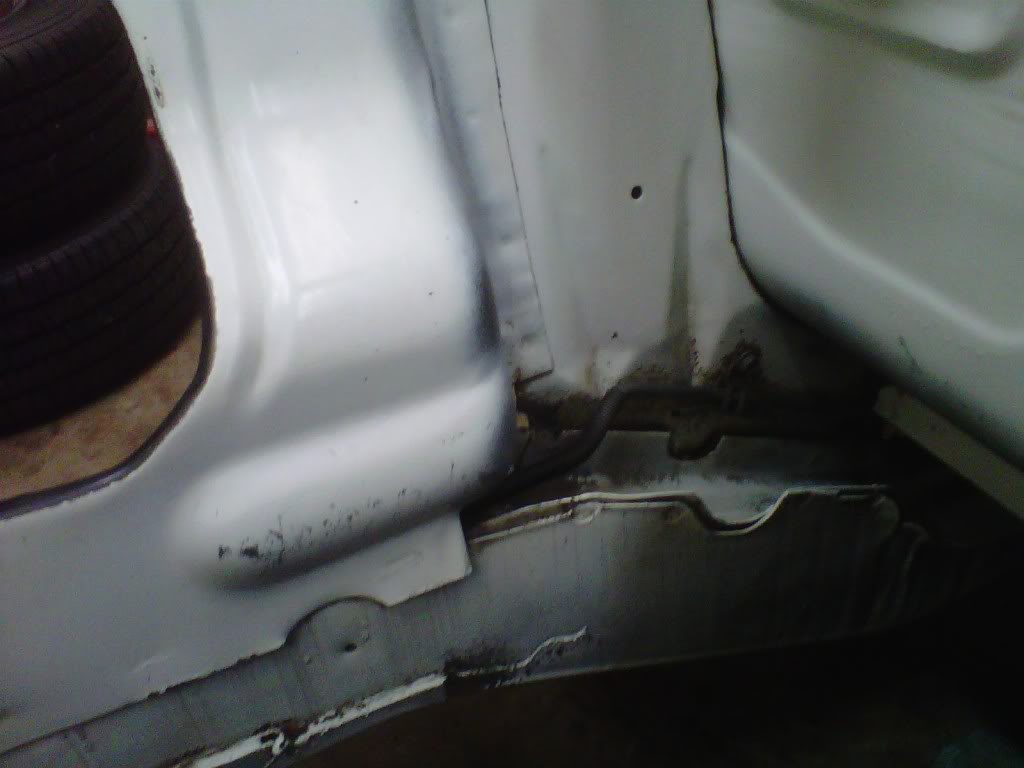
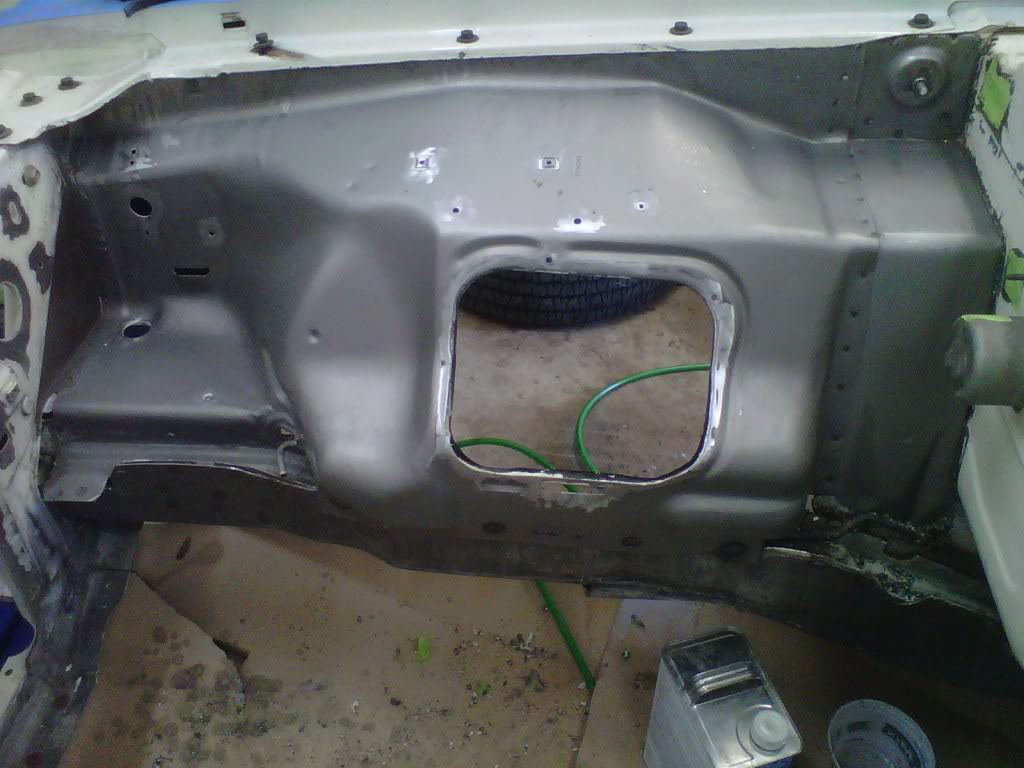
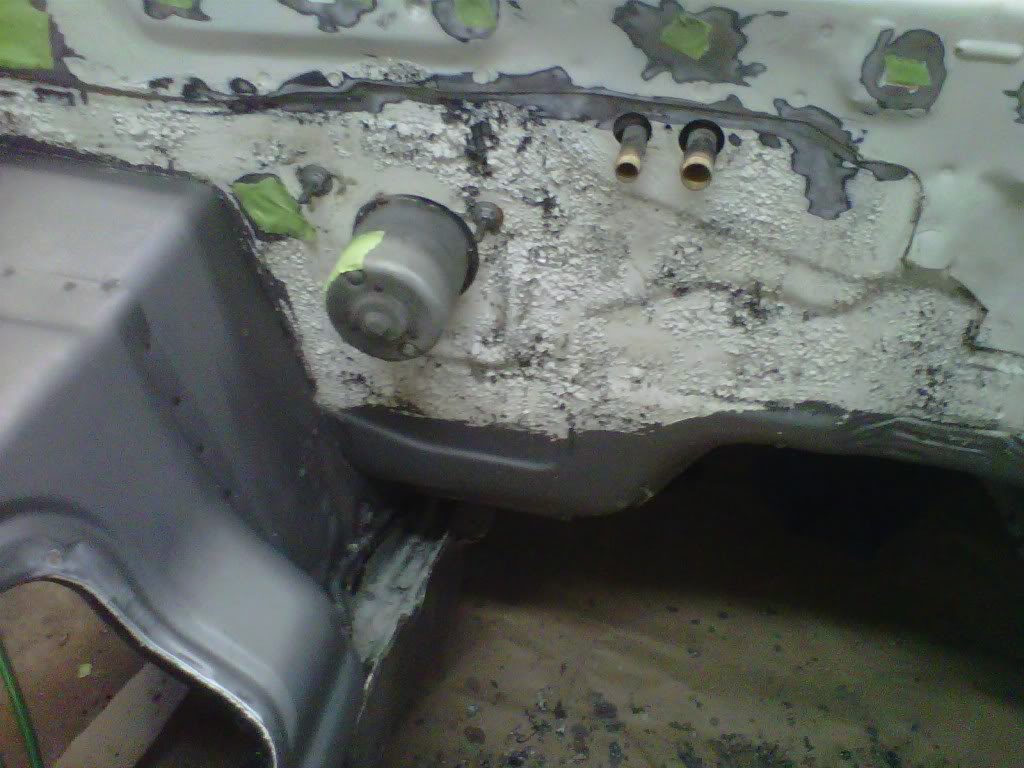
I stopped by home depot on the way home tonight and got carded for the MEK I was buying for the car...whew..I think I got high tonight...I had a fan blowing on me but the garage still smells worse than a nail painting place our women folk go to..okay first of all since alot of people were checking out their cowel area on these cars I did to..mine has minor surface rust...I can't get into certain areas to paint it so I will block off all of the openings and shoot it with the Eastwood internal frame product..
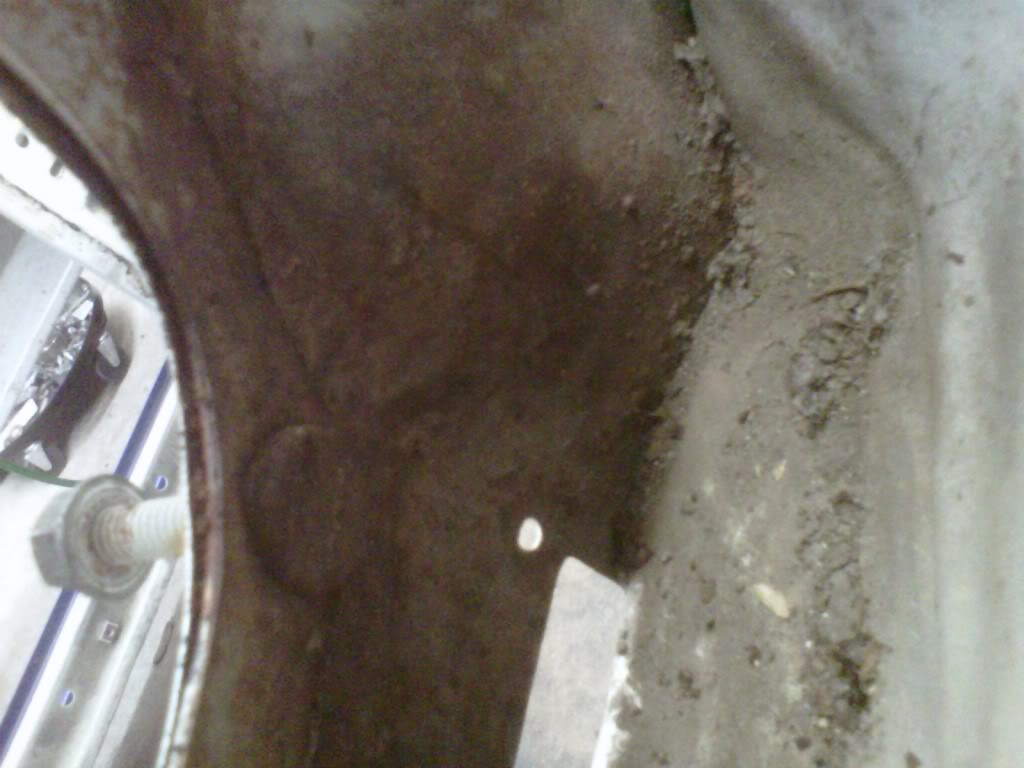
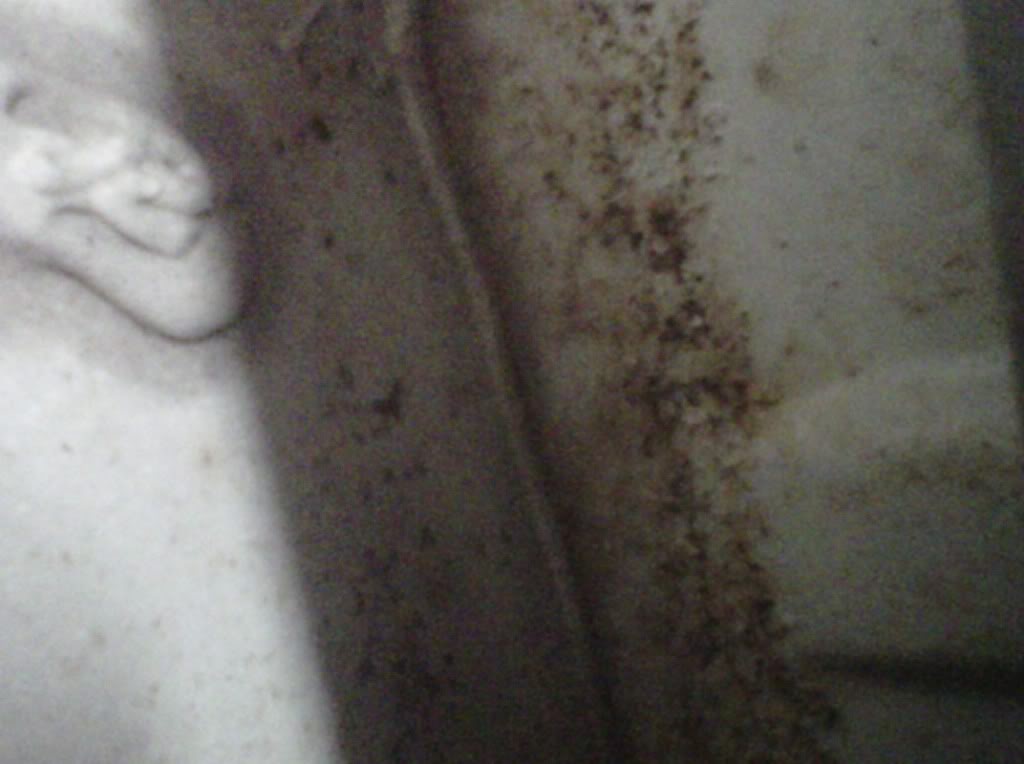
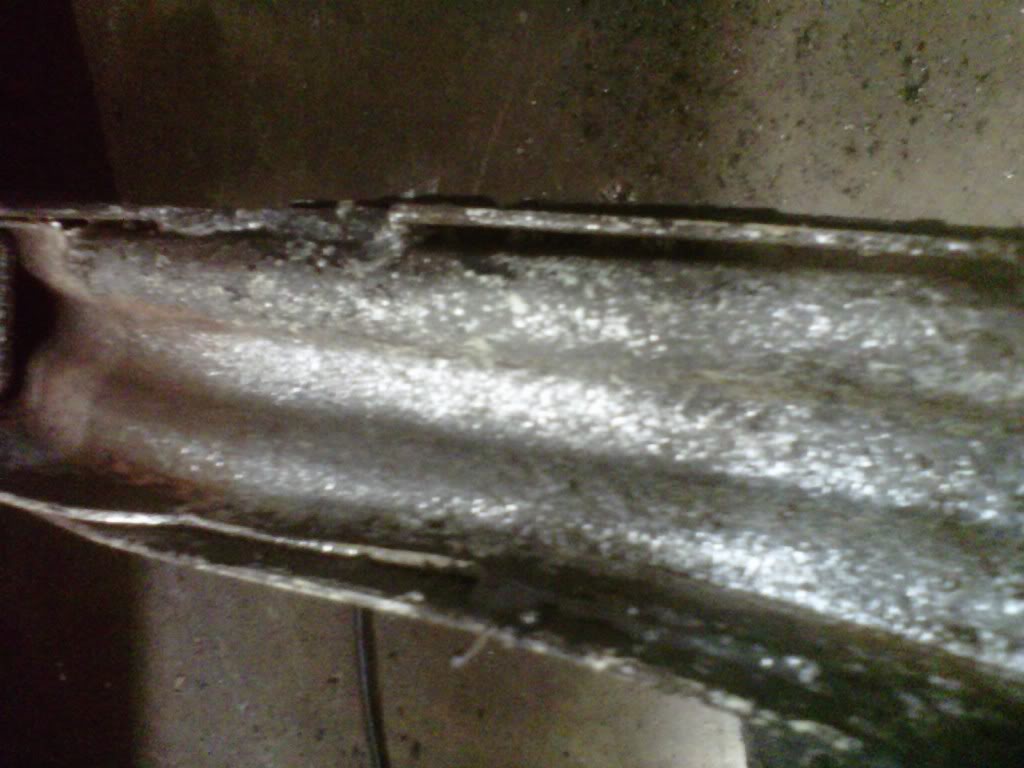
Then the frame rail on the driver's side took some of the leaking brake fuild so I hit it with the needle scaler to get it back down to bare metal...still some sanding and I am going to hit it with a wire wheel also..
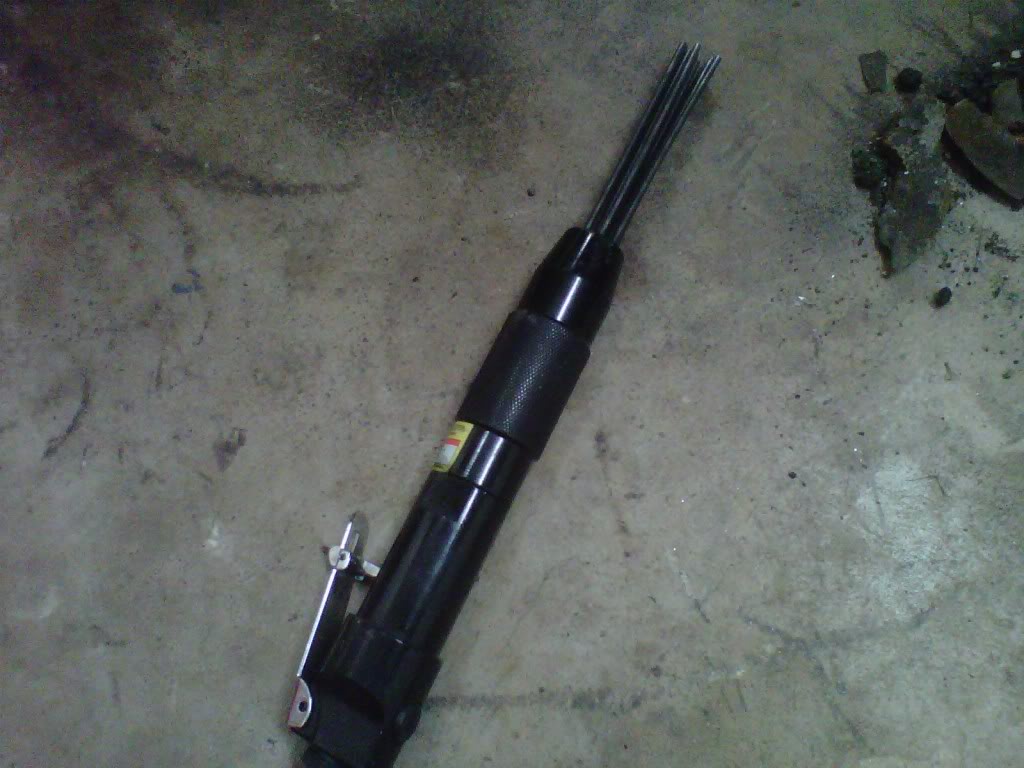
This is the pile of rust and crap I got out of the frame rail and cowel compartment
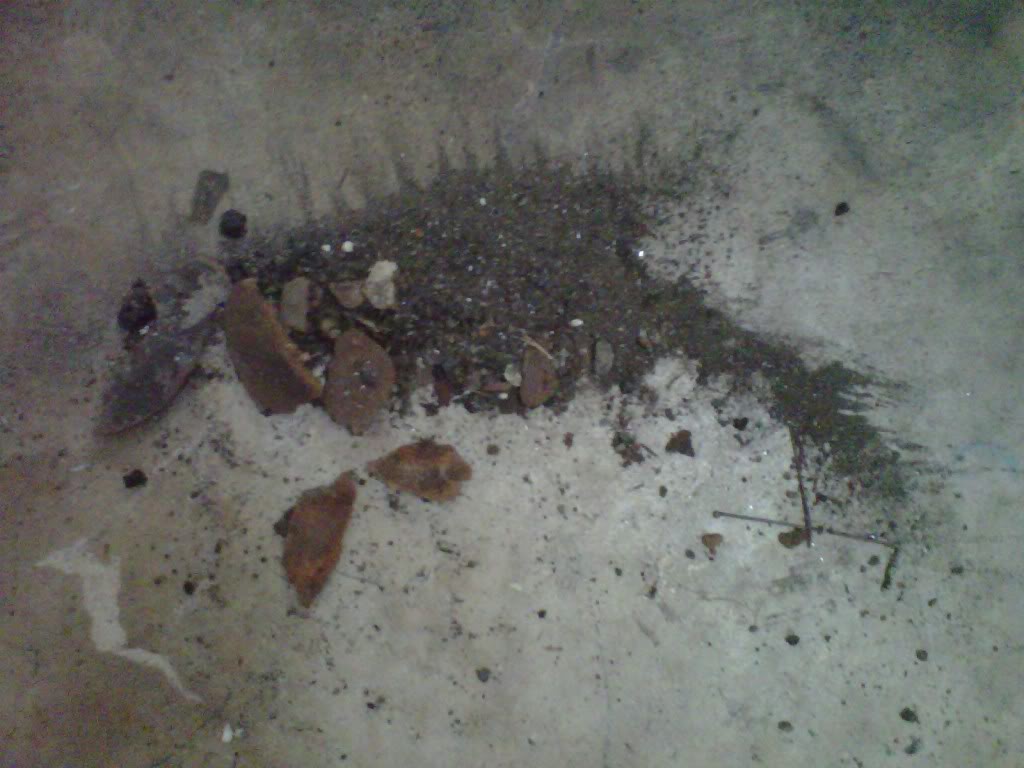
I will treat the bare metal with Eastwoods rust convertor and their rust encapsultor before paint..
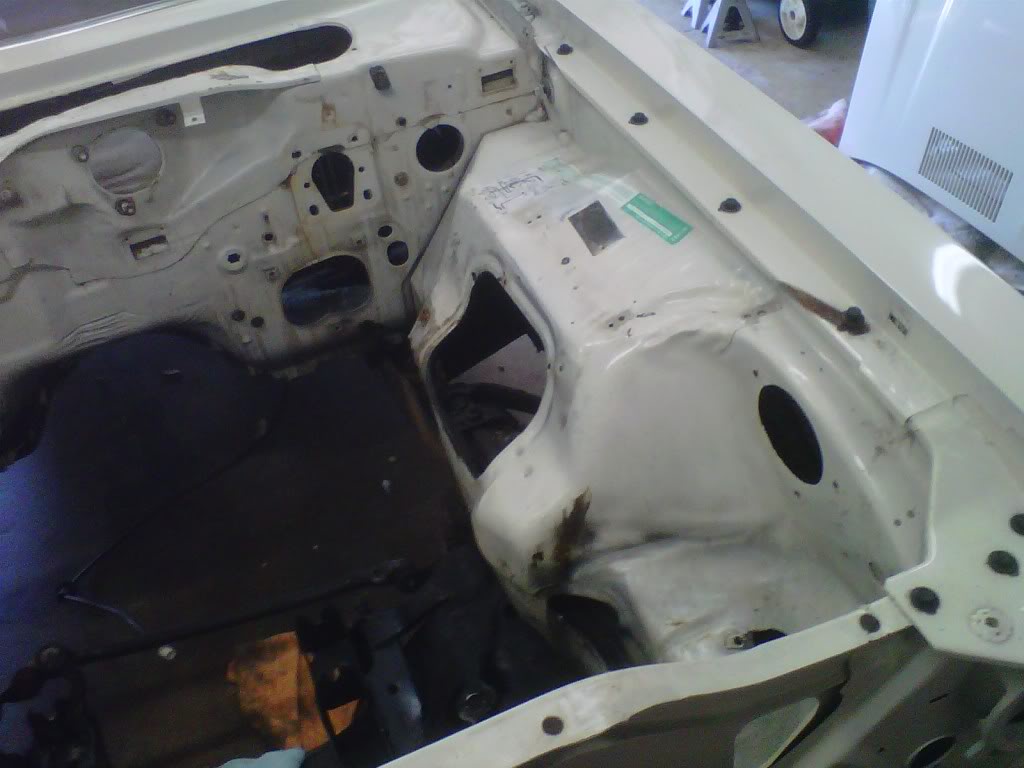
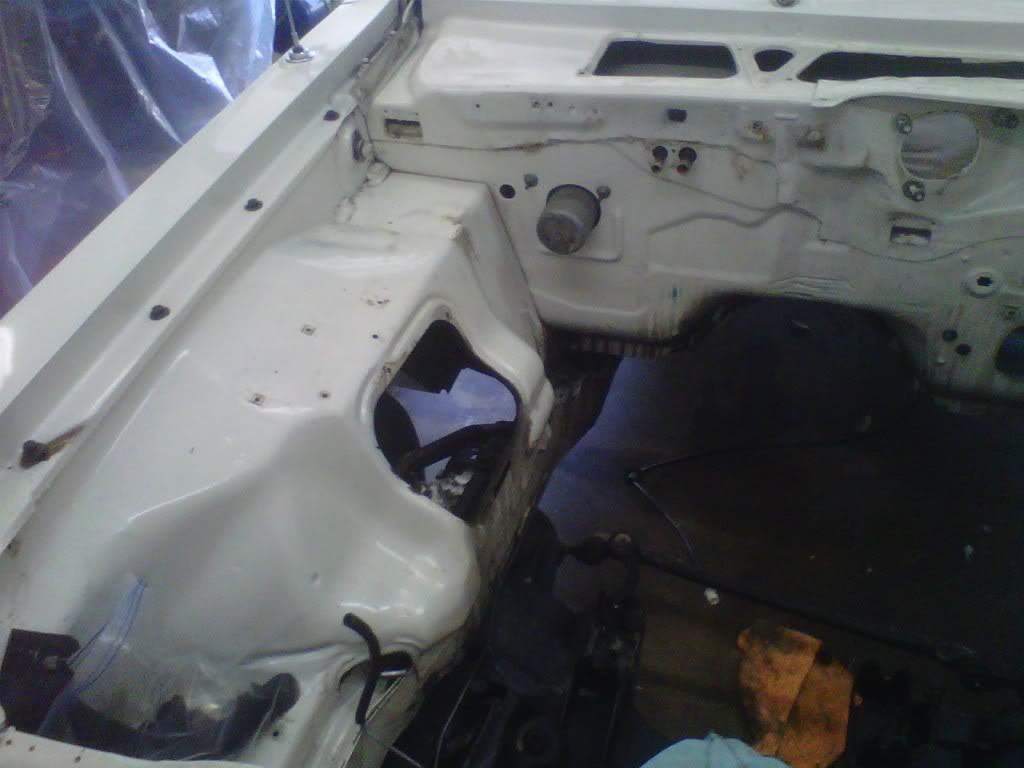
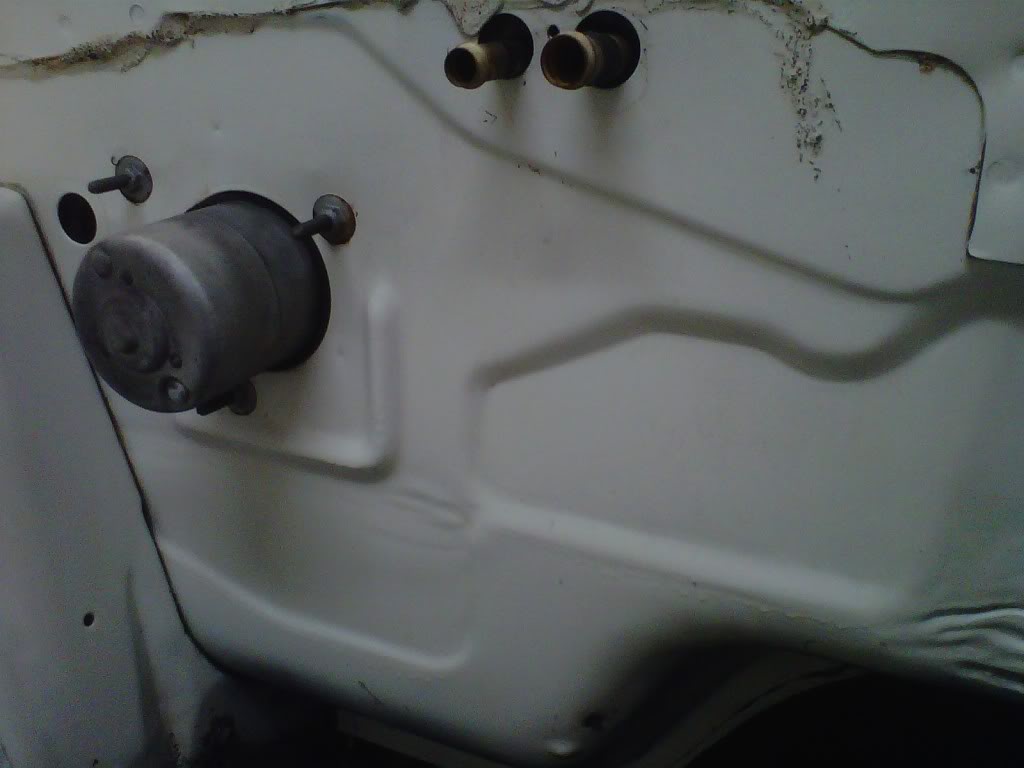
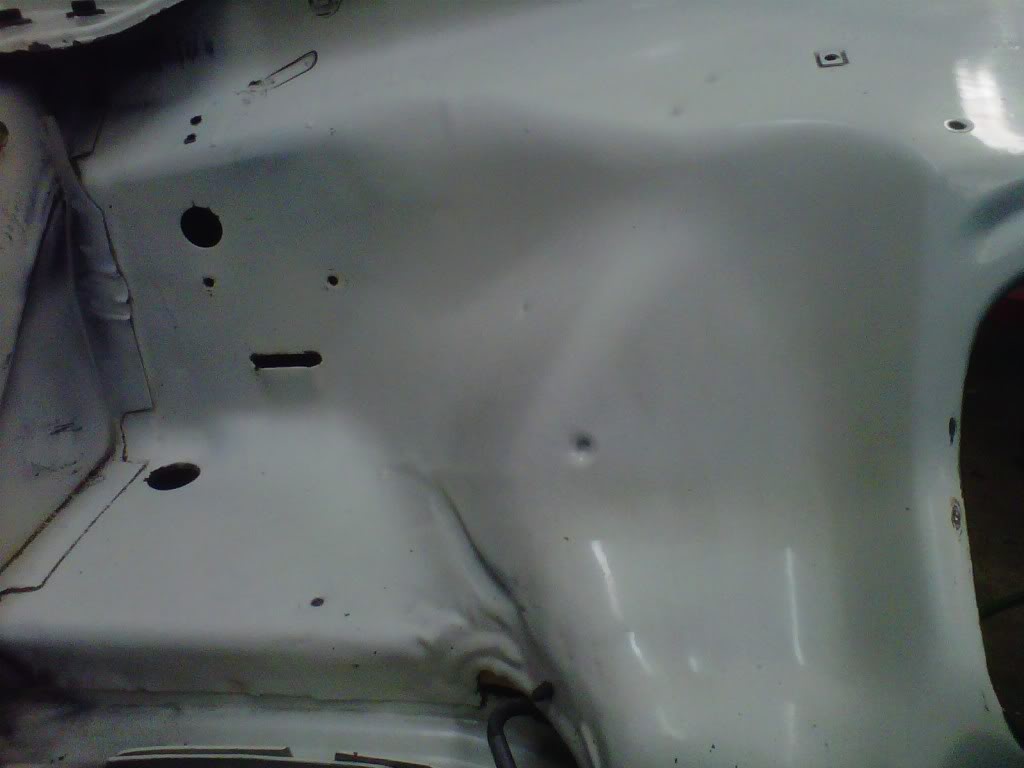
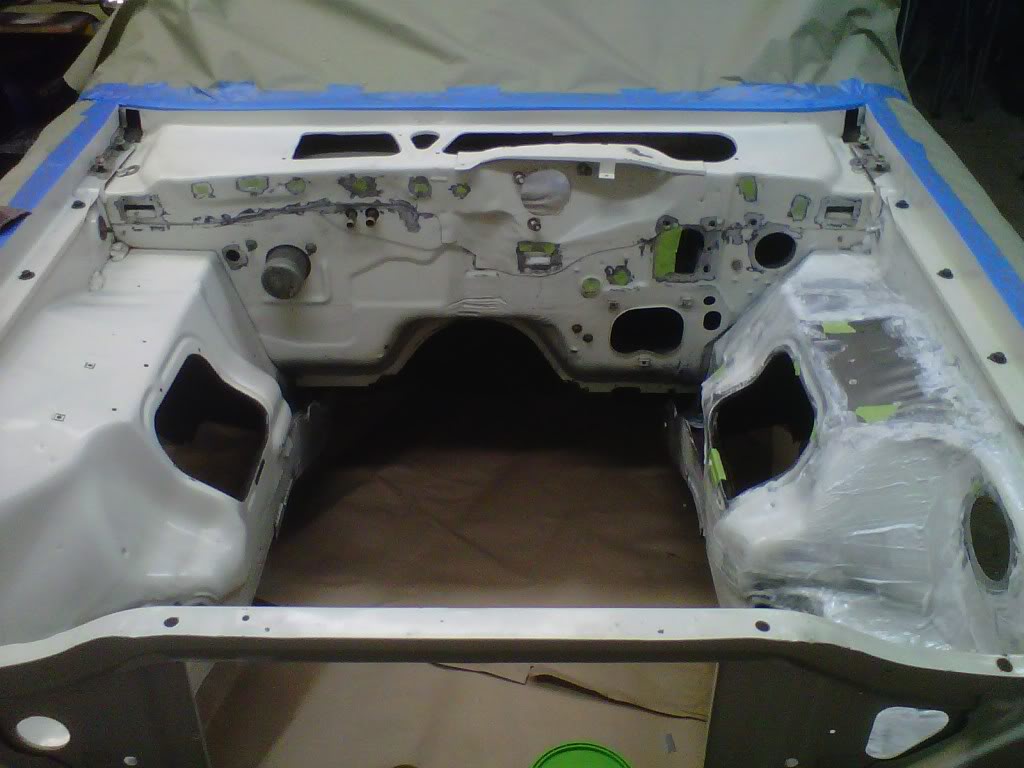
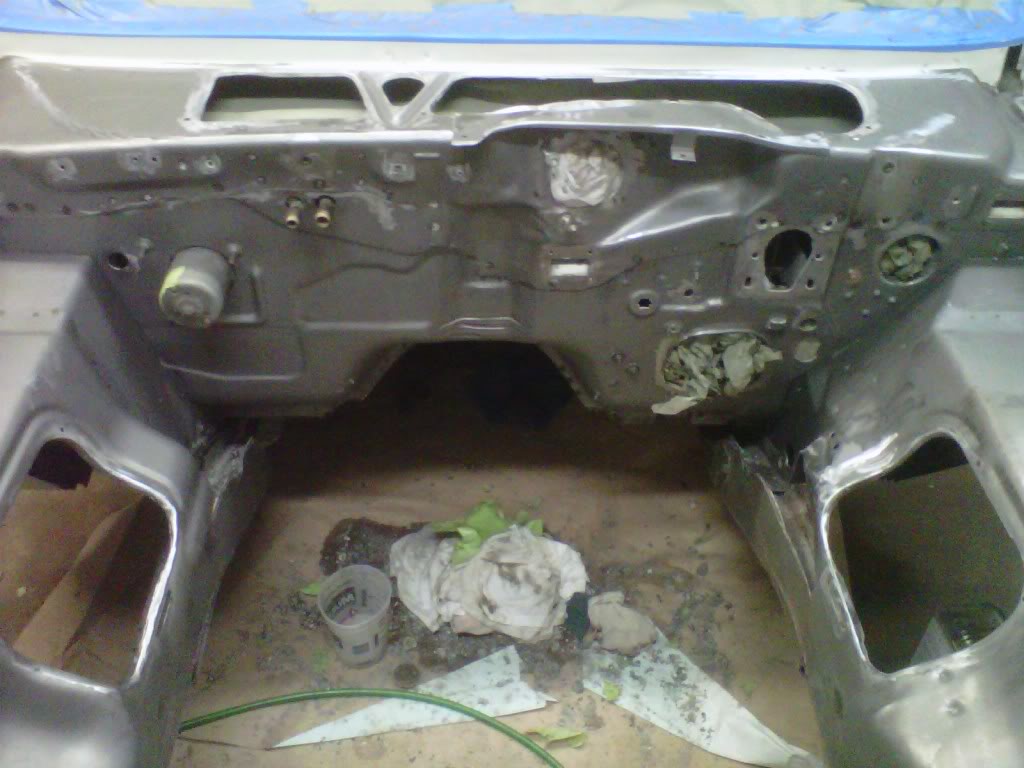
Heres some pictures after the MEK wipedown...firewall and passenger inner fender done...still have the radiator support and some of the driver's side inner fender to do...
Then the frame rail on the driver's side took some of the leaking brake fuild so I hit it with the needle scaler to get it back down to bare metal...still some sanding and I am going to hit it with a wire wheel also..
This is the pile of rust and crap I got out of the frame rail and cowel compartment
I will treat the bare metal with Eastwoods rust convertor and their rust encapsultor before paint..
Heres some pictures after the MEK wipedown...firewall and passenger inner fender done...still have the radiator support and some of the driver's side inner fender to do...

Thread Starter
Super Moderator
Joined: Sep 2010
Posts: 3,609
Likes: 181
From: Houston, Texas
Finally something to post....
Okay last night I did very little to the car...I had to pull nails and such out of my daugthers bedroom walls...pooky the holes up and getting it ready for painting...I did do a test patch on the drivers side inner fender...
This was an overnite test of a water based stripper...no odors..doesn't burn your skin etc....
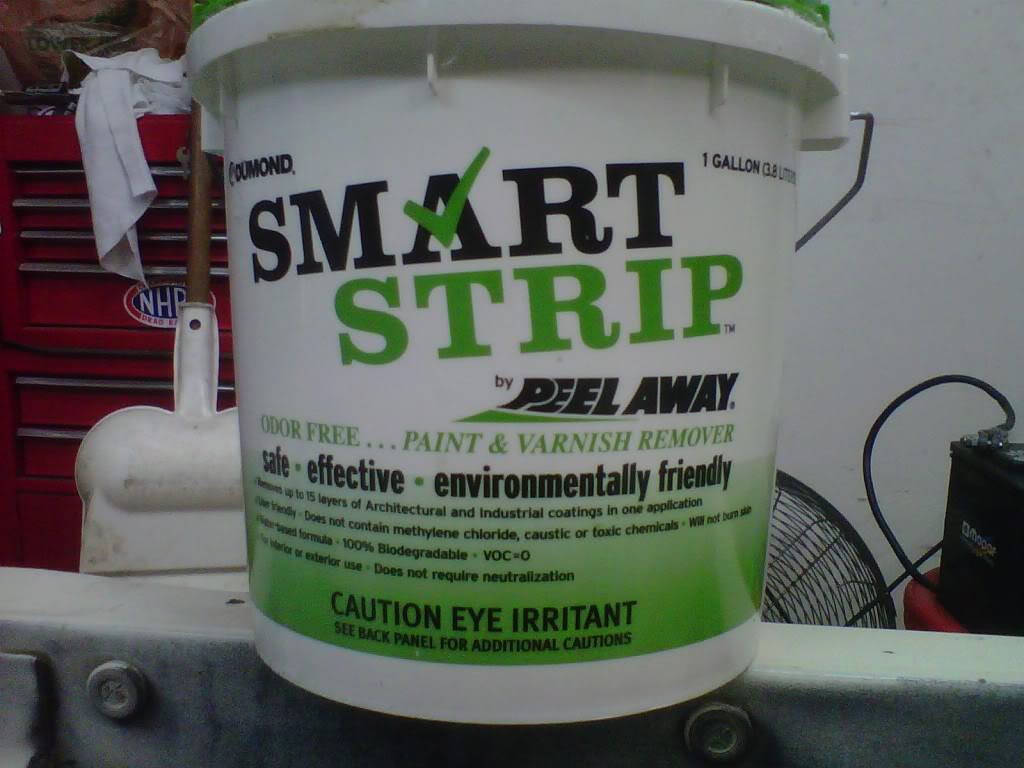
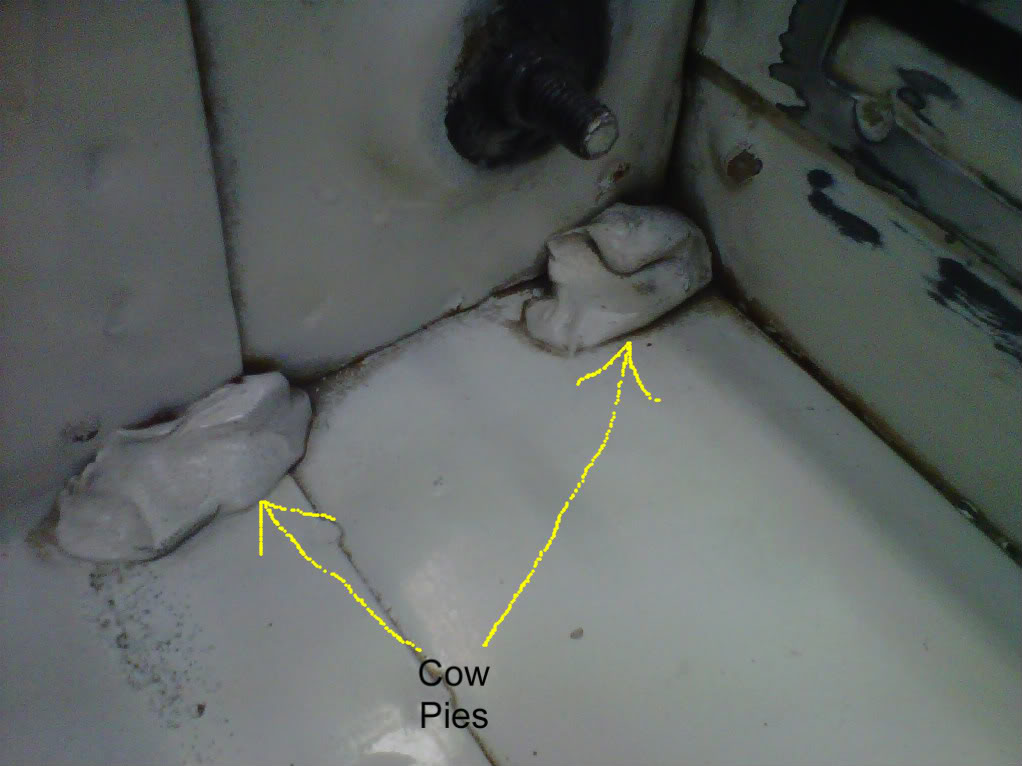
I decided to mechanically and chemically strip the paint...blasting was not an option...I suck at bodywork and am okay with painting...there are runs and pooky all over the place..there are big cow pies in the corners to..if I have a clean canvas to work with I am okay...
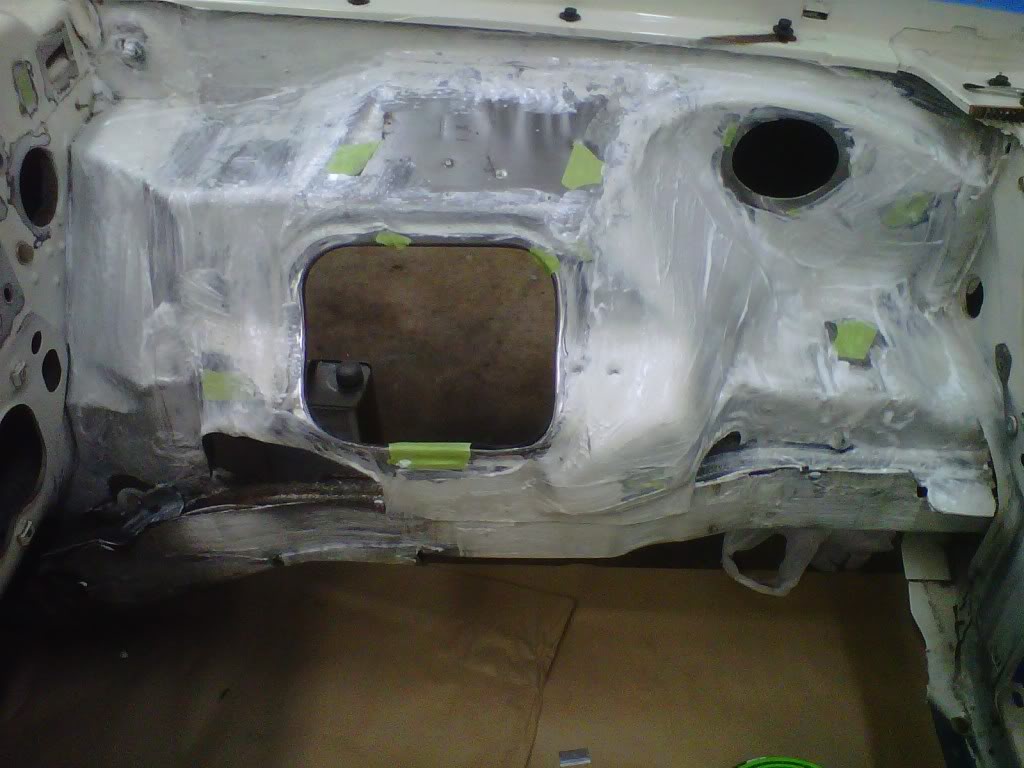
Tonight I mechanically stripped paint around openings with my trusty die grinder and 3-M scotch pads...this was so I did not have to get close to the opening with the stripper and so that I could cover holes with tape...removes paint but does not eat tape...who would have guessed
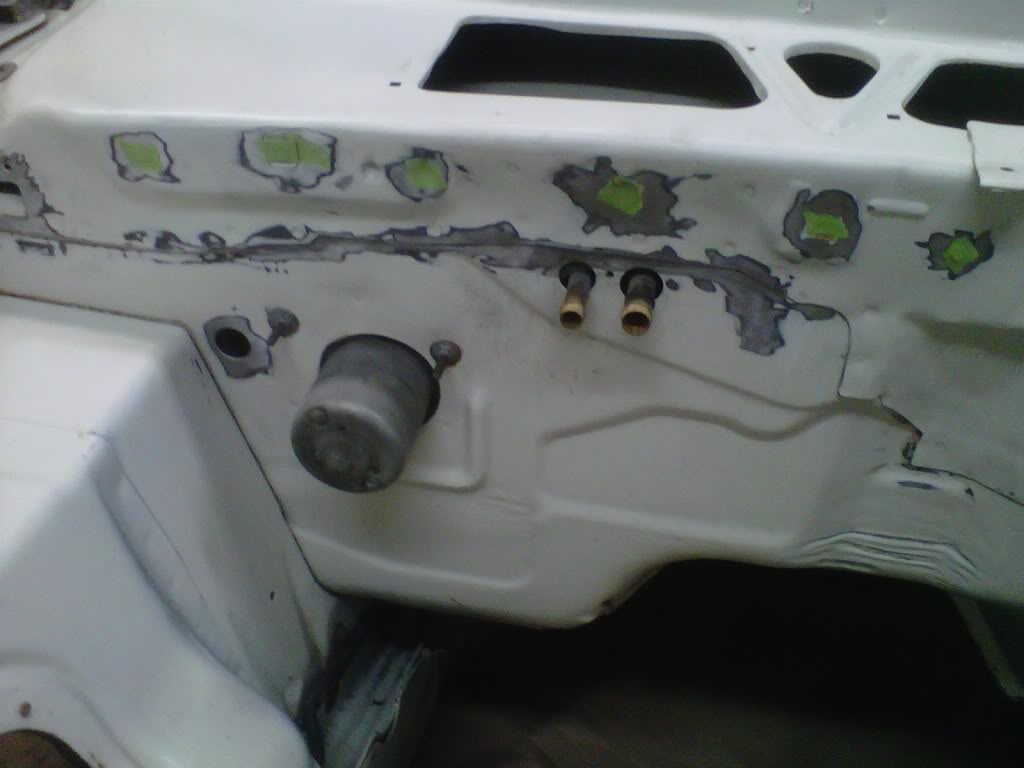
Here it is all pasted up for the night...this stuff can take from 2 hours to 24 hours to do it's magic...but I am okay with that..If I can primer by next weekend that will work for me...
This was an overnite test of a water based stripper...no odors..doesn't burn your skin etc....
I decided to mechanically and chemically strip the paint...blasting was not an option...I suck at bodywork and am okay with painting...there are runs and pooky all over the place..there are big cow pies in the corners to..if I have a clean canvas to work with I am okay...
Tonight I mechanically stripped paint around openings with my trusty die grinder and 3-M scotch pads...this was so I did not have to get close to the opening with the stripper and so that I could cover holes with tape...removes paint but does not eat tape...who would have guessed
Here it is all pasted up for the night...this stuff can take from 2 hours to 24 hours to do it's magic...but I am okay with that..If I can primer by next weekend that will work for me...
Thread Starter
Super Moderator
Joined: Sep 2010
Posts: 3,609
Likes: 181
From: Houston, Texas
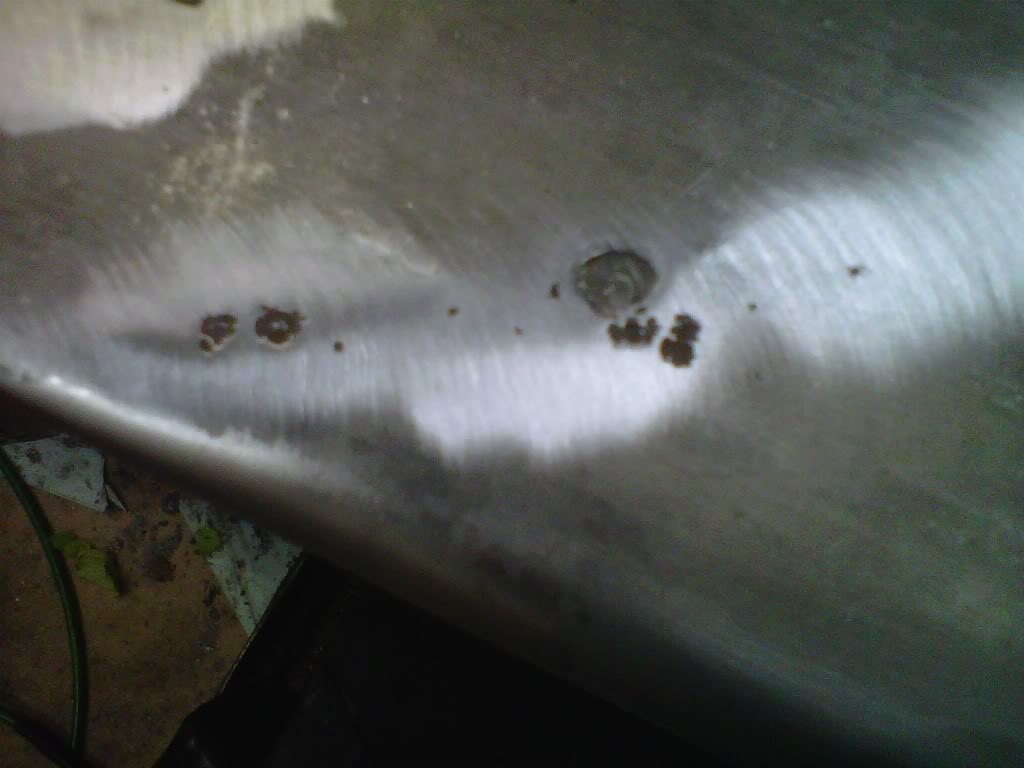
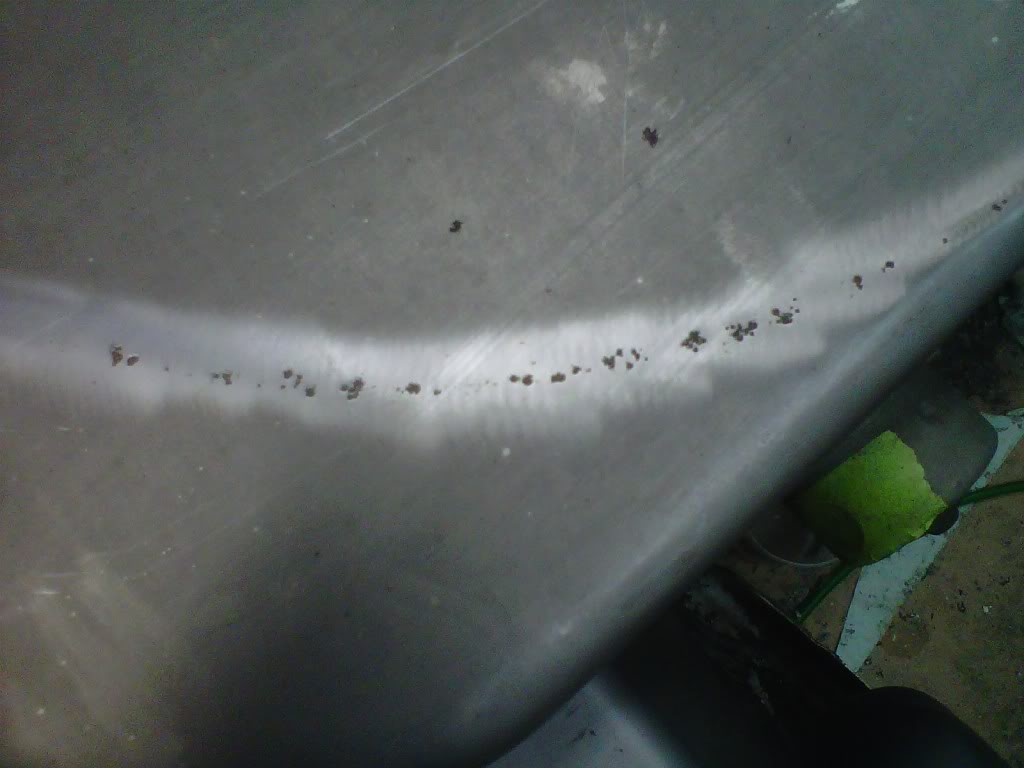
Almost there....
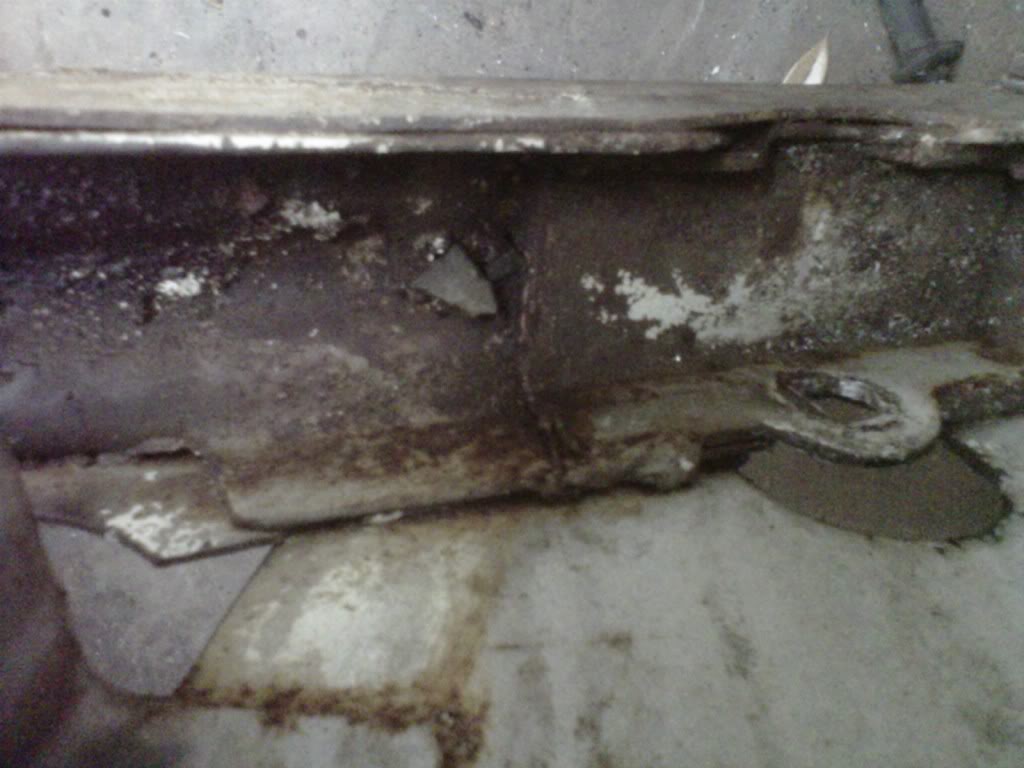
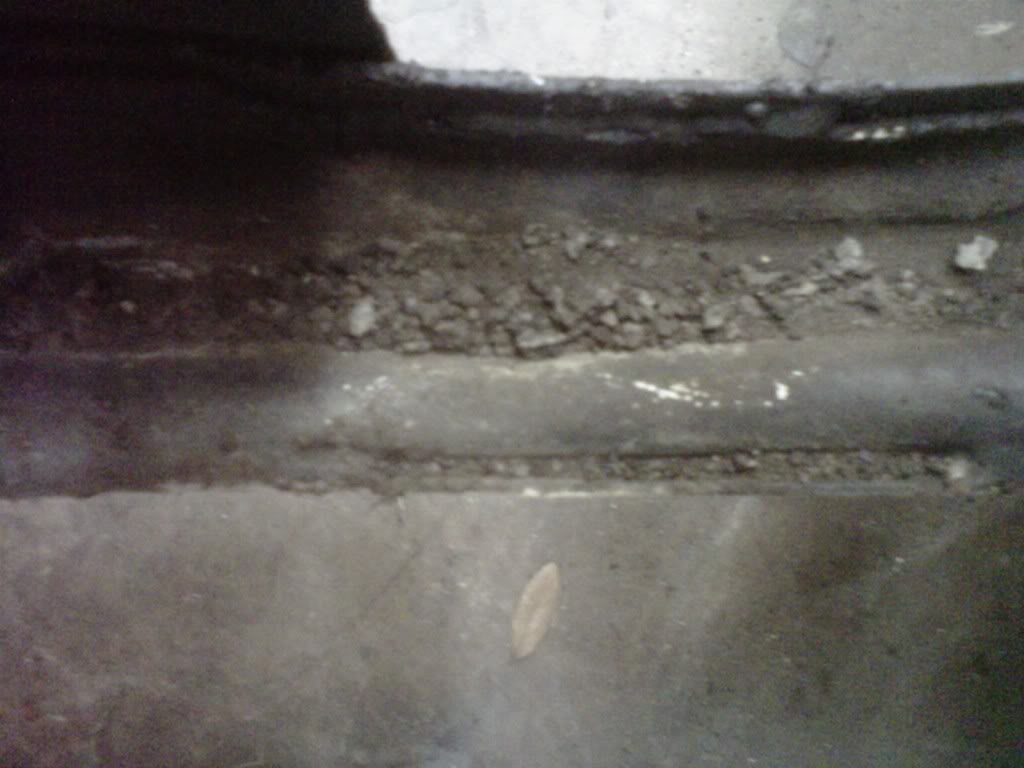
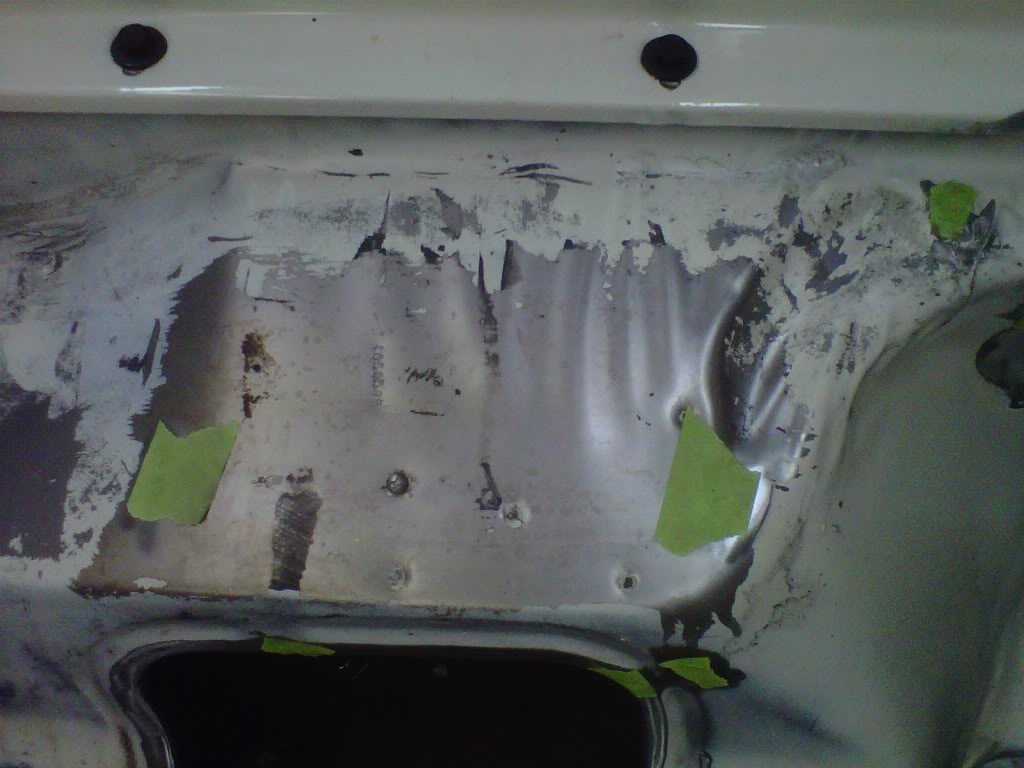
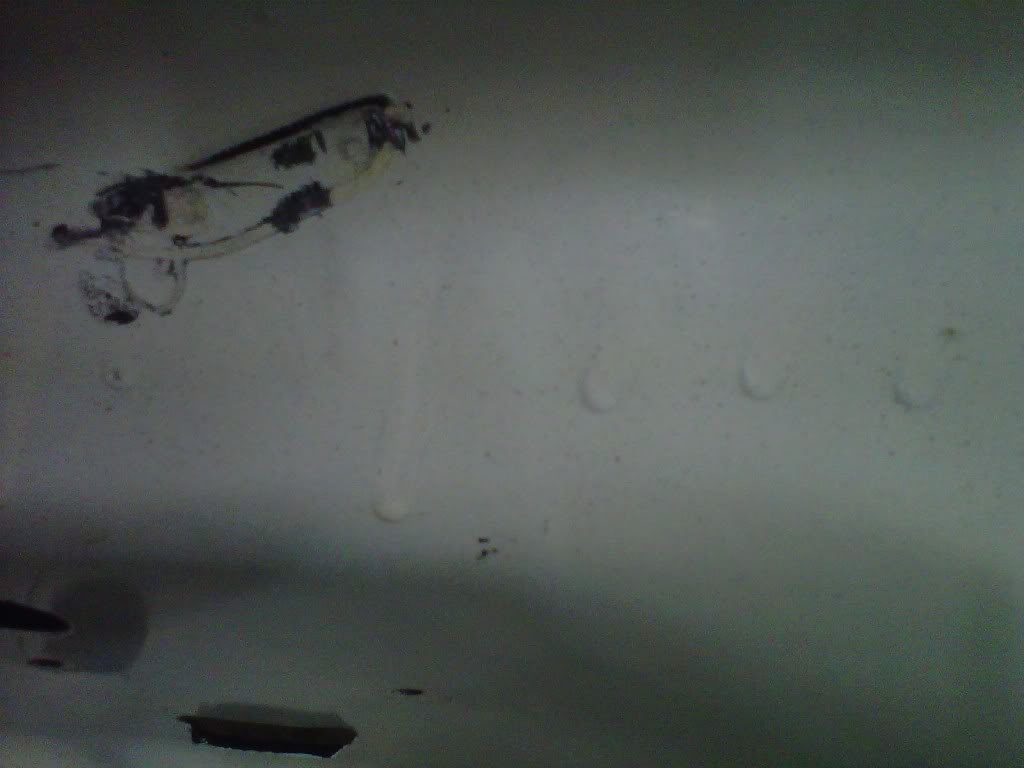
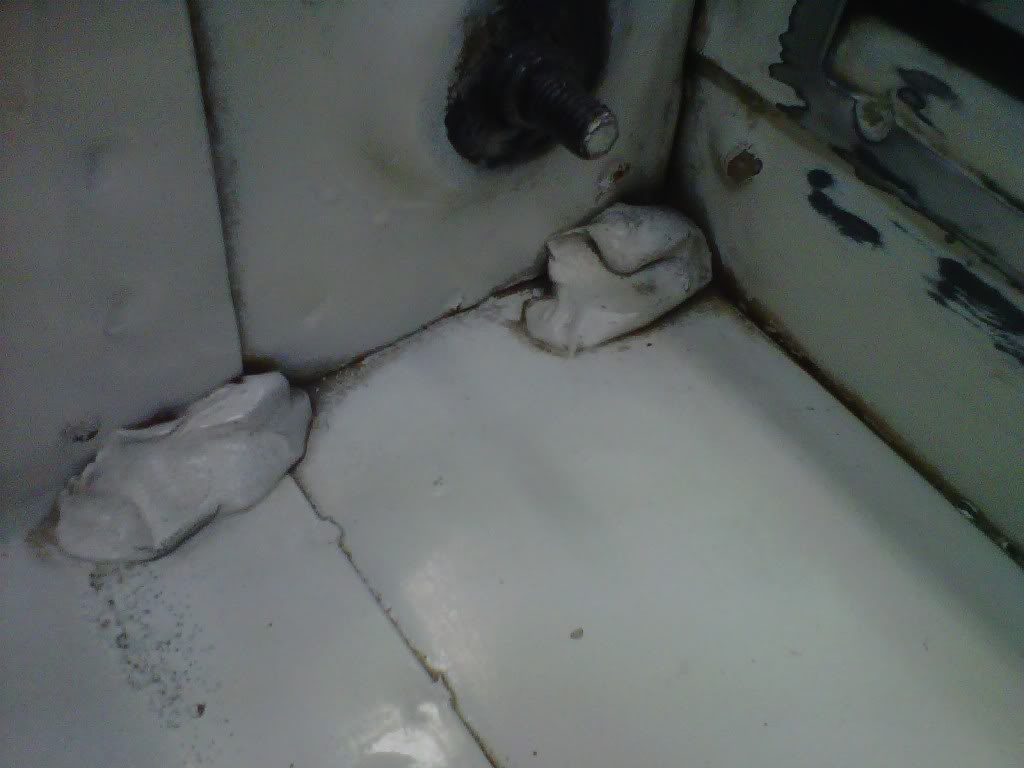
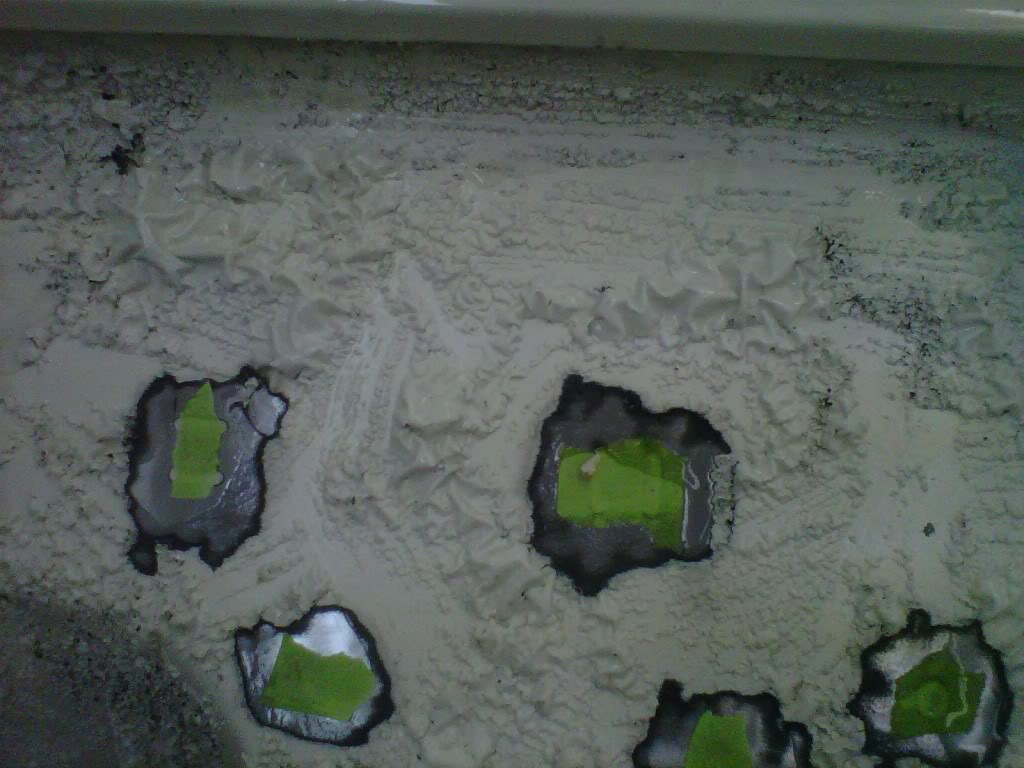
Wow what an arm killing day...got all the paint stripping done...now there is some hand sanding to feather in the top of the inside fenders..and some minor body work on some rust pits on the cowel...curious as they are right where the seal is when it closes..pictures tell the story..will give myself a sanding tape line on two sides and the cowel...then tape it up for primer and paint...


I can see B7 32216I on the radiator support..I can't believe mopar was still doing this in 1977
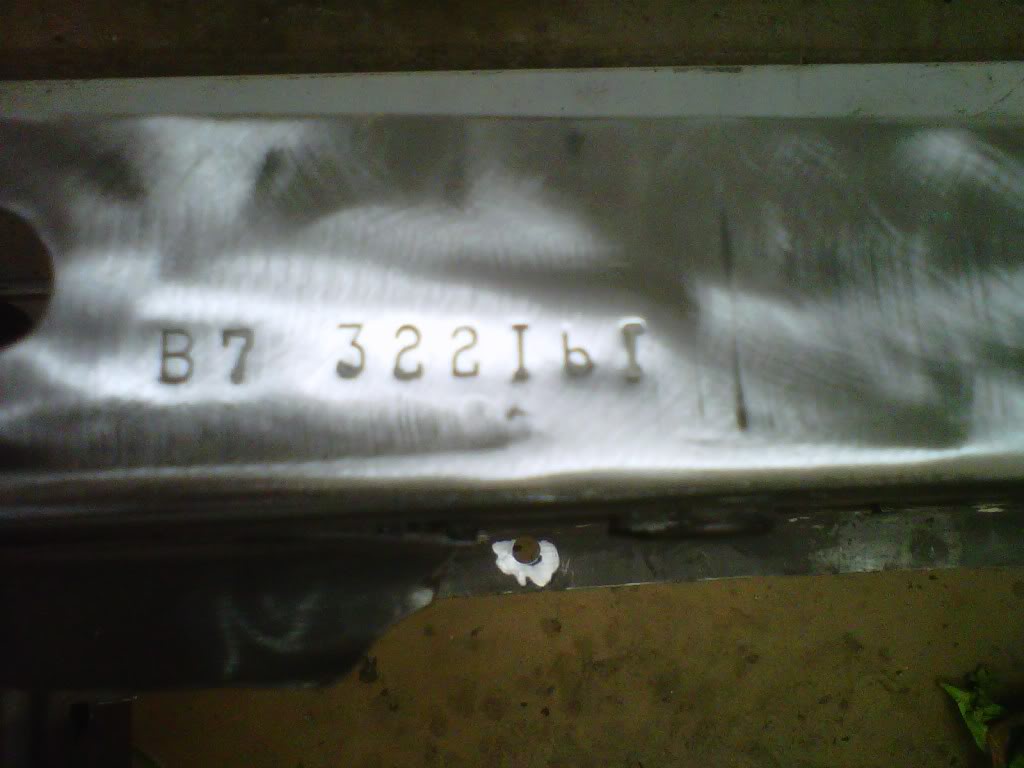

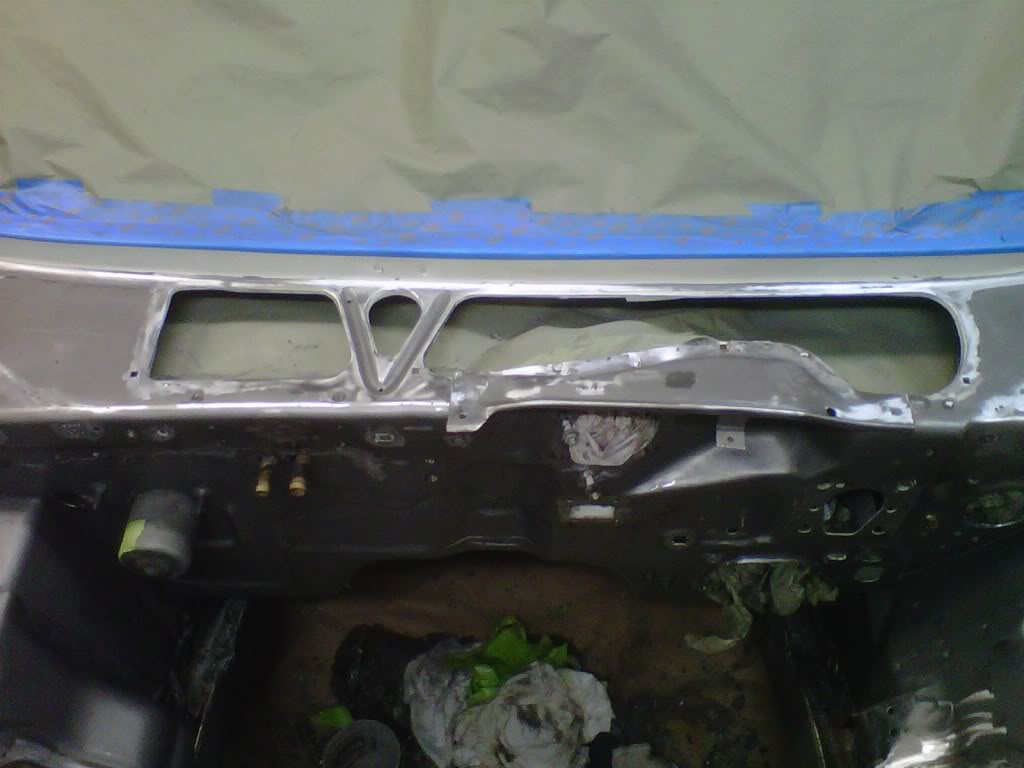
I can see B7 32216I on the radiator support..I can't believe mopar was still doing this in 1977


Mopar Lover
Joined: Apr 2008
Posts: 1,074
Likes: 1
That is factory seam sealer. If you are looking for an original look, leave it or replace it with the same. If you are looking for a pretty clean appearance, replace it with a much smoother finished appearance. One way or the other you should have seam sealer in the factory locations.
Thread Starter
Super Moderator
Joined: Sep 2010
Posts: 3,609
Likes: 181
From: Houston, Texas
That is factory seam sealer. If you are looking for an original look, leave it or replace it with the same. If you are looking for a pretty clean appearance, replace it with a much smoother finished appearance. One way or the other you should have seam sealer in the factory locations.
Last edited by bremereric; Mar 20, 2011 at 08:48 PM.
Thread Starter
Super Moderator
Joined: Sep 2010
Posts: 3,609
Likes: 181
From: Houston, Texas
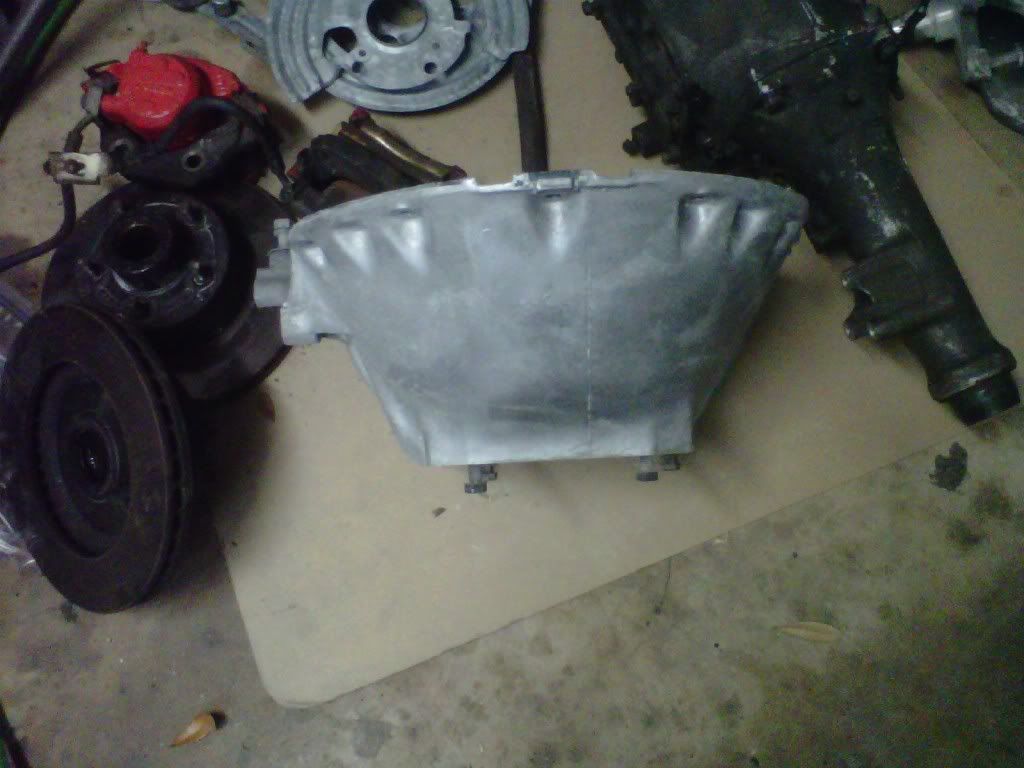
Got my stuff back from blasting
Got all my stuff back from media blasting...ours uses plastic media to blast because it is usually used to blast aluminum trailers...it removes some of the loose rust but does not touch the rest...some parts already hit the rust bucket....
The k-frame will need some mechanical rust removal and treatment....the torsion bars turned out clean...the hinges and such came up clean...the rest will need a soak in the rust bucket..
My tranny bellhousing looks aluminum again and is going to stay that way
The k-frame will need some mechanical rust removal and treatment....the torsion bars turned out clean...the hinges and such came up clean...the rest will need a soak in the rust bucket..
My tranny bellhousing looks aluminum again and is going to stay that way


