
I never would think I would own one of these


Thread Starter
Super Moderator
Joined: Sep 2010
Posts: 3,609
Likes: 181
From: Houston, Texas
Running to storage and such...
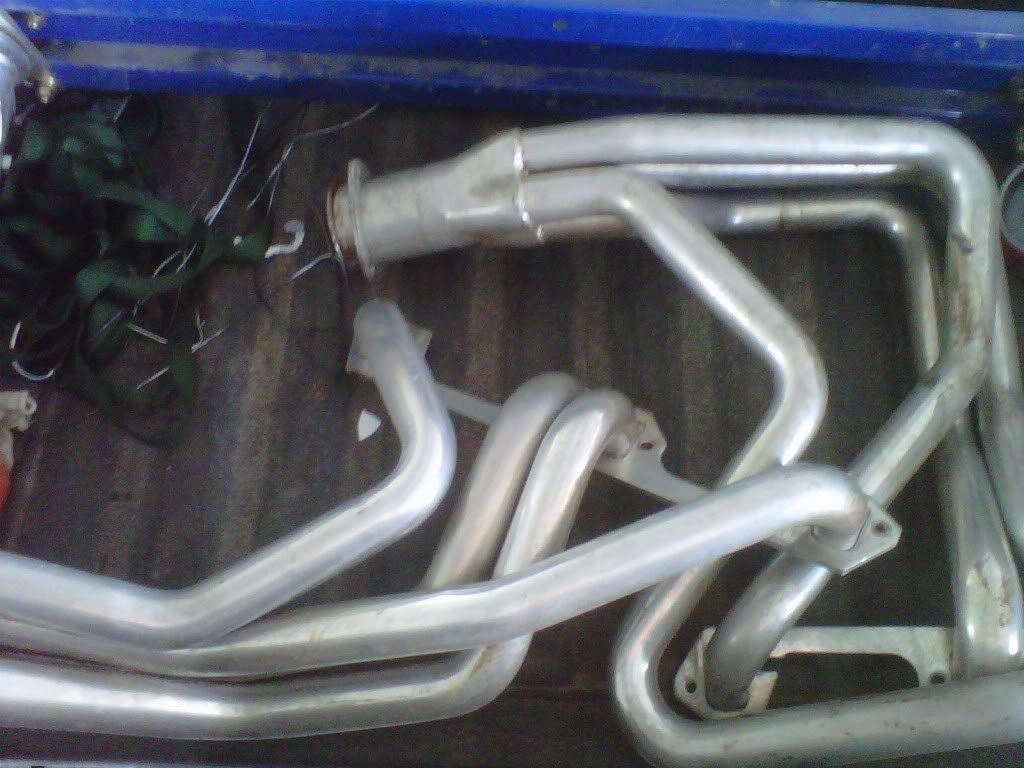
I am afraid I don't have much to post.....I cleaned out the garage last night and loaded up the truck with headers and my roll around unit....after dinner I took these to storage...
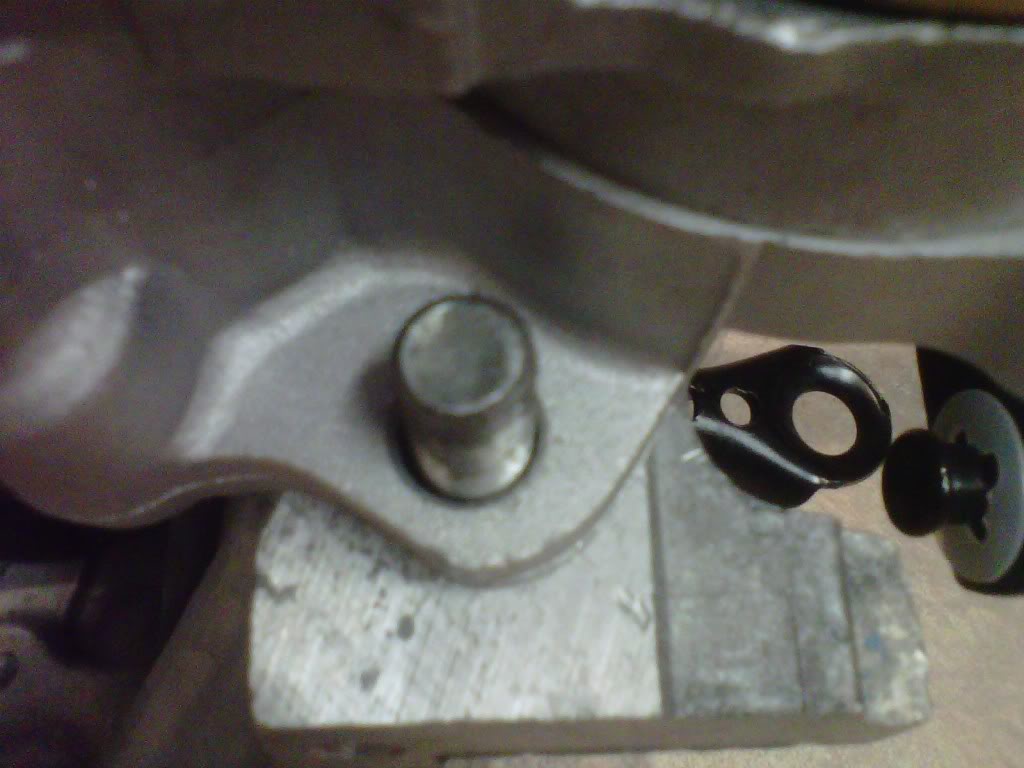
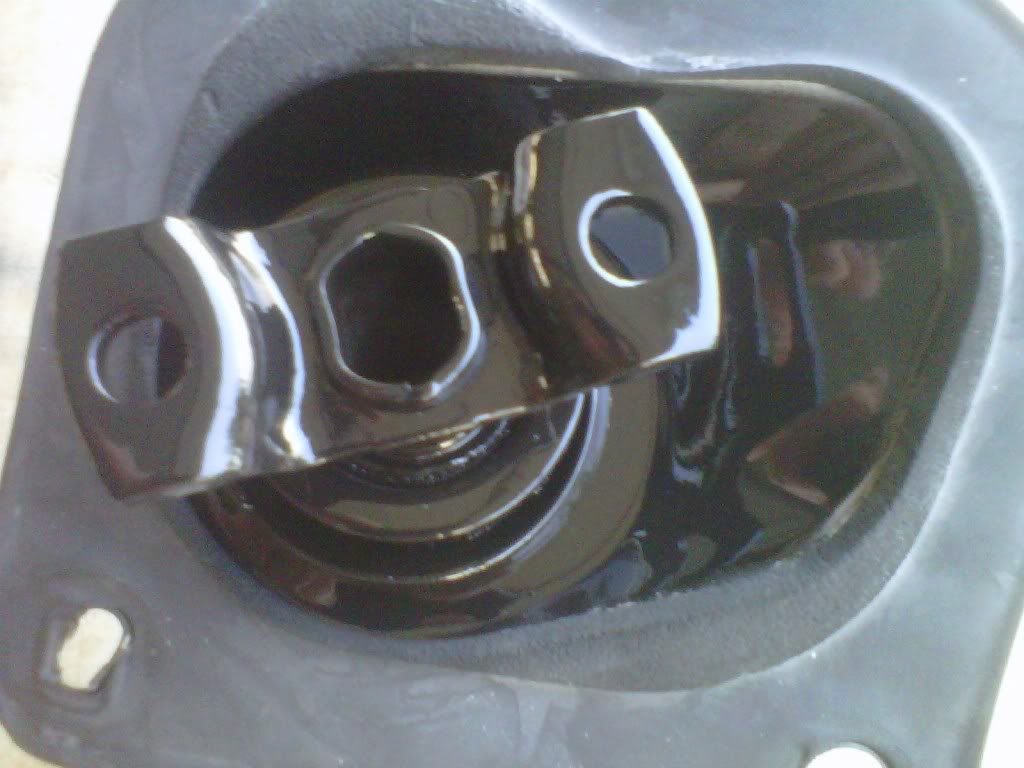
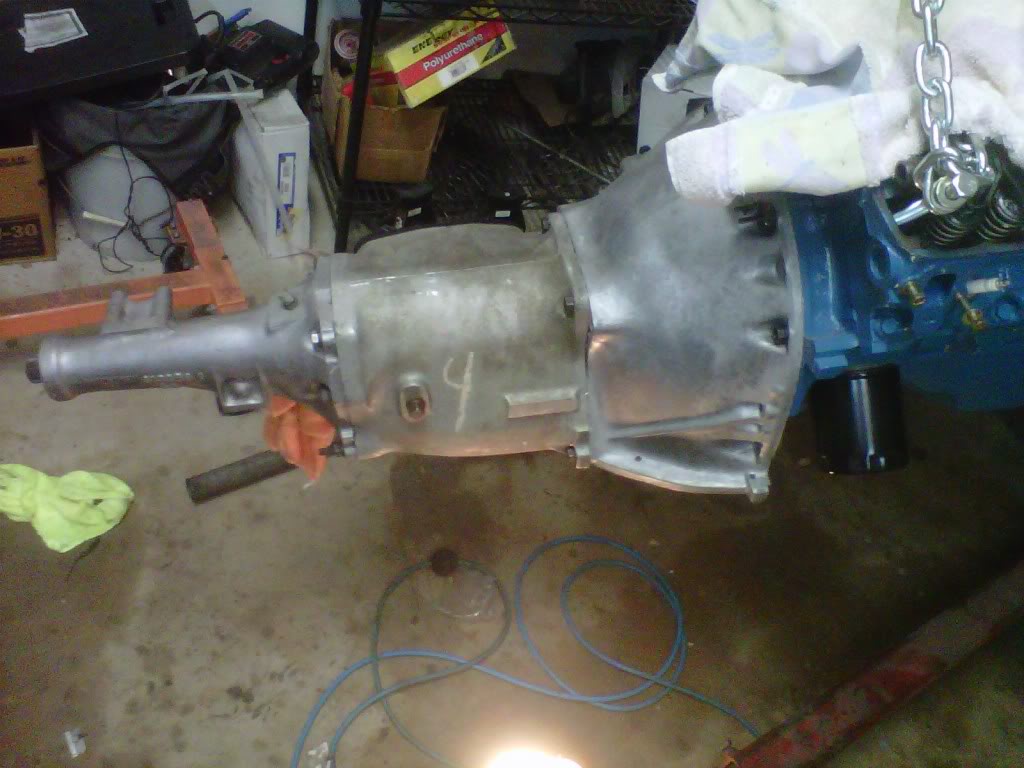
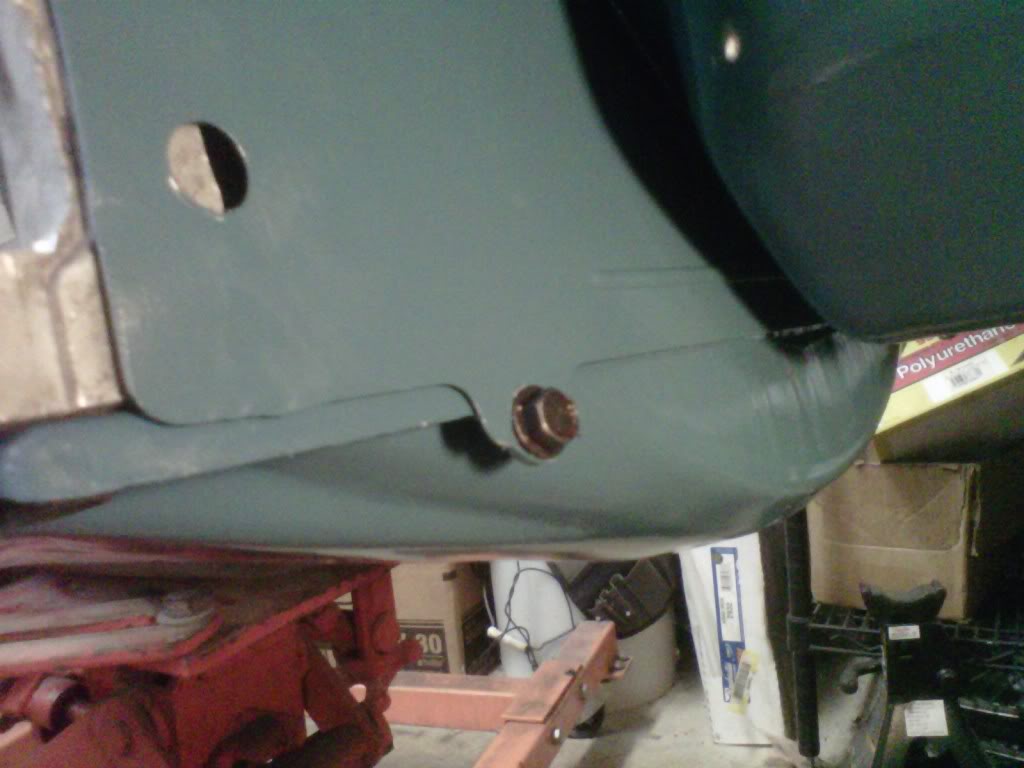
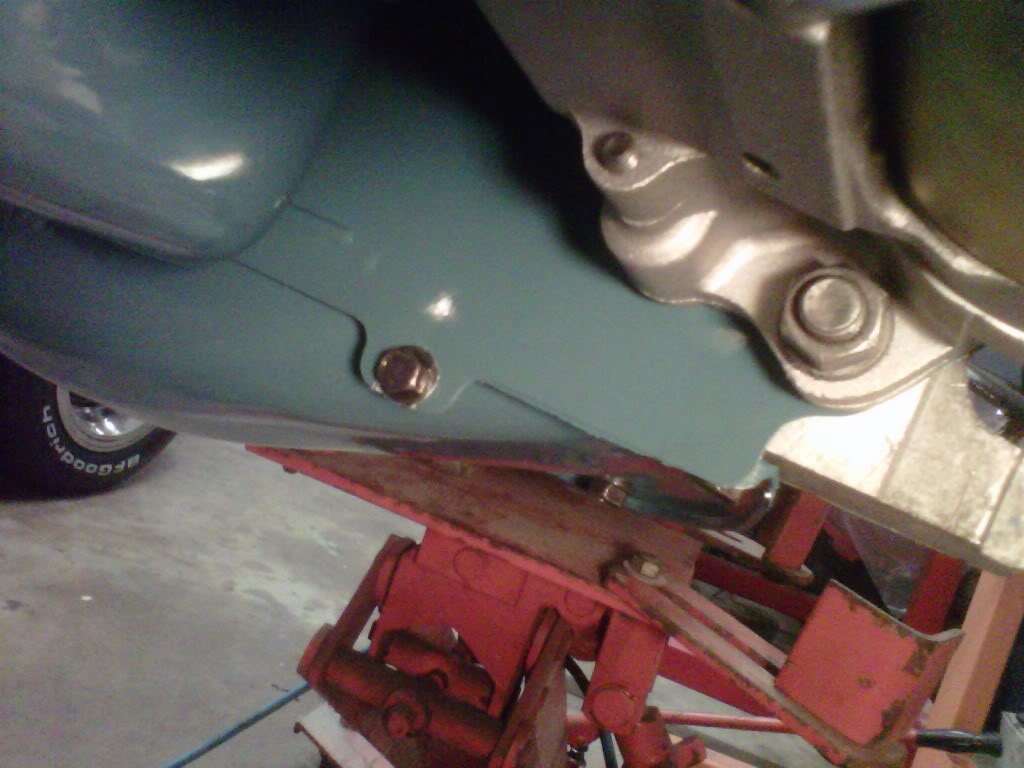
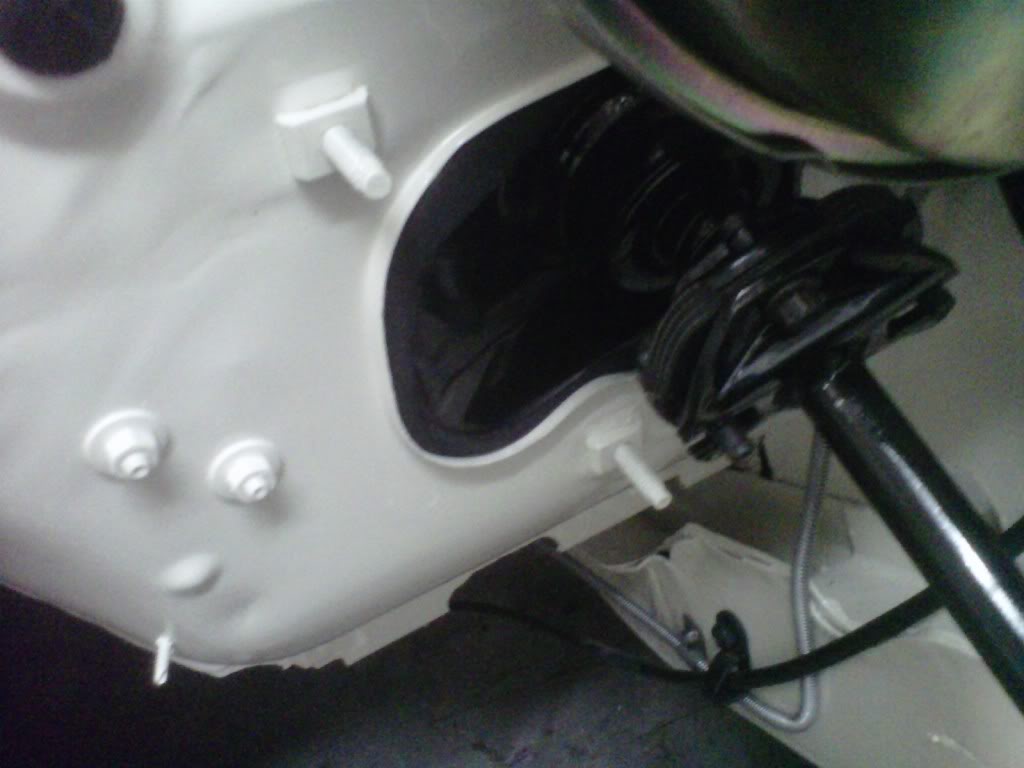
Then I did some clearance checking...nut clearance on the pivot ball of the z-bar and the bell housing...
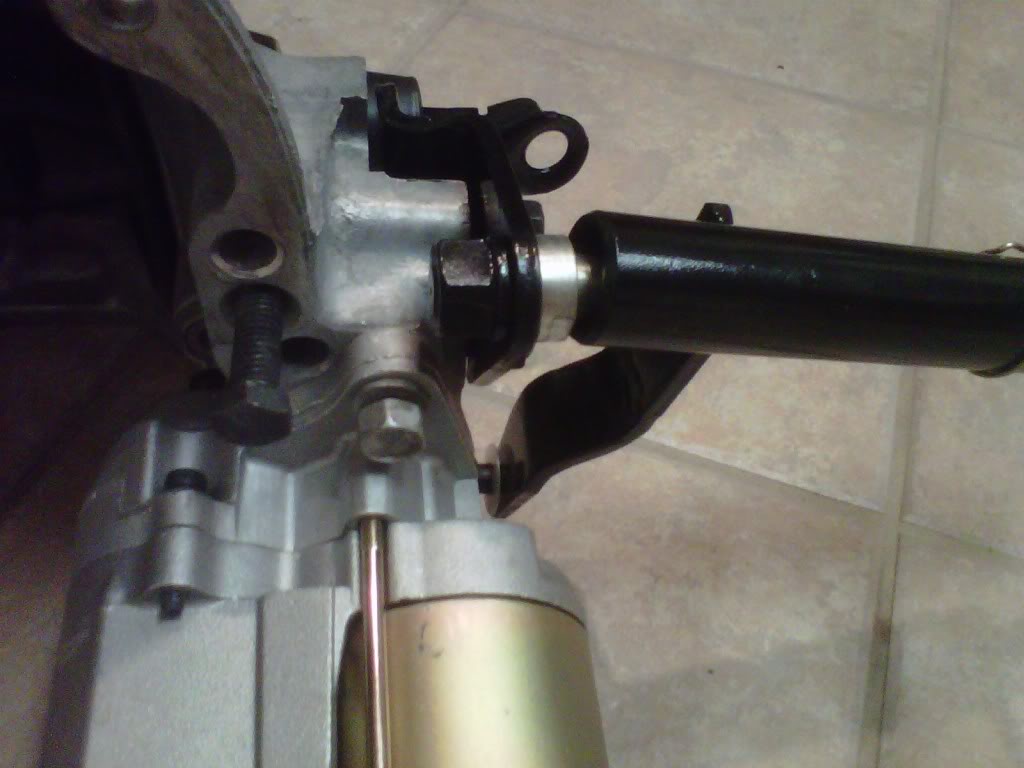
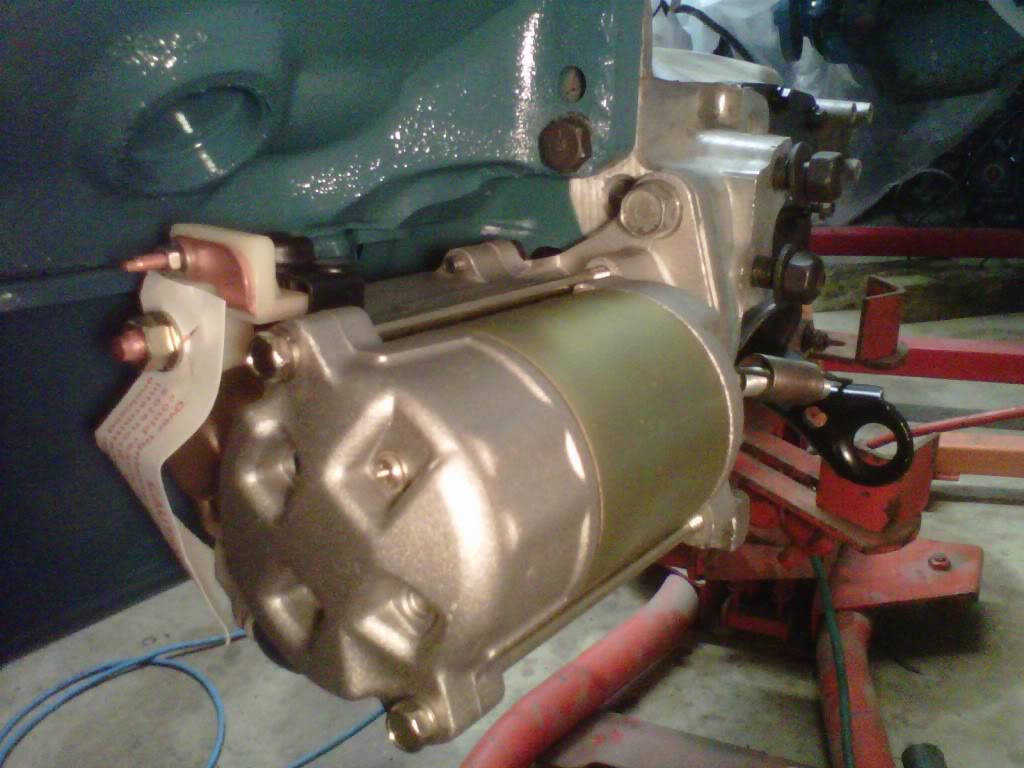
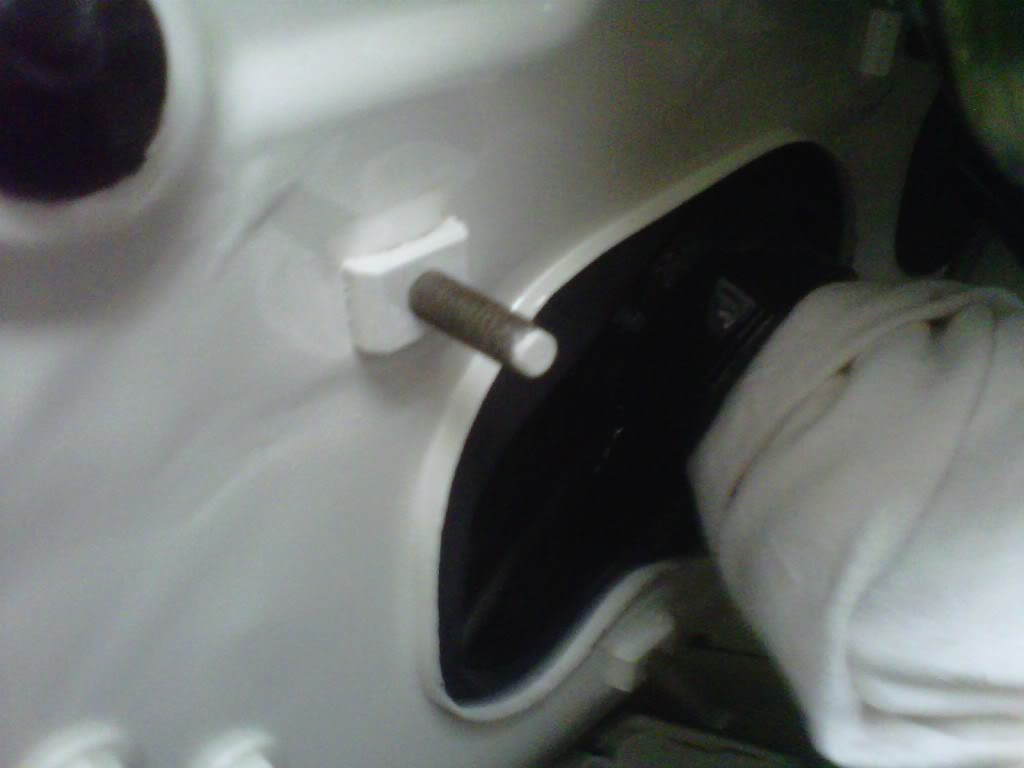
And then bolted up the Summit starter...the bottom hole was not large enough to fit over the stud....drilled it out very easy and mounted it
Then I did some clearance checking...nut clearance on the pivot ball of the z-bar and the bell housing...
And then bolted up the Summit starter...the bottom hole was not large enough to fit over the stud....drilled it out very easy and mounted it
Thread Starter
Super Moderator
Joined: Sep 2010
Posts: 3,609
Likes: 181
From: Houston, Texas
I ordered a new Clutch release service kit today...mine is the same angled rod as used in other cars...I called Mancini Racing and verified the length and diameter of the rod...48 bucks
Angled rod kit used on 1970-74 E-Body Small Block applications, and 1963-70 B-Body Big & Small Block applications. Comes complete with adjusting rod, special lock nut, clutch fork return spring, nylon wear washer, spring retainer, conical washer, and clutch fork insulator.
Angled rod kit used on 1970-74 E-Body Small Block applications, and 1963-70 B-Body Big & Small Block applications. Comes complete with adjusting rod, special lock nut, clutch fork return spring, nylon wear washer, spring retainer, conical washer, and clutch fork insulator.
Thread Starter
Super Moderator
Joined: Sep 2010
Posts: 3,609
Likes: 181
From: Houston, Texas
Pretty much ready
I had to go up on the chains again...the 1/2" bolts would not fit through the previous chain I bought..quick 29 buck trip to Home Depot fixed that issue....chained up and ready to go..I took the valve covers and exhaust manifolds off...
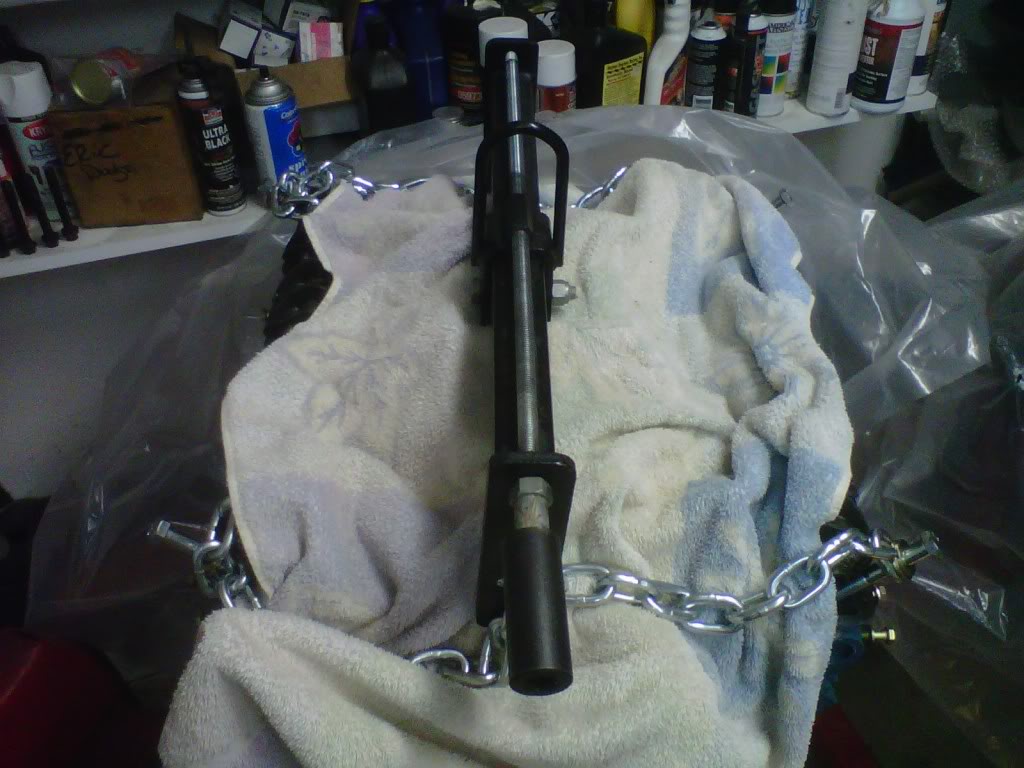
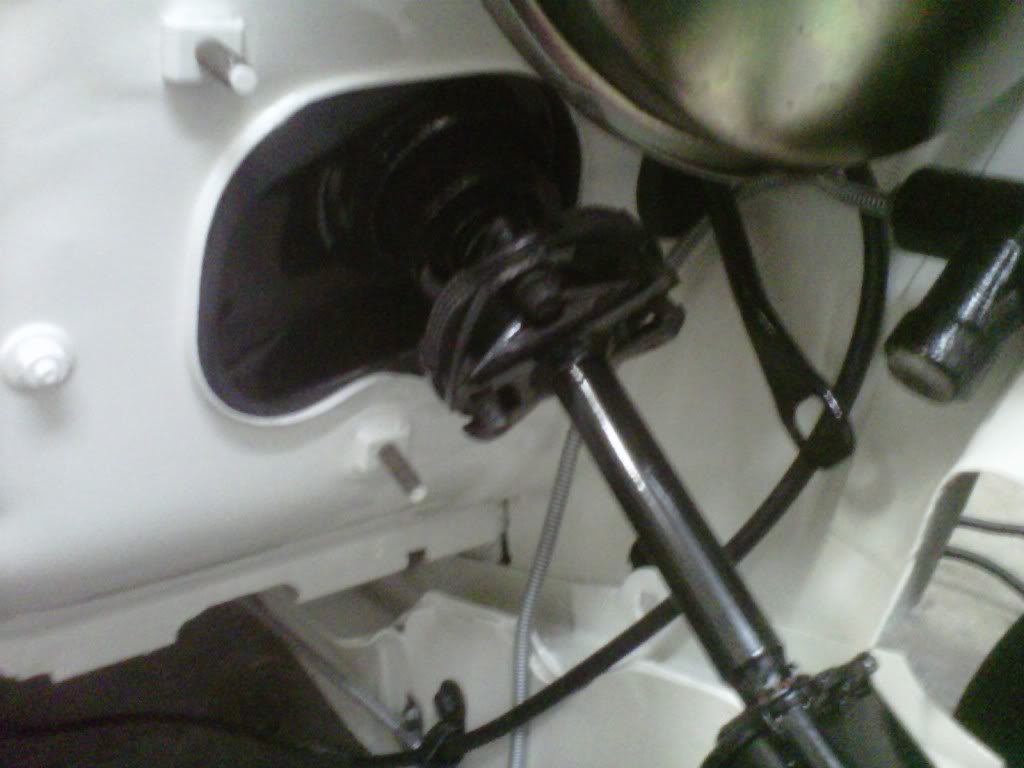
I did get the first part of the steering column cleaned of rust and painted with epxoy paint...tomorrow some shiney stuff first thing in the morning...
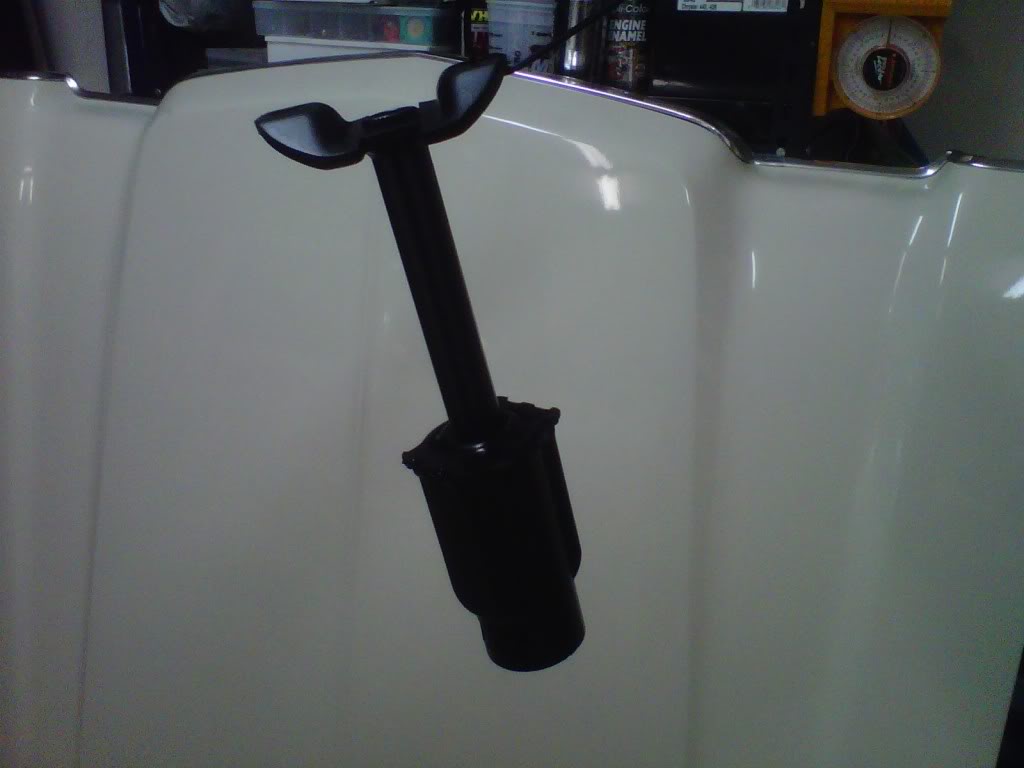
I did get the first part of the steering column cleaned of rust and painted with epxoy paint...tomorrow some shiney stuff first thing in the morning...


Thread Starter
Super Moderator
Joined: Sep 2010
Posts: 3,609
Likes: 181
From: Houston, Texas
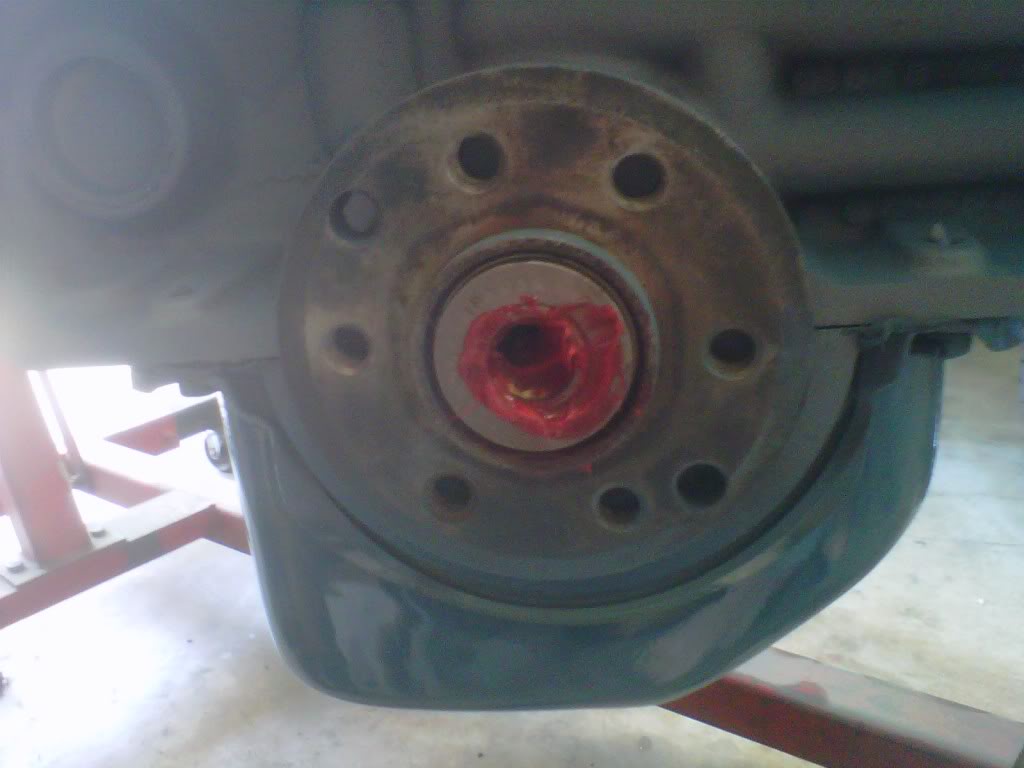
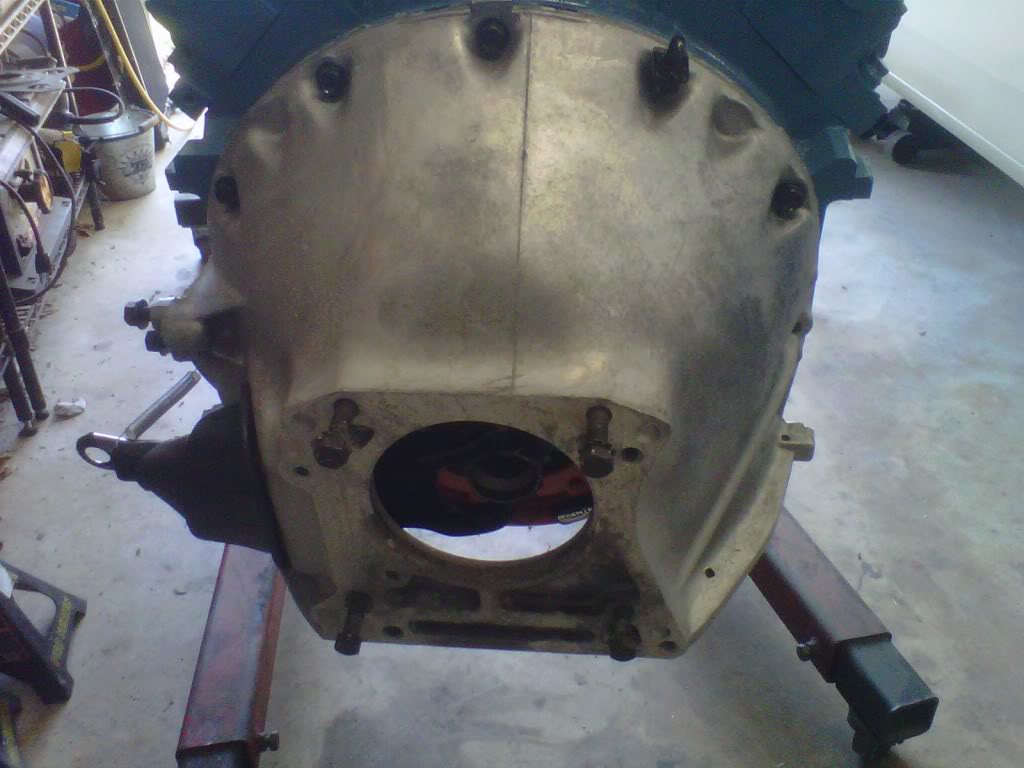
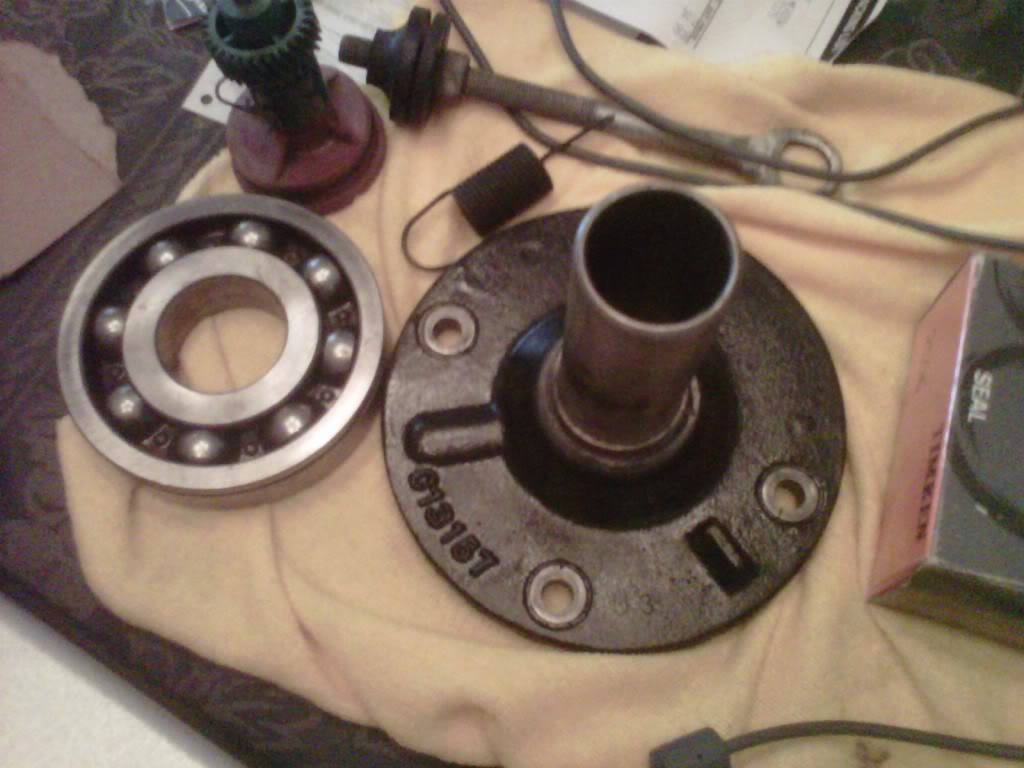
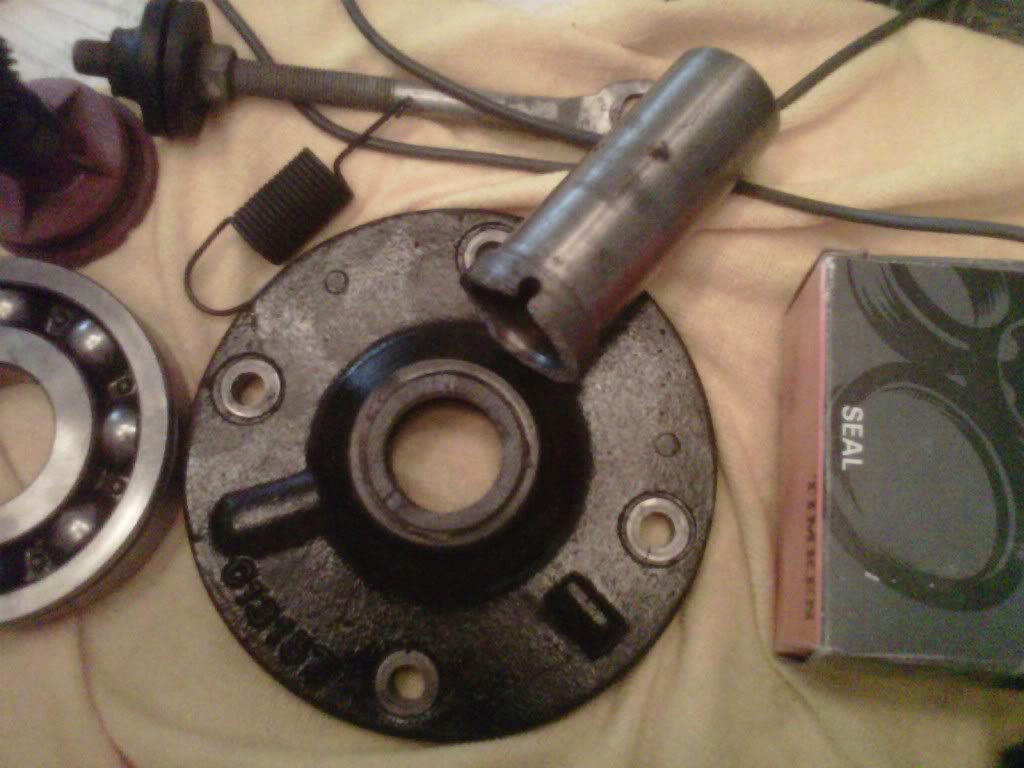
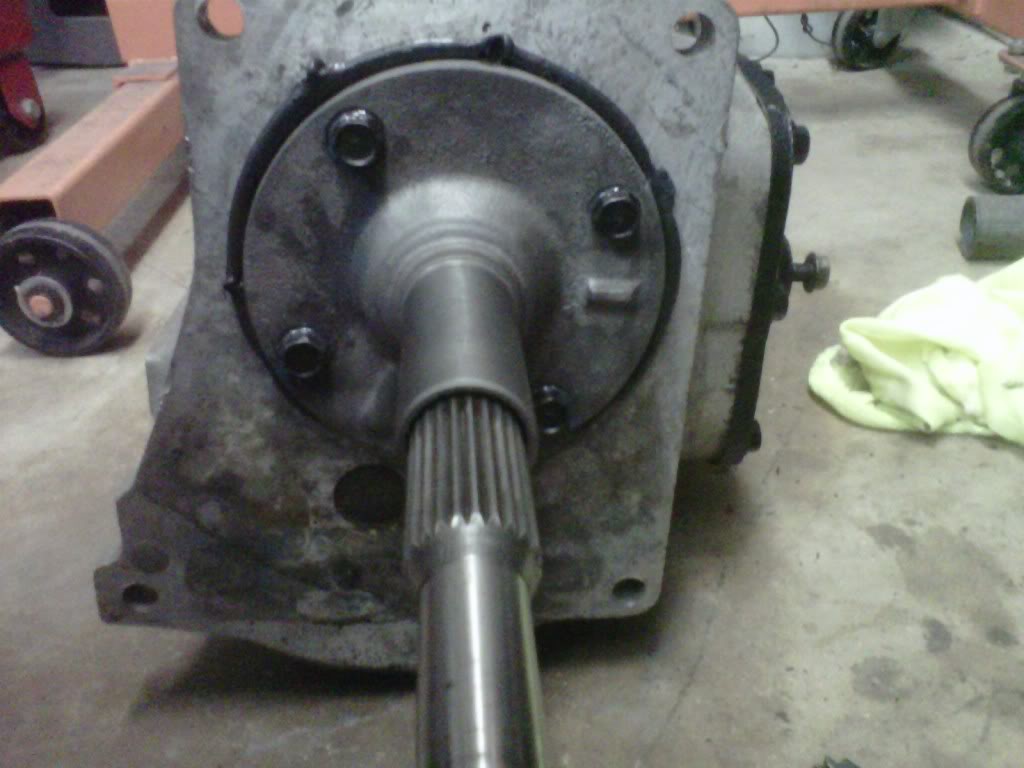
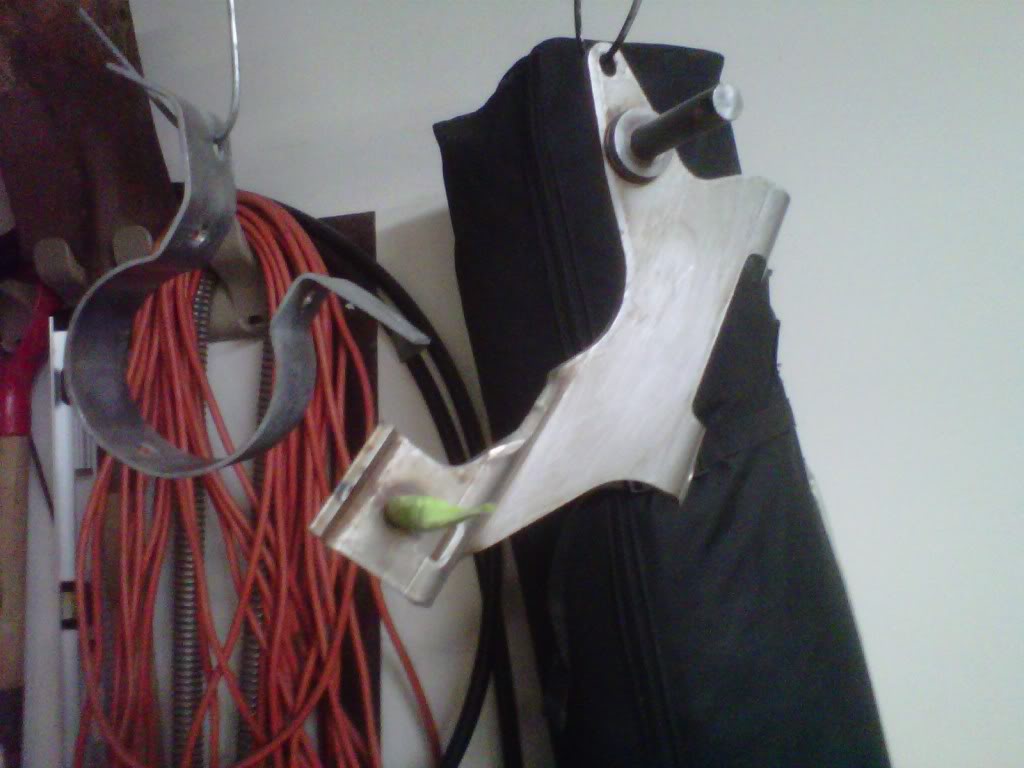
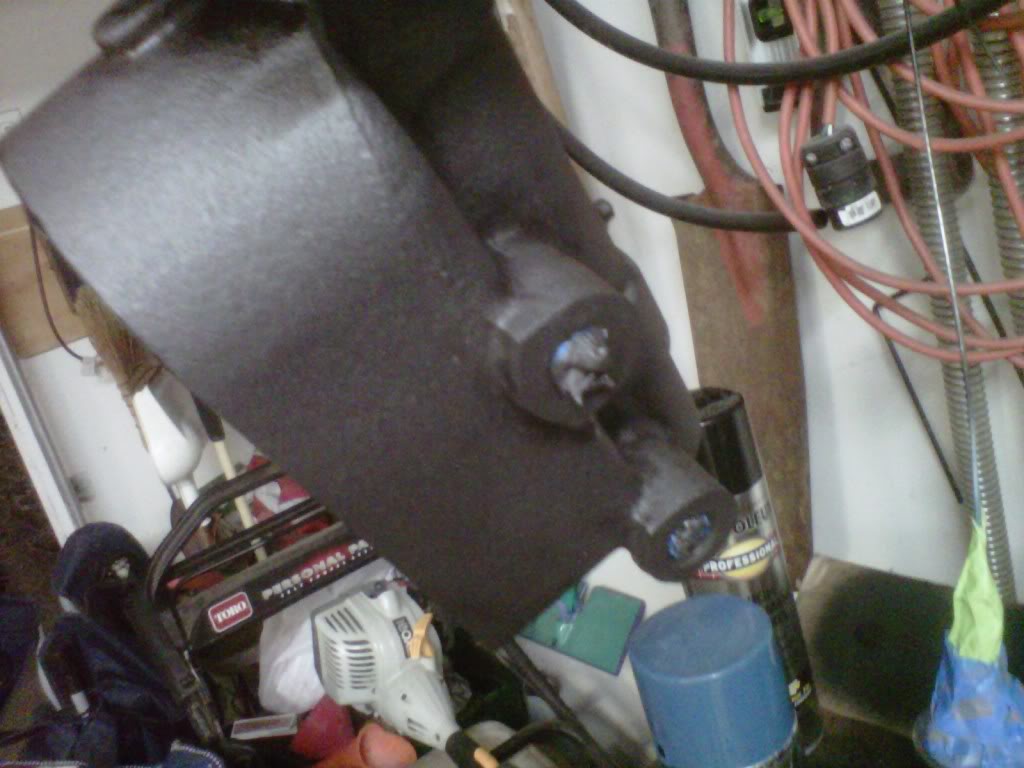
This was my fricken luck yesterday
The front part of the bearing reatainer that the throughout bearing rides on broke off...more details to come...got to go have Easter dinner...right now....cast bearing retainer part number C13157 any one got one...

Thread Starter
Super Moderator
Joined: Sep 2010
Posts: 3,609
Likes: 181
From: Houston, Texas
Thread Starter
Super Moderator
Joined: Sep 2010
Posts: 3,609
Likes: 181
From: Houston, Texas
Brewer's Performance to the rescue
http://www.brewersperformance.com/
I previously knew of them..they were the ones I called to find out how many driven teeth on the output shaft....I ordered a reconditioned C13157 front bearing retainer....some bolts and a new 308 front bearing...
I previously knew of them..they were the ones I called to find out how many driven teeth on the output shaft....I ordered a reconditioned C13157 front bearing retainer....some bolts and a new 308 front bearing...
Last edited by bremereric; Apr 24, 2011 at 07:04 PM.
Thread Starter
Super Moderator
Joined: Sep 2010
Posts: 3,609
Likes: 181
From: Houston, Texas
Even on Easter I tried to get something done
Up early this morning so I cleaned and painted some of the rag joint parts and then bolted it on this evening...then when I got home from all the Easter activities I cleaned and painted the end of the steering wheel that shows inside the engine compartment...I will get it installed tomorrow night and start getting the engine side wiring back out into the engine compartment...

Thread Starter
Super Moderator
Joined: Sep 2010
Posts: 3,609
Likes: 181
From: Houston, Texas
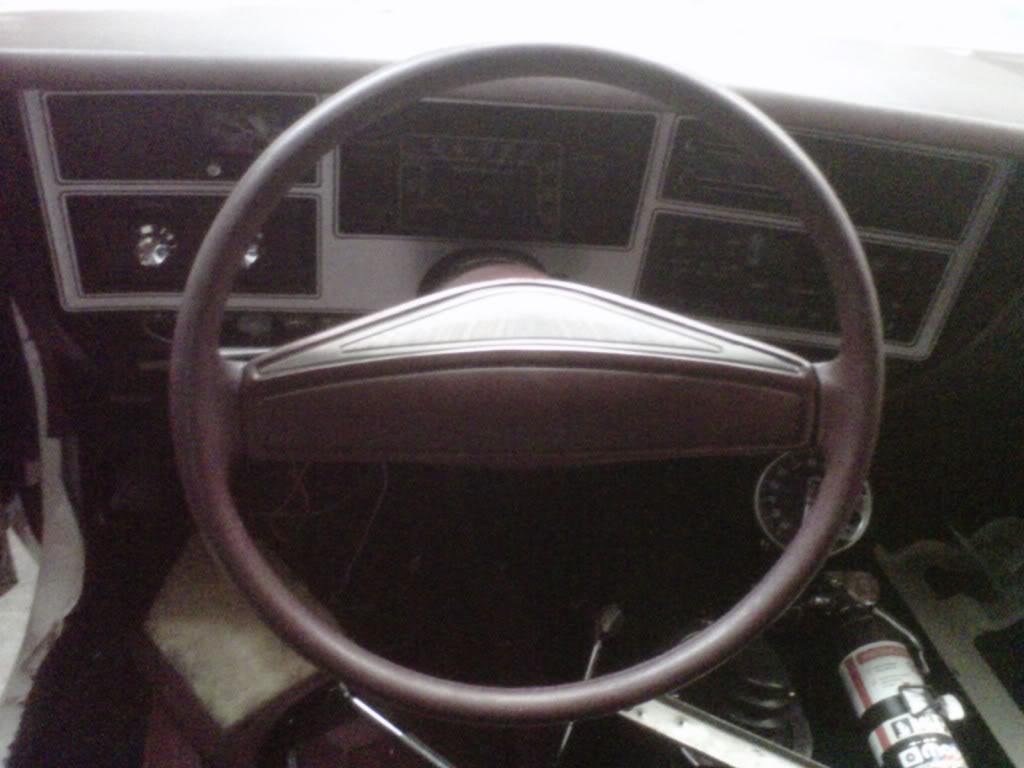
Steering wheel in and wiring harness out..
I got the steering wheel in and am having fun figuring out how to center it...3 and a half turns in either direction hits the stops....left to right...right to left...the cop box changed the steering ratio...welcome some thoughts...
I have time to do some more cleaning up of the wiring harness...mainly the very ends to the front lights and the tranny reverse light wiring..my tranny parts will be here Wednesday...Brewer's Performance Rocks.
I have time to do some more cleaning up of the wiring harness...mainly the very ends to the front lights and the tranny reverse light wiring..my tranny parts will be here Wednesday...Brewer's Performance Rocks.
Thread Starter
Super Moderator
Joined: Sep 2010
Posts: 3,609
Likes: 181
From: Houston, Texas
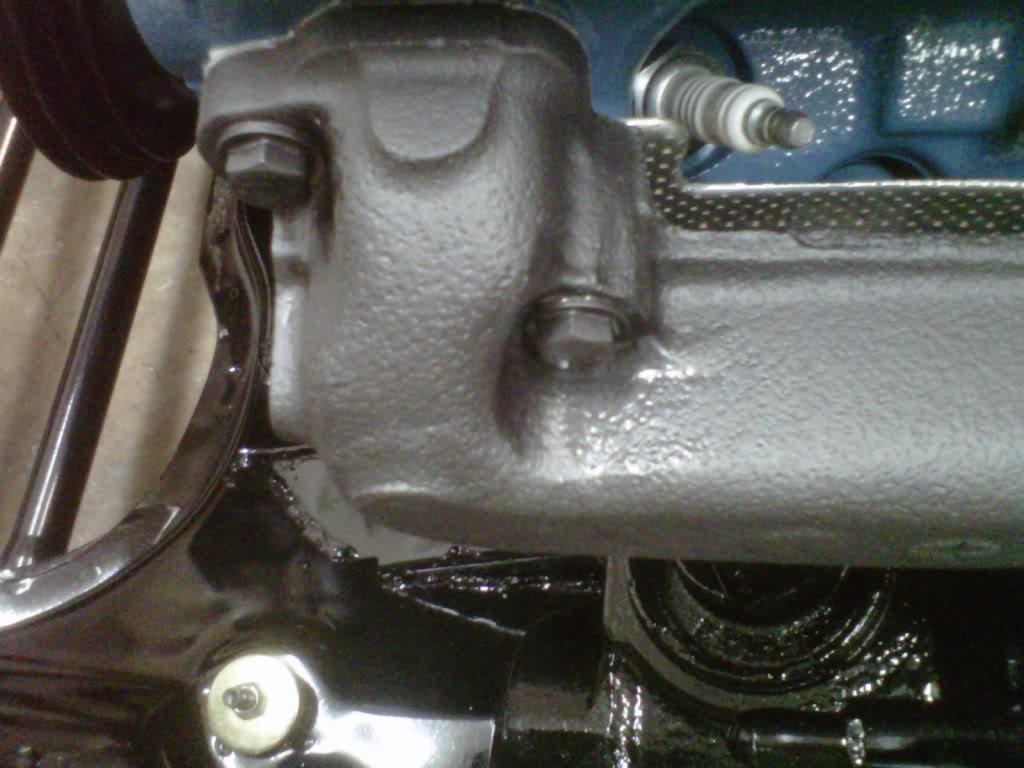
I came home at lunch today and painted the steering coupling...I got home ate dinner and got after it since my tranny parts showed up...I got the bearing on then had fun getting the bearing retainer to seat properly...I used my favorite gasket maker The Right Stuff and got it put back together..
I then stabbed the steering coupler and then the steering wheel and joined them at the rag joint...done
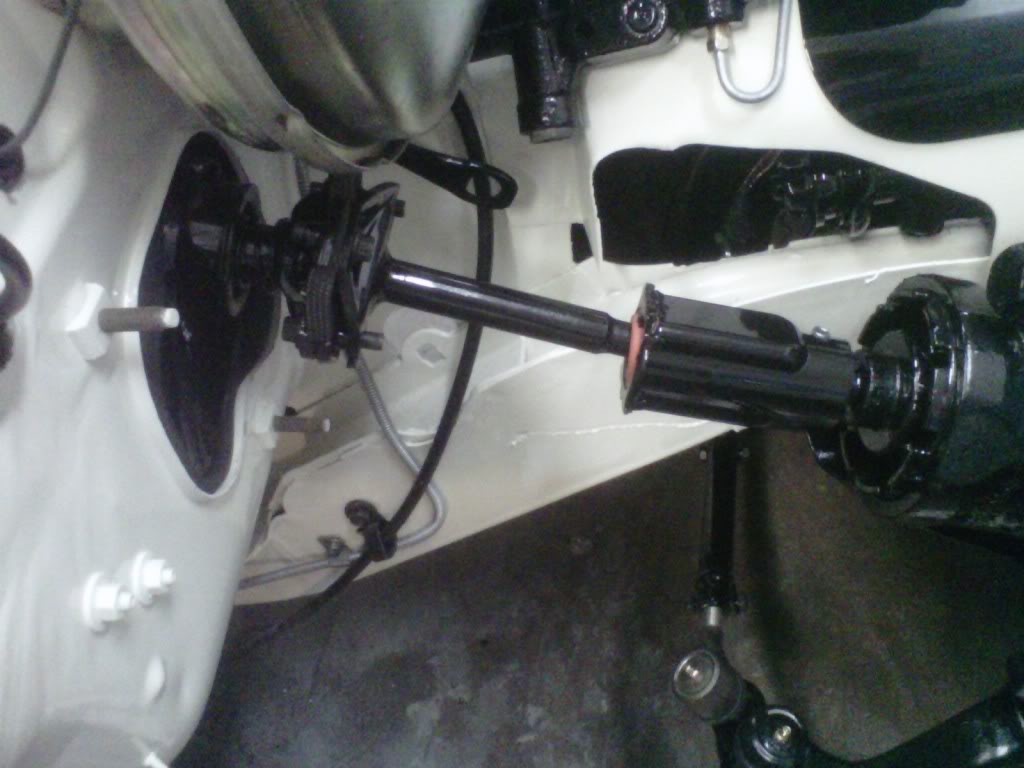
Then I had lots of fun but I stabbed the tranny and got everything torqued down by 12:10 this evening...
I then stabbed the steering coupler and then the steering wheel and joined them at the rag joint...done
Then I had lots of fun but I stabbed the tranny and got everything torqued down by 12:10 this evening...
Last edited by bremereric; Apr 27, 2011 at 11:15 PM.
Thread Starter
Super Moderator
Joined: Sep 2010
Posts: 3,609
Likes: 181
From: Houston, Texas
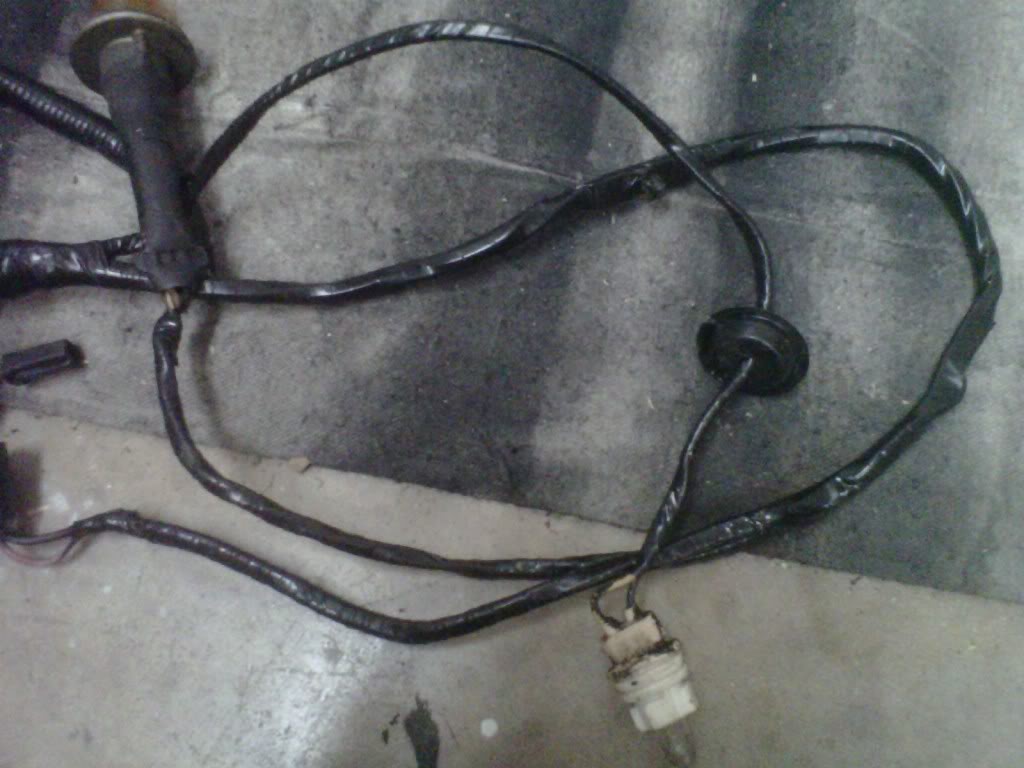
I got a little done tonight
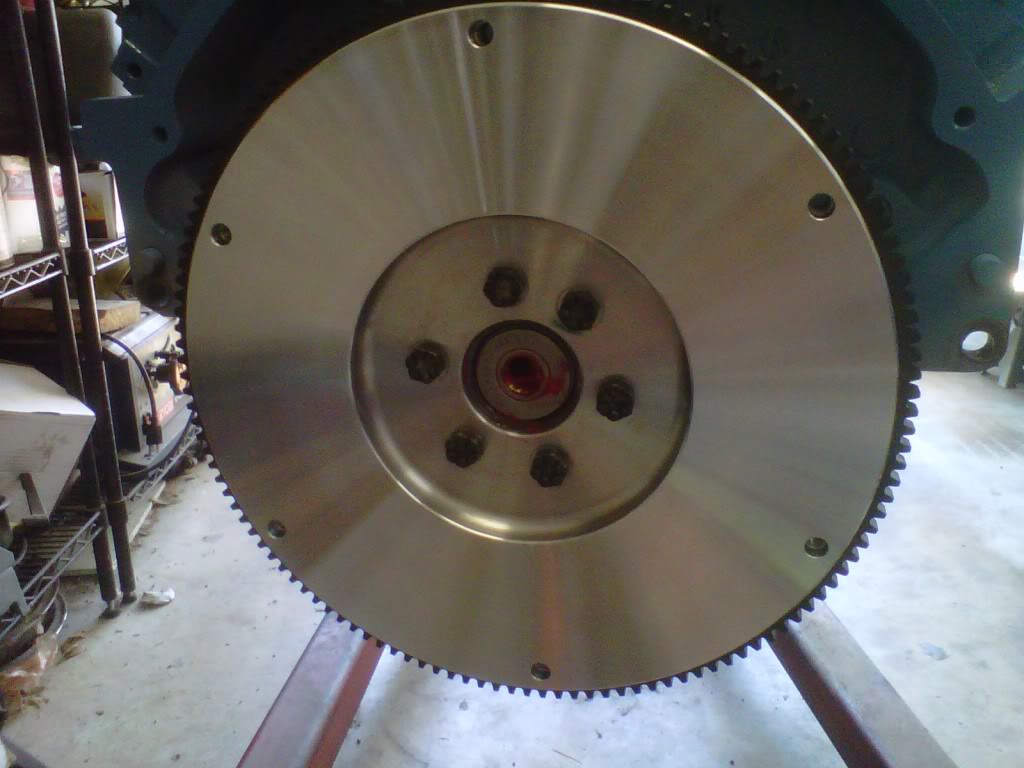
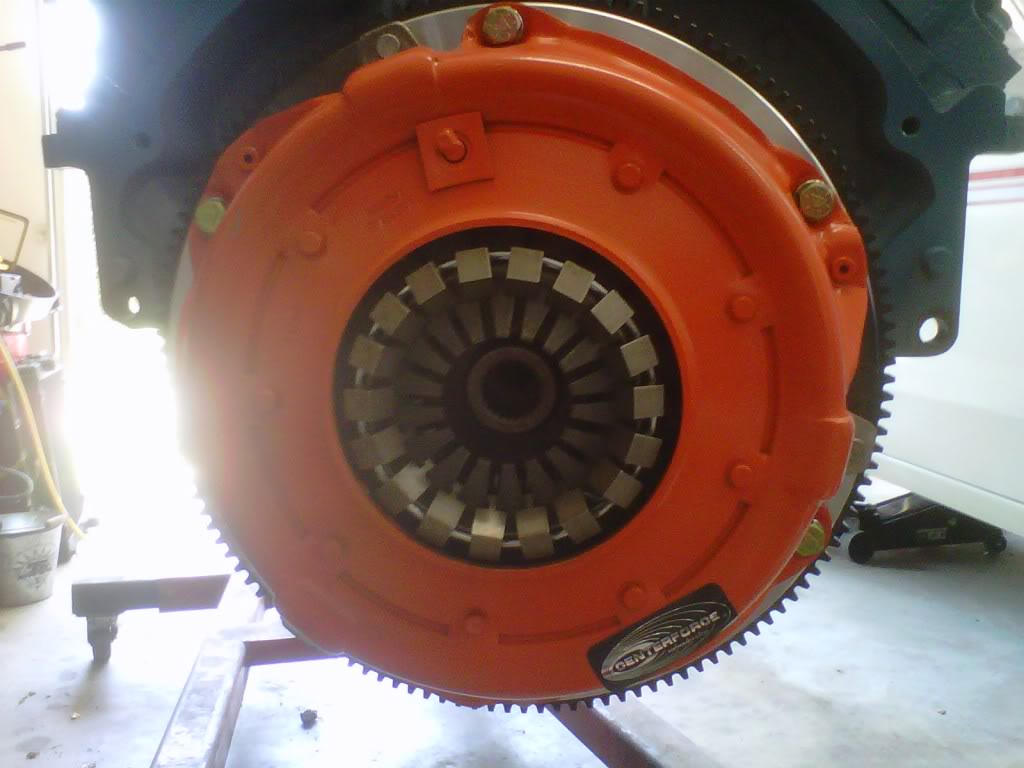
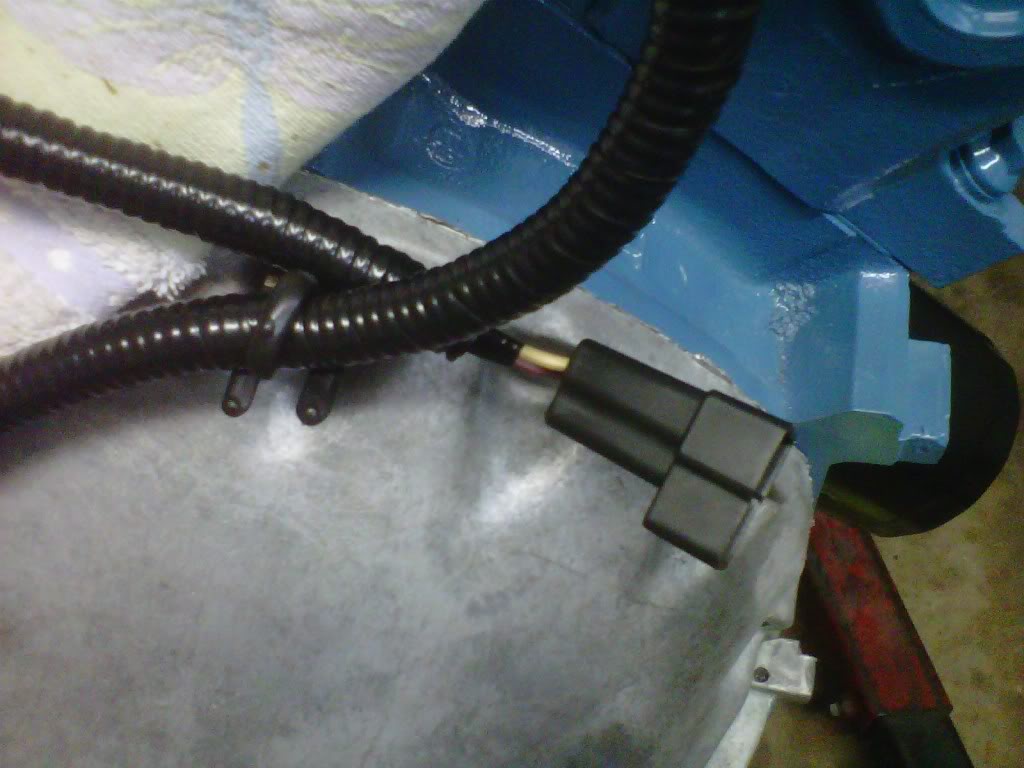
I bolted up the flywheel and starter plate cover plates that I painted...also that Summit starter and then I wrapped the reverse light cable with new tape....no engine in until daylight Saturday...never repeat never did one at night...
Thread Starter
Super Moderator
Joined: Sep 2010
Posts: 3,609
Likes: 181
From: Houston, Texas
Trying a Summit one this time
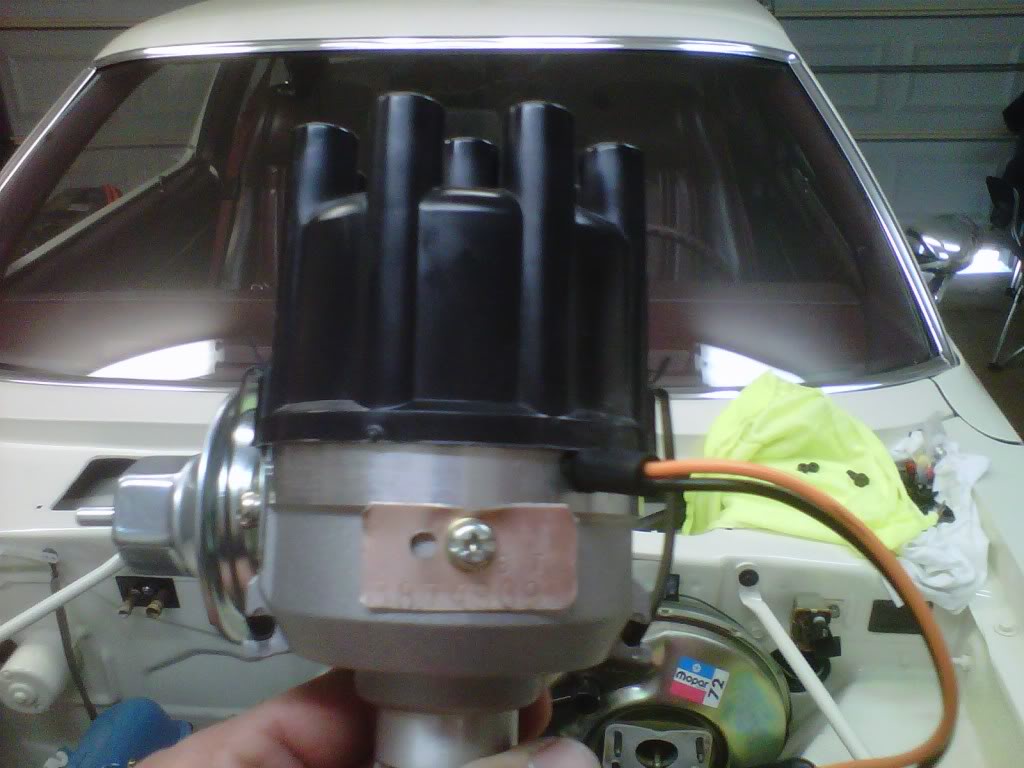
Got a new distributor today.....tried the Summit brand today...pretty sure it's made for them by Accel..few dollars cheaper than the Mopar Performance one that may be made in Mexico or China...
Brand Summit Racing
Manufacturer's Part Number SUM-850003-1
Part Type Distributors
Product Line Summit Racing� Electronic Mopar Distributors
Summit Racing Part Number SUM-850003-1
Computer-Controlled Compatible No
Trigger Style Magnetic
Advance Type Vacuum and mechanical
Cap Style Female/Socket
Mechanical Tach Drive No
Slip Collar No
Ignition Box Required Yes
Distributor Rotor Rotation Clockwise
Housing Materia lCast aluminum
Housing Finish Machined
Last edited by bremereric; Apr 29, 2011 at 07:52 PM.
Thread Starter
Super Moderator
Joined: Sep 2010
Posts: 3,609
Likes: 181
From: Houston, Texas
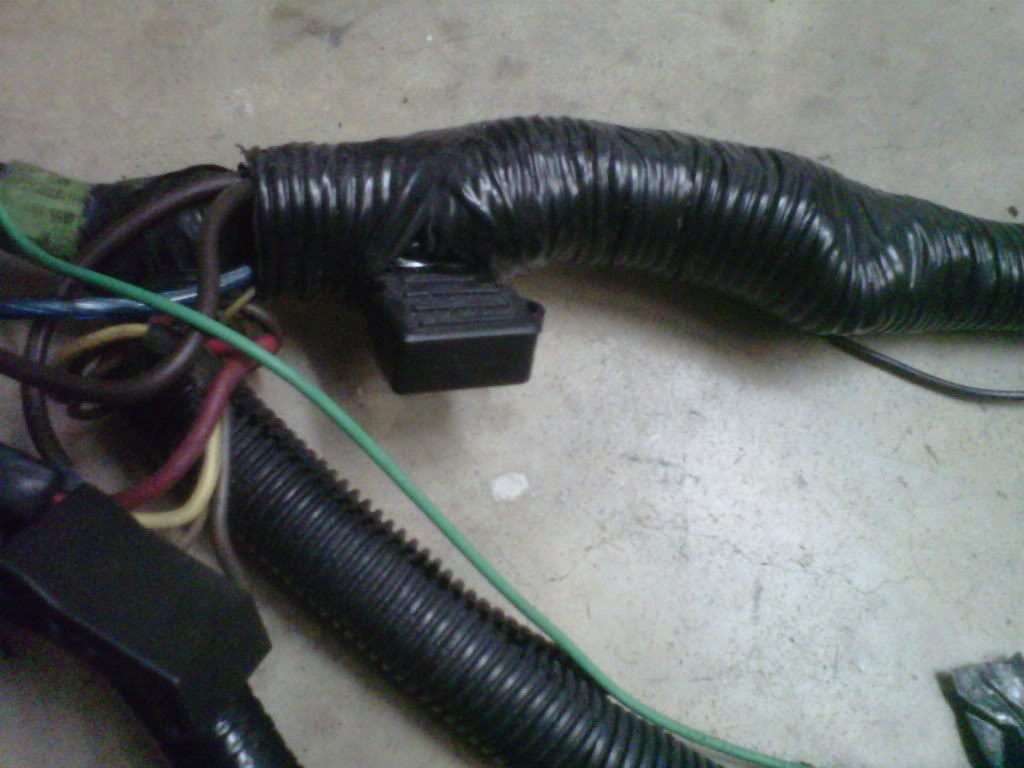
Wiring clean up today
Steering wheel bolts painting and wiring harness clean up today...
No paint....
Paint....
Work on wiring harness....
That's gotta go...move to inside....still have more to do on the wiring harness...
No paint....
Paint....
Work on wiring harness....
That's gotta go...move to inside....still have more to do on the wiring harness...
Thread Starter
Super Moderator
Joined: Sep 2010
Posts: 3,609
Likes: 181
From: Houston, Texas
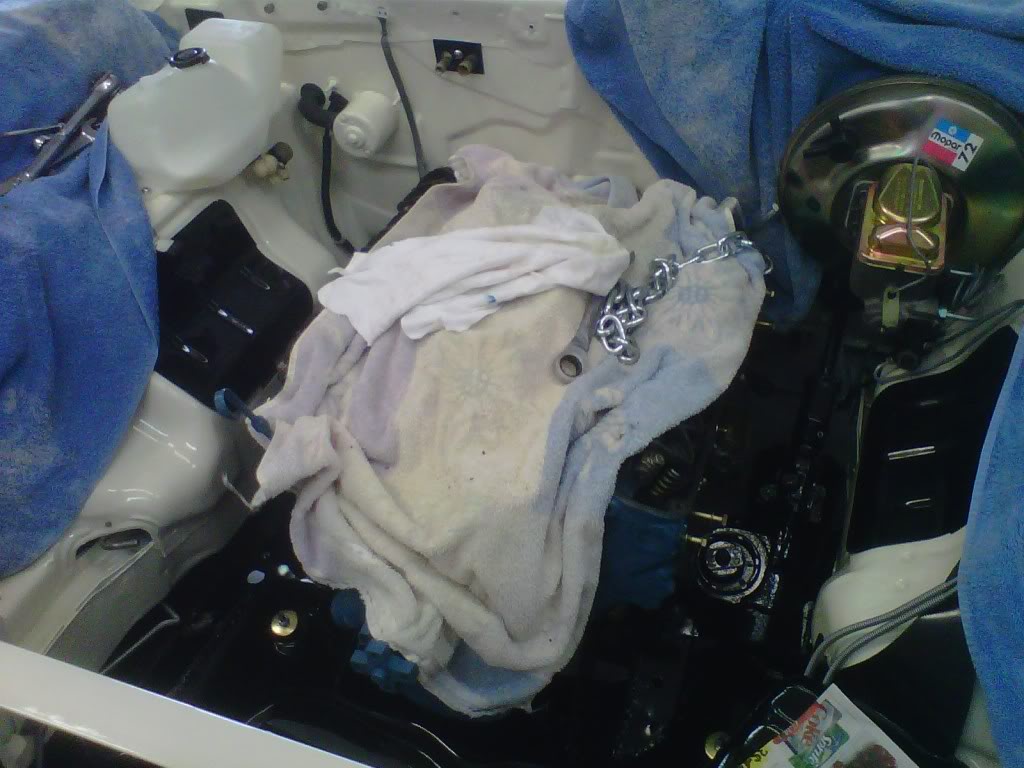
The good the bad and the ugly...some good and some bad
Got the motor and tranny in there today...WAB.... ...at the last moment I had to remove the motor mounts from the block to lower the motor more and then came back to install them when I dropped in into place...
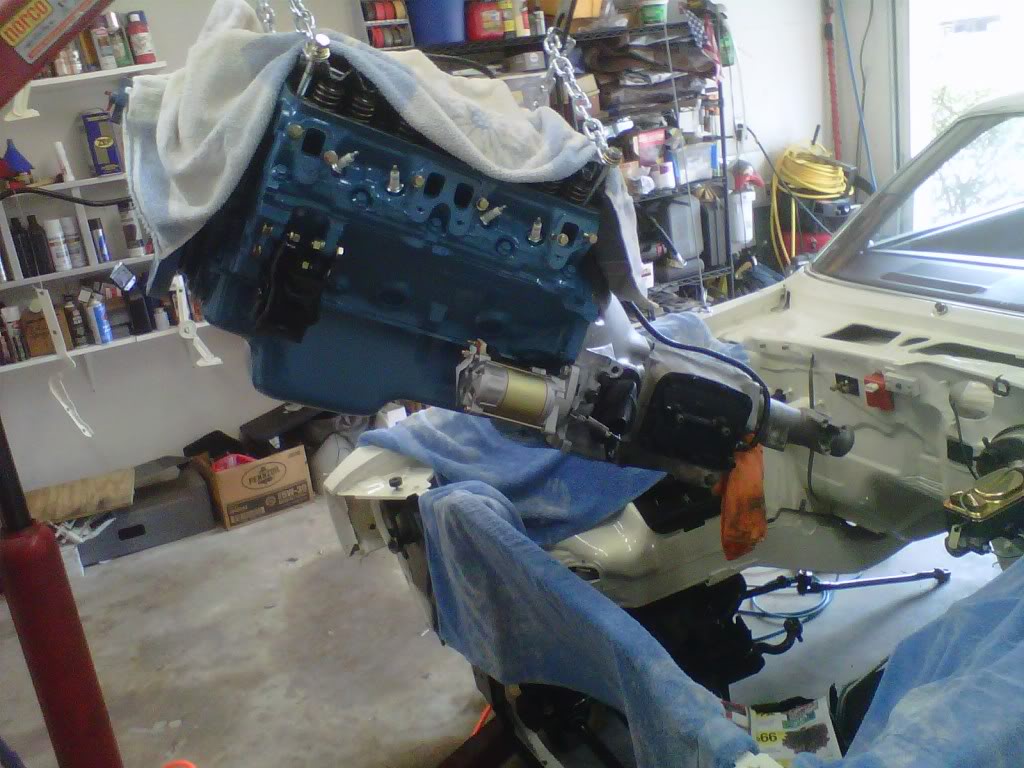
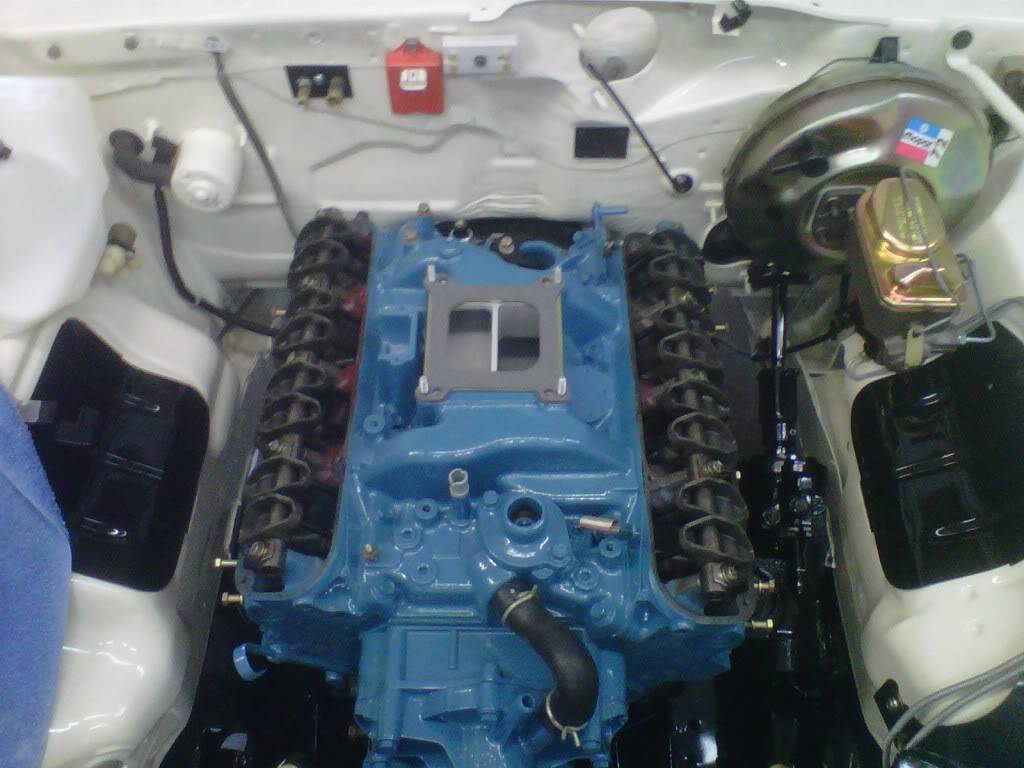
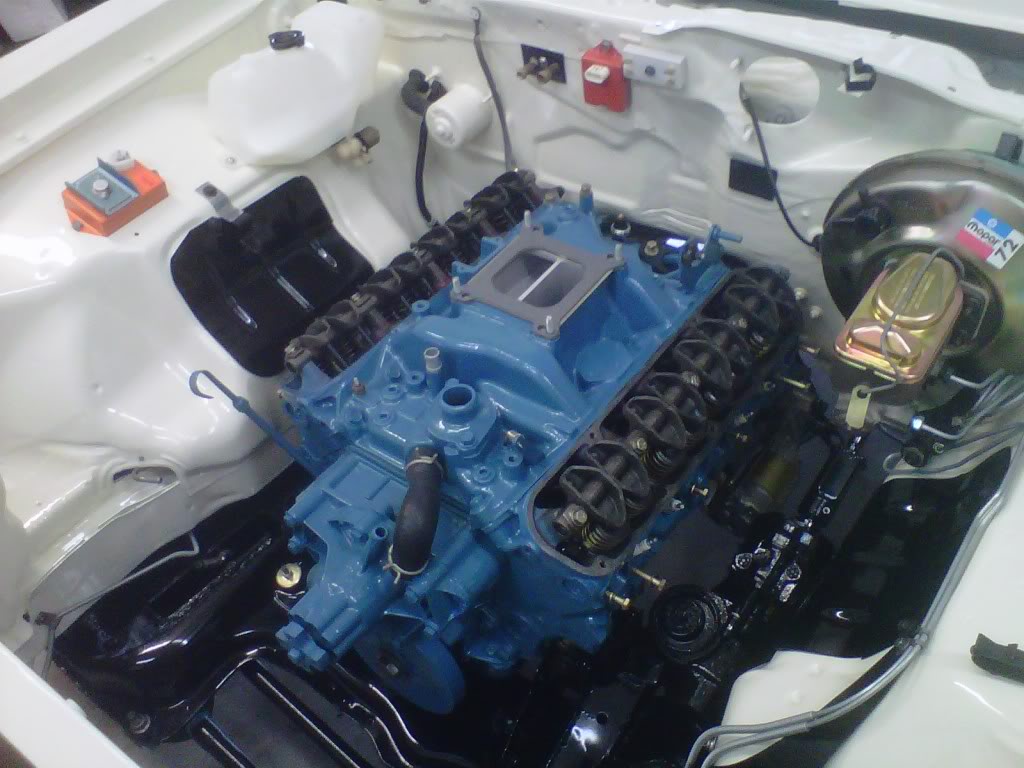
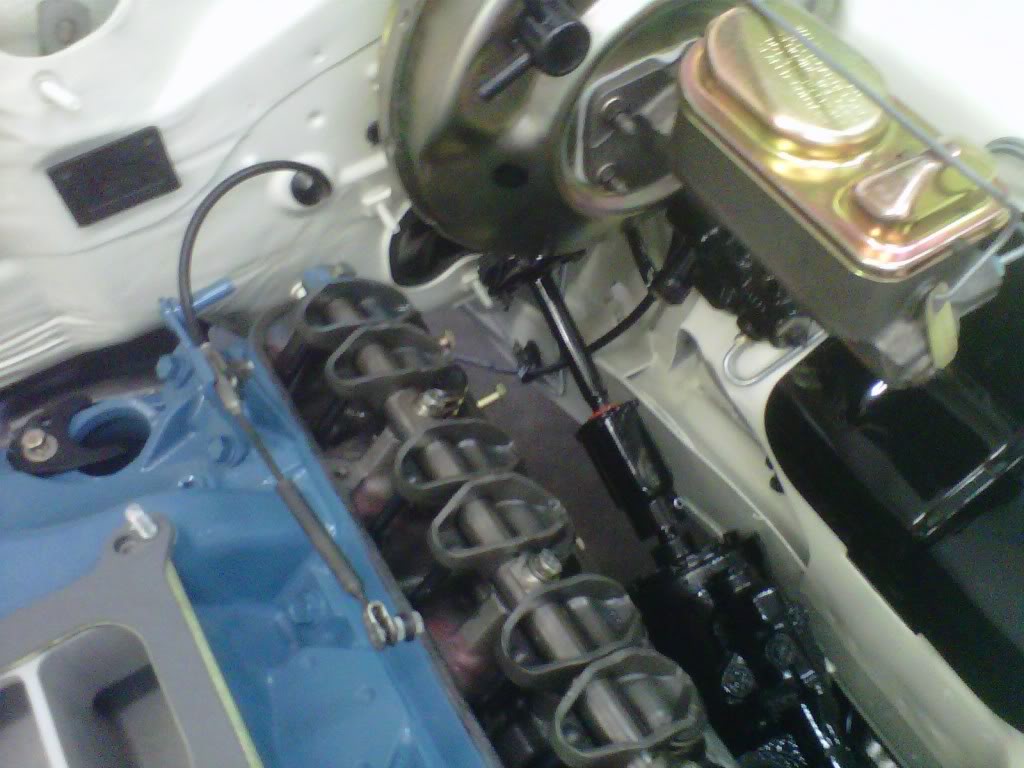
I got the exhaust manifolds mounted on both sides and the the shiza hit the fan...

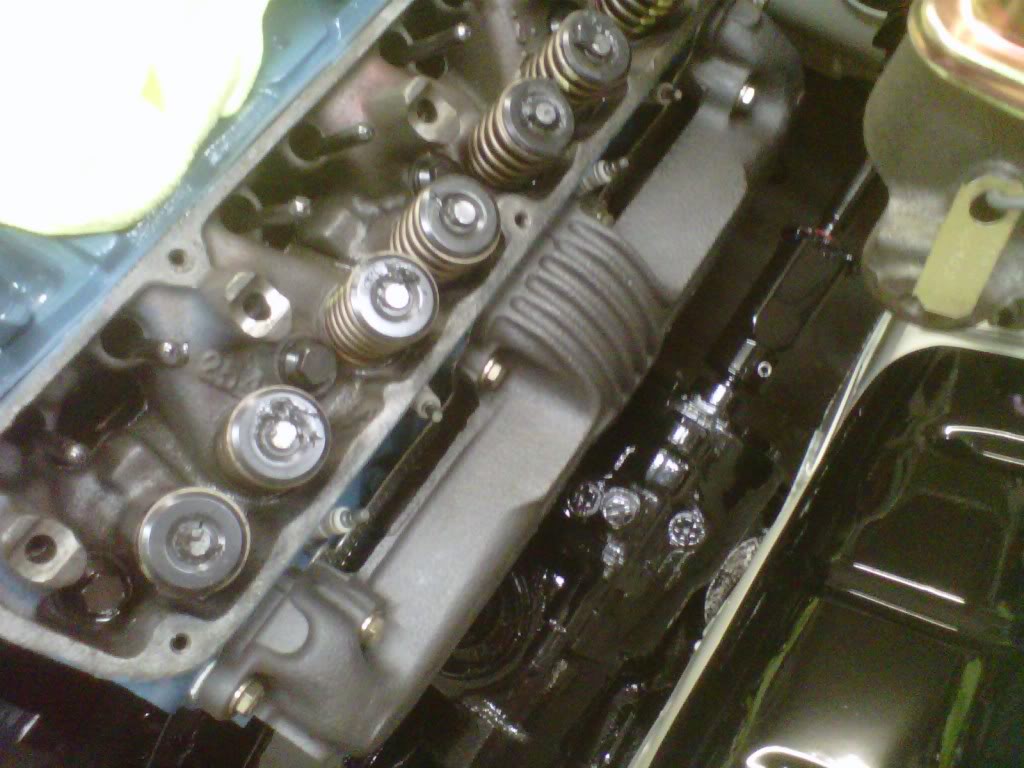
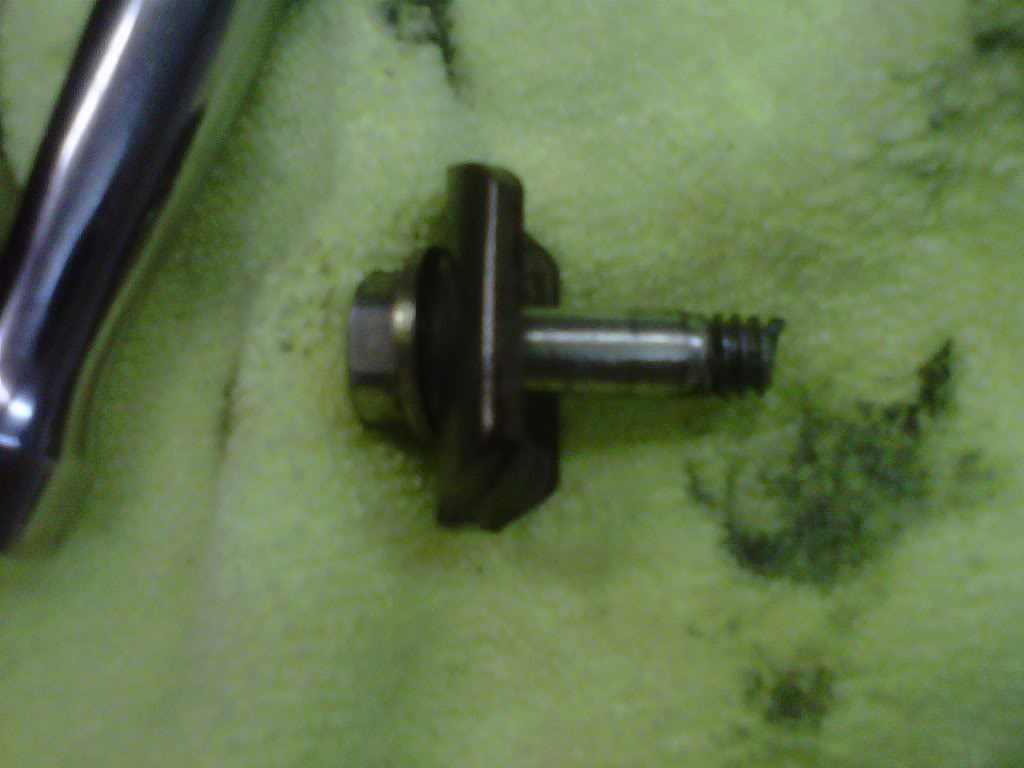
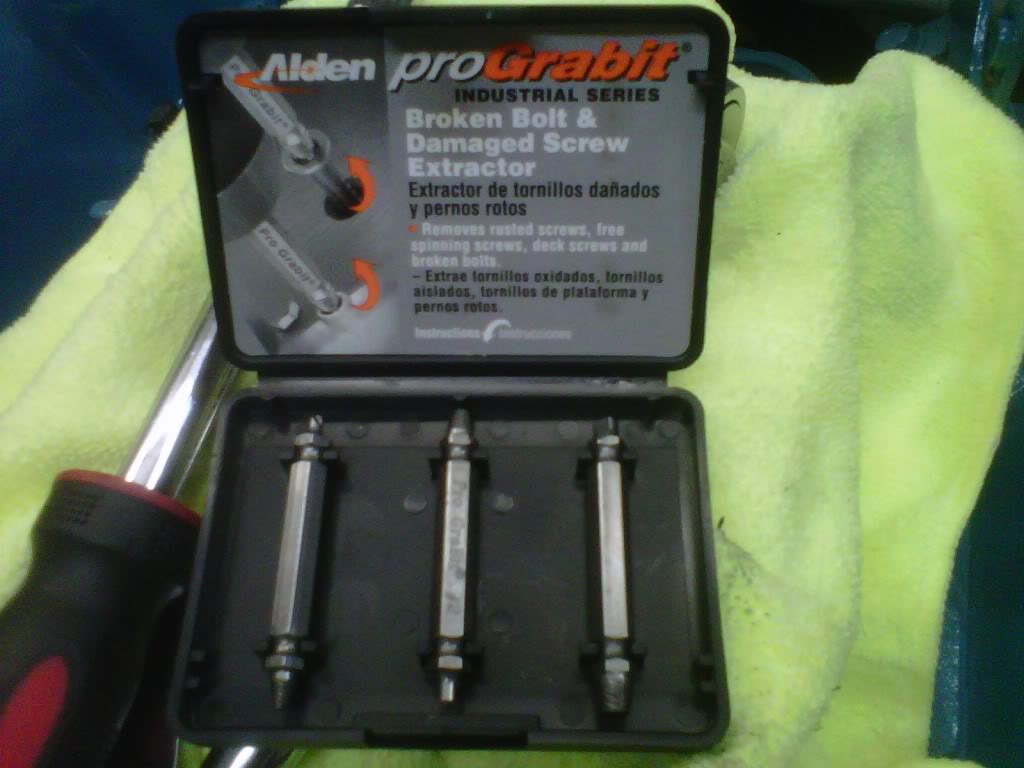
I removed the rocker shaft from the driver's side to torque the back bolt down and a grade 8 bolt snapped off...will try my bolt extractor first and then go for the industrial one at work next...

...at the last moment I had to remove the motor mounts from the block to lower the motor more and then came back to install them when I dropped in into place...I got the exhaust manifolds mounted on both sides and the the shiza hit the fan...
I removed the rocker shaft from the driver's side to torque the back bolt down and a grade 8 bolt snapped off...will try my bolt extractor first and then go for the industrial one at work next...
Thread Starter
Super Moderator
Joined: Sep 2010
Posts: 3,609
Likes: 181
From: Houston, Texas
Got all of the big parts out of the dining room...
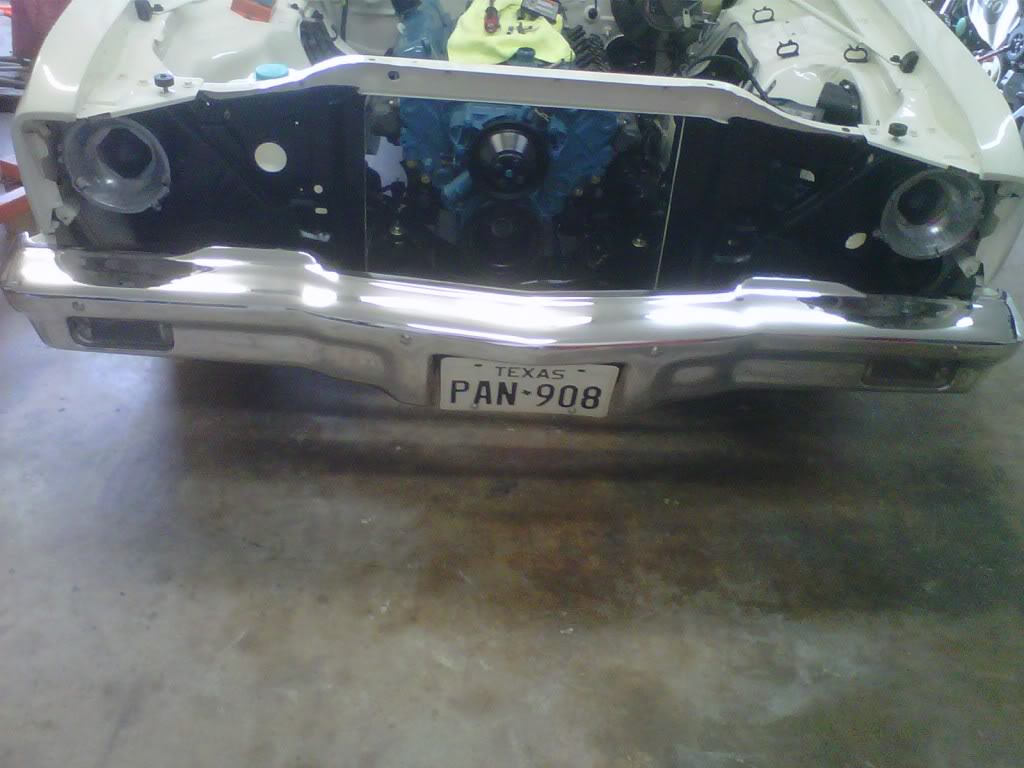
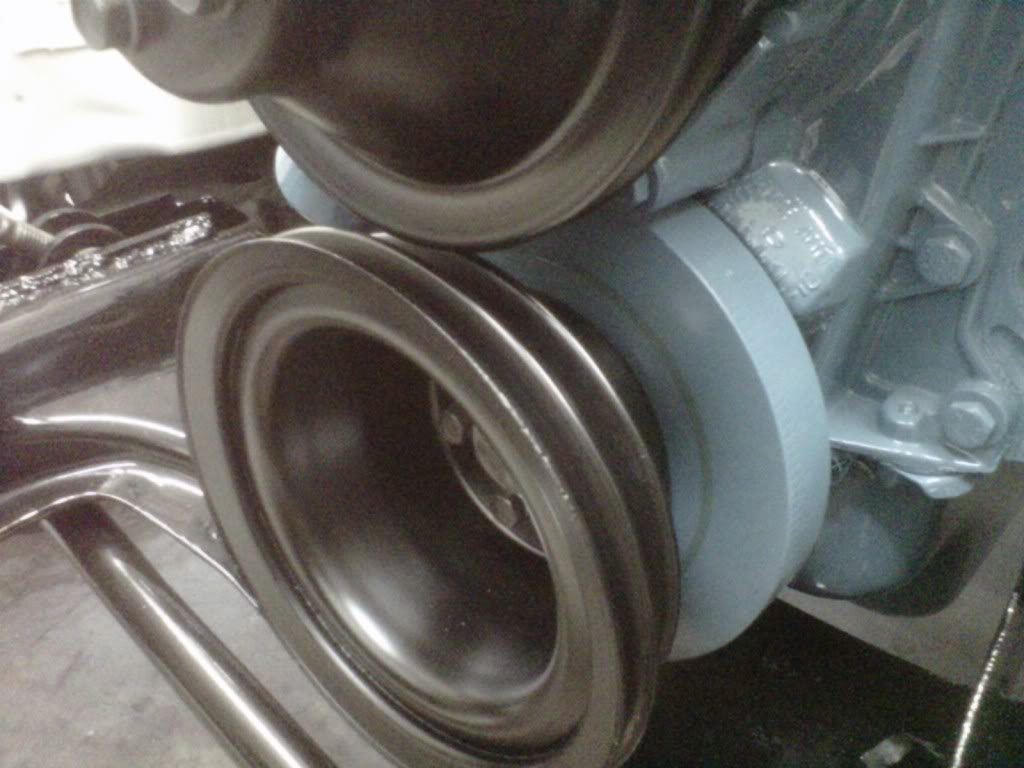
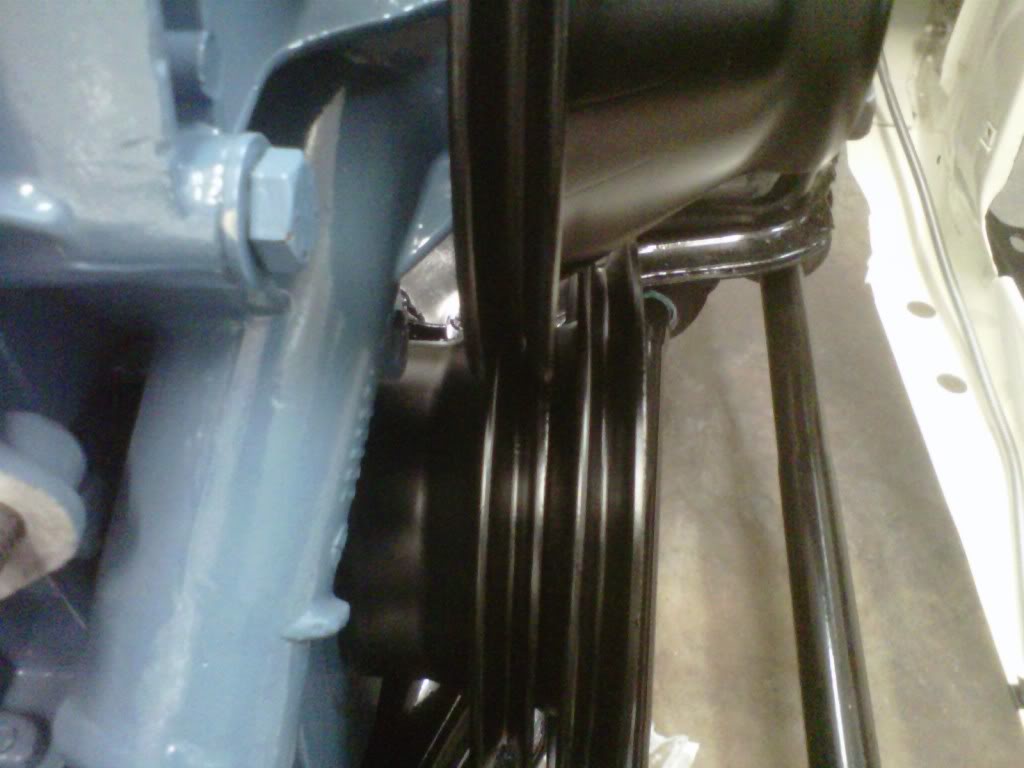
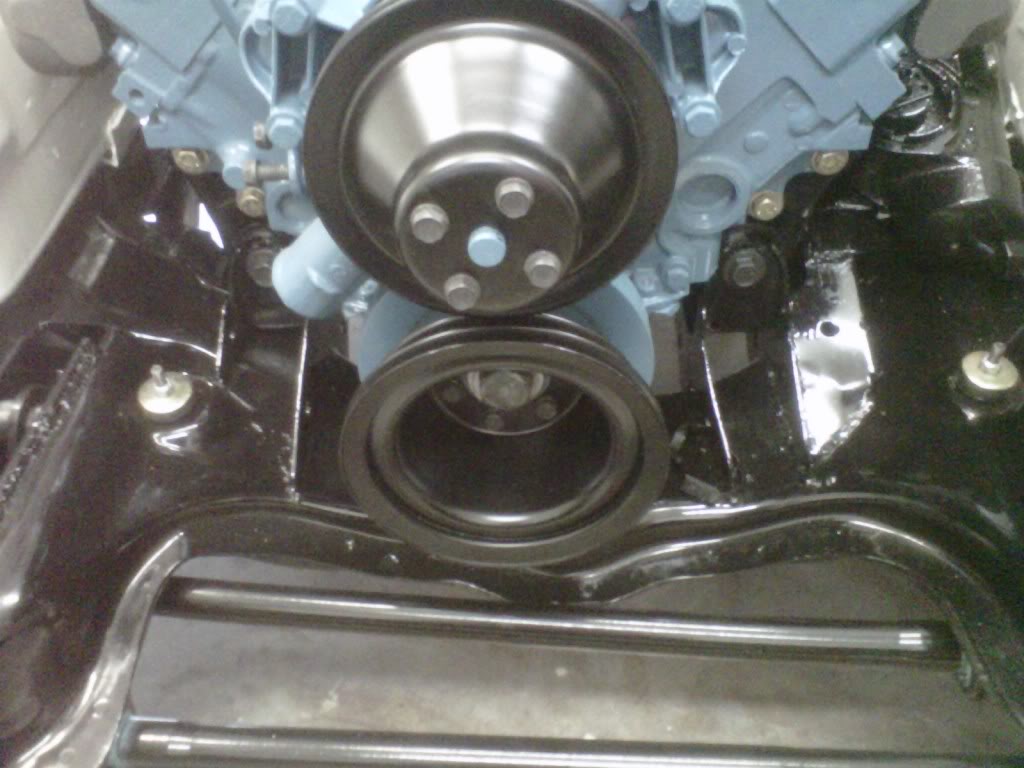
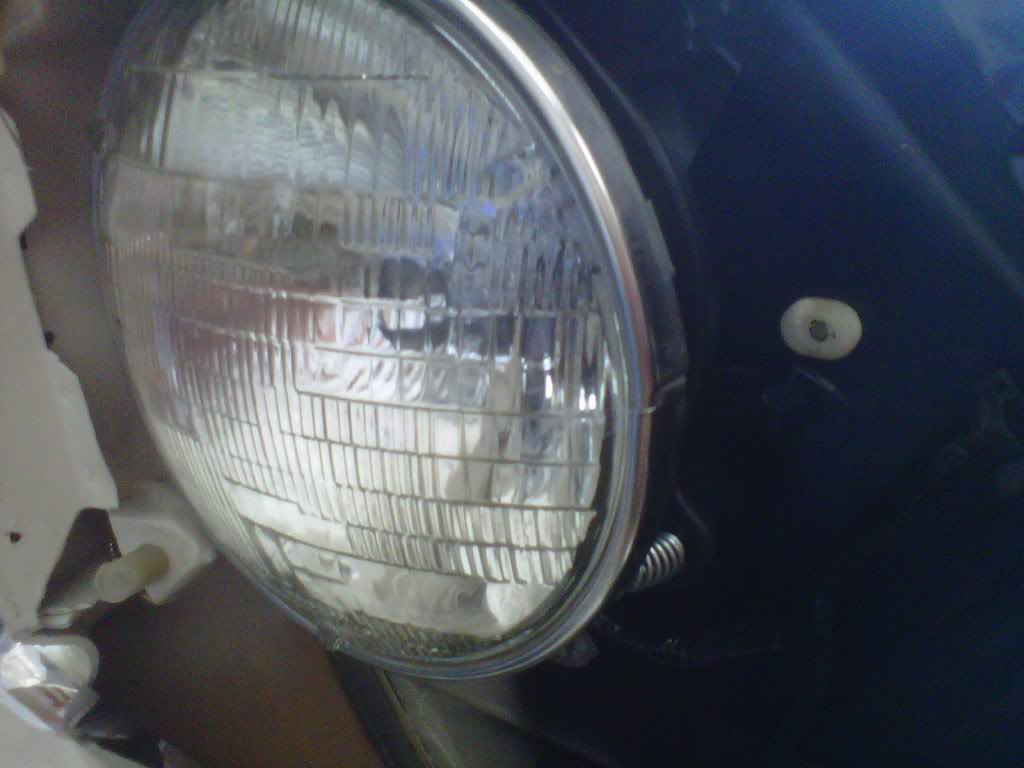
I promissed my wife that I would clear out the dining room this weekend...I didn't attempt that broken bolt yet..I have a heli coil kit for it already in case I have to drill it out and re-tap it..got the bumper back on and the eyeballs installed...looks like it has a face again...got the bumper centered and leveled to the bottom of the fenders...I finally put on my rubber flaps that I made along time ago.....I also got the crank and water pump pulleys painted today and installed..worked on and finished the wiring harness inside where it is nice and cool..
Thread Starter
Super Moderator
Joined: Sep 2010
Posts: 3,609
Likes: 181
From: Houston, Texas
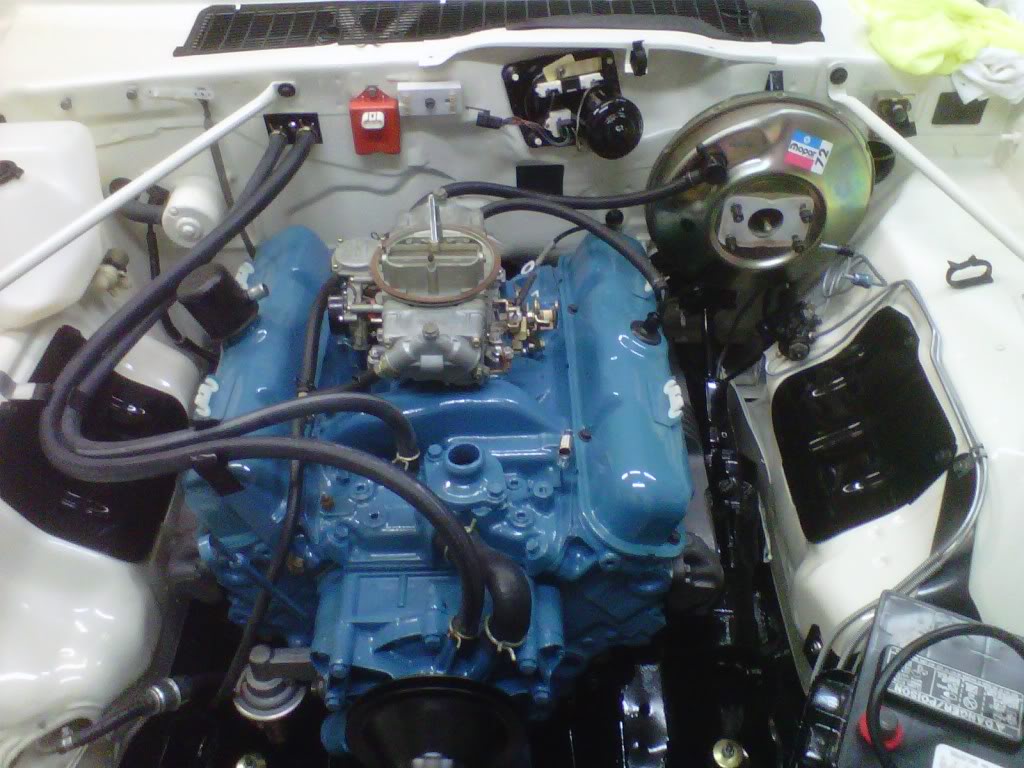
Okay starting to look like an engine again
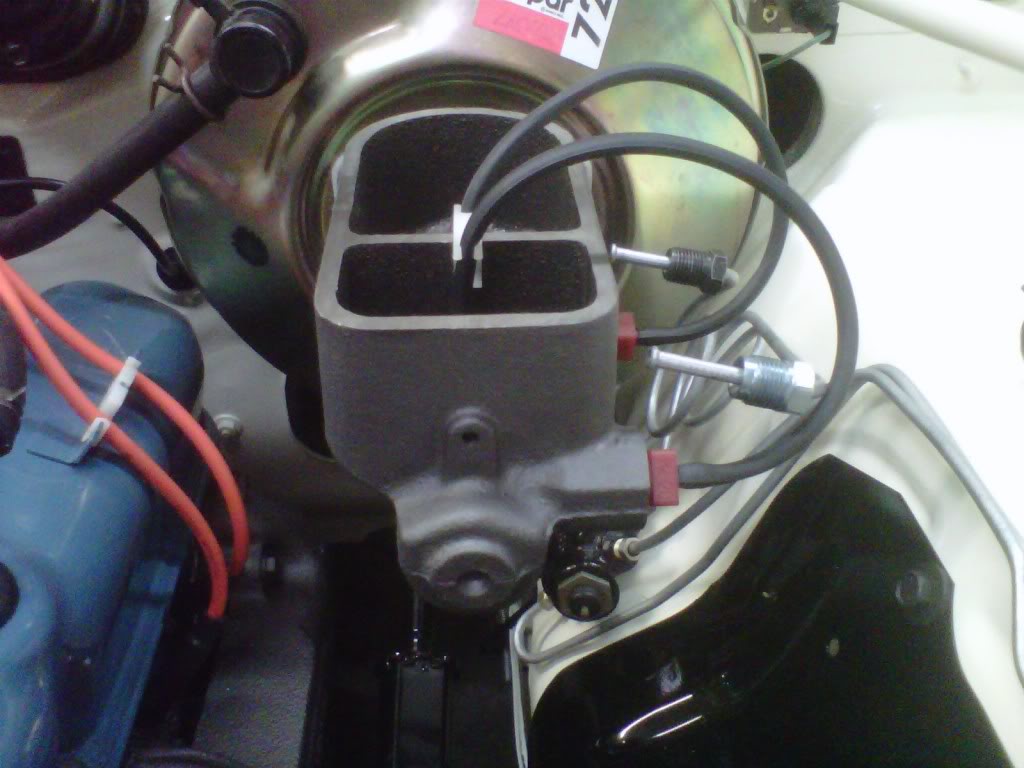
I got that broken bolt out real easy...I reverse drilled with my smallest proGrabit and the rest of the thread twisted right out... ...I did not have to use the other end......I left the brake master cylinder off...it has already started to rust so it will get some of the Por 15 cast grey on it...
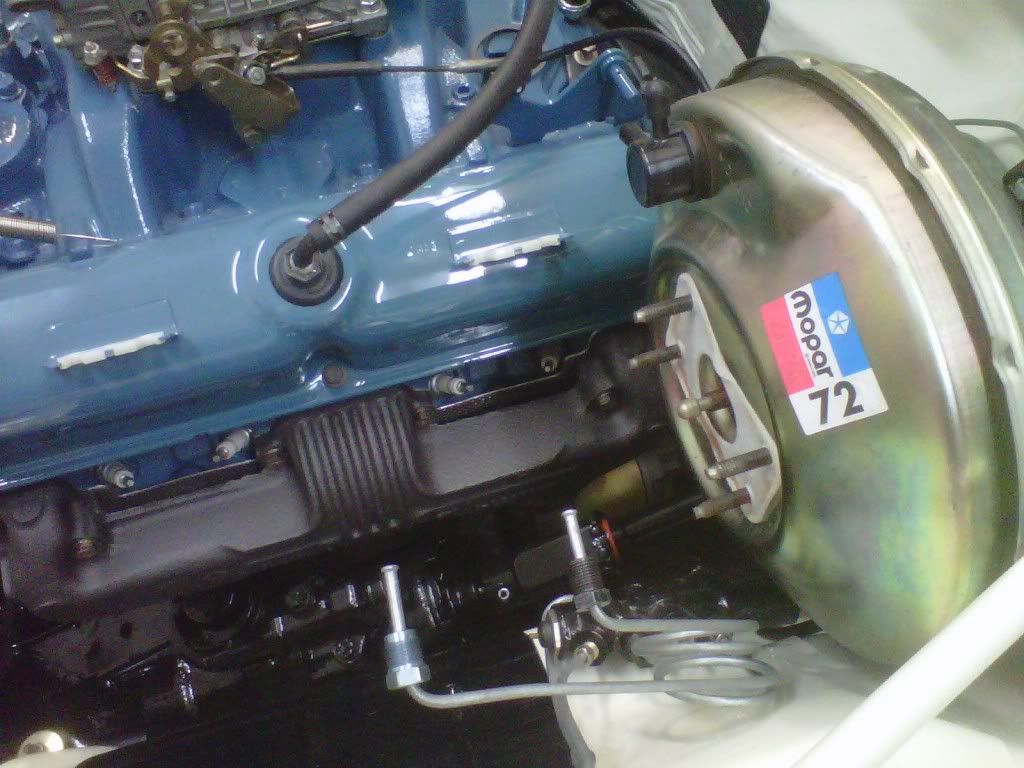

I got the valve cover on the drivers side and put the carb back on...today I picked up a new fuel pump and some u-joints for the driveshaft...I am going to get all of the top done...then jack it up once on four jackstands to finish everything underneath...the throttle cable bracket I bent over will not reach far enough so I will have to re-paint and use the four barrel one I was using before...
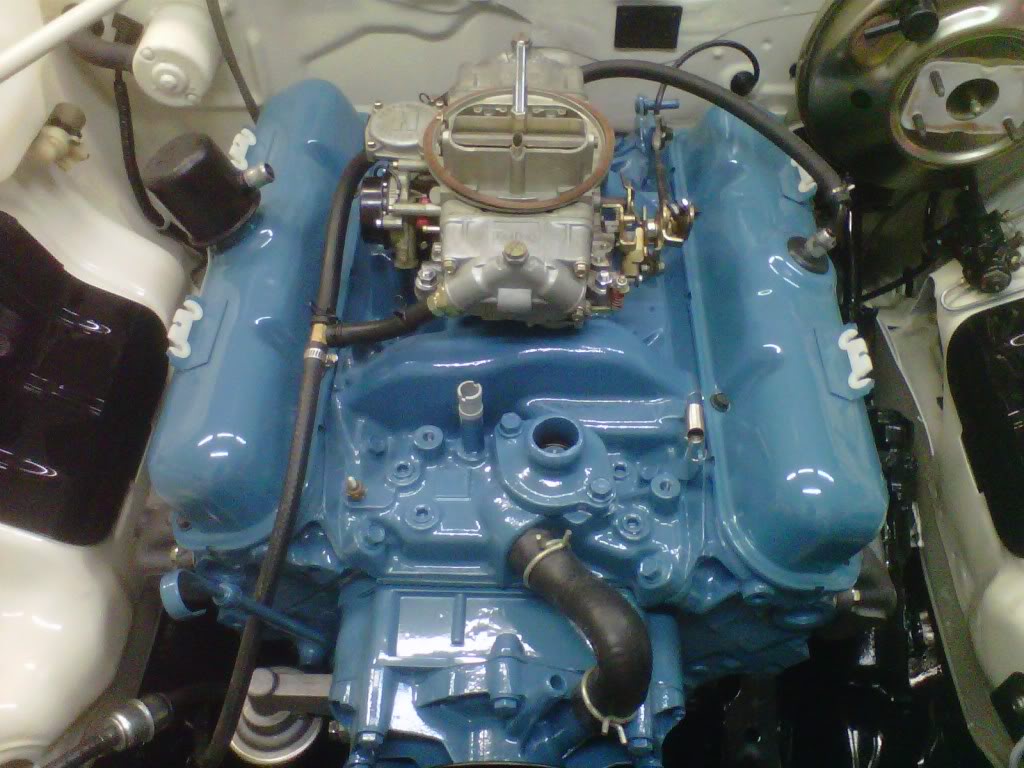
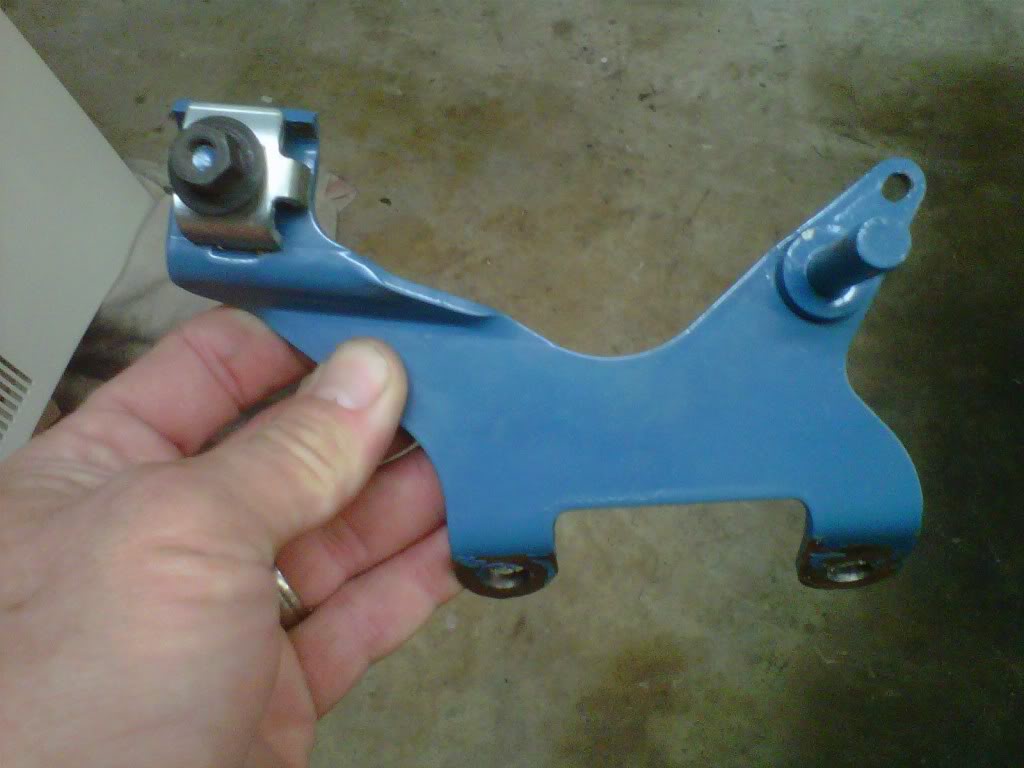
...I did not have to use the other end......I left the brake master cylinder off...it has already started to rust so it will get some of the Por 15 cast grey on it...I got the valve cover on the drivers side and put the carb back on...today I picked up a new fuel pump and some u-joints for the driveshaft...I am going to get all of the top done...then jack it up once on four jackstands to finish everything underneath...the throttle cable bracket I bent over will not reach far enough so I will have to re-paint and use the four barrel one I was using before...
Last edited by bremereric; May 2, 2011 at 10:40 PM.
Thread Starter
Super Moderator
Joined: Sep 2010
Posts: 3,609
Likes: 181
From: Houston, Texas
Thread Starter
Super Moderator
Joined: Sep 2010
Posts: 3,609
Likes: 181
From: Houston, Texas
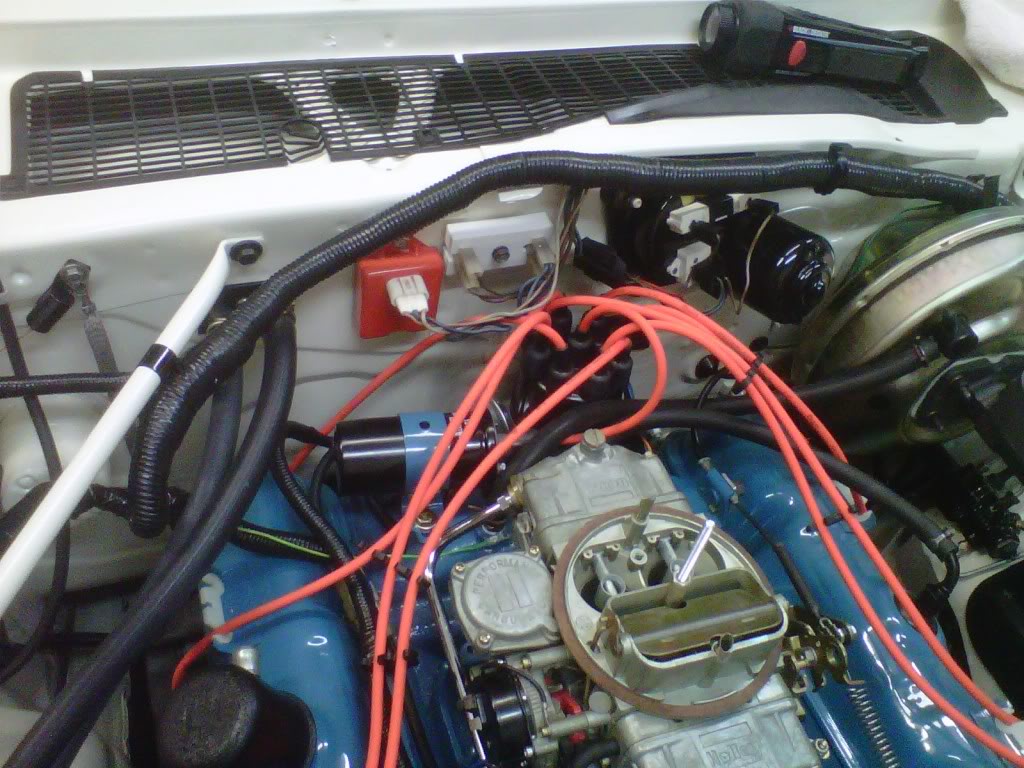
Got my hair cut and went home for lunch...my distributor was there...so I took off Summit's sticker and put my old tag on it....clean look with a touch of old...
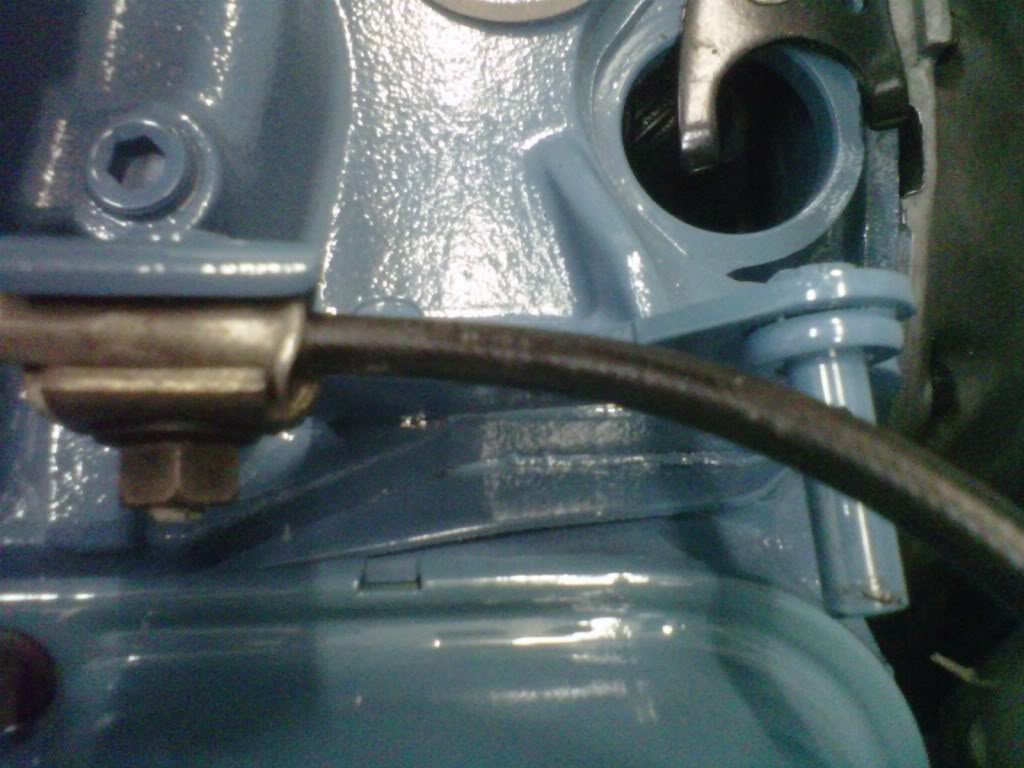
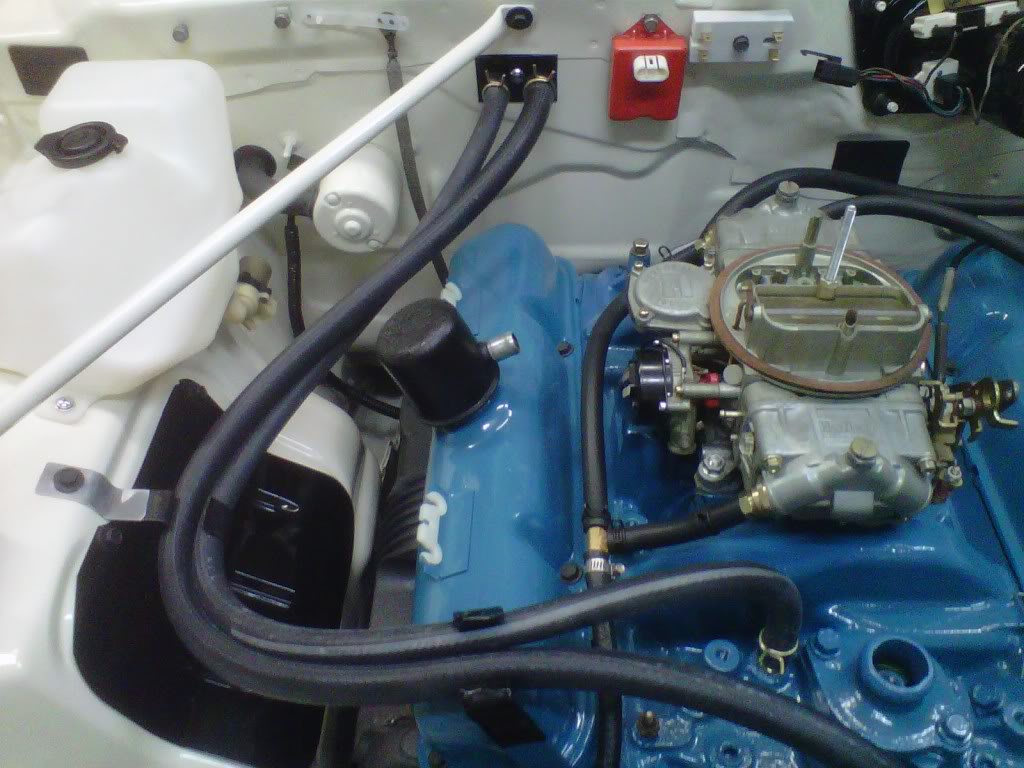
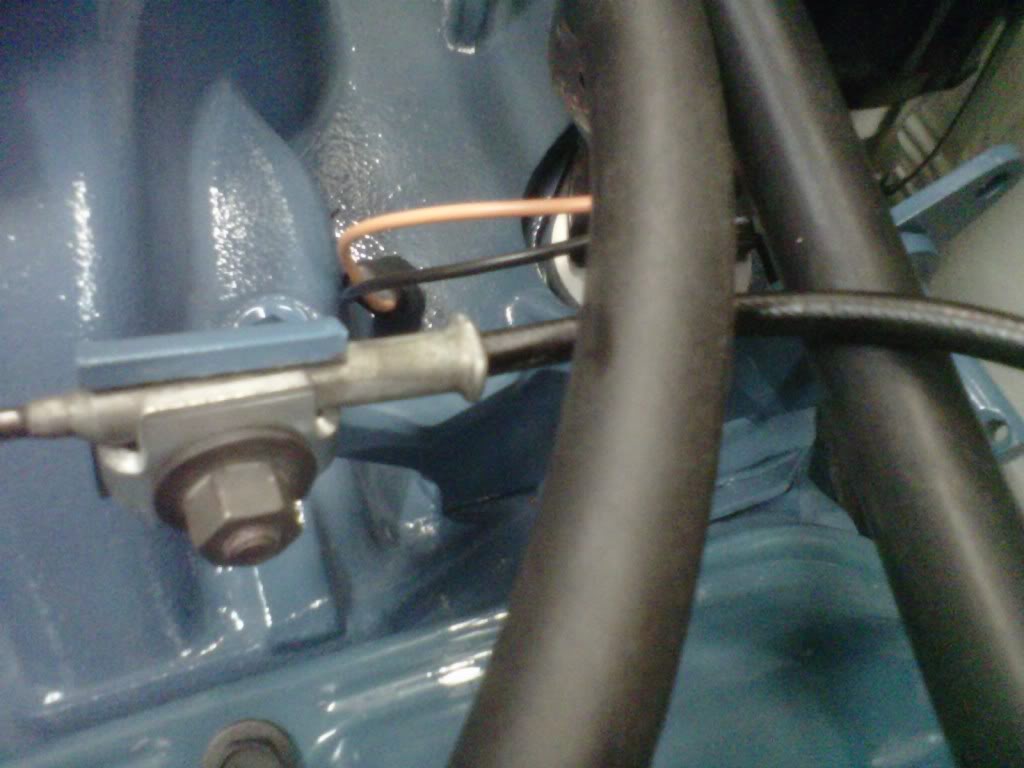
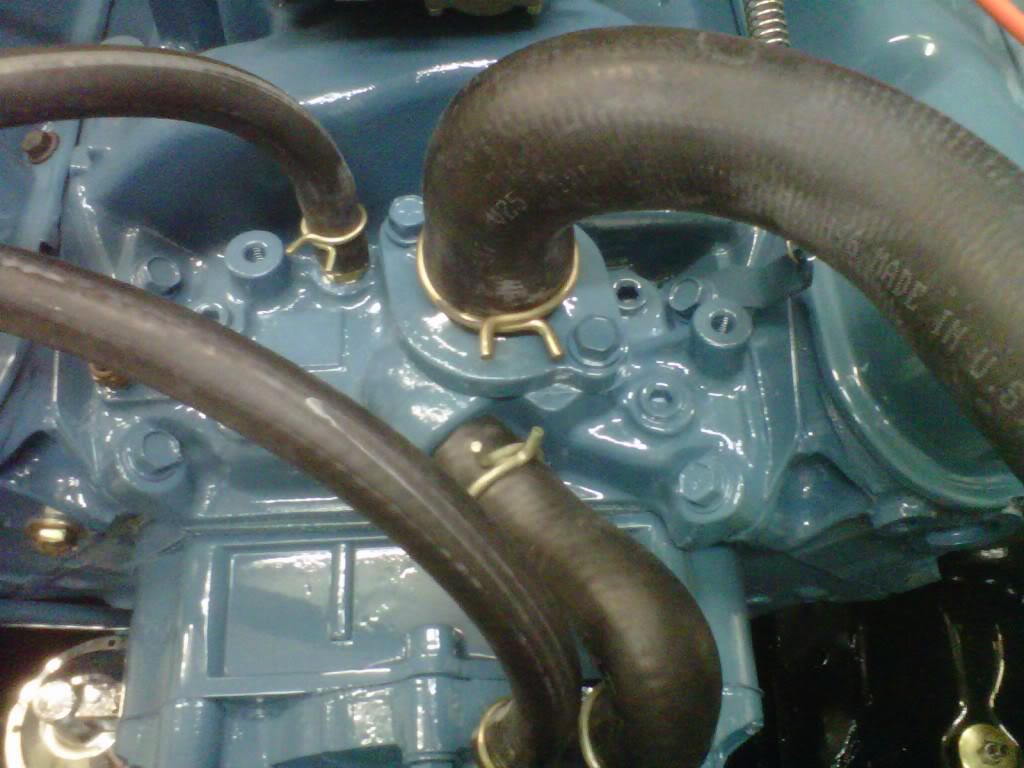
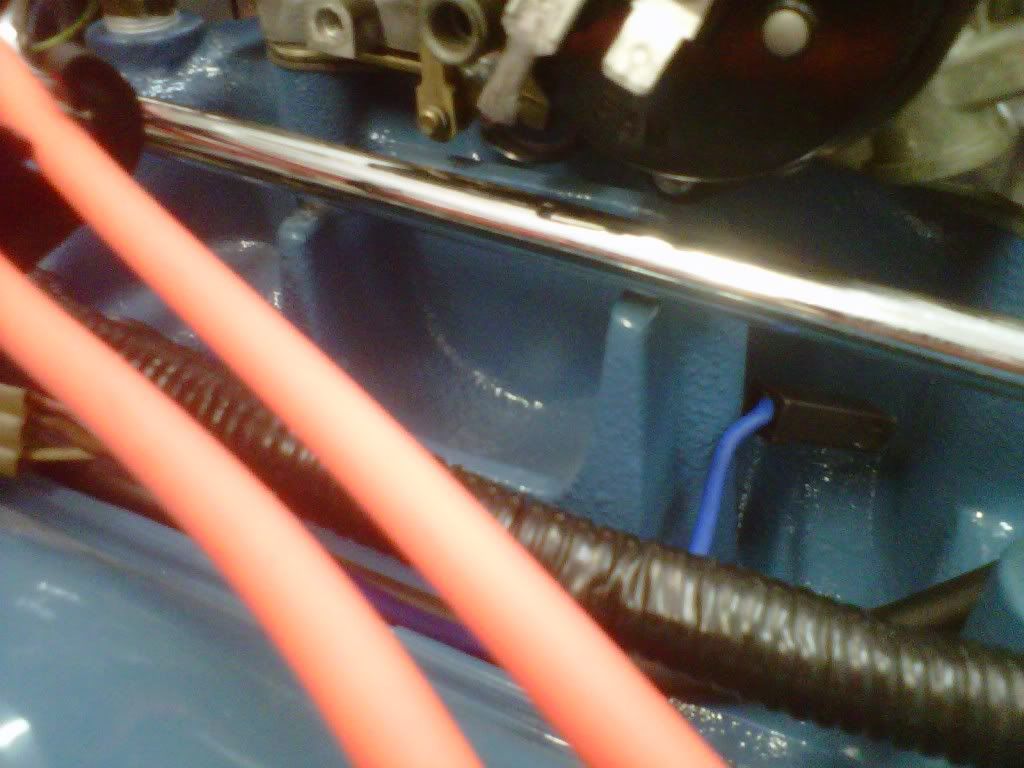
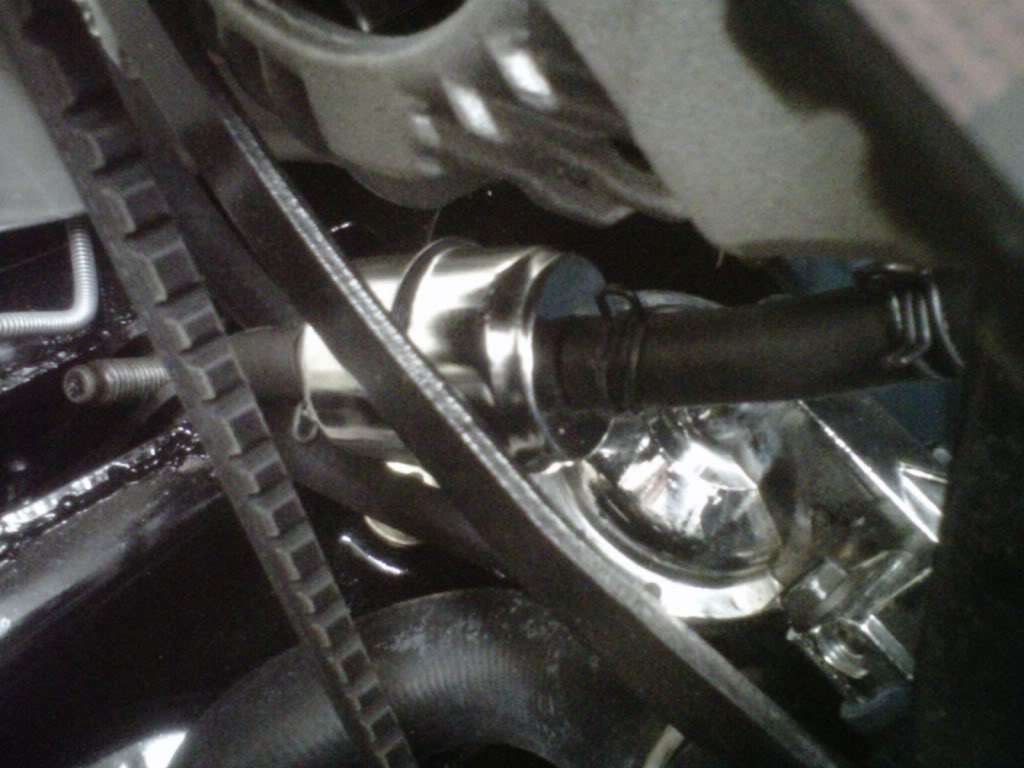
Now comes a quick question....at the firewall heater hose connection there is a 1/2" barb on the left and a 5/8" barb on the right...I got both size hoses...according to my last picture and some of the others that I have seen the hoses will cross right after the bracket by the valve cover...smaller hose to intake and larger to water pump?
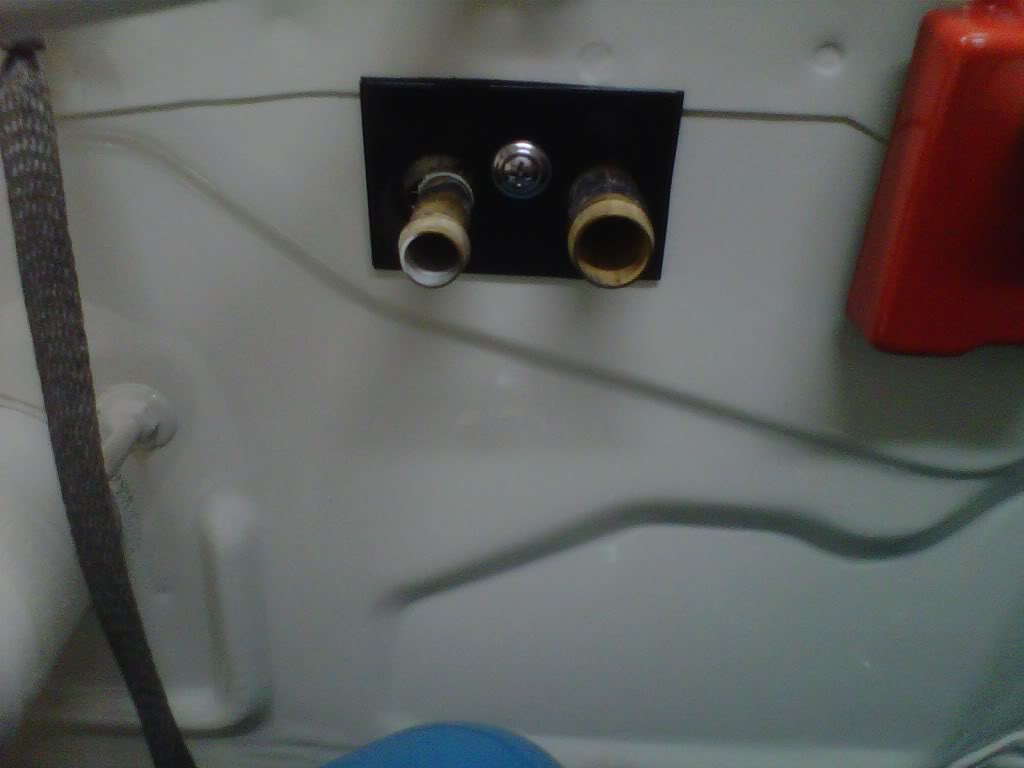
Now comes a quick question....at the firewall heater hose connection there is a 1/2" barb on the left and a 5/8" barb on the right...I got both size hoses...according to my last picture and some of the others that I have seen the hoses will cross right after the bracket by the valve cover...smaller hose to intake and larger to water pump?
Thread Starter
Super Moderator
Joined: Sep 2010
Posts: 3,609
Likes: 181
From: Houston, Texas
Okay the last two nights...
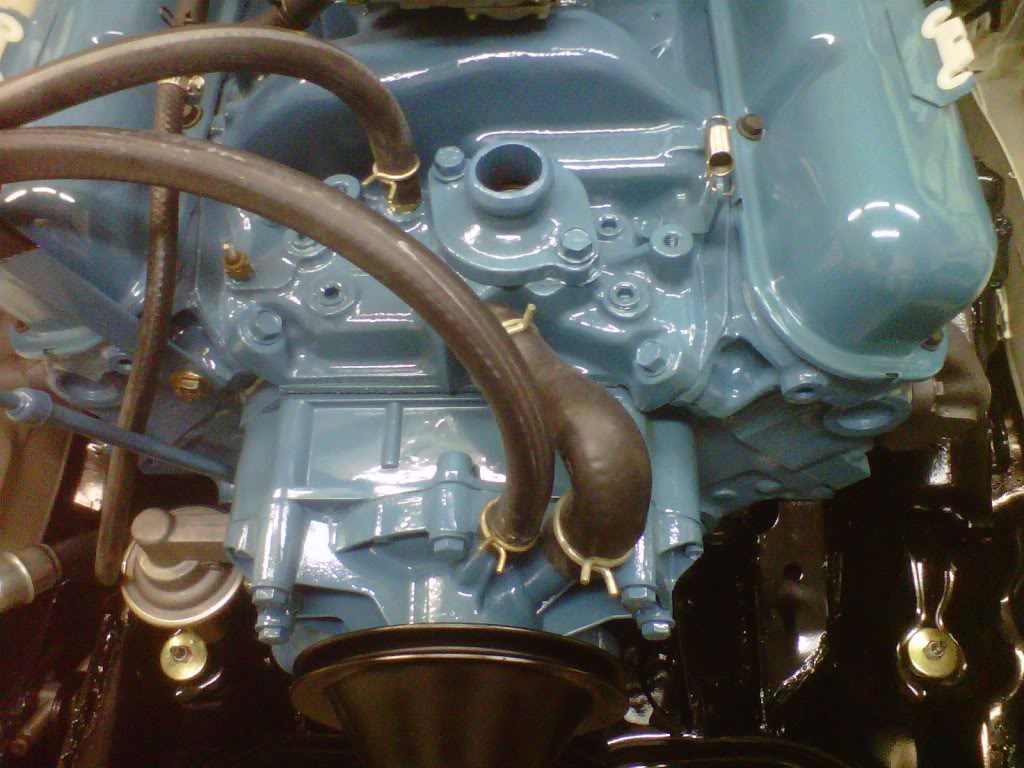
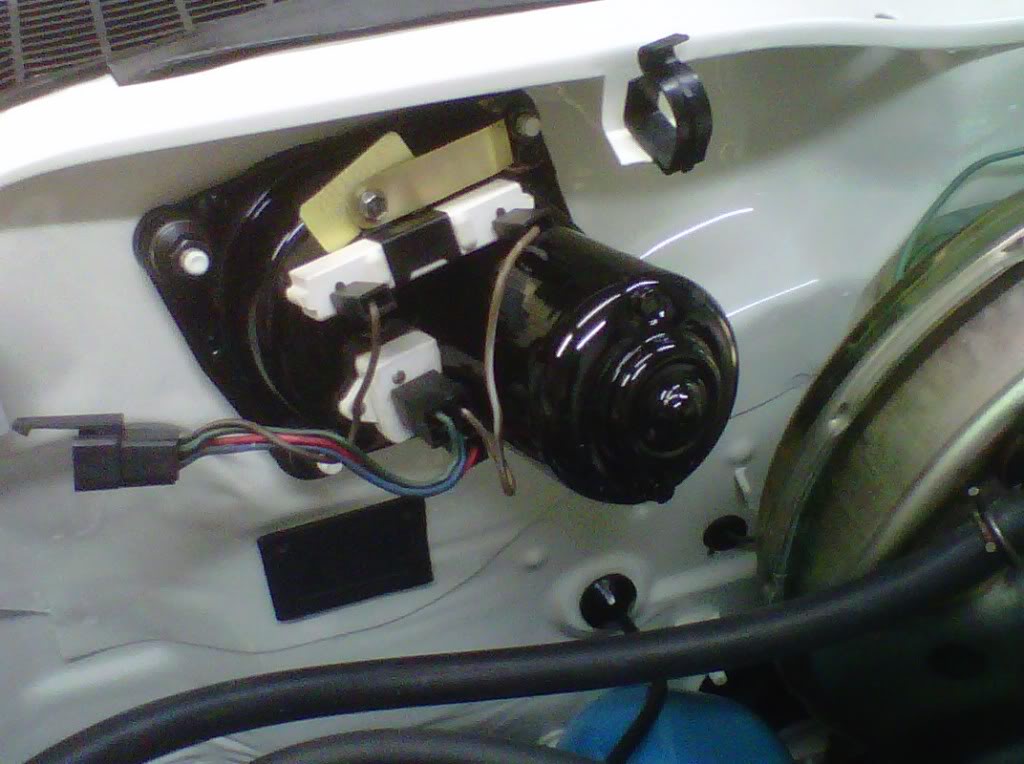
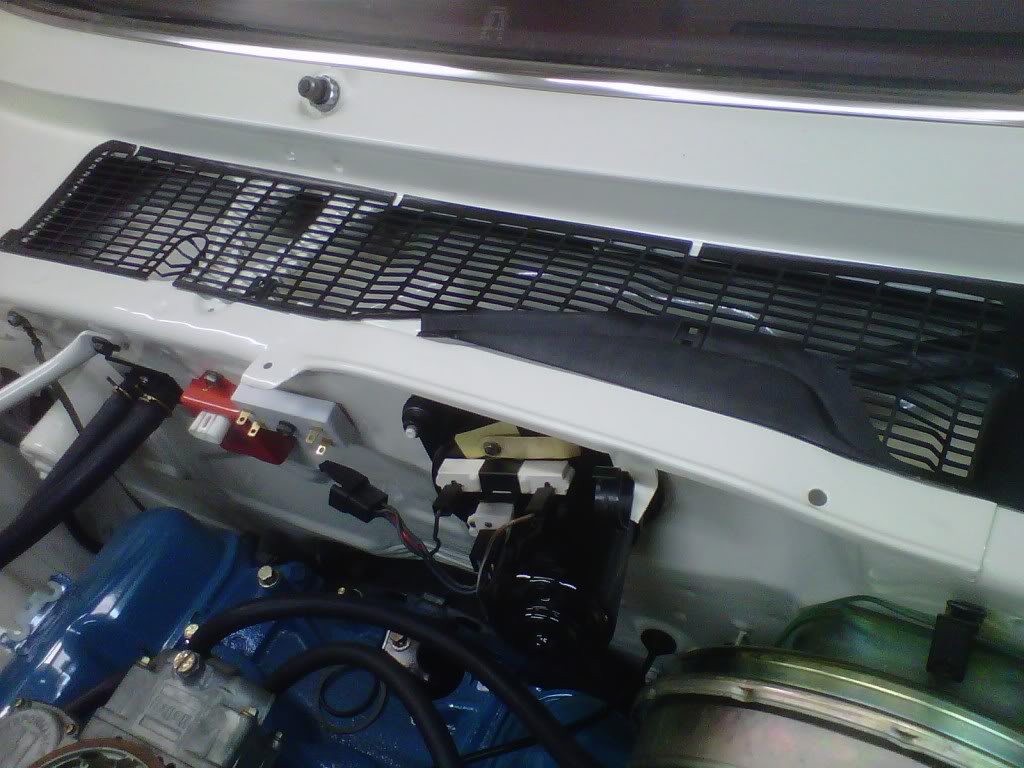
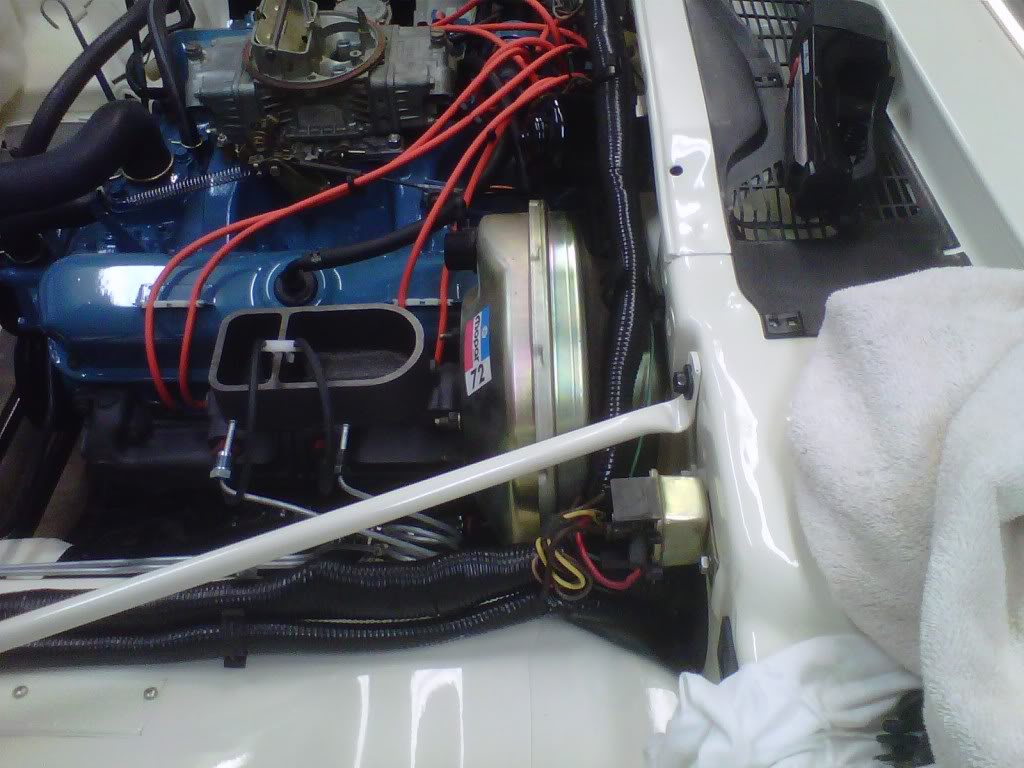
Been working on the heater hoses and the power booster vacuum line are done...I had to use a 3/8" to 1/4" pipe bushing for the 1/2" line at the intake manifold..I got to use those special clamp pliers again..I hope they don't leak..I got the wiper motor installed and hooked up to the linkage...also the cowel black plastic piece is back on after a good scrubbing with soapy water..SEM black on it or NOS one in the near future...got the throttle bracket....coil bracket and blaster coil ready for paint tomorrow..wiring harness in Friday night...I also got two coats of POR 15 cast grey on the master cylinder and the bolts on the exhaust manifolds
Thread Starter
Super Moderator
Joined: Sep 2010
Posts: 3,609
Likes: 181
From: Houston, Texas
Tonight
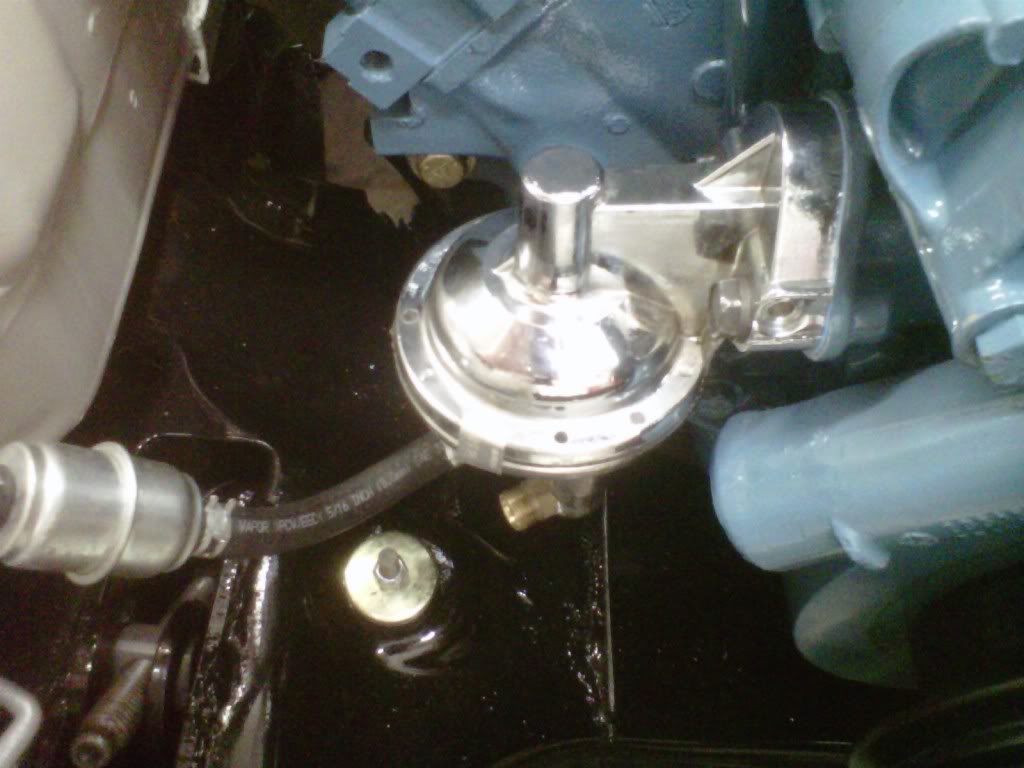
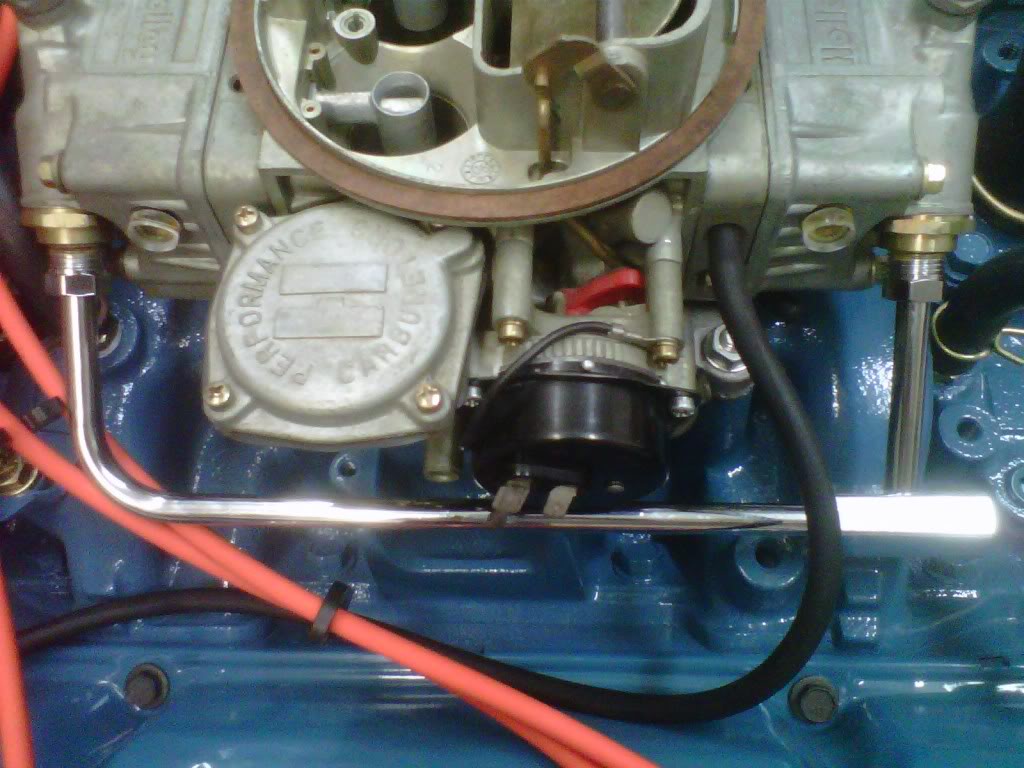
This morning I got painted what I needed to...this evening I got the master cylinder back in with the bench bleeding fittings on it...I got the throttle bracket and cable attached...not real sure about the spring...still thinking about that...got the voltage regulator mounted and the distributor stabbed...I routed the orange wires to their locations and am still thinking about them....air cleaner is black with a orange pie pan? hmmm I welcome suggestions...only other option are black wires..I got the big shiney Holley fuel pump installed with the fuel filter tied to it...I can't be to picky right now I have to get it started by the last week of this month..
Thread Starter
Super Moderator
Joined: Sep 2010
Posts: 3,609
Likes: 181
From: Houston, Texas
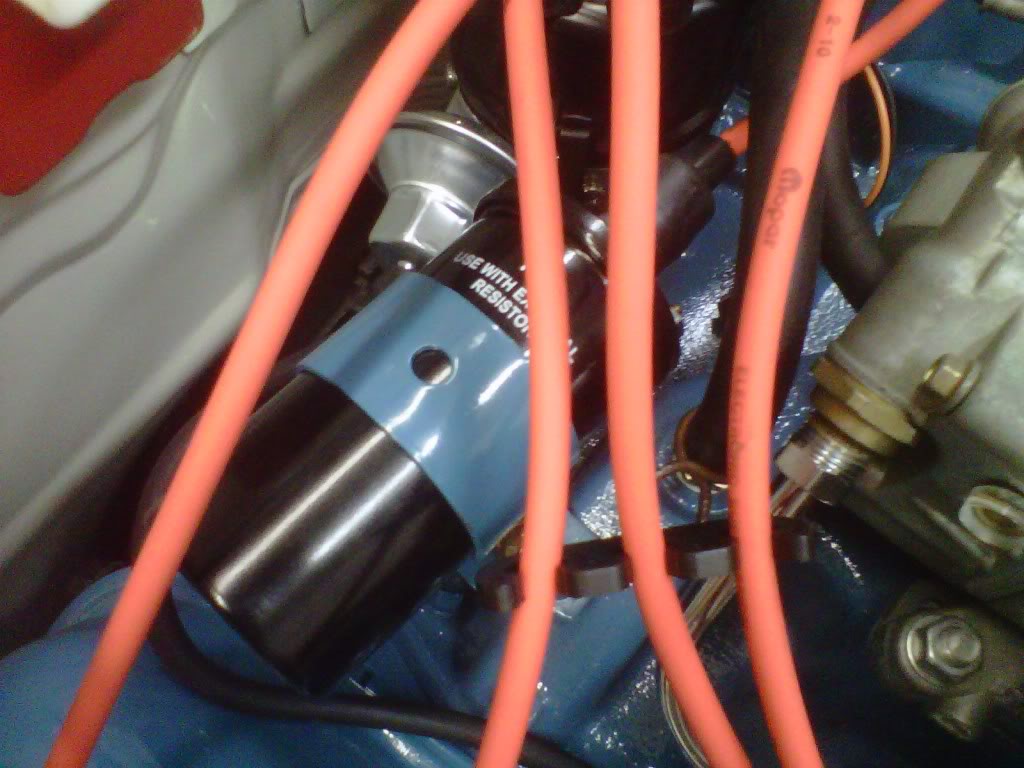
Moving on
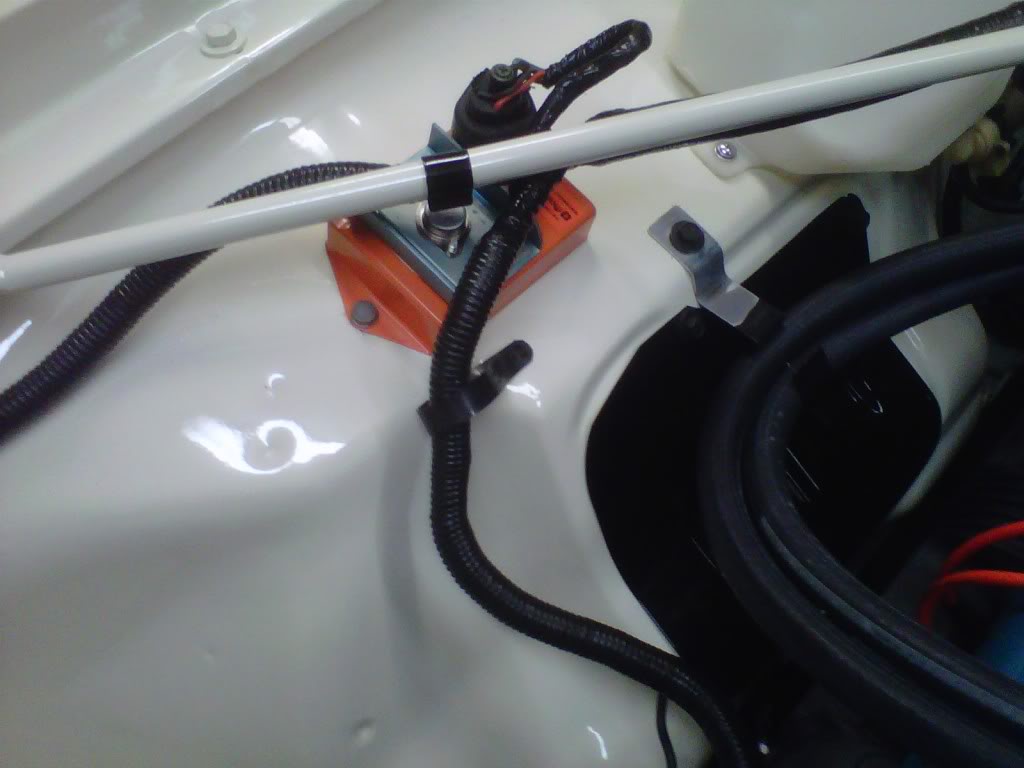
Got the new coil mounted....
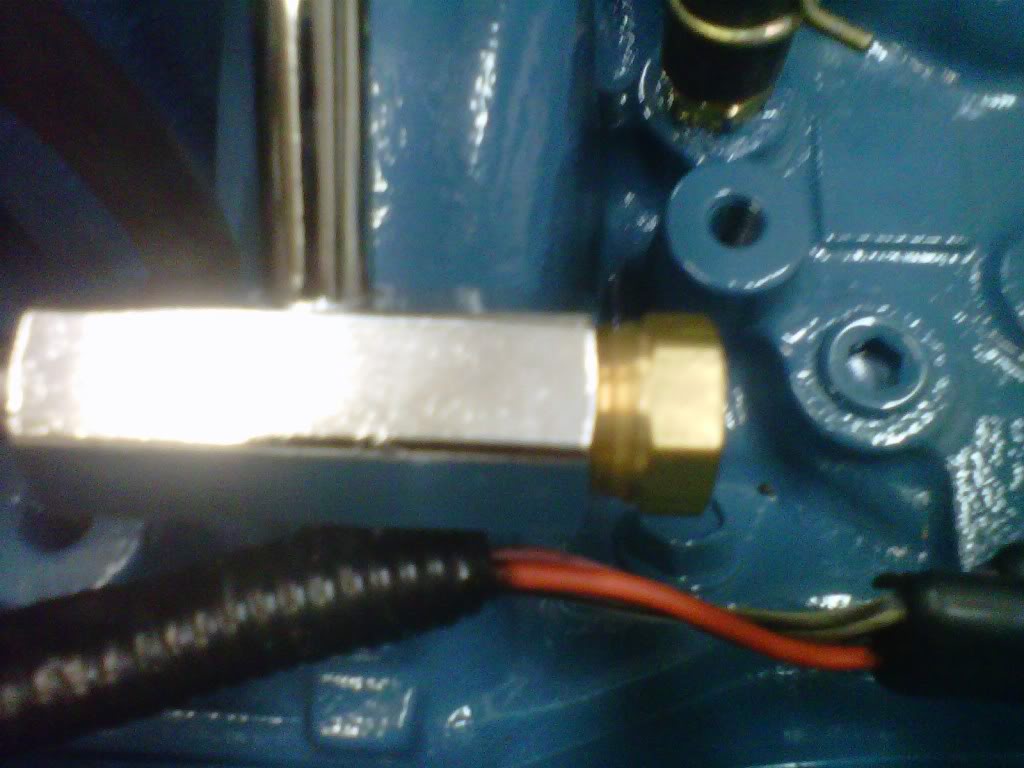
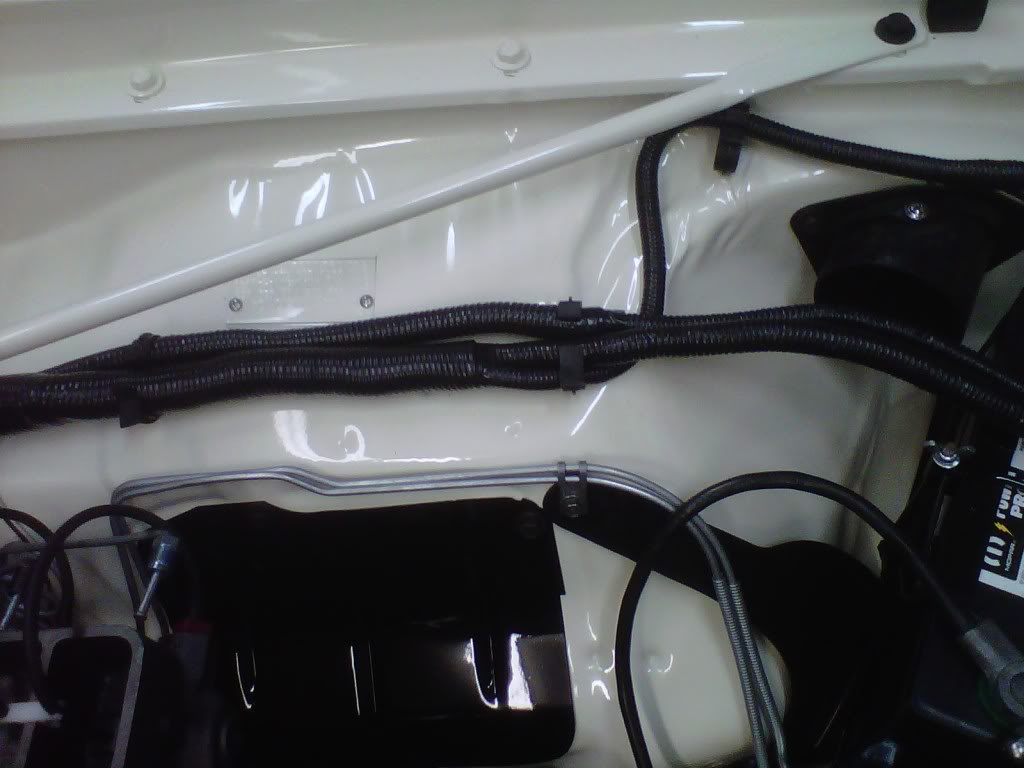
Got my Holley fuel rail in today...have to take it to my favorite hardware store to find a fitting to adapt it to 3/8 compression...I am pretty sure the end of it is 5/8 inverted flare...GLWT
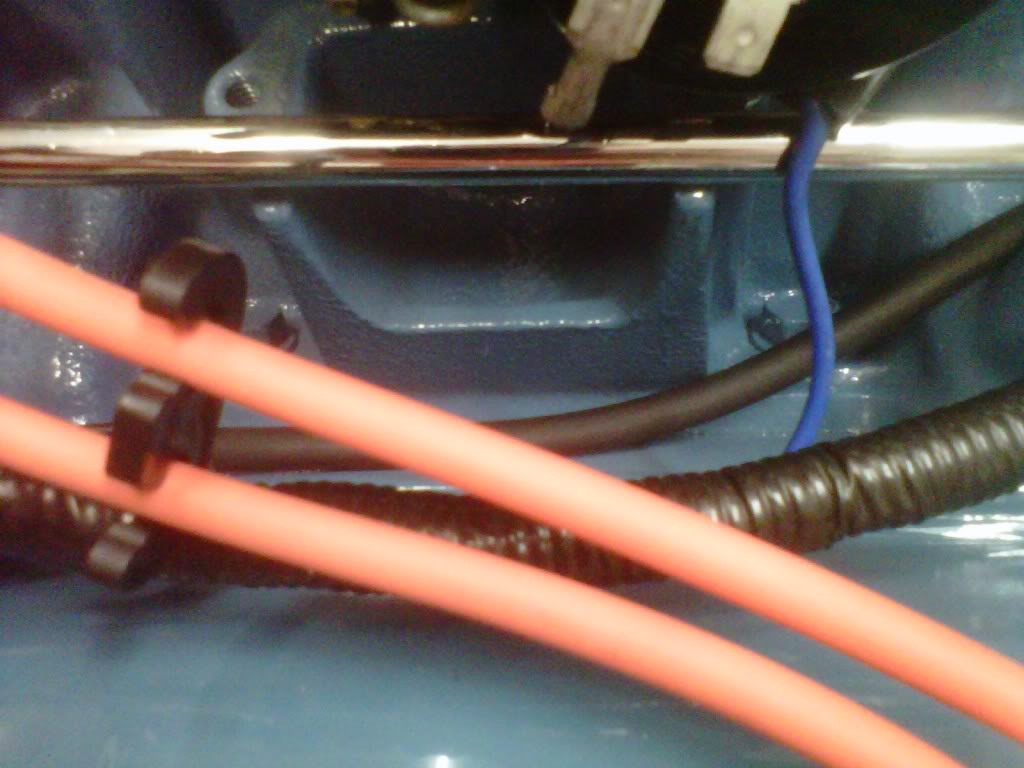
Bottom hose and your favorite clamps....
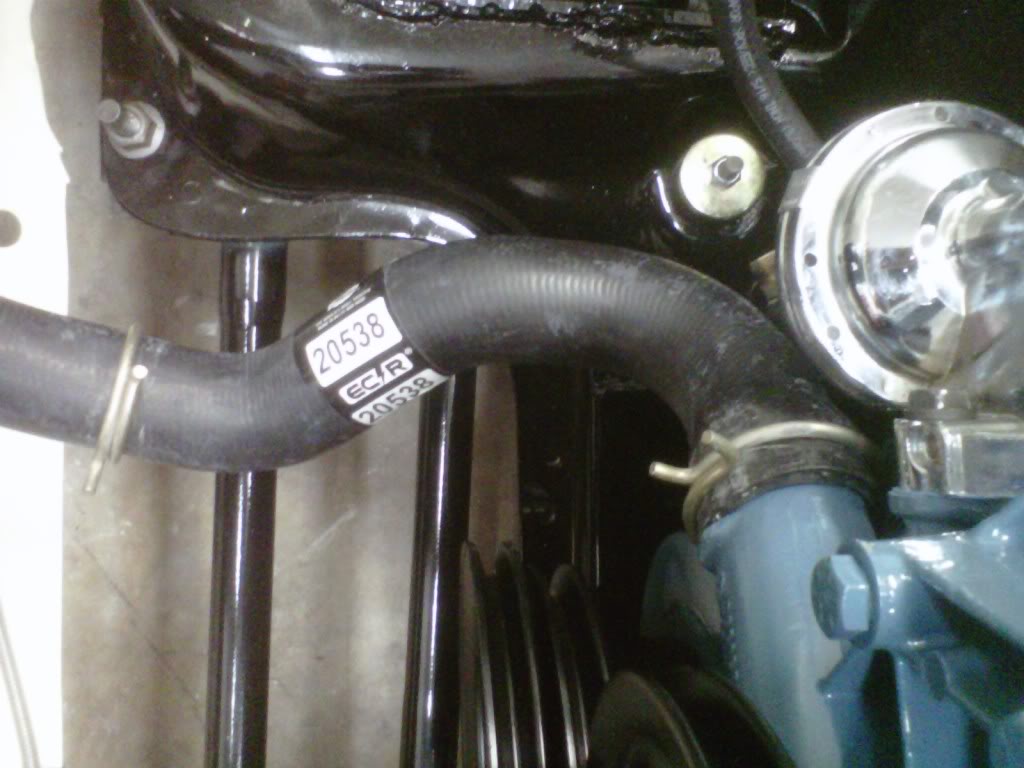
Top hose and your favaorite clamps...
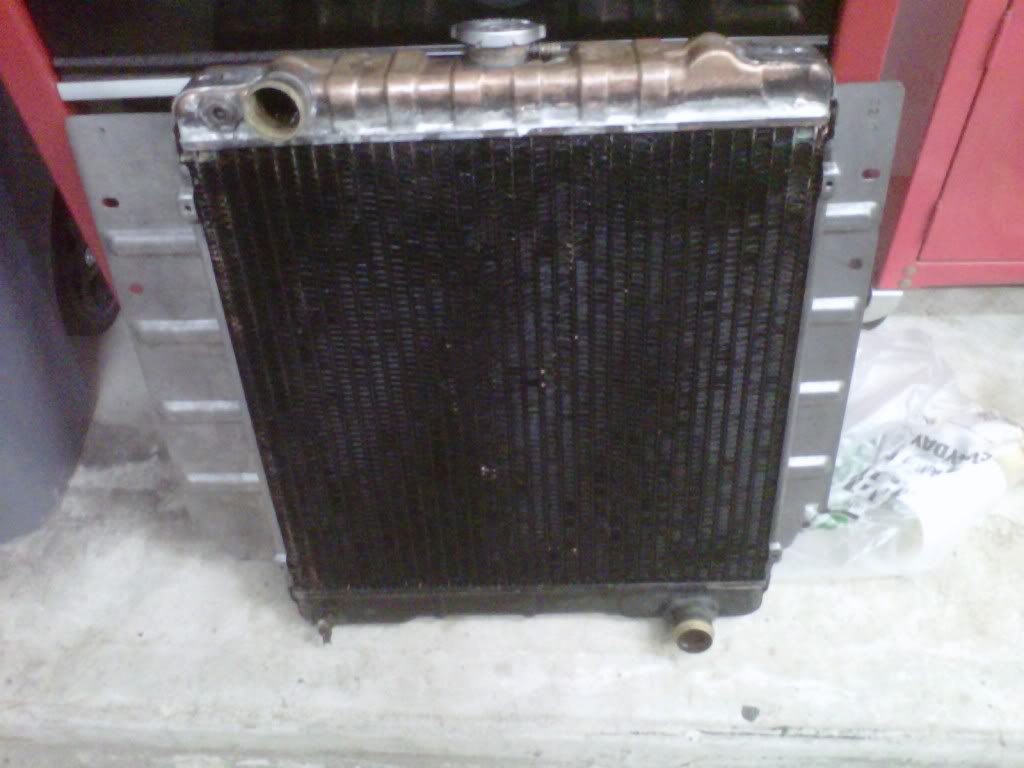
Radiator partially stripped of paint...have to finish this tomorrow....
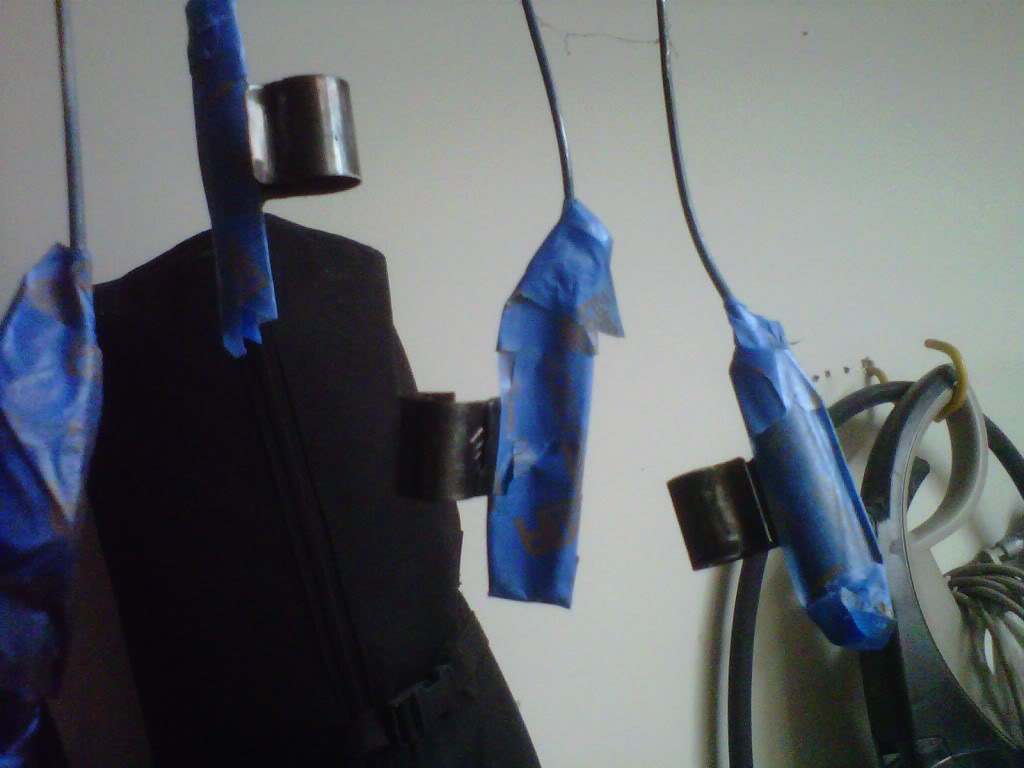
Wiring harness clips that slide over the white engine braces...get paint tomorrow...
Got my Holley fuel rail in today...have to take it to my favorite hardware store to find a fitting to adapt it to 3/8 compression...I am pretty sure the end of it is 5/8 inverted flare...GLWT
Bottom hose and your favorite clamps....
Top hose and your favaorite clamps...
Radiator partially stripped of paint...have to finish this tomorrow....
Wiring harness clips that slide over the white engine braces...get paint tomorrow...
Thread Starter
Super Moderator
Joined: Sep 2010
Posts: 3,609
Likes: 181
From: Houston, Texas
Not alot today but closer tonight...
Went to my favorite hardware store and picked up a 5/8" inverted flare nut for the end of the Holley fuel line...that means the 3/8" tubing will need one on the end...my friend at work has a kit to make one and I will borrow it on Monday...that fricken chrome fuel line is going to be a headache with the choke cast area..will have to grind some of it away so the carb will mount flat..so much for the pretty paint job...
I got my wiring harness back in tonight..still have to finish the inside connection and the very end connections that go to the headlights and side marker lights...also seem to be missing two wiring clamps on both sides near the front...I went back through 100 pics and
never saw them...?
I got my wiring harness back in tonight..still have to finish the inside connection and the very end connections that go to the headlights and side marker lights...also seem to be missing two wiring clamps on both sides near the front...I went back through 100 pics and
never saw them...?
Thread Starter
Super Moderator
Joined: Sep 2010
Posts: 3,609
Likes: 181
From: Houston, Texas
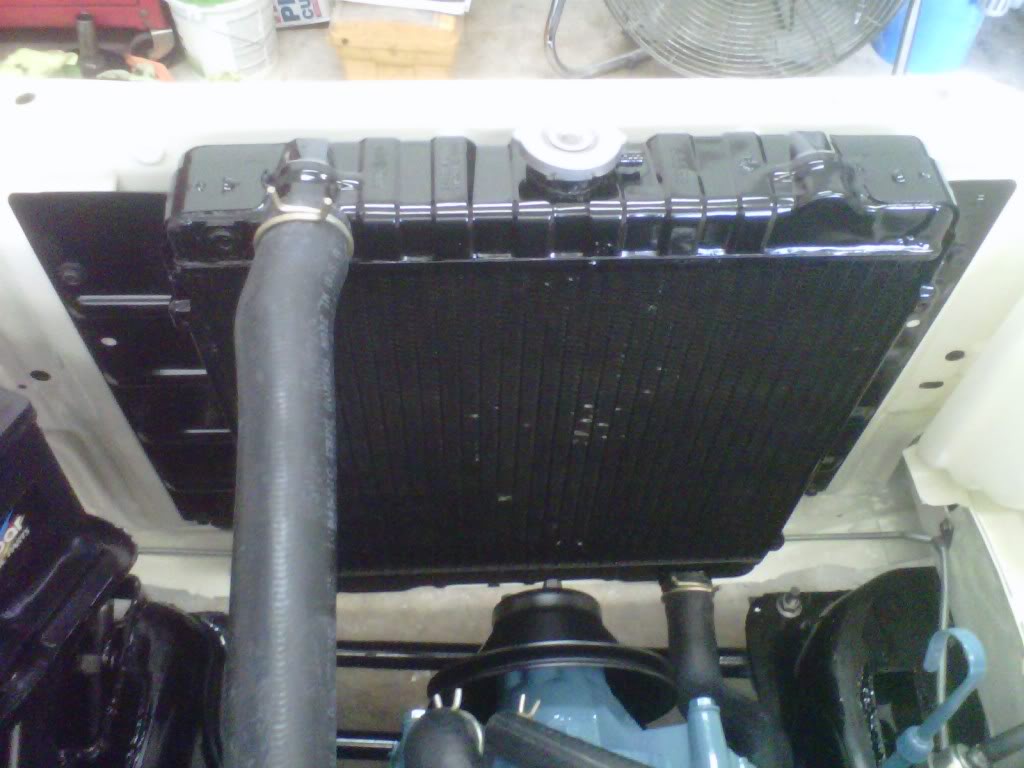
Almost ready for water
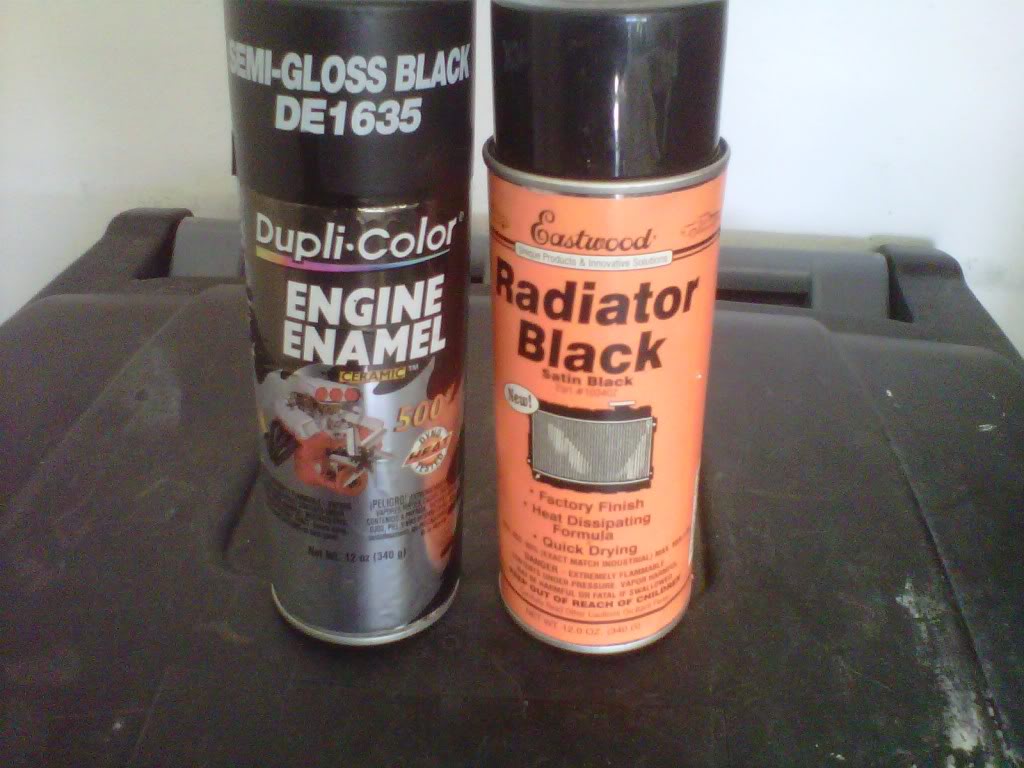
Got the radiator painted and then mounted it after 2 hours of dry time...got those flimsy hose clamps on there and almost ready for water...I always go with plain water first...it is easy to clean up...got to get the alternator on first..painted the core with Eastwood's radiator paint and the tanks and sides with Dupli Color's semi gloss 500 degree
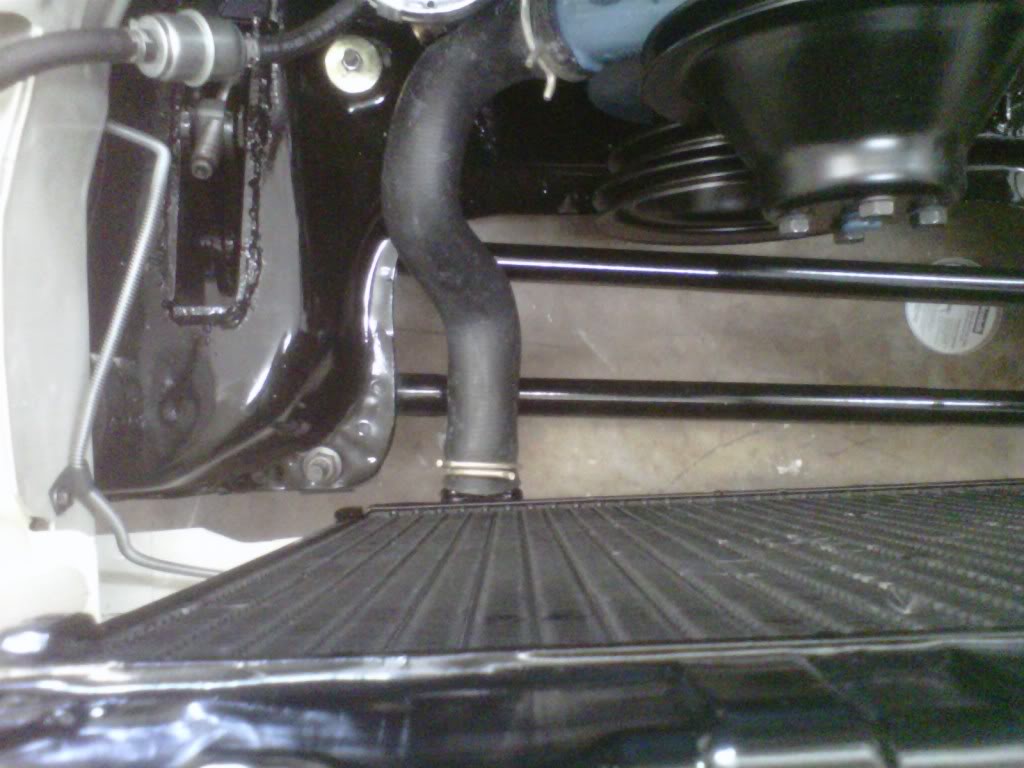
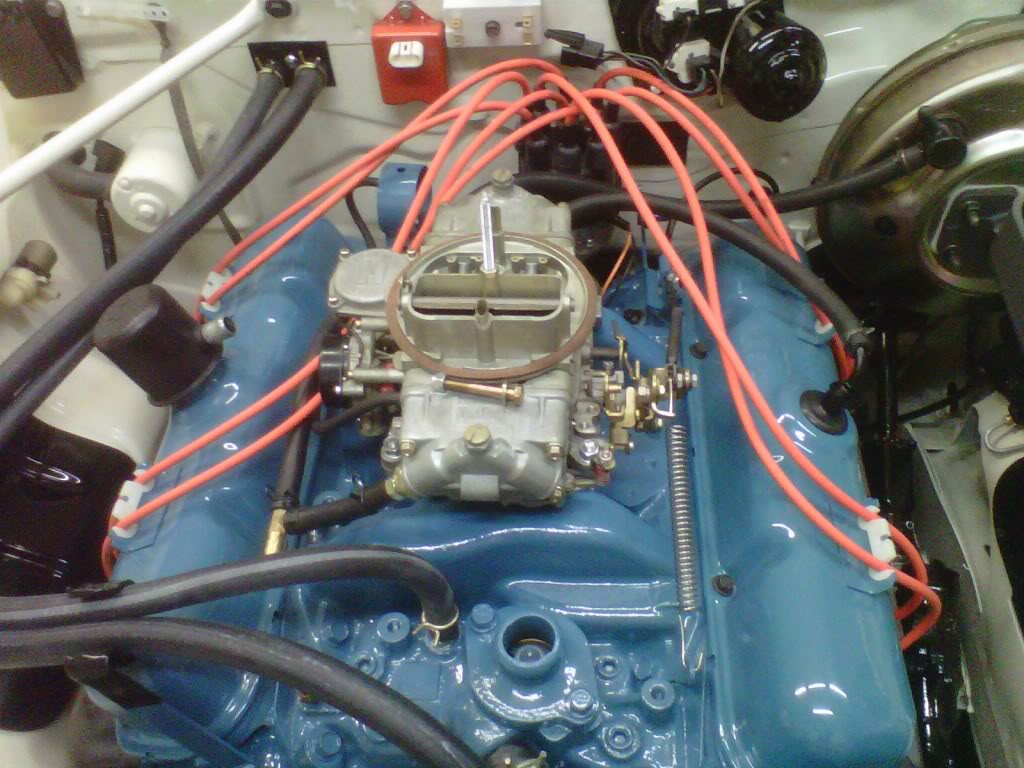
No grinding...slight bend up by hand cleared the choke cast area...
Finished the wiring all the way out to the headlights...
No grinding...slight bend up by hand cleared the choke cast area...
Finished the wiring all the way out to the headlights...
Thread Starter
Super Moderator
Joined: Sep 2010
Posts: 3,609
Likes: 181
From: Houston, Texas
Well I wanted everything in the engine compartment done this weekend..close but no ci
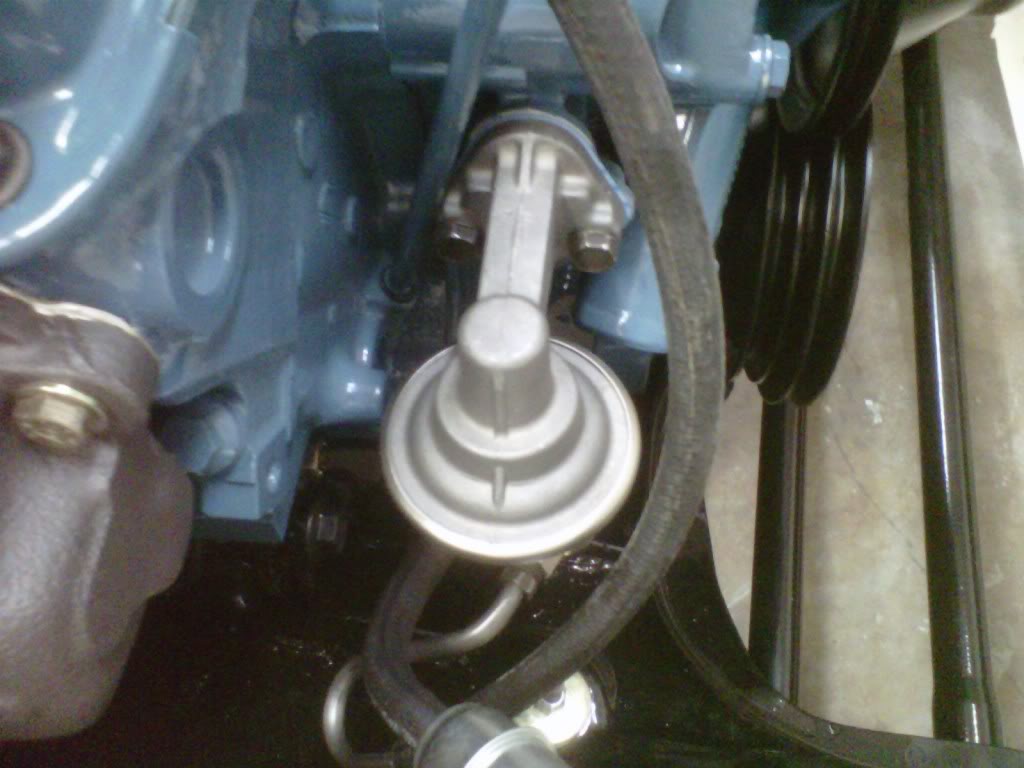
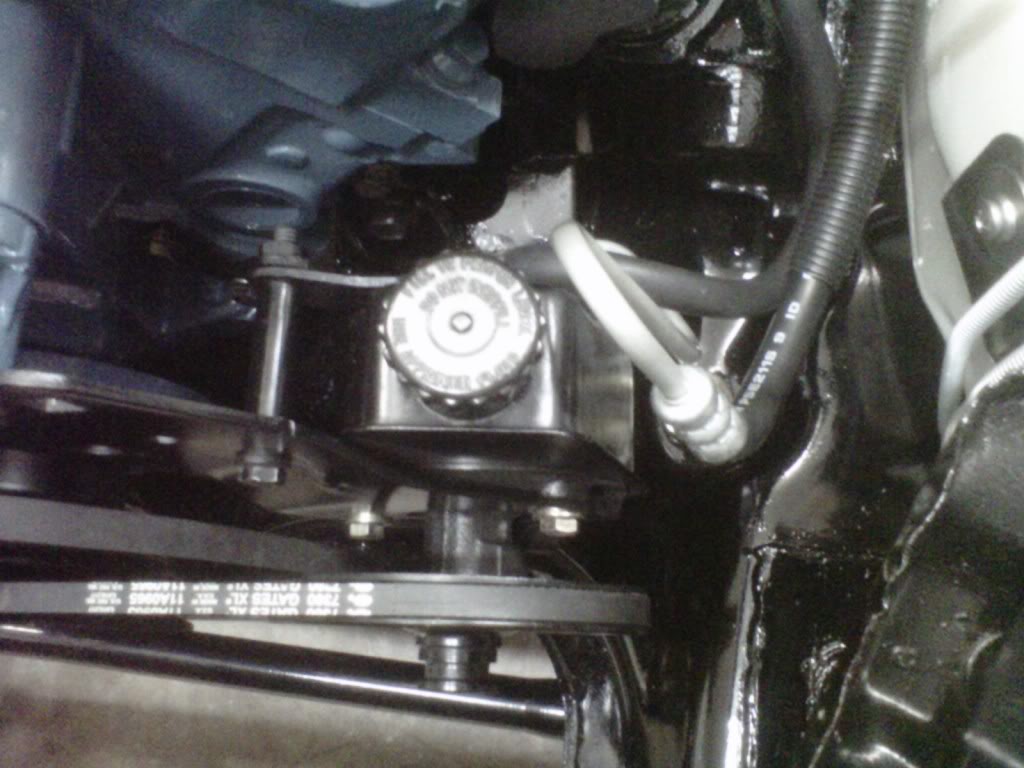
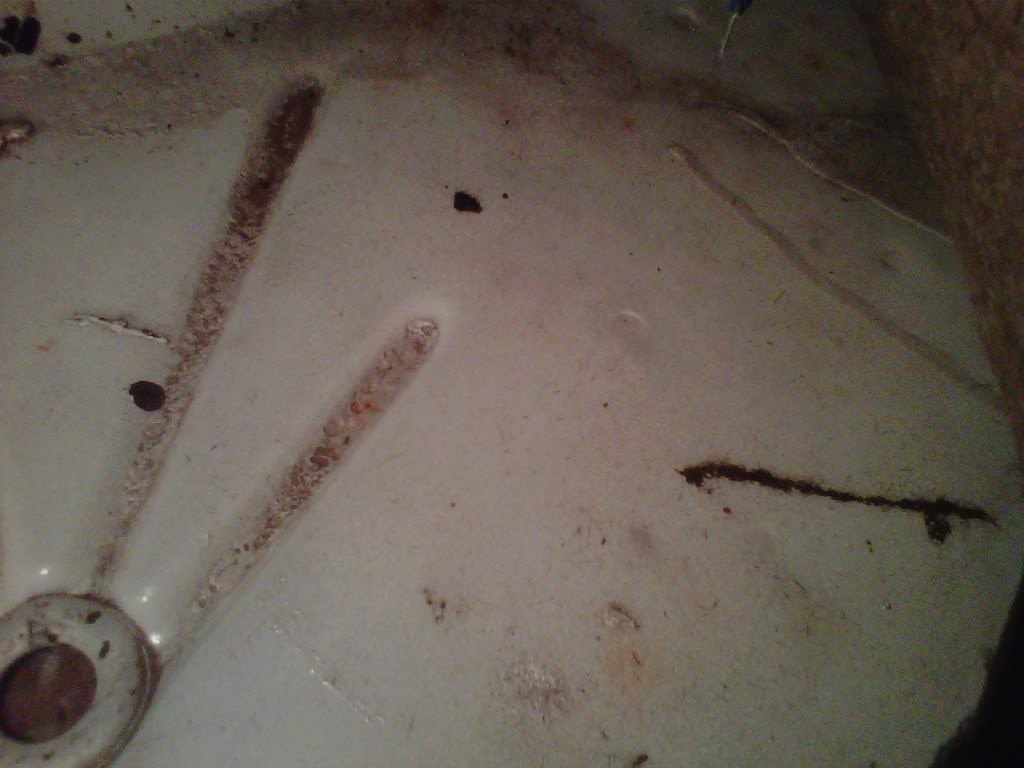
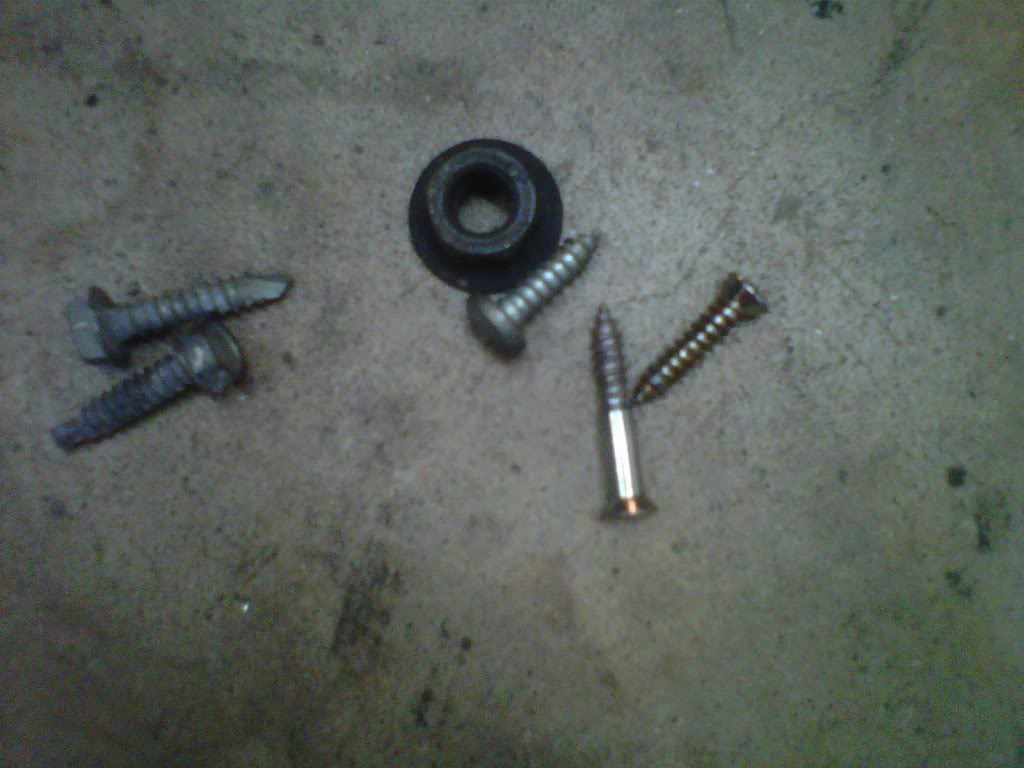
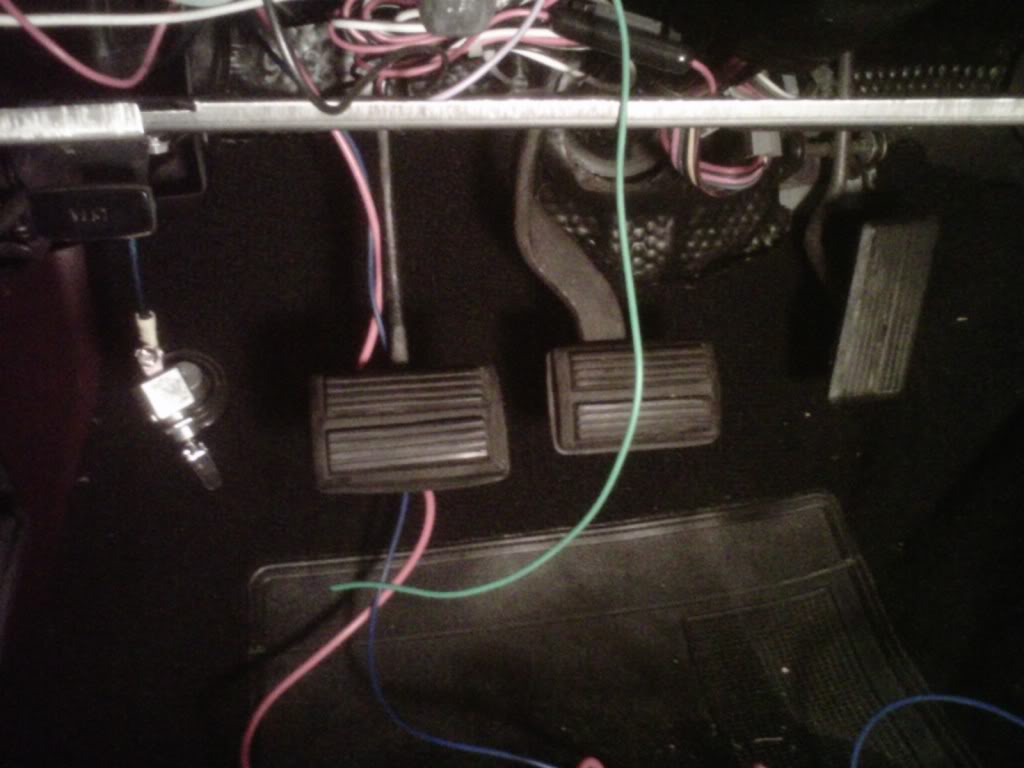
Minus the Fan shroud alternator and the fuel line the engine compartment is almost complete..tonight I got the power steering pump in and the lines hooked up...I got inside the car and got all the wiring back in place...I have the tach and the heavy wire for the sub woofer yet to deal with...I peeled back the carpet and found good but dirty floor board that put a great  on my face to know that this car is solid..found some screws and a nut under the carpet...they must have been some messy and lazy car builders in the late 70's...maybe they smoked too much reefer..
on my face to know that this car is solid..found some screws and a nut under the carpet...they must have been some messy and lazy car builders in the late 70's...maybe they smoked too much reefer..
Last edited by bremereric; May 9, 2011 at 10:21 PM.
Thread Starter
Super Moderator
Joined: Sep 2010
Posts: 3,609
Likes: 181
From: Houston, Texas
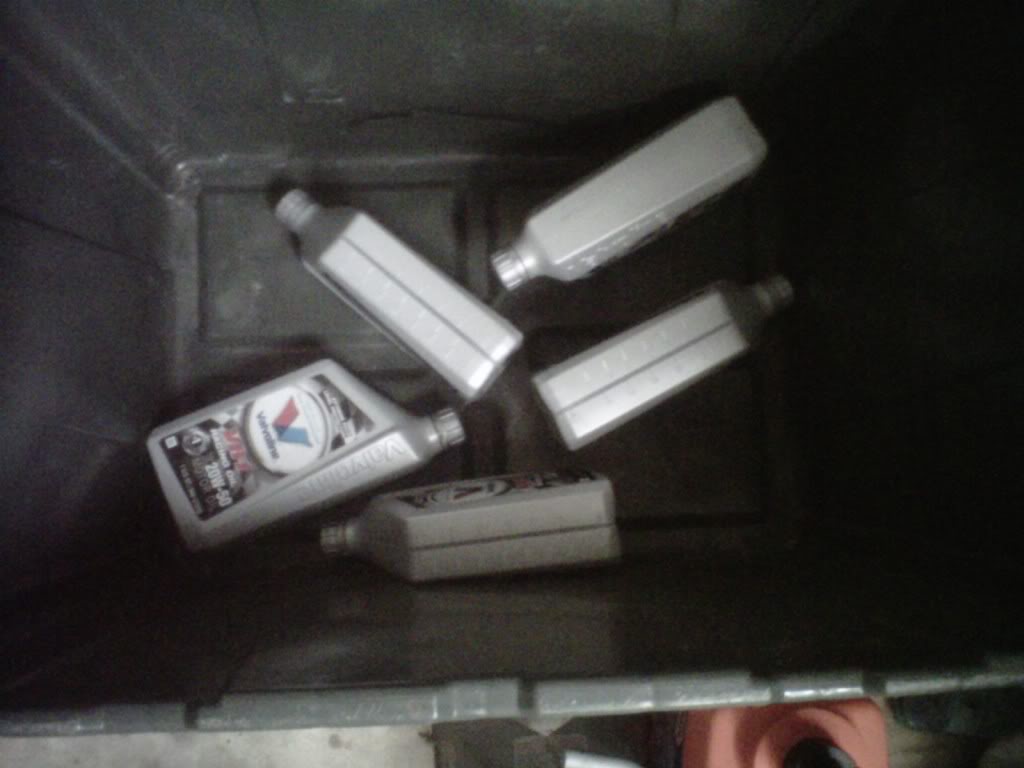
Got some oil today....4.19 is regular price 2.99 is what it was at O'Reillys on sale...Loaded with ZDDP..for flat tappet cams...they have the same in a full synthetic which runs about 8.19 a quart...no wanno for this engine

Thread Starter
Super Moderator
Joined: Sep 2010
Posts: 3,609
Likes: 181
From: Houston, Texas
Five dead soldiers
I took the engine stand to storage...loaded up the tranny lift and the engine hoist to take back to work tomorrow...only had time to drain 5 quarts of the VR1 into the engine...way behind schedule...will have to get after it..
Thread Starter
Super Moderator
Joined: Sep 2010
Posts: 3,609
Likes: 181
From: Houston, Texas
Got a little closer tonight
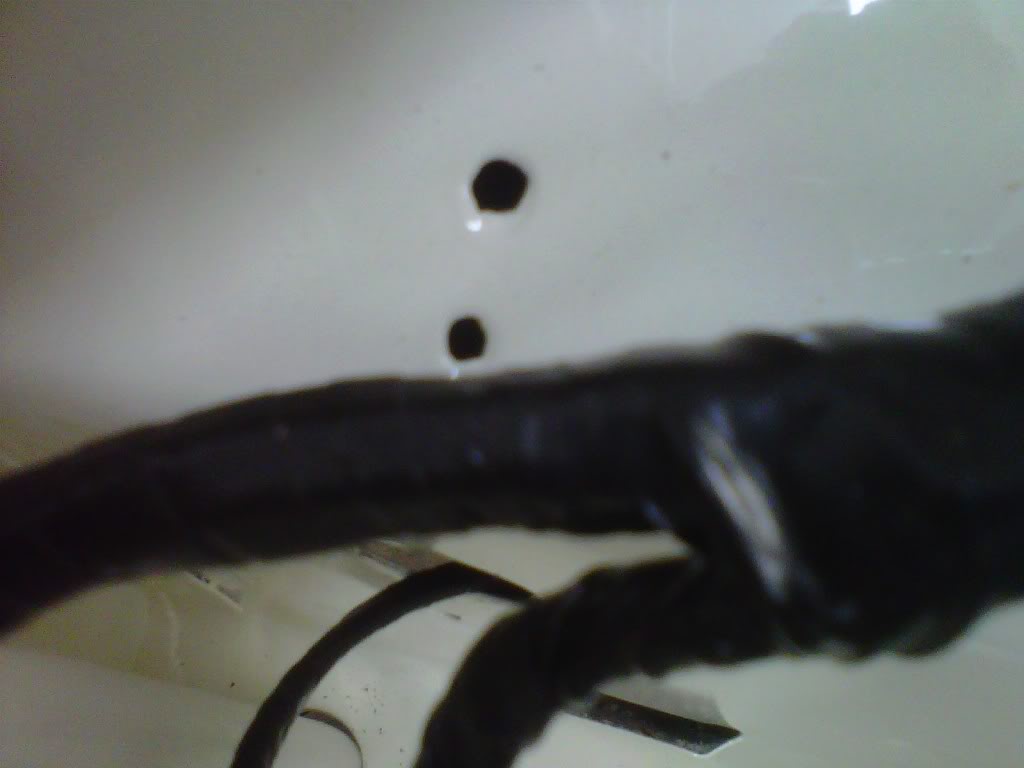
At lunch time I went to Fastenal and got some wiring clamps...1/2" Id and they work..$7.27 for 25 of them..they cover the second hole and finish the job...
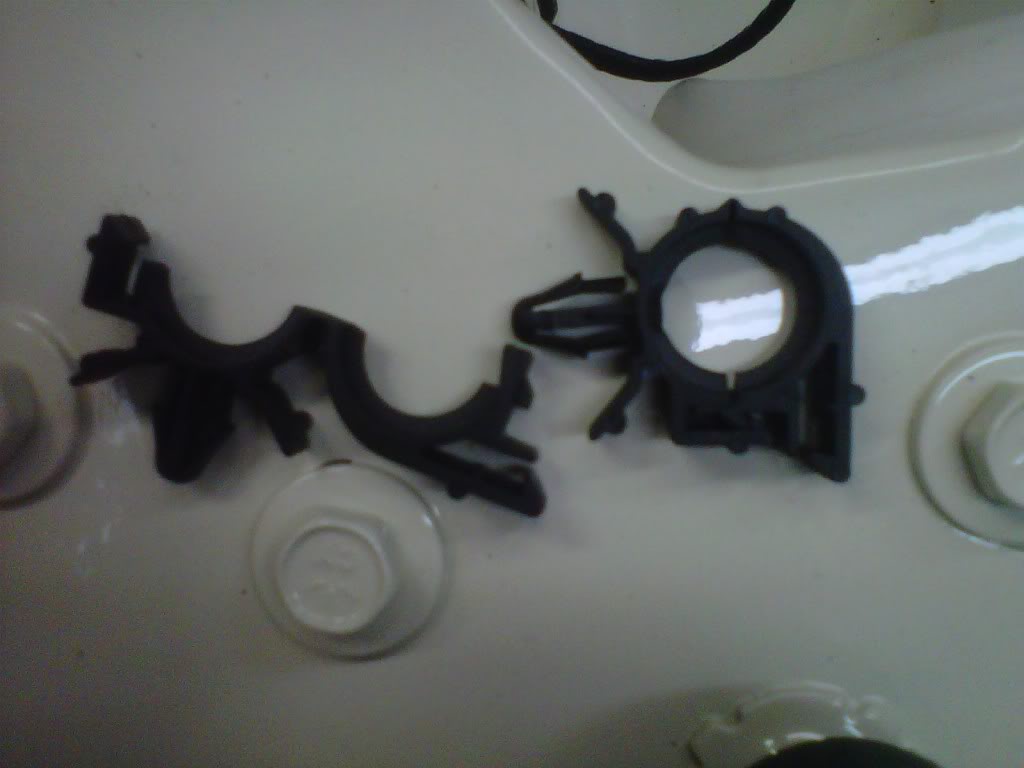
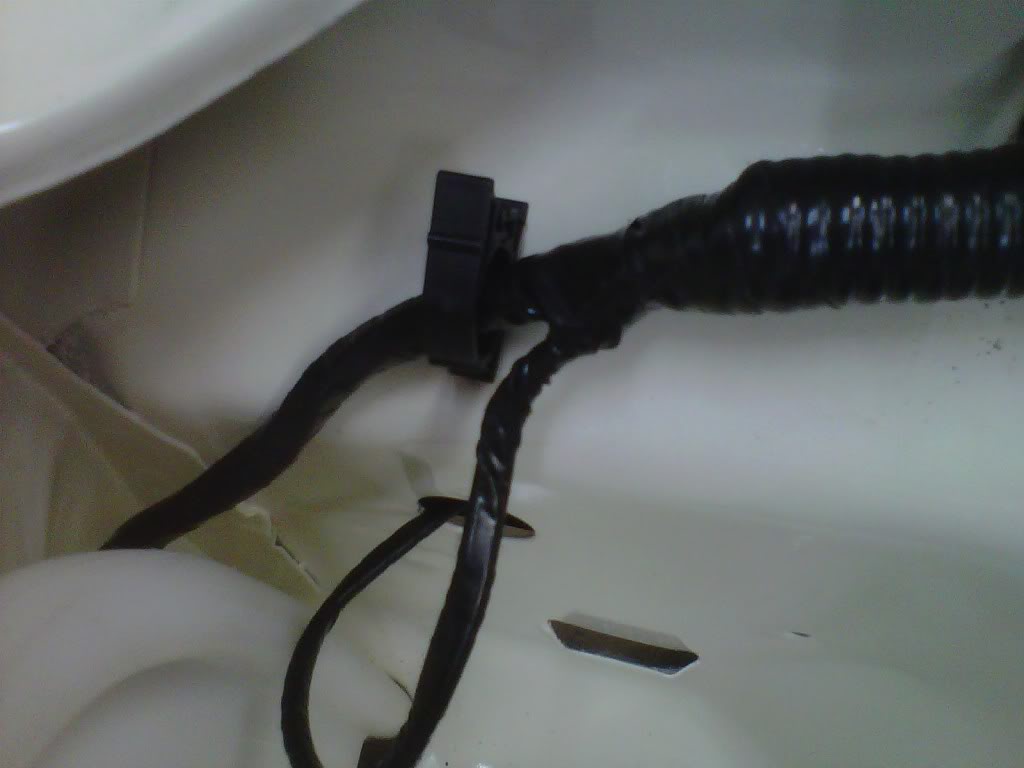
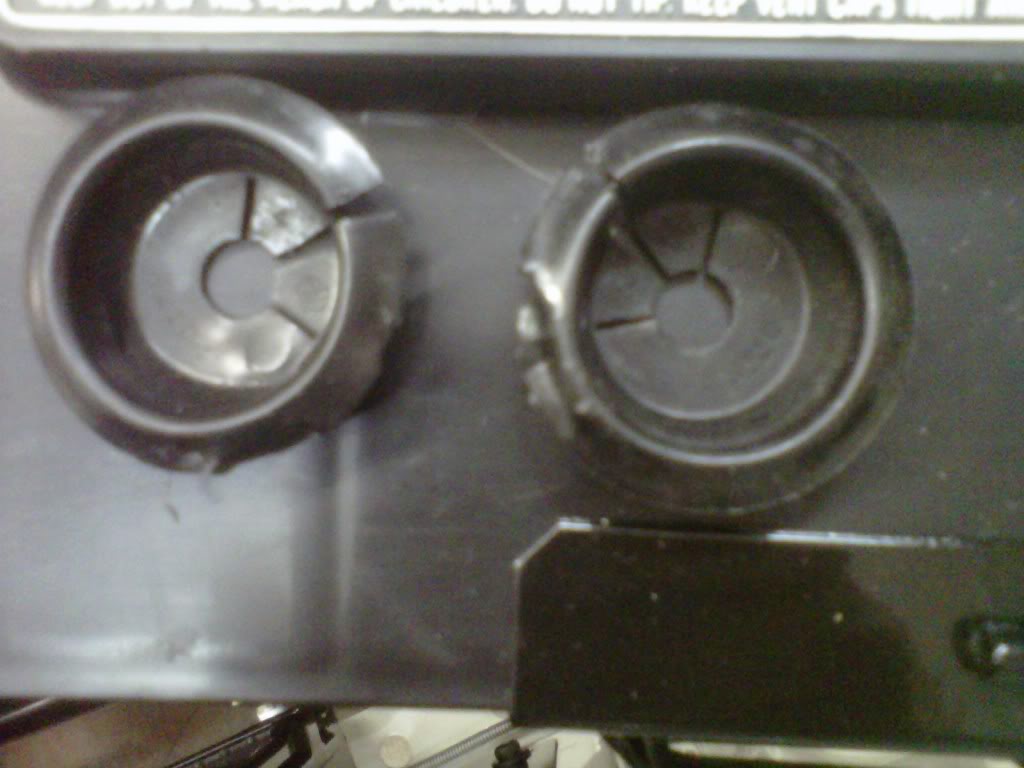
I also ordered some 1" hole plastic body plugs that fit a Jeep to replace the two for the side lights..they were damaged when removed..I will punch a hole with my leather punch and then put one slit for the wire to pass through..
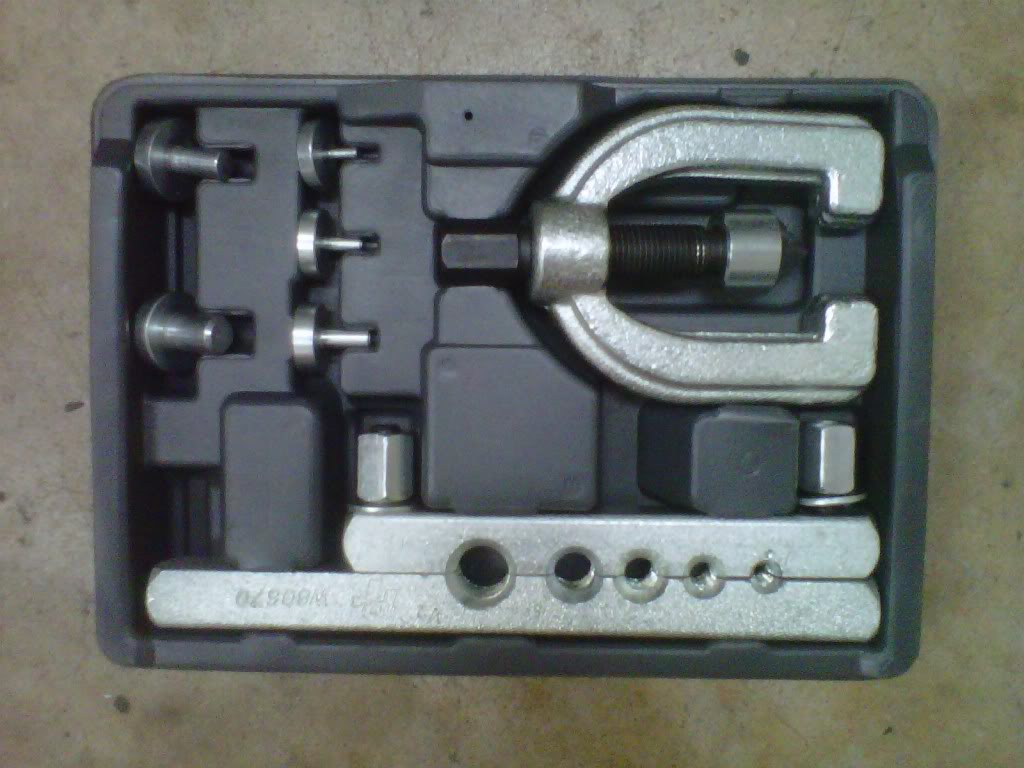
Bought this tool for 33 bucks..used it once so far but will always have it...did my double flare thing...I moved my fuel filter to the down side of the fuel pump and I sure hope it doesn't leak...
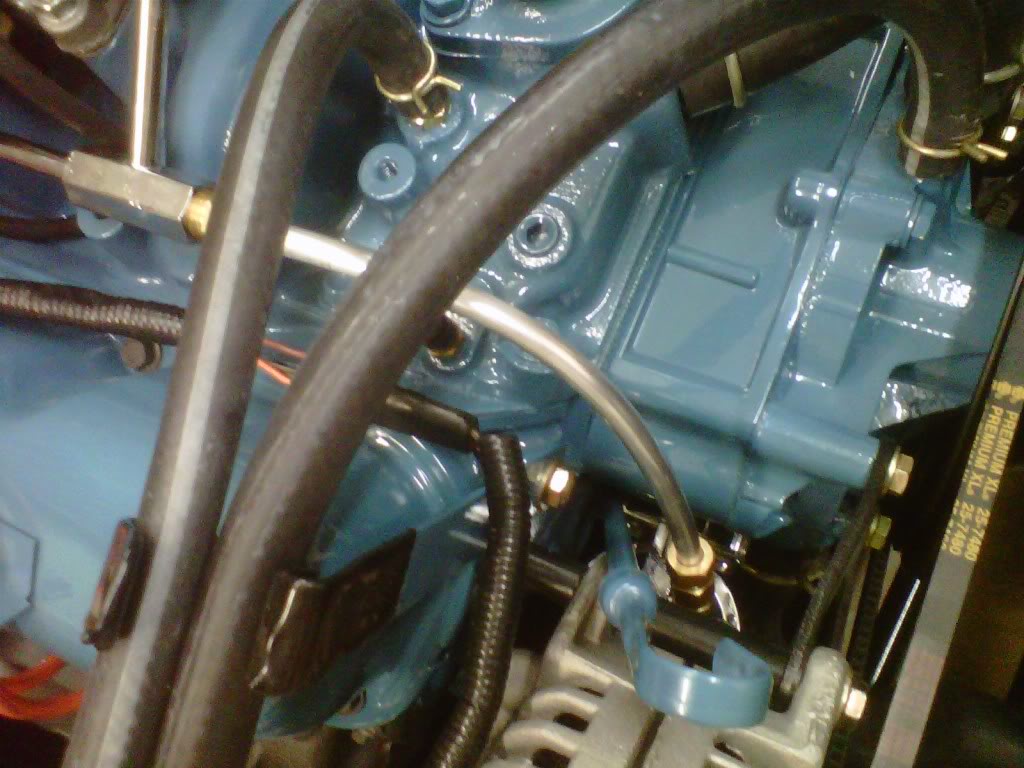
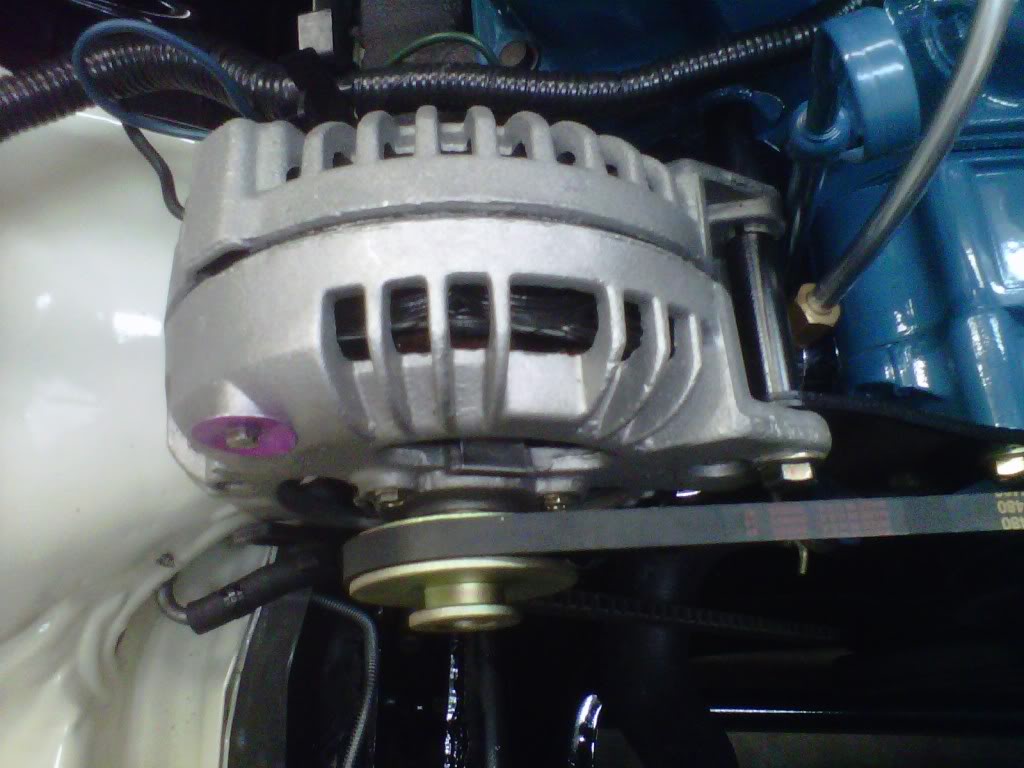
And of course the alternator is in...
I also ordered some 1" hole plastic body plugs that fit a Jeep to replace the two for the side lights..they were damaged when removed..I will punch a hole with my leather punch and then put one slit for the wire to pass through..
Bought this tool for 33 bucks..used it once so far but will always have it...did my double flare thing...I moved my fuel filter to the down side of the fuel pump and I sure hope it doesn't leak...
And of course the alternator is in...
Last edited by bremereric; May 10, 2011 at 11:38 PM.


