
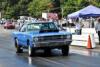
I never would think I would own one of these
 03-22-2011, 12:00 AM
#391
Super Moderator
Thread Starter

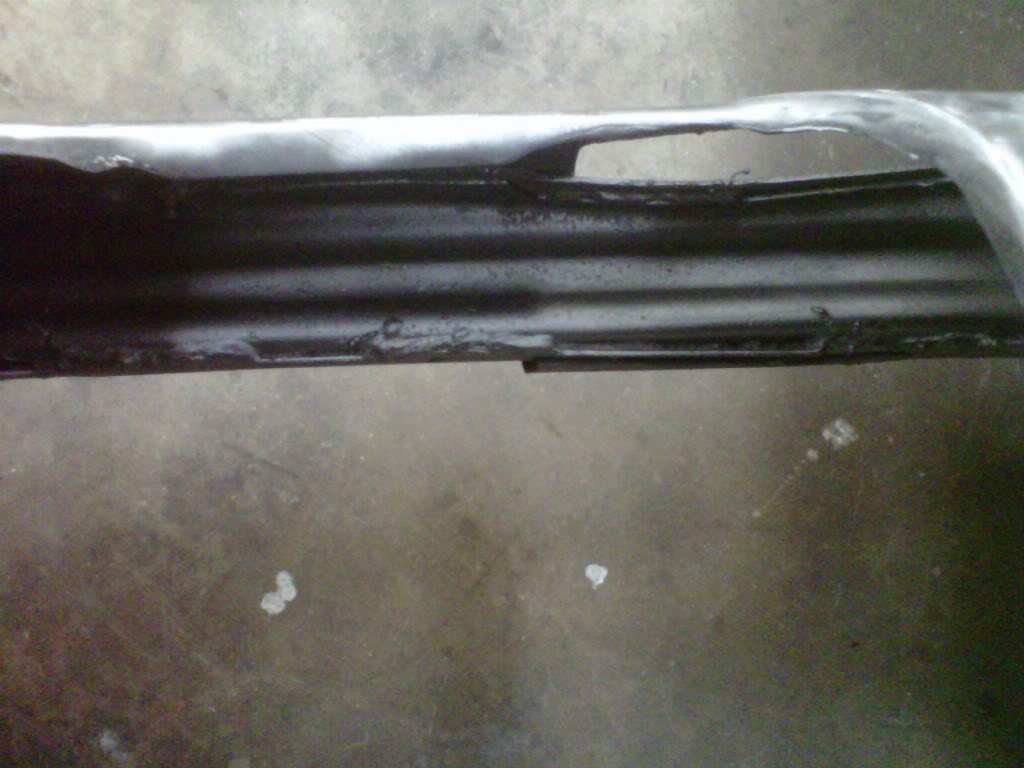
Today a little more progress
Got the side rails cleaned off...little hand sanding there and then the tape lines...I cleaned off both front frame rails with wire brush attachments on my die grinder...I also took out the fuel line and stripped the remaining paint off of the passenger's side frame rail...tomorrow I will fog the cowel compartment with the Eastwood's internal frame coating and let it cure for 24 hours...I am also picking up some caulk tube and brush on seam sealer tomorrow at the paint store...try some of that tomorrow night also...then on to hand sanding...
 03-22-2011, 01:23 PM
#392
Super Moderator
Thread Starter
OMG....
Got my brush on and caulk tube seam sealer today...
I know what the 3M stands for now....3 times the money....66 bucks for both of them
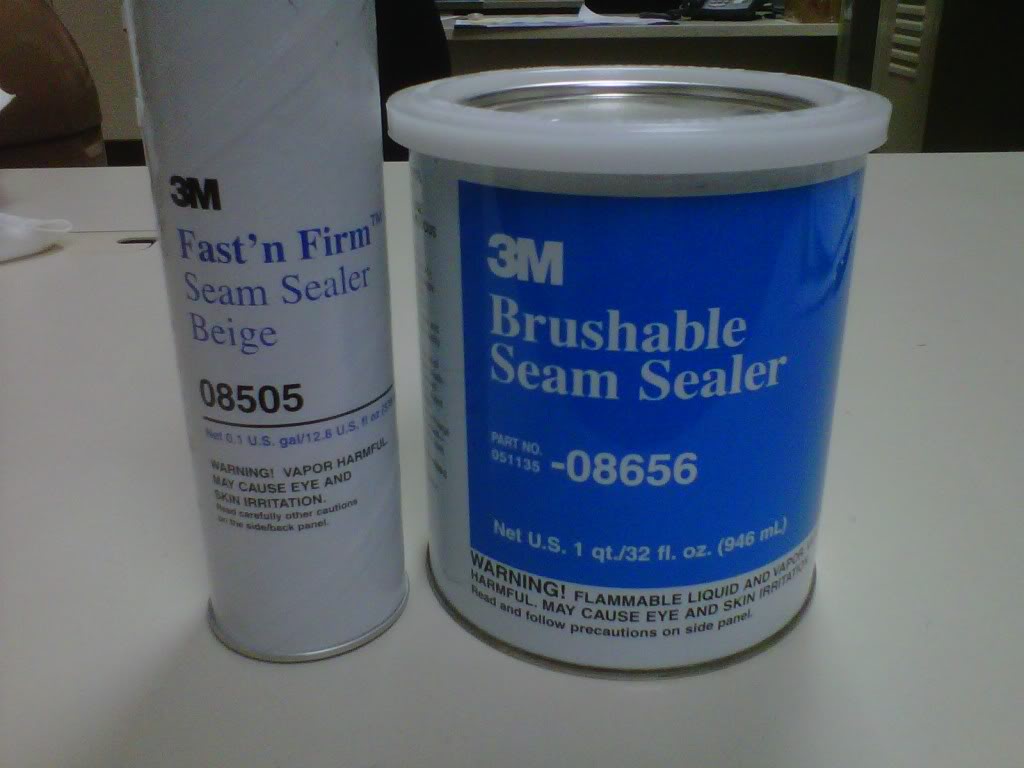
I know what the 3M stands for now....3 times the money....66 bucks for both of them
03-22-2011, 02:52 PM
#393
Super Moderator
Thread Starter
Okay I picked up my clutch package at UPS today and here is a picture..
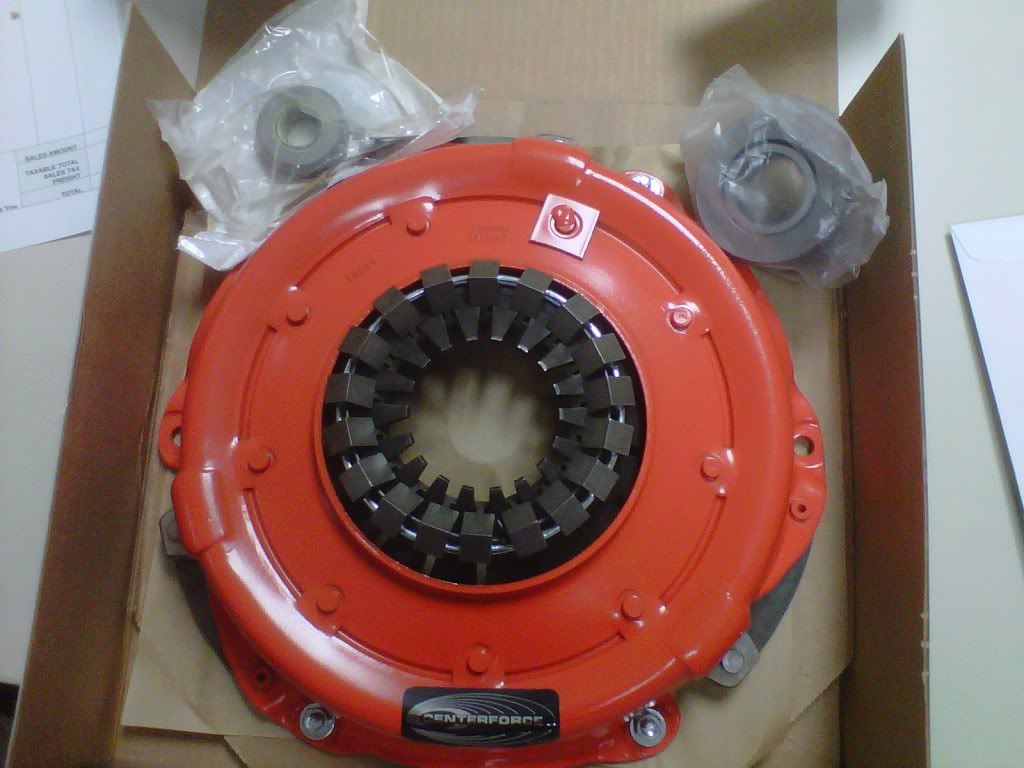
I already read the instructions...If using this to replace a stock 3 finger Mopar style one you may have a problem with the clutch pedal remaining on the floor...this is do to the lighter pedal pressure needed to press the clutch in...two choices...remove the large inside spring on the clutch pedal or install a heavier clutch return spring at the bellhousing..
I already read the instructions...If using this to replace a stock 3 finger Mopar style one you may have a problem with the clutch pedal remaining on the floor...this is do to the lighter pedal pressure needed to press the clutch in...two choices...remove the large inside spring on the clutch pedal or install a heavier clutch return spring at the bellhousing..
 03-22-2011, 04:43 PM
#395
Super Moderator
Thread Starter

 03-22-2011, 11:23 PM
#396
Super Moderator
Thread Starter
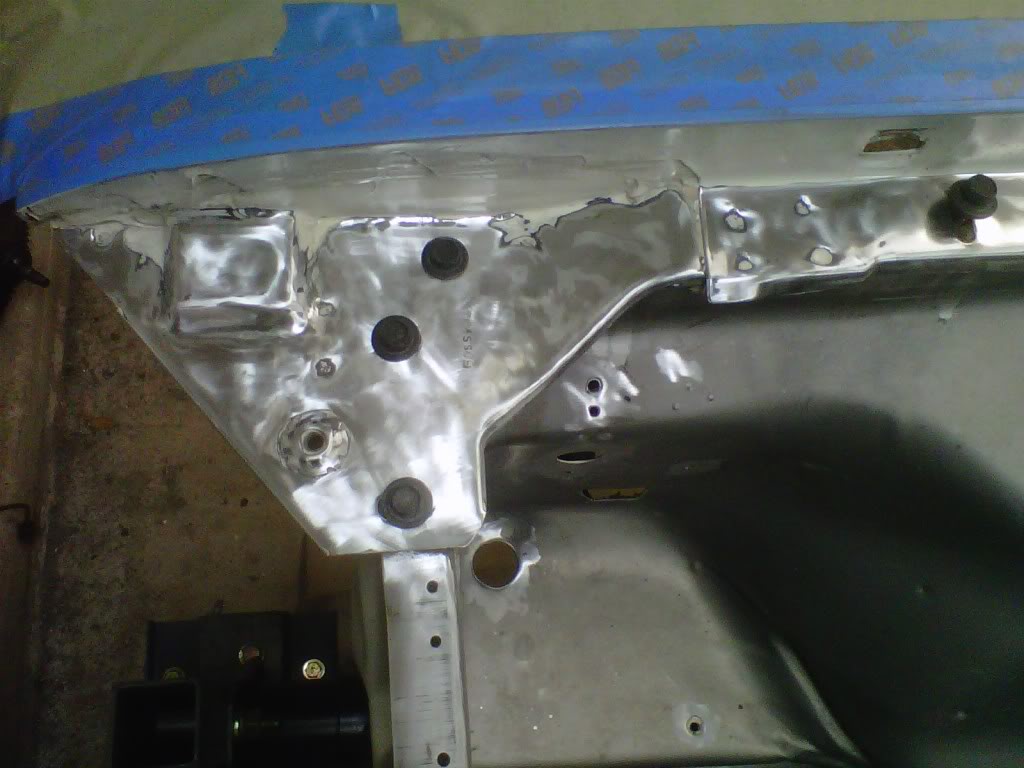
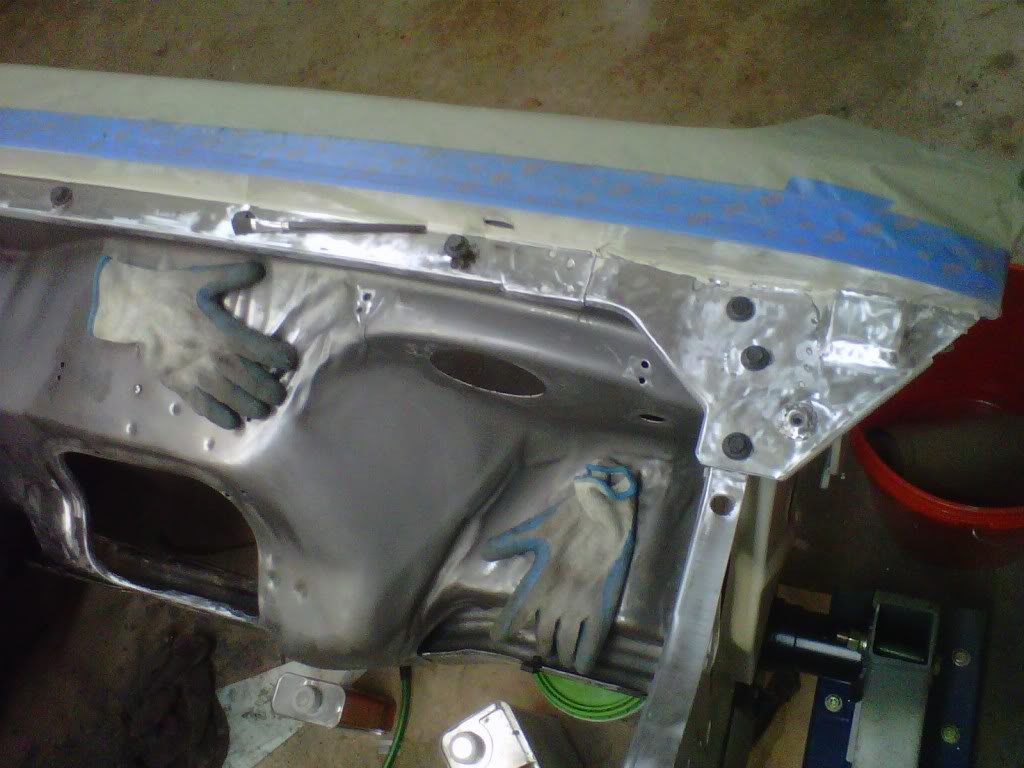
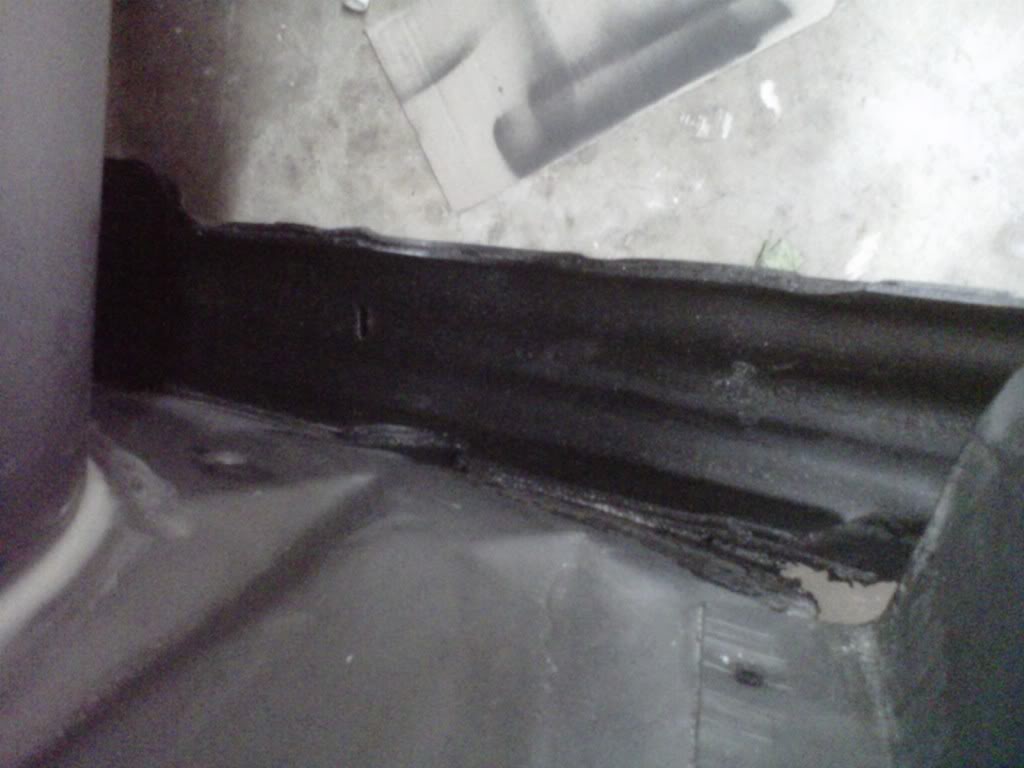
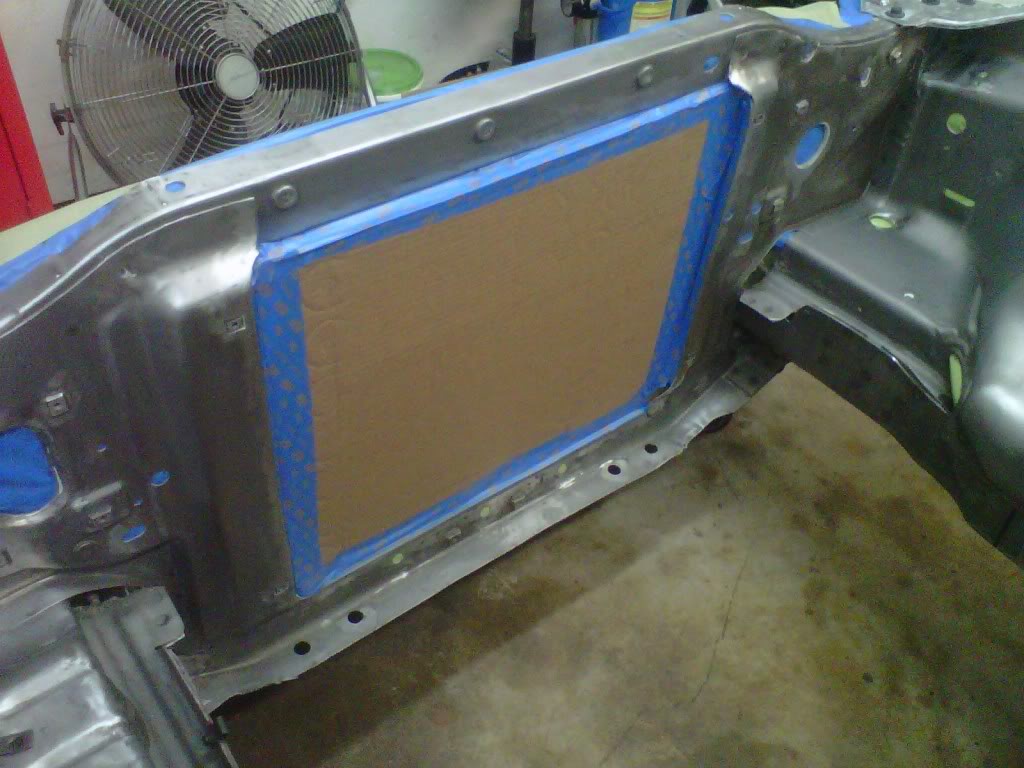
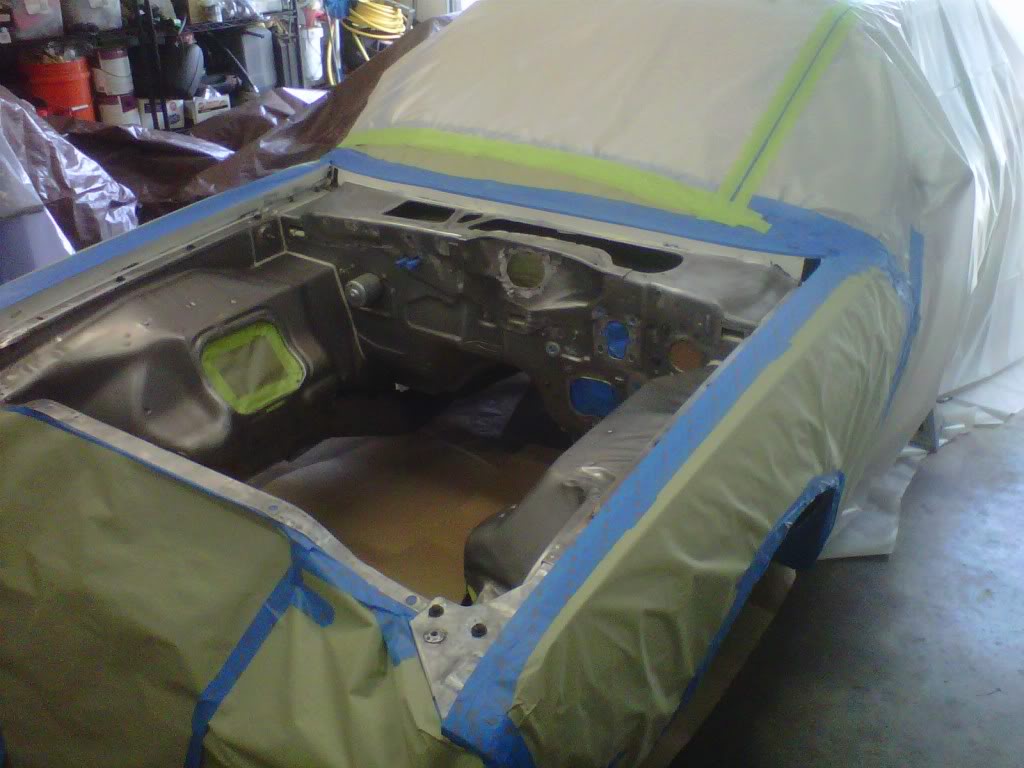
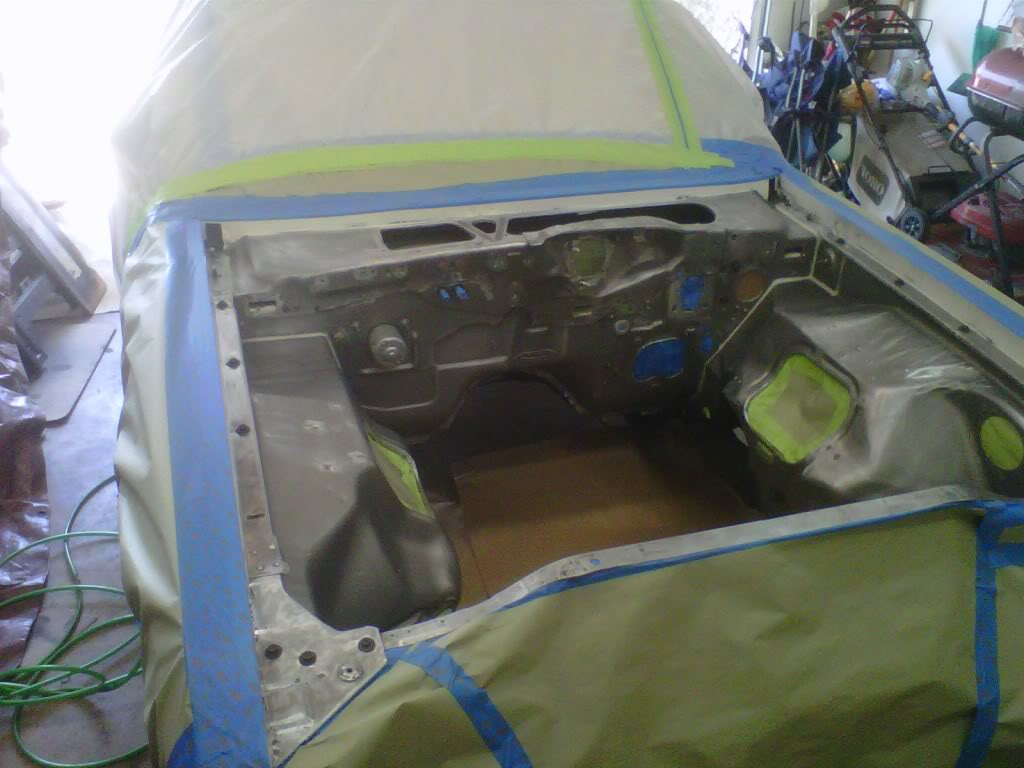
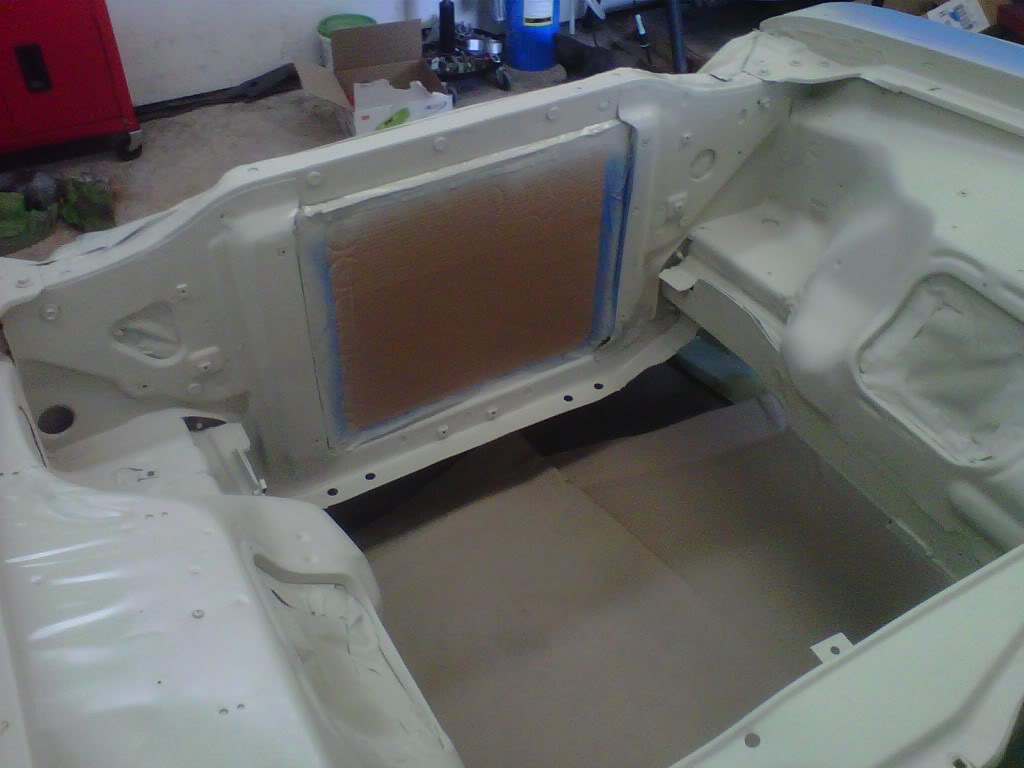
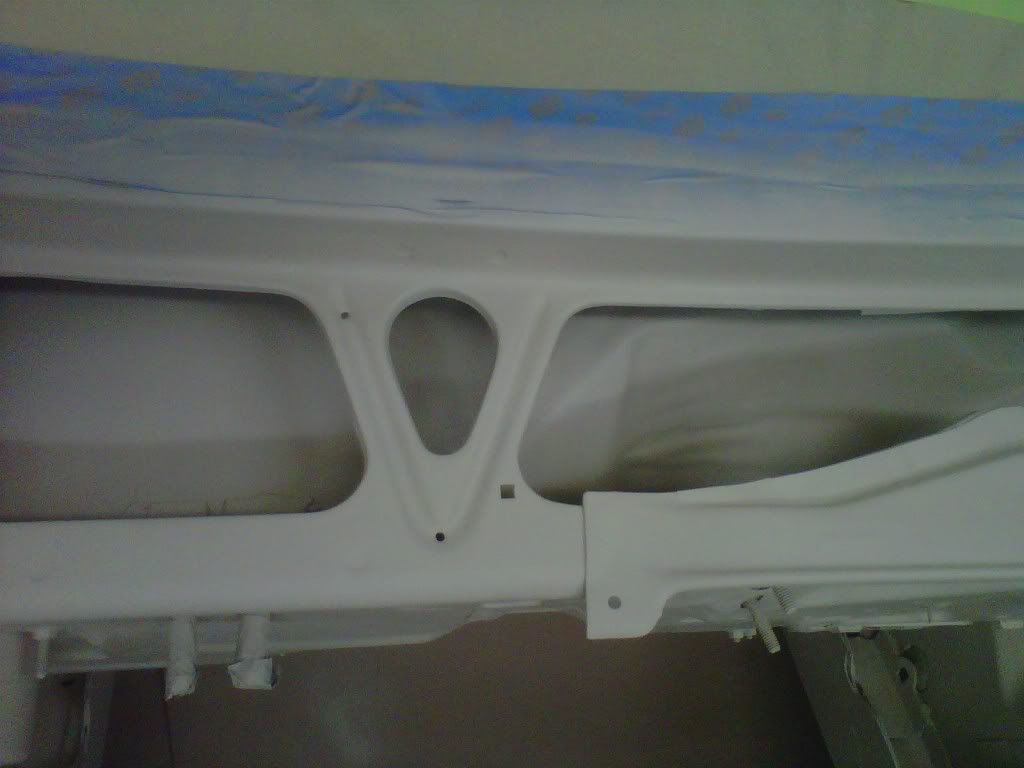
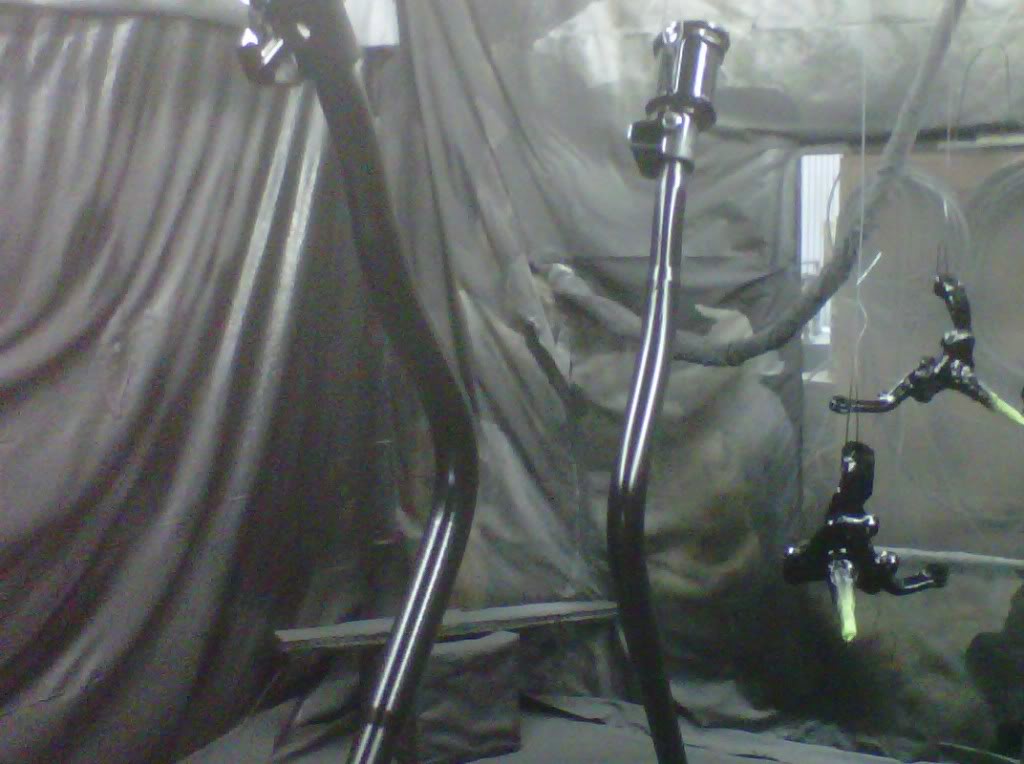
Did some more tonight...Hopefully getting closer to paint
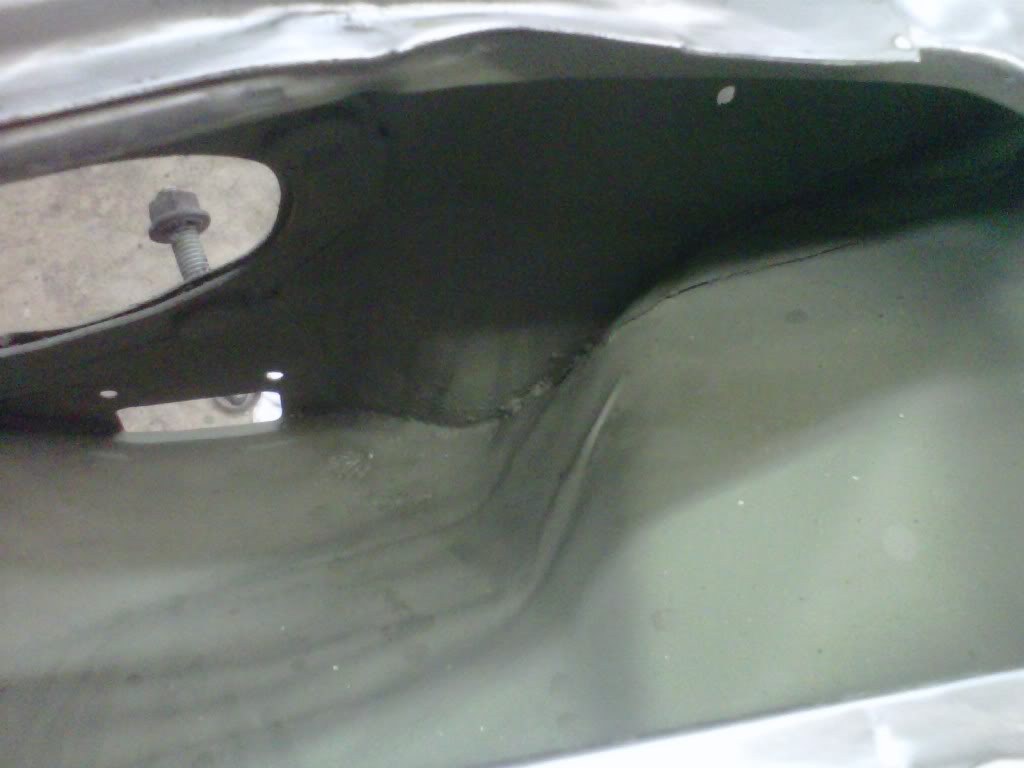
I taped up all of the cowel openings and then sprayed the Eastwood product...it was a wide and opening area so I had to take several sneak peaks on how it was doing...I did it several times to make sure I got full coverage..pictures aren't the best...
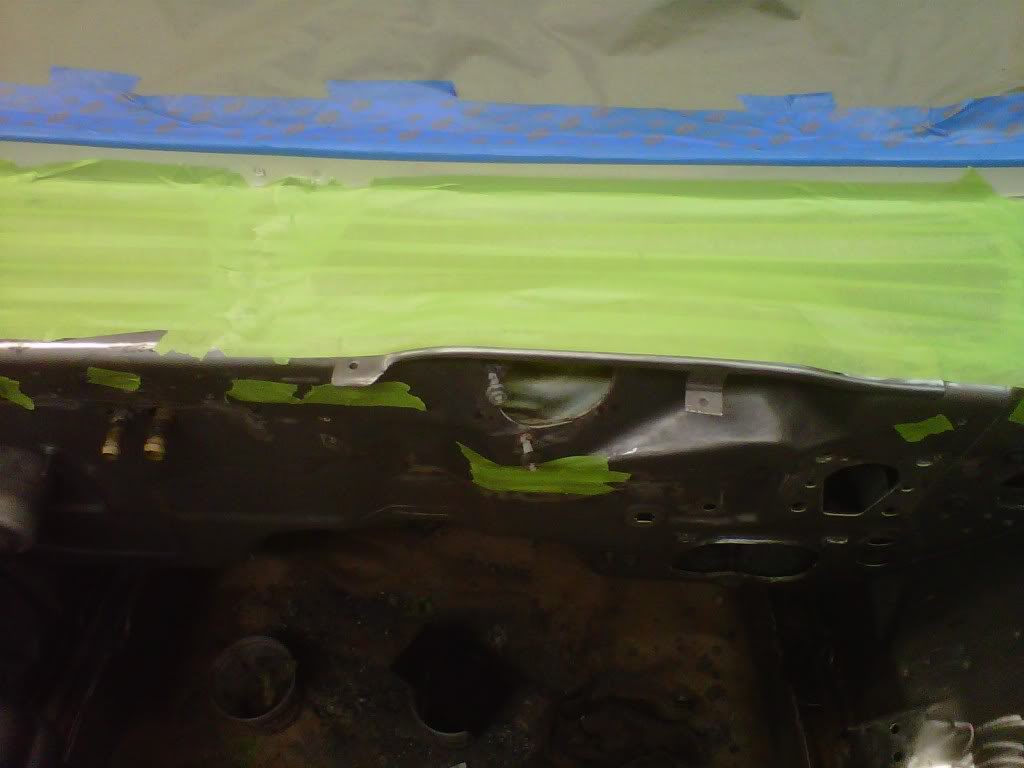
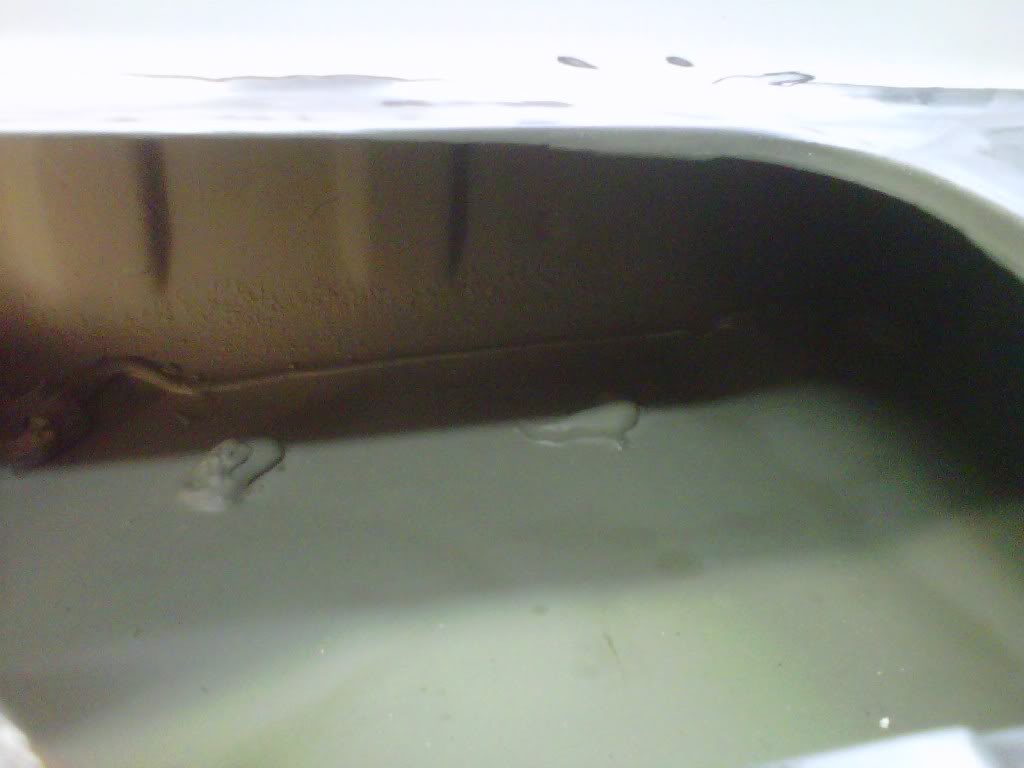
I then broke out the caulk gun and decided to do the areas with the largest and most obvious gaps...the hood hinge area and such..I found out if you keep you finger wet with lacquer thinner it makes the seam sealer easy to smooth out with you finger
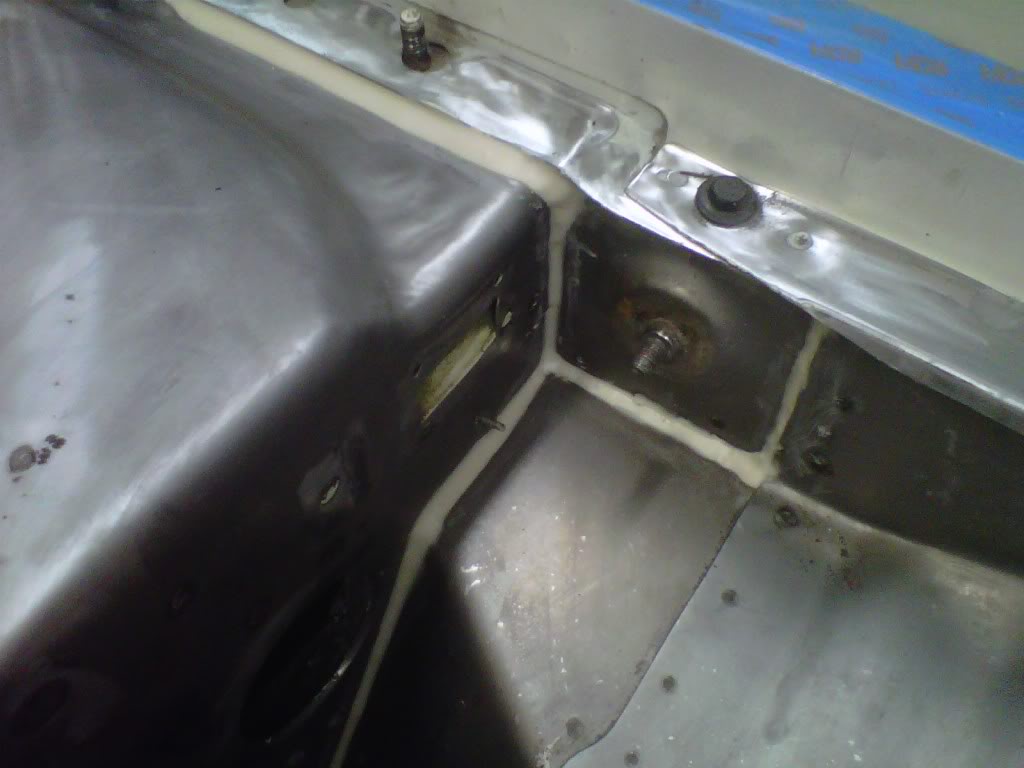
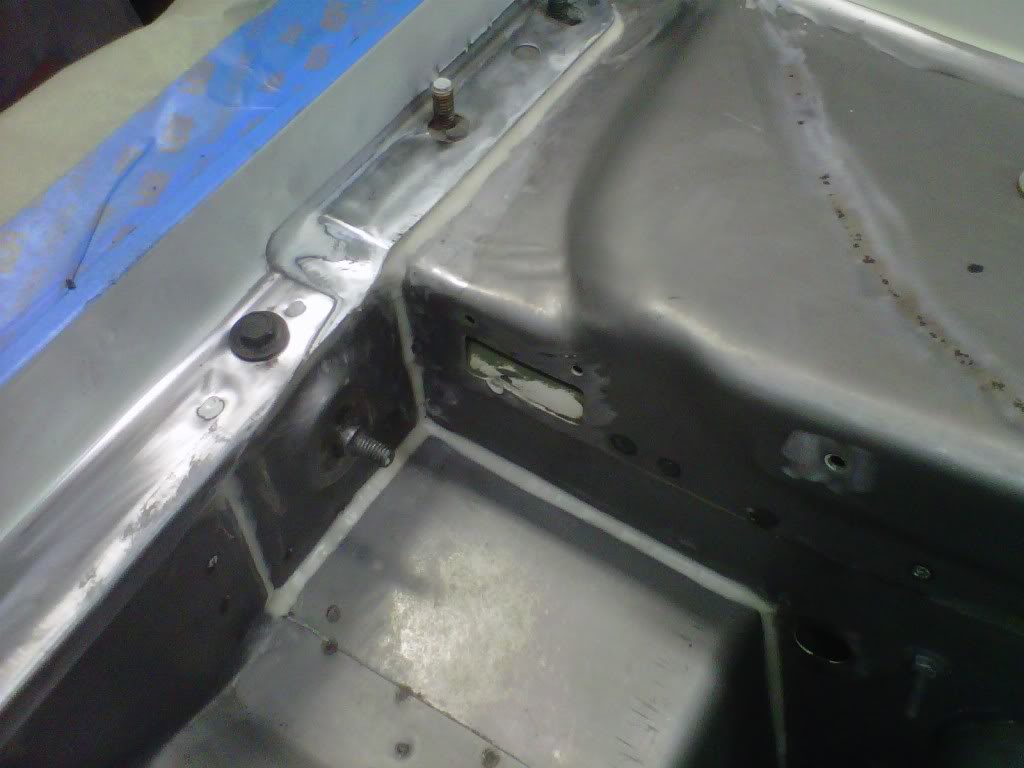
I then treated each frame rail in the engine comparment with the Eastwood product inside until it dripped out of the next hole and then the outside rusty area with their brush on rust convertor..
I then broke out the caulk gun and decided to do the areas with the largest and most obvious gaps...the hood hinge area and such..I found out if you keep you finger wet with lacquer thinner it makes the seam sealer easy to smooth out with you finger
I then treated each frame rail in the engine comparment with the Eastwood product inside until it dripped out of the next hole and then the outside rusty area with their brush on rust convertor..
03-24-2011, 10:20 AM
#397
Super Moderator
Thread Starter
I didn't have much time last night
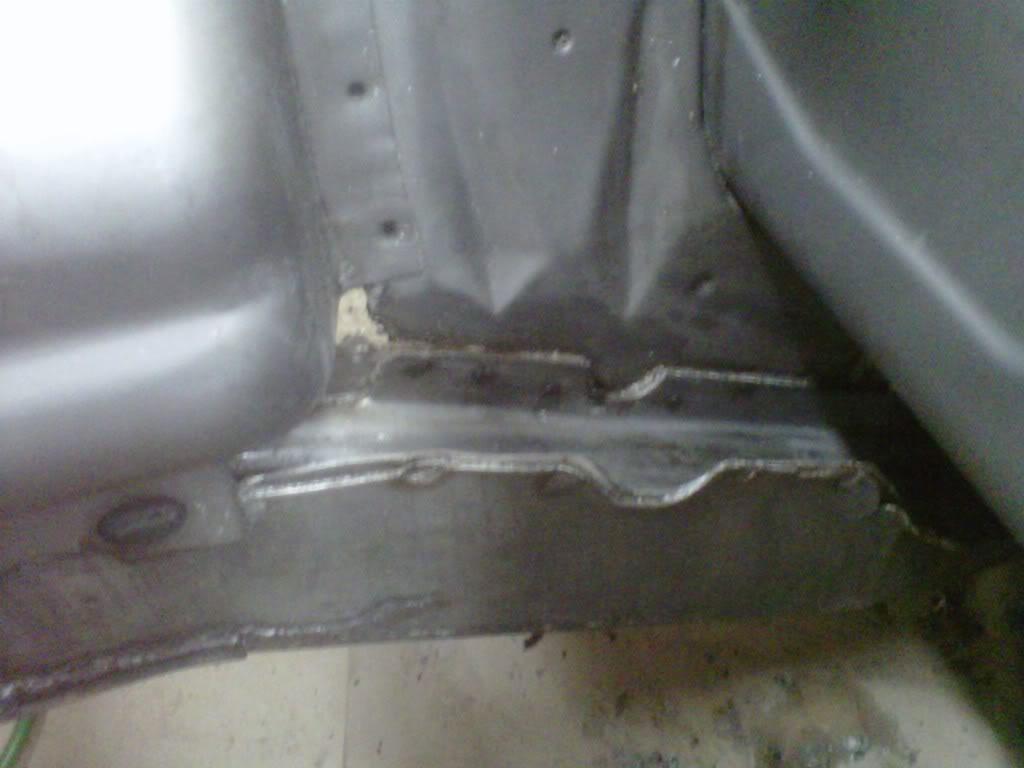
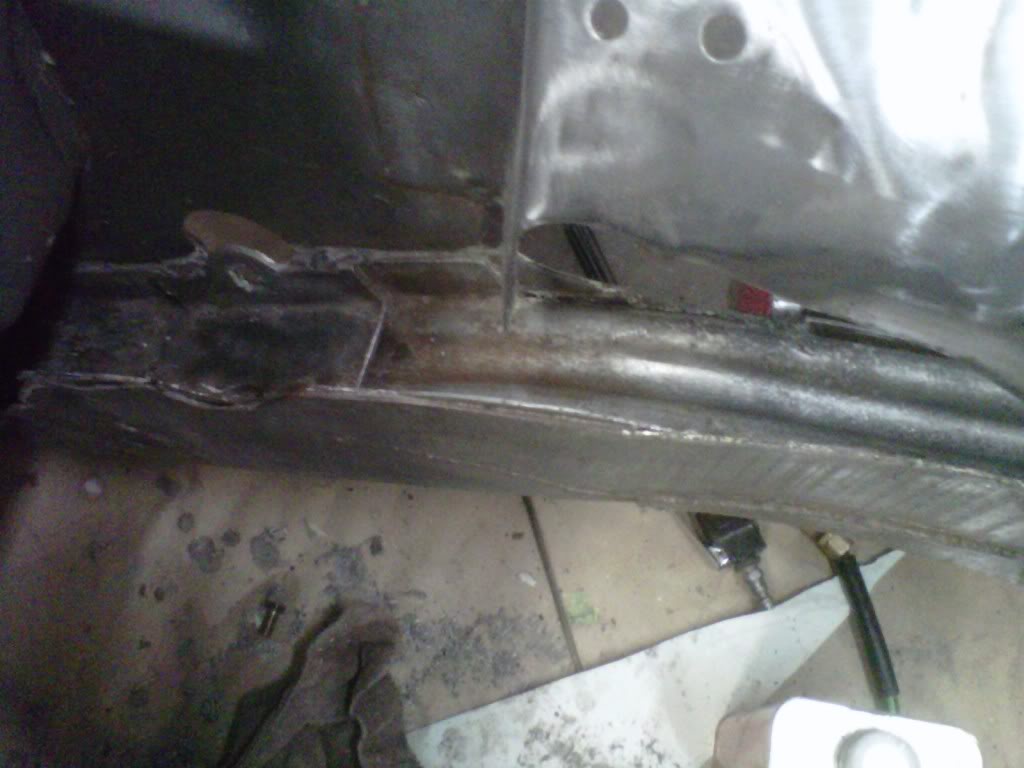
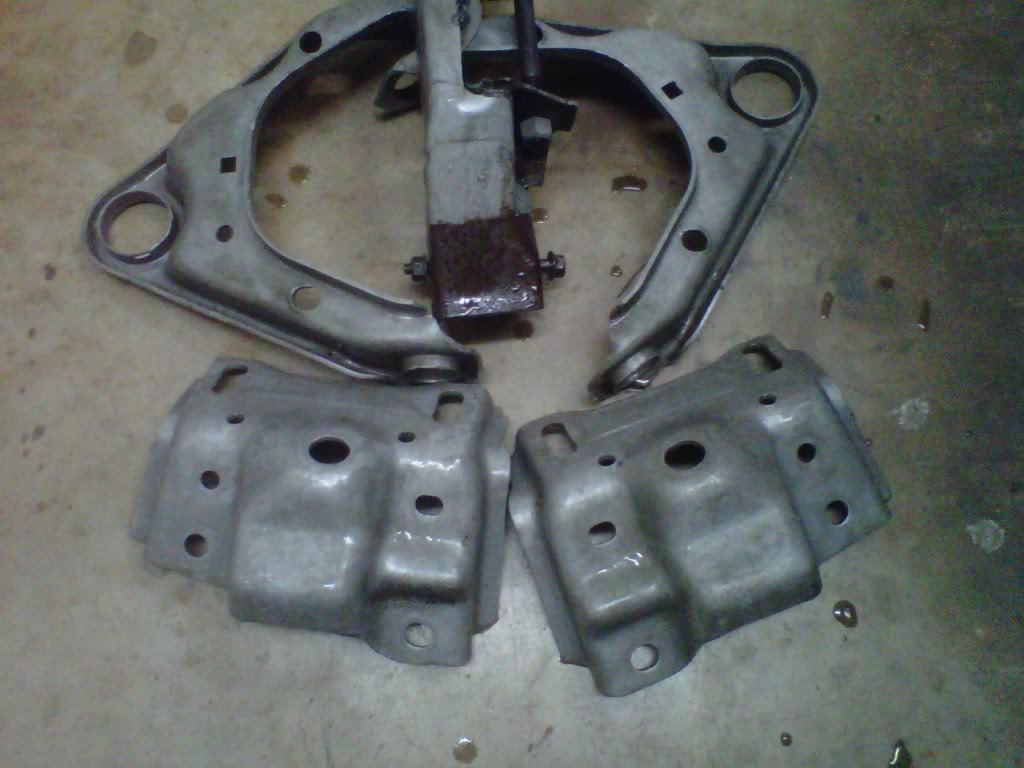
I cleaned up my stripping mess from under the car and swept up a bunch of debris...I then jacked the car up and sprayed the tranny tunnel with Eastwood's black rust encapsulator...I taped off the front frame rails and did the same treatment...I then did my rust bucket detail..some of the pieces with thick rust get a wire brush treatment which speeds up the process some and then they go back in...
03-24-2011, 11:28 PM
#398
Super Moderator
Thread Starter
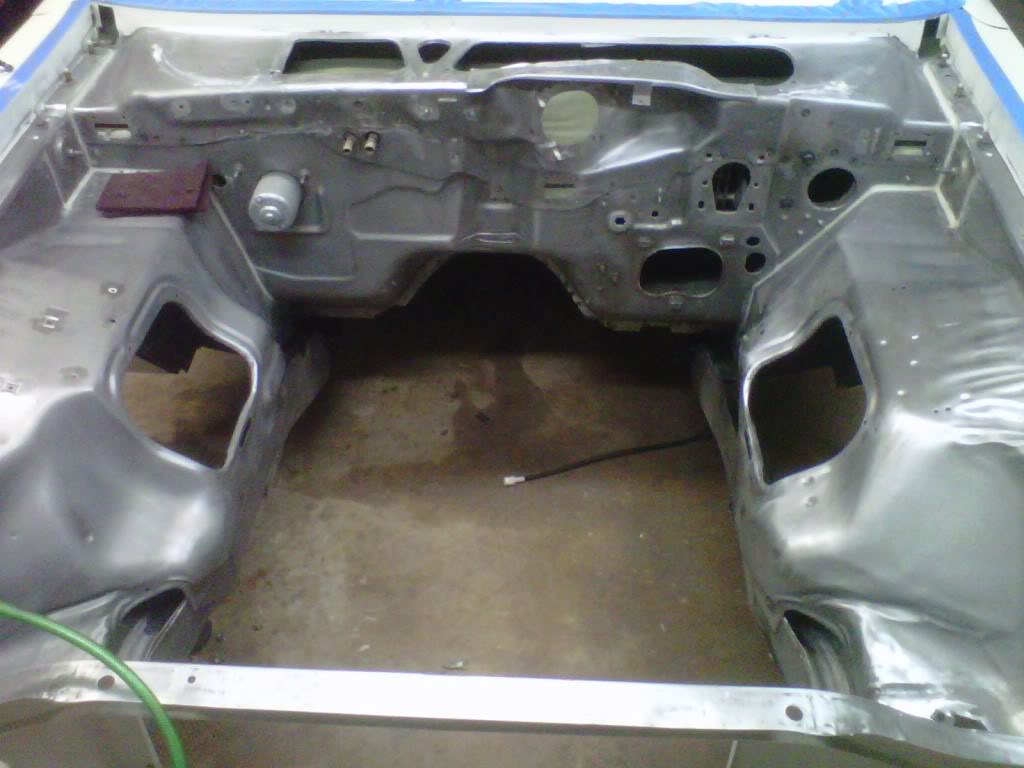
Getting closer...
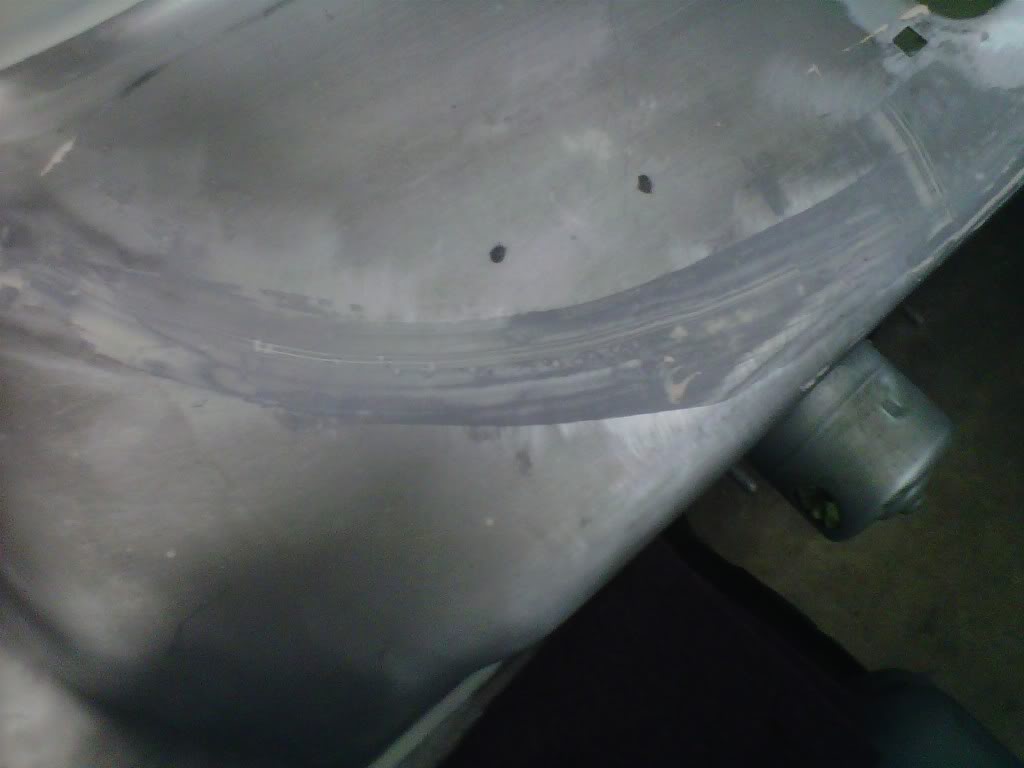
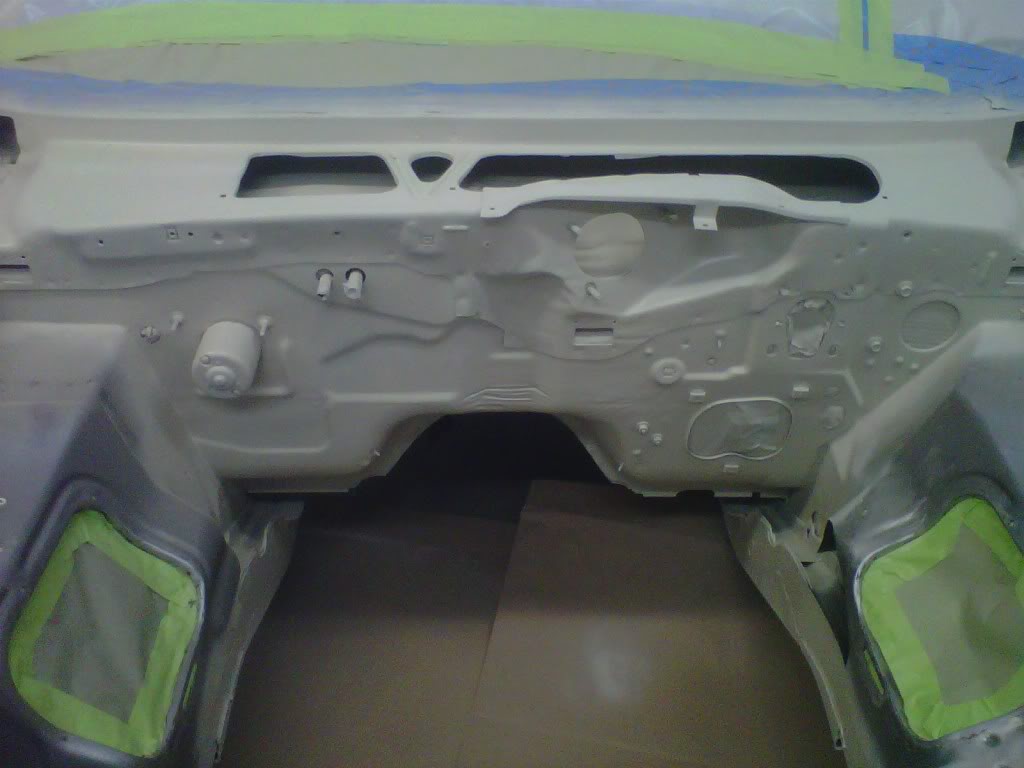
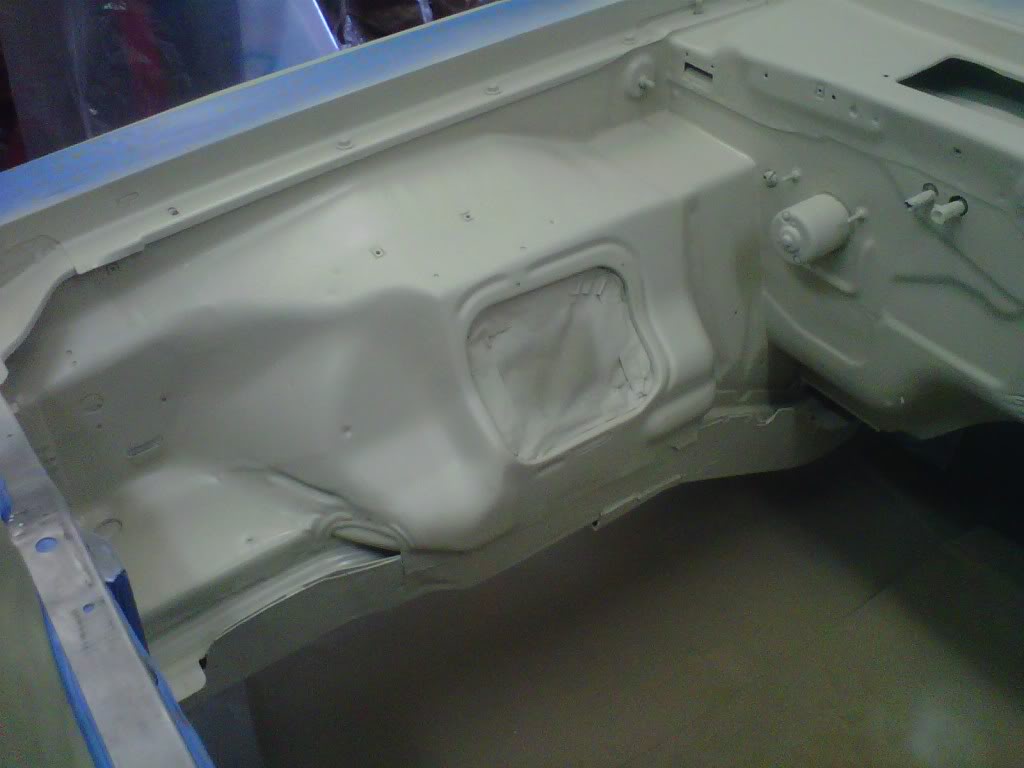
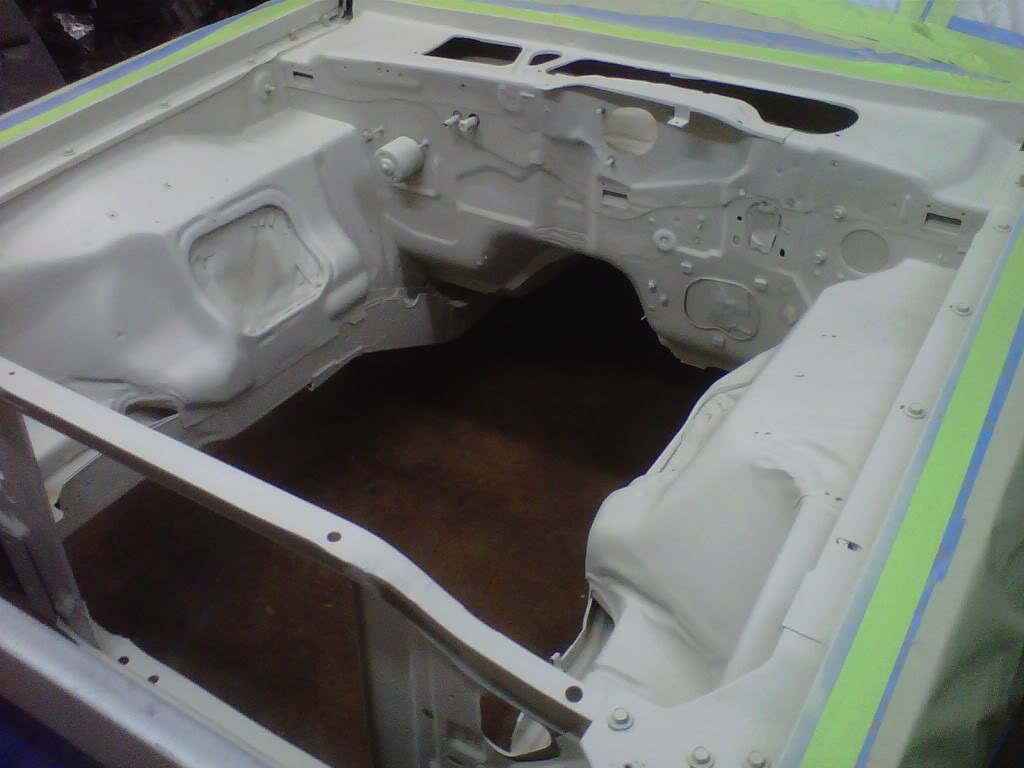
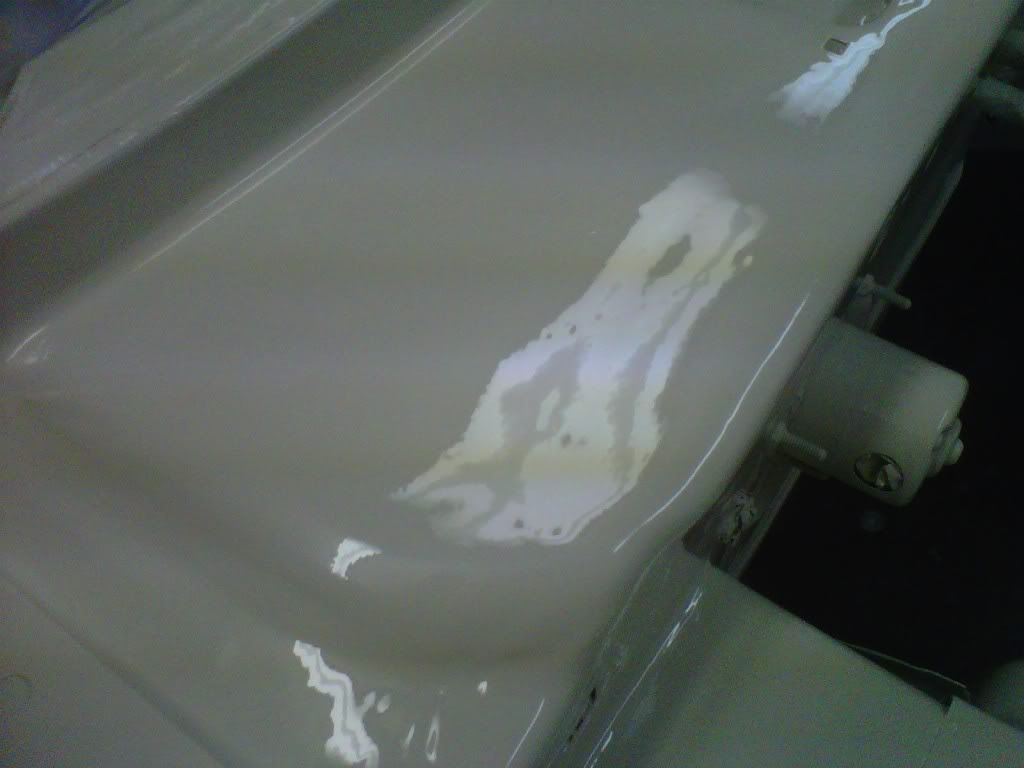
Okay I feathered the edges on the paint until I couldn't feel it with my thumb nail anymore and then I taped off the the top and used the red Scotch-Brite pad on the whole engine compartment..watch out for the sharp spot welds they have left over sharp metal...I then mixed up some spot/finishing putty to fill in the rust pits on top of the cowel...I will sand it down tomorrow and then start the taping up project...I also did the rust bucket detail and will have 5 more pieces for paint on Saturday...
03-25-2011, 11:30 PM
#399
Super Moderator
Thread Starter
Tape, Tape and more Tape
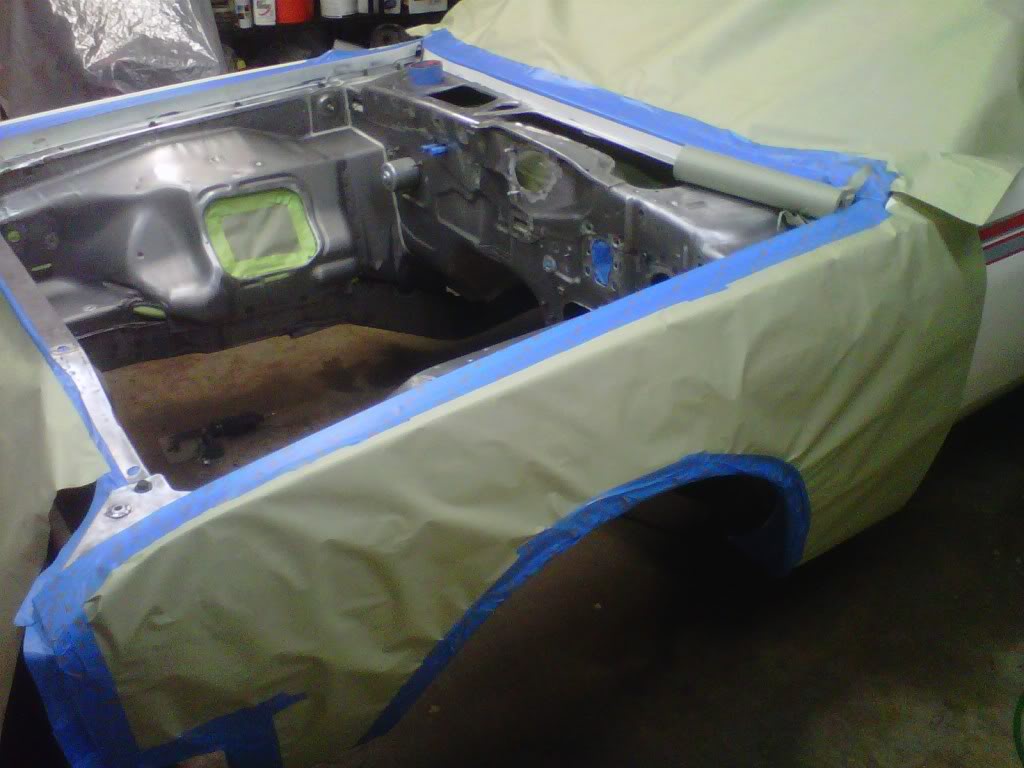
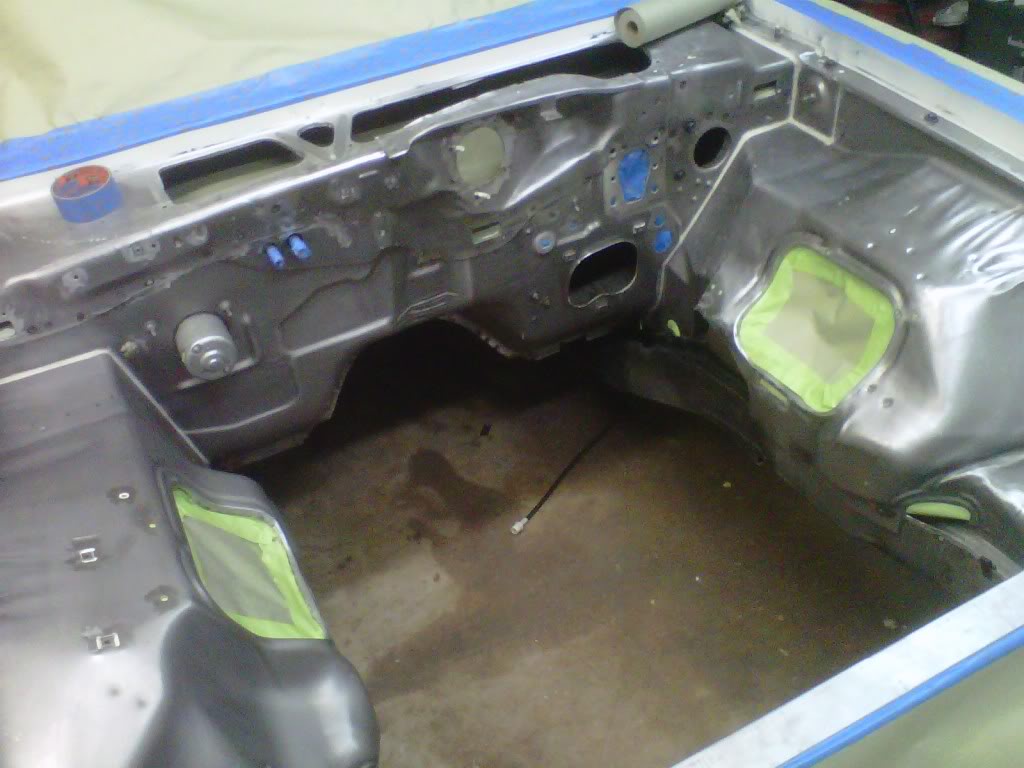
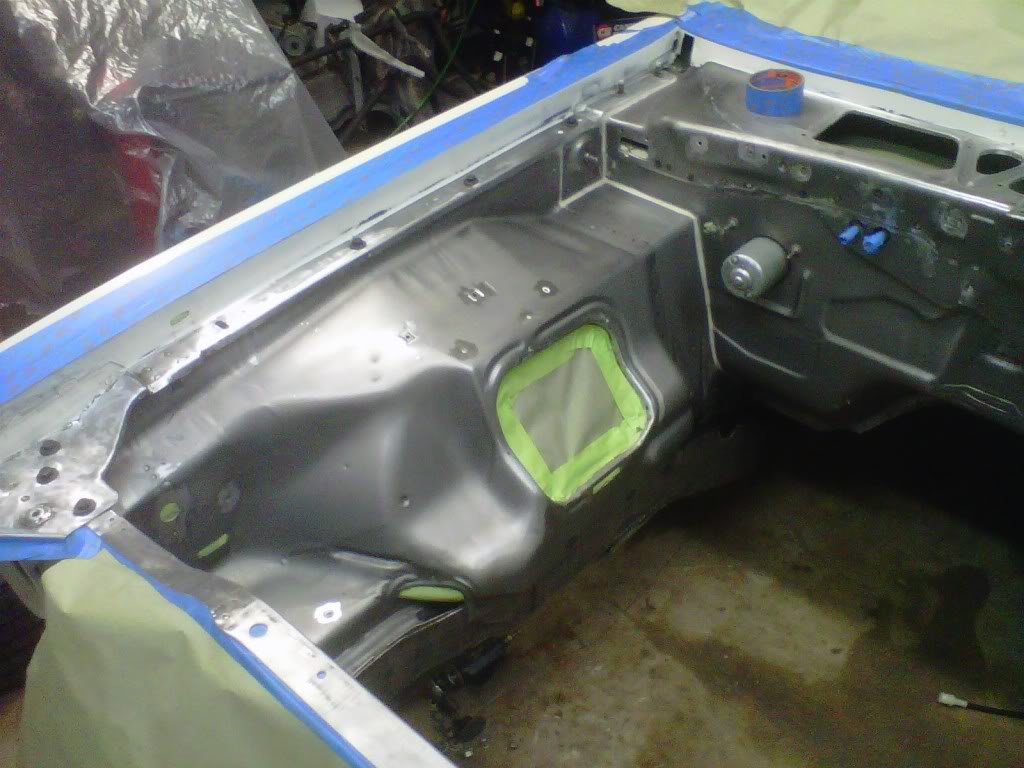
Did it on and off till 12:30 tonight...first sanded down the spot putty and then blew the whole car down with air..another wipe down with lacquer thinner then the taping began..I read instructions...the instruction said if you spray more primer on top of the old primer after 24 hours then you need to sand it first...forget that...that explains the extra taping to cover the very front of the car that was already primed...got two more big holes in the firewall that I will have to get from inside tomorrow...I ran out of the wide painters paper that I got at work..I will have to get some more tomorrow...I like to use this around the impact area and then the rest will be covered with plastic....this engine compartment will be in primer tomorrow...I have 22 1/2 hours to go...
Last edited by bremereric; 03-25-2011 at 11:39 PM.
 03-26-2011, 09:14 AM
#401
Super Moderator
Thread Starter
 03-26-2011, 10:29 AM
#402
Super Moderator
Thread Starter
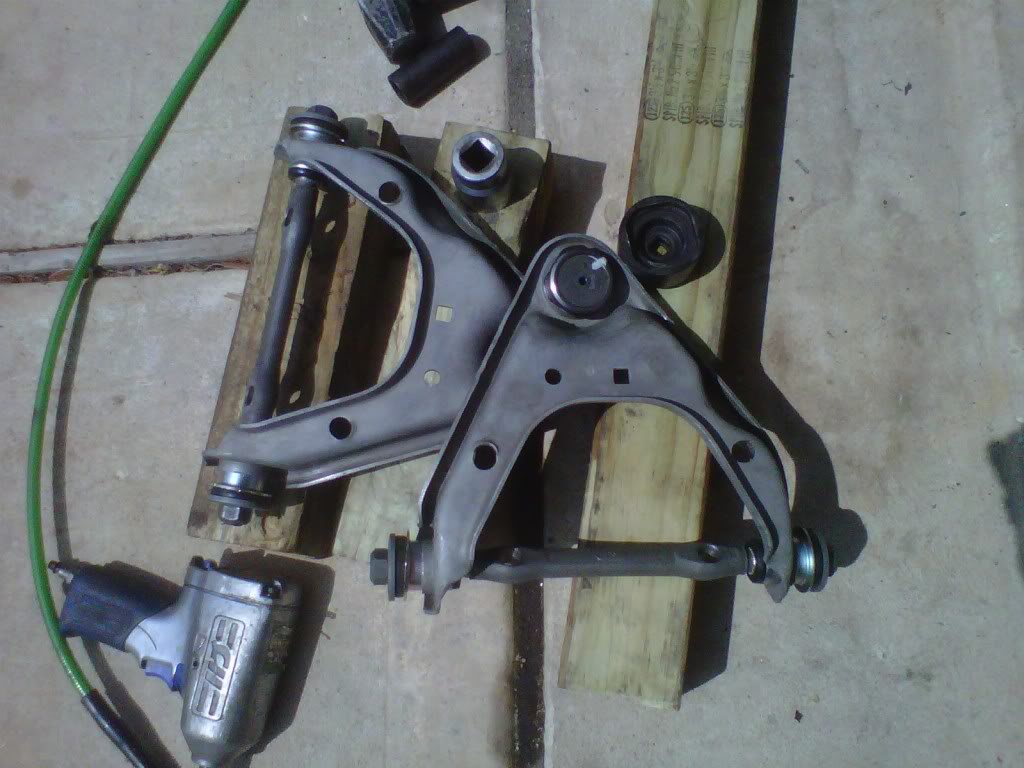
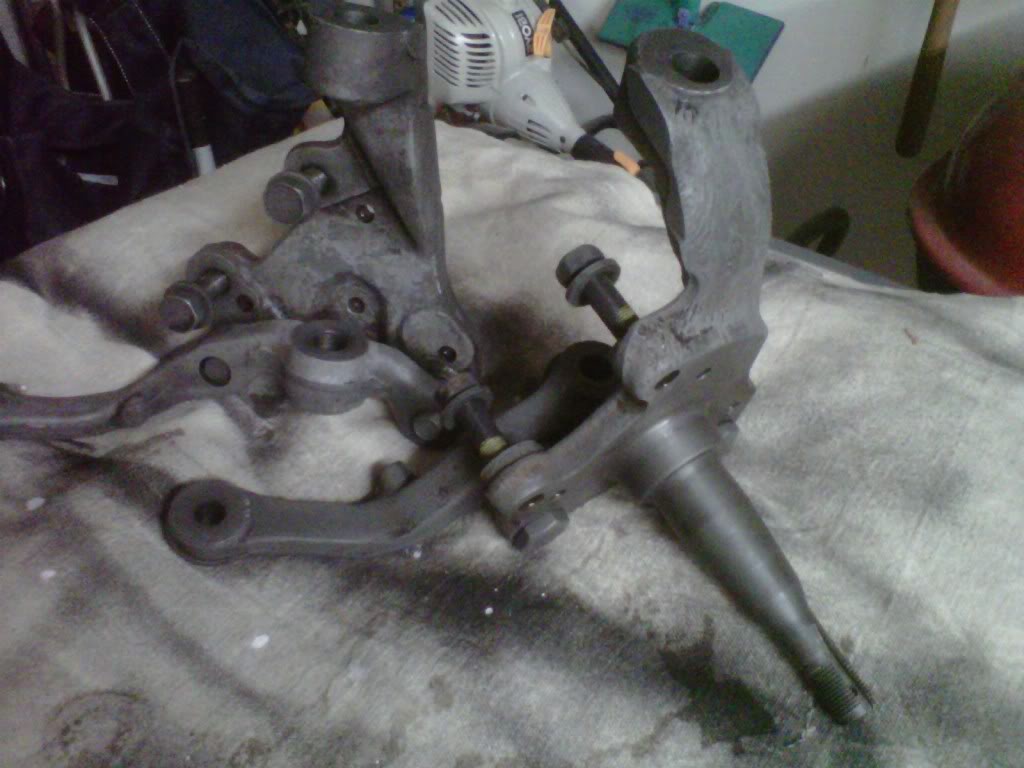
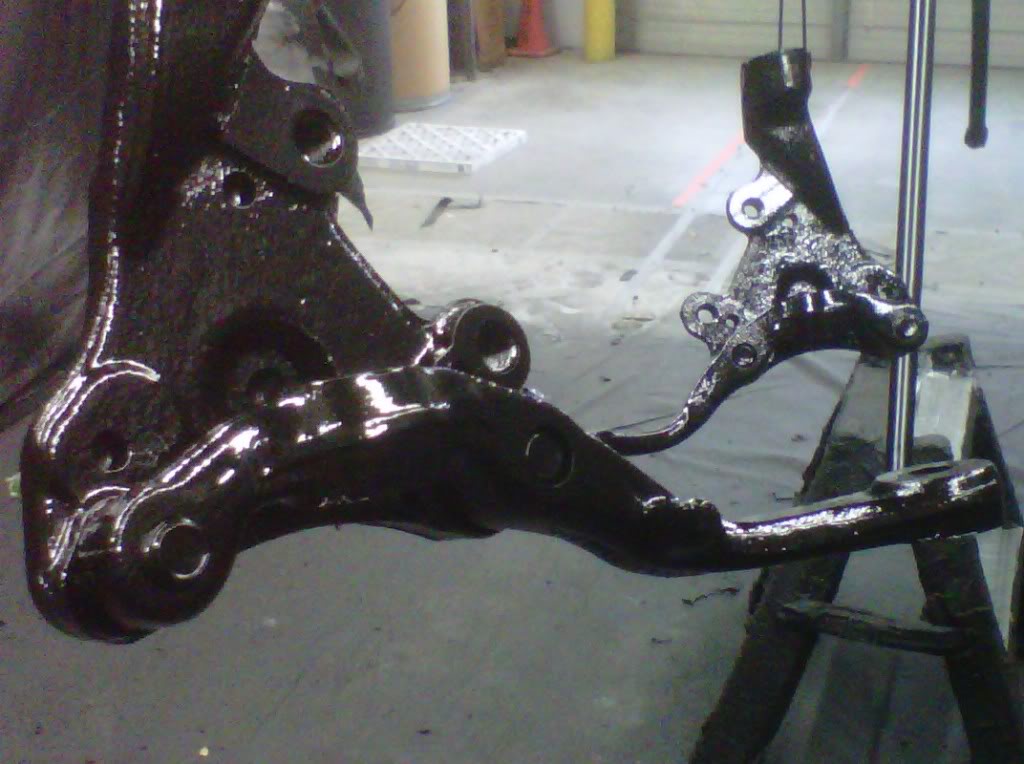
Kill two birds with one stone...
I got my control arms out of the rust bucket and rinsed them off with water and let them dry...I then knocked one bushing in part ways with large socket and big hammer...I then put the rod in and did the same on the other side..hit it with my impact and drove them in some more but not completly..there are two things I don't have here...commercial air system and a five hundred pound all steel work bench..okay I will add a third...hydraulic press...that's why I will take them to work and get some more of the painter's paper..
03-26-2011, 02:21 PM
#403
Super Moderator
Thread Starter
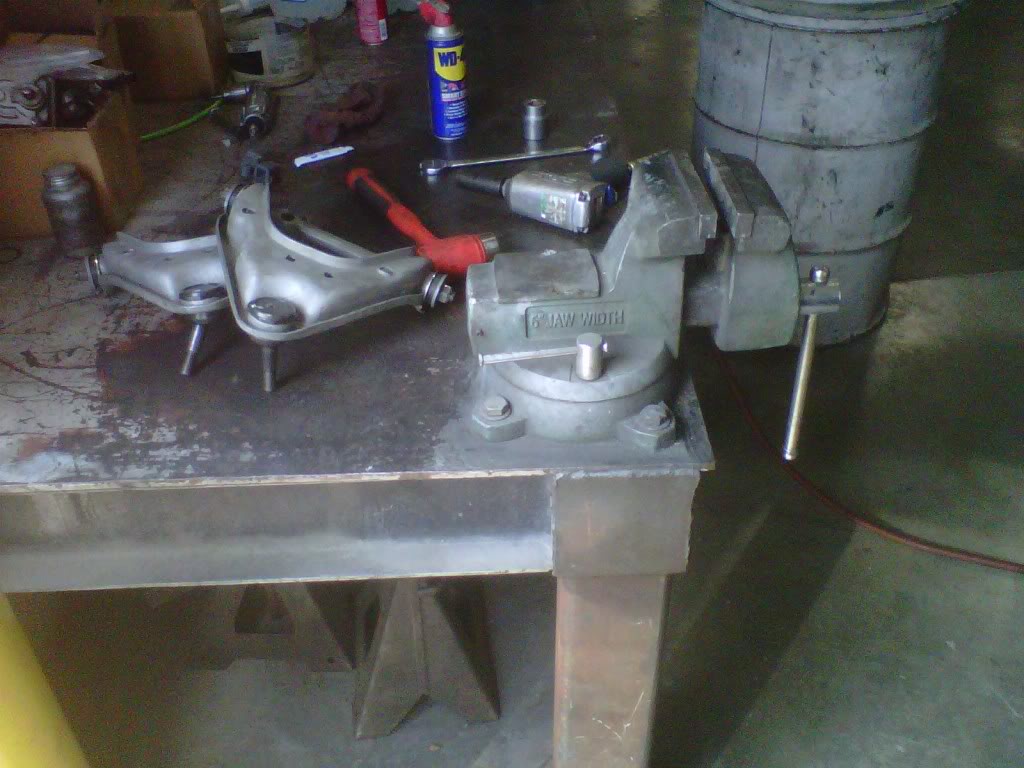
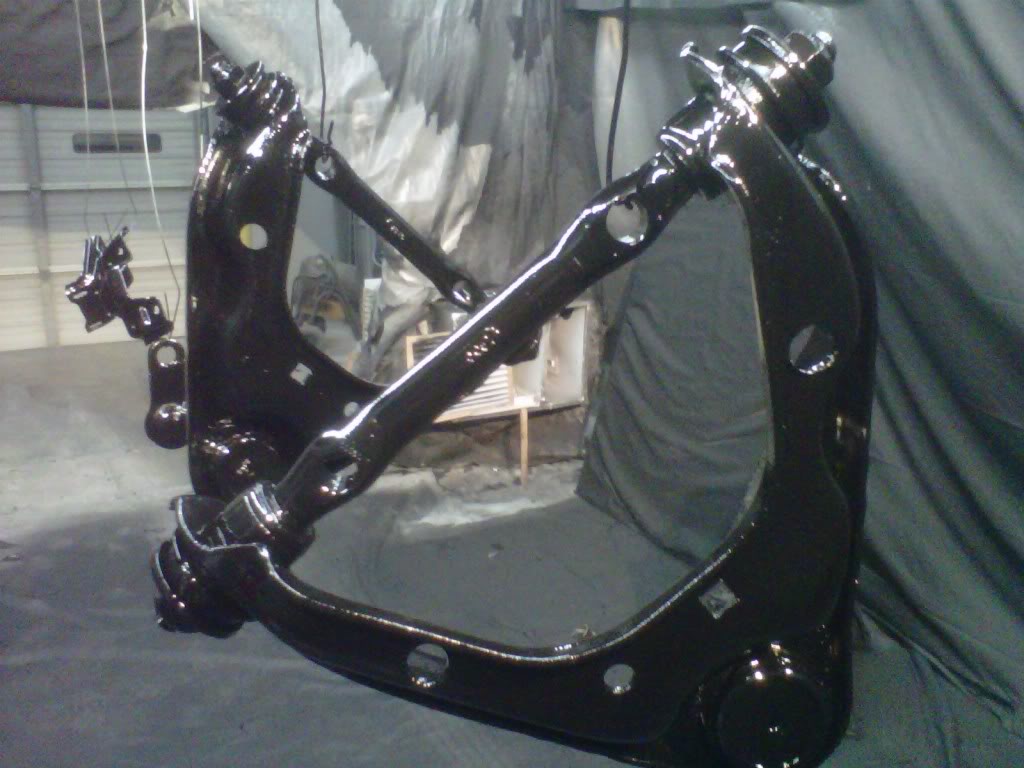
Done with upper control arms
I told you about that steel work bench and big vise...5 hits with the hammer on the socket...both sides....each one done now...
03-26-2011, 05:01 PM
#404
Super Moderator
Thread Starter
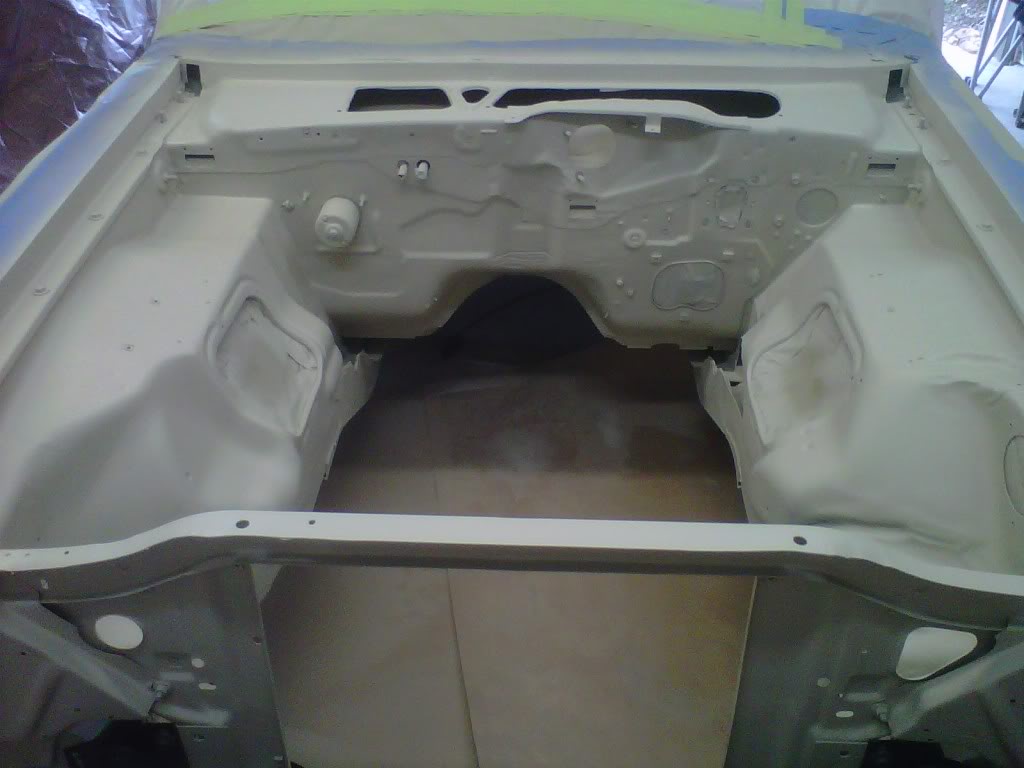
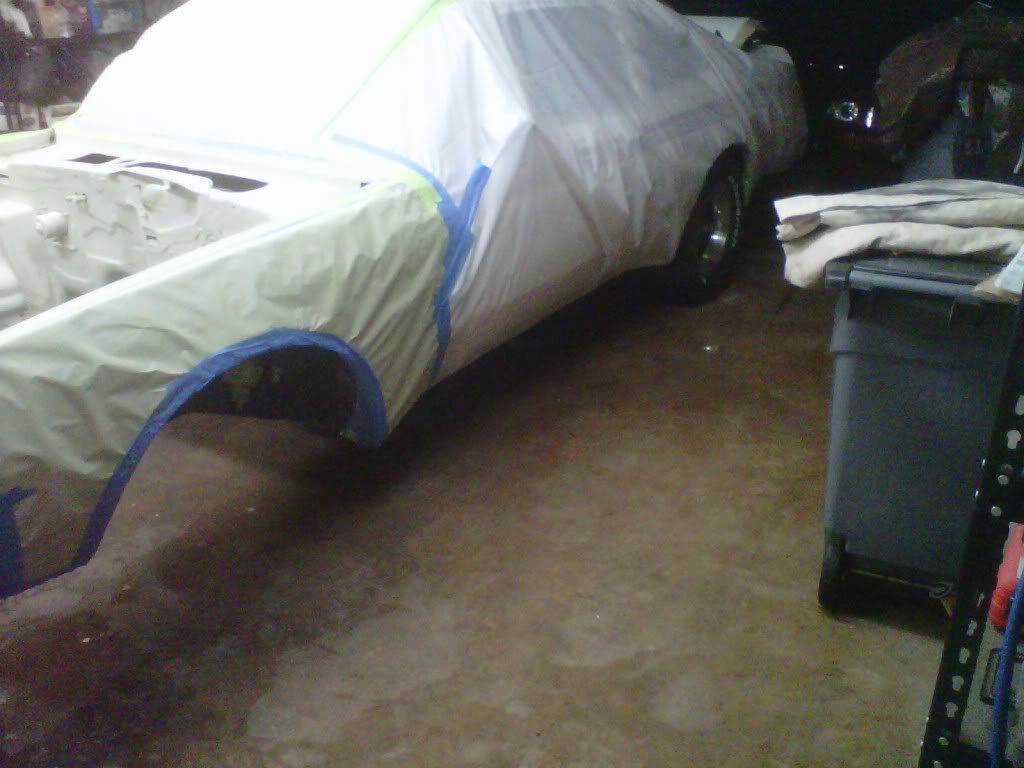
Okay the day ain't over but it's back in White
4:10 PM taping was done...I am going to do better on the plastic when I shoot the real paint it flies all over...the epoxy primer hits the floor and it is dry..
All back in white now...3 and a half cans...I had five on hand...70 bucks worth of epoxy primer and a lot of work before it...That spray max stuff is the bomb..
All back in white now...3 and a half cans...I had five on hand...70 bucks worth of epoxy primer and a lot of work before it...That spray max stuff is the bomb..
03-26-2011, 09:49 PM
#405
Super Moderator
Thread Starter
Okay finally done for the day...I have to hit it hard on the weekends
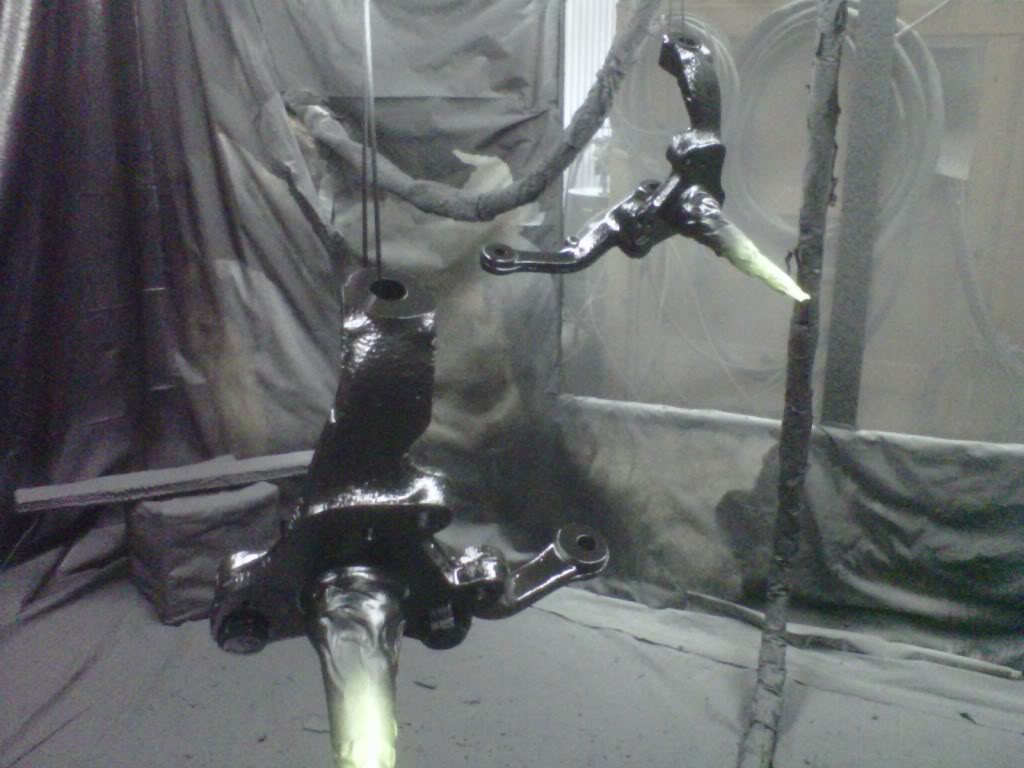
About 9:00 I got back home from work..I applied some Chassis primer to some suspension parts...
back to work at 10:30 to apply the first coat of Chassis black....back home at 11:20..I am enjoying a drink right now...hammer on it again tomorrow...
back to work at 10:30 to apply the first coat of Chassis black....back home at 11:20..I am enjoying a drink right now...hammer on it again tomorrow...
03-27-2011, 11:07 PM
#406
Super Moderator
Thread Starter
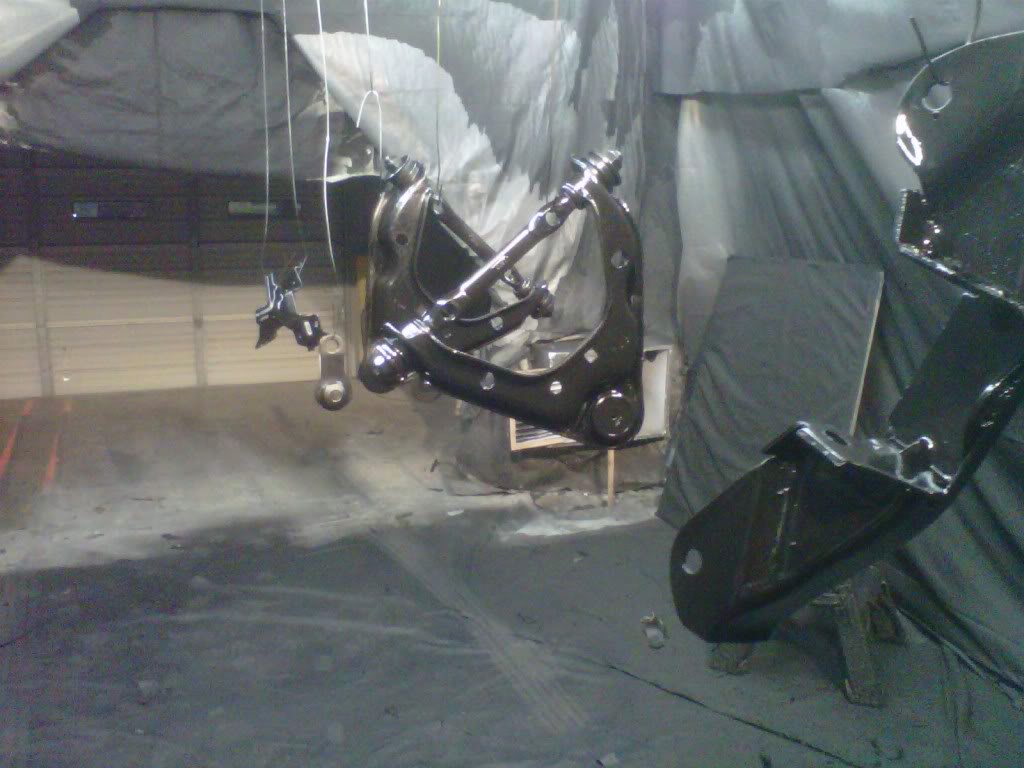
2nd coat is the charm..
I went back to work this morning and sprayed a second coat on all of suspension parts I had there...second coat makes the difference..
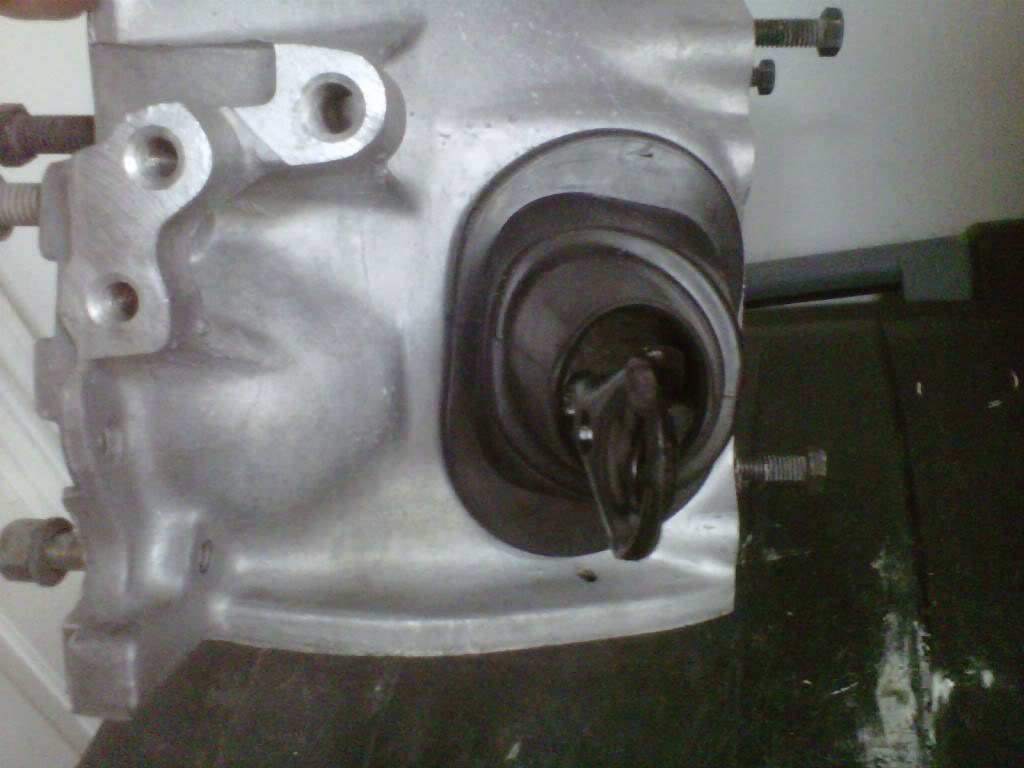
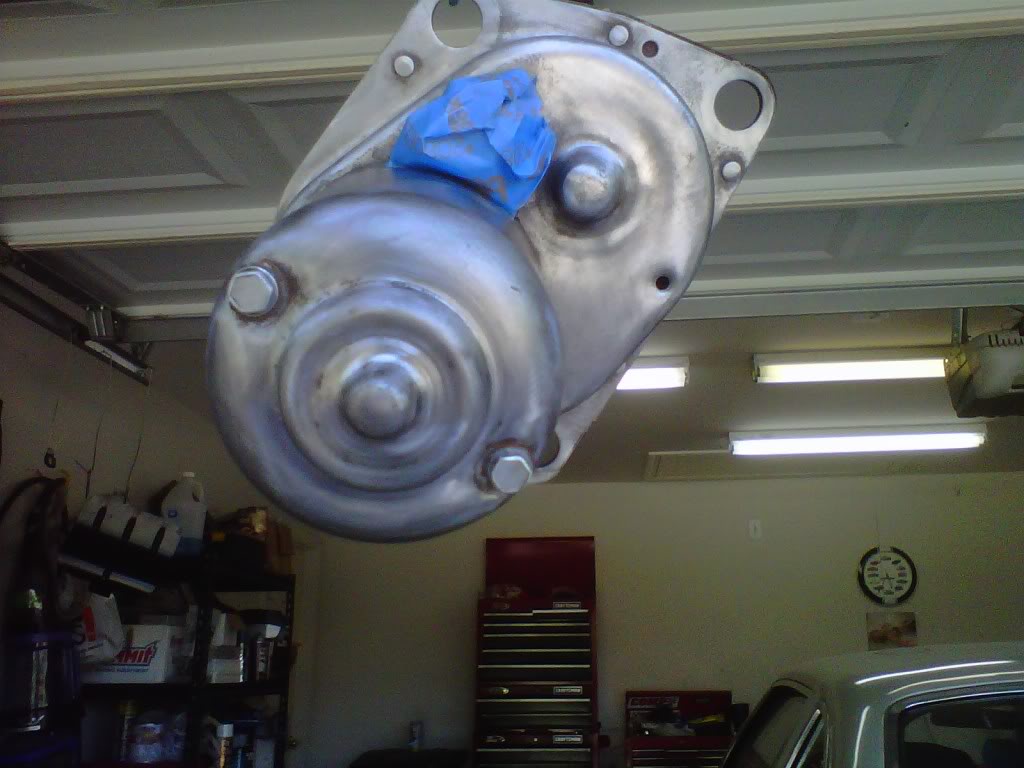
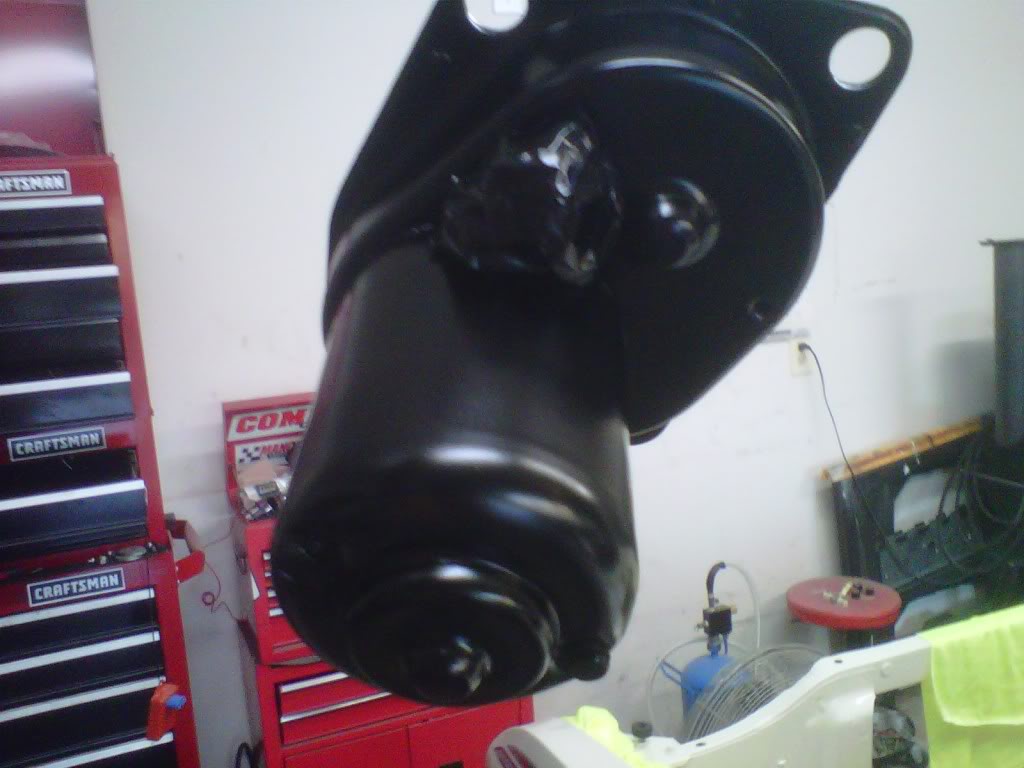
When I got back home I worked on several other parts...I used Big Orange to remove all of the grease from the bell housing and other parts...I them used my die grinder and Scotch pads to clean up several pieces before I primed them..here's all of the parts that are painted or primed and ready for paint..
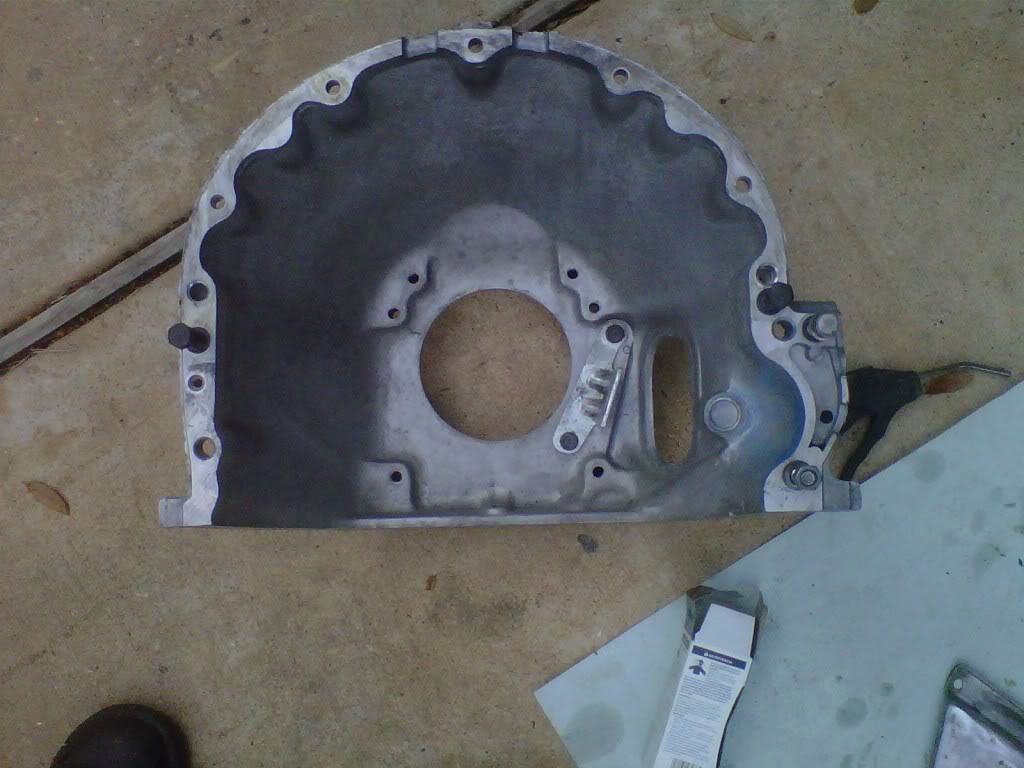

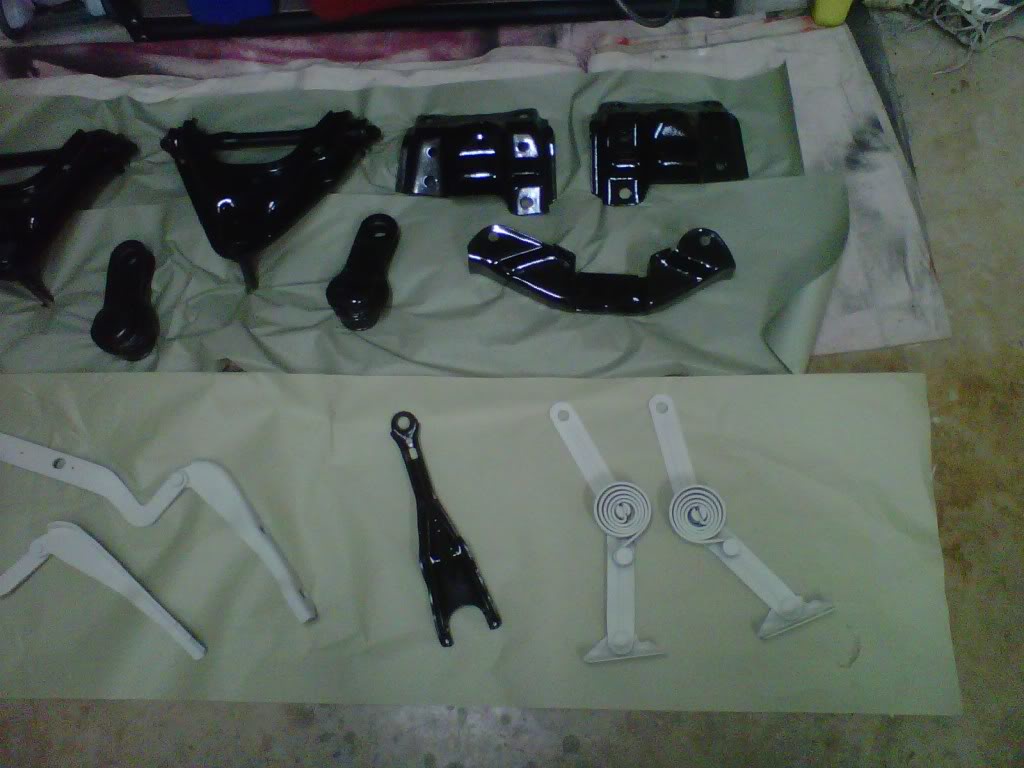
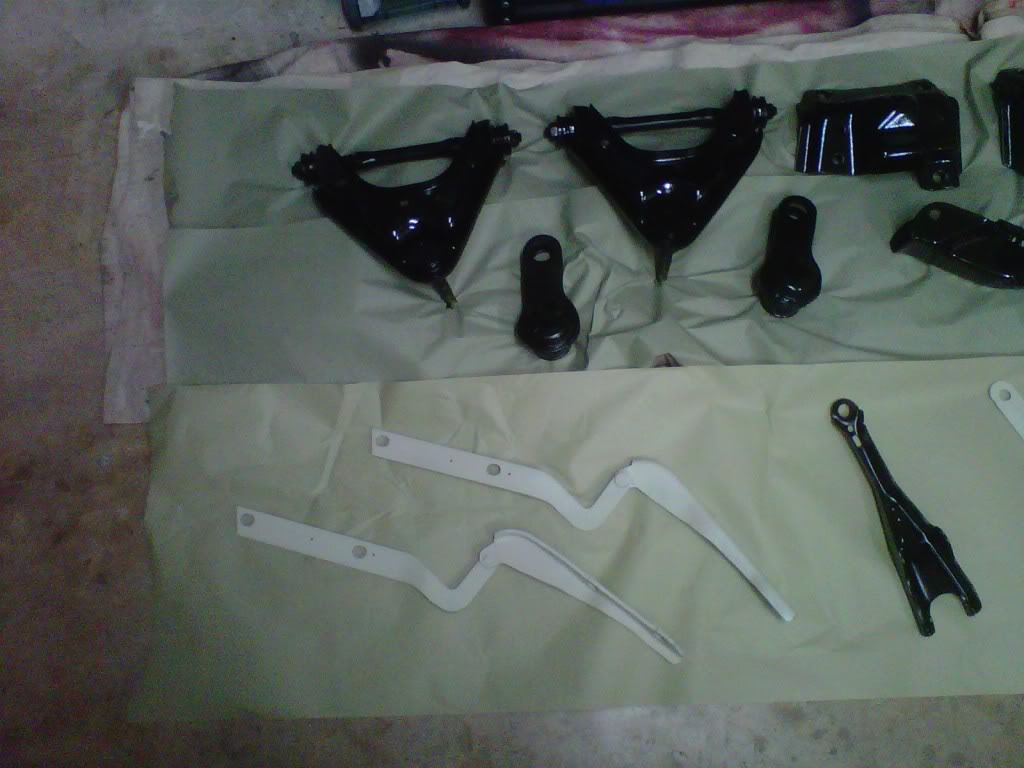
When I got back home I worked on several other parts...I used Big Orange to remove all of the grease from the bell housing and other parts...I them used my die grinder and Scotch pads to clean up several pieces before I primed them..here's all of the parts that are painted or primed and ready for paint..
03-28-2011, 10:44 PM
#407
Super Moderator
Thread Starter
I was on bedroom paint duty today
I had to start painting a bedroom for my eldest daughter..I got it taped off and all trimed in...will be working on for the next two evenings...got one simple thing done...clutch fork in with throw-out bearing...and new boot that I bought off of ebay..it looks good...I had to paint the clutch fork it had rust on it on the backside..I will come home for lunch tomorrow to paint a few items..

03-29-2011, 10:07 PM
#408
Super Moderator
Thread Starter
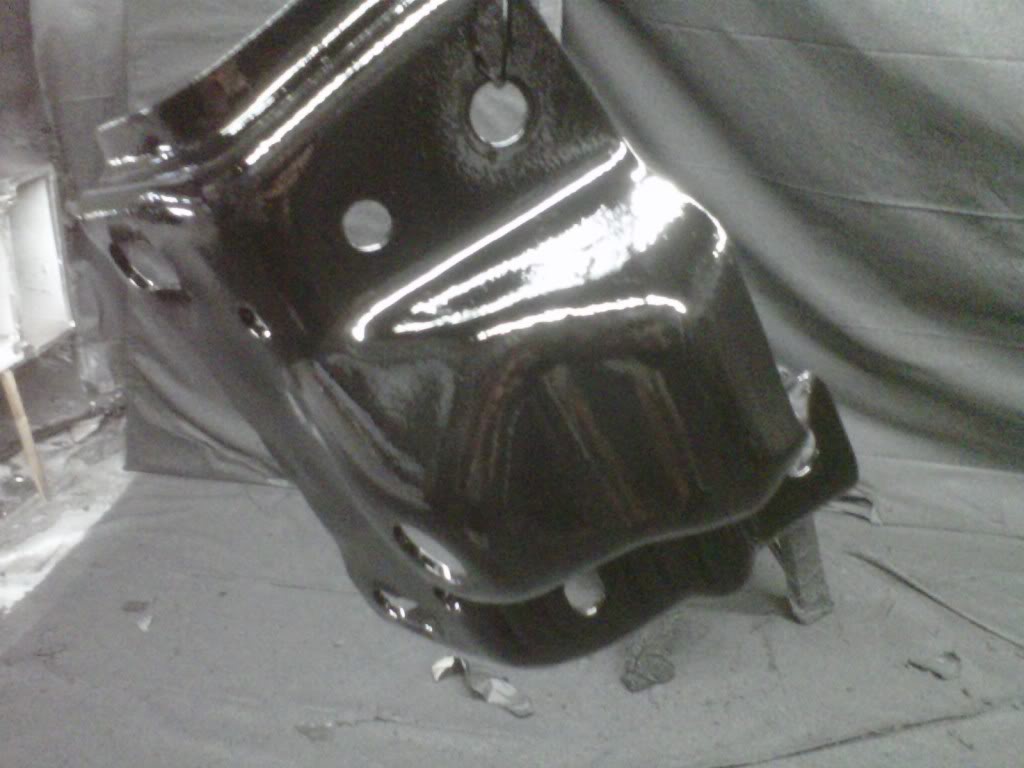
I came home for lunch and at least painted two things
Before the weather changes again I came home at lunch and painted two items...color and then clear...500 degree engine paint..
03-31-2011, 11:41 AM
#409
Super Moderator
Thread Starter
Flywheel is on the way
I ordered this today....

Centerforce Steel Flywheels
Flywheel, Steel, 130-Tooth, 29.3 lb., Internal Engine Balance, Big/ Small Block 6 Bolt crankshafts
$309.95
CTF700400
Centerforce Steel Flywheels
Flywheel, Steel, 130-Tooth, 29.3 lb., Internal Engine Balance, Big/ Small Block 6 Bolt crankshafts
$309.95
CTF700400
03-31-2011, 10:03 PM
#410
Super Moderator
Thread Starter
I got off bedroom painting duty today..and got two items out of the rust bucket
They are going to work with me tomorrow..after I get off work they will be primed..
04-01-2011, 09:25 PM
#411
Super Moderator
Thread Starter
I am back at it..I have to work half days this weekend but paint is for Sunday
A $160.00 bucks of paint, reducer and hardener....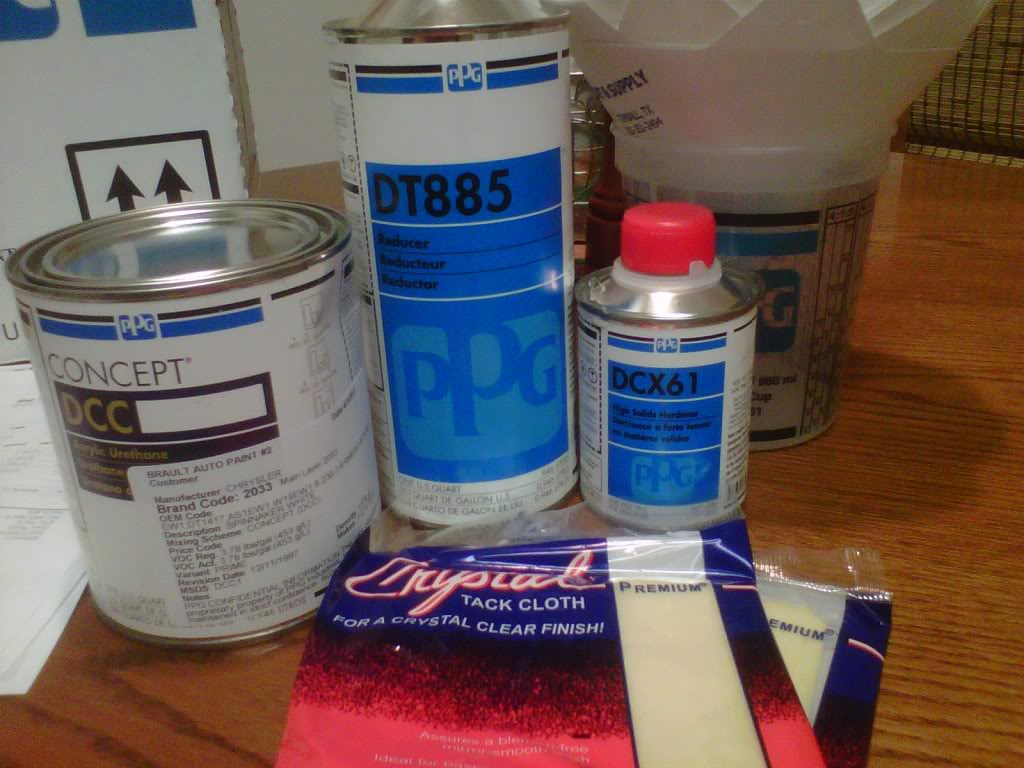
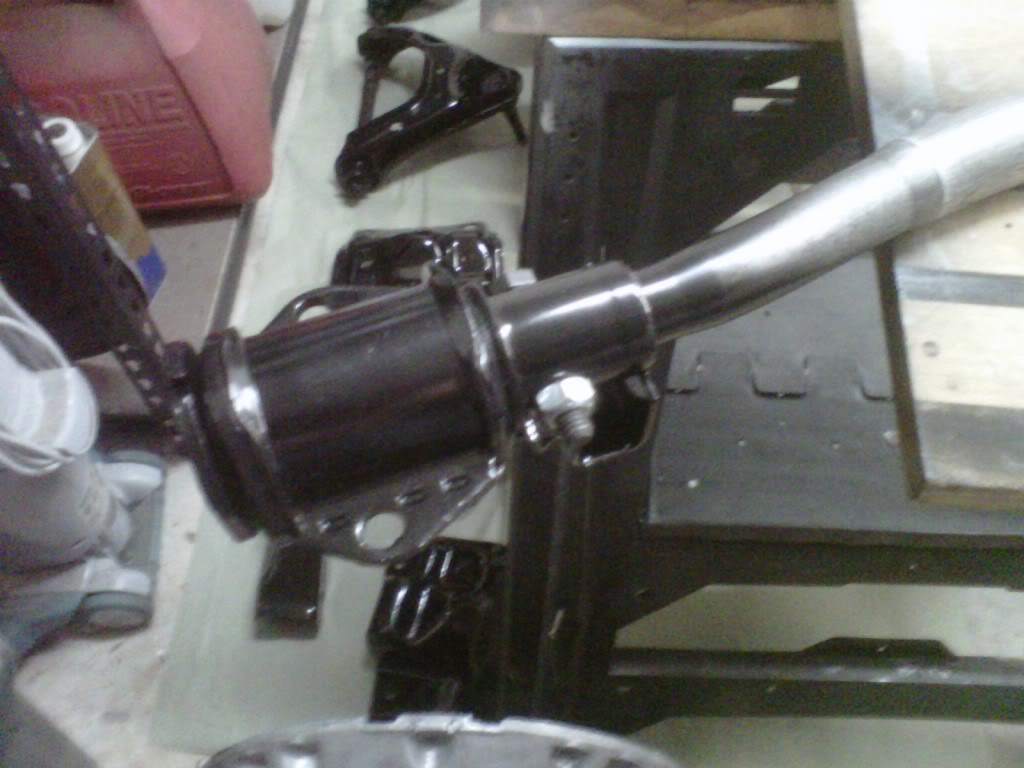
Then I shot two thin coats of primer on the spindle assemblies...
Then I cleaned up and sanded my torsion bars and painted then ends with epoxy paint...then I bolted on the end bushings and put them in my truck for priming tomorrow..
Finally I sanded down the primer in the engine compartment with 600 dry..I knocked out all of the dirt and made it slick as a new born's butt...
04-02-2011, 10:37 PM
#412
Super Moderator
Thread Starter
Had to work today but got some done and paint is scheduled for tomorrow afternoon
Man oh man what a long day...to bed at 1:30...up at 6:00 from a mating walrus snoring noise...went to work..got one coat of the color on the spindles and two light coats of primer on the torsion bars...picked up the bad boy out of storage...cleaned up the 440 car and scared myself a couple of times...first night of the Saturday night meet and then back home to do some work..
After I got home from the meet I wiped down the engine compartment with a wet rag to remove the sanding dust...blew the entire garage out with compressed air...taped the plastic all around the side and rear of the car and washed down the garage...
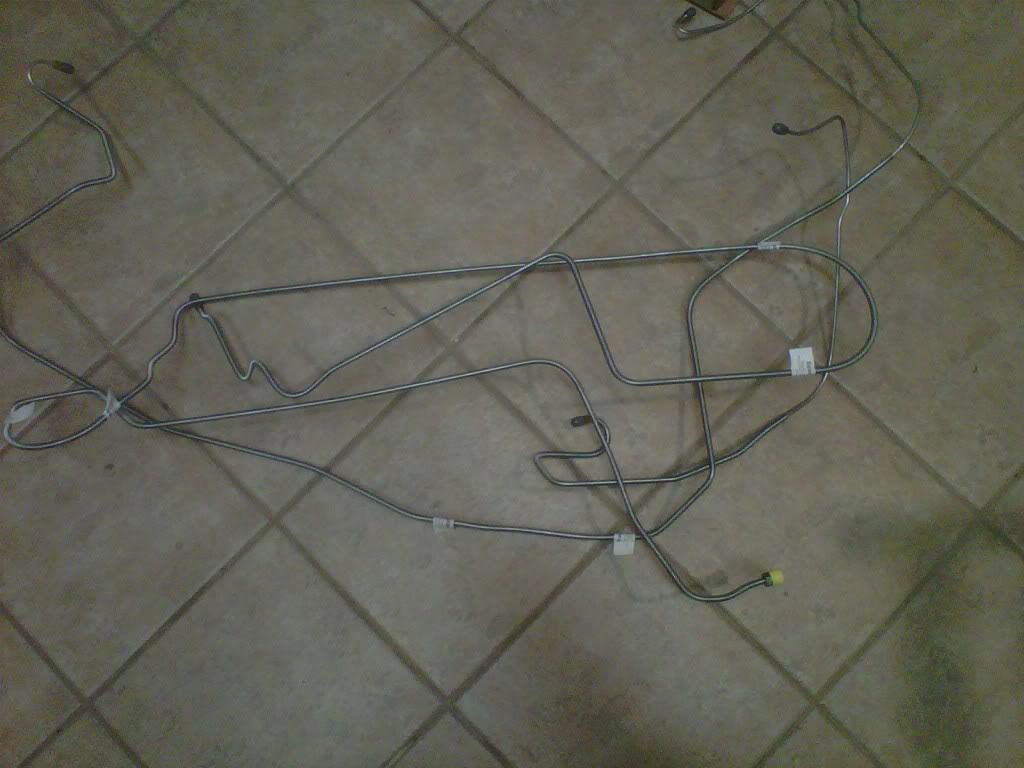
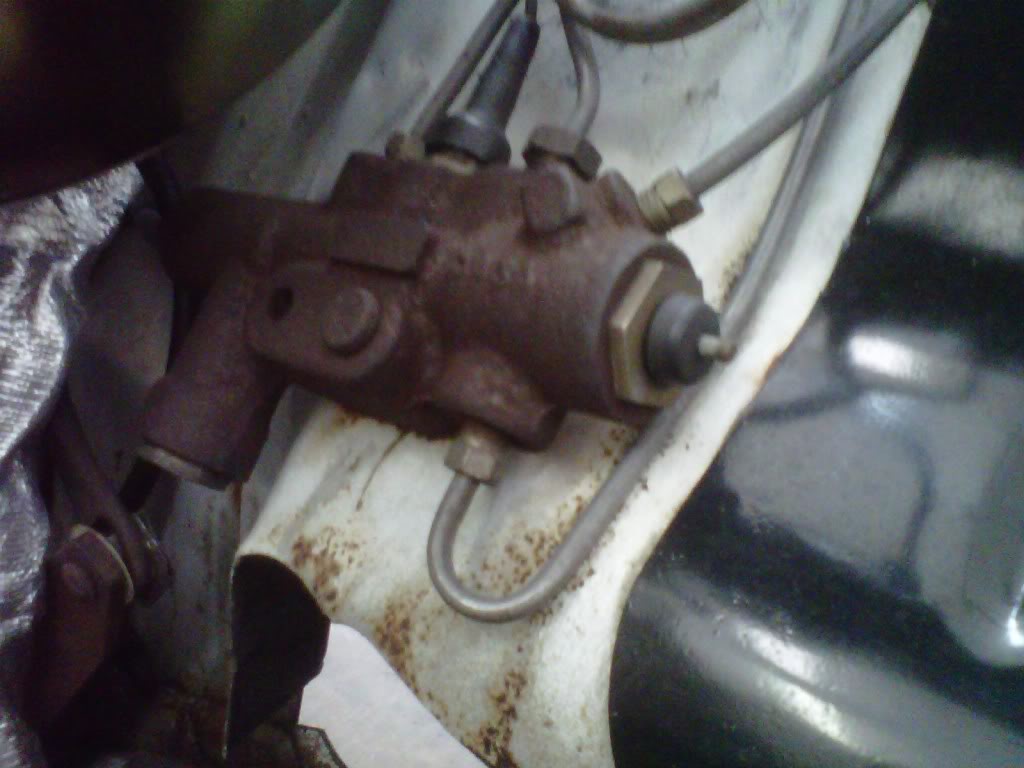
I almost forgot I got my brake lines back today..I only un-bent the front passenger one and they looked correct...more to come on them in the next few days...
After I got home from the meet I wiped down the engine compartment with a wet rag to remove the sanding dust...blew the entire garage out with compressed air...taped the plastic all around the side and rear of the car and washed down the garage...
I almost forgot I got my brake lines back today..I only un-bent the front passenger one and they looked correct...more to come on them in the next few days...
04-03-2011, 05:10 PM
#413
Super Moderator
Thread Starter
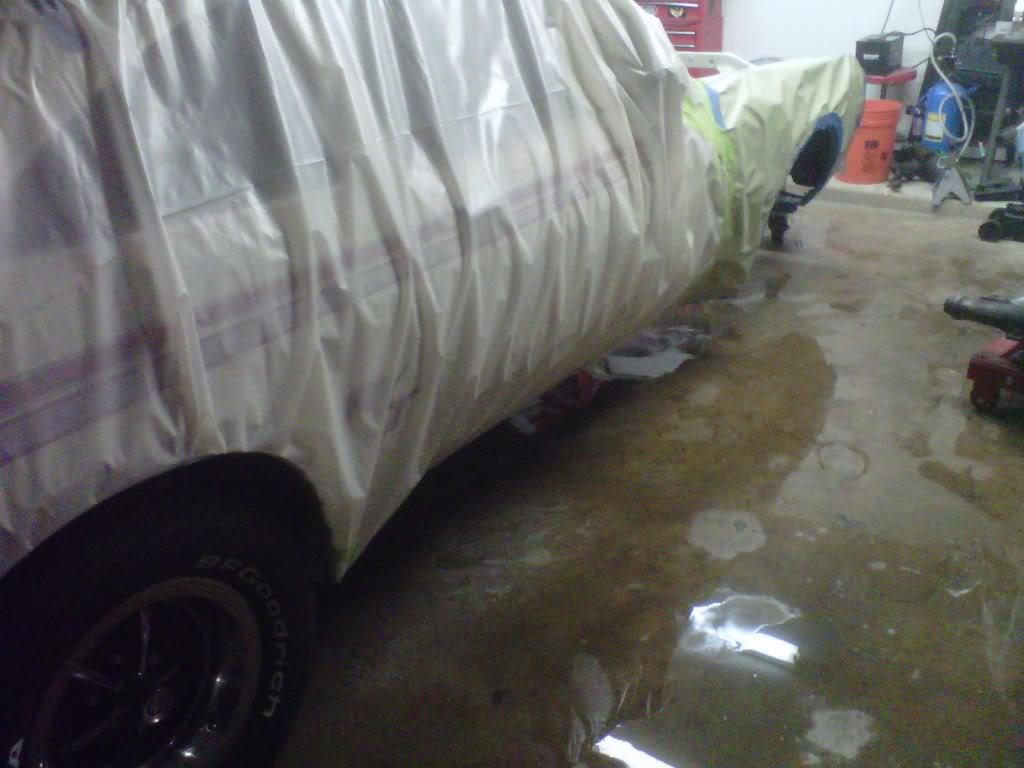
Back is gloss white..bad shots with crappy...phone camera
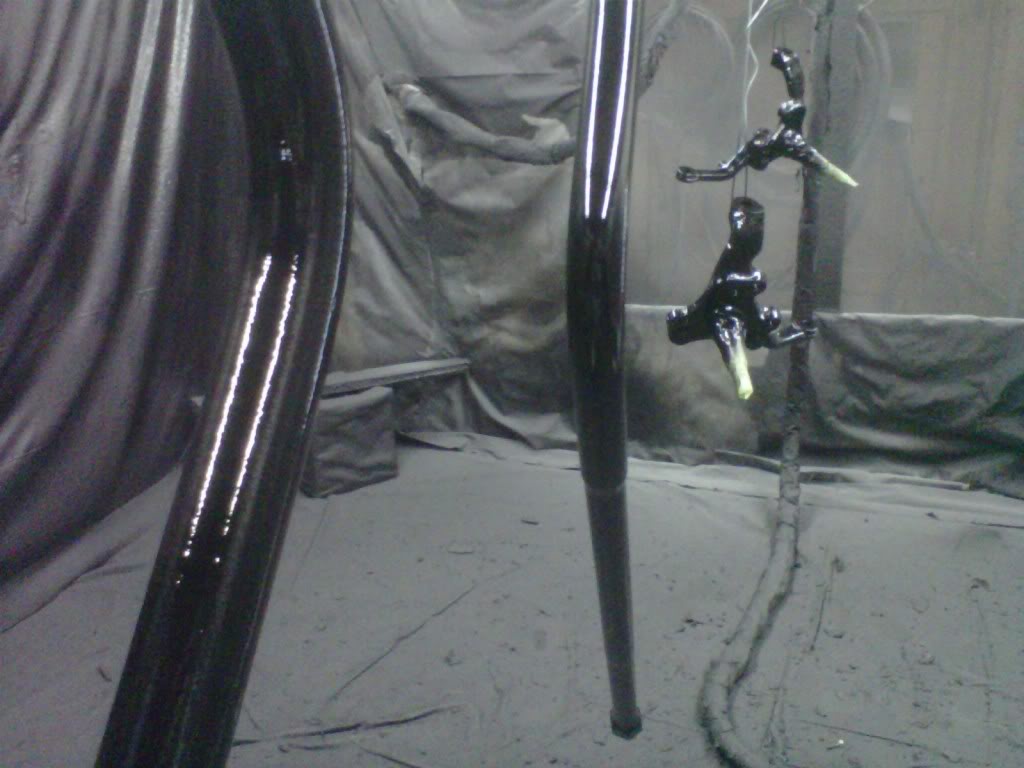
Before I left work I shot second coat of black on the spindles and first coat on the torsion bars...
Wet the floor down and the first round of mixed paint was a 5 part quanity...

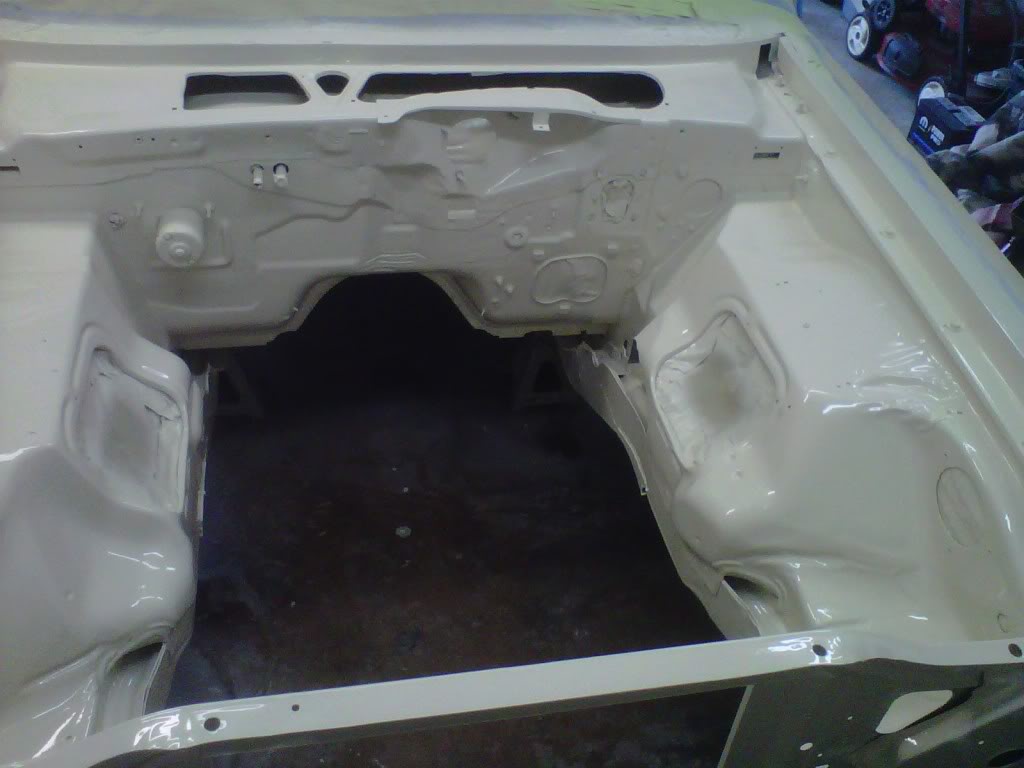
Then it is done...not very good pics but you get the idea...it's gloss white again...hour and a half of painting...one dust coat on all panels..one medium coat and one heavy coat...had to mix up a 6 part quanity to finish it off..
I had some mixed up paint left over so I painted to hood springs and one of the hinges...

Wet the floor down and the first round of mixed paint was a 5 part quanity...
Then it is done...not very good pics but you get the idea...it's gloss white again...hour and a half of painting...one dust coat on all panels..one medium coat and one heavy coat...had to mix up a 6 part quanity to finish it off..
I had some mixed up paint left over so I painted to hood springs and one of the hinges...
 04-03-2011, 06:53 PM
#415
Super Moderator
Thread Starter
For the time being it will remain white...so it blends in...my preferance..when I blow the car apart for paint the heater box will come out..the color change is not much...before it was bare metal..never black go back a few pages..
04-03-2011, 09:02 PM
#416
Super Moderator
Thread Starter
Couldn't stand all that brite white...so
This is the old and one reason to do this..
this is the new look so far..I couldn't wait to put something in there...
this is the new look so far..I couldn't wait to put something in there...
04-04-2011, 09:18 PM
#417
Super Moderator
Thread Starter
Erands and such today....
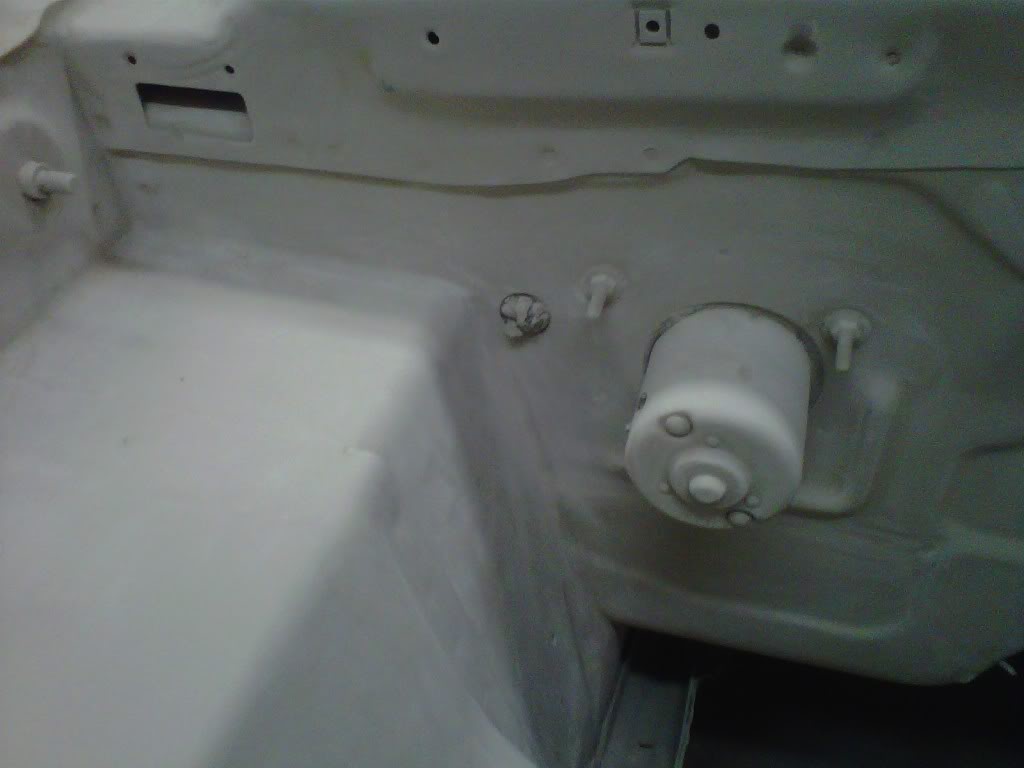
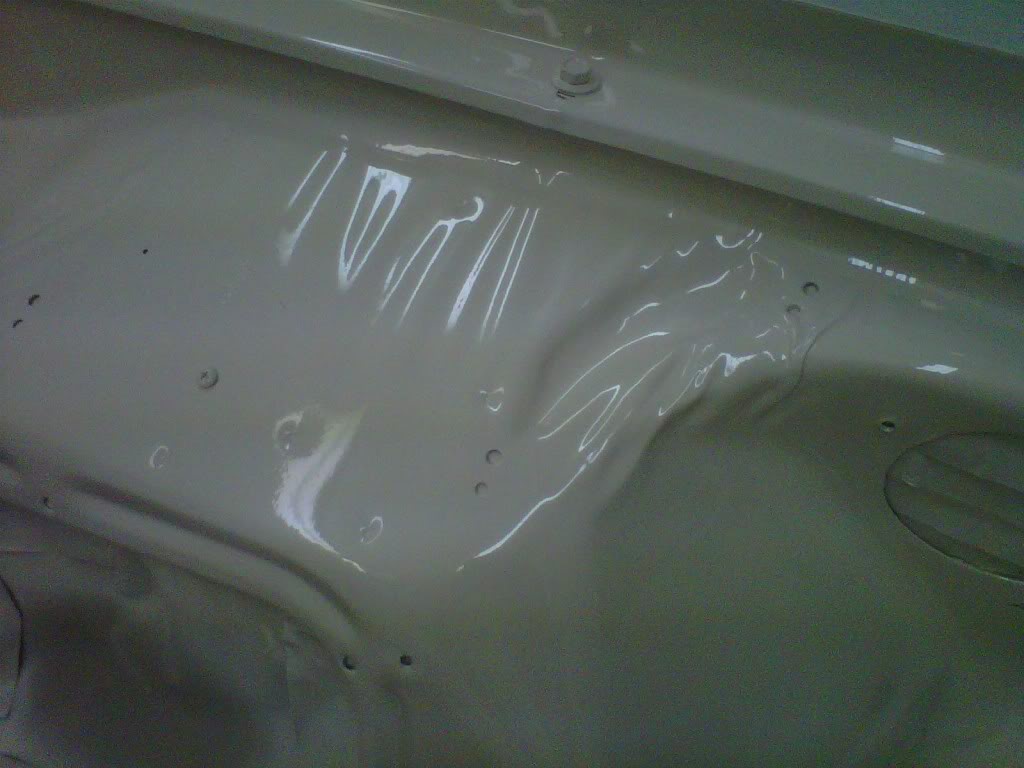
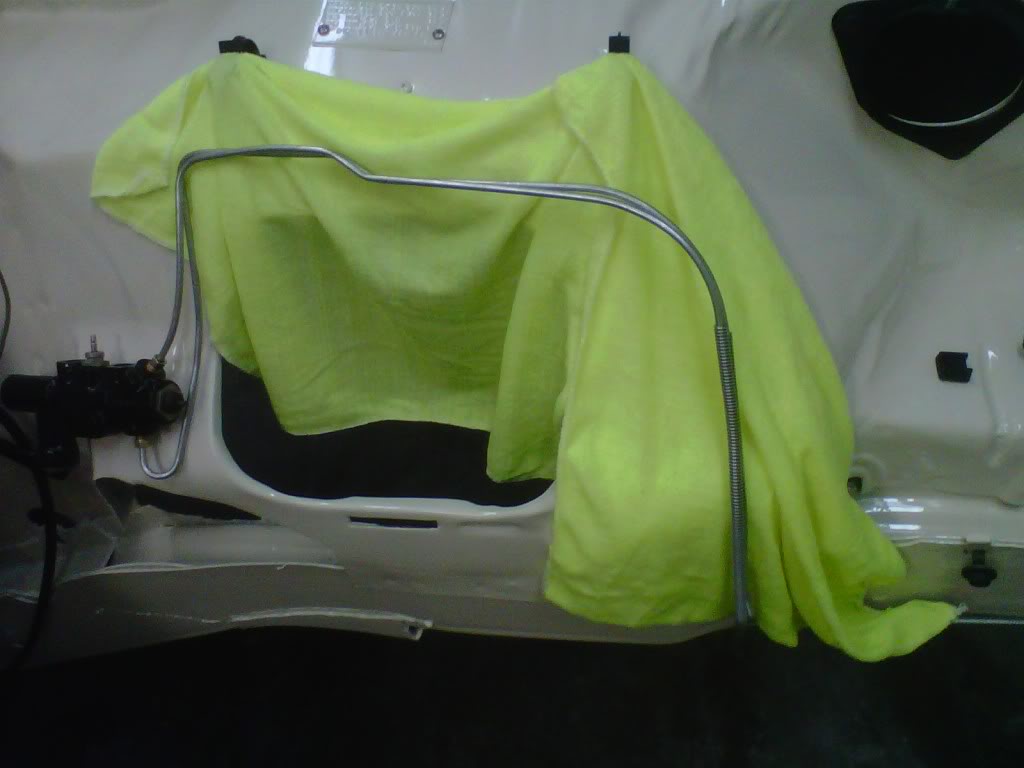
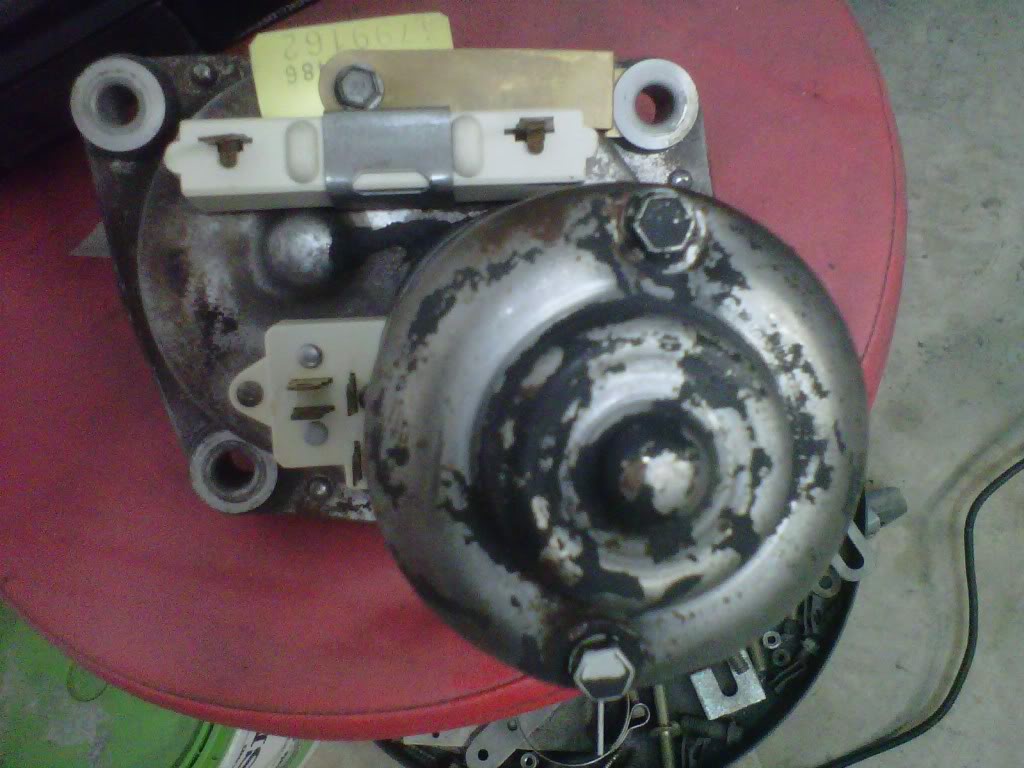
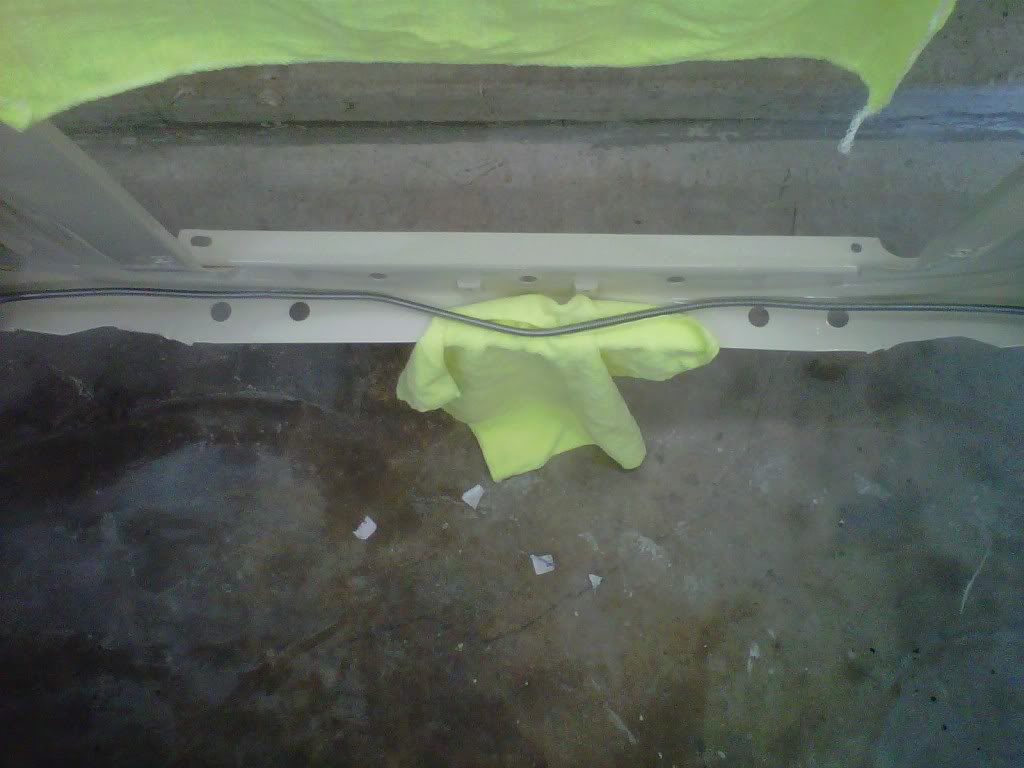
I got all the tape off and did not like the tape line on the back near the windshield...I had a little overspray on the windshield but I cleaned it off with some lacquer thinner..don't know how that leaked through...so I started to add some stuff back into the engine compartment today...I also fired up the soda blaster and cleaned off the wiper motor...picked up the torsion bars and spindles today...worked on the front brakes line and still have more to do after I get the brackets cleaned up..pics for now..


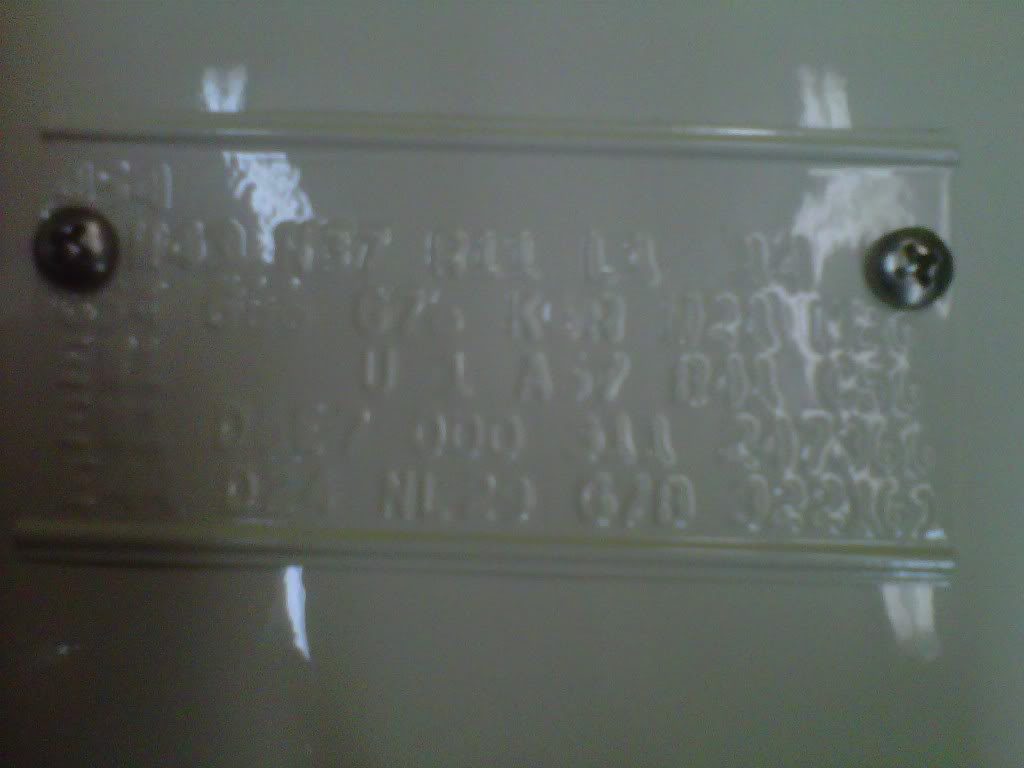
Two stainless steel #8 screws hold that fender tag in place now
Two stainless steel #8 screws hold that fender tag in place now
04-05-2011, 08:27 PM
#418
Super Moderator
Thread Starter
Picked up my front brake hardware today
One pic and a list of part numbers for others...
I got some front brake hardware at O'Reilly's today two hoses...two banjo bolts..caliper hardware kit and brake line hold down clips...
BH88972 brake hose
BH88971 brake hose
13938 banjo bolts
H5516 hardware kit
H5417-2 hold down clips
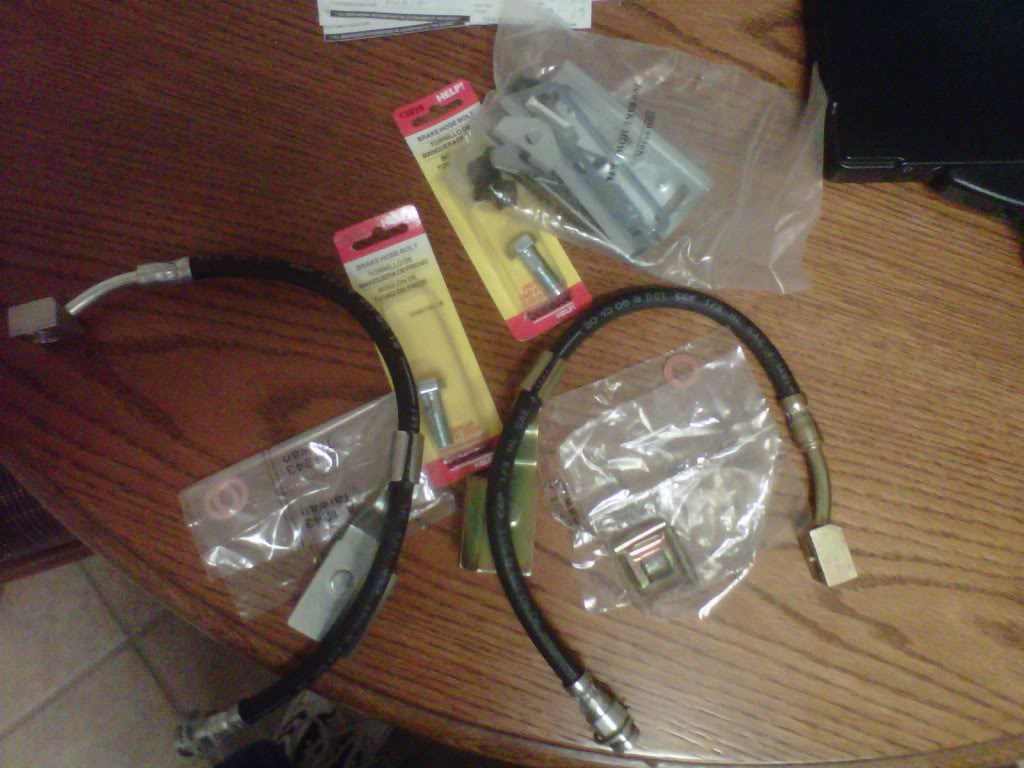
Next payday is the front rotors and calipers...bearings and grease seal..
I got some front brake hardware at O'Reilly's today two hoses...two banjo bolts..caliper hardware kit and brake line hold down clips...
BH88972 brake hose
BH88971 brake hose
13938 banjo bolts
H5516 hardware kit
H5417-2 hold down clips
Next payday is the front rotors and calipers...bearings and grease seal..
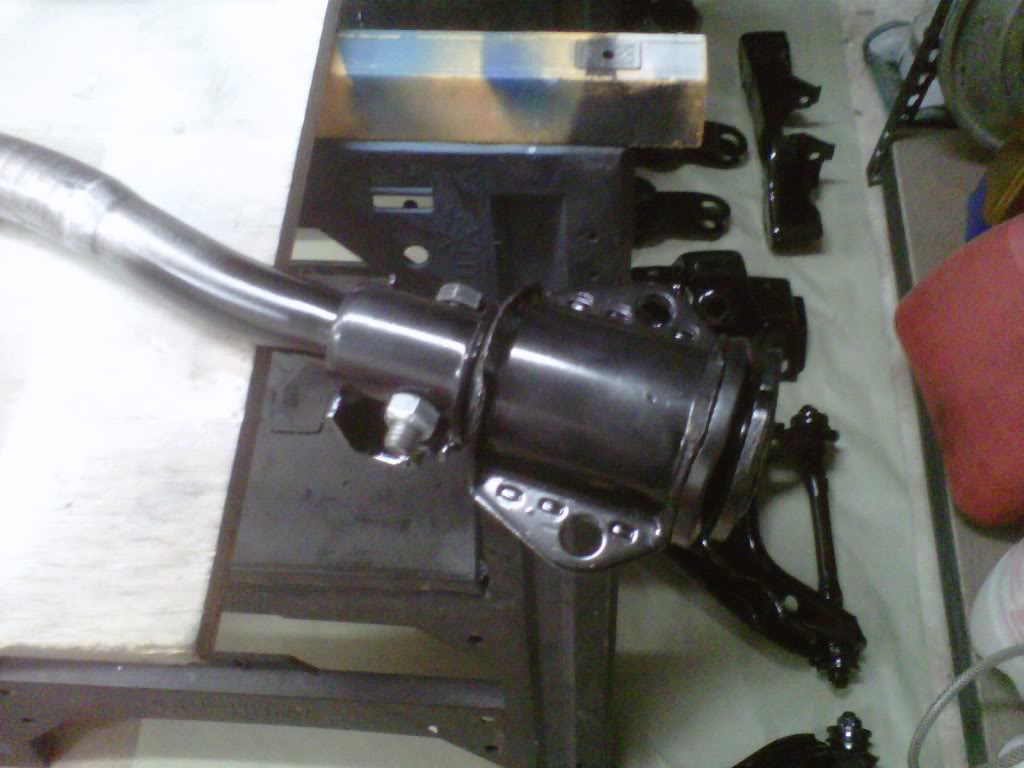
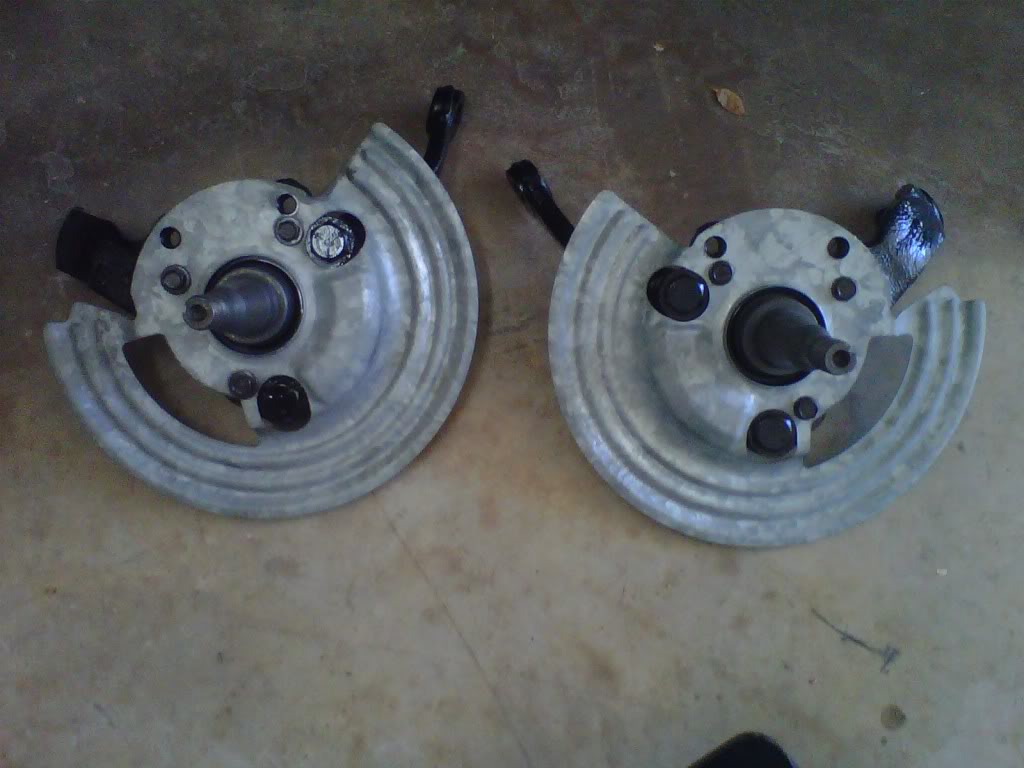
04-05-2011, 10:18 PM
#419
Super Moderator
Thread Starter
This is what I really got done today....
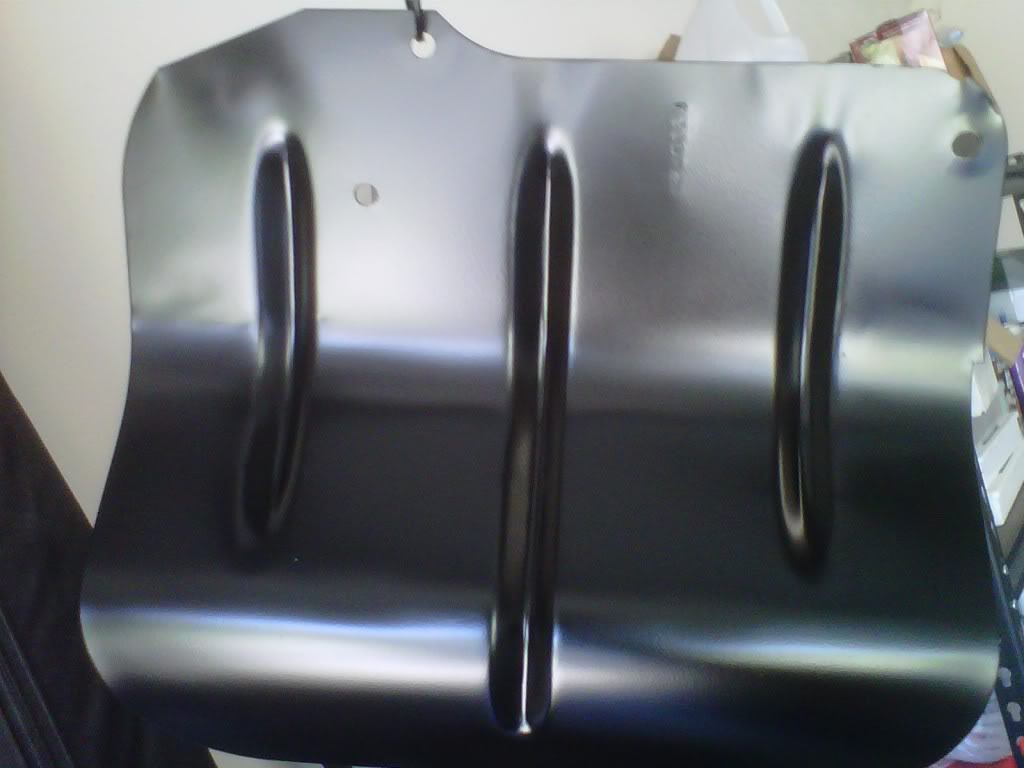
These dust shields were about the only things that were not rusty and are not getting painted...I bolted them up today...
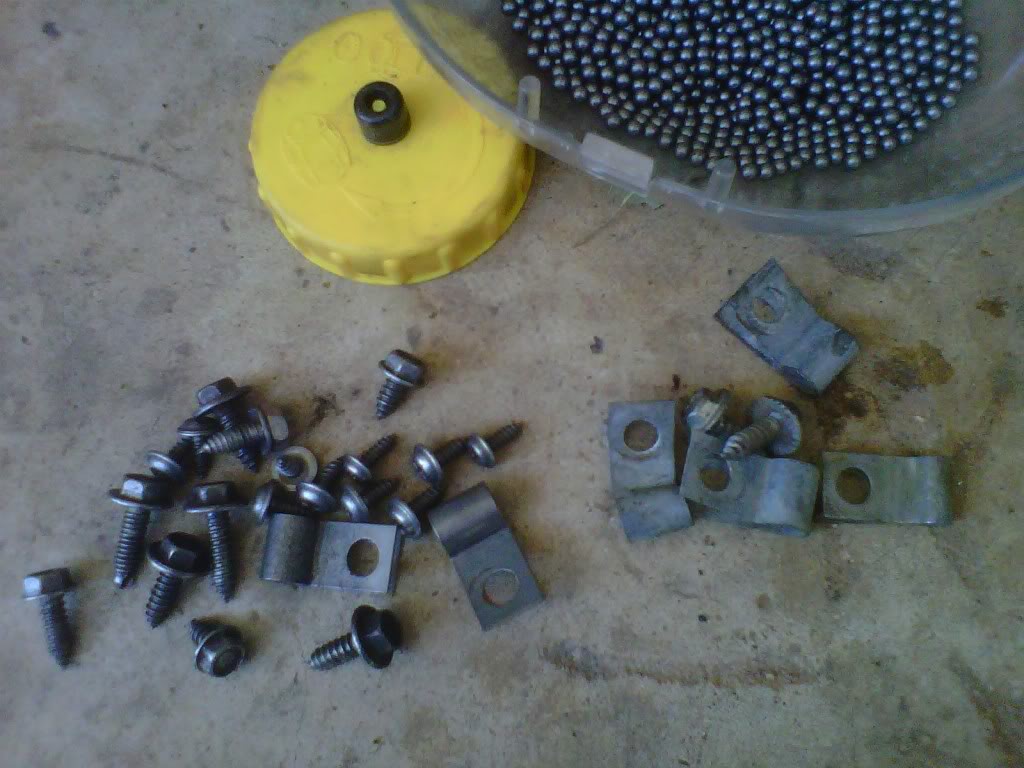
I ran a batch of screws and brackets in the bb tumbler last night..left is clean and nice looking left is rough and ready to tumble....
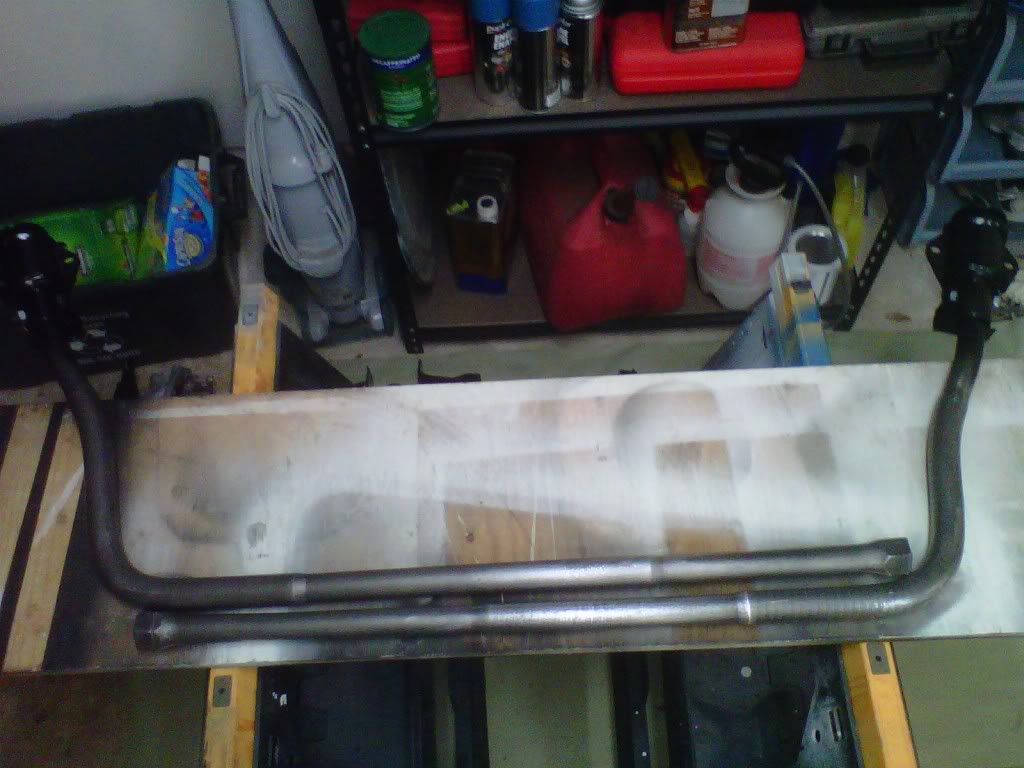
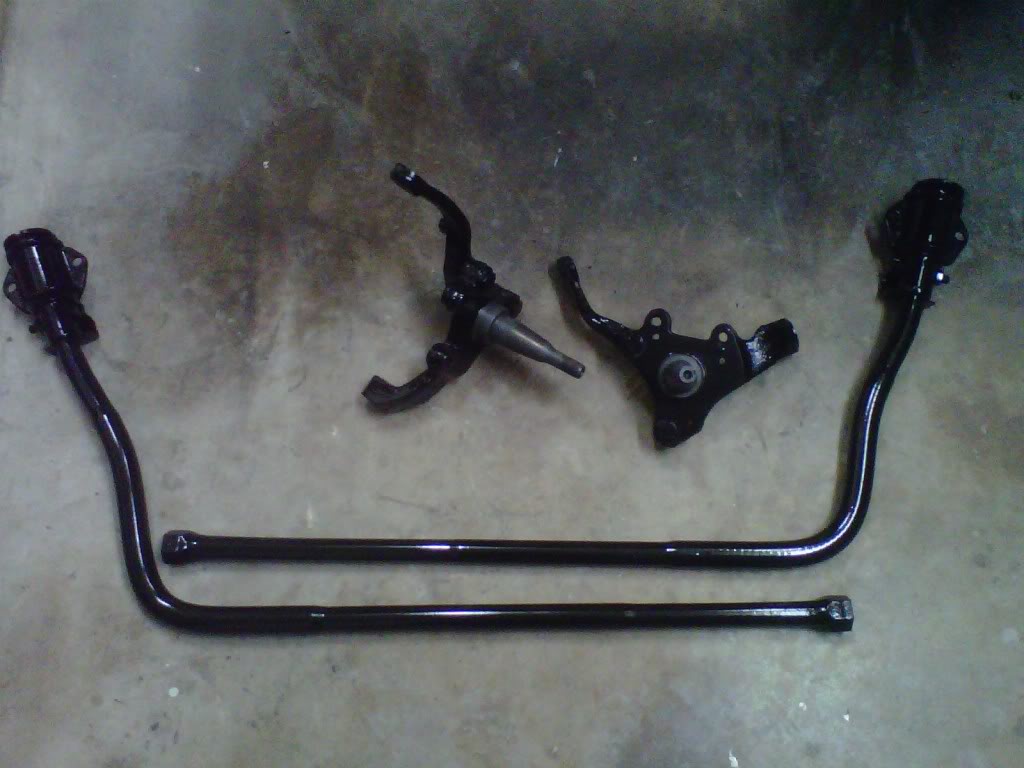
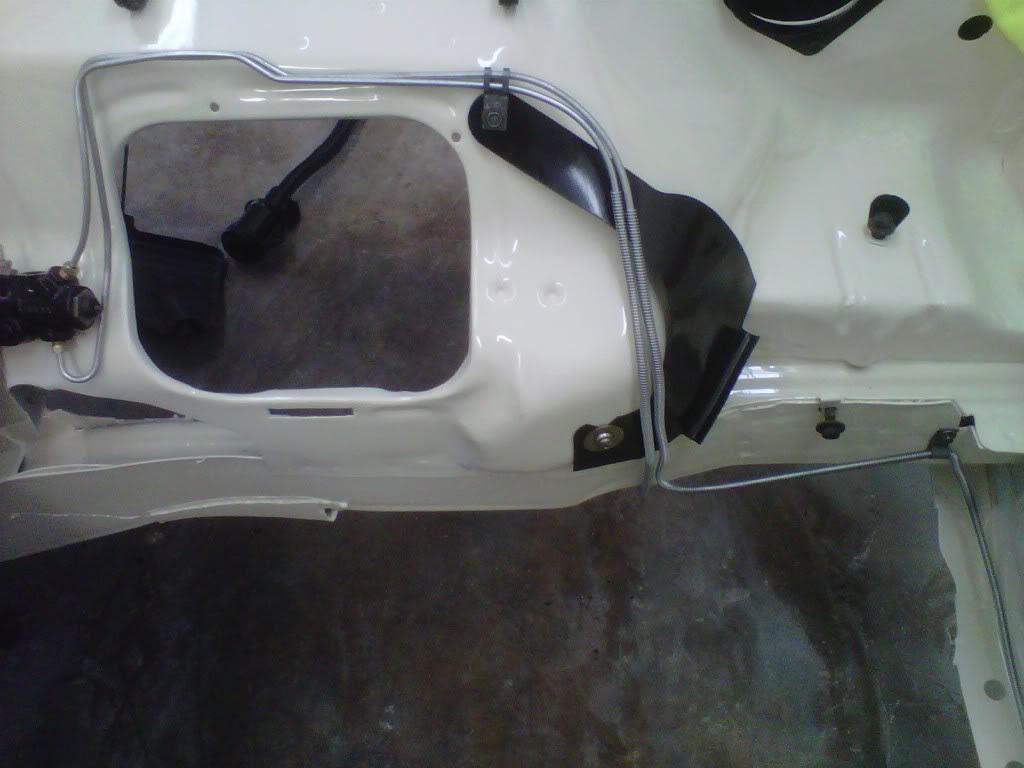
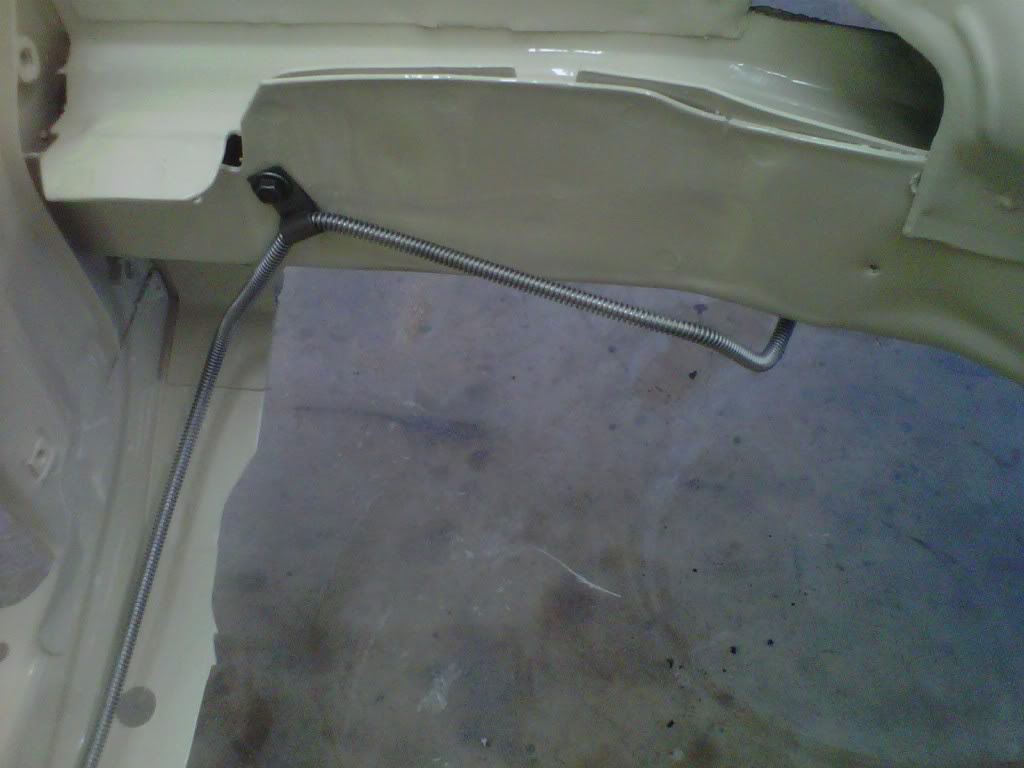
The clean brackets allowed me to get the front brake lines installed..I have the one clip for the front radiator support in the rust bucket right now but the rest is done...I went back to the pic of the old brake lines and they are correct...a little bending is required to keep them off the paint..
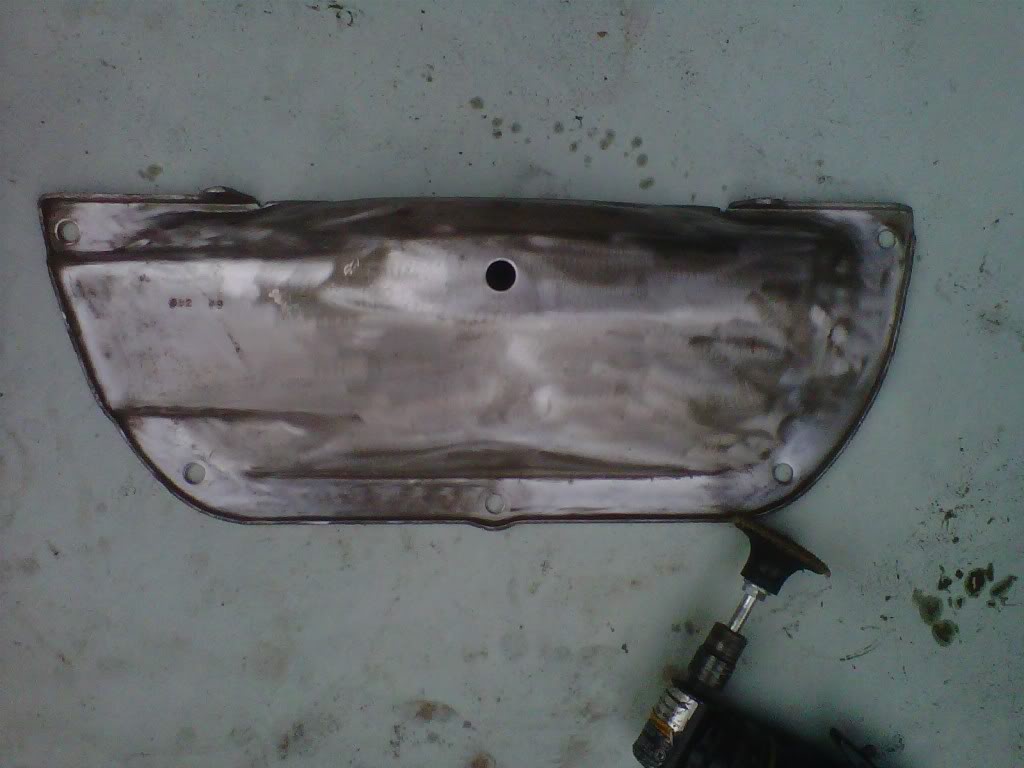
I stripped the paint off of the access plate and the wiper motor and them painted them with epoxy primer..they are going the same gloss black as the chassis..
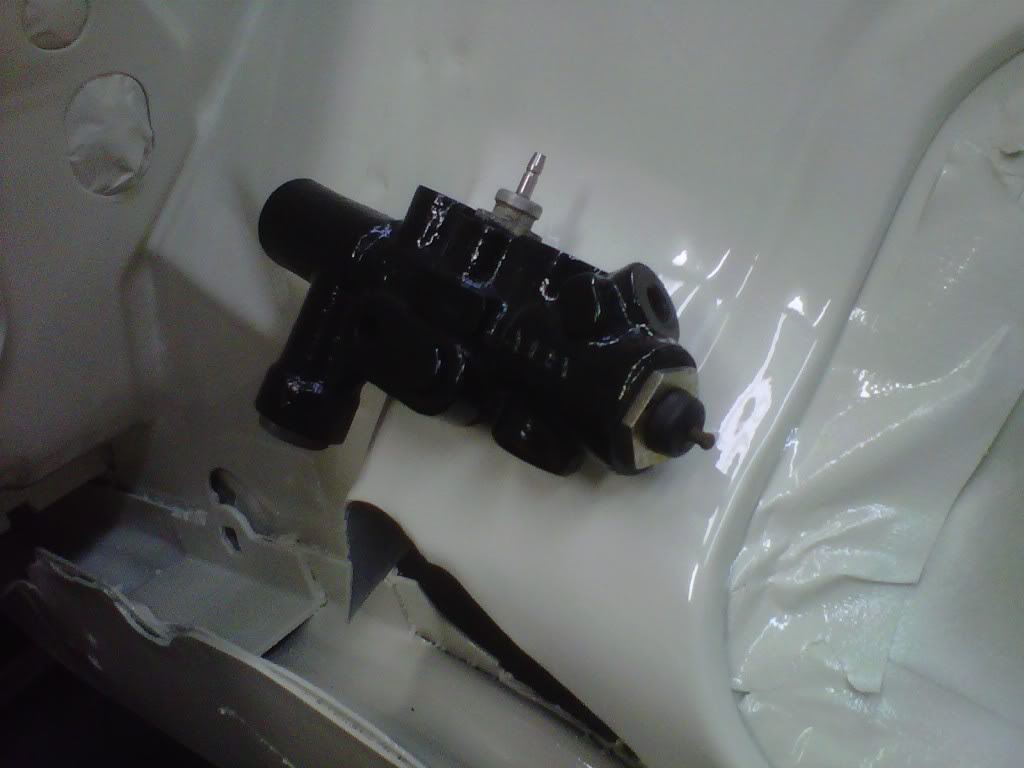
Tomorrow is brake booster and master cylinder install...then right back to the chassis parts...I need to finish them and have some ready for paint this weekend.....
I ran a batch of screws and brackets in the bb tumbler last night..left is clean and nice looking left is rough and ready to tumble....
The clean brackets allowed me to get the front brake lines installed..I have the one clip for the front radiator support in the rust bucket right now but the rest is done...I went back to the pic of the old brake lines and they are correct...a little bending is required to keep them off the paint..
I stripped the paint off of the access plate and the wiper motor and them painted them with epoxy primer..they are going the same gloss black as the chassis..
Tomorrow is brake booster and master cylinder install...then right back to the chassis parts...I need to finish them and have some ready for paint this weekend.....


