
I never would think I would own one of these


Thread Starter
Super Moderator
Joined: Sep 2010
Posts: 3,609
Likes: 181
From: Houston, Texas
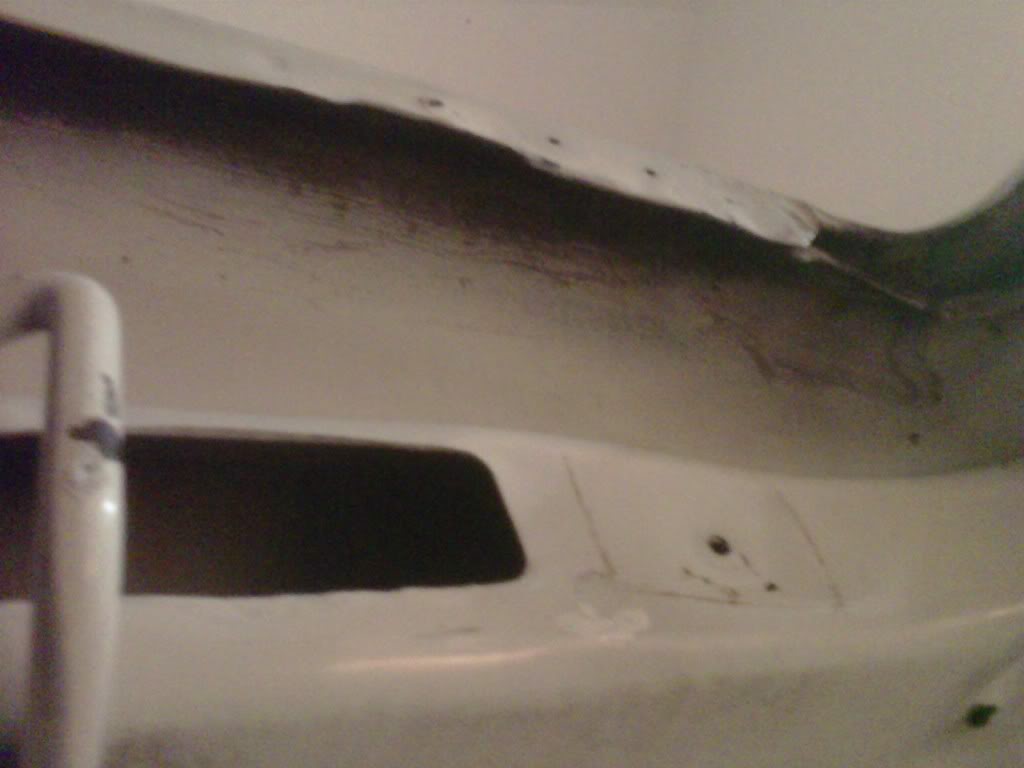
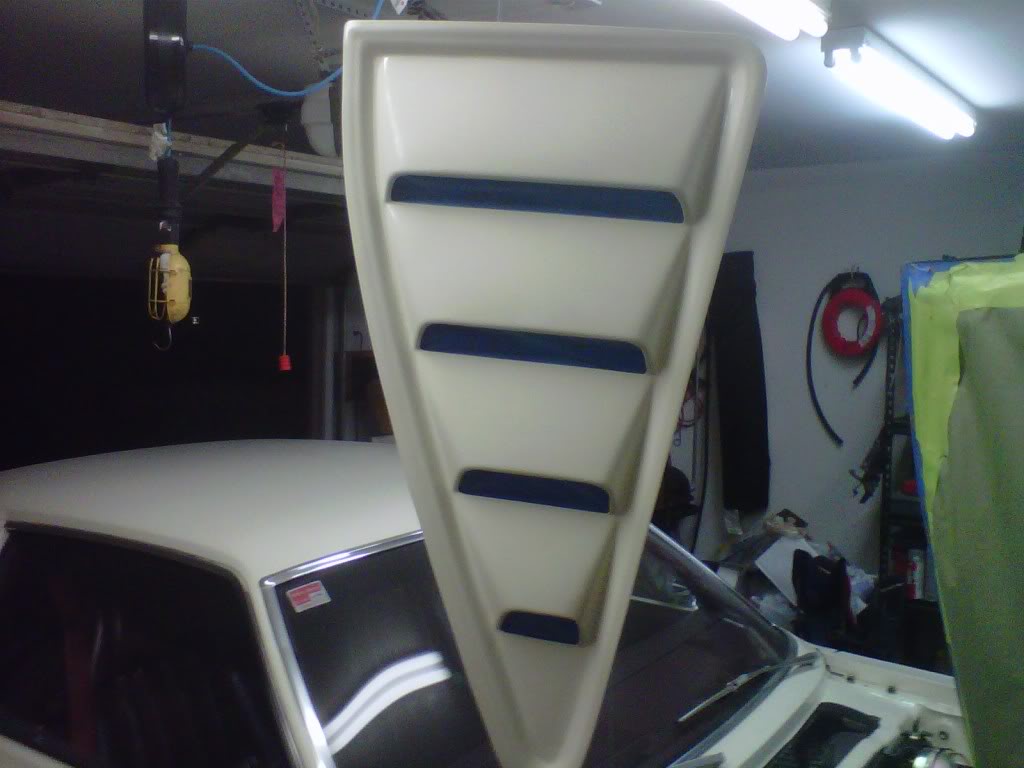
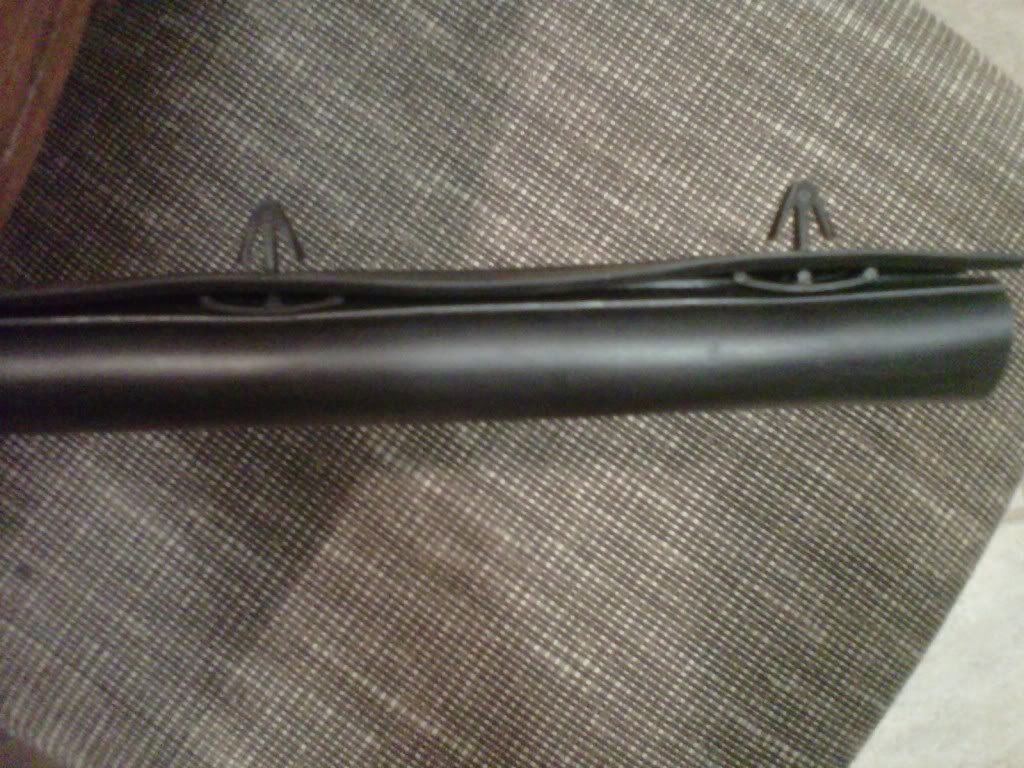
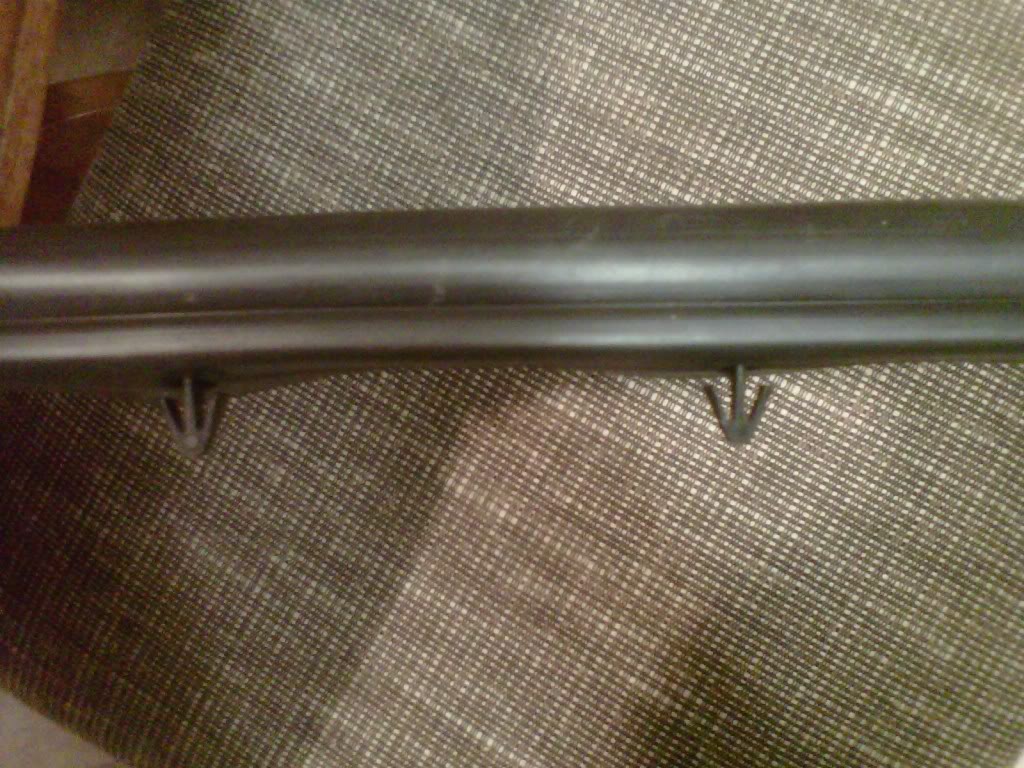
Took the trim off the hood tonight
I wanted everyone to see why the hood isn't on yet....so I took the trim off the front of the hood and the cowl seal and the washer squiters off...very little to no paint in some areas...it seems like the paint was sprayed with the hood bolted to the car....

New Member
Joined: Jun 2011
Posts: 1
Likes: 0
Wow! How My Car Has Changed!
It's always fun to jump on the web and see where my R/T has landed. When a car is a one-of-a-kind like this one, it's pretty easy to keep tabs on it. Funny to think that I rode around in the back seat as a toddler, then I got to take my own son for a ride in it before I sold it. Sure, he was a baby and doesn't remember it, but it's still a great memory for me.
I saw a bit of debate back on page 8 of this thread about whether or not the car is a Super Pak "clone". I guess it's a matter of interpretation, but since it rolled off the dealer lot brand new as a Super Pak, I would argue that the clone label does not apply. As far as the chrome wheel well mouldings, yes my father did add those. He made the dealer throw them in with the original purchase, but he had to cut them to length and install them himself. They certainly gave the car a little classier look.
Personally, I miss the look of the sidepipes. I know they are an acquired taste and certainly not stock, but they always made a really unique look and turned a lot of heads. Not sure how it sounds now, but the sidepipes were loud and mean.
Anyway, glad the car has found a home with someone who appreciates it. Thanks for posting all the photos!
Thread Starter
Super Moderator
Joined: Sep 2010
Posts: 3,609
Likes: 181
From: Houston, Texas
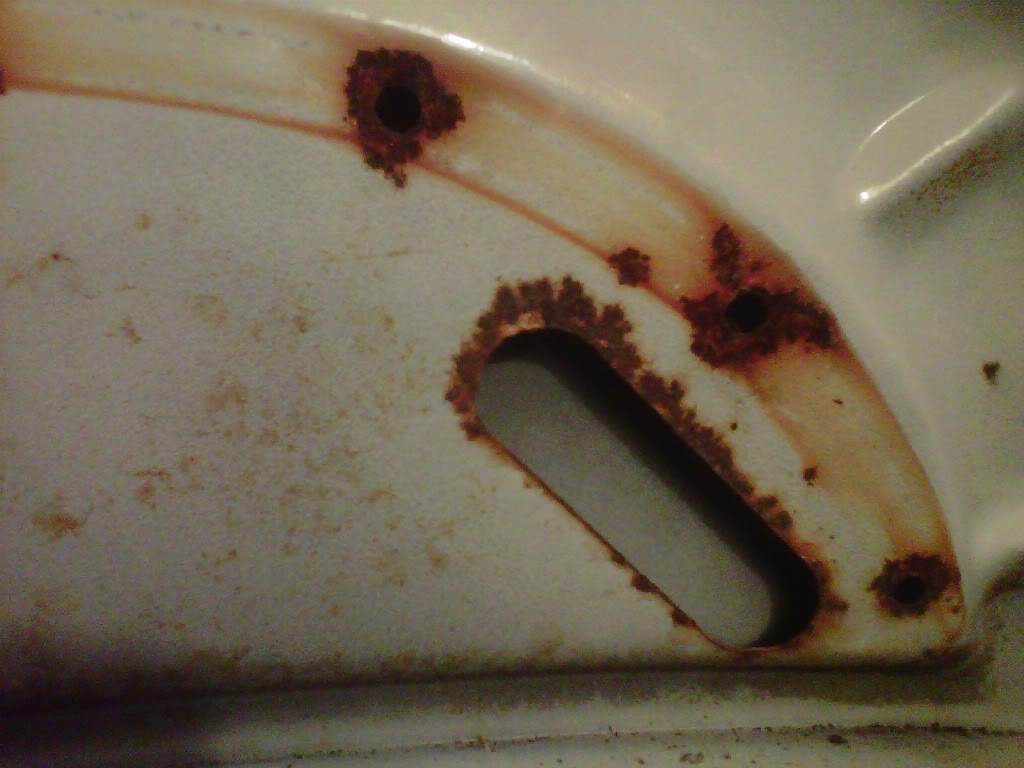
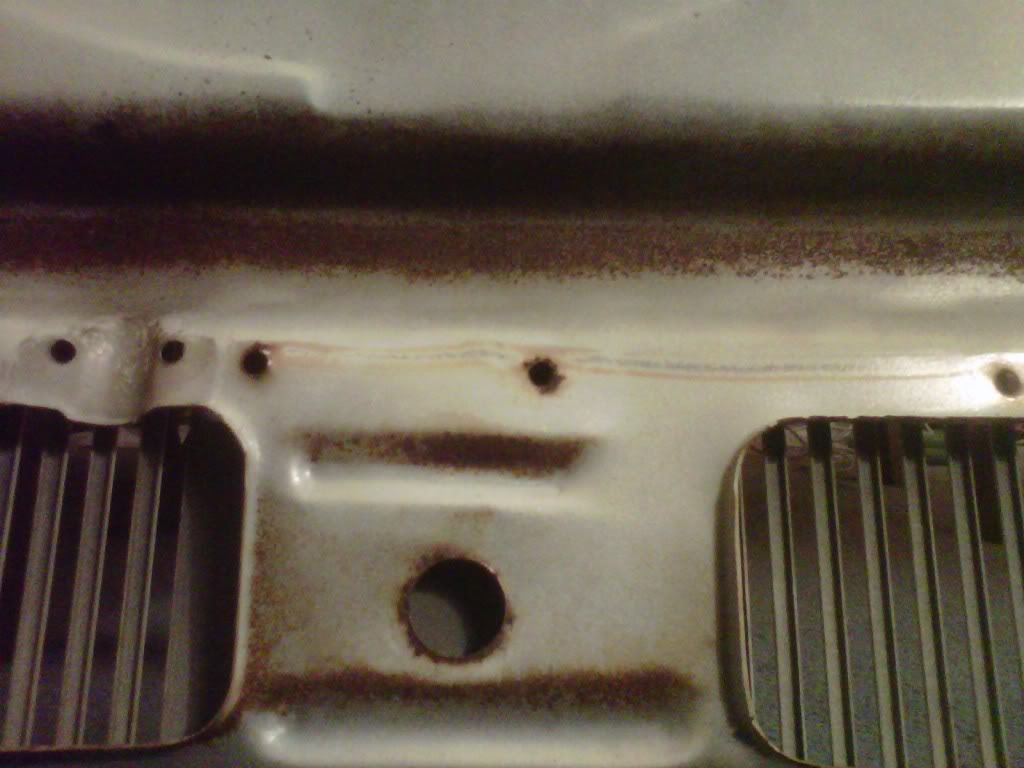
No real news or updates other than I bought a NOS radiator yoke seal for 45 bucks 3868044 and a NOS Cowl Seal for 49 bucks 3868603....I tried cleaning my cowl seal but could not get the rust stains off of it..I even gave it a soaking in the evaporust bucket..I am calling Steele Rubber to see if they want to make them...mine is in excellent condition except for the rust stains...
Thread Starter
Super Moderator
Joined: Sep 2010
Posts: 3,609
Likes: 181
From: Houston, Texas
Got a decent reply back from Steele Rubber..and met another Eric
Eric�I am forwarding this note to Eddie Lail in our Parts Development Area. He will get back to you next week with the next steps to making this part.
Thanks for contacting us.
Eric
Eric�I am forwarding this note to Eddie Lail in our Parts Development Area. He will get back to you next week with the next steps to making this part.
Thanks for contacting us.
Eric
Thread Starter
Super Moderator
Joined: Sep 2010
Posts: 3,609
Likes: 181
From: Houston, Texas
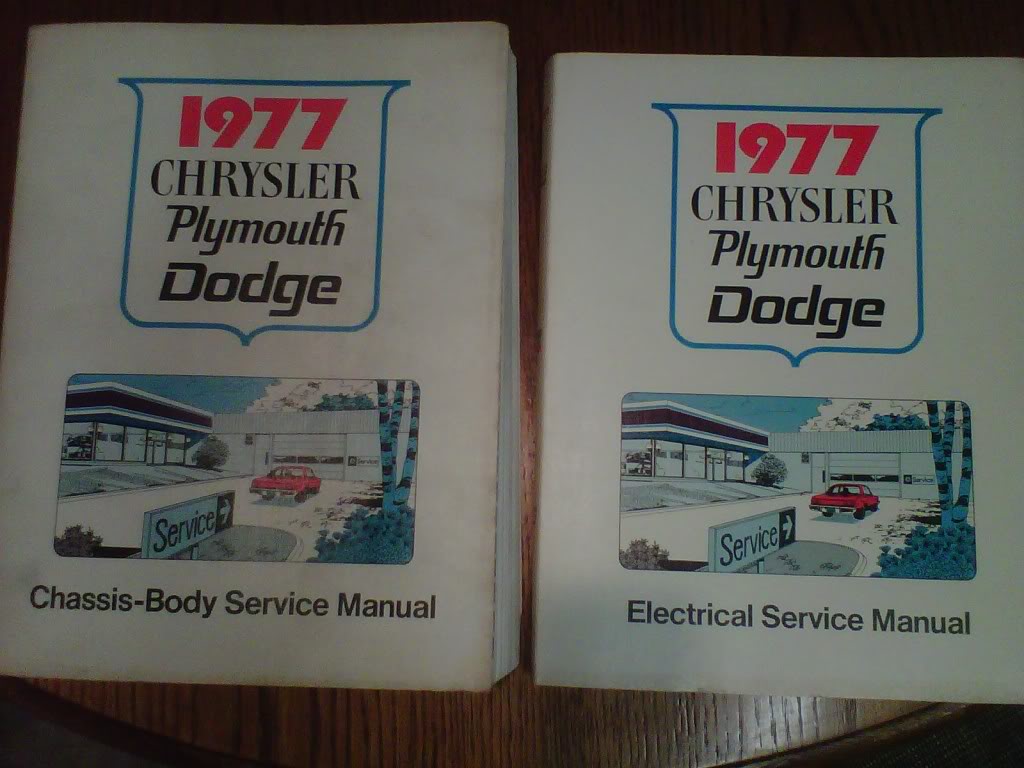
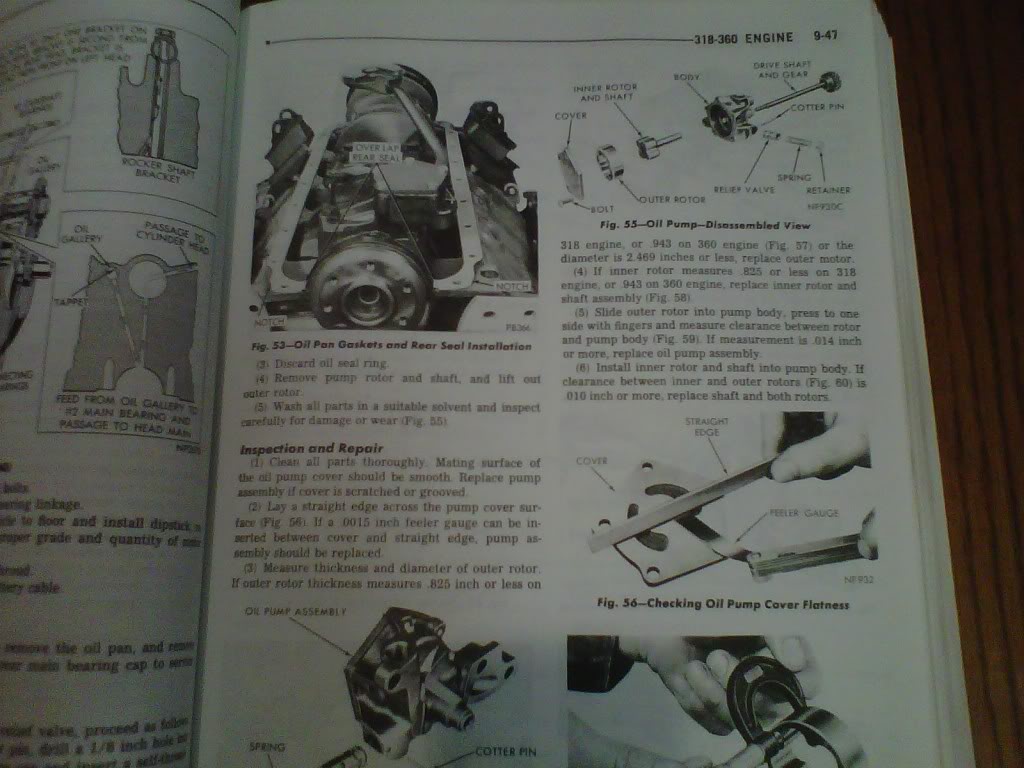
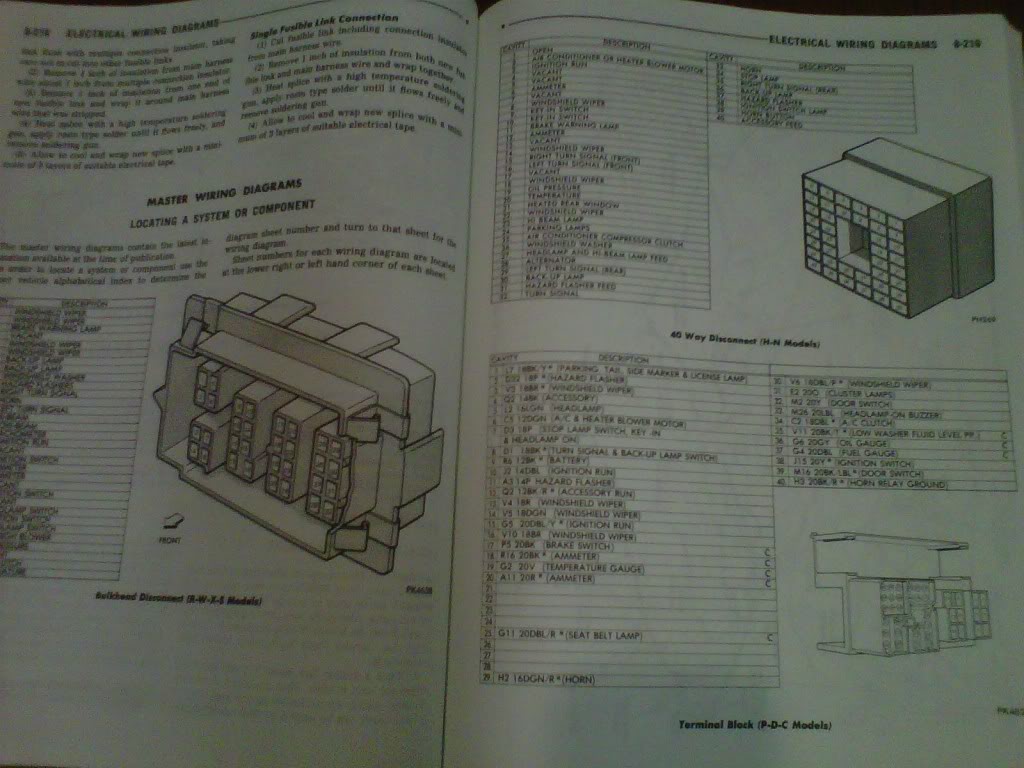
Today I got my two eggbay 1977 Service Manuals...best $9.95 I ever spent...they are in very good condition and I am very happy to have them...the Body one goes into great mechanical detail and the Electric one goes into great wiring detail...

 , I'll have to go take a look.
Thread Starter
Super Moderator
Joined: Sep 2010
Posts: 3,609
Likes: 181
From: Houston, Texas
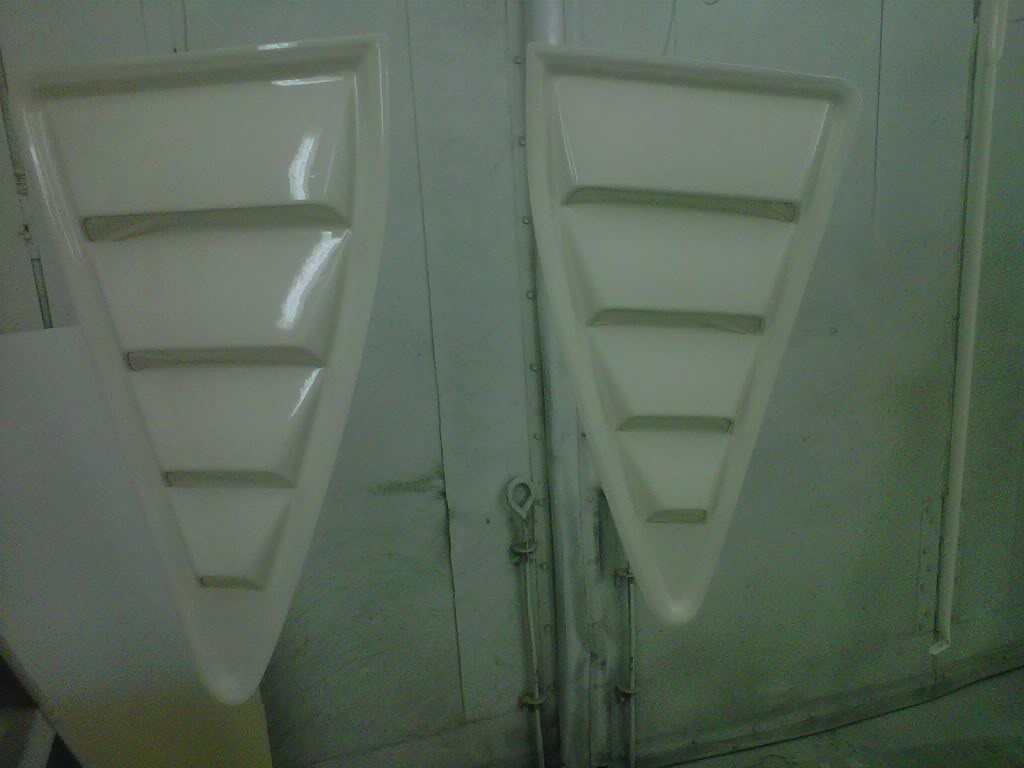
Going for paint tomorrow in the big industrial paint booth at work
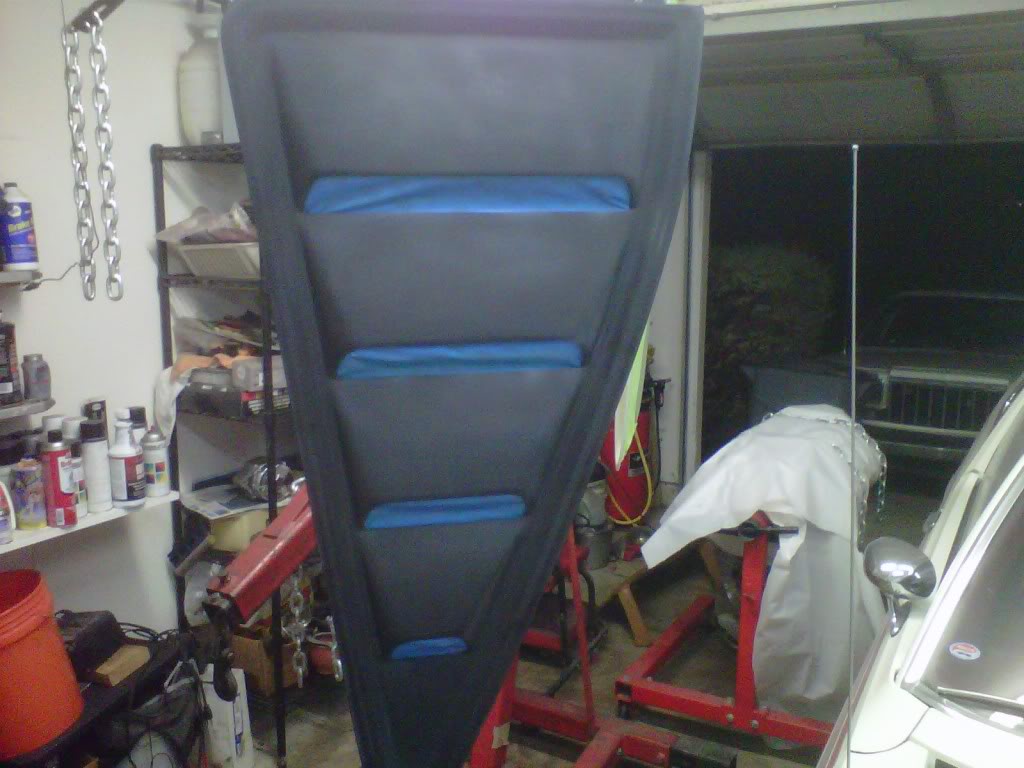
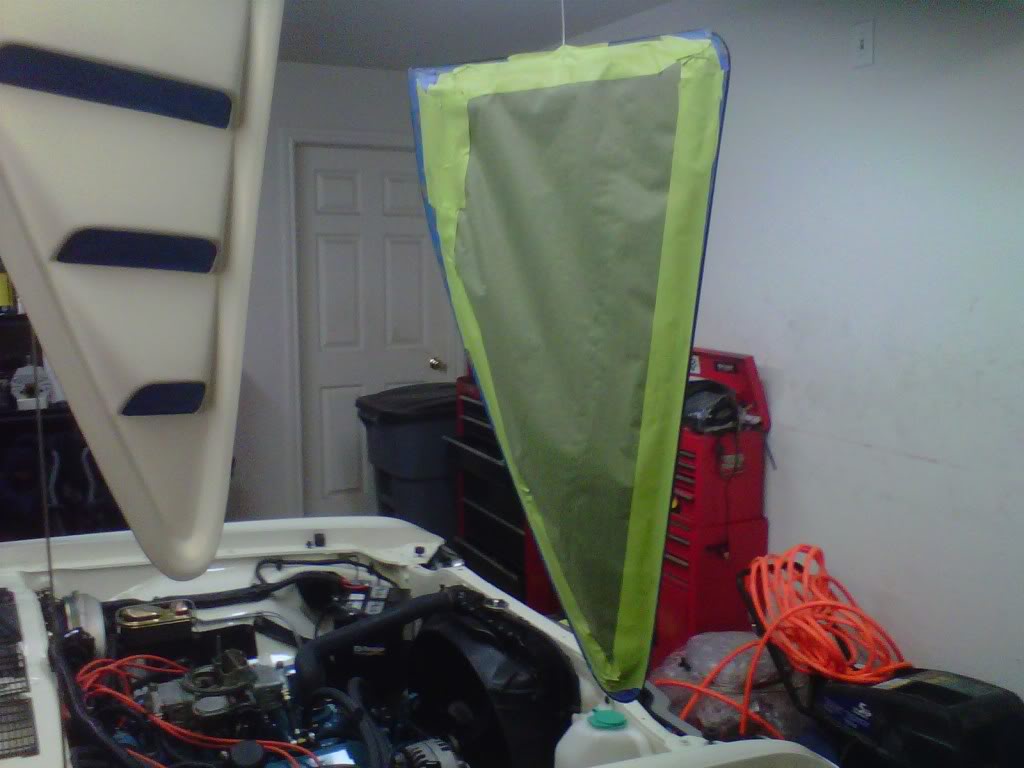
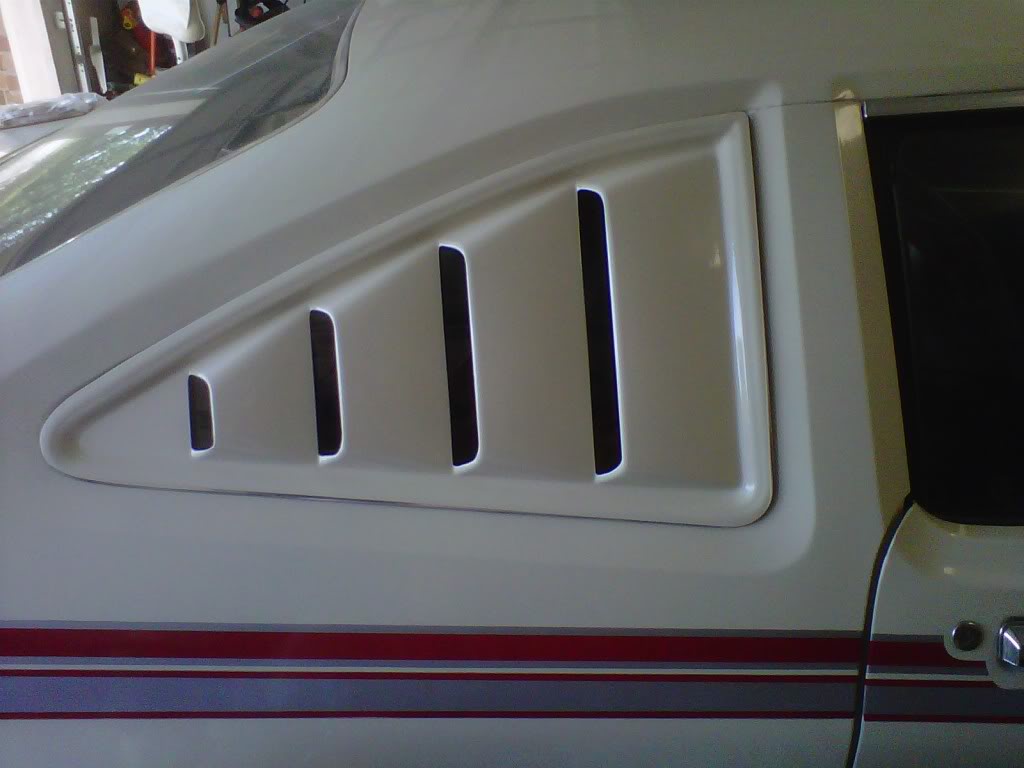
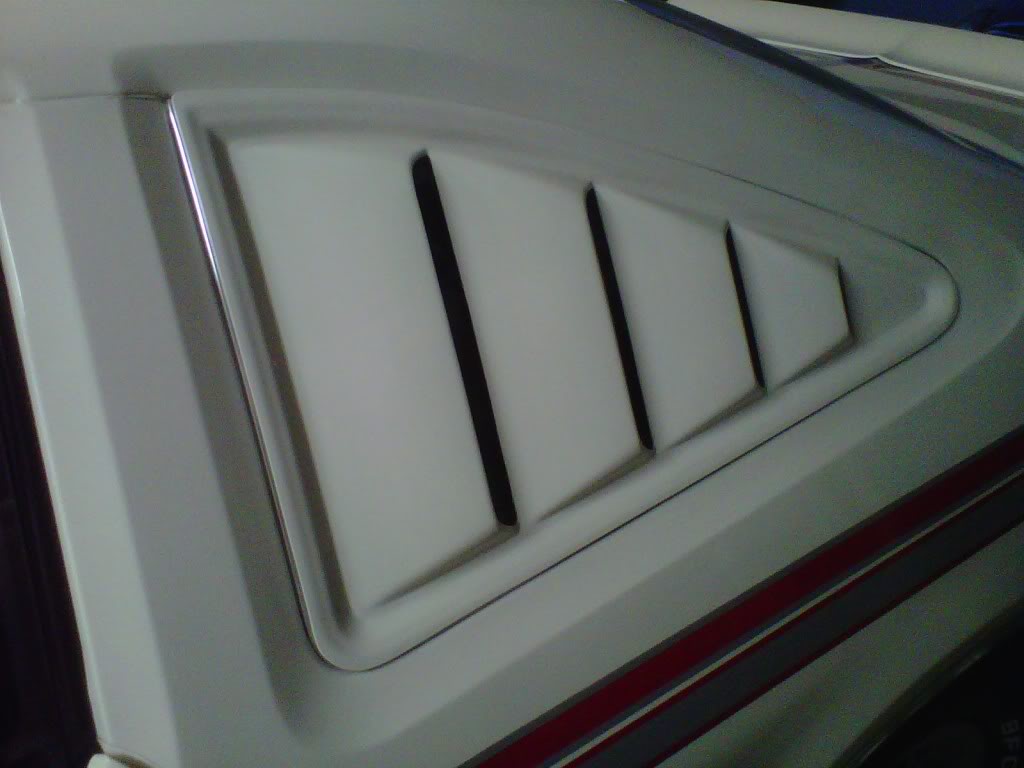
Hit one louver with 600 wet and sanded it smooth...it will get primed tomorrow and sanded again if any trash shows it's ugly head...the other louver was already painted and had eight pieces of trash in it that I sanded them out with 400 and hit it with 600 wet also..got them all taped up and try painting them hanging this time...seem to have better luck.....
Thread Starter
Super Moderator
Joined: Sep 2010
Posts: 3,609
Likes: 181
From: Houston, Texas
I will have to sleep on it
I got some painting done today...it was as hot in the big paint booth...just as hot as outdoors...sweated my off...still waiting to see what they look like after a week...two small pieces of trash in each...maybe I am being to hard on myself...
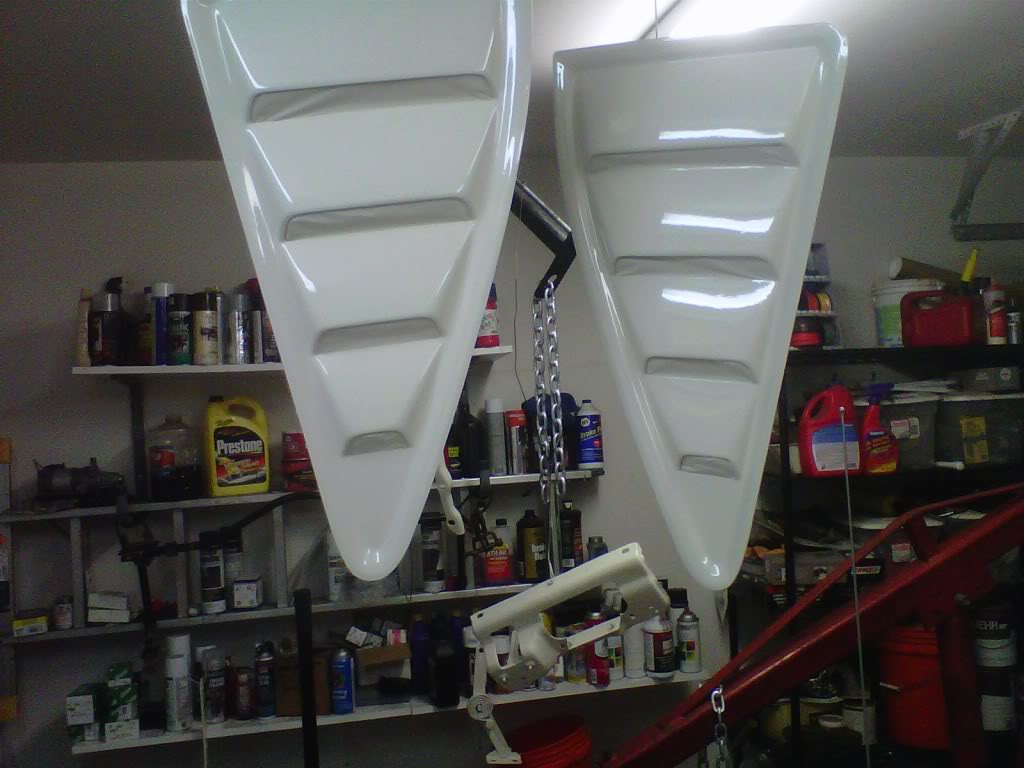
off...still waiting to see what they look like after a week...two small pieces of trash in each...maybe I am being to hard on myself...

Thread Starter
Super Moderator
Joined: Sep 2010
Posts: 3,609
Likes: 181
From: Houston, Texas
Someone else suggested using paint thinner to remove the rust stains on my cowl seal and it worked...great...without harming the rubber....mineral spirits to the rescue
Thread Starter
Super Moderator
Joined: Sep 2010
Posts: 3,609
Likes: 181
From: Houston, Texas
My NOS cowl seal showed up today from Brad's NOS...59 bucks to the door and completly covered in the original wrapper...looks real nice...one crease in the center where is was folded for 33 years so its hanging in the garage..a couple of days in the heat will take care of that..
Mopar Fanatic
Joined: May 2011
Posts: 346
Likes: 8
From: Boring, Oregon

Thread Starter
Super Moderator
Joined: Sep 2010
Posts: 3,609
Likes: 181
From: Houston, Texas
Been a long time coming
Half a thumbs up...It's been a real long time coming...I gave a real good look at both louvers in the sun and said "good enough for me"....used my 3-M dual lock and got the passenger side on and secure....I let the wifey use some for a in house project and I am short enough of it to finish the other side...I ordered some more...
Thread Starter
Super Moderator
Joined: Sep 2010
Posts: 3,609
Likes: 181
From: Houston, Texas
My 3-M Dual lock showed up today
My order for the 3-M dual lock showed up today so the other louver went on...tomorrow I may clean her up and take her to the Saturday night cruise in? 
Last edited by bremereric; Jul 22, 2011 at 10:00 PM.
Thread Starter
Super Moderator
Joined: Sep 2010
Posts: 3,609
Likes: 181
From: Houston, Texas
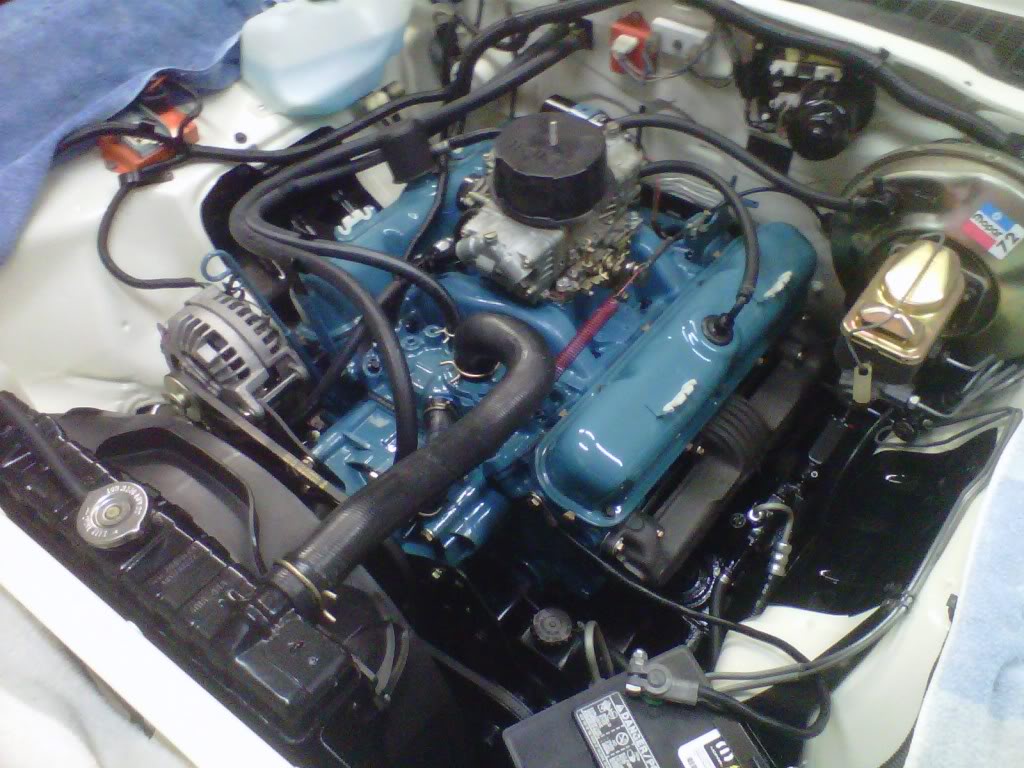
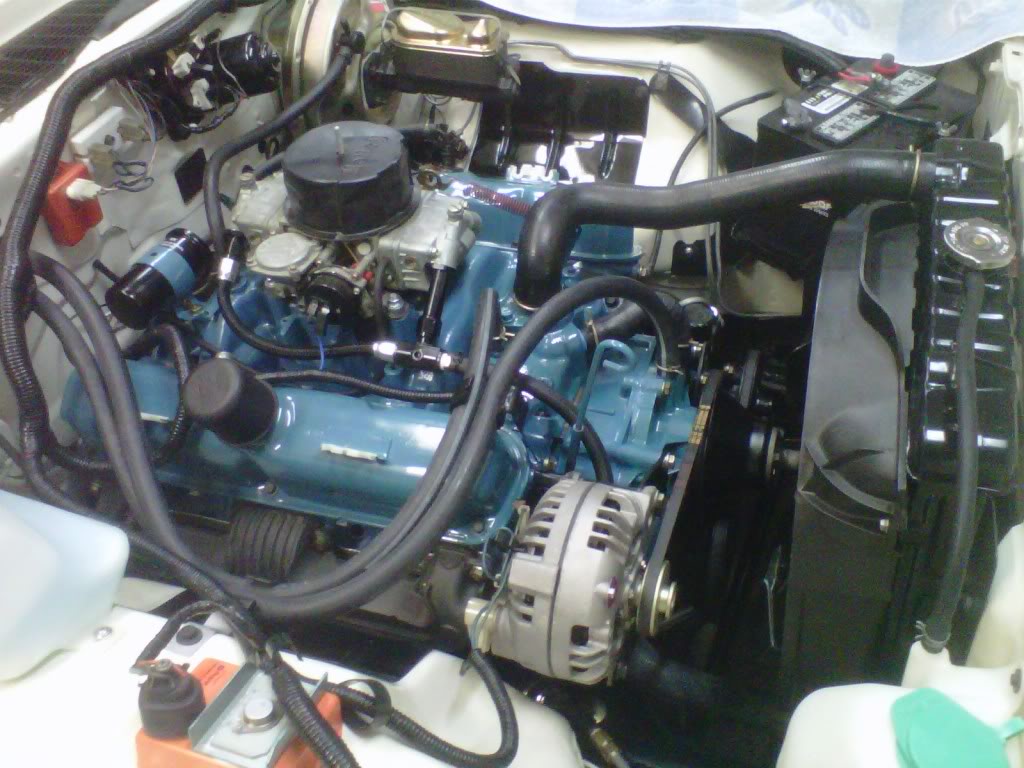
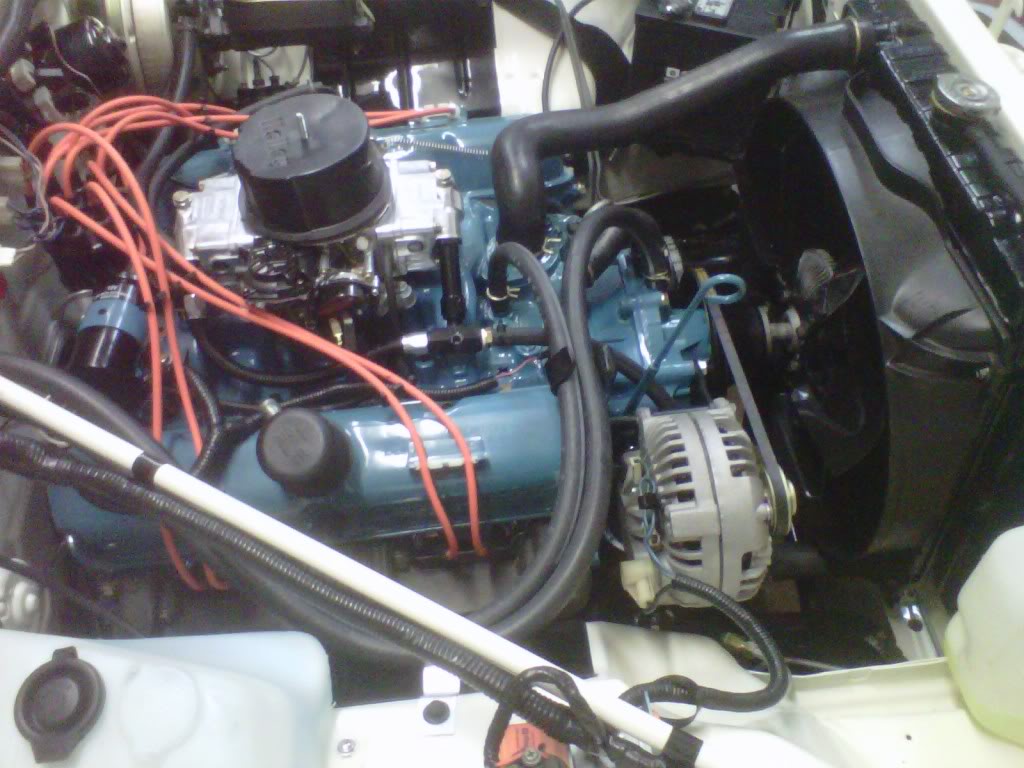
Made a huge leap.
It's been hot and dry here so I suffered for several weeks to get it back to where I wanted it to be. The intake manifold had flaking paint due to the fuel leak at first start up. It ate up some paint on the k-member so the whole thing came out. This is where I am at now. Everythings a go for a start tomorrow night.
Thread Starter
Super Moderator
Joined: Sep 2010
Posts: 3,609
Likes: 181
From: Houston, Texas
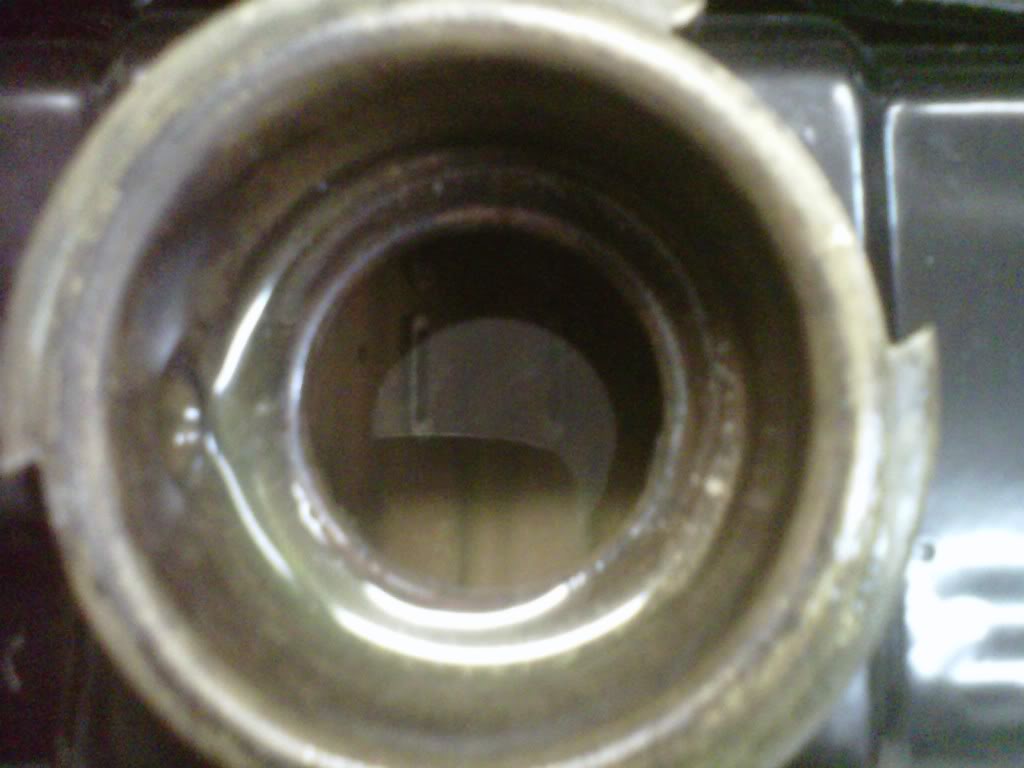
Okay someone must have a voodoo doll of my car...last startup sent me backwards again...it ran fine and then when I backed it out of the garage I noticed oil dripping from the front pan area. Well I got it out and cleaned up the garage so I could have two Mopars in the garage again. This what I found...the front rubber seal on the oil pan rolled back inside of the oil pan and left a big hole on the right front side.
I don't remember seeing this....I pulled the pulley and harmonic balancer off Friday night...was very surprised to see this...
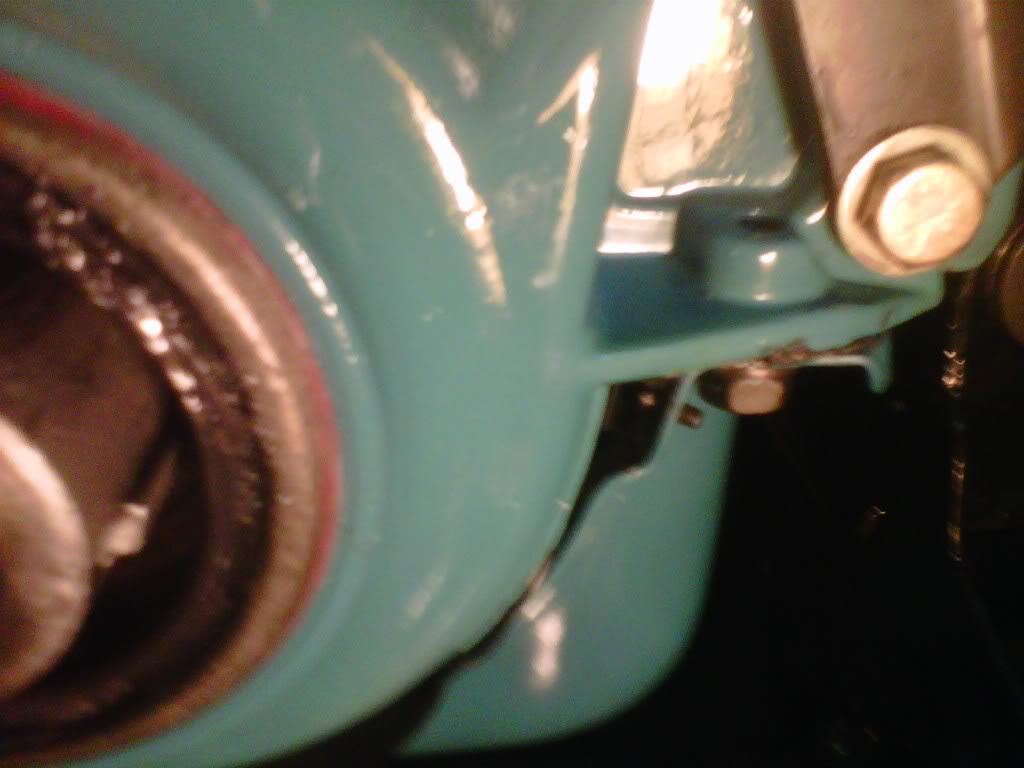
I don't remember seeing this....I pulled the pulley and harmonic balancer off Friday night...was very surprised to see this...
Last edited by bremereric; Oct 10, 2011 at 02:14 PM.
Thread Starter
Super Moderator
Joined: Sep 2010
Posts: 3,609
Likes: 181
From: Houston, Texas
I finished fixing it all yesterday
Back breaking leaning over to take it apart..then scrape gaskets and put it back together...It was a two tylenol night after that.
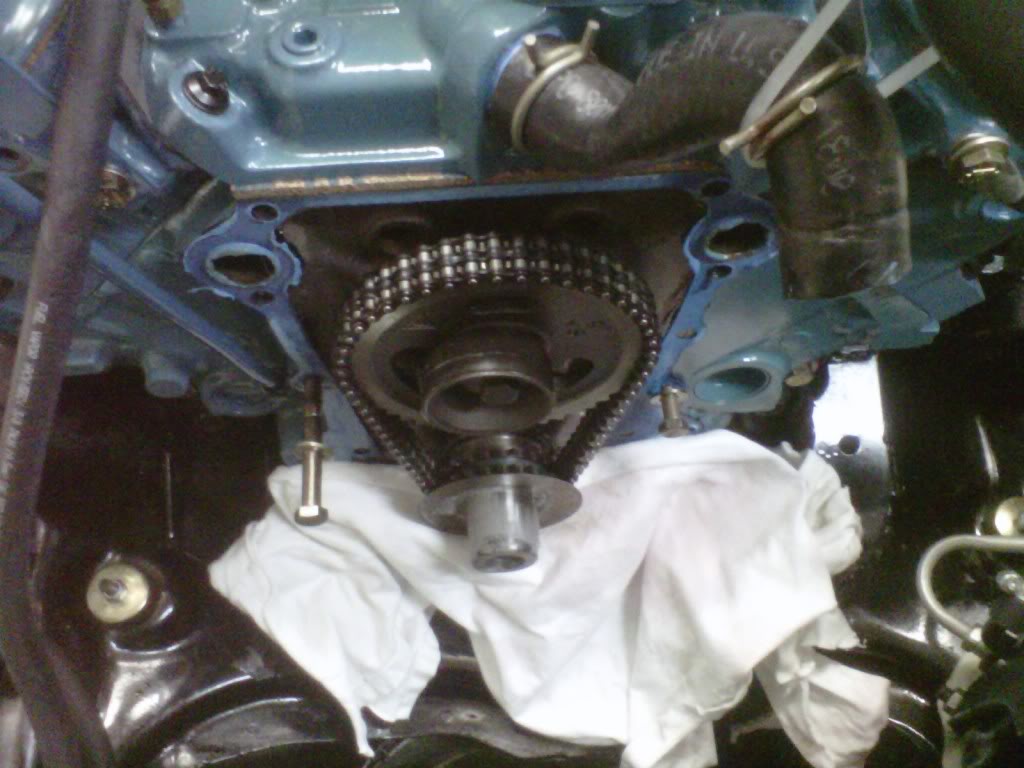
About 4 hours later I was completed. I did not put any water in it. I will do it tomorrow night.

About 4 hours later I was completed. I did not put any water in it. I will do it tomorrow night.
Last edited by bremereric; Oct 10, 2011 at 02:27 PM.
Thread Starter
Super Moderator
Joined: Sep 2010
Posts: 3,609
Likes: 181
From: Houston, Texas
I did get a half of quart of oil in her and about two gallons of 50/50 in the yellow container. No gravity leaks. The third time better be the charm otherwise I might test the Myth Brothers theory and see if my 44 magnum can really penetrate a engine block.
Thread Starter
Super Moderator
Joined: Sep 2010
Posts: 3,609
Likes: 181
From: Houston, Texas
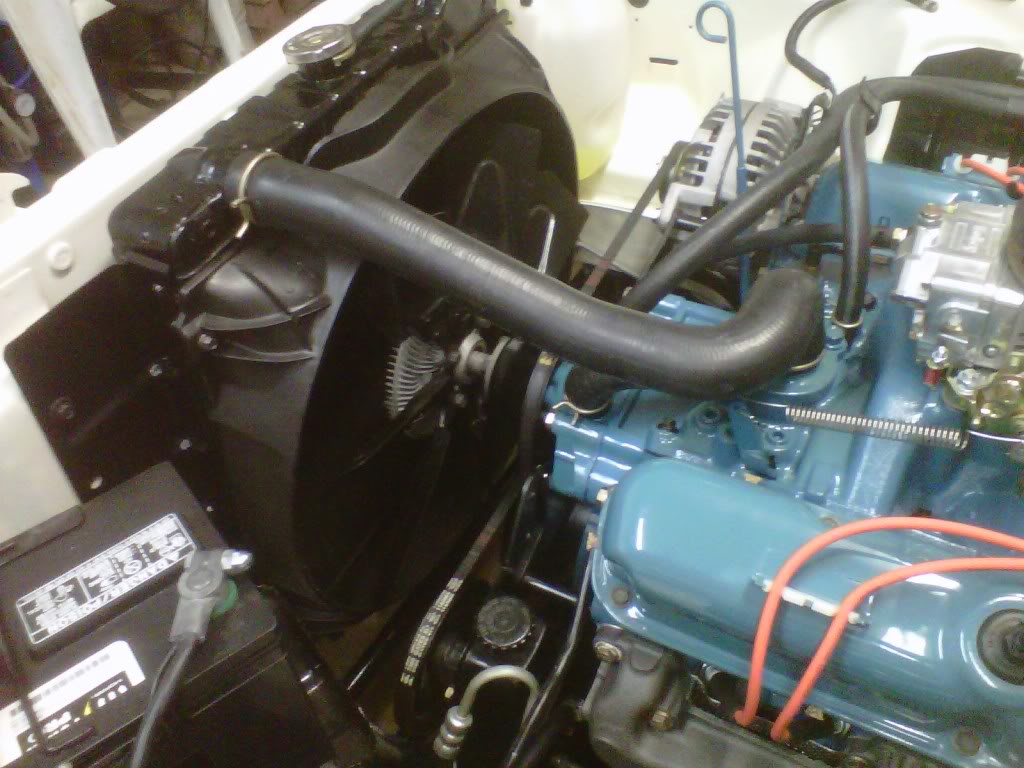
Didn't have to test the Myth Brother's theory tonight..
Started right up tonight with no leaks anywhere. Ran it up to temp and saw that the thermostat opened. Throttle return spring was not able to overcome the throttle cable that was binding at an angle..so I disconnected it and then return spring would pull it back closed. Running a little warmer but it is a new tight motor. Made a real short video but I can't get it posted till tomorrow.
Thread Starter
Super Moderator
Joined: Sep 2010
Posts: 3,609
Likes: 181
From: Houston, Texas
As Promised a late night crappy video but it does confirm it runs with no leaks so far...at the very end you can see where I had to disconnect the throttle linkage...back to work on her tonight.
http://www.youtube.com/watch?v=NJr8h...layer_embedded
http://www.youtube.com/watch?v=NJr8h...layer_embedded
Thread Starter
Super Moderator
Joined: Sep 2010
Posts: 3,609
Likes: 181
From: Houston, Texas
4th time is even better..still no leaks and no reason to fire the 44 magnum
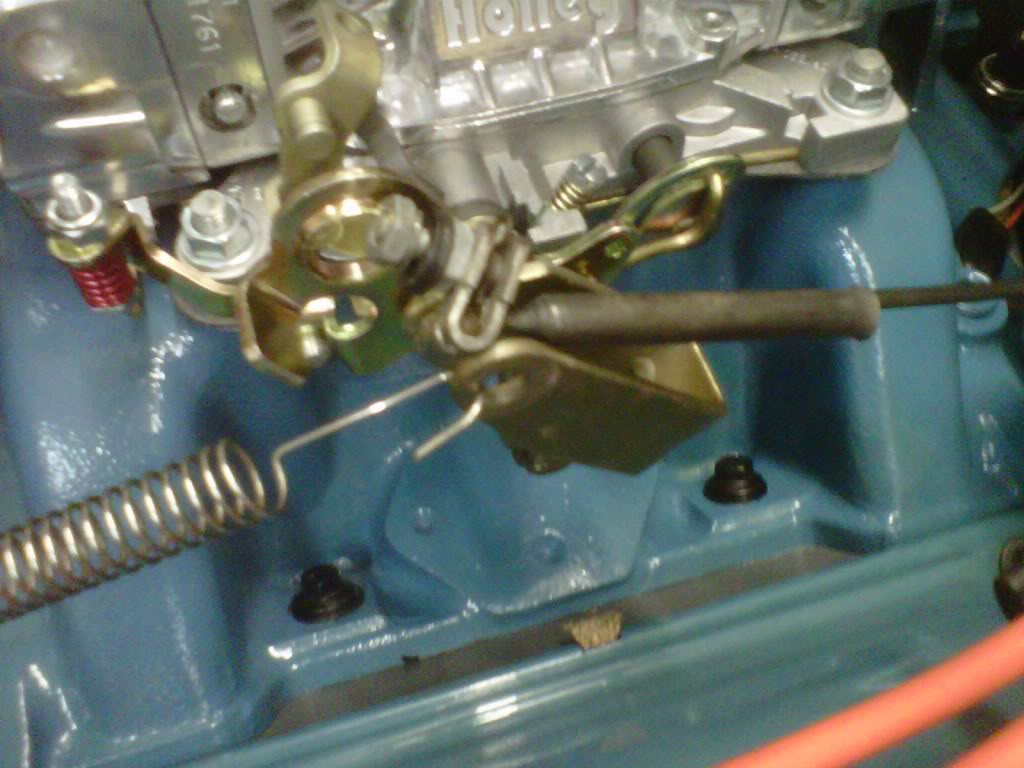
I got home and looked in the radiator...water level was lower and not a single leak..I bet you that I got rid of some or the air pockets. I did my throttle pin thing and got rid of the big bracket.
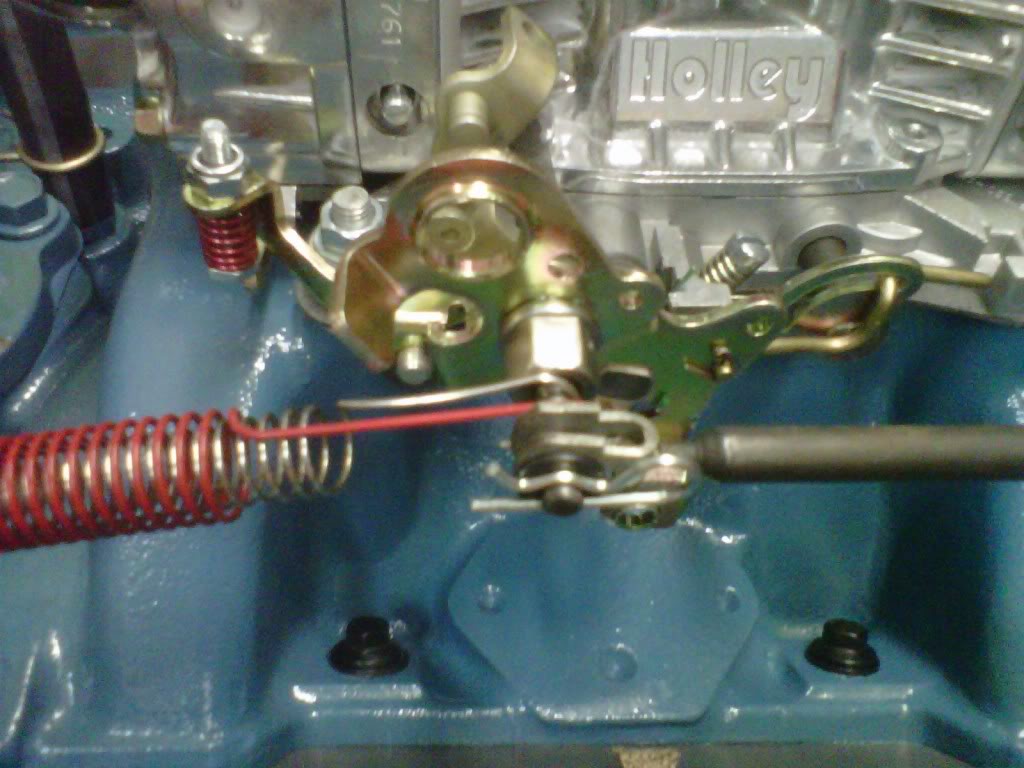
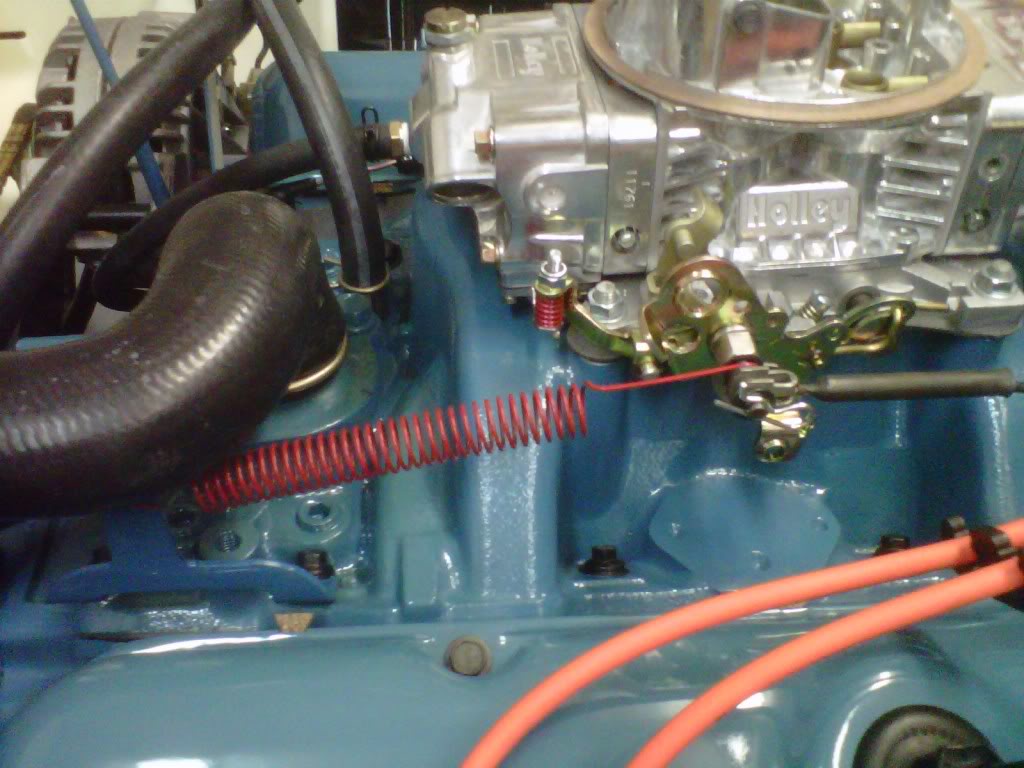
This time the return spring did better and even better when I added the second spring. It pulled it down to 850 RPM's. The spring return bracket is too tall so I did this...
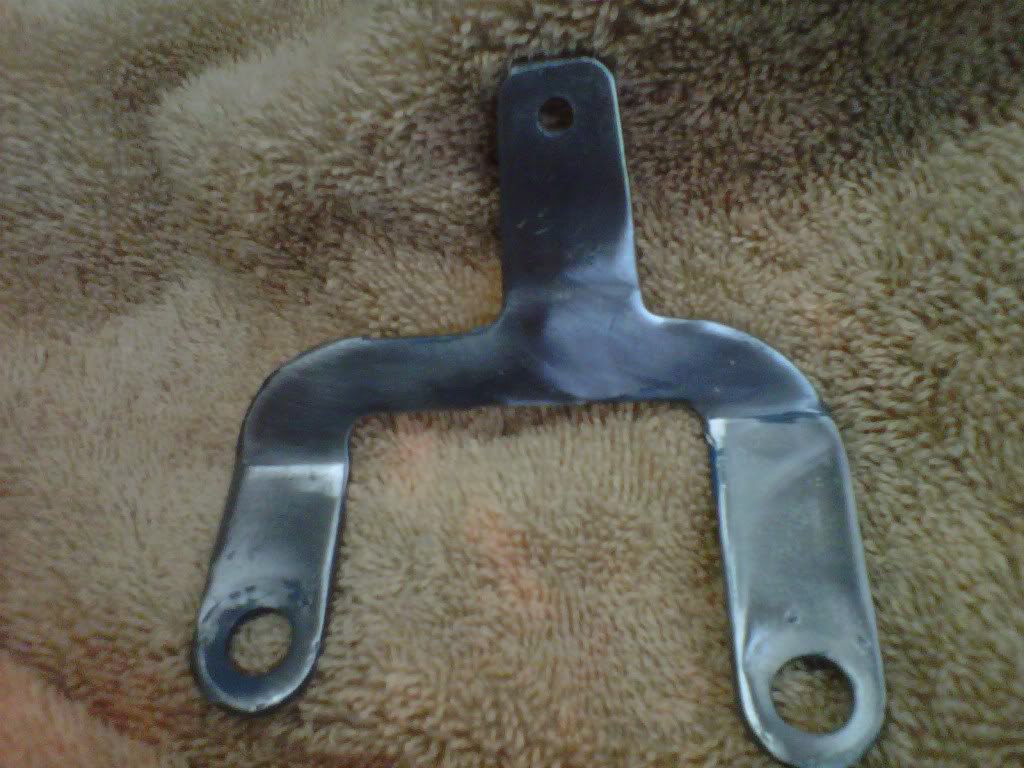
I found the old one....bent the spring portion up straight and got it ready for paint. This is the one that last worked on this car last year. It is lower and farther back. Got her up to temp and had 14 inches of steady vacuum at 750 RPM and 16 inches at 850. I also held my hand over the choke horn and covered it..the motor stayed the same and did not speed up or slow down. Ruled out too rich or too lean for me. Thus I will not jack with the carb at all. Still tuning and tweeking for now. Ran much cooler around the 180 degree mark. Another run and move out of the garage for a bath tomorrow night. Will bump the timing up a few degrees also.
This time the return spring did better and even better when I added the second spring. It pulled it down to 850 RPM's. The spring return bracket is too tall so I did this...
I found the old one....bent the spring portion up straight and got it ready for paint. This is the one that last worked on this car last year. It is lower and farther back. Got her up to temp and had 14 inches of steady vacuum at 750 RPM and 16 inches at 850. I also held my hand over the choke horn and covered it..the motor stayed the same and did not speed up or slow down. Ruled out too rich or too lean for me. Thus I will not jack with the carb at all. Still tuning and tweeking for now. Ran much cooler around the 180 degree mark. Another run and move out of the garage for a bath tomorrow night. Will bump the timing up a few degrees also.
Last edited by bremereric; Oct 13, 2011 at 09:32 PM.
Thread Starter
Super Moderator
Joined: Sep 2010
Posts: 3,609
Likes: 181
From: Houston, Texas
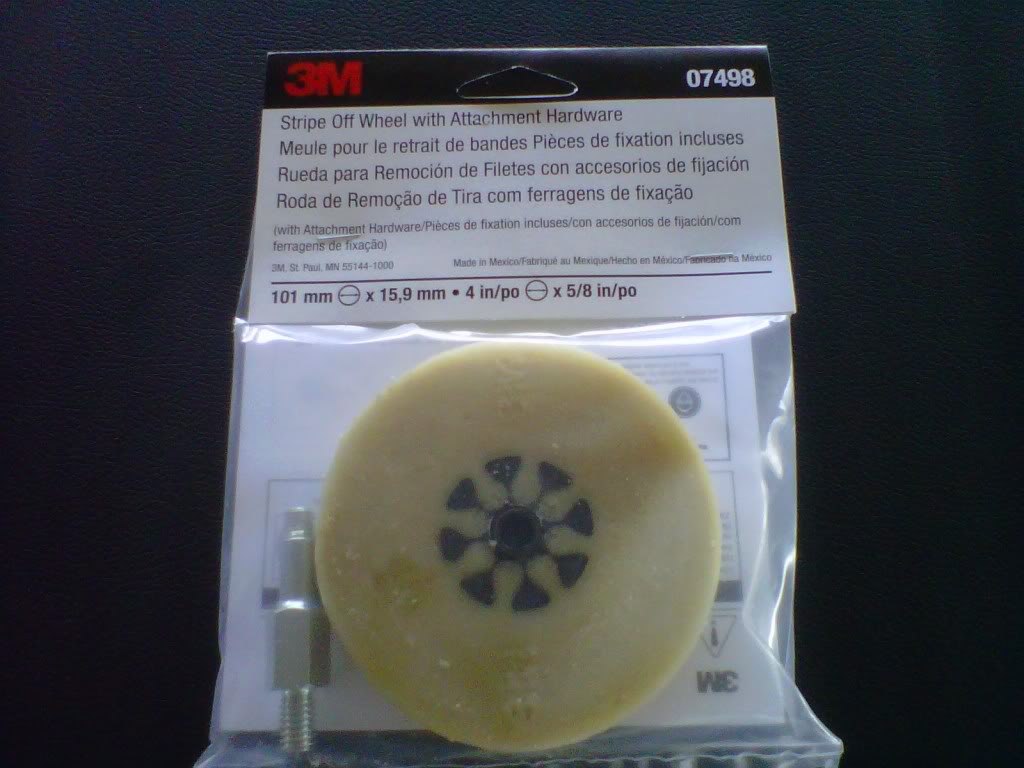
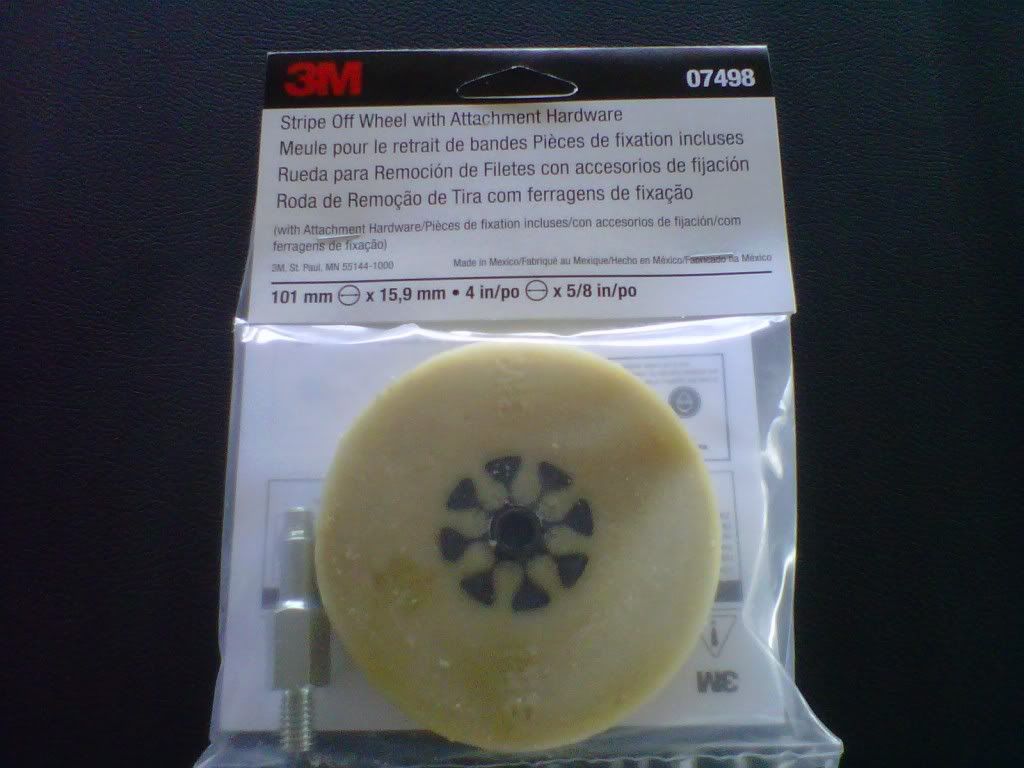
Went to my favorite PPG Paint store today..Got a quart of 2033 Spinnaker White mixed up...it was used for like three times by Mopar..1976-1980, 1981-1989, and 2003-2006. All three are a little different formula. 107 bucks for their DCC paint and I got a new toy...a giant eraser. Going to try it on the stripe on the trunk lid that has to go...planned on painting it anyways. The paint lady said it would not harm the paint.
Thread Starter
Super Moderator
Joined: Sep 2010
Posts: 3,609
Likes: 181
From: Houston, Texas
Okay all that throttle trouble and it ends up being something with the choke and fast idle cam on the other side of the carb. If I manually push the red cam down and open the choke plate all of the way the throttle return springs close the carb all the way. I know a Holley tech on this board that I can ask. If I hold the choke plate open and pull the throttle back it will return to the idle stop position with the one red spring.
Mopar Fanatic
Joined: May 2011
Posts: 346
Likes: 8
From: Boring, Oregon
Went to my favorite PPG Paint store today..Got a quart of 2033 Spinnaker White mixed up...it was used for like three times by Mopar..1976-1980, 1981-1989, and 2003-2006. All three are a little different formula. 107 bucks for their DCC paint and I got a new toy...a giant eraser. Going to try it on the stripe on the trunk lid that has to go...planned on painting it anyways. The paint lady said it would not harm the paint.
Last edited by 78doubleR; Oct 14, 2011 at 11:10 PM.
Thread Starter
Super Moderator
Joined: Sep 2010
Posts: 3,609
Likes: 181
From: Houston, Texas
be very careful on the spoiler. since its plastic it will get hot very quick which will bubble the paint. it maybe better to use a heat gun to pull the stripe off. Also, before using it, put it on the ground (concrete) or some thing hard and somewhat abrasive and put a 45* angle on the eraser (basically chamfer the top edge 1/4") and when your using it, keep it at a 45* angle.
Mopar Fanatic
Joined: May 2011
Posts: 346
Likes: 8
From: Boring, Oregon
oh okay. gotcha! just keep it at a 45* angle and you'll be fine. its really easy on metal painted surfaces. shouldn't have a problem with paint bubbling up.
Thread Starter
Super Moderator
Joined: Sep 2010
Posts: 3,609
Likes: 181
From: Houston, Texas

Last edited by bremereric; Oct 14, 2011 at 11:35 PM.
Mopar Fanatic
Joined: May 2011
Posts: 346
Likes: 8
From: Boring, Oregon
hmm, okay. im just tellin you the most controlable way i've found to use these. you'll get the hang of it quickly and figure out which way you like.


