When you click on links to various merchants on this site and make a purchase, this can result in this site earning a commission. Affiliate programs and affiliations include, but are not limited to, the eBay Partner Network.
i�m absolutely new in here, will give a short introduction of myself soon.
first of all a got quite a big issue. i want to remove the steering wheel on my 72 dodge dart swinger which i bought a few weeks ago to refurbish it .
the problem is, i don�t know if the 3-spoked-star is just clipped on or how it is fixed. tried a few ways to remove it bit don�t want to spend to much force if i don�t know how it works.
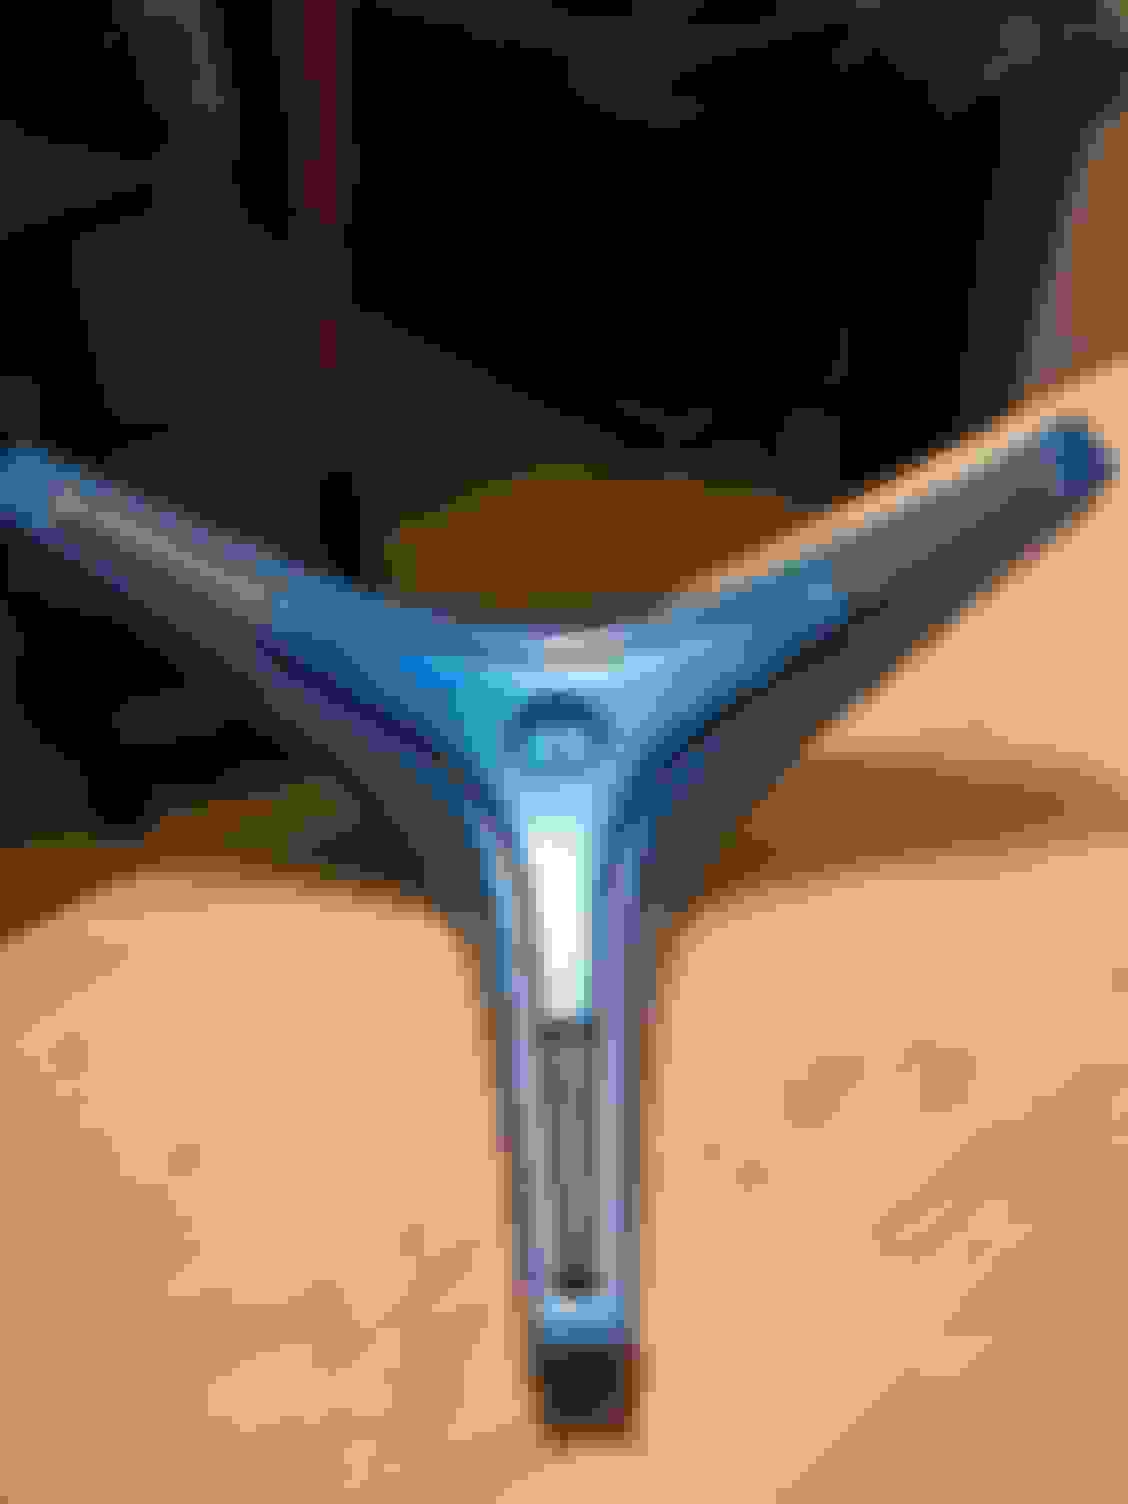
added a pic with A B and C
A: a small round cover in the middle
B: inner part of the 3 spoke star
C: outer part of the 3 spoke star
which part do i have to remove first to be able to remove the whole star which i want to repaint?
thanks guys for yout help!
mr incredibill aka sascha
Last edited by mr incredibill; Mar 19, 2018 at 03:43 PM.
Double check... If not... It just has 3 tabs holding the center, pull it towards you and it will unclip.... then you can get to the screws to remove the horn ring buttons.
but u need to be careful. because of the plastics age it will break really fast. so i first used a heat gun to warm up the material.
then carefully use a spatula to lift up the inner part.
the cars pre owner tried to pit it away with to much power so it broke.
after that u�ll find 3 screws with which the outer part is fixed.
Your rite... Allot of this stuff has been around for a long time. And as we all know... " Time takes it's toll"... Thanks for the update and the photos... Keep us posted on how the repair goes...
after i managed to remove the horn ring and the center cap i started to restore them. as seen on one of fhe previous pics, the pre owner broke the center cap when he tried to remove it. i sanded and sprayed some crackle effect on it to get the �original� structure.
there�s still a difference to the original but it hasn�t to be a swiss watch 😂
after that i took some spray cans with the same color as the interior paint (MOPAR B5) and painted the two parts. some silver to get the effect in the gap between the two parts and i�m done.