When you click on links to various merchants on this site and make a purchase, this can result in this site earning a commission. Affiliate programs and affiliations include, but are not limited to, the eBay Partner Network.
12 point bolts on fulltime dana 44 front hub assembly
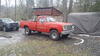
I brought my daily driver (1977 Dodge W200/M880) into the shop at work today to do what I though was going to be a simple front brake job.
The original plan was to use the "On car brake lathe" but, it turns out their too thin to be resurface.. so new rotors.
But, I soon found out it's not a simple task to remove the rotors on the fulltime dana 44 axles.
I'm trying to find out if it's necessary to remove the 12 point bolts behind the rotor before using a puller?
From what I've googled so.
Some say you don't have to. Others say have to remove those bolt or you will wreak the hub assemble but, also say good luck getting those bolts out and you just end up using the puller anyway.
So, I was hoping to get some insight from someone here that has done this this job before.
Right now, that plan is to play it safe and try to remove the bolts first. I had to leave my truck on the lift tonight (waiting for parts). Hopefully I can get her back together tomorrow. I'll check this thread before I head into the shop tomorrow morning.
Thanks
Last edited by dodgem880; Dec 28, 2016 at 06:28 PM.
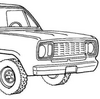
Introduced with the debut of the 1974 Dodge Ramcharger, the full time, live spindle type, monobeam, open knuckle Dana 44 front drive axle would, over the next year replace the previous adjustable wheel bearing and lockout hub equipped Dodge Dana 44 axle with in all Dodge 1/2 ton and 3/4 ton 4x4 trucks. The new axle, which was designed for use with the full time NP203 transfer case has a splined wheel hub with pressed on wheel bearings was supposed to reduce maintenance and component cost. The wheel hub and bearing configuration proved to be the most troublesome part of the design due to the lack of adjustment to compensate for normal wear and poor fuel economy resulting from the full time axle/transfer case combination. No other manufacturer used this axle design which was dropped by Dodge after the 1979 model year in favor of an adjustable wheel bearing setup and part time transfer cases. The key to keeping these axles in service is making sure the wheel bearings and bearing support components (hub, retainer, steering knuckle) are in good condition and properly lubricated.
Ummmmmm. as far as I know, You start at the outter hub and work inward. Us a puller to pull the axle loose from the hub.
Once you get it off the vehicle you can use a press to remove the hub from the rotor.
Last edited by RacerHog; Dec 28, 2016 at 08:01 PM.
So, whats the purpose of the 6 bolts that align with the hole on the rotor?
From that video it doesn't look like there is any reason to ever remove them. Not even to replace the bearing or axle seal. Though I'm not sure that guy in the video replaced race inside the tube?
edit: Does that retainer plate keep you from pulling the drive axle out?
Last edited by dodgem880; Dec 28, 2016 at 09:24 PM.
That I don't remember... It's quit some time sense I have been into one of those. I think it just supports the race, seal, and grease void, for lubrication.
Well you definitely have to remove that retainer cap to replace the races and get to the inner bearing. I pulled the rotor off like in the video above. I think the reason for trying to remove those bolts before removing the rotor is to prevent pulling the wheel seal out of the retainer cap but, after doing this much work to replace rotors I don't know why someone would waste their time trying to save an old seal.
Thats why I decided to go ahead and replace the bearings. I have a friend way more experienced in automotive technology than myself helping me on this job but, has never encountered this funky fulltime axle setup. We got the new bearings in, put the new seal in the retainer cap and rtv'd it back in place. Installed the hub and studs onto the new rotor.
We had trouble getting the hub far enough into the bearing/knuckle to get the castle nut back on. We got it started by hitting it with a hammer but, was afraid it was cockeyed and pulled it back off which in turn pulled the wheel seal out... turns out it wasn't cockeyed.. should have kept at it.
My Haynes manual mentions the use of a special tool for the early 44 axles to help draw the hub/rotor back into the bearings.
The current plan is to find a nut the same size and thread as the castle nut and round it, weld it to a pipe to make a tool to draw the hub inward.
Looks like the caste nut is a 1 1/8"-18.
If everyone has a better idea I'd love to hear it.
I don't get how all the online guides I've found on doing this kind of work to these truck just simply state "reinstall rotor". Am I missing something or did they leave out the part where they had to beat the bejesus out of the hub/rotor assembly to get it back on?
Last edited by dodgem880; Dec 31, 2016 at 12:52 AM.
I'm confused on what your wanting me to do? Are you asking me if I did or telling me I should pull the splines out of the differential? The hub could slightly engage the splines on the shaft. My initial attempt to reinstall the hub/rotor was trying to press it in by hand while turning it back and forth.. wasn't until the hammer came out that things started to happened but, still couldn't get it all the way through the first bearing.
It's been a long time since I got into the front axle so I'm not sure if the axle shaft is retained by c clips or floats. I thought it might be possible that you might have pulled the shaft out of the diff and that's why the hub wouldn't go in. Just an idea.
Like I said it has been sometime sense I rebuilt my Dodge.
One thing I don't remember is the hubs coming off or going together hard , I had a new Bearing go bad after two years and I change the bearing and retainer on the lot in the cold because the shop was full in about an hour.
Well mine hubs are definitely hard to remove and install and I’ll never forget it. I had to use a puller to get them off which wasn't too bad, but getting them back on is a two man job.
Today we managed to get the drive side back together. Froze the hub with a co2 fire extinguisher and beat the hub back on with a hammer. I didn’t think we were gonna make it and finally got to where the axle nut would thread on and zipped it on the rest of the way with the impact.
I don’t know what the deal is. There is less than a 100 thousandth difference between the old and new bearings.
Anyway, I took care of the all the easy stuff by myself tonight on the passenger side (uploaded pictures). The only hard part left is to reinstall hub for that side but, it will have to wait until my friend can help again.
Someone in the past has serviced the bearings on this truck before as the retainer caps where rtv’d on. I also believe they left out one of the spacers for the bearings. The new set has a spacer for the cup and cone but, the set I pulled out only had it for the cup.
pic 1 - puller
pic 2 - pulling hub/rotor
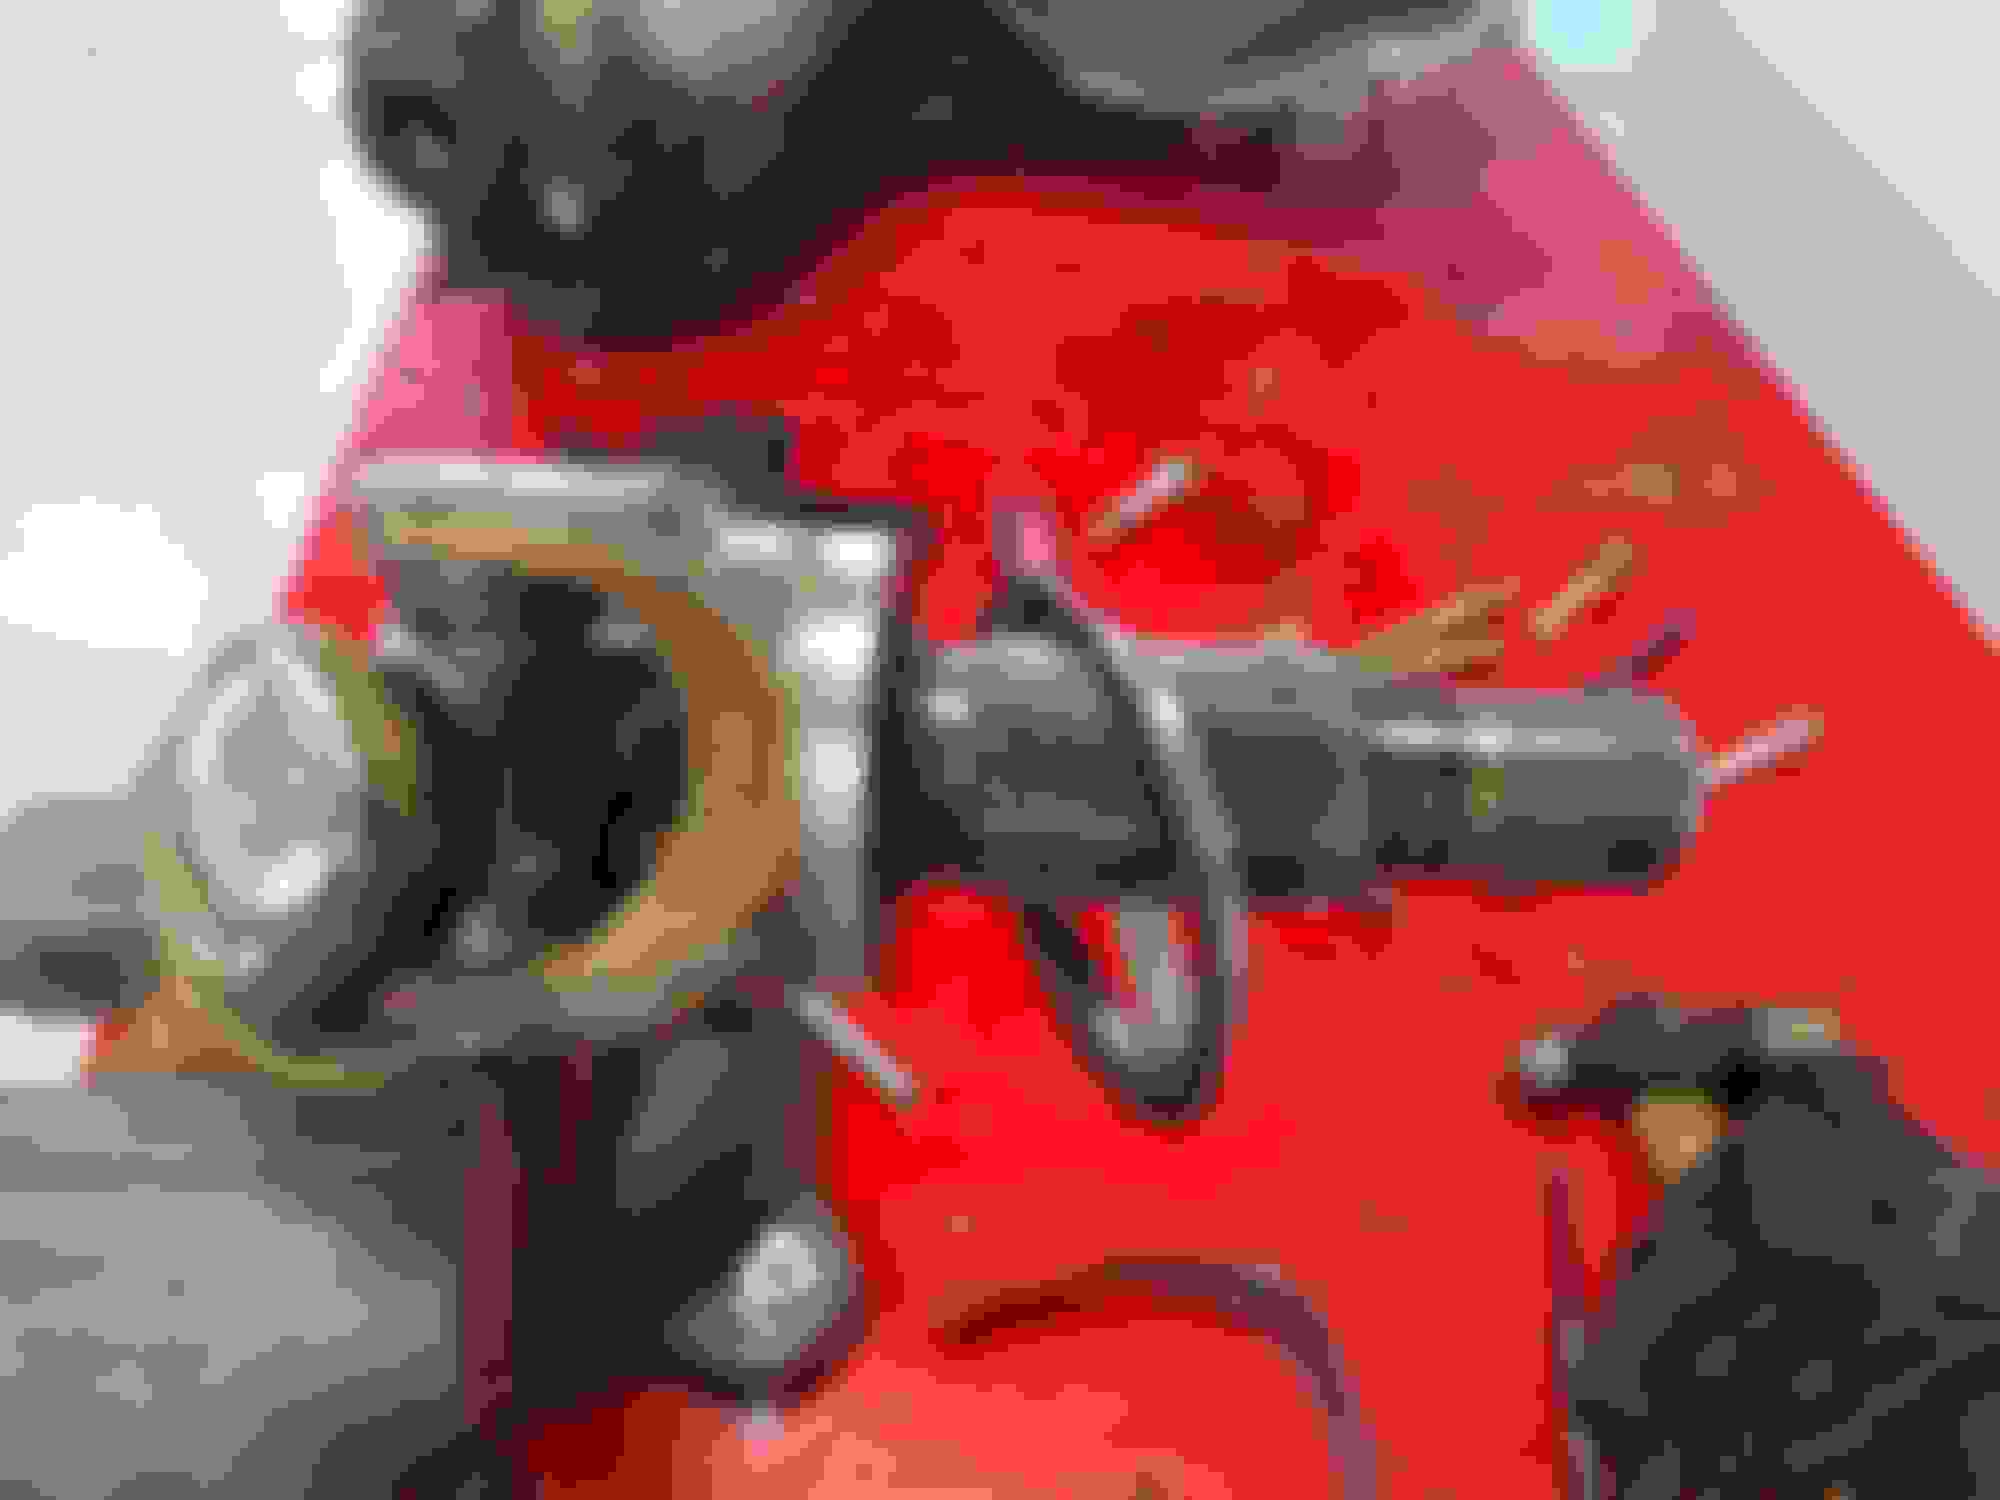
pic 3 - retainer exposed
pic 4- bearings remove, inside of knuckle
pic 5 - pressing out studs
pic 6 - hub freed from old rotor
pic 7 - installing bearing puller
pic 8 - pressing bearing off hub
pic 9 - pressing bearing off hub
pic 10 - close up of hub shaft surface
pic 11 - pressing in studs
pic 12 - close up of studs being pressed in
pic 13 - hub mated to new rotor
pic 14 - new seal installed into retainer cap
pic 15 - new bearing set (smaller spacer was missing from old set)
pic 16 - bearings packed, installed, cap reinstalled and waiting for hub.
Last edited by dodgem880; Dec 31, 2016 at 09:41 AM.
Clean the center hub splines the best you can with a small wire brush.....
A little anti-size.... One guys holds the hub/rotor in place.... the other guy uses a hammer and punch to try to get the shaft somewhat started threw the hub.
One thing I don't remember is the hubs coming off or going together hard , I had a new Bearing go bad after two years and I change the bearing and retainer on the lot in the cold because the shop was full in about an hour.
Was that two years of just normal driving? Any offroading or water up to the hubs? Defective bearing?
Last edited by dodgem880; Dec 31, 2016 at 09:51 AM.
Finally got her back together and home.. Had to replace a hard line that blew while bleeding the brakes. Glad that happened at the shop and not on the road.
Pedal has more travel in it than it did before. Tried adjusting the brake drums and the master cylinder push rod. Helped a little but, not sure whats going on there. I may try to bleeding the brakes again. If that doesn't work it must be the reman calipers I put on?
Last edited by dodgem880; Jan 1, 2017 at 06:06 PM.
Where did you get the set from with the spacer in the kit. I can not find spacer
Originally Posted by dodgem880
Well mine hubs are definitely hard to remove and install and I�ll never forget it. I had to use a puller to get them off which wasn't too bad, but getting them back on is a two man job.
Today we managed to get the drive side back together. Froze the hub with a co2 fire extinguisher and beat the hub back on with a hammer. I didn�t think we were gonna make it and finally got to where the axle nut would thread on and zipped it on the rest of the way with the impact.
I don�t know what the deal is. There is less than a 100 thousandth difference between the old and new bearings.
Anyway, I took care of the all the easy stuff by myself tonight on the passenger side (uploaded pictures). The only hard part left is to reinstall hub for that side but, it will have to wait until my friend can help again.
Someone in the past has serviced the bearings on this truck before as the retainer caps where rtv�d on. I also believe they left out one of the spacers for the bearings. The new set has a spacer for the cup and cone but, the set I pulled out only had it for the cup.
pic 1 - puller
pic 2 - pulling hub/rotor
pic 3 - retainer exposed
pic 4- bearings remove, inside of knuckle
pic 5 - pressing out studs
pic 6 - hub freed from old rotor
pic 7 - installing bearing puller
pic 8 - pressing bearing off hub
pic 9 - pressing bearing off hub
pic 10 - close up of hub shaft surface
pic 11 - pressing in studs
pic 12 - close up of studs being pressed in
pic 13 - hub mated to new rotor
pic 14 - new seal installed into retainer cap
pic 15 - new bearing set (smaller spacer was missing from old set)
pic 16 - bearings packed, installed, cap reinstalled and waiting for hub.
At the time I posted this I believe I got those from NAPA, but since then I've gotten bearings that only have the outside larger outside spacer and not the inside one. I'm not sure why they no longer including those... I attached pictures of the two bearing sets napa offer. I would avoid sets that cost less than $100. It is a lot of work to do this job and you don't want it to go south because of cheap bearings. This is also the time to do any other front end work your truck needs such as , ball joints, brake rotors, u-joints, etc. Back in the day, Dealerships had a tool that made it possible to remove the bearings without destroying them... You will have to destroy them... And access to a press hydraulic press to install the new bearings on the hub I'd say is almost required...
Alternatively, You could also have your favorite part store cross reference these numbers for you.
Let me know if you have any other questions.
I keep meaning to update my threads as I have some incorrect advice/information. So I'll do a quick shoot here:
The bearing retainer cap can be sealed with an oring, but the one I mentioned has too big a cross section and causes bearing preload issues. In a pinch use a thin smear of rtv instead, but let it fully cure before greasing the knuckle for the first time or it will just blow out the rtv.
If your replacing the rear knuckle bore seal with a modern seal.. you don't need the v-ring seal that rotates on the shaft in fact, use a hammer to lighty tap off the splash ring off the shaft. As the modem was not made to ride on it. You may clean up the shaft seal area with some emery cloth.
The rear seal gets installed the same direction as the seal in the retainer cap, This is so excess grease can be relieved from the rear of the knuckle instead of hydraulicing out a seal
Last edited by dodgem880; Sep 15, 2020 at 08:48 AM.
Awesome information here! Thanks everyone for posting. Dodgem880 would you happen to have the part number for that rear knuckle seal? My parts stores in northern Ontario Canada are having a hard time sourcing parts.
Sure thing. The last part number I used was 413248 by National. The seal you use in the front retainer cap is the same seal you use on the rear of the steering knuckle. The rear seal gets installed the same direction as the seal in the retainer cap. This means the garter spring/lip side will be facing towards the inside of the truck. This is done so excess grease can be relieved from the rear of the knuckle instead of hydraulicing out a seal.
You don't need the v-ring seal that rotates on the shaft in fact, use a hammer to lightly tap off the splash ring off the shaft and clean up the shaft seal area with some crocus cloth. The new seal’s lip will ride on this area. I’ve included a picture to show what I mean.
Be careful with the garter spring on the rear seal. I’ve had them pop off from not keeping the shaft centered during assembly. Find something or someone to help keep it some what centered and not drooping down on the seal. An old school trick for oil seals in general is packing thick grease over the garter spring to help keep it from popping off during installation.
I'm glad this thread is helping people. I had no idea what I was doing the first time I did this job (wasn't planning on doing it). I've done it multiple times since then due to having two of the same truck and performing other repairs such as brakes and ujoints. So, I've gotten pretty good at it. Of course having access to the right tools is a must on this one. If you have any questions I'll try to answer them the best I can. Here are a few links for my other threads relating to this repair topic.
Where does the smaller spacer/washer that's in the picture with the bearings. i think i know but I'm missing the small spacer and i think its causing my bearings to over heat i just got the truck and had to take the spindle apart and i think that's my problem. I can machine Them if i had the sizes or i would by them if there available?
Last edited by Ramcharger76; Feb 4, 2024 at 05:47 AM.
Are you talking about the spacer rings that come with a bearing set? If so.
I've had bearings sets that have only come with the one larger spacer and I had no issues. Did you fully grease the knuckle (until grease came out the rear seal) using the zerk?
The large spacer goes between the bearing cups (or outer race) and the smaller space goes between the inner races of the two bearings.


 Finally got her back together and home.. Had to replace a hard line that blew while bleeding the brakes. Glad that happened at the shop and not on the road.