I never would think I would own one of these

Mopar Lover
Joined: Apr 2008
Posts: 1,074
Likes: 1
Smoking that brisket on the back porch...it's raining
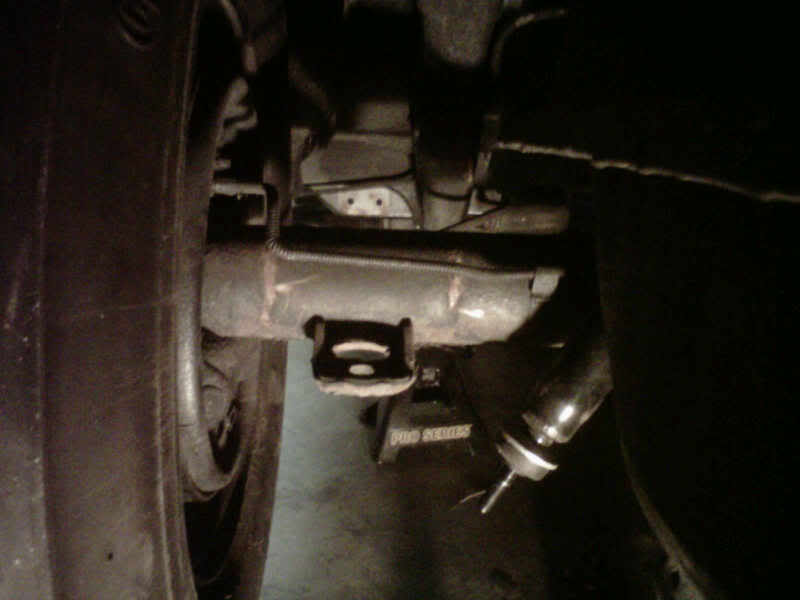
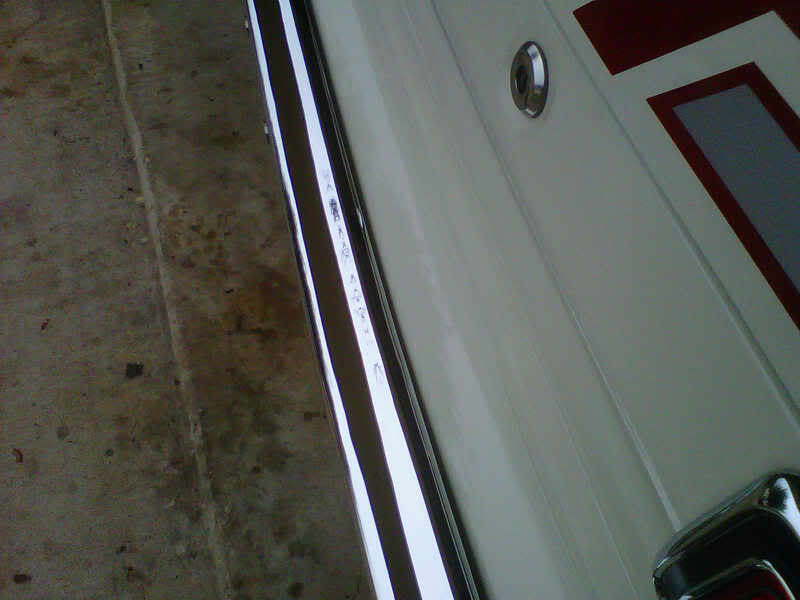
No work on the cars tonight have to pay attention to that brisket...a cold front is pushing through and this is the first rain we had in quite some time...I am in need of one of the exhaust couplers that match the exhaust pipe to the stock exhaust manifolds..I took a pic of it for ya...if anyone has one for a 77 Aspen and it looks like the picture PM me...thanks in advance..


No work on the cars tonight have to pay attention to that brisket...a cold front is pushing through and this is the first rain we had in quite some time...I am in need of one of the exhaust couplers that match the exhaust pipe to the stock exhaust manifolds..I took a pic of it for ya...if anyone has one for a 77 Aspen and it looks like the picture PM me...thanks in advance..

Thread Starter
Super Moderator
Joined: Sep 2010
Posts: 3,609
Likes: 181
From: Houston, Texas
Thread Starter
Super Moderator
Joined: Sep 2010
Posts: 3,609
Likes: 181
From: Houston, Texas
Had a great but long Christmas day
I had a long and great Christmas Day...first of all I told my wife that I wanted a better toolbox instead of the wally world one she got me two years ago..this time I got  ...who would of thought of that...I am taking the leafsprings and bottom leaf spring plates to work tomorrow to shoot them with the Chassis black...I like that shiney look
...who would of thought of that...I am taking the leafsprings and bottom leaf spring plates to work tomorrow to shoot them with the Chassis black...I like that shiney look
Thread Starter
Super Moderator
Joined: Sep 2010
Posts: 3,609
Likes: 181
From: Houston, Texas
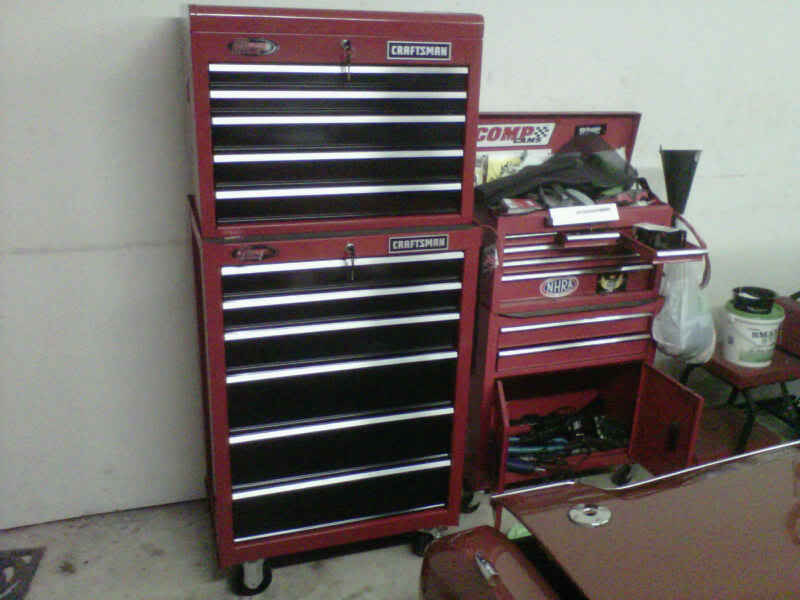
Got one coat on them today....e-net shopping for tool storage cabinets
Went to work and went with one light coat of the chassis black...we are closed down tomorrow so I will go give them another coat tomorrow morning...came home and did some e-net price shopping for a decent tool cabinet...Sears still has about the best bag for the buck with the sale they are having...some of the Husky and Kobolt ones had bad reviews...HF is out of the question..
Thread Starter
Super Moderator
Joined: Sep 2010
Posts: 3,609
Likes: 181
From: Houston, Texas
Got the second coat on today and swapped the wheels and tires
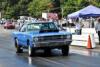
Today I went back to work and shot a second coat of chassis black on the leaf springs and plates..I went to Sears and let loose of 600 dollars to by a heavy duty ball bearing twelve drawer tool chest set...the bottom part will be here on Wednesday...the top part was heavy enough to use a dolly to get it in the house..the stock 14" wheels are back on...the AR wheels go to their new home on Saturday...meet Mark in Willis Texas...they look different and the rear of the car is now lower than the front...the new leaf spring will help with that and the new tires will be taller in the back..
to by a heavy duty ball bearing twelve drawer tool chest set...the bottom part will be here on Wednesday...the top part was heavy enough to use a dolly to get it in the house..the stock 14" wheels are back on...the AR wheels go to their new home on Saturday...meet Mark in Willis Texas...they look different and the rear of the car is now lower than the front...the new leaf spring will help with that and the new tires will be taller in the back..
Thread Starter
Super Moderator
Joined: Sep 2010
Posts: 3,609
Likes: 181
From: Houston, Texas
Okay a little more done
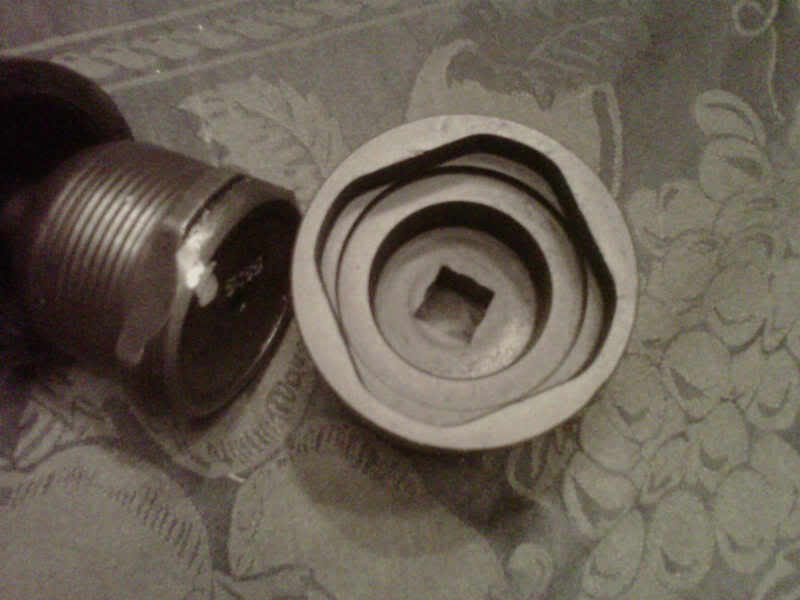
Got my 40 dollar ball joint socket today from Mancini Racing...probably only use it a couple of times but I will always have one and have room for it in my new tool box...
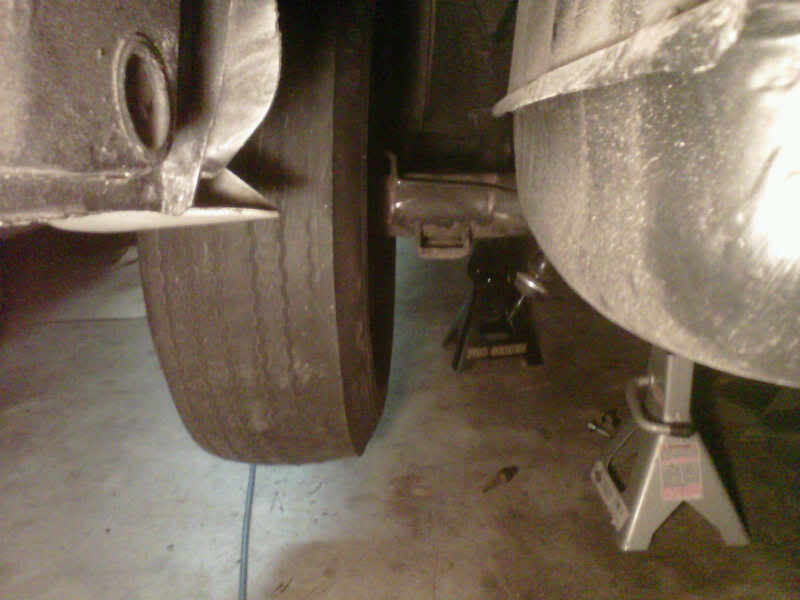
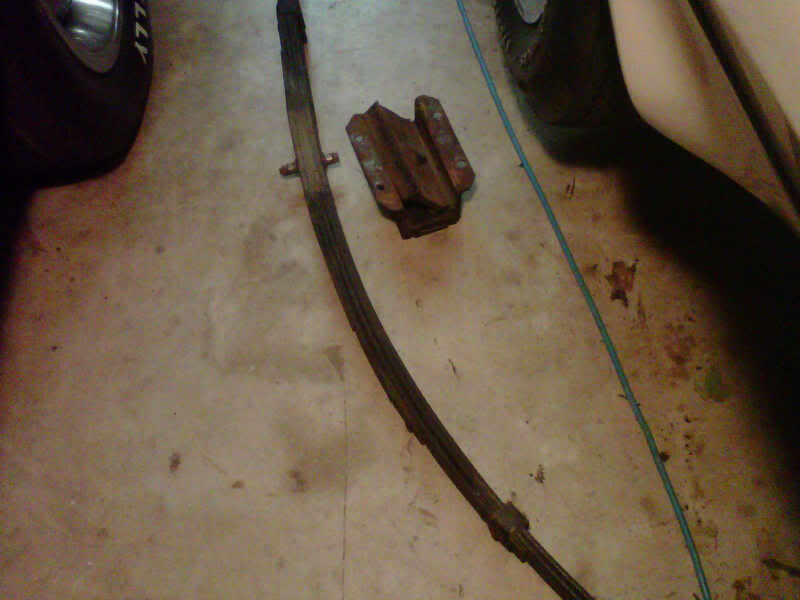
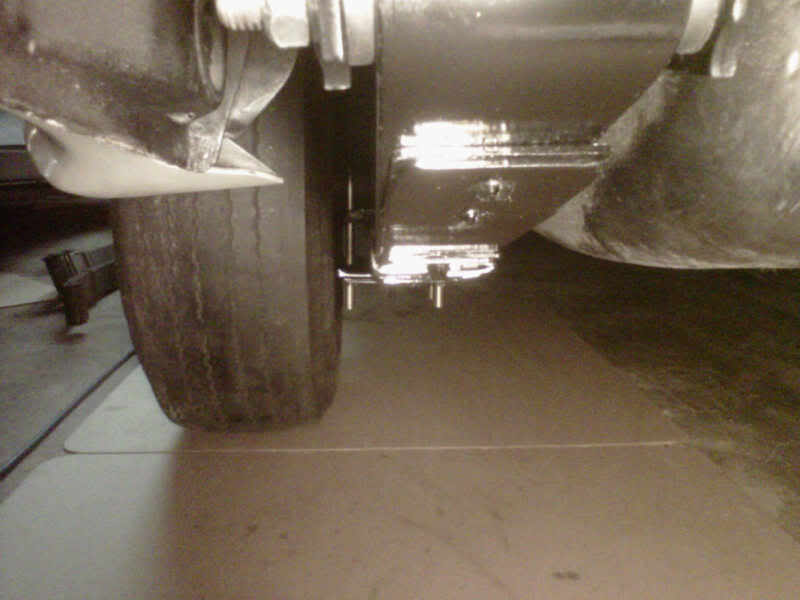
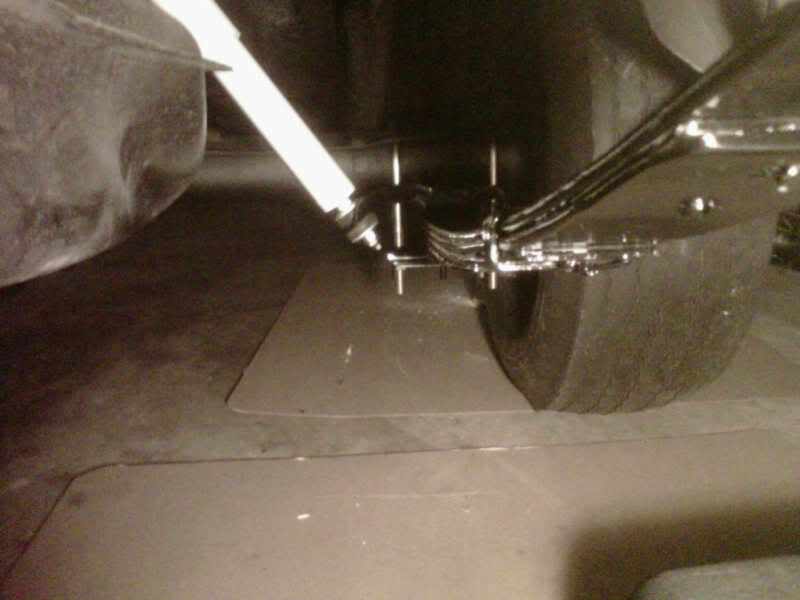
jacked up the rear of the car and placed jackstands on the subframe and then two more on the axle tubes..soaked the u-bolts down with pene spray and no wano...the half inch impact would still not budge them...okay done this before...cut off the u-bolts on the drivers side with die grinder and finally got the whole thing out of there...put all the brackets and such in the evaporust solution to soak till tomorrow night...cut one side of the u-bolt on the other side then stopped for the night...
Got my 40 dollar ball joint socket today from Mancini Racing...probably only use it a couple of times but I will always have one and have room for it in my new tool box...
jacked up the rear of the car and placed jackstands on the subframe and then two more on the axle tubes..soaked the u-bolts down with pene spray and no wano...the half inch impact would still not budge them...okay done this before...cut off the u-bolts on the drivers side with die grinder and finally got the whole thing out of there...put all the brackets and such in the evaporust solution to soak till tomorrow night...cut one side of the u-bolt on the other side then stopped for the night...
Thread Starter
Super Moderator
Joined: Sep 2010
Posts: 3,609
Likes: 181
From: Houston, Texas
Busted my left thumb once before putting my gloves on
Got that other leafspring out tonight..forgot to put my work gloves on and busted my left thumb twice..but its out and I am glad...put the rest of the parts in the evaporust and just have to paint them before I can put everything back together...

Got that other leafspring out tonight..forgot to put my work gloves on and busted my left thumb twice..but its out and I am glad...put the rest of the parts in the evaporust and just have to paint them before I can put everything back together...
Thread Starter
Super Moderator
Joined: Sep 2010
Posts: 3,609
Likes: 181
From: Houston, Texas
A little more...
I used my die grinder with a wire brush attachment and knocked the rust off aroung the axle tube and the leaf spring perch...before
and after two coats of Eastwood rust encapsulator....
I would have loved to pull the whole rear end and blast it and repaint it but not at this time...will have a two post lift and a beefy air compressor in my dream man cave within five years..just trying to prevent farther rust at this time...
Thread Starter
Super Moderator
Joined: Sep 2010
Posts: 3,609
Likes: 181
From: Houston, Texas
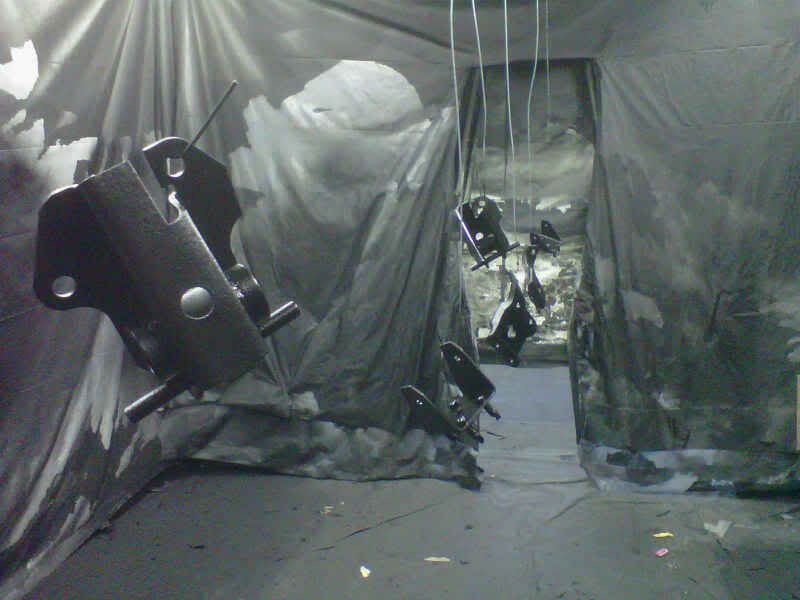
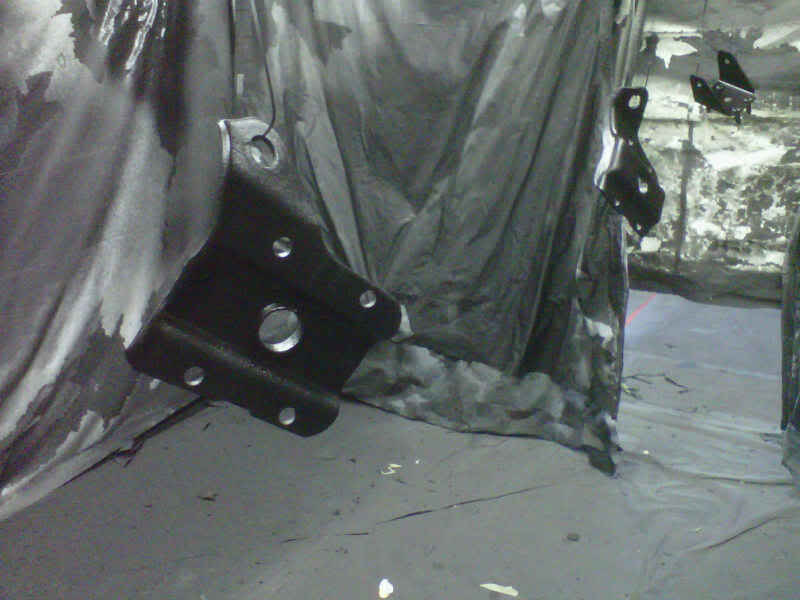
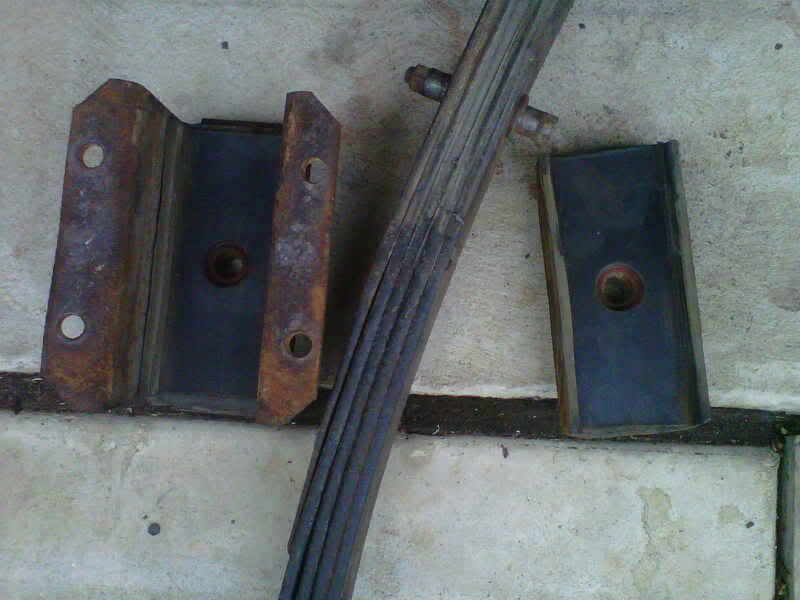
Got my parts back from blasting
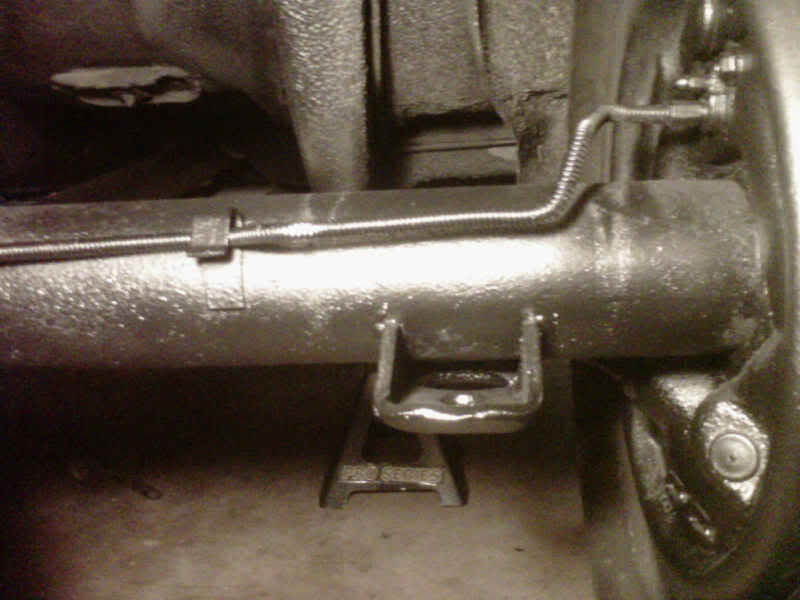
The shock mount and leaf spring brackets were covered by undercoating...I took them to work today and had them blasted..got em back home and put them back in the evaporust...then worked on the new tool box...got alot of stuff organized...I ran out of the drawer lining and have four of the bottom drawers still to do...
Thread Starter
Super Moderator
Joined: Sep 2010
Posts: 3,609
Likes: 181
From: Houston, Texas
today....
I finished the tool box and need two more drawers...they sell a middle two drawer unit that I will get later on...I took the shackle and leaf spring mount out of the evaporust...I used my die grinder to remove some of the more stubborn rust and then put them back in to soak another night...hope to shoot them with primer tomorrow...

Thread Starter
Super Moderator
Joined: Sep 2010
Posts: 3,609
Likes: 181
From: Houston, Texas
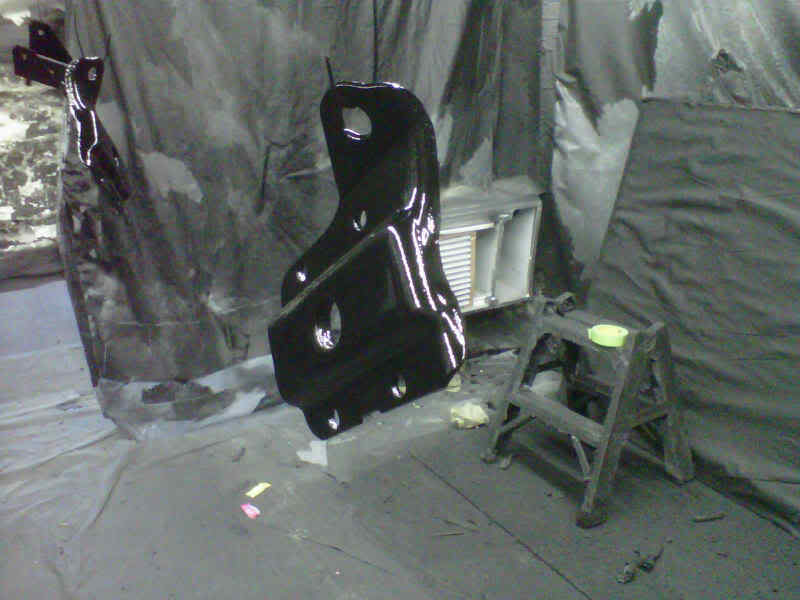
Got them primed this morning
Got the shock plate and leaf spring hangers all primed this morning...going back tonight to get one coat of the chassis black sprayed and then one more coat tomorrow...
Got the shock plate and leaf spring hangers all primed this morning...going back tonight to get one coat of the chassis black sprayed and then one more coat tomorrow...
Thread Starter
Super Moderator
Joined: Sep 2010
Posts: 3,609
Likes: 181
From: Houston, Texas
2nd Coat, air shocks outta there..
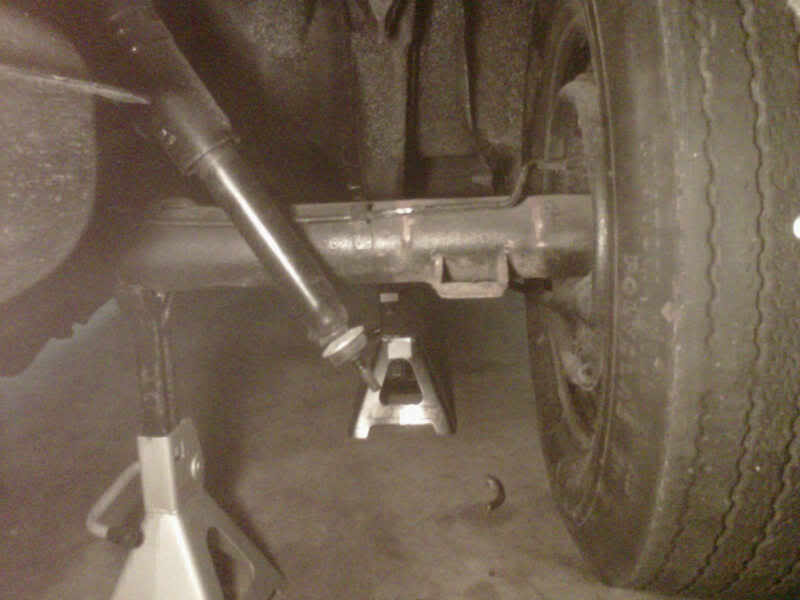
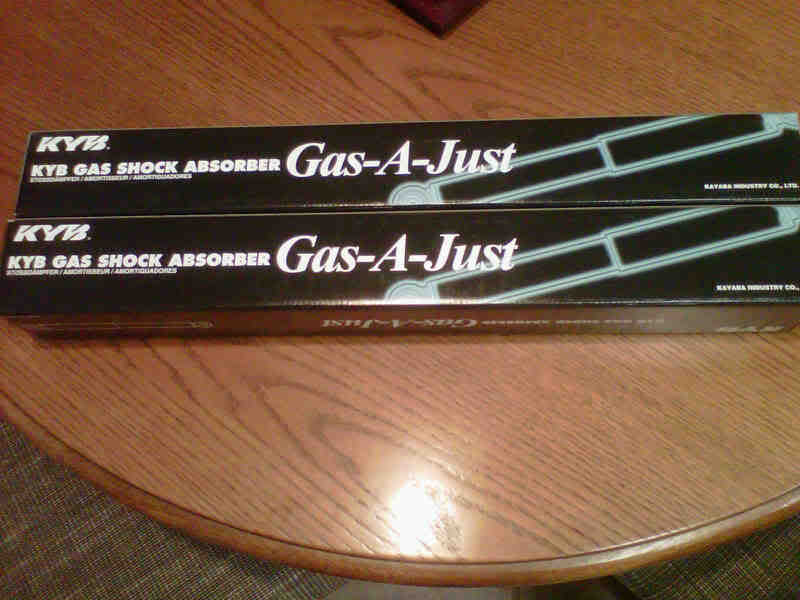
Gave the shock plates and such a second coat this morning, crawled under the car and removed the air shocks...I ordered some KYB gas adjust shocks last night from Summit..they had the best price..coming to my door for 150 bucks...take a look at the leaf spring rubber crap that I removed..can't wait to drive it next time with all of the rubber crap removed...
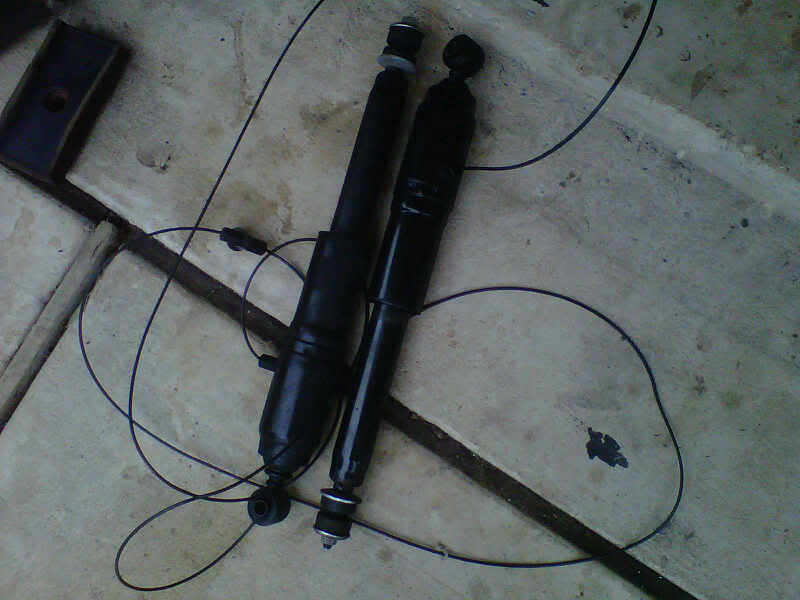
Gave the shock plates and such a second coat this morning, crawled under the car and removed the air shocks...I ordered some KYB gas adjust shocks last night from Summit..they had the best price..coming to my door for 150 bucks...take a look at the leaf spring rubber crap that I removed..can't wait to drive it next time with all of the rubber crap removed...
Thread Starter
Super Moderator
Joined: Sep 2010
Posts: 3,609
Likes: 181
From: Houston, Texas
Got the easy one bolted up tonight
Got the easy leaf spring bolted back up tonight...will do the other tomorrow night but won't sit it back on the ground until the new shocks show up and I install the rear ones...
Got the easy leaf spring bolted back up tonight...will do the other tomorrow night but won't sit it back on the ground until the new shocks show up and I install the rear ones...
Thread Starter
Super Moderator
Joined: Sep 2010
Posts: 3,609
Likes: 181
From: Houston, Texas
Got some shocks and got the other done..
Got the new front shocks today and will get the new rear ones tomorrow...I got the other leaf spring in tonight...still have to torque the u-bolts good and tight but always do stuff like that with the car on the ground and not on jack stands..
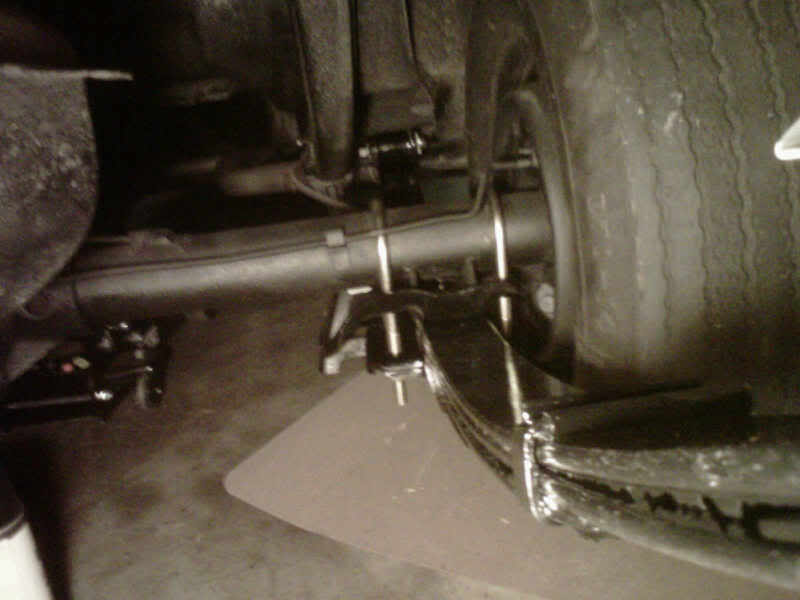
Got the new front shocks today and will get the new rear ones tomorrow...I got the other leaf spring in tonight...still have to torque the u-bolts good and tight but always do stuff like that with the car on the ground and not on jack stands..
Thread Starter
Super Moderator
Joined: Sep 2010
Posts: 3,609
Likes: 181
From: Houston, Texas
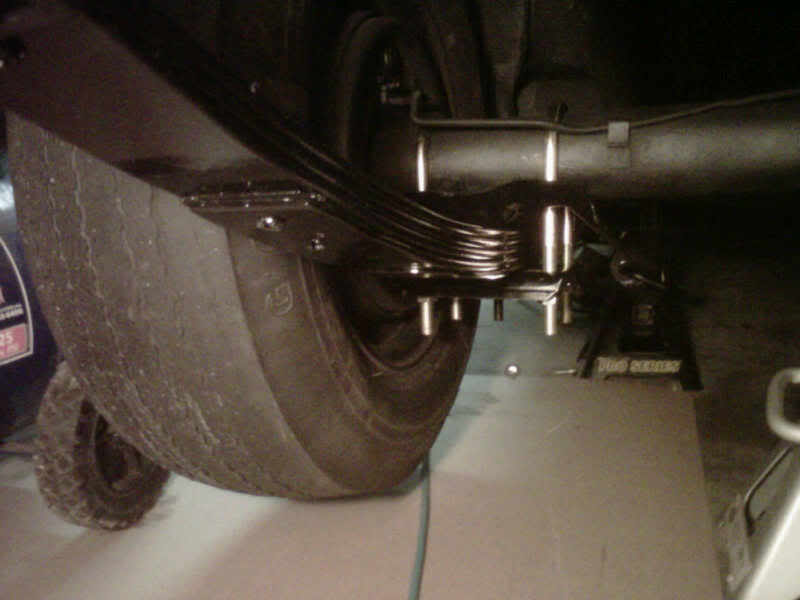
Back on the ground tonight
I got the rear shocks on tonight and back on the ground....I then got the u-bolt nuts all torqued down...I still needed something to do so I started the old bolt for new bolt exchange for the fender bolts in the engine compartment...I do not want to paint over or try to clean up old bolts prior to painting the engine compartment...
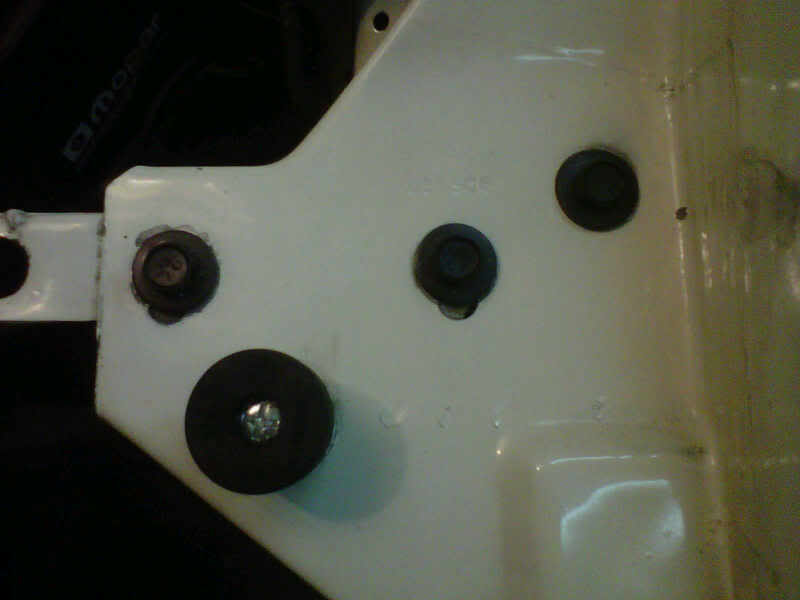
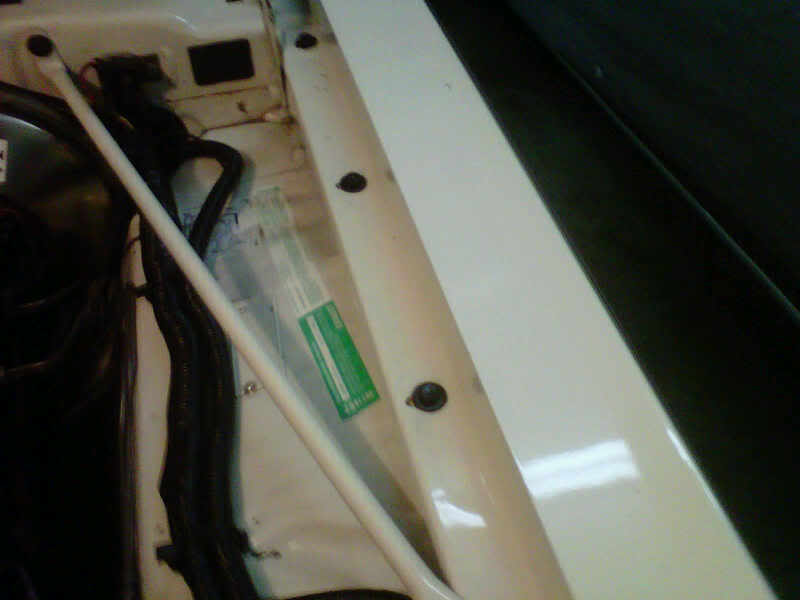
I got the rear shocks on tonight and back on the ground....I then got the u-bolt nuts all torqued down...I still needed something to do so I started the old bolt for new bolt exchange for the fender bolts in the engine compartment...I do not want to paint over or try to clean up old bolts prior to painting the engine compartment...
Thread Starter
Super Moderator
Joined: Sep 2010
Posts: 3,609
Likes: 181
From: Houston, Texas
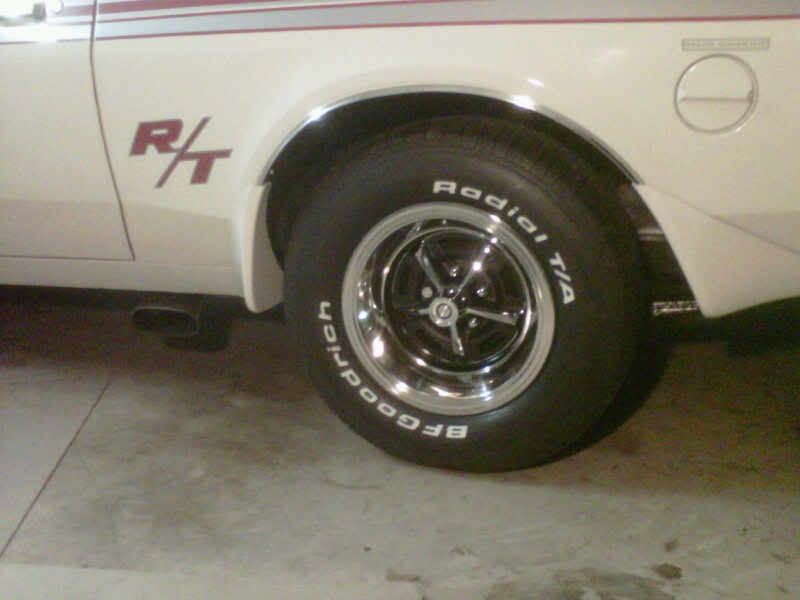
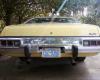
The new wheels are finished and on their way...15X7 with 4.25" backspacing with 235/60/15 on the front.....15X8 with 4.50" backspacing with 275/60/15 on the rear...the tires in the picture are the 33 year old ones that came with the car..
Thread Starter
Super Moderator
Joined: Sep 2010
Posts: 3,609
Likes: 181
From: Houston, Texas
Got the rear bumper support back on tonight
Got home and leveled the bumper shocks and tightened up all of the bolts....then I got the bumper support bolted back on the made sure it was centered...tonight I am going to wet sand the bumper top filler and paint it tomorrow before the bad weather hits on Sunday...that's when it's 100% rain and then the coldest week headed our way....my new wheels should be on my front porch on Monday...
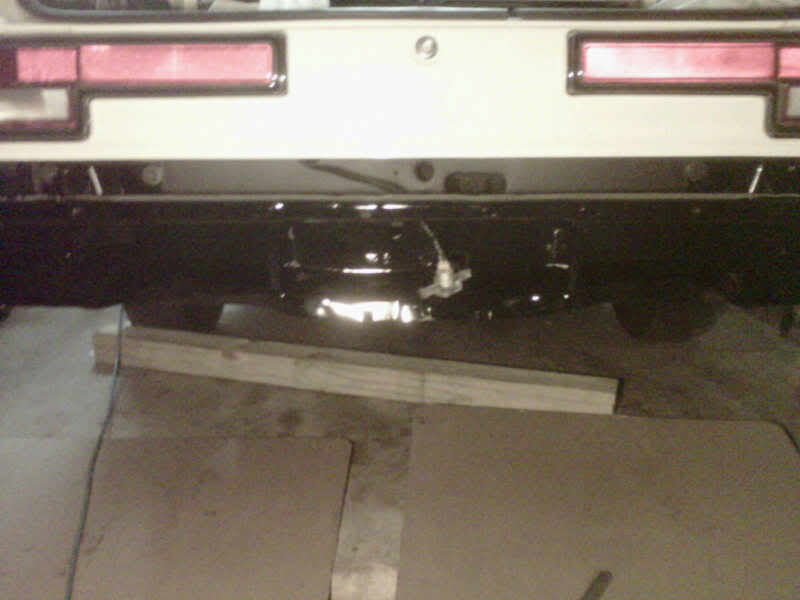
Got home and leveled the bumper shocks and tightened up all of the bolts....then I got the bumper support bolted back on the made sure it was centered...tonight I am going to wet sand the bumper top filler and paint it tomorrow before the bad weather hits on Sunday...that's when it's 100% rain and then the coldest week headed our way....my new wheels should be on my front porch on Monday...
Thread Starter
Super Moderator
Joined: Sep 2010
Posts: 3,609
Likes: 181
From: Houston, Texas
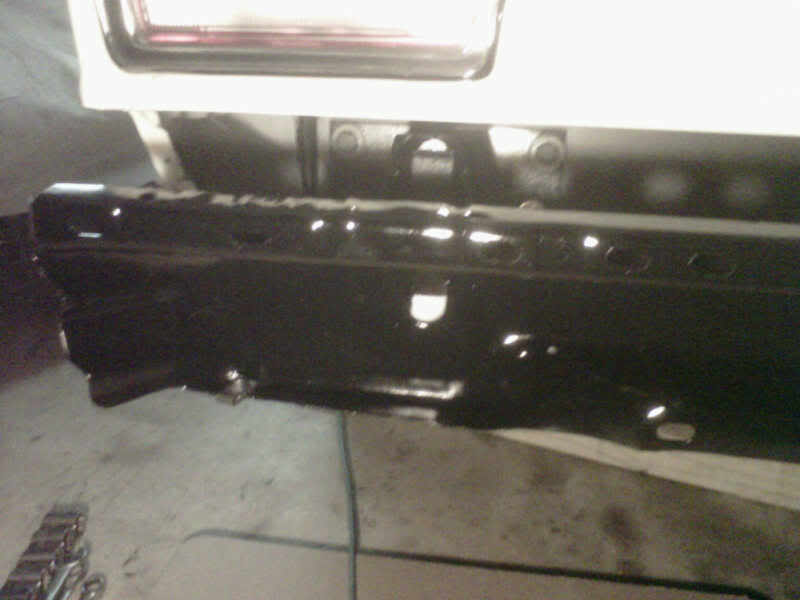
This is the flexable plastic bumper filler
This is the piece I am going to paint tomorrow...I have the flex additive for the paint because it is a flexable plastic/rubber piece...I wet sanded it tonight with 600 wet/dry paper...once this is finished I can put the rear bumper back on....
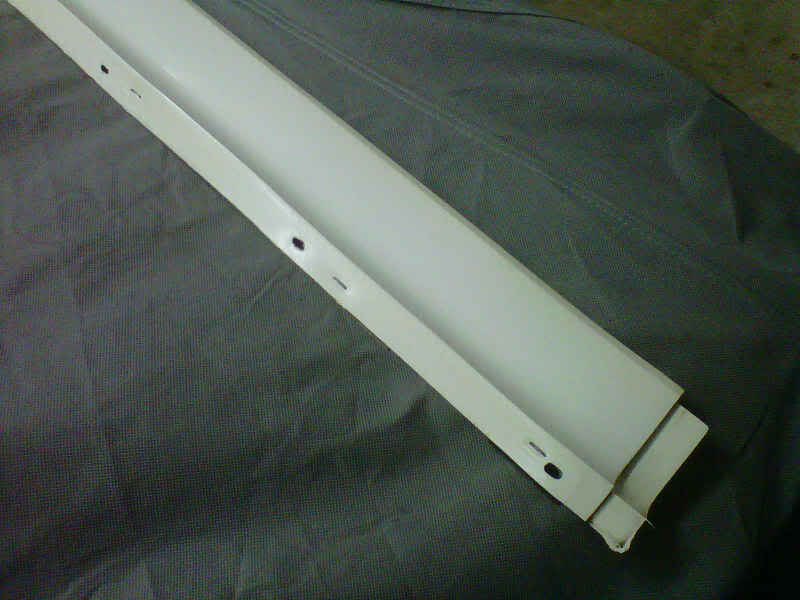
This is the piece I am going to paint tomorrow...I have the flex additive for the paint because it is a flexable plastic/rubber piece...I wet sanded it tonight with 600 wet/dry paper...once this is finished I can put the rear bumper back on....
Thread Starter
Super Moderator
Joined: Sep 2010
Posts: 3,609
Likes: 181
From: Houston, Texas
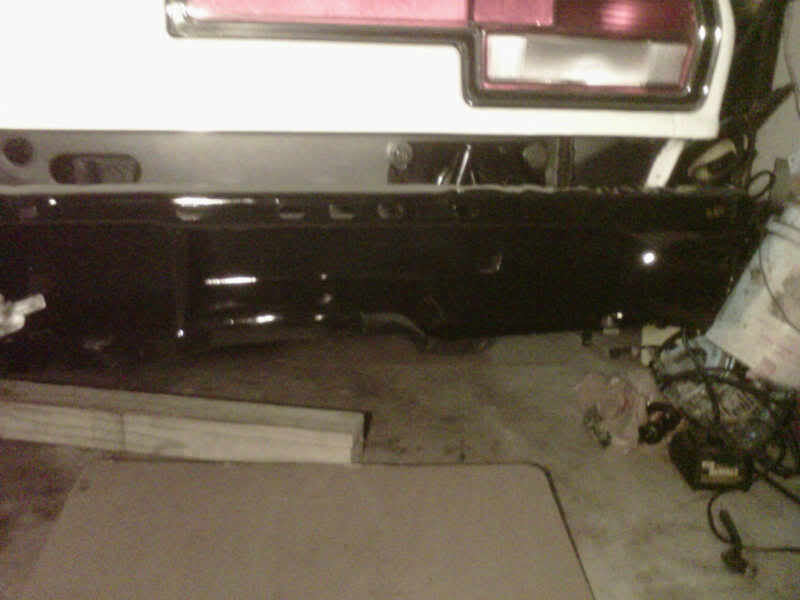
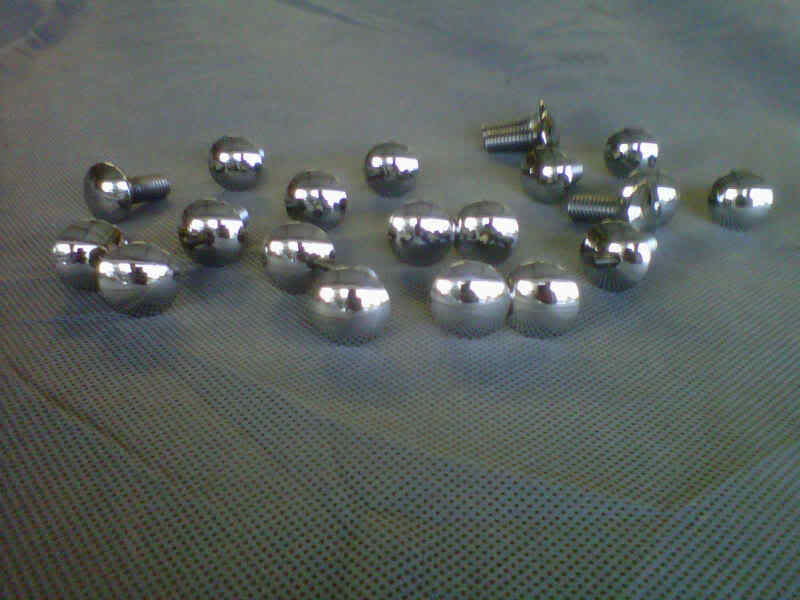
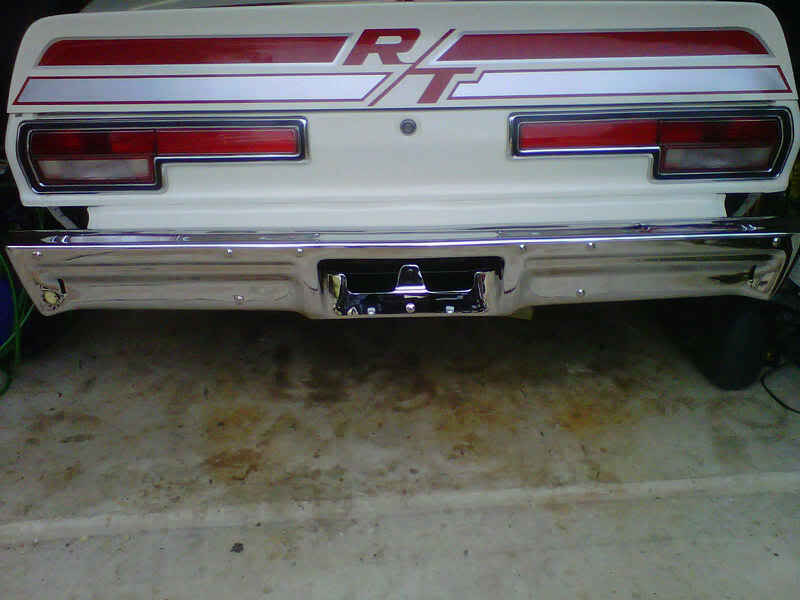
Got the rear bumper back on today....
Went to work today and got that flexable bumper filler painted...mind you that I was not in a clean paint booth so I got about six little pieces of trash in it but my painting skills are getting better...nice and shiney with no orange peel and no runs....I then met a friend of mine at his new house and borrowed his buffing contraption...I buffed and polished 25 stainless steel bumper bolts...after supper I got the bumper filler installed along with the rear bumper...no bad night time photos I just took one of the bolts I polished..tomorrow I will take some pics...
Last edited by bremereric; Jan 8, 2011 at 09:35 PM.
Thread Starter
Super Moderator
Joined: Sep 2010
Posts: 3,609
Likes: 181
From: Houston, Texas
A two hour road trip today....
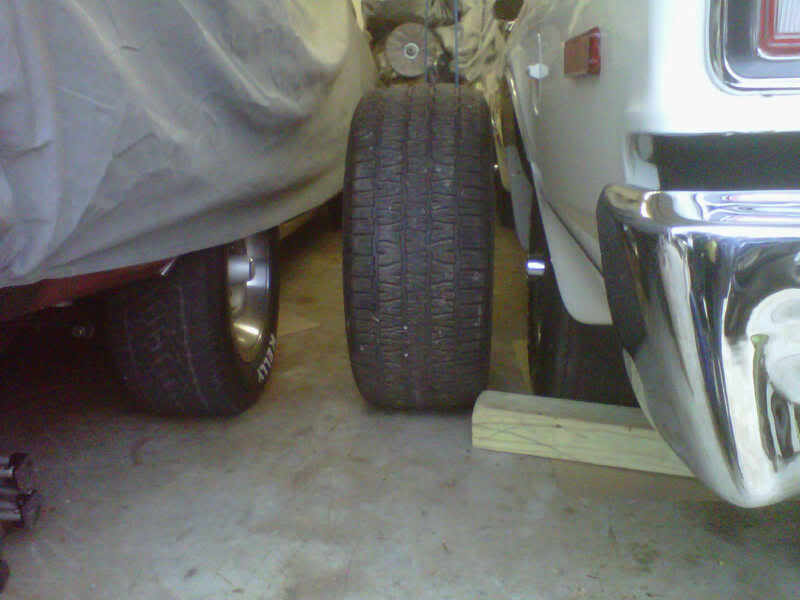
My buddy Paul offered me his slightly used 275/60/15 BF Goodrich tires that used to be on his Charger...I told him thanks and I would be by to pick them up today...they are an hour dirve on the other side of town so I spent some time with them since I don't see him very often...OMFG they are big...they are a little past new and I will probably not use them but it was worth the trip and a chance to take a photo of one of them next to the car...it makes me real sick thinking that I can't use a tire like that on my Dart..
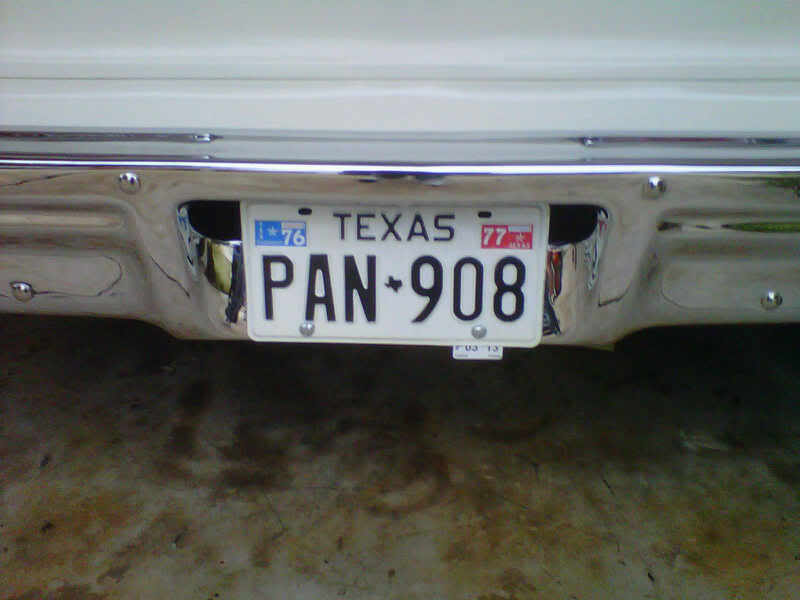
took a couple pics on the bumper and bumper filler and then when I got home I put the license back on
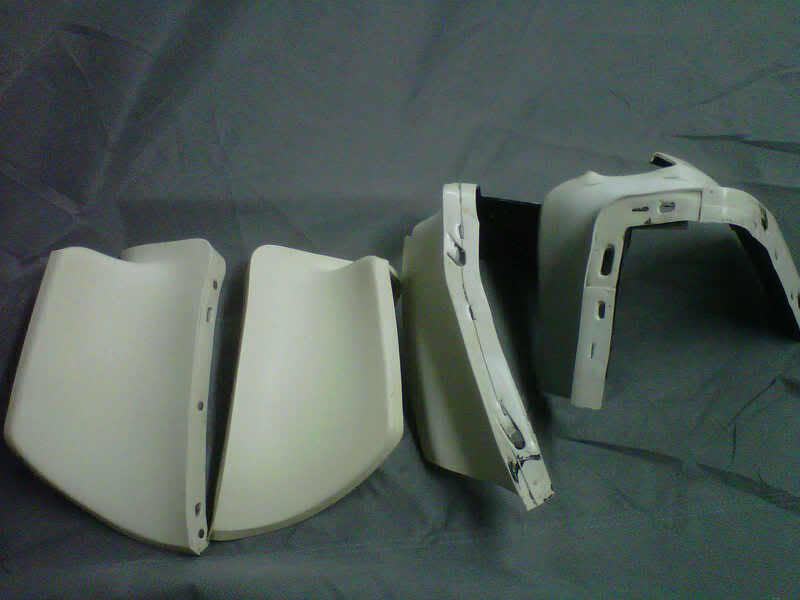
I then got a chance to wet sand the four remaining corner bumper fillers...the ones on the left are for the front bumper and the ones on the right are for the rear...hopefully going to paint next weekend...
took a couple pics on the bumper and bumper filler and then when I got home I put the license back on
I then got a chance to wet sand the four remaining corner bumper fillers...the ones on the left are for the front bumper and the ones on the right are for the rear...hopefully going to paint next weekend...
Admin
Joined: Apr 2008
Posts: 8,173
Likes: 200
From: Goffstown, NH
The Aspen is really coming along though. Great work!
Thread Starter
Super Moderator
Joined: Sep 2010
Posts: 3,609
Likes: 181
From: Houston, Texas
Thread Starter
Super Moderator
Joined: Sep 2010
Posts: 3,609
Likes: 181
From: Houston, Texas
You learn something new everyday...a superpack clone
Here ya go....this looks like a standard R/T......
that would explain the decal I have across the deck lid...

and this is one with the superpak option......you learn something new everyday...

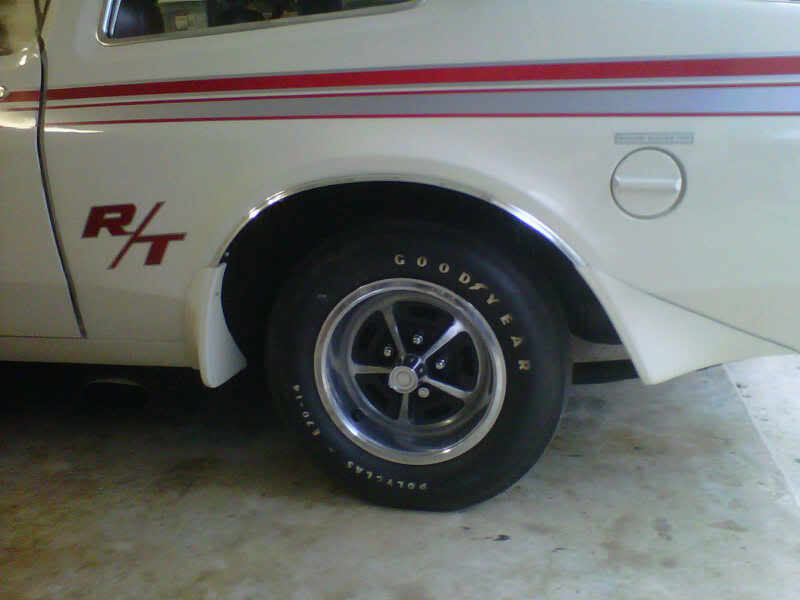
I have a call in to the previous owner.....now I think I have a superpack clone....that would also explain the cut chrome wheel well mouldings
Here ya go....this looks like a standard R/T......
that would explain the decal I have across the deck lid...
and this is one with the superpak option......you learn something new everyday...
I have a call in to the previous owner.....now I think I have a superpack clone....that would also explain the cut chrome wheel well mouldings
Thread Starter
Super Moderator
Joined: Sep 2010
Posts: 3,609
Likes: 181
From: Houston, Texas
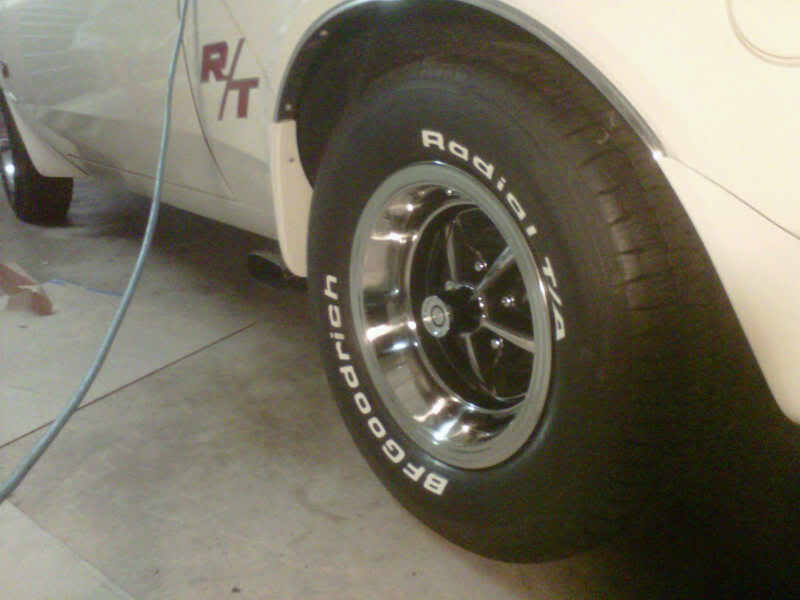
Got the two big tires mounted today...the smaller front ones were not in stock and will take 3 to 4 days...I went with 275/60/15 in the back and the front will be 205/60/15 that will make them the same tread width as the tires I had on before...I also like her *** up in the air...

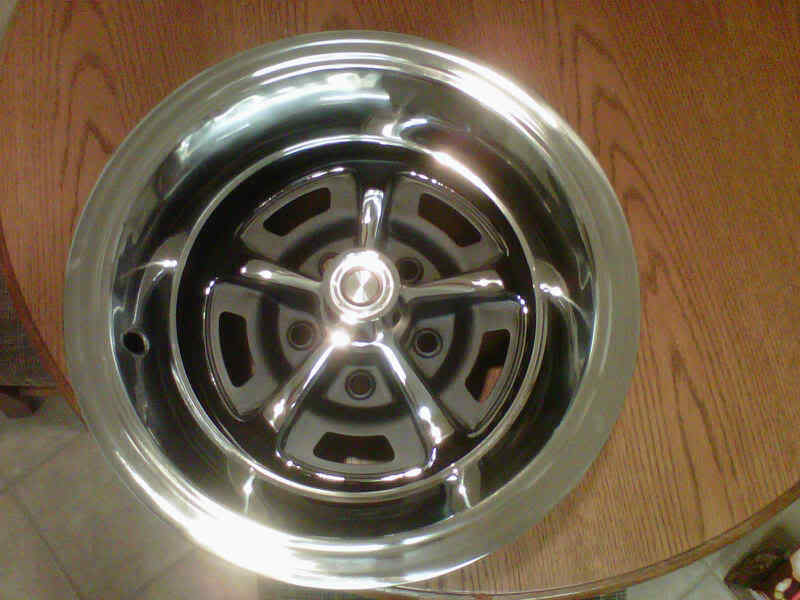
the trim ring will go on after I put them on the car tonight
the trim ring will go on after I put them on the car tonight
Thread Starter
Super Moderator
Joined: Sep 2010
Posts: 3,609
Likes: 181
From: Houston, Texas
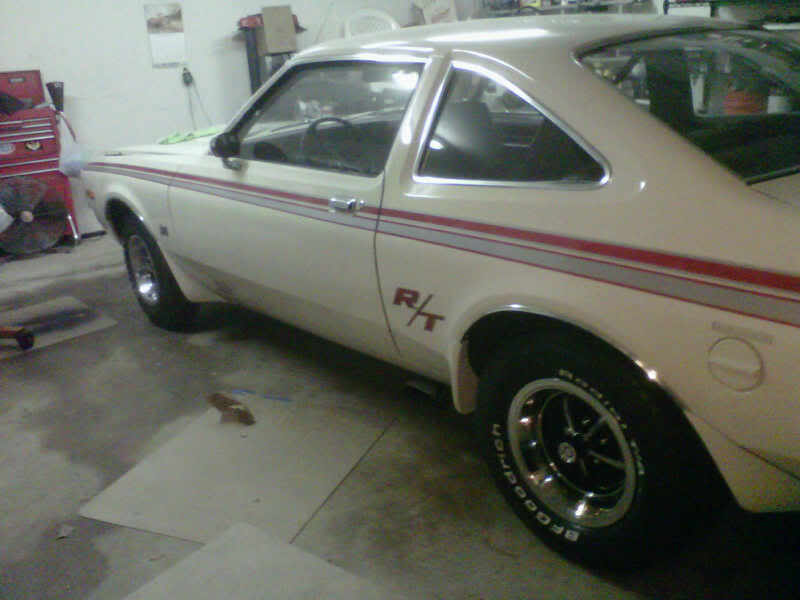
Got the rear in the air tonight and the wheels on Got the rear wheels on tonight...I like how they look alot and how well they fill up the entire wheel well...nice tall tires..1 1/2" taller than the AR 17" wheels and tires...a few gruddy night time pics for you all...